Is it just me, or do an awful lot of jackets and sweaters come without a loop or tag to hang them with? I get it that many have hoods, and you could hang them from the hood, or even the back neck of the jacket, but there is nothing like a solid loop to quickly hang your jacket up.
Another problem is that many hooks are sharp or pointy and if you hang a jacket from the neckline or hood you end up with a bump in the fabric from the imprint of the hook. This is no bueno when you’ve spent good money on the jacket in the first place.
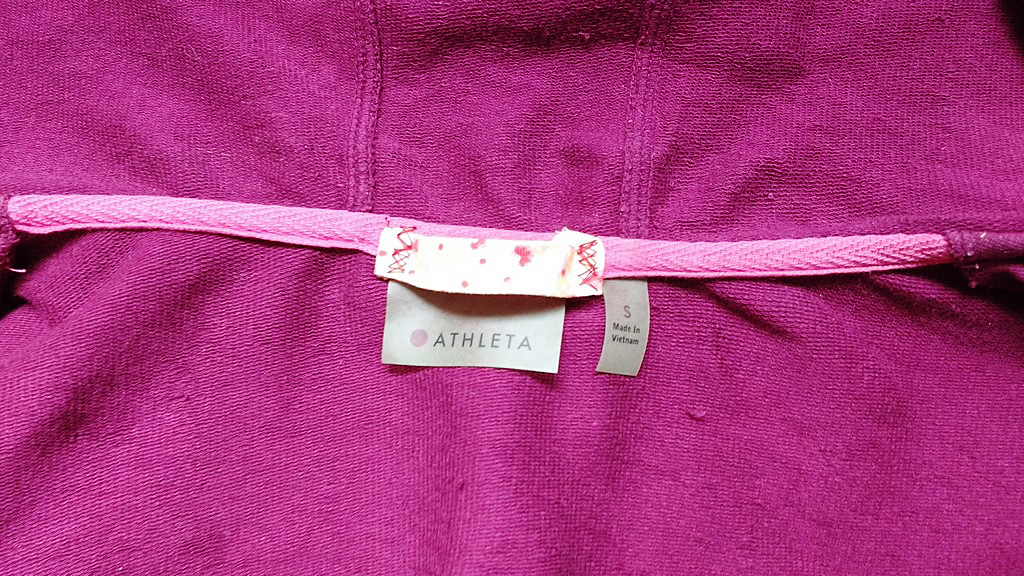
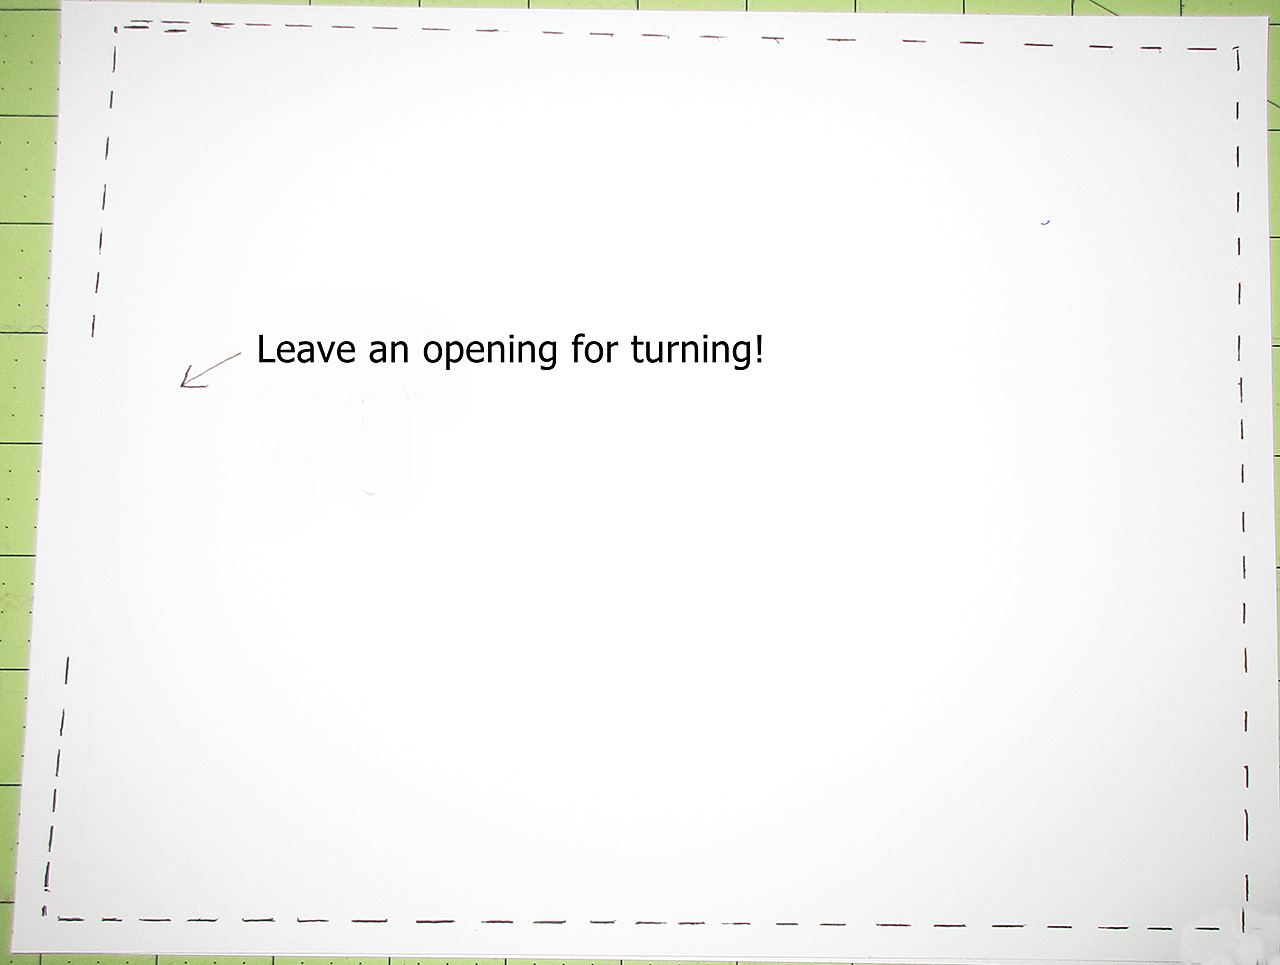
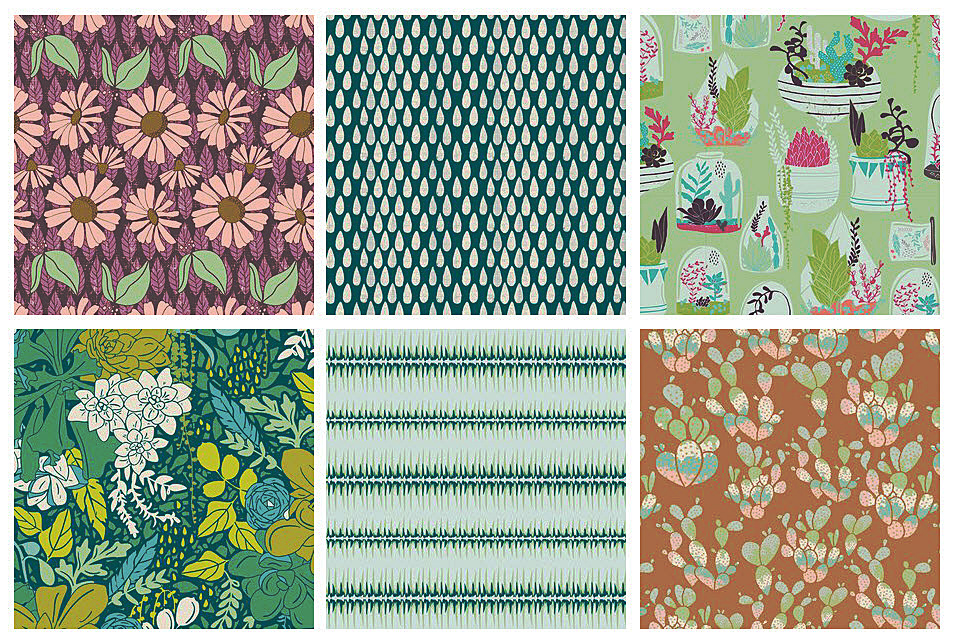
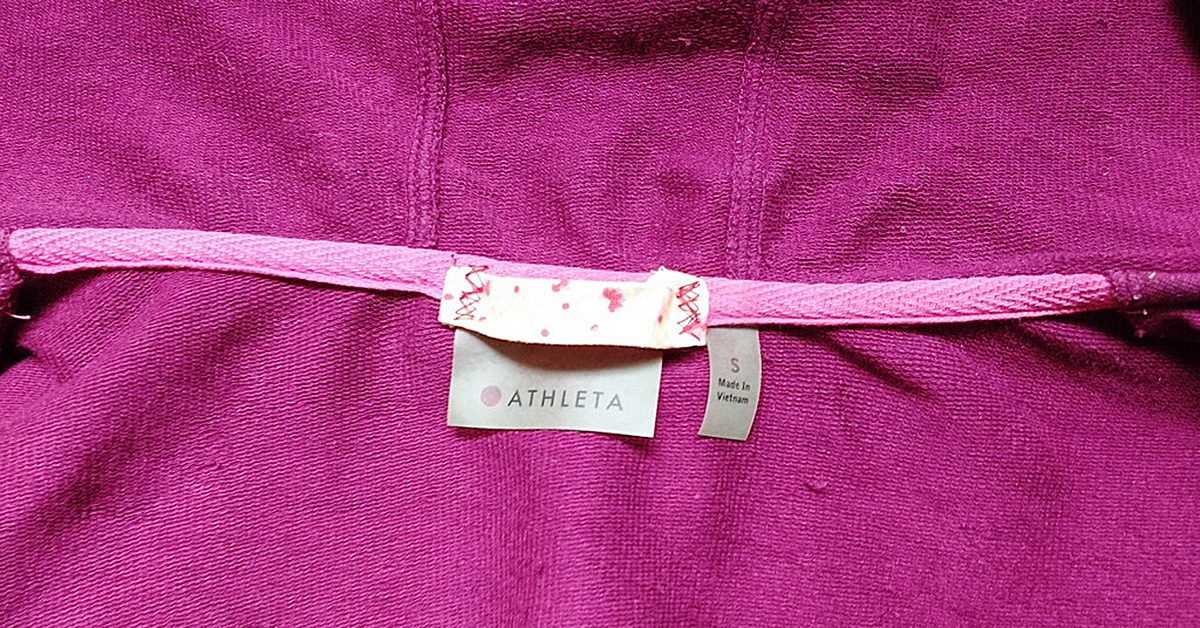
I like to add jacket loops using double fold binding I have on hand.
Let’s Sew!
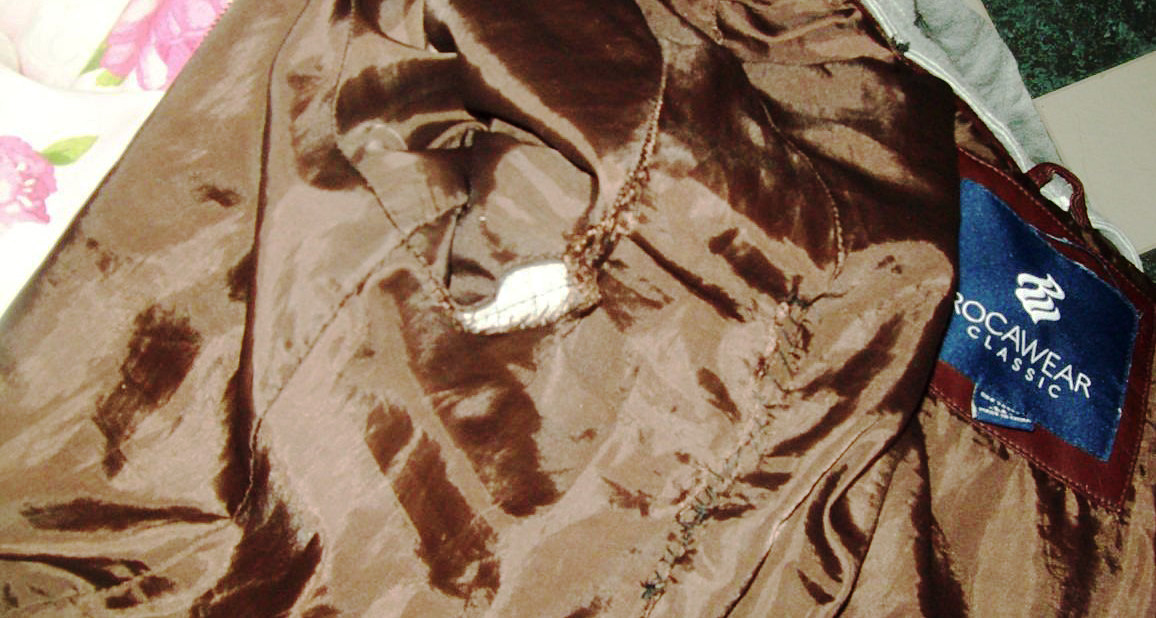
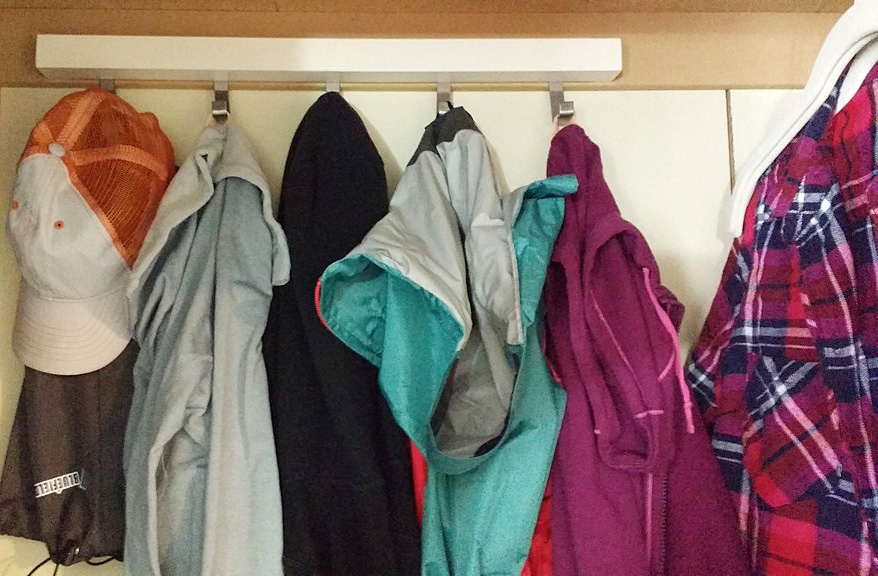
It’s times like these when you need to put your sewing skills to use. I like to add jacket loops using double fold binding I have on hand. I sew it on with a zig zag stitch and I find the stitching to be very inconspicuous on the exterior neckline (and it’s often hidden by the hood anyway.)
I find the stitching to be very inconspicuous on the exterior neckline (often hidden by the hood).
I used the same binding on this gray pullover. I love the pop of color it gives the jacket.
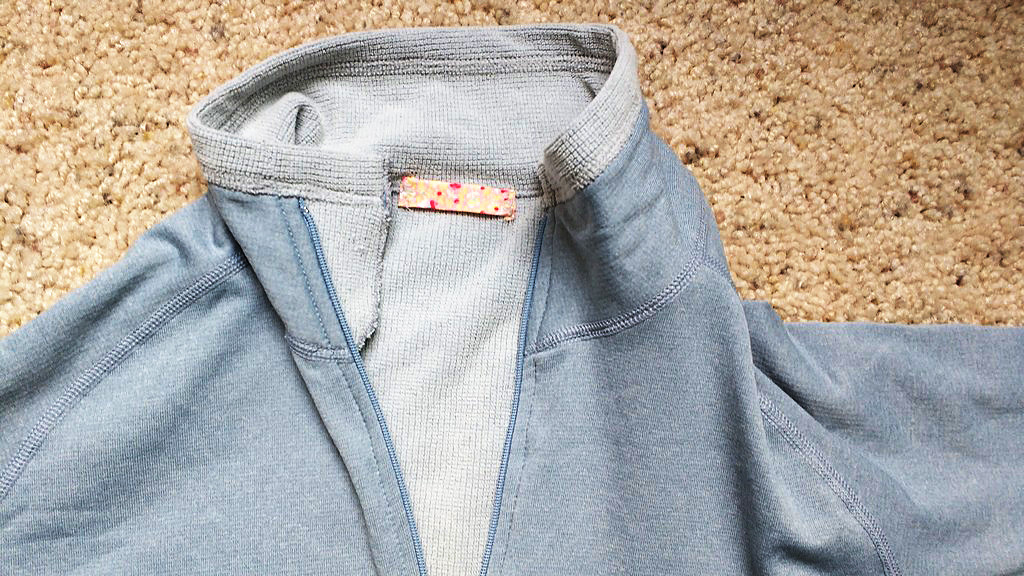
I used the same binding on this gray pullover.
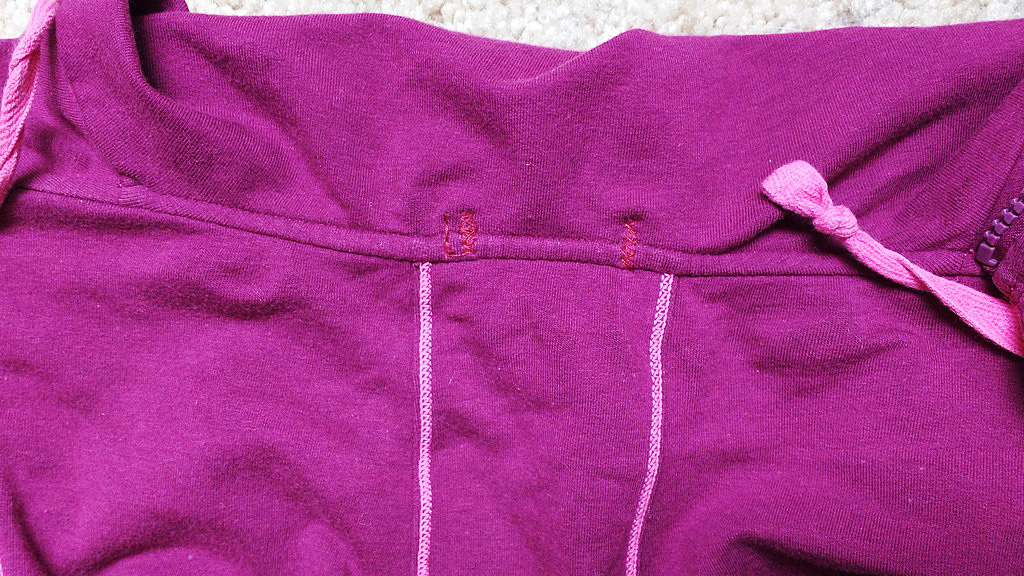
The zig zag stitching is barely noticeable from the back view. Perfect.
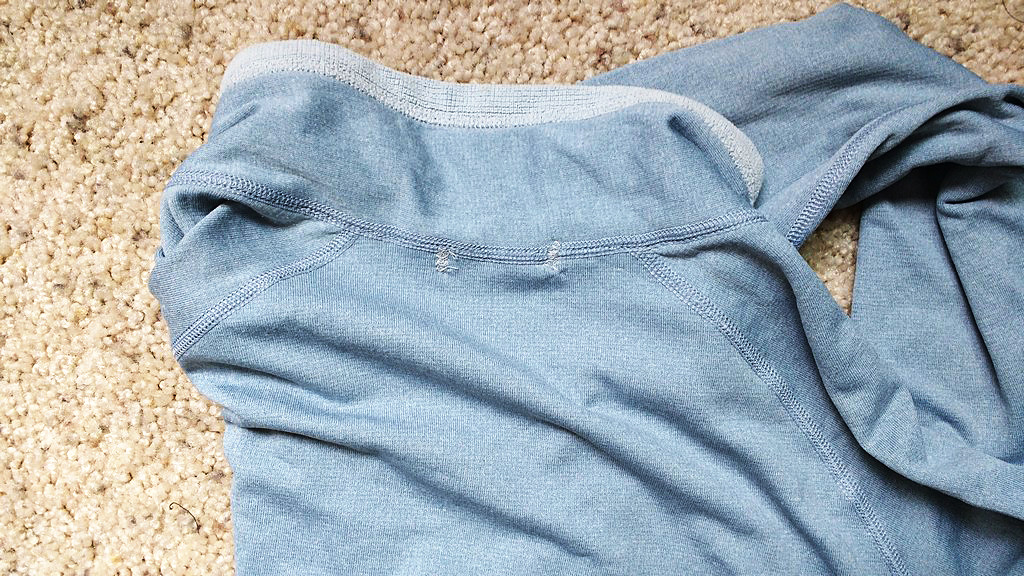
The zig zag stitching is barely noticeable from the back view.
Now I can hang both jackets without the metal hooks on that hanger digging into the fabric of either jacket.
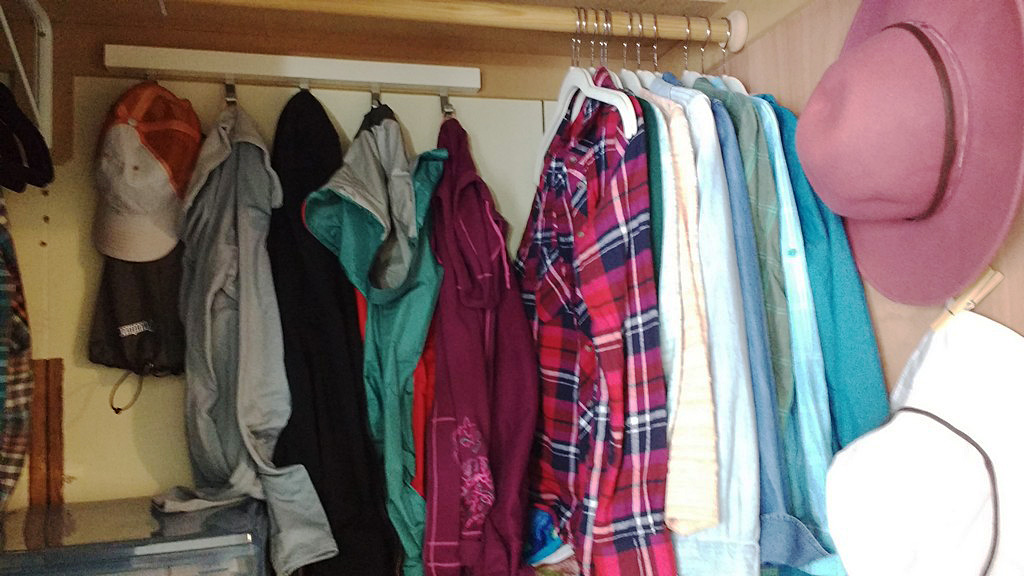
Now I can hang both jackets without the metal hooks on that hanger digging into the fabric of either jacket.
The gray hoodie is on the left and the maroon jacket is on the right. I love organization and I love that I made it happen with my sewing skills!
The gray hoodie is on the left & the maroon jacket is on the right.
Handy dandy skills
Here’s something else I fixed by knowing how to sew. My daughter’s backpack had no loop on the interior of the backpack for carrying a house key. There was a loop on the exterior, but that’s not very safety conscious, is it?
I took matters into my own hands and modded out the backpack by sewing in my own loop (again with that pretty flowered binding in the photos above). Now she can securely carry a house key tucked safely inside her backpack.
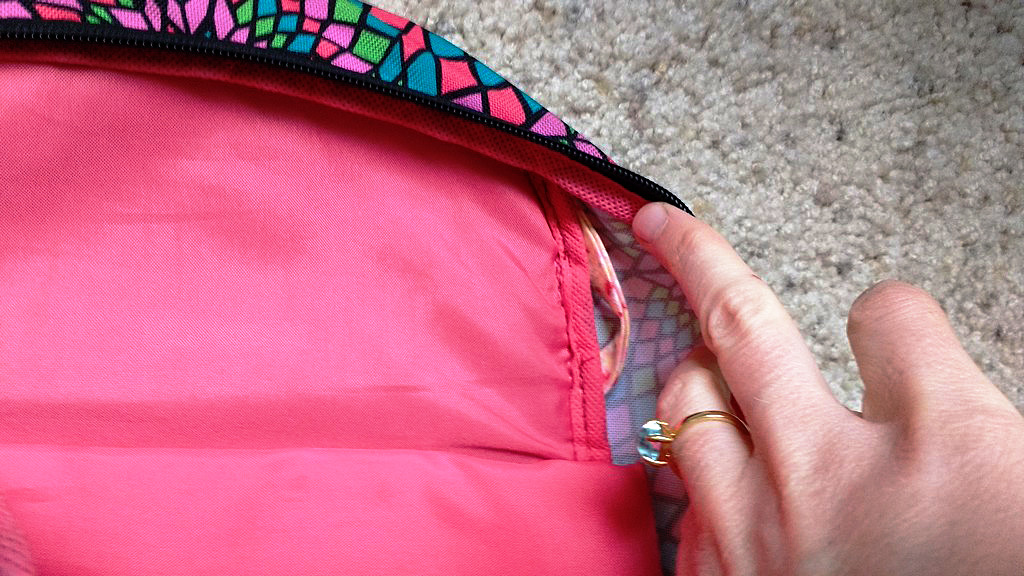
I took matters into my own hands & modded out the backpack by sewing in my own loop (again with that pretty flowered binding in the photos above).
I bought two lingerie bags at Target a while ago and one has started to fray at the seam. While lingerie bags are fairly inexpensive, I knew I could save this one by flipping over the seam and sewing a zig zag stitch.
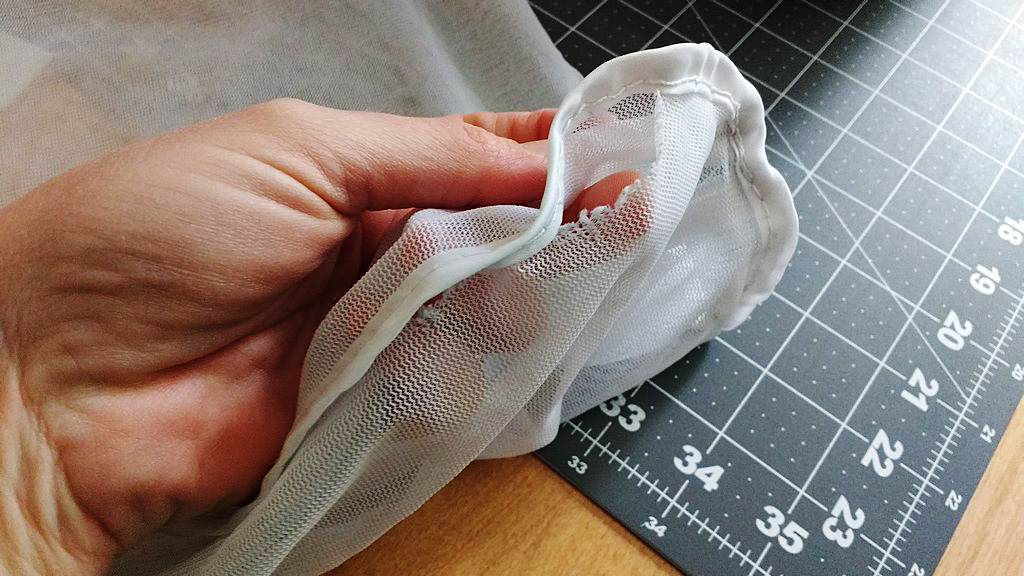
I bought two lingerie bags at Target a while ago & one has started to fray at the seam.
I also added hanging hooks on each side of the bags. I again used that pretty pink binding and now I have no more. At least it will live on in infamy in all of these great home DIY projects I’m showing you.
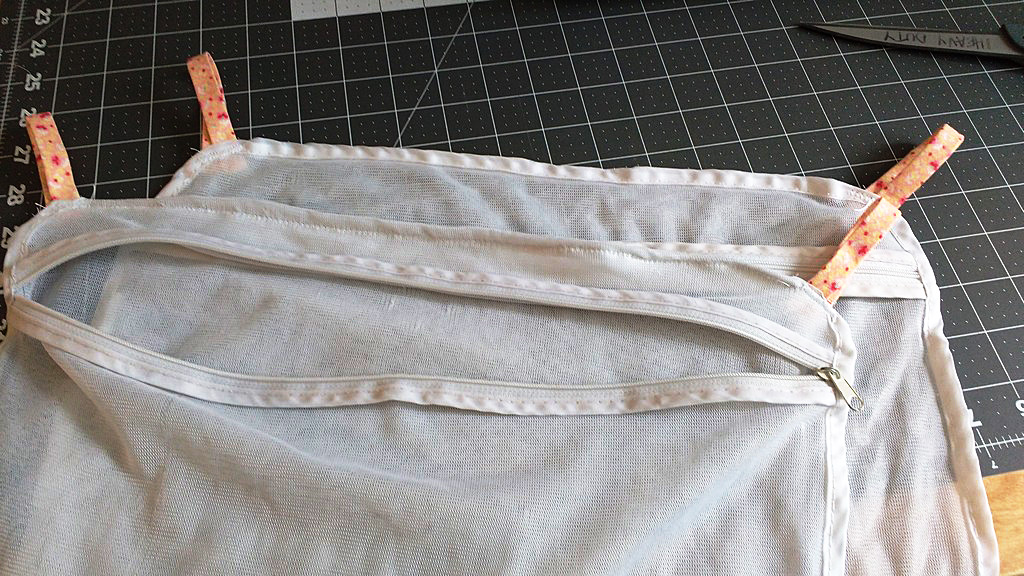
I also added hanging hooks on each side of the bags.
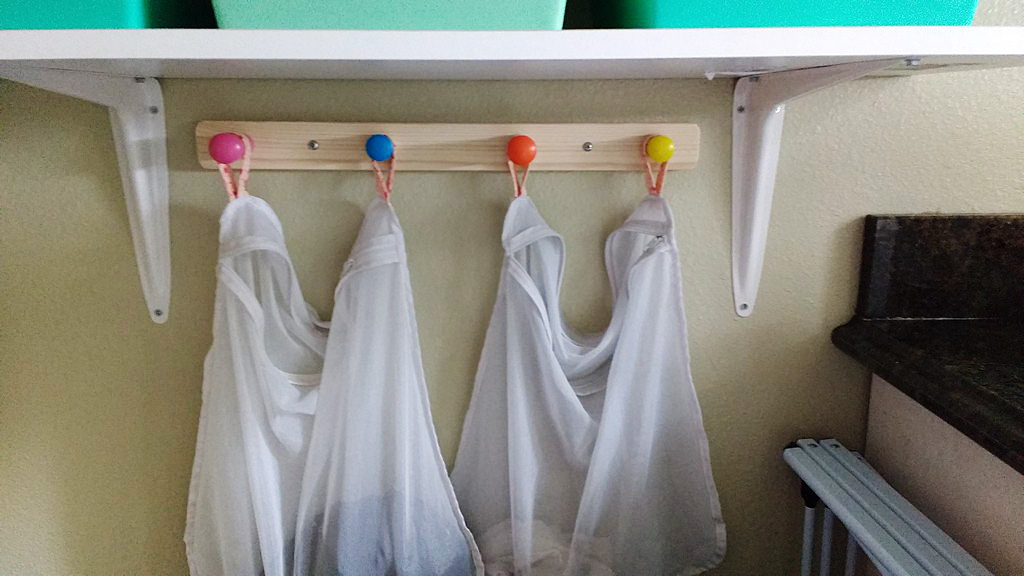
I installed these hooks by our laundry and cleaning station and hung the lingerie bags there.
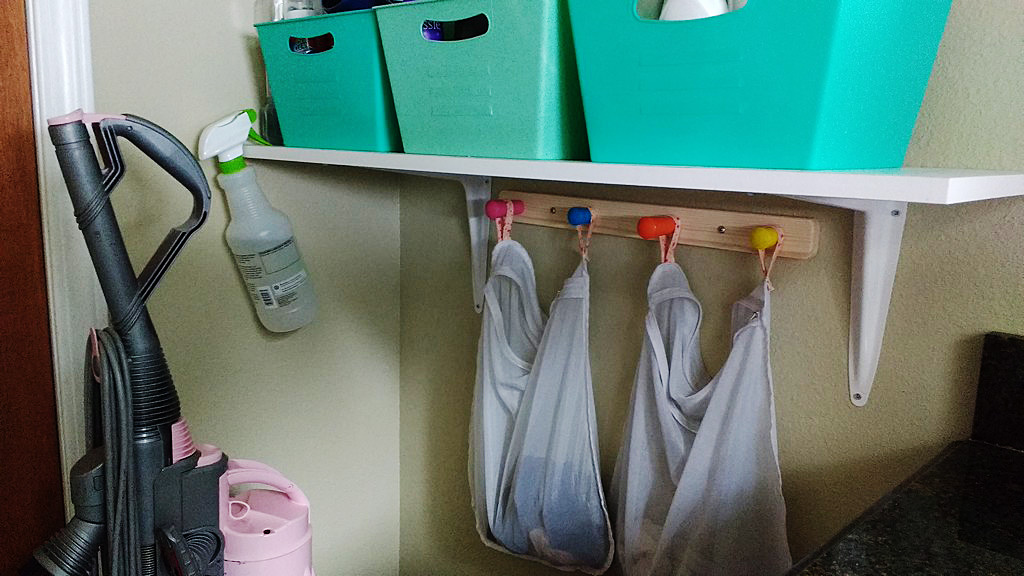
I installed these hooks by our laundry & cleaning station and hung the lingerie bags there.
This easy access makes it a breeze for my small kids to put things like their tights and other delicates right into the bags so I have everything ready for laundry day.
This easy access makes it a breeze for my small kids to put things like their tights and other delicates right into the bags so I have everything ready for laundry day.