Butterfly Bag, Small and Large, and Blue Patchwork Purse

Butterfly Bag, Small and Large, and Blue Patchwork Purse

Reversible butterfly tote.

Reversible butterfly tote.

I have been making lots of bags lately, and I have a few tutorials and different bag patterns coming up here soon. This week, though, I’m showing a couple examples of butterfly bag and another variation of a simple tote bag purse.

First, I used my crazy patch butterfly appliqué blocks to make two different sizes of bags recently.

I made a butterfly bag tote as a gift for my niece’s sixth birthday. It’s a reversible tote big enough to carry coloring books and crayons to the ball park, where her brother plays nearly every day. There’s also room for a small quick quilt I made that she can use to sit on the bleachers or the ground while she’s there.

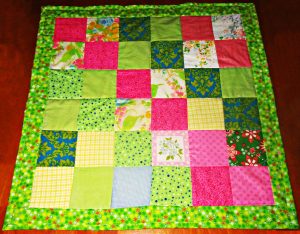
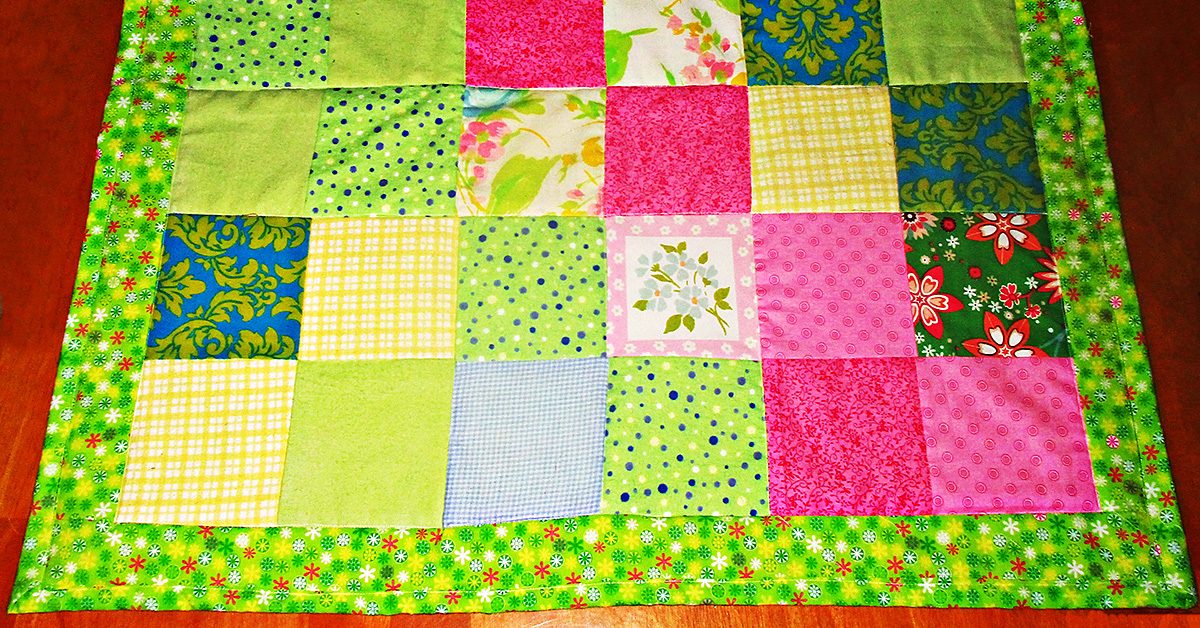
Baylee quilt, caption, I made this quick scrap quilt in only about an hour & a half.

Baylee quilt, caption, I made this quick scrap quilt in only about an hour & a half.

Here are the step-by-step instructions for making a reversible tote like this. You can use the strip piece method linked as a video below for making the patchwork straps.

Butterfly bag small purse

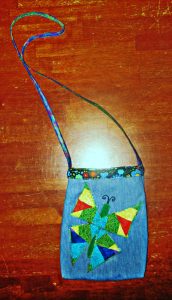
Then I found a single stray rainbow strip pieced block at the bottom of my scrap bin and I decided to make a small denim bag with a butterfly, too.

This will be a gift for a teenage girl.

This will be a gift for a teenage girl.

I used a rainbow variegated thread in the needle for the butterfly appliqué and also the strap and topstitching for this bag. This is probably my favorite decorative thread, and I have used it in a lot of projects.

To show off the lining fabric, I sewed the bag and lining together without straps, then folded over the top. I sewed the strap to the outside, with the raw edges under the fold. Then I used two rows of topstitching around the whole bag. I made the strap with a wider blue and narrower green piece of bias tape, covered by wide zigzag stitches up and down about five times.

Blue patchwork tote purse

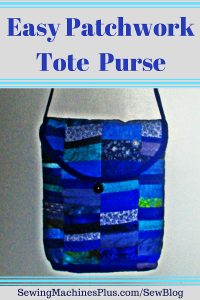
Here is a purse I made for myself last week. It is just a simple tote with the addition of a curved, bias- edged flap at the top. I quilted the patchwork using horizontal rows of a wavy decorative stitch that reminds me, like these blue fabrics, of the ocean.

This one is mine.

This one is mine.

To make the flap, just quilt together a rectangle of patchwork with batting and your lining fabric. Make it about an inch narrower than one side of the bag. Then you can fold it in half and cut the corners into curves. Then bind the curved edge and short ends with bias binding.

I used half of a thick turquoise ponytail elastic and a half-ball style button for a closure. I just sewed down the elastic to the lining side of the flap when I attached the bias edging. It also has a large zippered pocket inside, with patch pockets for cards inside that larger pocket.

Just baste the flap to the bag, and then tuck it between the bag layers when you sew the bag and lining together.

If you don’t know how to make this strip style patchwork, which I also used for the straps on the large butterfly tote above, here’s a video of me explaining how to do this.

I actually made this piece of patchwork some time ago. The blue quilt pattern I showed here was for my baby’s crib, and I made bumper pads, too. We didn’t really use these, so I decided to reuse the patchwork to make bags. This is the first one I have done; I plan to do a bigger laptop tote or backpack with the next one.

Like Amish quilts, these bags include mistakes!

I have to say that each one of these bags includes some little issue that I am not happy with. For example, the lining I chose for my blue bag is a gorgeous midnight blue print. But, especially with the flap, too, it is pretty impossible to see what’s in my bag without shining a light. It’s not a huge issue, since I usually just stick my hand in my bag and grab what I need by feel, anyway.

I boxed the corners too deeply on my niece’s butterfly tote and gave it a different shape than I intended. But this worked out, because the unintended bucket shape of the bag is what inspired me to make the quilt that I otherwise might not have included with this gift. And while I probably won’t ever make a strap like the one I made for the rainbow butterfly bag again, it is interesting and different looking and it works just fine.

The Amish include mistakes in their quilts on purpose. My mistakes were more accidental. The thing is though, all these little issues are lessons learned. I’ll never use a dark fabric as a bag lining again. Maybe I’ll make a post about more of these kinds of lessons I have learned the hard way soon. I’d be happy to save someone from making some of these mistakes.

In the meantime, I hope you will join me in bag making. Happy sewing!

Crazy Patch Butterfly Applique Blocks

Crazy Patch Butterfly Applique Blocks

These crazy patch butterfly blocks happened by accident.

These crazy patch butterfly blocks happened by accident.

These crazy patch butterfly blocks happened by accident.

The last time I made a crazy patch quilt, I wound up with two extra blocks. I have no intention of collecting UFO blocks, but I’m not inclined to throw my handiwork away. So I stared at them a while, trying to think of something to make from these extra blocks.

Something told me to cut them into triangles, so I did, still not knowing what I’d do with them. I played with the triangle pieces for a few minutes, and this design idea came to me. I think it’s a good one.

You could make a bunch of these for a quilt, a few for a table or bed runner, feature one in a sampler quilt, or just make one for a small project.

I plan to use one of these to make an oversized pocket on a skirt. And I’ll show you what I’m going to do with the other one next week, so stay tuned.

Here are the steps to make these:

Crazy Patch Butterfly Blocks

For each block, you will need:

  • Background rectangle or square
  • Muslin square
  • Assorted small scraps

Step one: make the crazy patchwork

You could make these crazy patch butterfly blocks any size, but my examples started with a six inch square. Take your muslin square and arrange a several sided scrap somewhere near the middle of the square.  Choose another scrap with one side at least as long as one side of the first fabric, and place it right side down atop the first.  Sew along this seam, flip the second fabric down where the right side faces up, then press.  Repeat this process, gradually adding scraps, until the square is fully covered by your assorted scraps.

Then, place the block right side down on your cutting mat and use your rotary cutter and ruler to trim the fabric scrap from the edges of the muslin square.

I made one on video so you can see exactly how to do this step:

I should mention that traditional crazy patchwork also incorporates embroidery stitches over the seam lines. If you have a machine that does decorative stitching, then you can sew a line of decorative stitches along the seam after you add each new scrap to your crazy square. You don’t want to wait until the end, since these scraps go every which way.

Step two: cut triangles

Now lay the crazy patchwork square right side up on your cutting board. Use your ruler and rotary cutter to cut it in half diagonally, then move your ruler and cut diagonally the other way, to end up with four quarter square triangles. You could use scissors if you don’t have a rotary cutter, but if you want to make patchwork, you really want to get a rotary cutter and cutting mat.

Step three: appliqué

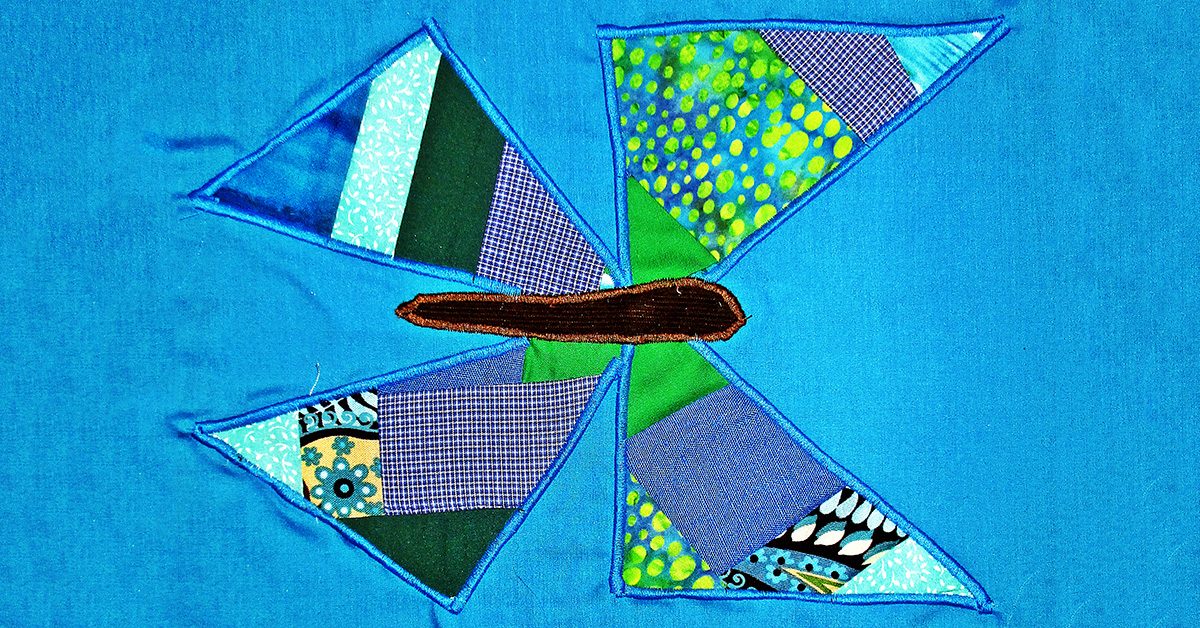
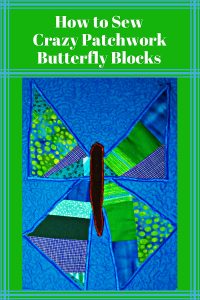
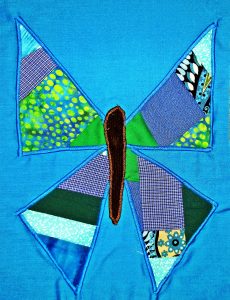
Here’s how to arrange the triangles to construct these crazy patch butterfly blocks. Place the top pair of wings with points together and the ninety degree angles at the outside bottom corners. Then angle the bottom wing pieces with the longest edges on the inside and the ninety degree angles pointing out.

Crazy patch butterfly block.

Crazy patch butterfly block.

Pin these to your backing square and appliqué using a satin stitch. I made these using a rectangular backing cut at nine and a quarter by eleven and a half inches.

If you will be using these for a small project rather than a quilt, there is an alternative way to hold your pieces in place rather than using pins. You could use double-sided fusible web. You would affix this to the back of your appliqué pieces and then remove the paper backing and affix the other side to the backing rectangle.

This makes appliqué really easy, but I don’t recommend using it for quilts, because it will be crinkly inside the appliqué. If you are making a wall quilt or other small decorative project, it is an easy choice.

Bust out the scraps

After you appliqué the crazy patch butterfly wings, then use corduroy or another scrap fabric to cut a long, tapered oval for the caterpillar body. Applique this in the middle, to cover the intersecting wings.

My son just pointed out that I forgot to add antennae to mine. If you’d like to add antennae, you can do this using hand or machine embroidery. Or you can use Debbie Mumm’s easy idea that she calls pen-stitch embroidery. That is, you can draw them with a fine tipped Sharpie or other permanent pen.

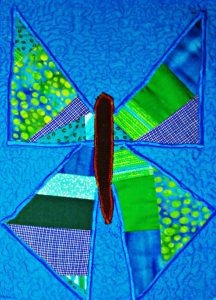
Here is one that I quilted the background using using tight free-motion quilting.

Crazy patch butterfly block quilted.

Crazy patch butterfly block quilted.

As you can see, these crazy patch butterfly blocks are super easy to make. They’d be cute on a baby, wall, or bed quilt. Or you could feature just one on an apron or skirt.

What will you make with these crazy patch butterfly blocks?

Scissors, scissors, scissors

Scissors, scissors, scissors

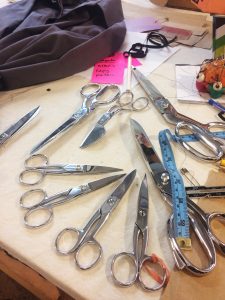
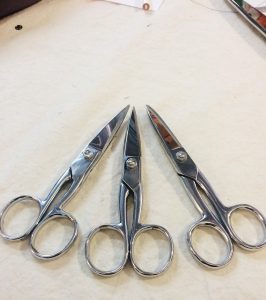
Partial scissor collection.I have a bit of a scissor problem, as in, I have a lot of them. I’m not always good about getting them sharpened, or sharpening them myself and often will just order a new pair – which isn’t necessarily very economical but, often, much more fun. This photo is of the scissors that are currently in my shop at Blindspot. It doesn’t include the scissors I have at home or the scissors that are in my sewing kit on the wardrobe truck or the scissors I probably forgot about that are at the bottom of a bag somewhere in a closet.

In New York City, you can have someone come to your shop and sharpen all your scissors with an electric grinder. There’s also a scissor and knife sharpening truck that still trolls the streets of Brooklyn (like the Mr. Softee ice cream truck). I never have any scissors on me when I see the truck though I always want to flag it down. You can, of course, sharpen your own scissors using a sharpening stone but I never seem to get around to doing that.

Most tailors have a favorite pair or a preferred model that they own more than one of.

My absolute best loved are Gingher’s original 5” tailor points, the ones that are actually pointy on the end. For some reason, when Fiskar acquired the Gingher brand, they altered the 5” tailor points. Now they have more rounded blades and a blunter end and are often called ‘craft’ scissors. The pair on the left in the following photo is the oldest pair. See how much narrower and pointier the blades are?

Evolution of Gingher’s 5” tailor points.

Evolution of Gingher’s 5” tailor points.

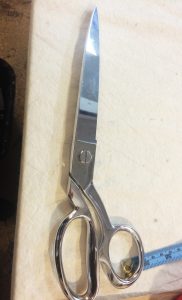
I do quite a bit of cutting. I never really took to the mat and rotary blade camp though I can understand how it can be an efficient and accurate way to cut. Probably because I started my whole tailoring/pattern making career before cutting mats and rotary blades were prevalent. Or maybe I’m just old. At any rate, my favorite scissors to cut with are Gingher 11” knife edge shears.

Cutting shears.

Cutting shears.

Other scissors that I use on a daily basis are:

Gingher 8” straight blade shears

– For trimming seam allowances, though you can cut with them. I just like a longer blade.

Gingher 7 ½” pinking shears

– I usually pink the hems in men’s suit pants as opposed to serging, mainly because a serged hem will leave a ridge if someone (drycleaner or otherwise) gets over zealous with the hem pressing.

Gingher 6” applique scissors

– I use these when I need to trim something very close the edge, or when I’m cutting around an applique (obvi.)

Gingher 7” straight blade scissors

– I use a pair of these as my paper scissors when patterning.

One of the sacred sewing laws is to never use someone’s fabric scissors to cut anything but fabric. Ever.

One of the sacred sewing laws is to never use someone’s fabric scissors to cut anything but fabric. Ever.

Excuse me… What are you cutting?!

Speaking of paper scissors. One of the sacred sewing laws is to never use someone’s fabric scissors to cut anything but fabric. Ever. The standard response from someone who sews to the question, “Can I borrow your scissors?” is “What are you cutting?”

The reason why is fairly simple: try cutting fabric with a pair of craft or paper scissors and you’ll find your edge looks as if it were chewed off by some sort of extremely hungry wild animal.

Wiss pinking shears.

Wiss pinking shears.

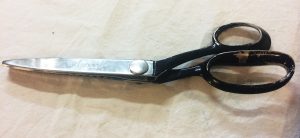
A few years ago, I acquired some old scissors for a mens’ tailor in the city who was retiring. I love this pair of old Wiss pinking shears. Despite the knicks and scratches on the exterior, they still cut very well.

What’s your favorite pair?