Getting dressed for summer often means sundresses and sleeveless garments like tank tops and camisoles. These are all quite comfortable in a warm setting but what happens when you enter the zone of chilly air conditioning? If you’re anything like me, you reach for a sweater! This sweater is designed to complement both casual and dressier garments. It’s trimmed with designs created as free-standing flowers easily tacked to the sweater with machine stitches. I chose this color scheme to wear with white, but you can shop for a sweater in any color you like and compliment it with contrasting or matching flowers to suit your own style. Freestanding flowers like these are a great way to make a plain sweater look extra pretty! Are you ready? Let’s go sew!
Materials and Supplies
- Brother Sewing and Embroidery Machine with four-inch hoop. I used the Innov-ís NS1750D.
- Brother Embroidery Thread in your choice of thread colors. Wind a bobbin to match each thread color you use for creating flowers, and for stitching them to your sweater.
- SA540 Brother Pacesetter light weight water-soluble stabilizer. For each set of six flowers cut two pieces of stabilizer to fit hoop.
- Closed Toe Clear View presser foot for sewing flowers to sweater.
- Embroidery needle for embroidering.
- Fine, sharp, curved tip scissors for trimming flowers.
- Pre-purchased V-neck sweater.
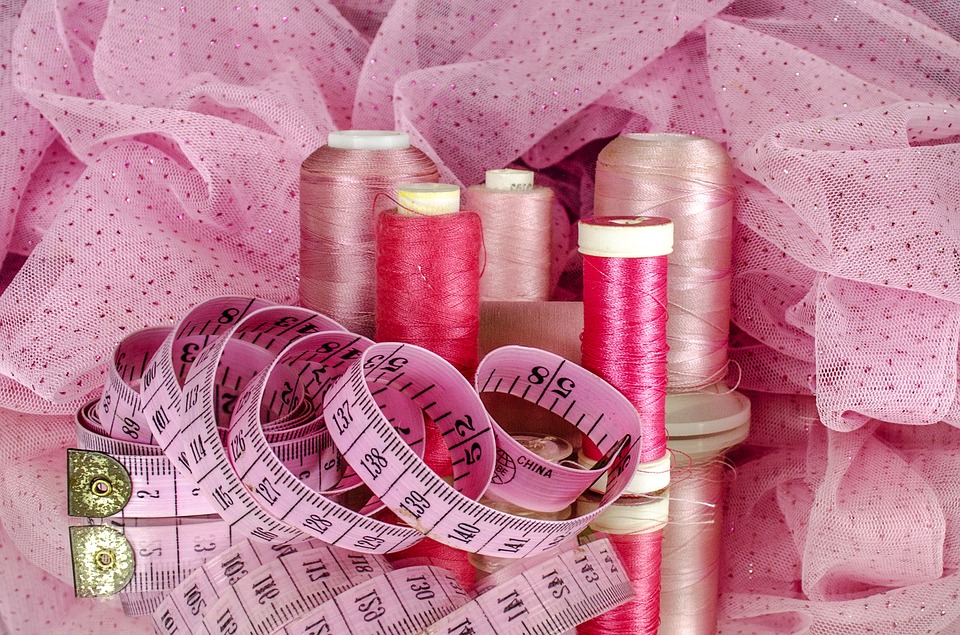
Materials for Flowers
- Remnant of cotton or cotton polyester interlock knit fabric, backed with fusible lightweight interfacing to keep it from stretching. Cut this piece to fit your hoop
- Netting, (also known as bridal tulle) in desired color for flowers. For each set of six small flowers cut two pieces of netting to fit hoop. For each set of two large flowers cut two pieces of netting to fit hoop.
Note: An 8-inch square of fabric is ample size for stitching in the 4-inch X 4-inch hoop.
Featured Designs
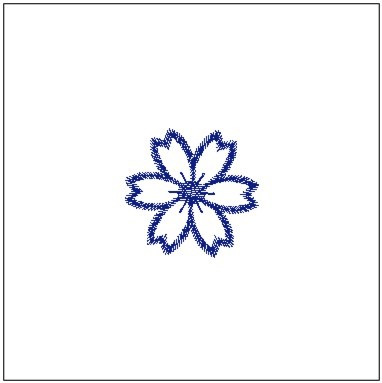
- Small flower stitched on netting is the Brother Free Design of the Month – Little Flower_FD_July 2018. Download this design from the previous blog post titled Sandals with Machine Embroidery.
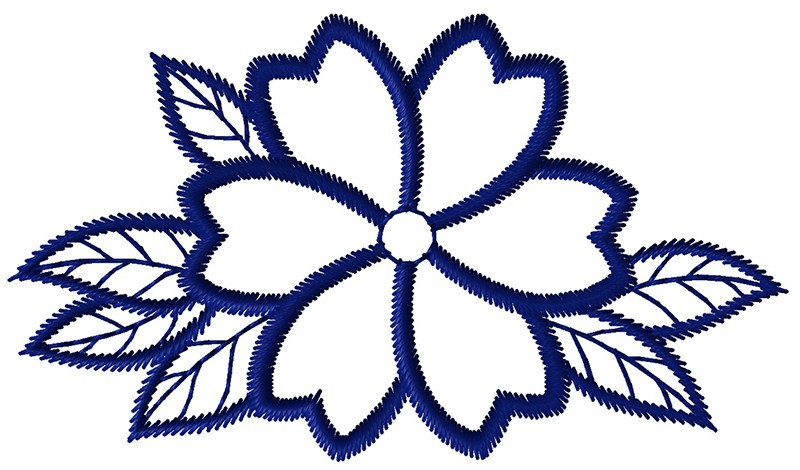
- Large flower stitched on knit fabric is Item No. 231029010 Laces, available for purchase from the Brother iBroidery.com download center. When you view this design on the site, you will see that these two designs coordinate with one another.
Note: These two floral designs are delicate, making them ideal for lightweight accents on the sweater. Feel free to try similar floral designs if you have them in your repertoire. If you do choose alternative designs, be sure to test first to make sure they are suitable.
Note: Important information to read before you begin this project: Please take a look at the instructions for our Sandals with Machine Embroidery project featured for the month of July. You will follow the exact same process for stitching the little flowers for this project. Both floral designs used for this sweater will fit a 4-inch hoop. Supplies listed here allow you to create two large flowers from the knitted fabric, and six small flowers on netting, all in the 4-inch hoop. You will need two small flowers to layer with each large flower. I made lots of extra small flowers and played with different positions on the sweater before coming up with the final design layout. Cut as many pieces of fabric and netting as you need to decorate your sweater. White fabric and netting is featured in this example. I chose the embroidery thread color for the large flowers to match the sweater and then used white for all of the small flowers. Be sure top and bobbin thread match for all the flowers you create.
Steps to Create Flowers and Embellish Sweater
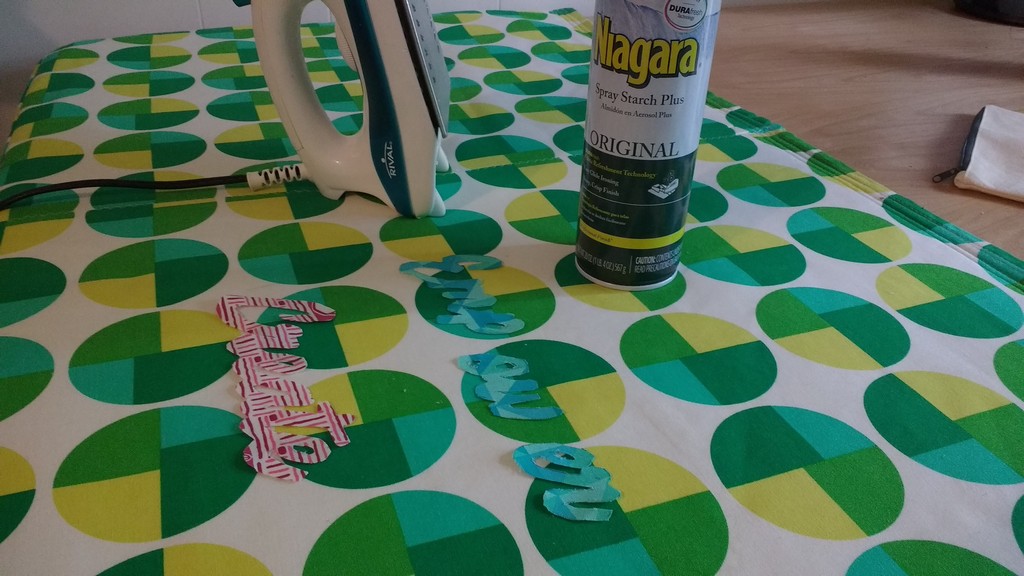
- Hoop two layers of netting sandwiched between the water-soluble stabilizer, with one layer of water soluble on top and one on the bottom. Transfer small flower design to machine and stitch enough flowers to decorate your sweater as desired. Set these aside temporarily.
- Hoop knit fabric with two layers of netting against the wrong, (interfaced) side of fabric. See Figure #1a and Figure #1b.
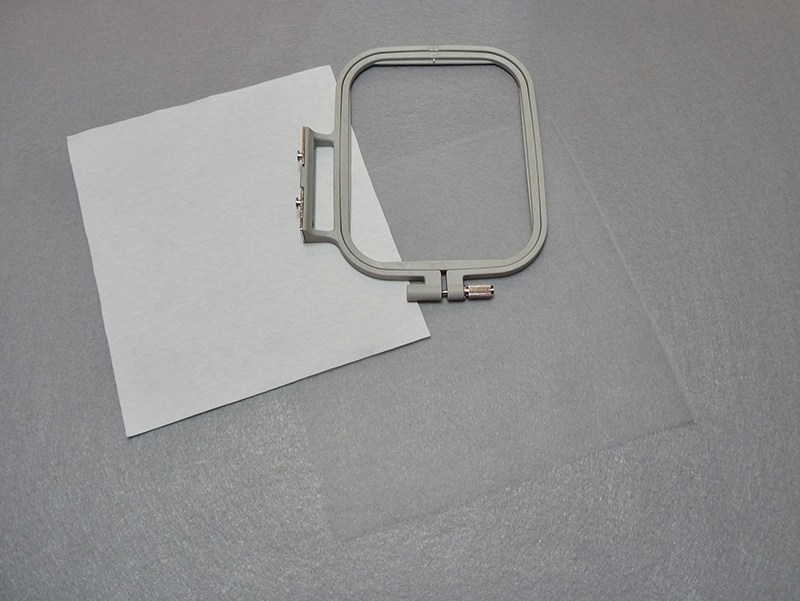
Figure #1a
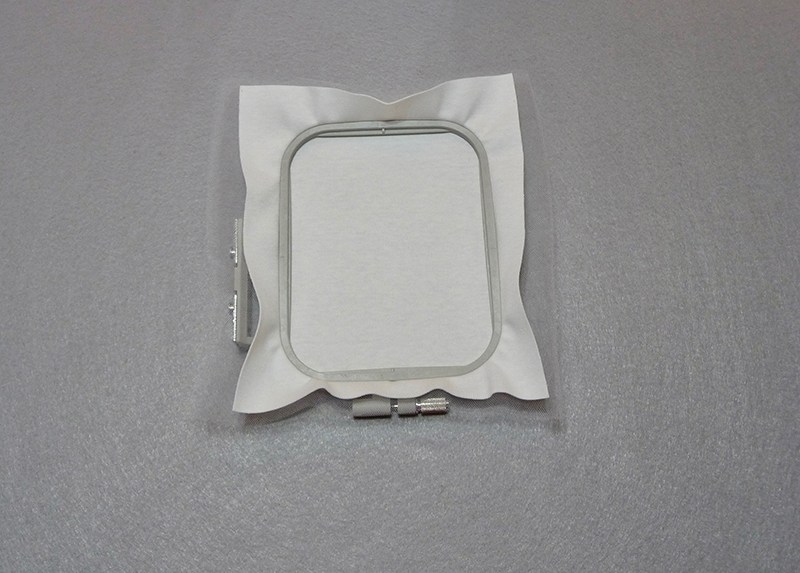
Figure #1b
- Embroider two of the larger flower motifs, mirror imaging the second motif, so you have one right and one left flower. See Figure #2.
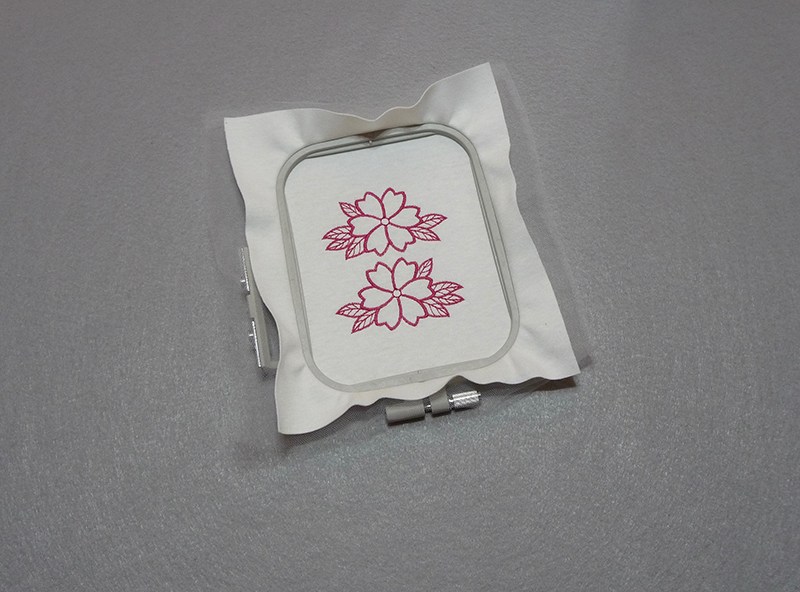
Figure #2
- Use small scissors to carefully cut outside stitching line of each small flower. Wash out stabilizer, let flowers dry, and press lightly with a low temp iron.
- To trim larger flowers, begin by trimming away excess netting all around outer edge of flowers on the wrong side. See Figure #3.
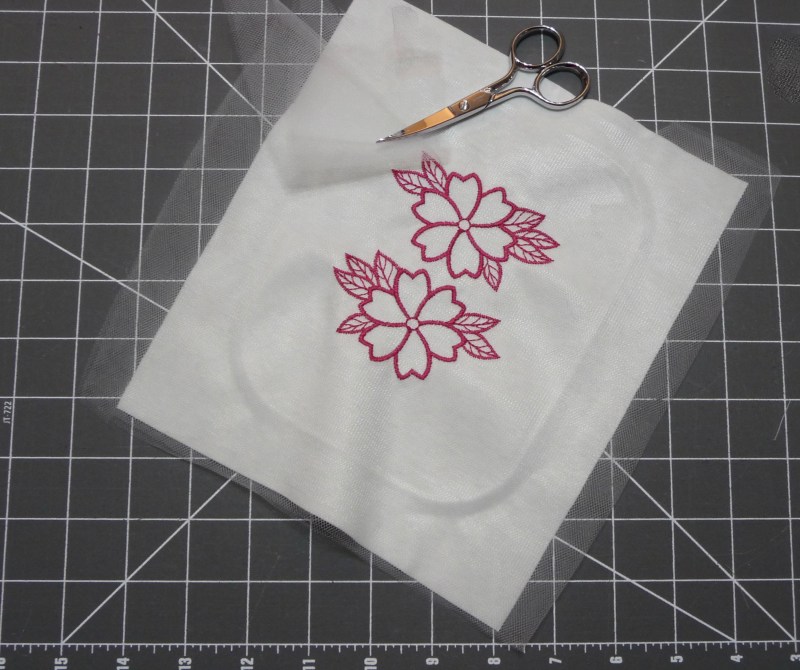
Figure #3
Next, trim excess knit, leaving a small margin around each flower. See Figure #4.
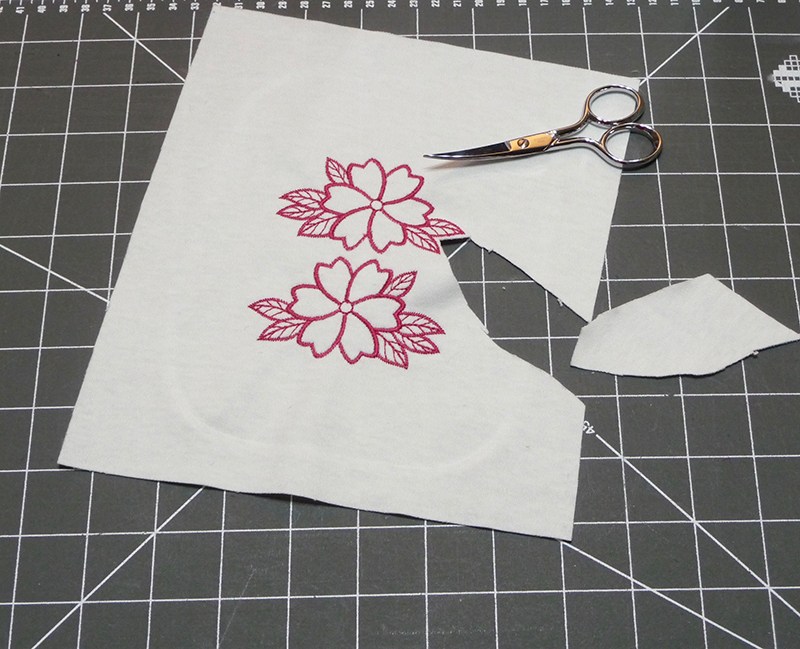
Figure #4
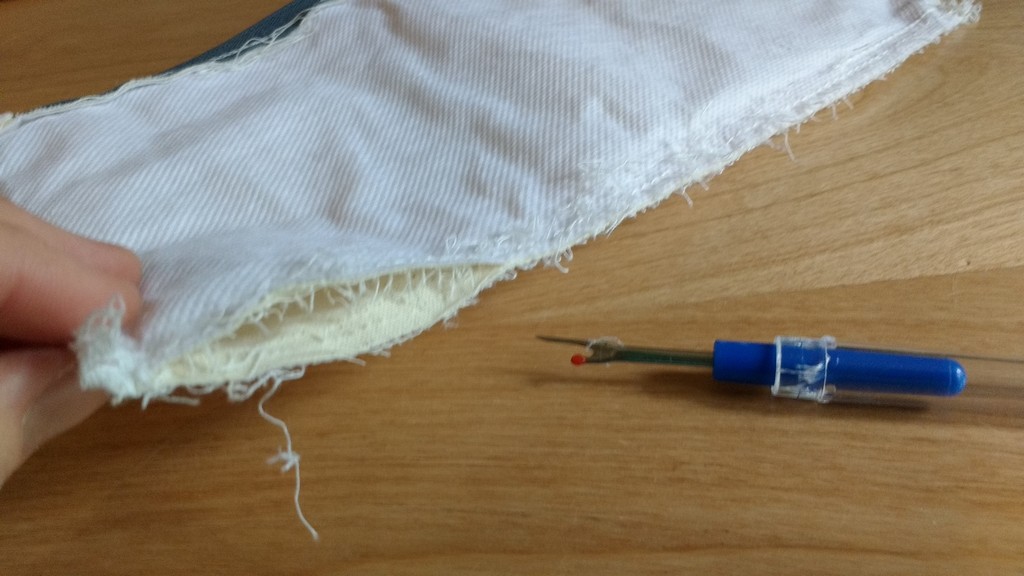
As a final step, carefully trim the knit away from the inside of each flower petal as follows: Pinch the knit with your fingertips to pull it away from the netting, snip the knit only, and then continue to carefully cut away knit to expose netting underneath. See all completed flowers in Figure #5.
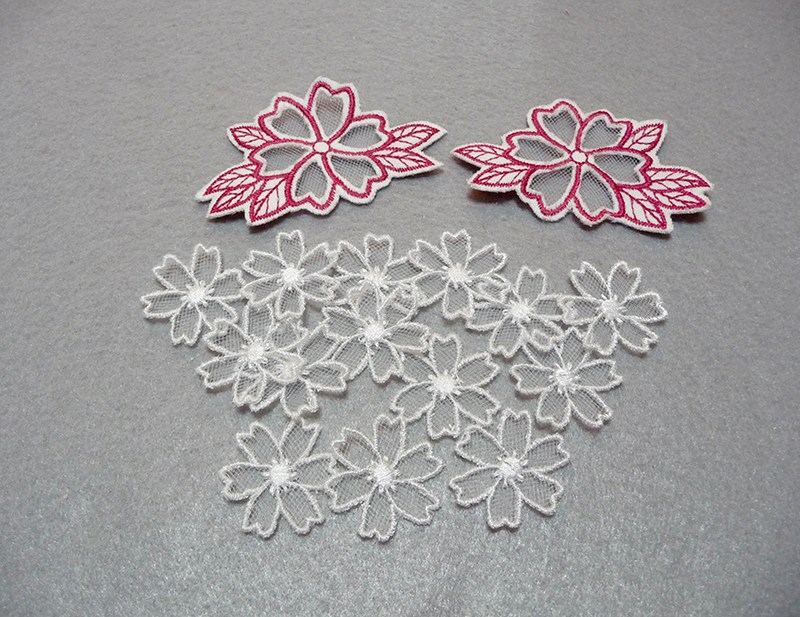
Figure #5
- Pin the flowers on your sweater, layering a small flower on top of each large flower and matching the position for the right and left by measuring for each one. Tip: Slip a piece of thin cardboard or a file folder between front and back of the sweater so you can easily pin without piercing both layers. See Figure #6.
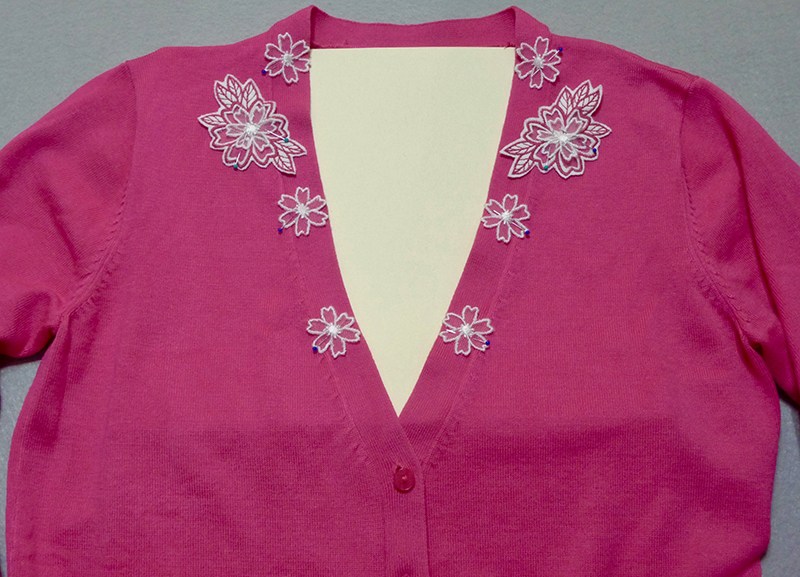
Figure #6
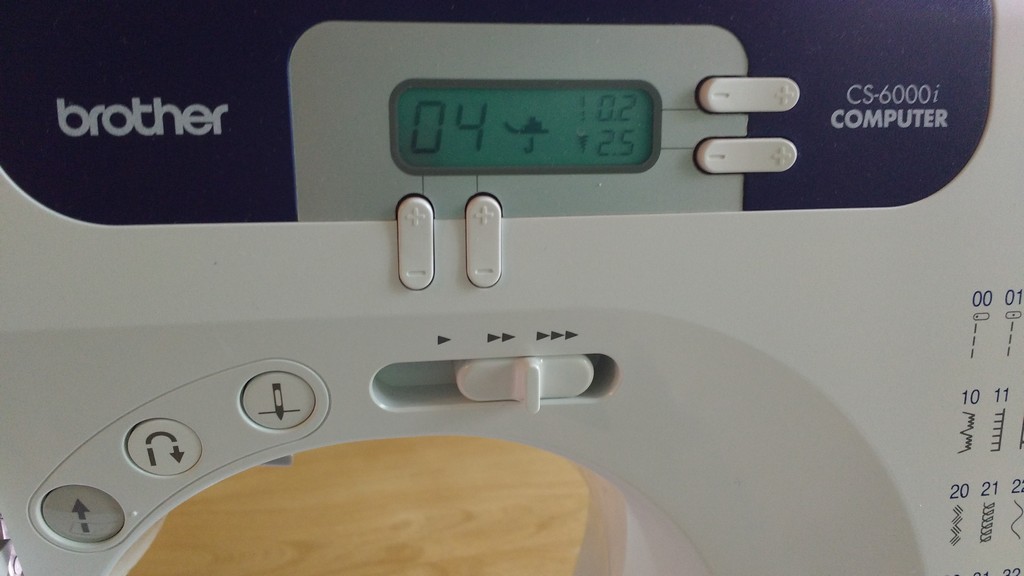
- Set up machine for sewing with the clear foot. Select a single star stitch using settings shown in Figure #7.

Figure #7
- Sew a star in the center of the small flower to attach each flower to the sweater, taking care to avoid sewing over pins. See Figure #8.
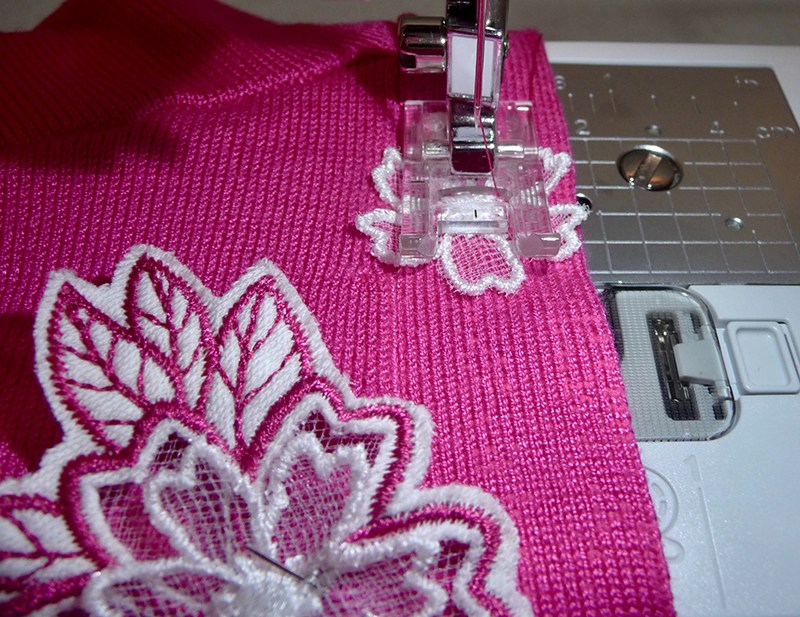
Figure #8
- Tack center of layered large flowers with start stitch and then tack down a few areas of the larger flowers by straight stitching along veins in the leaves. It’s fine to leave the majority of the large flower loose in the remaining sections. See Figure #9.
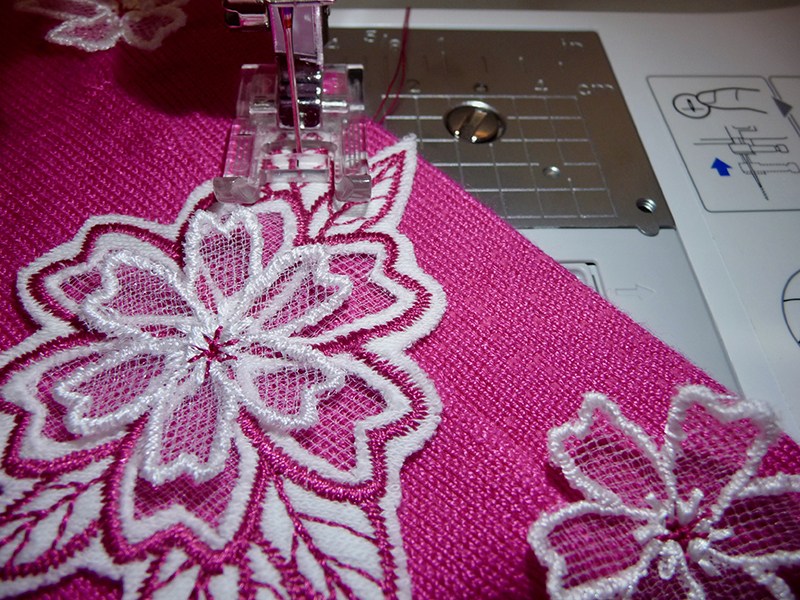
Figure #9
You are finished! Enjoy wearing your pretty new sweater this summer!
See photos of sweater before and after below:
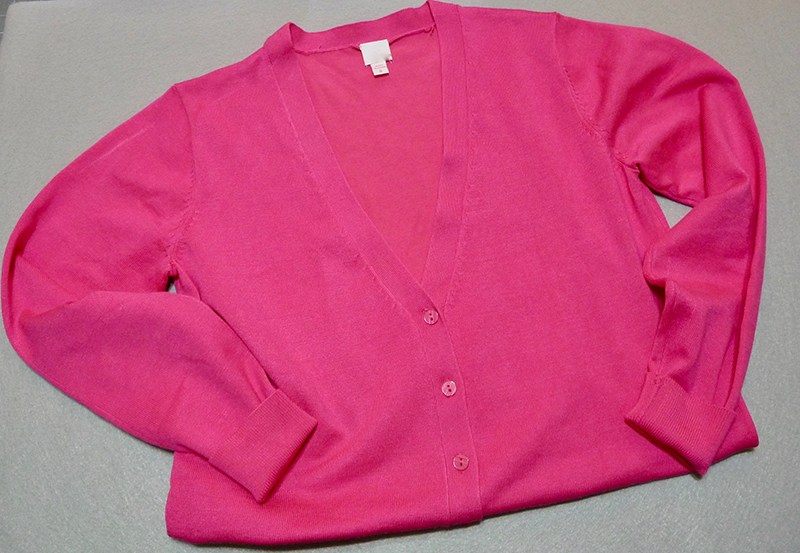
Before
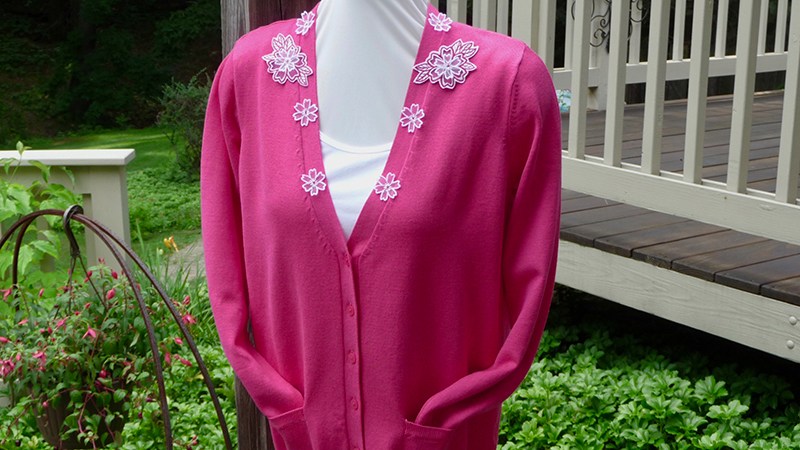
After
Options and Ideas
- Netting is available in many different colors. Consider making flowers in a color close to your sweater fabric for a more subtle, tone-on-tone look.
- Skip the netting on the larger flowers if you wish. Simply cut away the knit and when you apply flowers to the sweater, sweater fabric will show through.
- Use the extra flowers on other projects when you need a three-dimensional accent. Don’t be surprised if you see my “leftovers” appear in a future project
- Group one large flower with several small ones for a left chest decoration. See Figure #10.
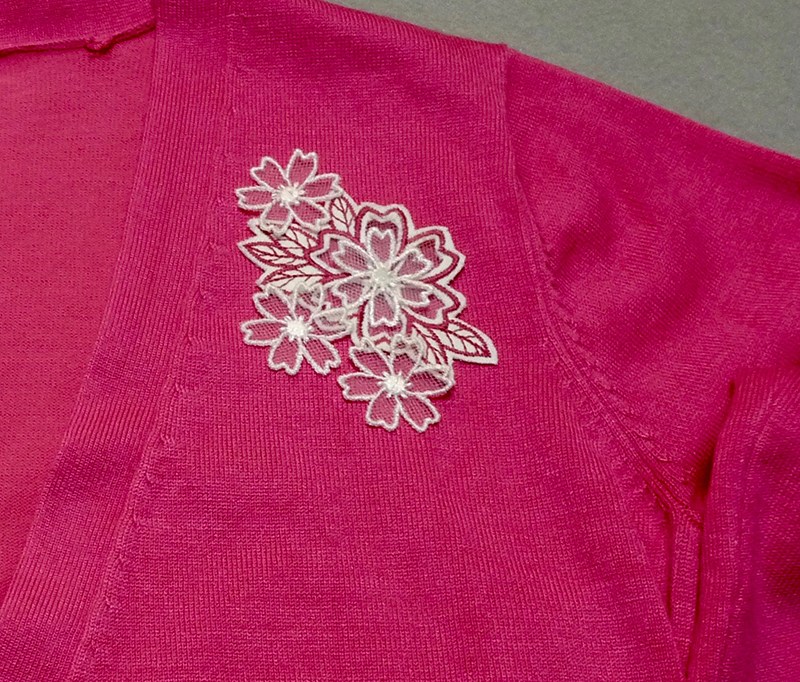
Figure #10