Spring sewing for your wardrobe is one of the best ways to chase away the end of winter woes.
What’s in style and on trend? What should you sew for this year?
Spring sewing: what’s still in style
There a few trends that popped up last year that we saw again this year on Spring runways, namely:
Lingerie-inspired fashions
Romantic and baby doll style lingerie continues to be a fashionable influence, with nightgown style dresses, both short and long, and even pajama styles being featured by many designers this year.
New this year to this category are wraps and dresses that mimic menswear-style silk robes.
Paper bag waists
These came back last year and we are still seeing them now. Luckily for us, they are easy to sew, especially for elastic waist skirts and pants. Just fold over the top of your garment an inch or more farther than you would normally fold over for an elastic casing, sew a line of stitching slightly lower than the fold to create the casing, insert your elastic, and voila.
Or sew a paper bag neck; higher necklines are on trend this year, too.
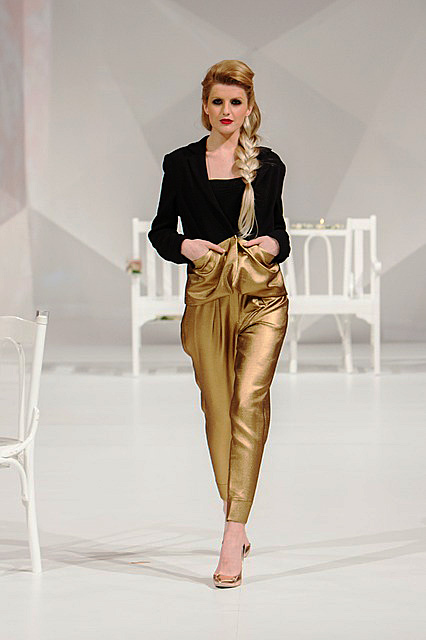
Metallic shimmer and shine
Metallics started popping up everywhere last year, and these are still in now. You can sew most any garment in a lamé or other metallic fabric now.

Gold lamé? More like gold fabulous!
Midi lengths
The flattering midi-length skirt is still where it’s at this year. We also see midi length cropped pants and jumpsuits cut to this length now.

The flattering midi-length skirt is still where it’s at this year.
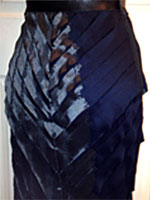
Pleats
Last year we saw these primarily as small, accordion style pleats. This year, these are still in style. But so are pleats of slightly wider widths.
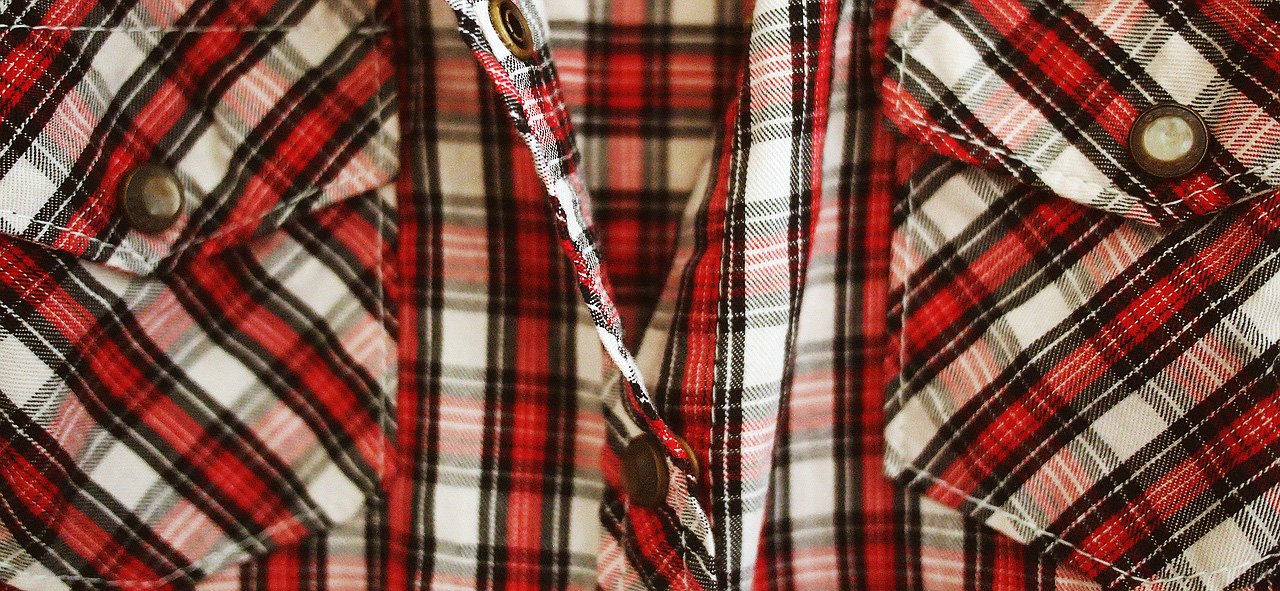
Plaids
Where large plaids were the rage last year, this year the trend is toward smaller plaids. You’ll also see a mixing and matching of similar plaids in differing scales worn together.
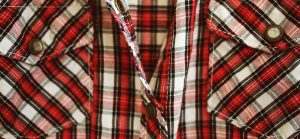
Forget the large plaids; small plaids are where it’s at this year.
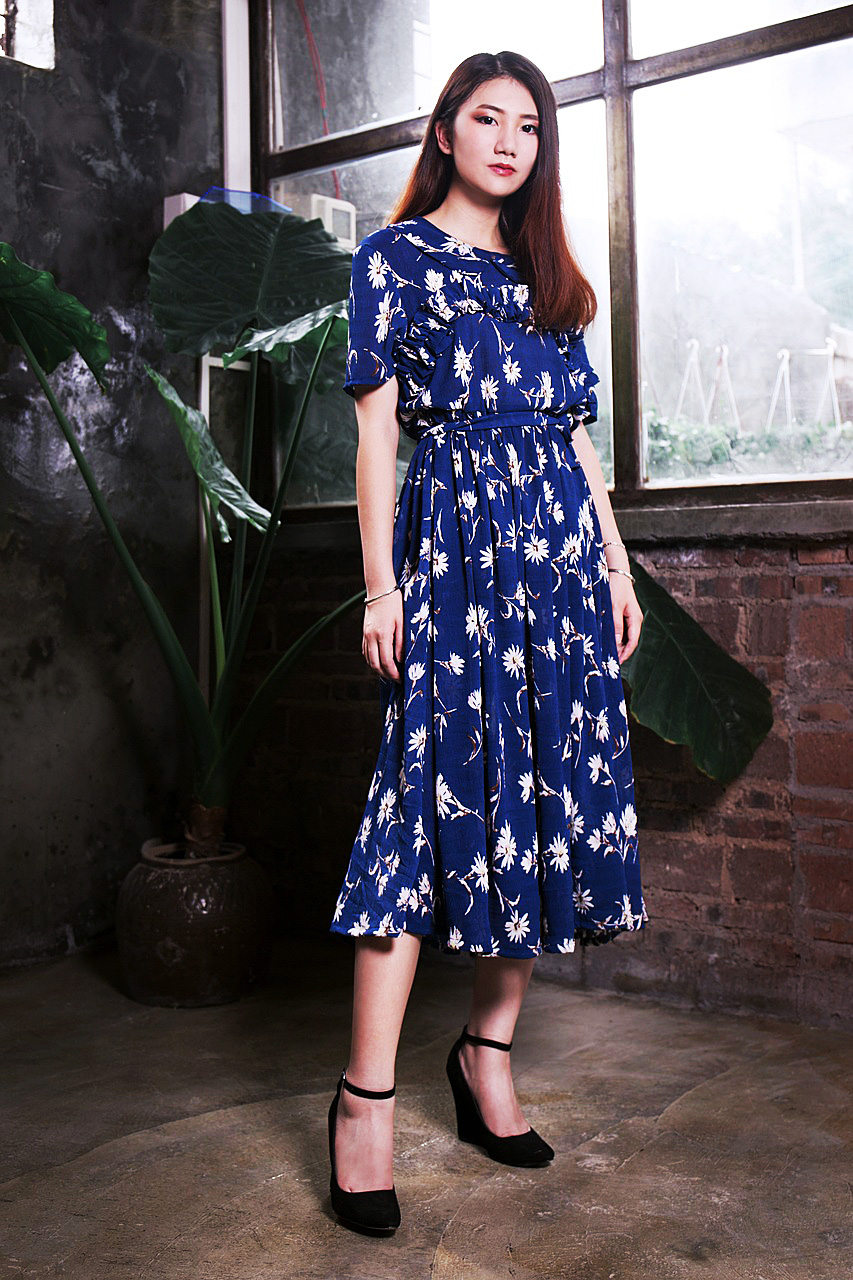
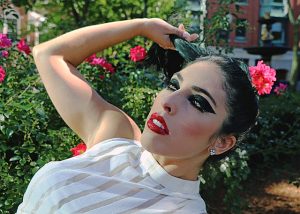
Florals
Florals are usually everywhere in Spring. This year, they are trending a few different ways. Designers continued last year’s trend of using small scale florals in romantic, feminine style, though they’ve sometimes paired them with edgier pieces. The small scale romantic florals are particularly popular for jumpsuits now.
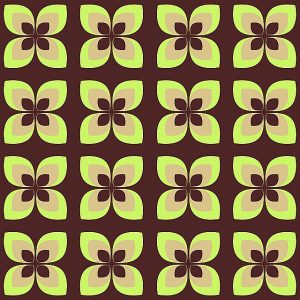
Larger, 70’s style florals are also popping up all over this year.
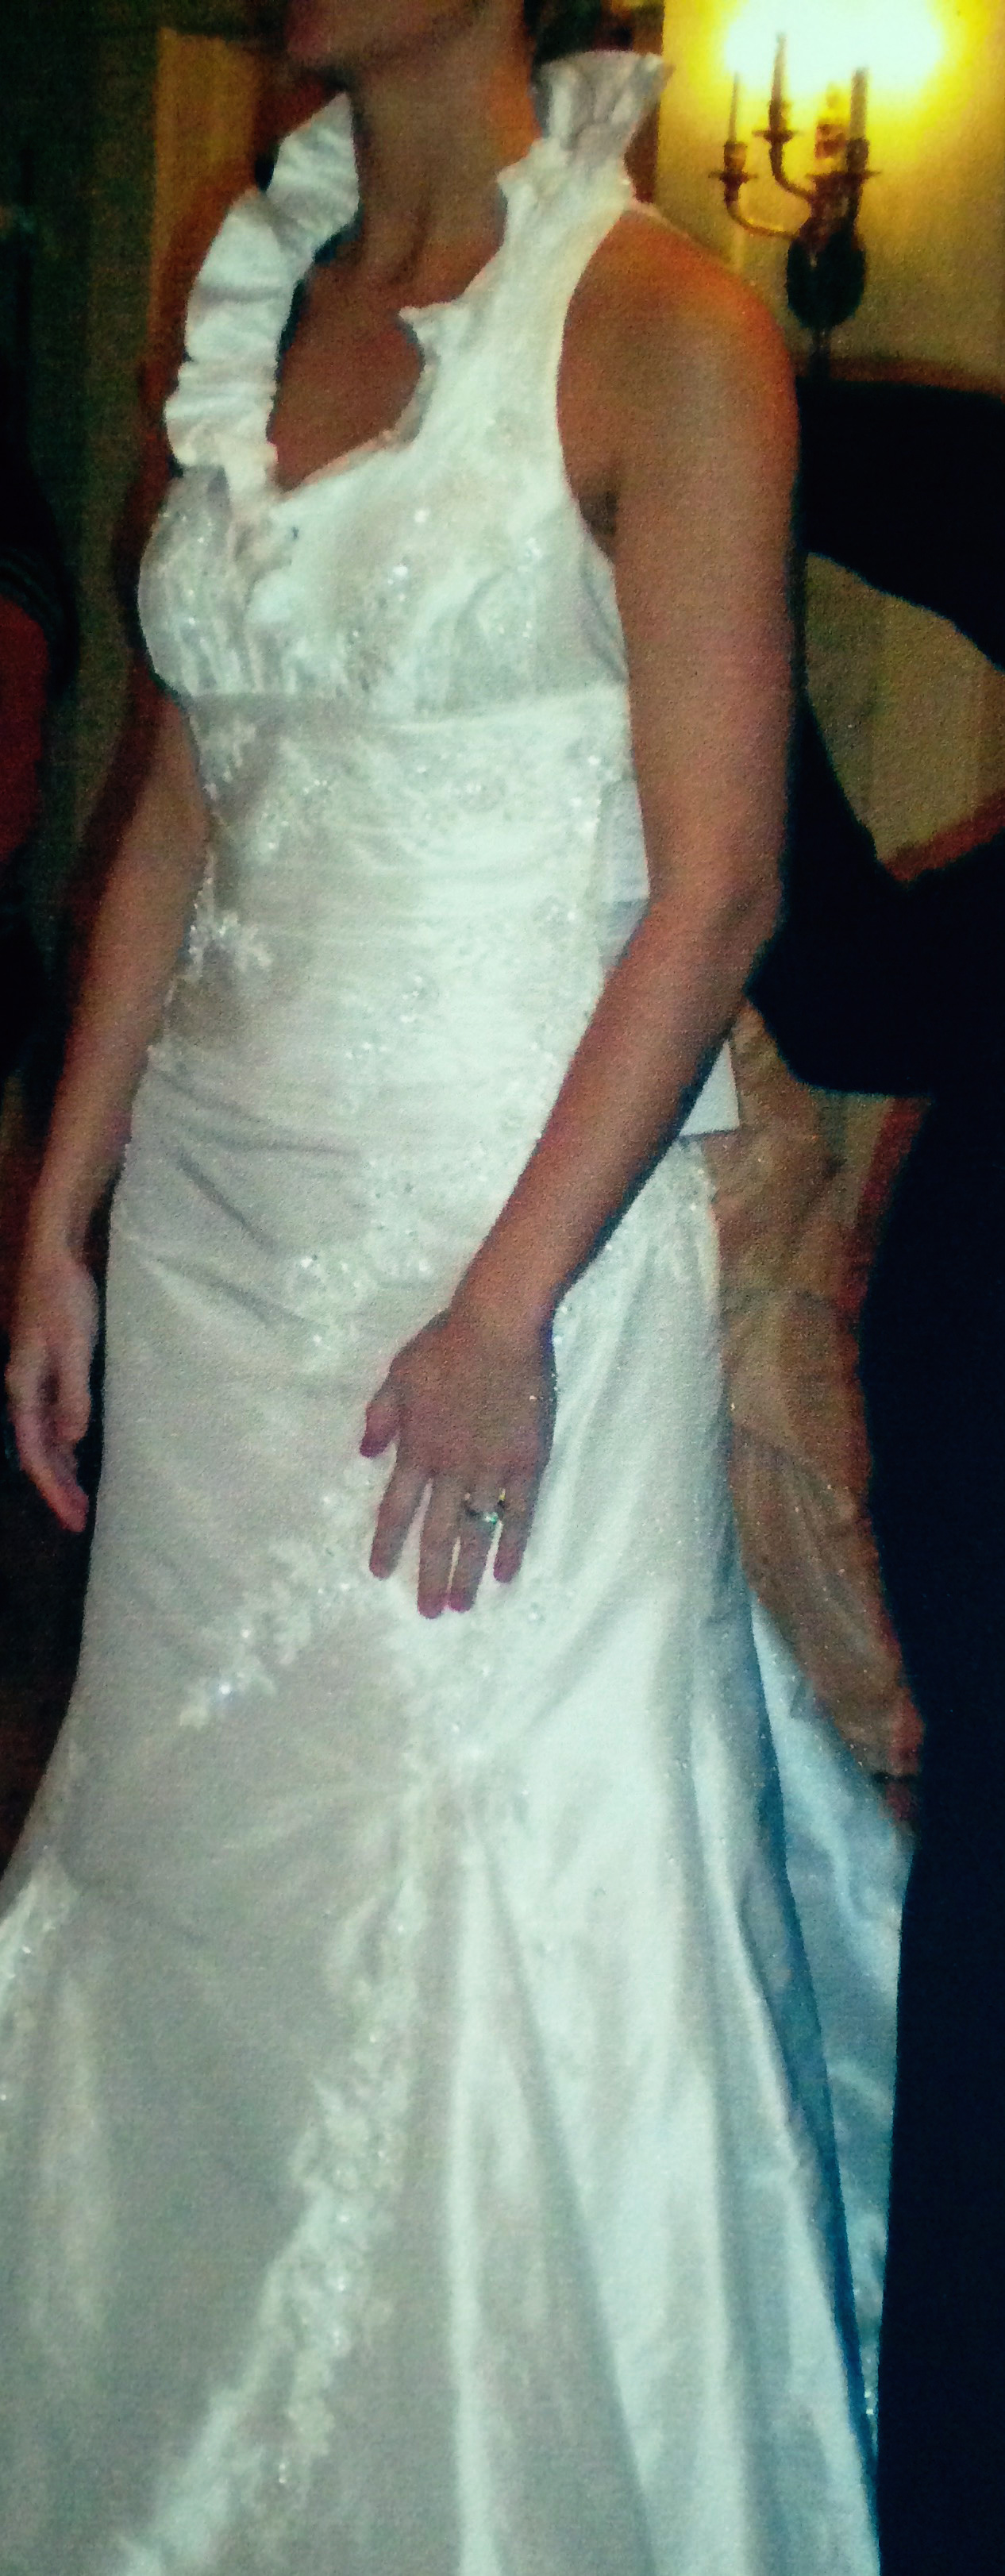
Ruffles
Large and wide ruffles continue to trend this year. Use these on blouses, skirts, and dresses.
Stripes
Stripes were featured widely last year, and they are still big. We saw stripes on Spring runways this year in different ways. Vertical stripes in navy or black and white are in, and so are colorful, wide horizontal rugby stripes. Pinstripes also featured widely in men’s shirt style dresses.

Use black & white stripes vertically this year.
What’s New for Spring sewing 2017
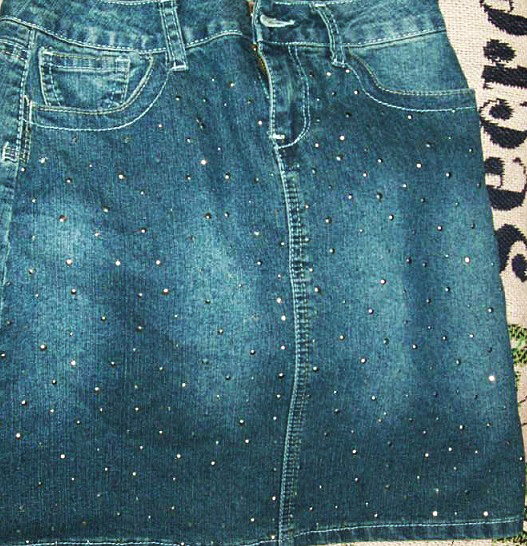
Embroidery and embellishments everywhere
You can put your embroidery machine and embellishment software to good use in your Spring wardrobe now.
You can embroider any garment this year.
We saw embroidered motifs here and there last year, but it is more widely featured this year. Designers paired embroidered vests with embroidered pants and emblazoned dresses and blouses with heavy embroidery. Handbags especially were covered with embroidery designs this year.
Bags, blouses, dresses, jackets, and pants also saw lots of beading and sequins in designers’ Spring collections. From beaded and sequin designs such as florals to covered sleeves, embellishments are on trend.
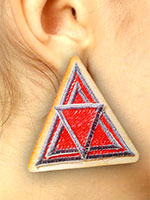
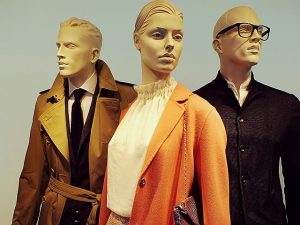
Bold prints
Besides the kitschy 70’s style florals already mentioned here, other 70’s style prints are in. Also make use of graphic geometric prints this year, especially large scale prints.
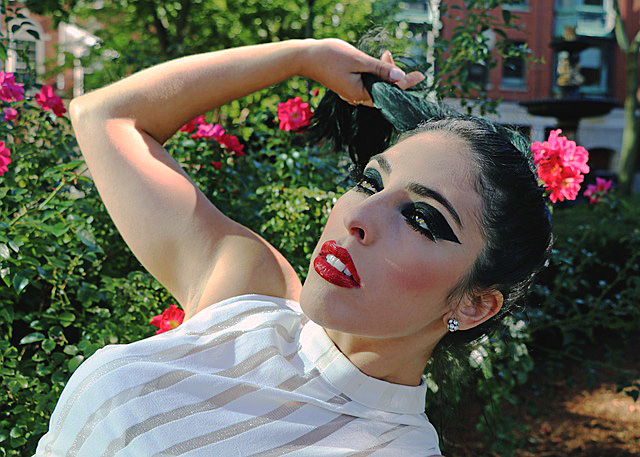
Higher necklines
Mock turtlenecks are in, even on bathing suits. Boatneck styles are cut higher than usual, too, right at the neckline. For necklines cut a bit lower, designers paired these with silk scarves wrapped tightly around the neck, to imitate the turtleneck style.
Pair dresses with less coverage, such as spaghetti straps, with higher necked tops worn underneath.
Shoulders out
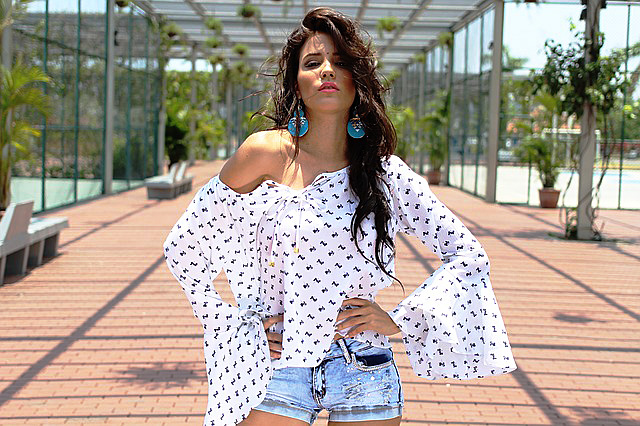
There are also plenty of shoulder-baring styles this year. Off the shoulder cuts are popular, especially for peasant blouses and dresses.
Off the shoulder peasant top.
Hopefully you still have the patterns you bought in 2011, because one shouldered designs are in again. One sleeved styles are trending, too.
A-line mini skirts
Cut these on the bias. A-line minis are my absolute favorite skirts to sew; I’ll share how to draft your own pattern for a perfectly fitting bias skirt here on the blog soon .
Sheers
Sheer skirts over leotard style tops. Even sheer hoodies!
Sheers and cutouts are big this year, along with higher necklines.
Glam
In tribute to David Bowie, 80’s style glam is trending now, especially with puffed-at-the shoulder sleeves and wide ruffles.
Flared hems
Both ankle flare pants hems and bell sleeved blouses are in style now.
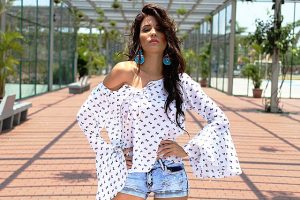
Flared bell sleeves on a one-shouldered design.
Jumpsuits
Here is another major way what was hot in 2011 is back again today. Jumpsuits are big now, in all lengths, particularly wide legged midi styles, in floral prints.
Patchwork
Runways this year featured patchwork dresses of all kinds. From a mix of solids reminiscent of Amish quilts, to patchworks of patterns and florals, any kind of patchwork can work in your Spring sewing and wardrobe this year.
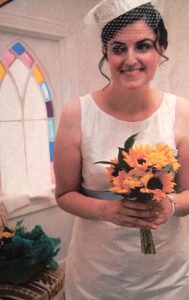
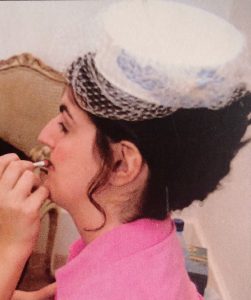
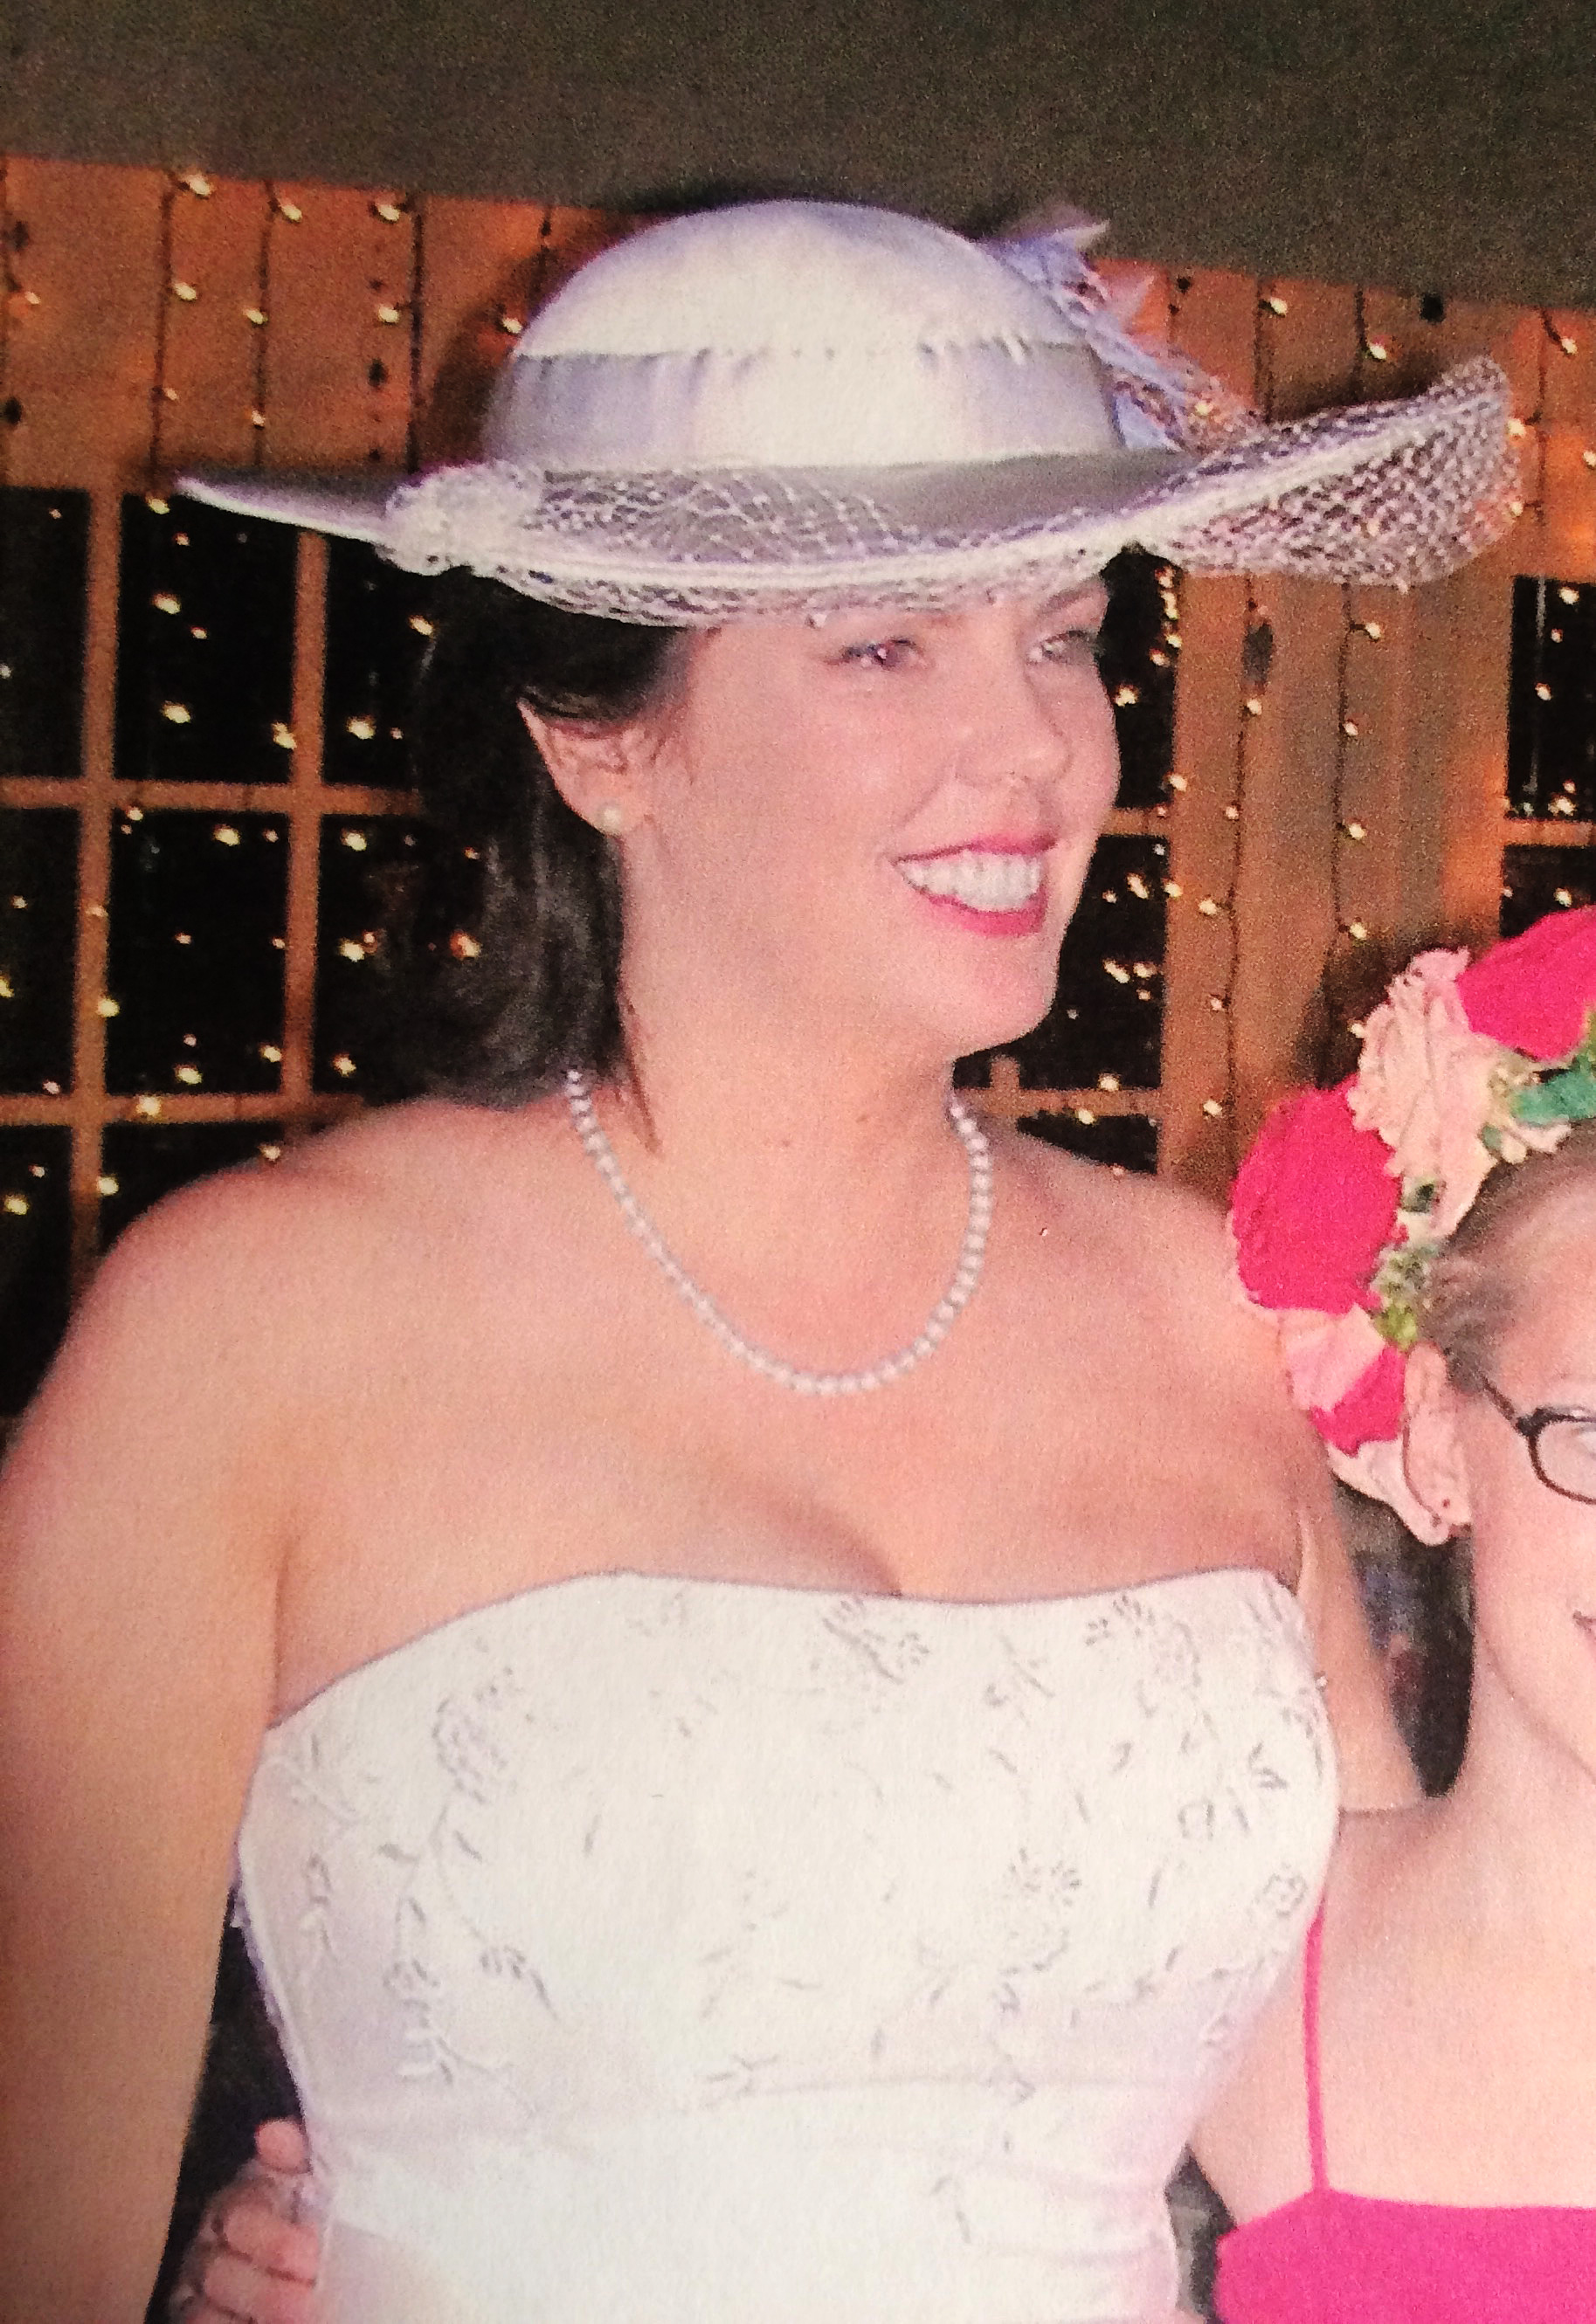
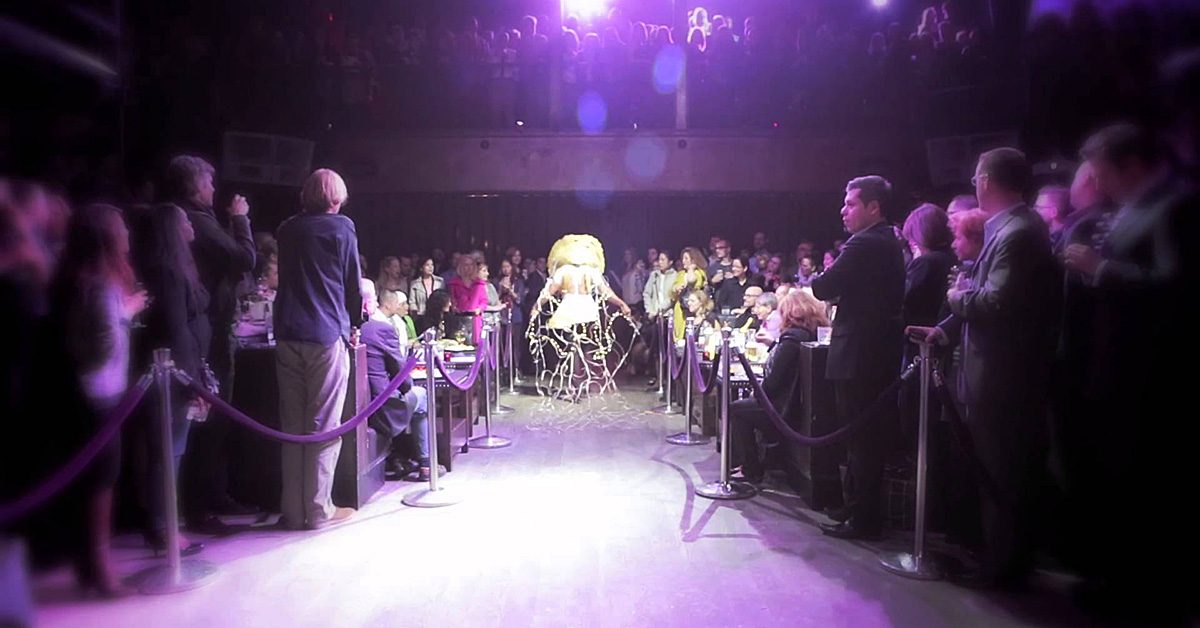
Feathery fringe
Feathery fringe is everywhere now, from necklines and sleeves to bags, even dresses covered in tiers of brightly colored feathered fringe.
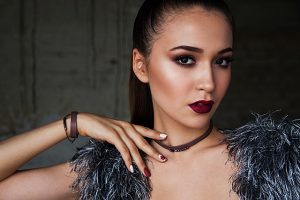
Feathery trim.
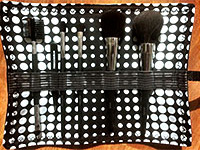
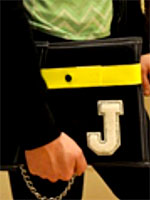
BIG bags
While smaller handbags with heavy embroidery are in style, super XL bags are all the rage.
Spring sewing: color trends

Besides the florals, bold patterns, and stripes trends already discussed, here are the color trends for this season:
- Khaki – it’s everywhere
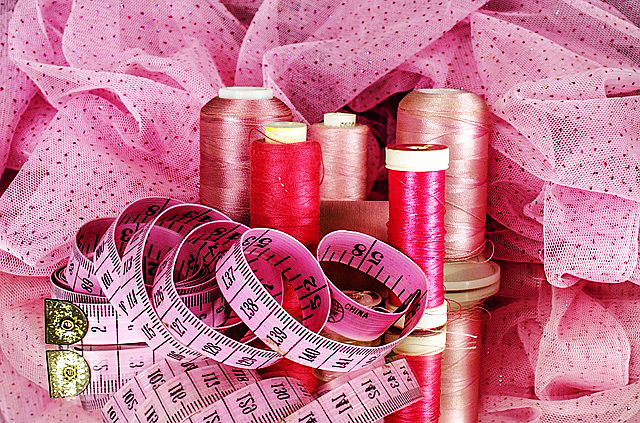
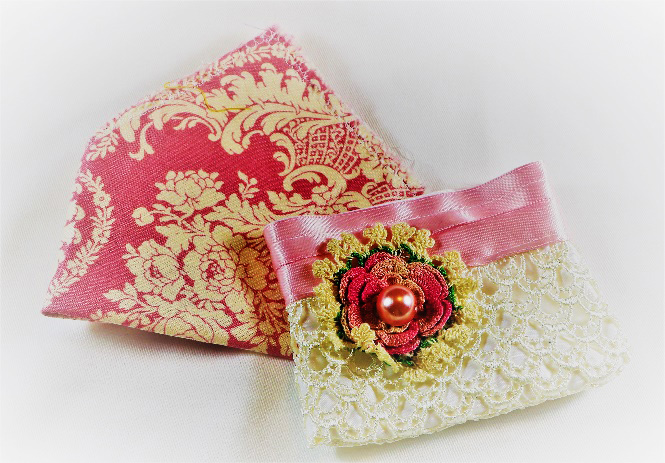
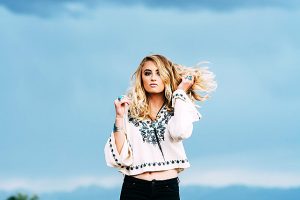
- Pinks – pale pinks, mauves, raspberry
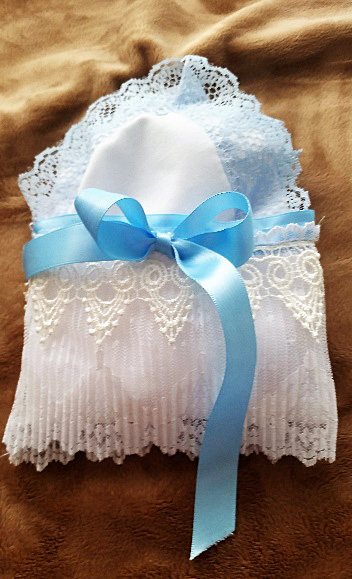
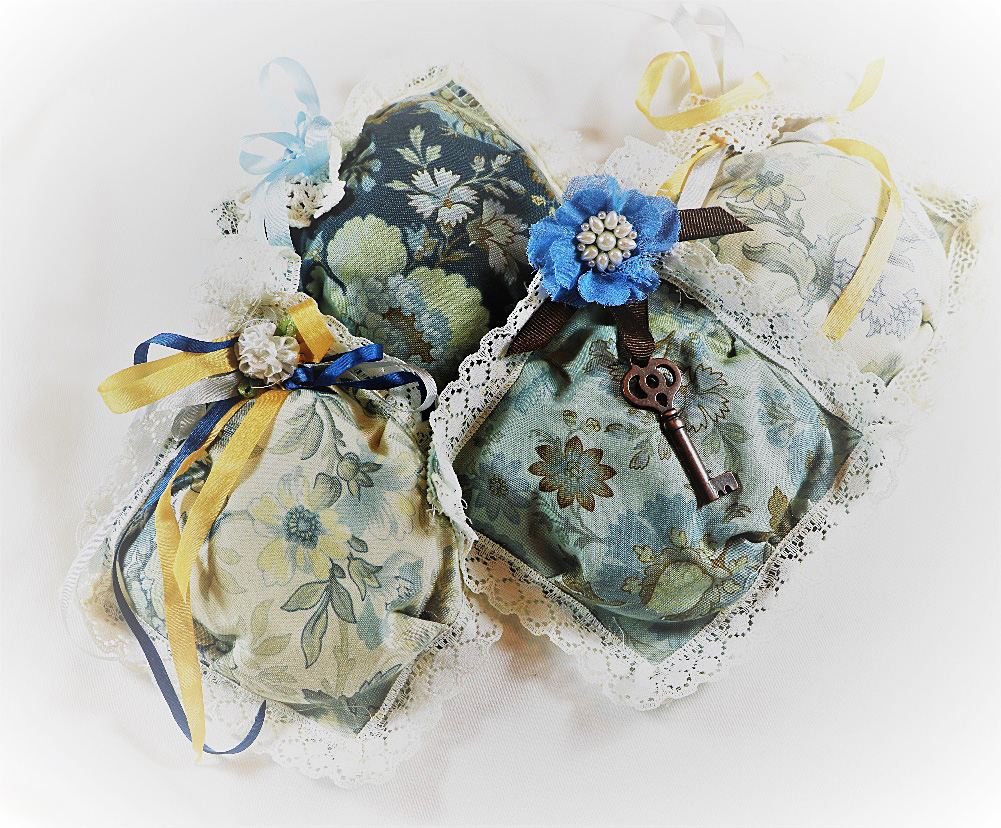
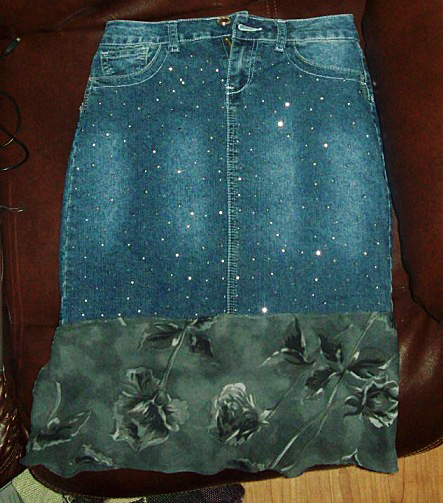
- Blue – all shades of blue, especially several different blues worn together
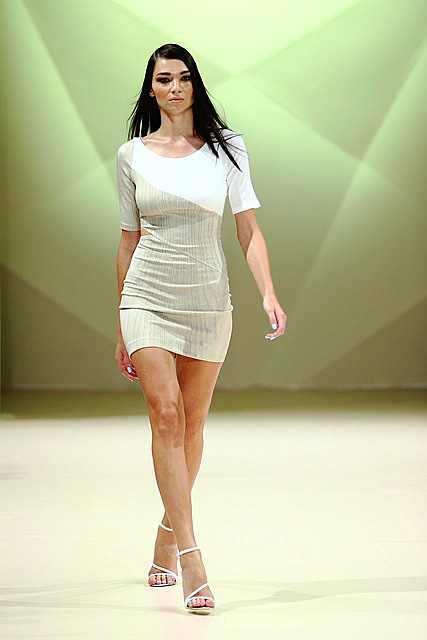
- Neutrals – these are featured more often than usual this year
- Gold – metallics are hot in general, but especially gold
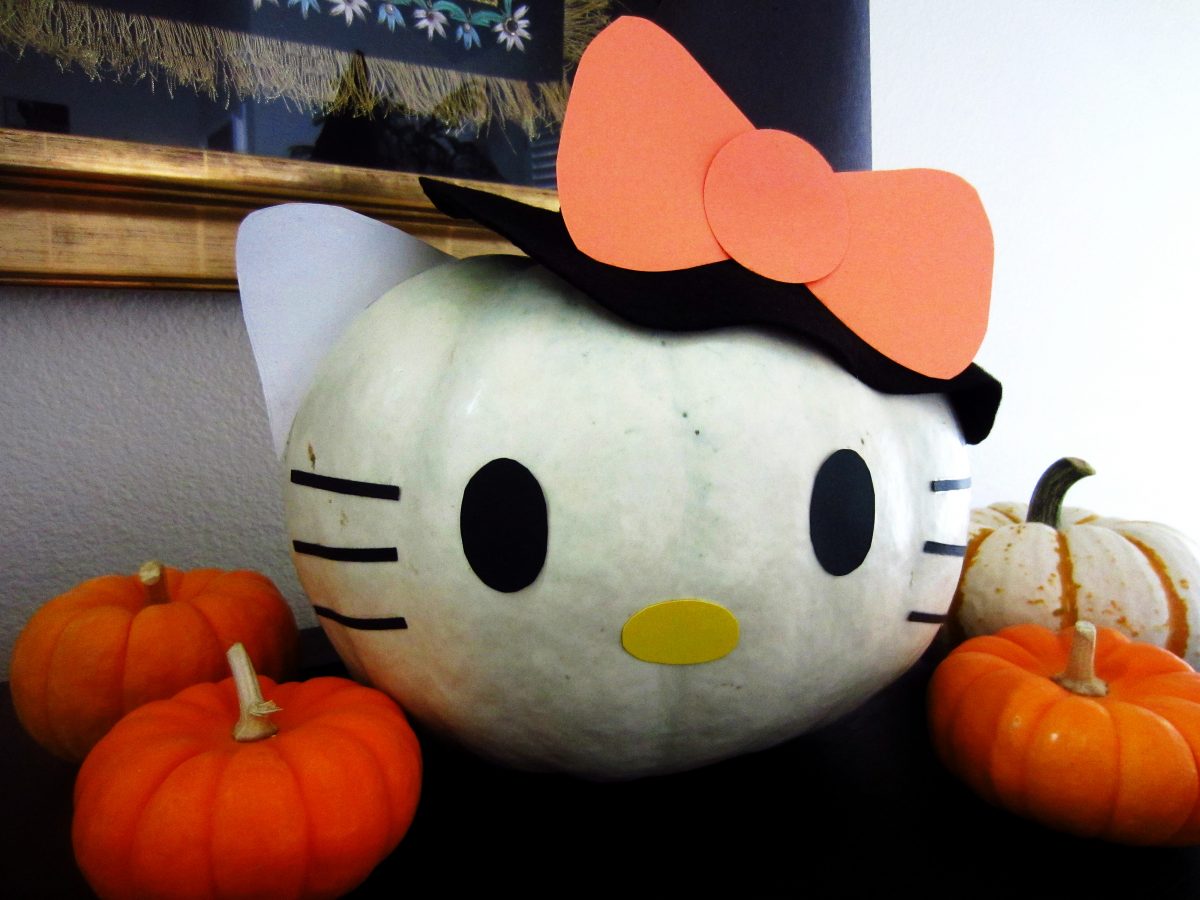
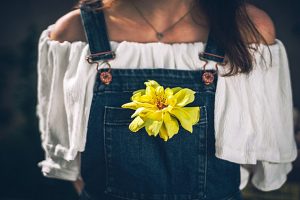
- Yellow – while orange was hot last year, yellow seems to be the it color this year
- Neons – these bright colors are coming back again now

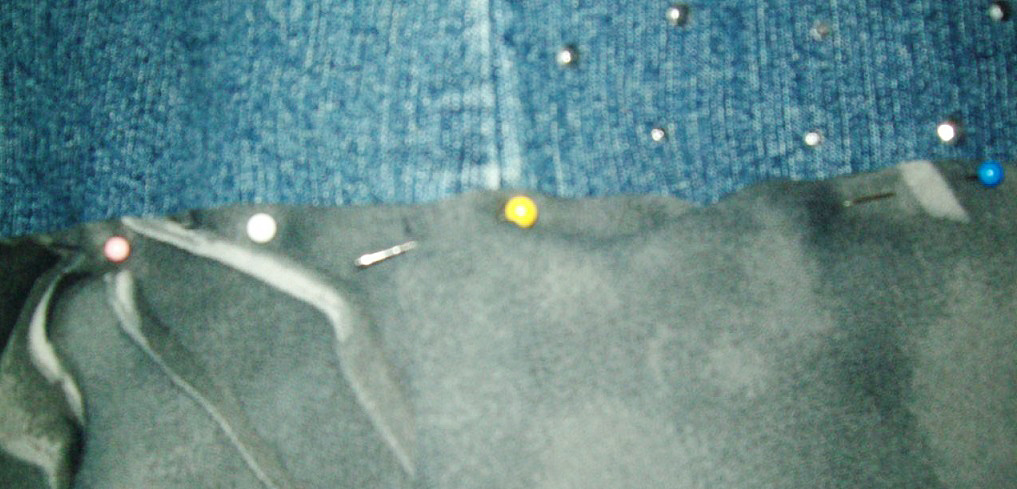
Yellow & blue are both hot colors now.
I’m excited that patchwork and embroidery are trending now, and I’ll be adding more of these pieces to my closet. On the other hand, in style or not, you’ll never see me wearing yellow, gold, or feathery fringe!
Which of these styles are you excited to sew for your wardrobe now and which trends would you rather skip?