I’m barely over 5’ tall. It used to be that clothing companies made pants in “short” lengths to accommodate people of my stature. More and more often now, though, I’m finding that clothing companies, particularly jeans producers, make pants in “regular” and “tall.” I’m not sure why they think all the short (or as I prefer to call it, concentrated awesome) people no longer need pants, but there you have it. As you can imagine, this leaves me with the choice of either patching jeans and pants until there’s nothing left to them, or buying clothes that are too long and hemming them. Hemming something I’ve paid money for ticks me off, so I want to get it done and over with quickly. I developed a fast and easy way to hem jeans and pants.
First
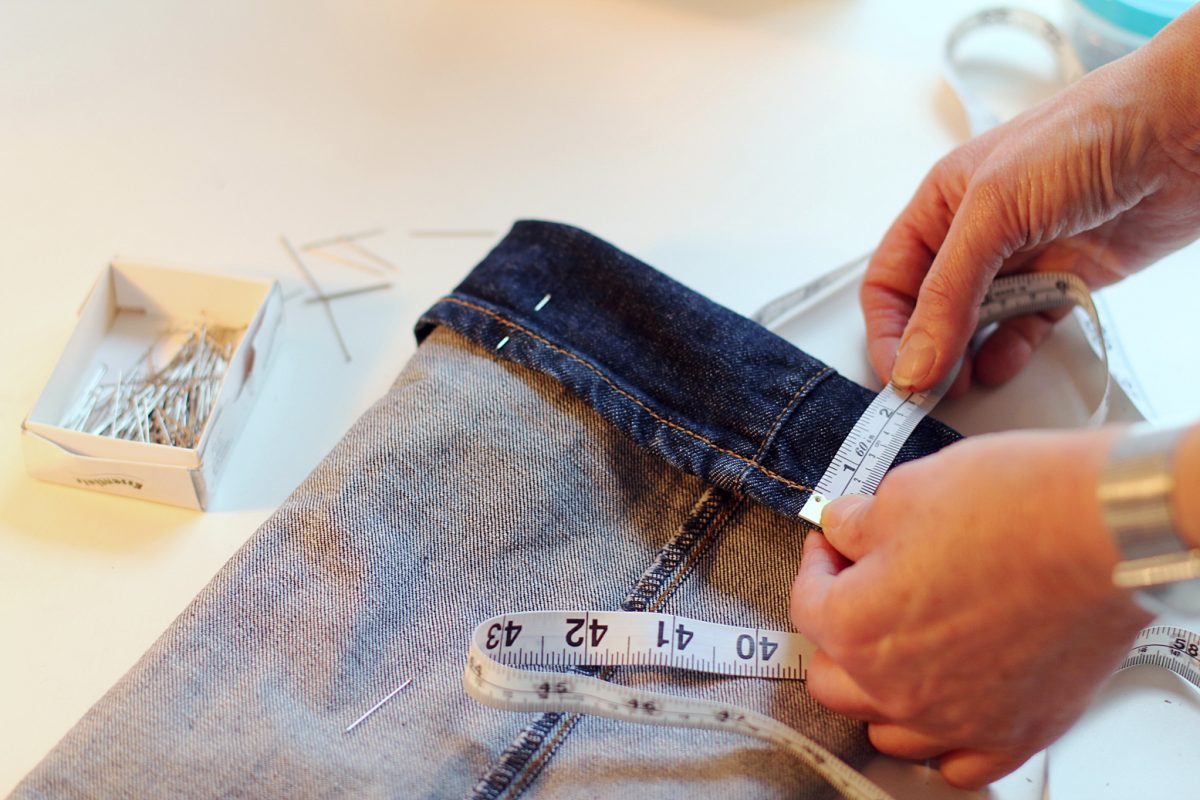
Find a pair of pants that are a length you like. These will act as your template or guide. Lay them flat and smooth. If possible, I suggest pinning them down to keep them flat. Next, turn the pair of pants you’re going to hem inside out. Lay them on top of the pants that are the correct length.
Let’s begin
Choose a place on the leg of the pants where you’ll be okay with seeing a line. I often opt for the upper thigh. In that spot, pull the leg of the pants that are too long up, gathering the extra fabric in a straight fold that goes around the entire leg as you go. When the pants are the right length, pin this fold so that it comes directly out from the leg itself. Do this on both legs.
Almost done…
Sew around the fold to create your shortened pants, then cut off the extra fabric. Whip stitch around the cut edge for extra strength in the seam and reassurance that it won’t split apart while you’re wearing your new pants. Again, do the same thing on both legs.
Viola!
Hemmed pants, perfect for your height – no measuring or marking required. This is one of my favorite “sewing cheats” because it’s so quick and helps me buy pants and jeans affordably, even clothing companies no longer feel the need to cater to people my size. Give it a try next time you need to hem pants and let me know what you think!
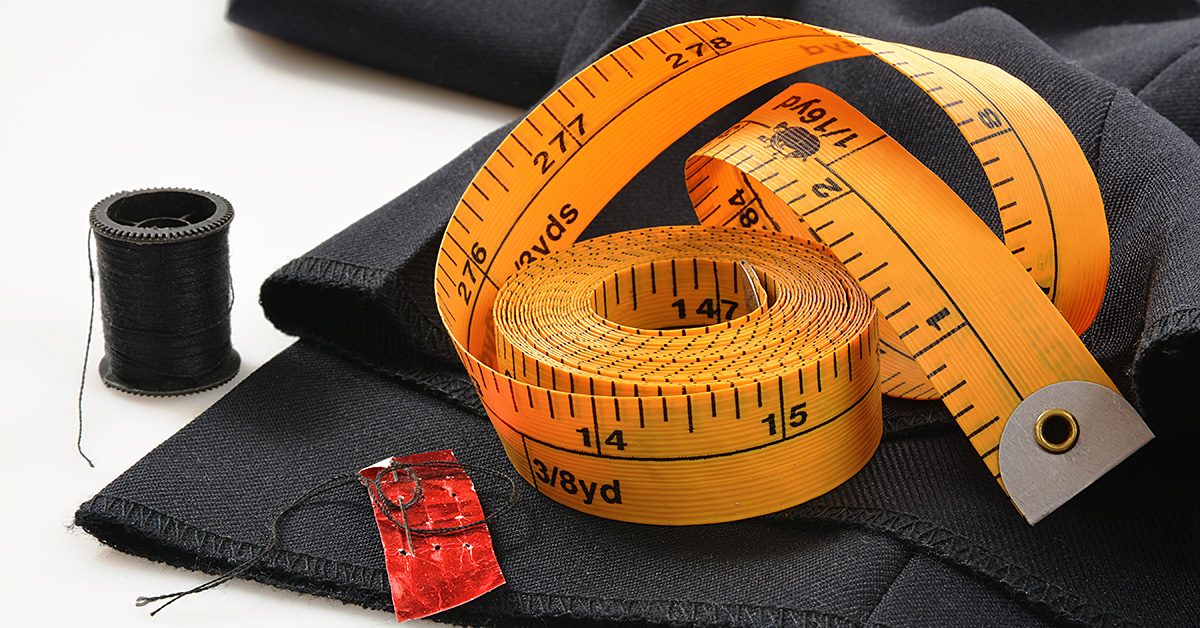
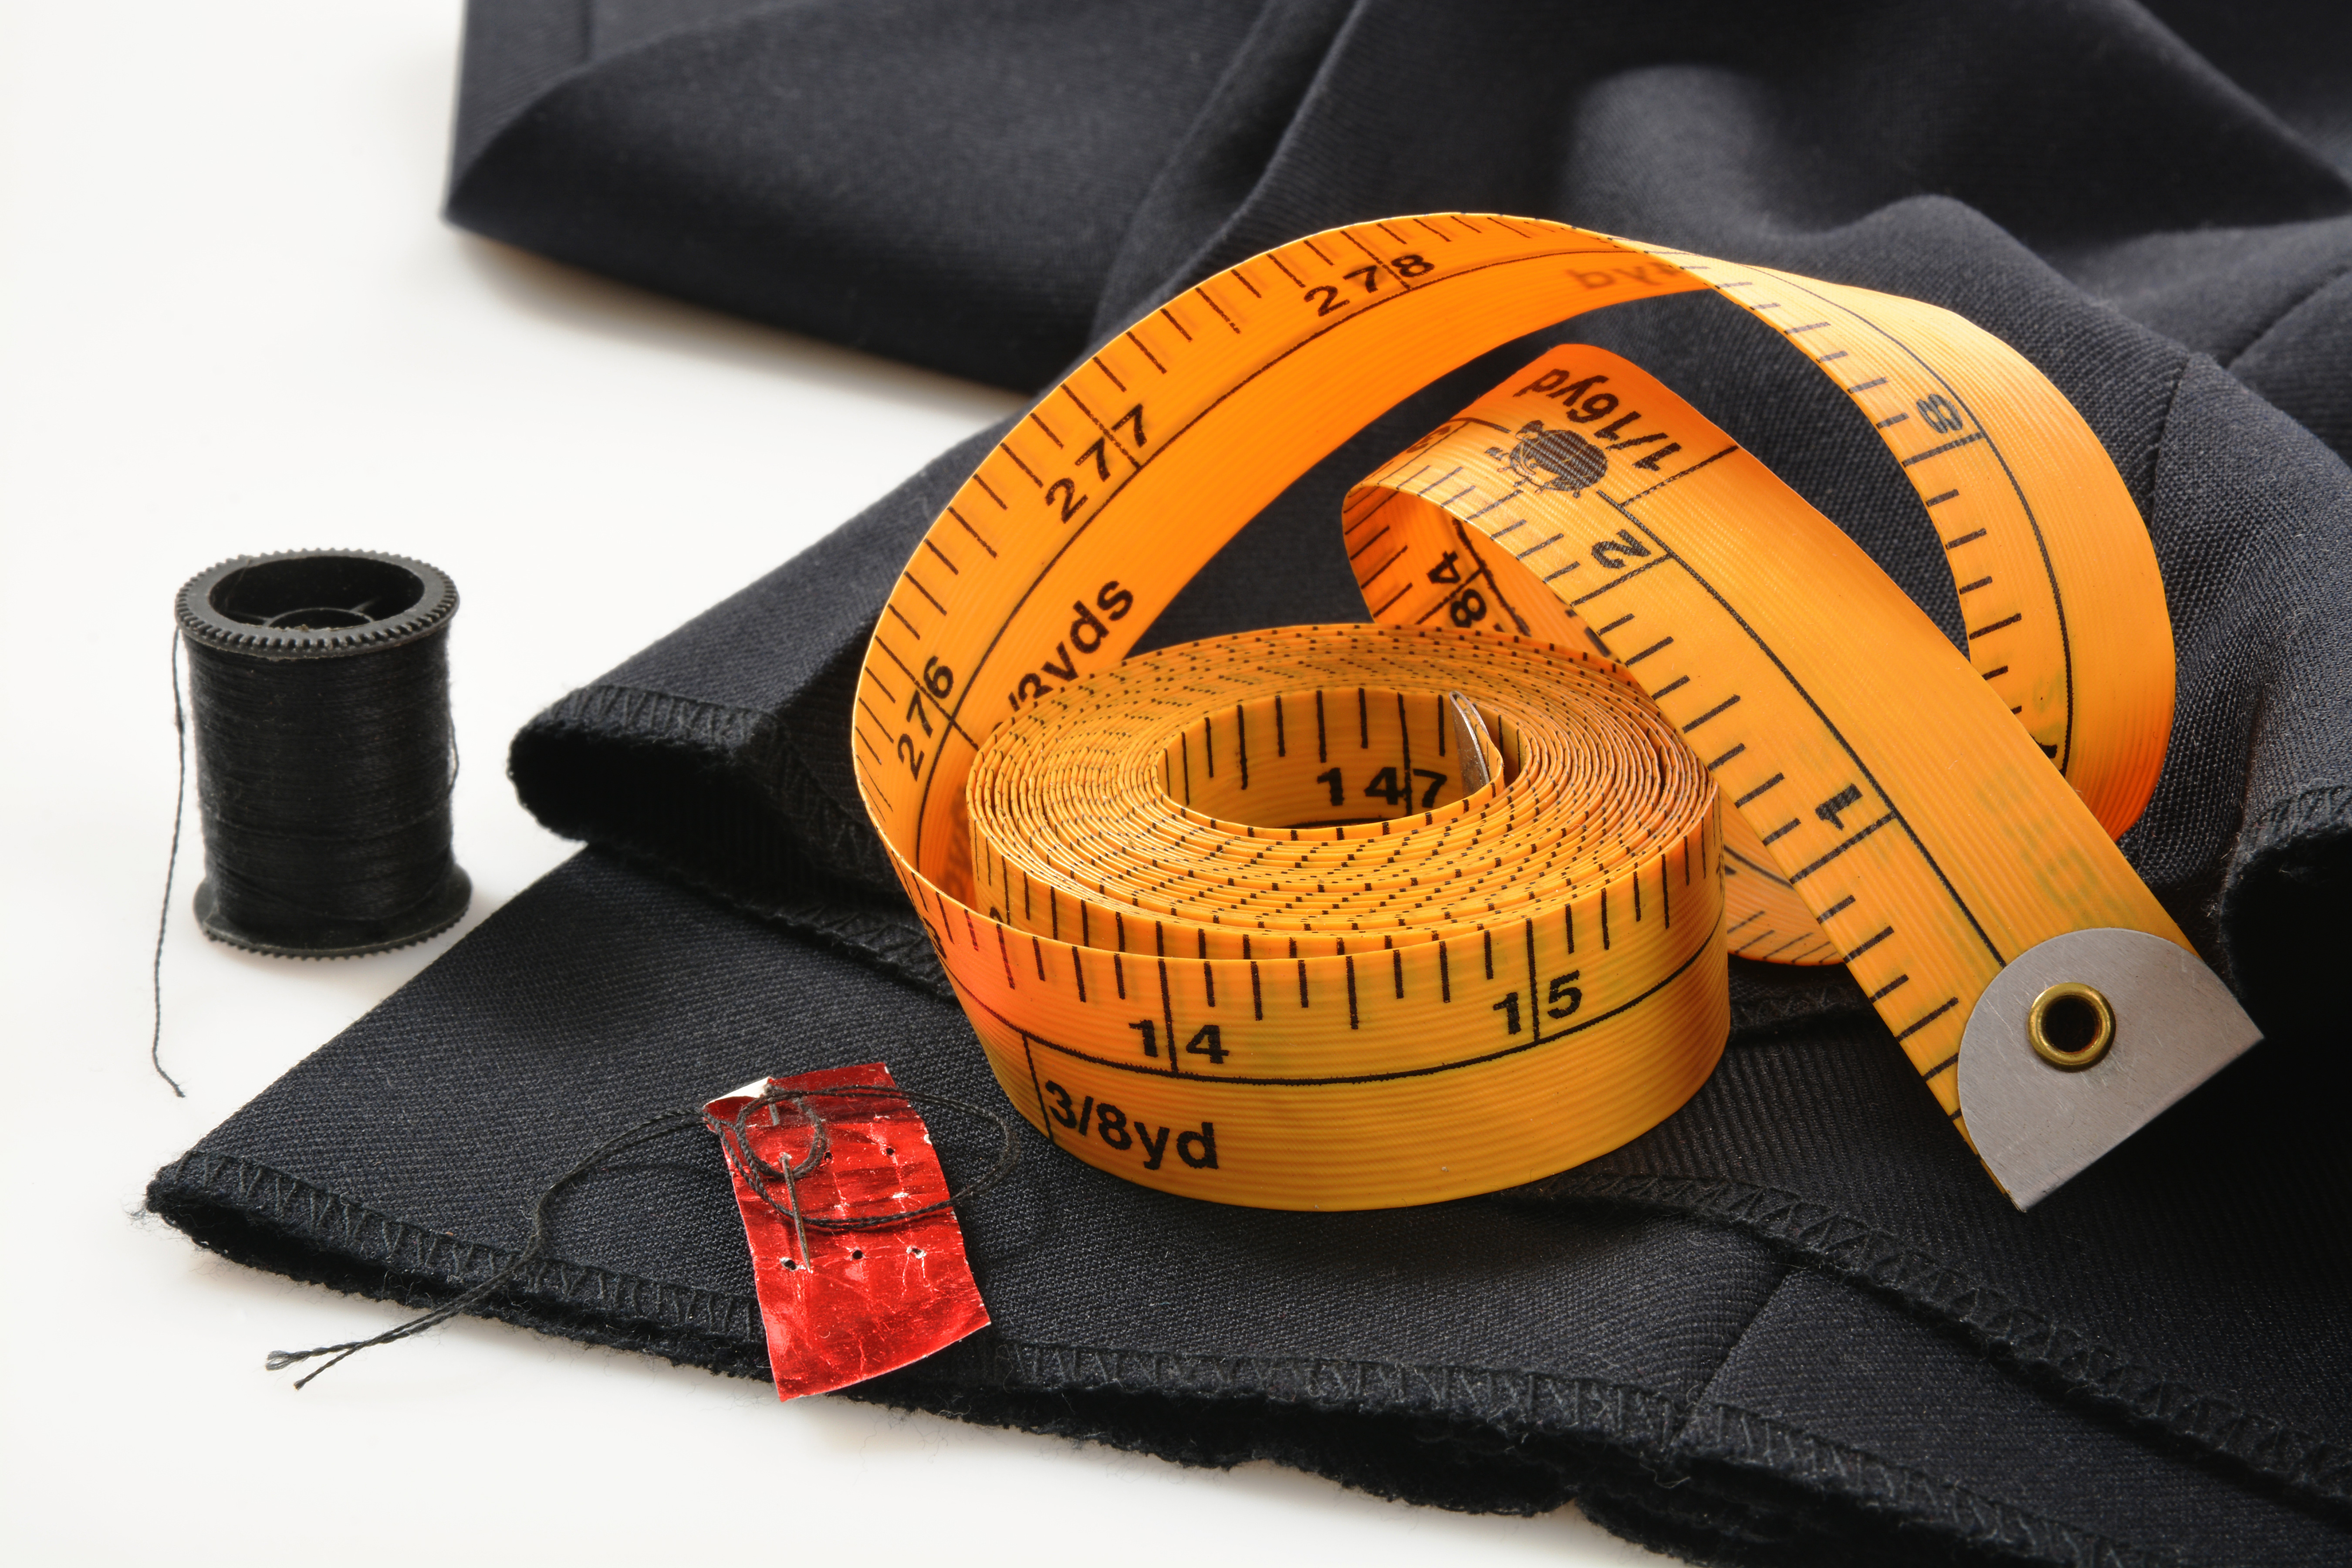
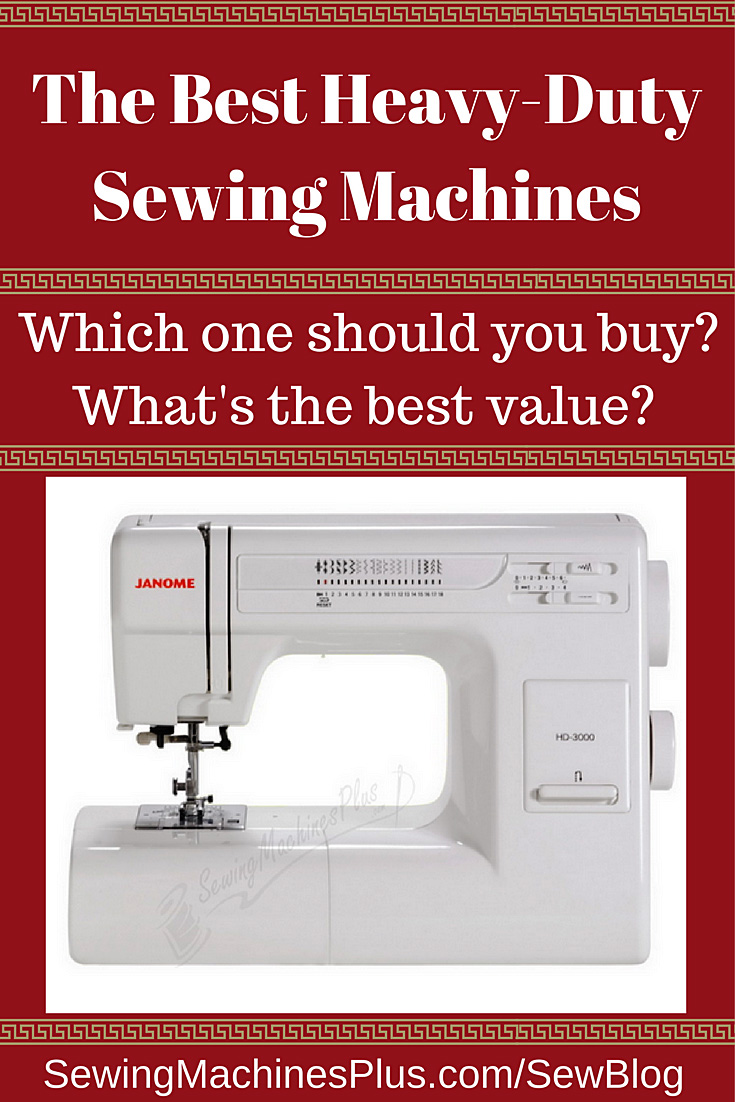
What is the best heavy duty sewing machine? I’ve been looking at these machines for a while now, and I have formed some strong opinions on this subject.
I sure need one. Twice now, I broke and caused expensive repairs to regular sewing machines by using them to sew projects that were too thick. Once it was a heavily pocketed and quilted bag (and piping! I should have known better). And the other was when I was experimenting on a new dog collar design and tried to sew too many layers of thick webbing and embroidered trim.
I have several project ideas that I have not been able to make yet because I don’t dare to without a heavy duty machine. After carefully shopping these, I have decided there are a couple of clear choices for which heavy duty sewing machine is best to buy. One is simply the best heavy duty sewing machine period, and the other is the best value economy option.
The best heavy duty sewing machine
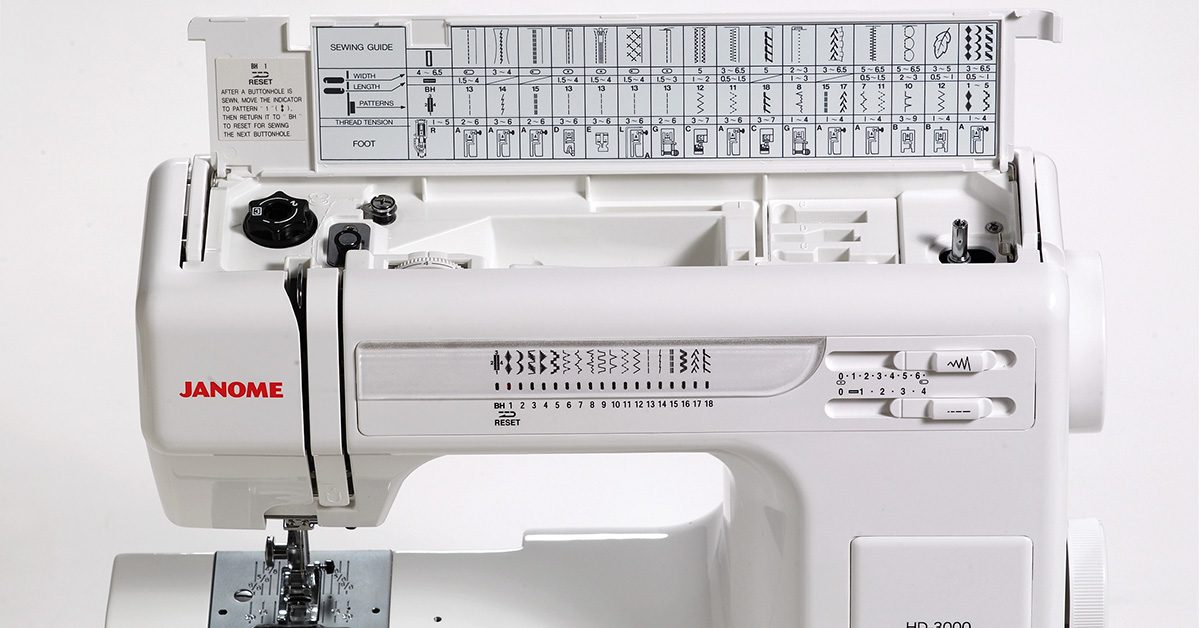
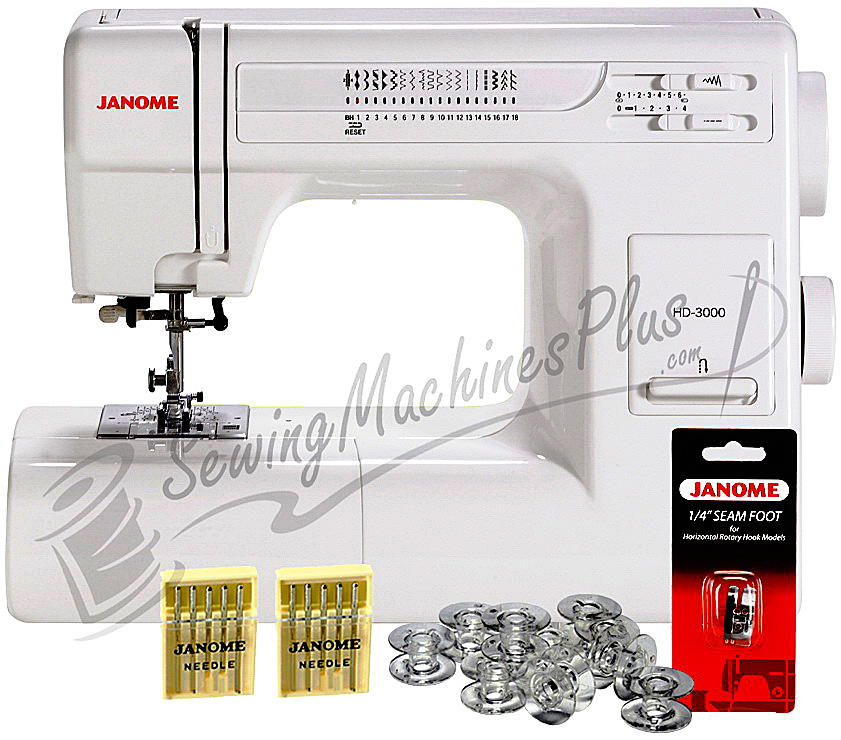
In my opinion, the Janome HD3000 is the best heavy duty home sewing machine on the market.
It is no secret that I love and trust Janome. I have never had any problem with a Janome machine other than the ones I caused myself, as mentioned above. And Janome has been making and improving on this model for more than 20 years now, so I know they have got it exactly right. Plenty of people are still sewing on those decades old machines today; they are high-quality machines that are built to last.
The HD3000 has so many features, functions, & stitches that it is a perfect choice for a primary machine.
The HD3000 has so many features, functions, and stitches that it is a perfect choice for a primary machine. I am sure I would use it regularly for all kinds of sewing, rather than keeping it covered until I have a heavy duty type project.
Here is just a partial listing of the Janome HD3000 features and included accessories:
Built-in needle threader
Horizontal, drop-in bobbin
Snap-on presser feet
18 stitches
One-step buttonholer
7 piece feed dogs
Drop feed
Free arm
Extra-high presser foot lift
5mm maximum stitch width, 4mm maximum stitch length
Blind hem foot
Overedge foot
Hemmer foot
Quilting bar
Hard cover
If you want the best heavy duty sewing machine, then you want to buy this one.
The best value economy choice
I also want a coverstitch machine, an embroidery machine, and I need a new serger. So, like with most of my buying, I need to make an economy choice and spend less money on my heavy duty sewing machine. I think the best value choice is a Toyota Super Jeans machine.
While these machines are not labeled as heavy duty sewing machines, they actually are. They are built to sew through up to twelve layers of denim. Denim is about as tough as fabric gets, so I know these machines will handle whatever I need them to sew.
The gliding foot that comes with these is really neat; it automatically adjusts when sewing layers of different thicknesses and makes for easy sewing on bulky projects.
I might have said that I wouldn’t buy any sewing machine except one made by Janome, but that was before I knew that Toyota makes sewing machines. Just as I have been loyal to Janome for buying sewing machines, I have been loyal to Toyota for buying cars. I know well from experience that Toyota offers superior quality and reliability at a good value.
The Toyota Production System
My trust in Toyota goes beyond my experience with their vehicles; I trust their production system and even use parts of it myself. When I wrote about productivity here, I mentioned the kanban system and that it comes from the system of kaizen. I did not mention this then, but kaizen is just one part of a larger system known as the Toyota Production System, or TPS.
Toyota pays careful attention to all steps in their manufacturing and other systems to ensure quality, efficiency, and value. It is a system that works so well that the system itself has become famous. This is why I know I can trust anything made by Toyota.
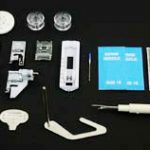
Any of the Super Jeans machines make an excellent choice for a heavy duty sewing machine. They each include utility and decorative stitches; a generous accessory package; and a 2-year warranty on the motor, wiring, light assembly, switches, and speed controls (and 5 years on the sewing machine head). You can also get an extension table for these to help with sewing large projects.
All the Toyota Super Jeans machines come with a generous accessory package.
Any of the Super Jeans machines make an excellent choice for a heavy duty sewing machine.
The J15 is the most economy model. It has 15 programs with 11 utility and 4 decorative stitches. It does not have a stretch stitch.
The J17 has 17 programs: 13 utility, 2 stretch, and 2 deco stitches.
The J34 is the luxury model in this Toyota line, and performs 34 programs, including 15 standard and 19 stretch and decorative stitches.
While the Janome HD3000 is the best heavy duty sewing machine to buy, I’ll be saving some money and going with what I think is the best value option, the Toyota J34. I can’t wait to use it! Which one are you getting?
Pockets are not only for clothes and bags. You can sew pocket organizers for:
Shoes
Jewelry
Sewing supplies
Knitting or crochet supplies
Art supplies
Any other kind of supplies
Baby gear
Guitar gear
Other kinds of gear
Remotes
Cords or cables
Tools
Toiletries
First aid kit
Other kits
Frequently used pattern pieces
Bills or mail
Money
Magazines
Papers
Games
Toys
Those are just quick ideas off the top of my head; the possibilities are endless.
How to sew a single hanging pocket
Anyone can sew a pocket organizer, even absolute beginner sewists. A basic hanging pocket is just two finished squares or rectangles, one sewn down on three sides on top of the other.
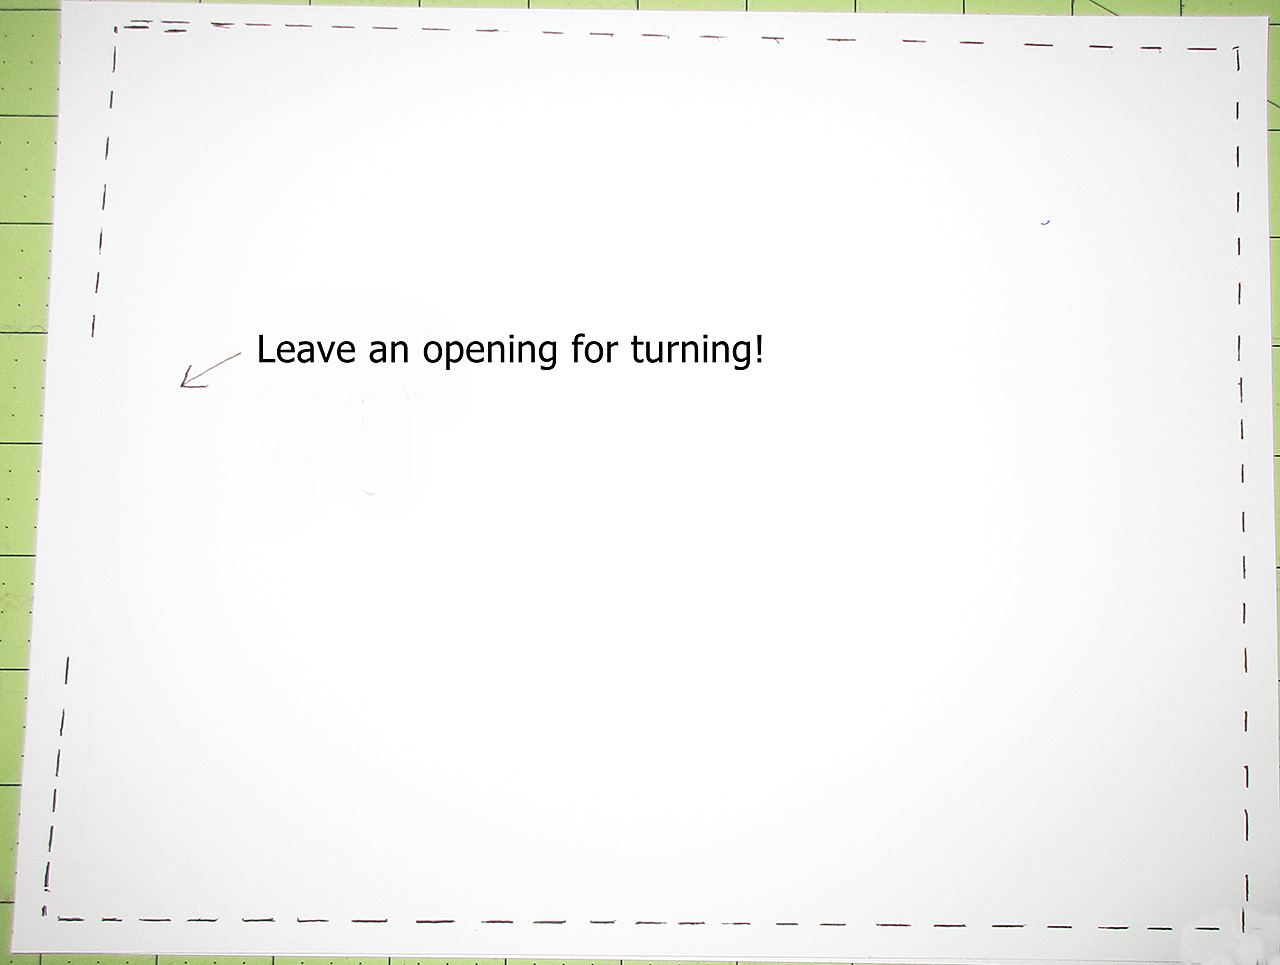
To finish the squares, you cut two identical layers and sew them around all four corners and sides with right sides together, leaving an opening for turning.
I drew this because the ink shows up better than my stitching in the photo.
Clip the corners and turn right sides out. You can stick something inside to push the corners out.
Then stitch the opening closed. I usually just topstitch along that entire side. Sometimes I topstitch around all four sides.
Fold the top down an inch and a half or more towards the back and sew the edge down to form a casing for hanging. Then make a smaller finished square or rectangle pocket piece using the same directions as above.
Topstitch the pocket onto the larger panel along the sides and bottom. Don’t sew the top of the pocket closed!
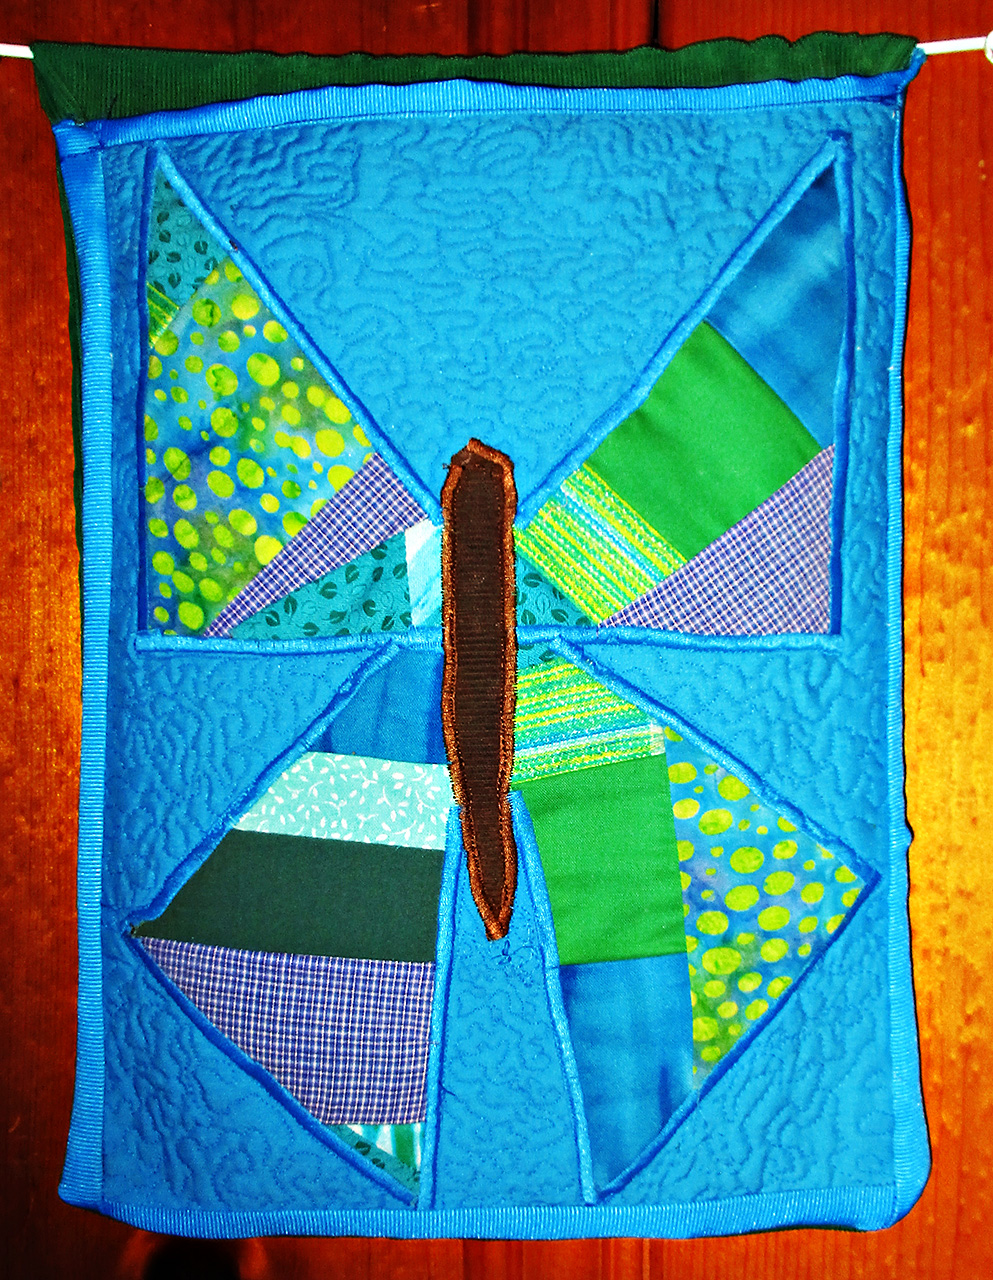
I made this pocket from my leftover butterfly block to hold mail, which used to pile up in my entryway.
Or cheat and use jean pockets
I did some searching to find some cute projects to recommend for you. And I found some examples of organizers that were made by reusing jeans pockets. These save a step and so you can make these with super speed. Just be sure to use a jeans needle.
I think this one is a great idea for a closet organizer.
I will like to make a long double sided one of these to hang in the middle of a closet that’s shared by two boys at my house. This will solve a couple of different organizational challenges in that small closet nicely.
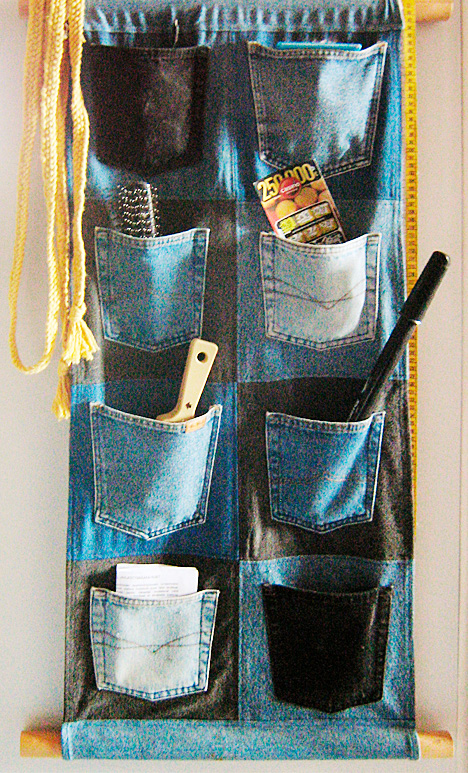
Here is one on a hanger that is being used for sewing supplies storage.
How to sew pocket organizers with multiple pockets
To start, make a backing panel. Cut two square or rectangular pieces to the desired size of your organizer pocket panel. Press interfacing to the wrong side of one of the two square or rectangular pieces. Then layer the two pieces right sides together and sew around, leaving an opening for turning. Turn right side out, push the corners out well from the inside, press, and then sew closed.
To allow for hanging, you can simply fold over at the top and sew a casing, or you can make hanging loops and attach these by tucking between the two pieces when you sew them together in the steps above.
My sewing room curtain organizer panels use all of the above kinds of pockets.
For the pockets, you could make several or many individual pockets in the same way as the larger backing piece and topstitch each pocket onto the backing panel separately. Or you could make long pockets the width of the backing panel. You can then topstitch to divide these long pockets into shorter sections. You can also make your pockets slightly wider than your backing panel. Then pleat them at the bottom and add elastic casings along the top edges, to build roomier pockets with more holding power.
My sewing room curtain organizer panels use all of the above kinds of pockets. I also stuffed a long one and sewed it closed around all sides to make a pin cushion way up high and out of the reach of grabby kids.
You can customize your pocket panels to suit your organizational challenges, no matter what they are.
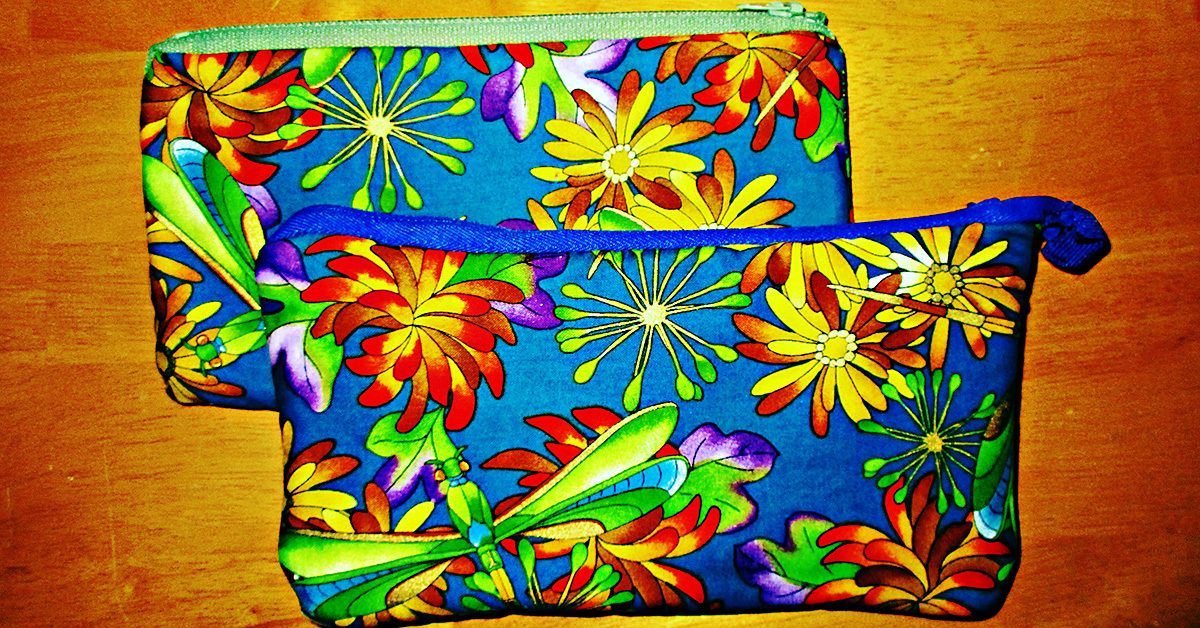
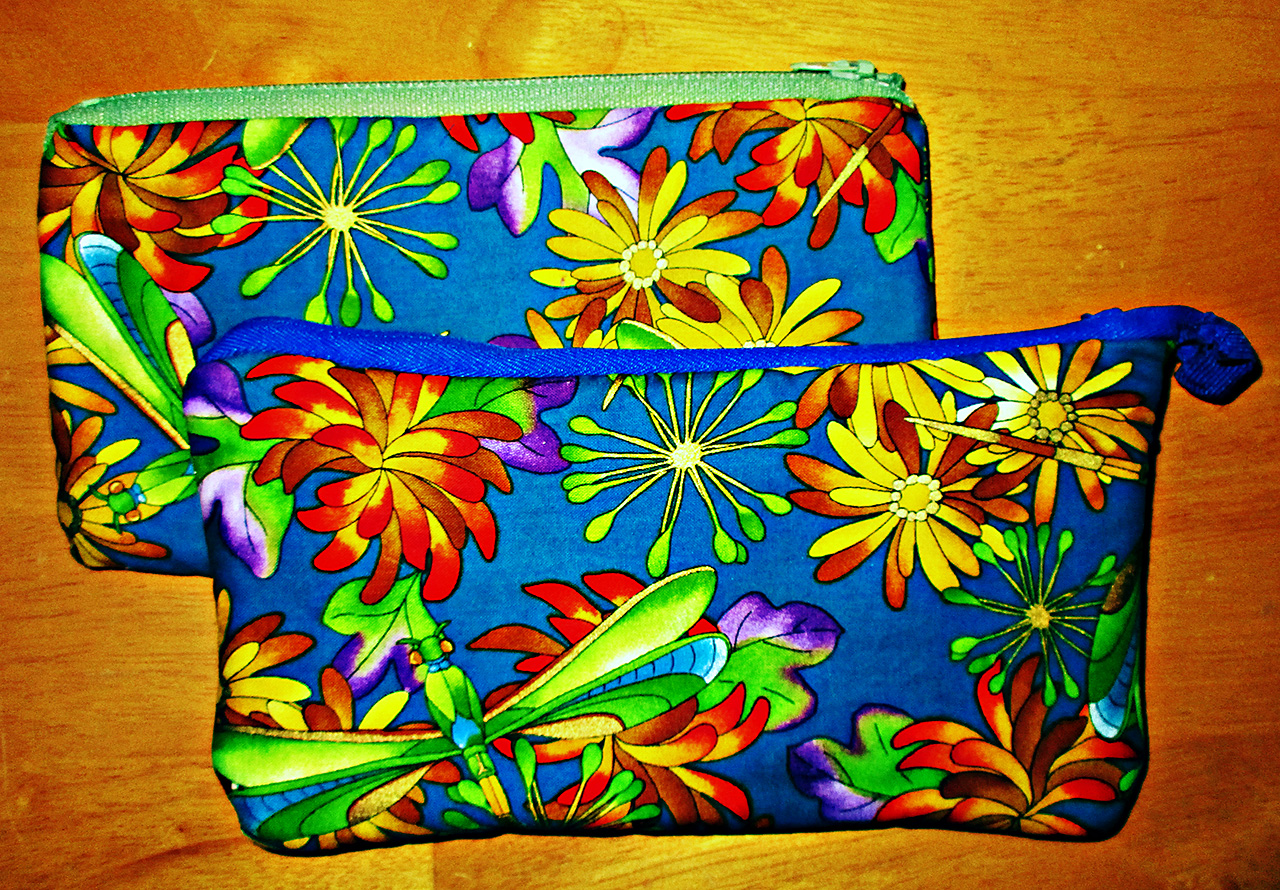
Sew a money bag pocket
Maybe you’d call it a bag, but this project is simply a big pocket with a zipper at the top. You could use these as bank bags for deposits or otherwise holding cash. I made them big enough to hold multiple envelopes for monthly budgeting.
For stashing cash or other goodies.
Or you could make these zippered pockets to hold your pencils or some other small collection. I’m using one of mine for stashing my jewelry pliers set where no kids can reach them. Keeping my things out of the reach of children seems to be the major part of my own organizational challenges!
Favorite pocket organizers from around the web
If I haven’t given you enough inspiration to sew pocket organizers yet, check out these other ideas and tutorials that I found and collected from around the web. I will make the handy ironing board pockets right away, I can’t believe I have never thought of this simple solution before. And I think the pocketed towel will make a great gift for a sunbather I know and love.
Are the gears in your brain turning now? What problems could you solve if you sew pocket organizers to keep things in place?
Sometimes, there are things in life that are pretty fantastic, but a bit of extra effort could make them even more so. That mentality can lead to furthering an education or moving to a different city…
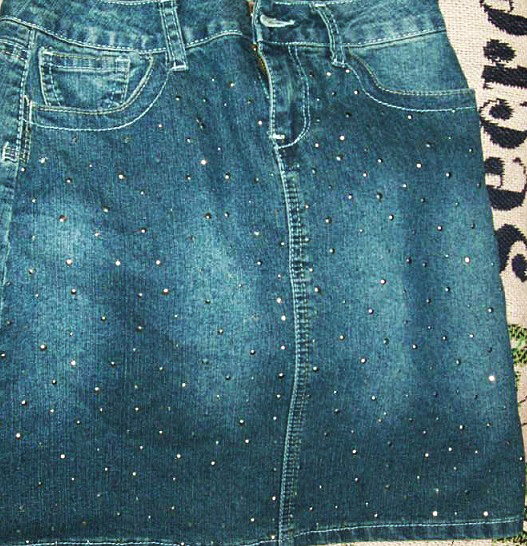
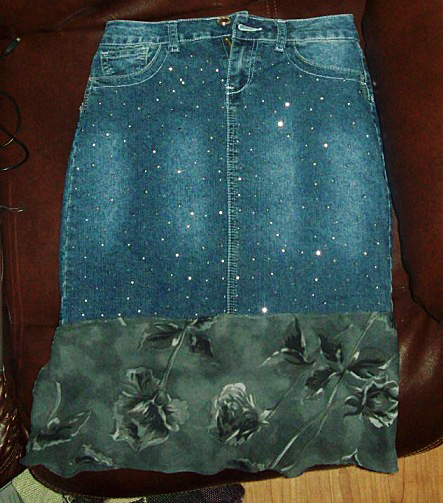
This skirt belongs to one of the nieces & the sparkly glam is enough to make me jealous!
Or adding fabrics. What looks remarkable in and of itself can take on a whole new level of beauty with a bit of thought or creativity. Example? This skirt. It belongs to one of the nieces, and the sparkly prettiness is enough to make me jealous that I don’t have a skirt like this one. What I do have though is material from my own clothing that zipper-made holes ruined, and the color scheme was kind of perfect to go along with the niece’s pretty, sparkly skirt.
Well, there was no sense in throwing away usable material that could be a sewing project, right? This might or might not have been my logic before diving into said project.
So, let’s break this down, shall we?
Let’s begin! Step-by-Step
The mission: Use the zippered-up material on the already wonderful and sparkly skirt.
The process: Simple, but effective!
Step 1: Cut the zippered-up material into usable pieces. To do this, I first cut away the zipper territory, then cut along the clothing’s seam. That seam was easier to follow than an imagined line, so there was less chance of me getting waaaaay off in my cutting. The results weren’t small enough to use at this point, but they were flat enough to help me gauge what I needed to do for the future.
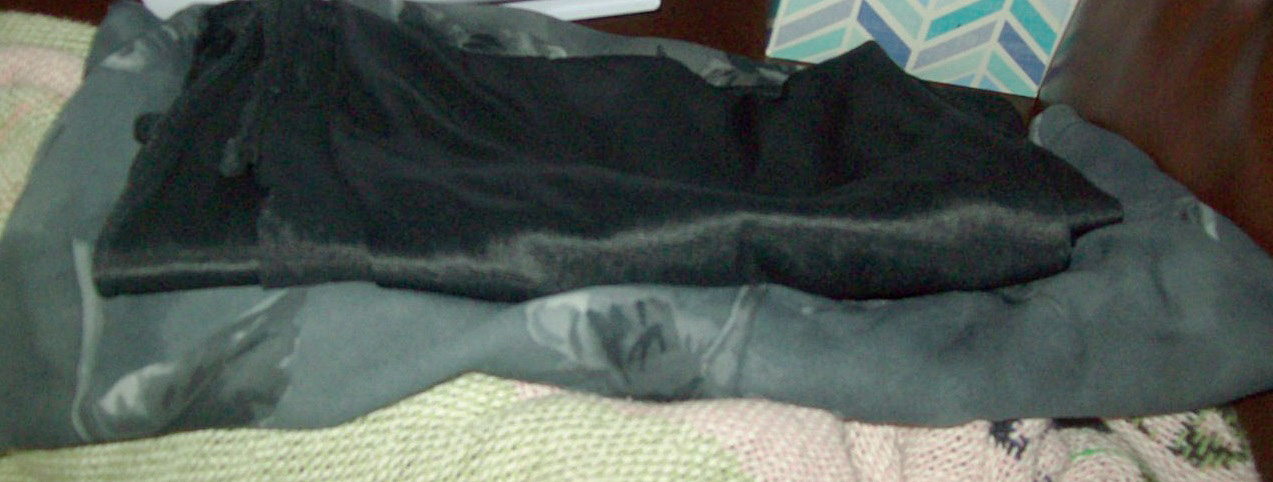
Cut off the underlining black fabric from my ripper-ruined clothing.
Step 2: Cut off the underlining black fabric from my ripper-ruined clothing. This way, it was completely separate from the pattern I wanted to use, and it was handy for an underlining detail for the skirt. Win/win, right?
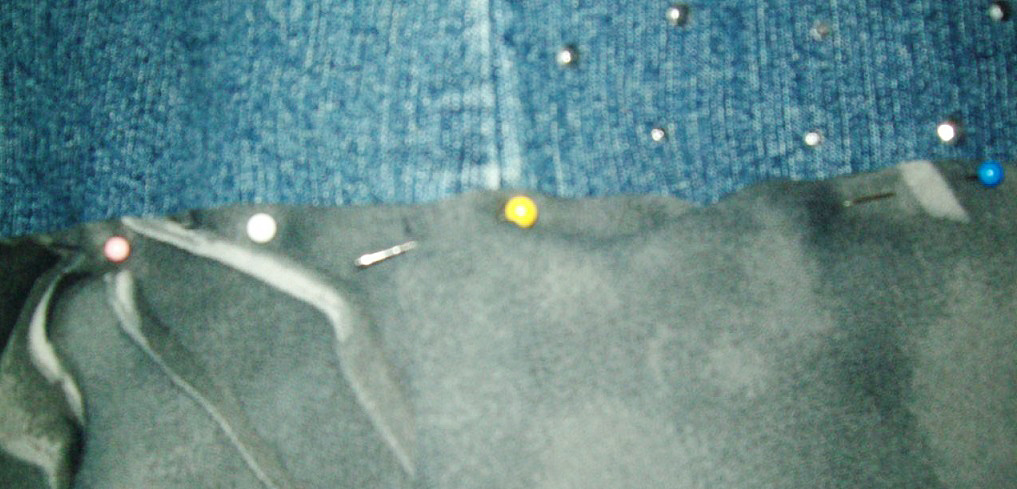
Step 3: Pin the underlining material to the skirt using straight pins. Luckily, it didn’t matter (since I didn’t think about it) if the line from my sewing matched to any line in the skirt because the floral pattern would cover it anyway. I just needed to make sure I stayed in the vicinity of the skirt’s already-present hem in order to not go so off-base with my sewing that the end result looked crooked.
Step 4: Hem the underlining fabric and make sure it came together when it needed to overlap at the end of its line. Again, it’s a good thing no one is supposed to see this piece of material because the section I used needed an extra piece sewn on to make it all the way around. That random addition might stick out, but who knows if I don’t tell them, right? Hey! You live and learn! I also made sure to cut away extra bits of material after I’d sewn so that there wasn’t excess falling well below the hem I’d created.
Step 5: Move on to the patterned fabric! After I looked over my options with the material I had, I decided on the piece that was at the bottom of the underlining black material so I could make use of the manufactured hem of the fabric. In addition, the material would already be set up for equal enough proportions since it began and ended in generally the same way from start to finish. All I needed to do was follow the same lines of the material to get a decent look for the skirt.
It’s time to straight pin the skirt!
Step 6: Once I’d selected the fabric I would use, it was time to straight pin it to the skirt! I kept it loose enough that the skirt didn’t bunch (if you pin it too tightly, you might end up with a pinched look you don’t care for) and made sure the fabric was being sewn above the underlining material. I also considered, this round, where my seam would be since A) I actually remembered, and B) it mattered since people would be able to see it. While the seam isn’t in exact line with the skirt’s side seam, at least it didn’t randomly show up in the front or something!
Almost there…
The final step of the process!
Step 7: Sew along the general area of those straight pins, and to piece together the floral fabric itself at the right moment when the sides would overlap. I did, however, have to make sure that the edges at the very bottom of that overlap would even out by adding a small hem. Since the overall hem was already there from the original clothing’s design though, that would be the final step of the process!
And, there you go! A pretty, sparkly skirt that has been upgraded into a pretty, sparkly skirt with matching material as an accessory!