Fabric for Filling Empty Wall Spaces

Fabric for Filling Empty Wall Spaces

Not so long ago, I had a series of plaques that I’d earned hanging on my wall above my bookshelf. Since then, the bookshelf was moved for the sake of rearranging my bedroom, and those same plaques were then hanging to the right side of my bed with a big space of emptiness below them. Now, because I had a concern about those plaques falling off the wall and onto the bed during the calm of a night’s sleep, I took them off of the wall altogether. And now?

Now, I have an even bigger empty space—one that exists from the ceiling to my bed.

Now, I have an even bigger empty space—one that exists from the ceiling to my bed.

Now, I have an even bigger empty space—one that exists from the ceiling to my bed.

Yawn

That’s boring. Very, very boring. It’s like my bedroom is incomplete, and I will potentially feel frustration over this until it’s covered and decorated as fully as the rest of the area is. So because I have such a distaste for the blankness of the wall, my mind has been perusing the possibilities as to what specifically could go on this space to fix the issue and therefore give me a more relaxed mentality in regard to this wall that’s so close to the right side of my bed.

My original idea for fixing my wall-is-too-empty issue was to hang a Marvel poster beside my bed, even though I know by experience that having a poster fall on you in the middle of the night can be a frightening experience. Why? Well, call me a child, but I still appreciate a good poster (and certain Marvel movies). It’s an easy fix that won’t give me a concussion if it falls at night, and it’s a cheap one if I buy the right poster. But then I got to thinking…

You see, I recently cleared out some clothes from the dresser, and if you’ve learned one thing about me through reading my posts on this blog, it could be that I’m cheap and like to make use of what I already have for fabric. So since I did that dresser-clearing, I have material right in my bedroom that can be used to create something to go on this too-empty wall to my right.
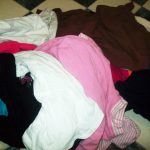
So since I did that dresser-clearing, I have material right in my bedroom that can be used to create something

So since I did that dresser-clearing, I have material right in my bedroom that can be used to create something

But what would that something be? That became the question, and through internet browsing, I’ve come up with two options I’d like to share with you.

Let’s brainstorm

The first of these possibilities is to create a wall quilt to hang there, one that’s a combination of the pieces of fabric that were banished from the dresser. Since I adore patchwork quilts, this option could be accomplished by the simple process of using similarly sized pieces of fabric for each block to compose something that’s bright and vivid—and an interesting touch to my wall décor. As I’ve covered patchwork quilts a number of times already on the blog, I won’t go into too much detail about how to make one. Just know that it’s a prospect, and time and effort could lead to a one-of-kind wall hanging to fix my problem through this method.

Beyond that though, I noticed a particular quilt idea that sparked an idea that moves away from the actual quilt theme. It was from a quilt that depicted a flower garden, and it occurred to me that the overall scene could be applied away from the quilt setting. How? You’d just need to assemble the pieces of the quilt project in separate formations and hang them on your wall instead of sewing them to the quilt. For instance, you could take a marker (use a fabric-friendly writing utensil!) and trace the patterns of flowers, butterflies, clouds, the sun, a house… Whatever you feel is appropriate for the scene you’re trying to showcase. Simple rectangles could be used to create a fence, or a combination of fabric types could come together to create something as intricate as a rosebush. Just imagine a hole fabric-created garden scene placed right on your wall!
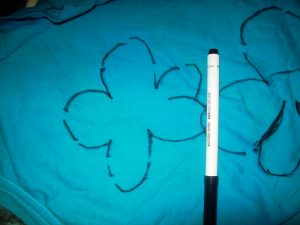
Take a marker (use a fabric-friendly writing utensil!) & trace the patterns of flowers, butterflies, clouds, the sun, a house…

Take a marker (use a fabric-friendly writing utensil!) & trace the patterns of flowers, butterflies, clouds, the sun, a house…

In fact, this idea could be embraced for more than just using your fabric to cover up an empty space on your wall. You could use your old fabric to create holiday scenes, for example, for a sentimental touch to your decorations. If you only have red and white, you could make candy canes. Only blue? How about snowflakes?! A series of fabrics? Get to work on a gingerbread house! These individual pieces could be tiny projects that of themselves are beautiful and worth showing off, but when you bring them together, their appeal increases—a lot!

Fabric for Filling Empty Wall Spaces

Don’t overlook the prospect of constructing these tiny projects that come together for a bigger work of art! It’s like a quilt, but without the actual quilt part—which is a pretty interesting twist to me!

Fancy-Up a T-Shirt

Fancy-Up a T-Shirt

Fancy-Up a T-Shirt

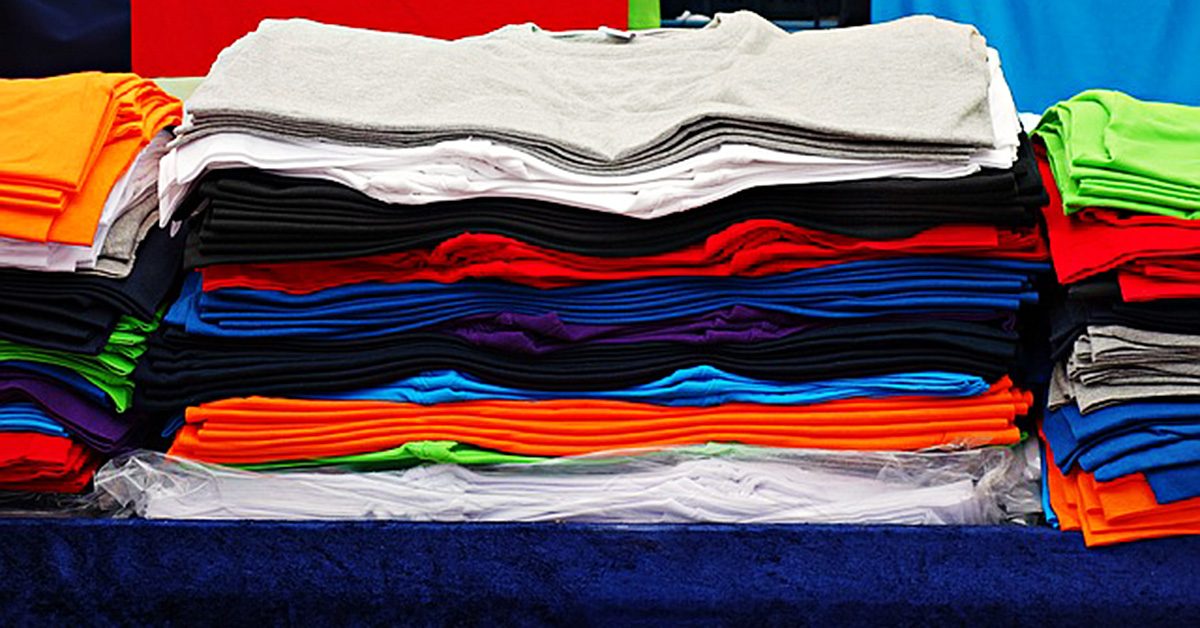
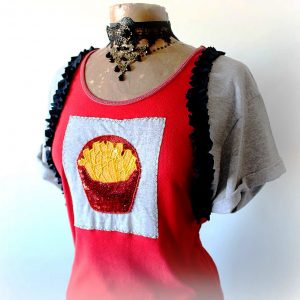
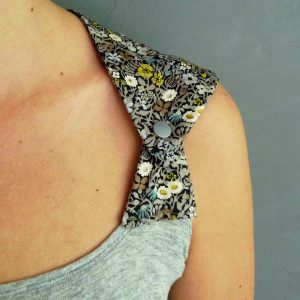
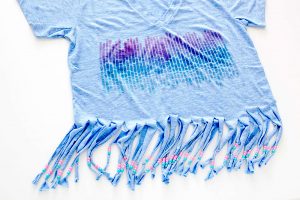
If you’re anything like me, when you find a t-shirt that fits well and is comfortable, you buy a bunch of them in a bunch of colors. Next time you do this, buy at least one more in a duplicate color. That t-shirt becomes the base for creating a fancy t-shirt that shows of your personal style. Build off it using items like lace, patches, fabric scraps, piping and beads. Or try your hand at embroidery.

Lace

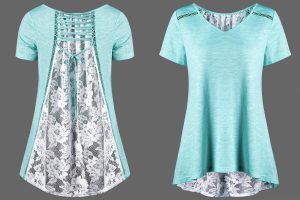
There are a couple of ways to use lace on a t-shirt. You can use full pieces of it to create a collar or edging on the sleeves or bottom. If that’s a little too vintage for you, try cutting apart lace and sewing parts of the design on the shoulder, sleeves, hem or around the neckline.

There are a couple of ways to use lace on a t-shirt.

There are a couple of ways to use lace on a t-shirt.

Patches

I’m a big fan of patches. Browse through your local craft store and find some that you really like. Place them on the sleeves, shoulders or bodice of your t-shirt to create the look you want. Even if they’re iron patches, I advise you to sew them on using either your machine or hand stitching.

I’m a big fan of patches.

I’m a big fan of patches.

Fabric scraps

Use these in a similar fashion as store bought patches. It’s a great way to use up some of your fabric stash while creating a funky, country t-shirt look. I recommend sewing the edges under to prevent fraying, unless you’re going for that look. Using a fabric marker in combination with fabric scraps can add to the country-chic look.

Use these in a similar fashion as store bought patches.

Use these in a similar fashion as store bought patches.

Piping

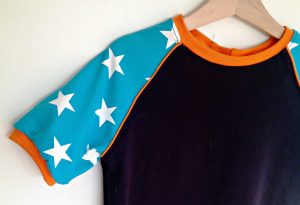
I love using piping around the bottom of the shirt and sleeves, but there are other options too. You can create a military look using piping on the shoulders or add some funk to the bodice. Get creative and use colors that contrast from the t-shirt color.

Get creative & use colors that contrast from the t-shirt color.

Get creative & use colors that contrast from the t-shirt color.

Beads

You can do a lot with beads on your t-shirt.

You can do a lot with beads on your t-shirt.

You can do a lot with beads on your t-shirt. They look great as a faux necklace around the neckline or along the edges of the sleeves or bottom of the shirt. Another option is to create a design on the front of back of your shirt using beads. I suggest using a washable marker or pencil to draw out the design before placing the beads.

Whether you use one or many of these techniques, you’ll wind up with a t-shirt that expresses your sense of style. They’re great in combination or alone. A t-shirt with even one of these creative additions would cost quite a bit in a store. Doing it yourself is both fun and cost effective. Give it a try and see what you come up with.

Mending Mabel

Mending Mabel

Hi! Good to see you. Hope you are having warm weather like here in Texas!

Today, I want to just give you a quick lesson for mending project.

My current task is to shorten a pair of my hubby’s leisure pants. They are a pair of soft flannel pants that he bought a while back, and they (uhhh) kind of surfaced as I was packing my sewing studio to move. I secretly panicked when he reminded me, he hasn’t seen them in a while! I sweetly said, “Oh yes, dear, I have them. They are on the mending list.”

That’s a call to action for me! So he went out to do his errands, and I scrambled in to find the buried pants.

So as quickly as possible, I found my also found a few necessary tools to accomplish this goal, hopefully in the time he was gone.

I assembled:

  1. Pins
  2. Olfa 45 mm Rotary Cutting mat, the one which is 18″ x 24″
  3. Rotary Cutter
  4. Acrylic Ruler (these packages at SewingMachinesPlus.com come with everything you need all together – great deal!!)

I also keep on hand a few smaller rulers, such as the June Taylor Shape Cut/Sprint as well as the Handi Quilter Mini Ruler for smaller projects. SewingMacinesPlus.com has a great selection of rulers and other supplies for your sewing needs.

Back to the project, now

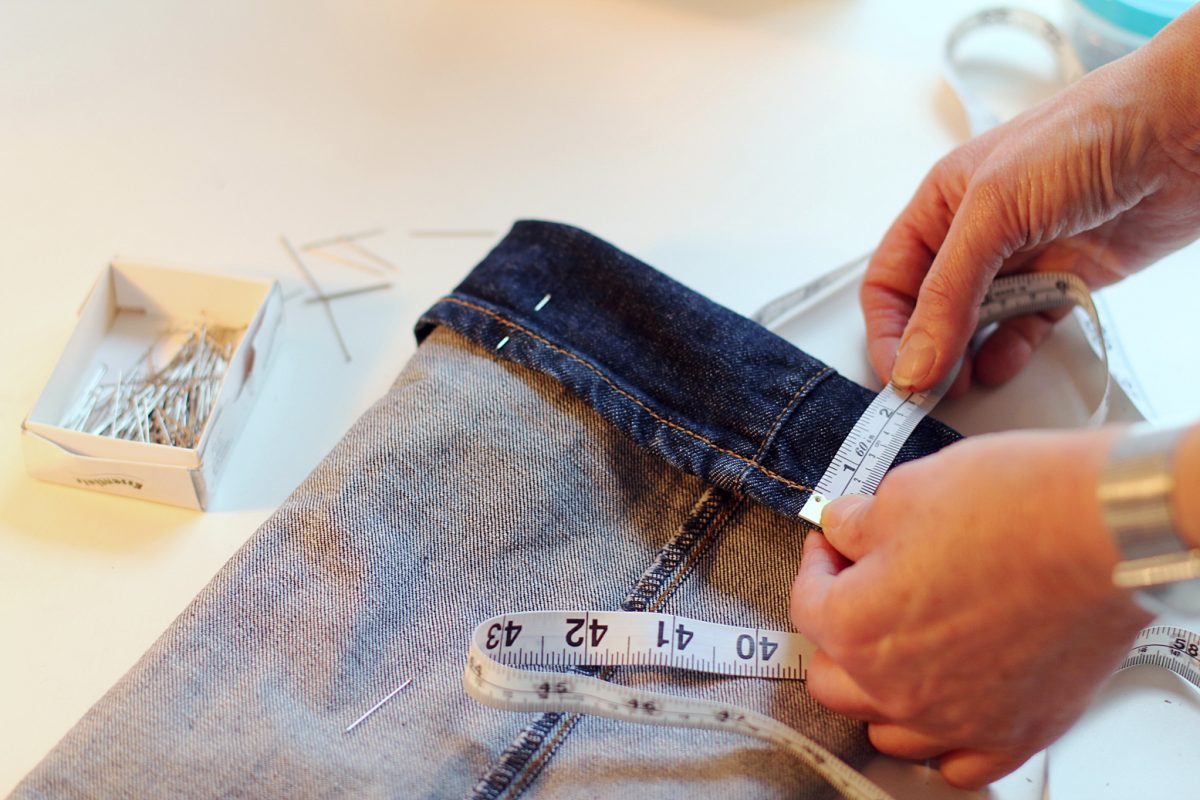
  1. The first step was shortening the pants which were about 4 inches too long. I turned the pants inside out so they were ready to measure and sew. I measured and cut the 4 inches off both legs.
  2. Turning the edge toward the top of the pants about ¼ inch, I pressed with my iron. They can be pinned first if you want to be precise, however, actually I just winged it, but hey, I was in a hurry.
  3. Then turning again approximately an inch, (actually two finger widths) I measured a press a crease again.
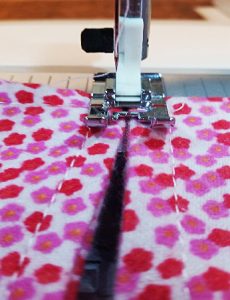
  4. I changed my bobbin thread to black since it would show on the right side, and carefully stitched a new hem very close to the fold.

Ta da!

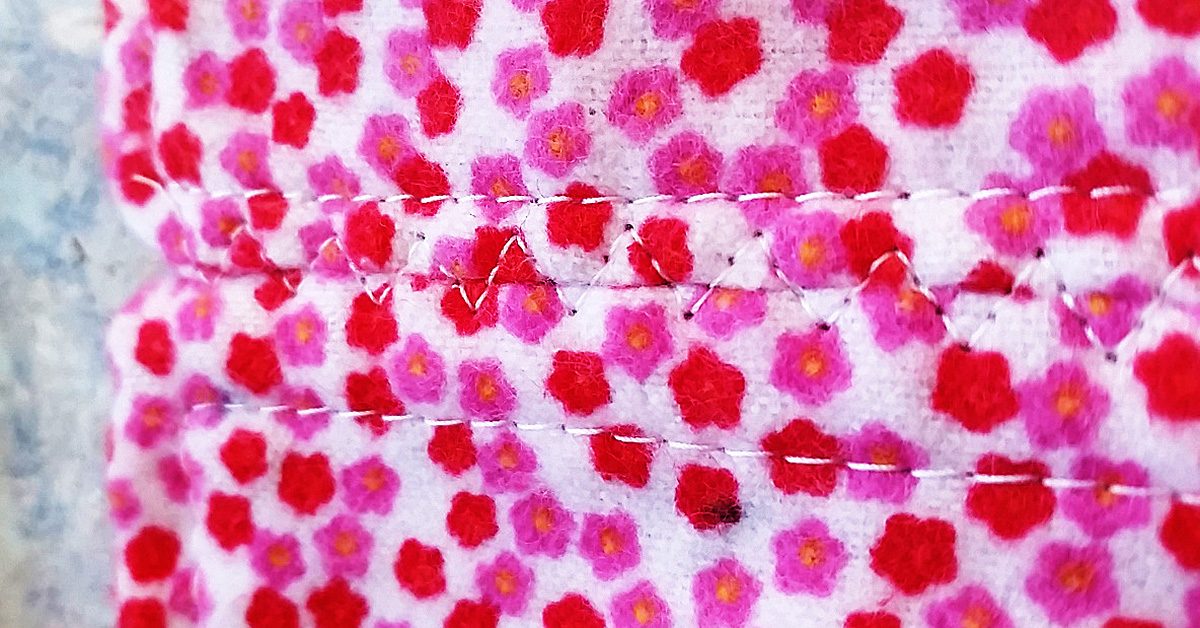
Last, stitch very close to folded edge on both legs, press the hem flat & you are done!

Last, stitch very close to folded edge on both legs, press the hem flat & you are done!

Last, stitch very close to folded edge on both legs, press the hem flat, and you are done! Or you can also blind-hem stitch by hand. I find that hand-stitching is very relaxing and gratifying when the stitches come out nice and neat.

So, what kinds of project do you have waiting to be mended? It’s a rewarding thing to do when you compare the cost of new clothes to some time devoted to thinking through the best way to refurbish something that takes just a few minutes to fix. Please be assured, measurements with rulers are better than measuring with fingers, and results are more professional. Rushing never works for me without tearing out something.

Back to packing and discovering other projects waiting for me. Nope, maybe tomorrow. Hubby is home!

Happy Sewing until next time.

Repurposing Flannel Baby Wipes to A Snuggle Blanket

Repurposing Flannel Baby Wipes to A Snuggle Blanket

Hello there! I’ve been playing with something I would like to share with you.

Stitch the right sides together on all 4 sides, leaving a small space open on the last side.

Stitch the right sides together on all 4 sides, leaving a small space open on the last side.

Let me warn you, it is rather novel, as I haven’t seen this done before in sewing blogs or other instructions, but it works pretty well I think.

Recently, I several kinds of small baby wipes made from soft, warm flannel. Rather than 1 layer of flannel, and just a simple serger stitch, I designed them to be thicker and have no fraying edges when washed. Each square is approximately 9″ x 9″ finished as below.

So, I used 2 pieces of the fabric, and I stitched the right sides together on all four sides, leaving a small space open on the last side to place my hand inside and pull the fabric’s right sides to the outside. What? (I heard you thinking there!)

Think of throwing a pillow case in the dryer with the inside seams showing. When dried in the dryer and smelling like Snuggle, you put your arms inside, find both far corners of the pillow case, and pull them forward to you drawing the right sides of the pillowcase to the outside or the top side. So then, I carefully ironed the edges down so I could put top-stitching about one-quarter inch from the edge of the wipe. Finished product soft, bright, cuddly wipe.

BUT WAIT! There’s more

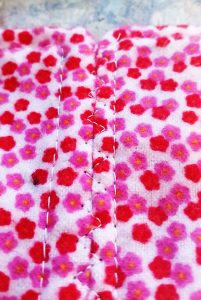
This shows how the seam was done, & it is sturdy like seam made in the traditional way.

This shows how the seam was done, & it is sturdy like seam made in the traditional way.

I thought why can’t I repurpose these cloths into something larger. It’s a small baby print, and with soft flannel on both sides, I brainstormed about how I can piece the two squares together without having to take the stitching apart of one side of each square to join them. That would involve doing all the squares accordingly, and would destroy my top-stitching.

This shows how the seam was done, and it is sturdy like seam made in the traditional way. This finished end to end seam reminds me of flat feld seams as used in my Pojagi pieces, although not quite. It also could be an alternate seam method for quilts without using a backing. A piece of batting could be added to each square to give a more padded feel to this alternate way of quilting, (like rag quilts but no raw edges or fringe.)

I hope you enjoyed my blog today, and I hope to see you again soon. I always welcome your experiences in sewing. After all, what would we do if we didn’t sew?

Take care for now.

May the 4th Be with Your Sewing Projects

May the 4th Be with Your Sewing Projects

Not every holiday has to be one that leaves the shelves of stores stocked with accessories and baking supplies that are that-holiday-themed. Some of them can pass by with a lot less glitz and glamour, with only those people who are interested and aware of said holiday embracing it on their own terms. National Talk Like a Pirate Day, anyone?

Pirate talk included, one of my absolute favorite holidays of that category is one that embraces a very real part of my nerdy heart: Star Wars Day.

That’s right. May the 4th is a good day for me! In fact, for this Star Wars Day, I’m planning on trying to introduce my youngest niece to the first movie of the original trilogy. Here’s hoping she loves Chewbacca as much as her Aunt Connie does!

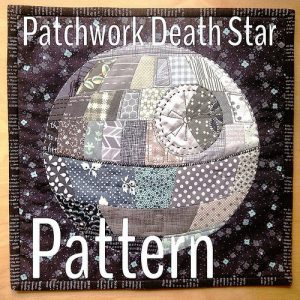
There are a number of options for this kind of product, but one that really stuck out to me was this Death Star quilt.

There are a number of options for this kind of product, but one that really stuck out to me was this Death Star quilt.

And there are plenty of sewing projects that are fitting for the day. Of course, it’s a little late in the game to make these for this Star Wars Day, but they’re ideas to keep in your head for 2018!

For instance, you could make a Star Wars blanket or quilt. There are a number of options for this kind of product, but one that really stuck out to me was this Death Star quilt. I absolutely love the collage element that makes up the Death Star in this project, and the galaxy-esque material it’s on is a perfect fit for the theme. It’s dark and looming, just like the Death Star should be! I, personally, would be proud to be the maker of such an interesting take on the empire’s weapon!

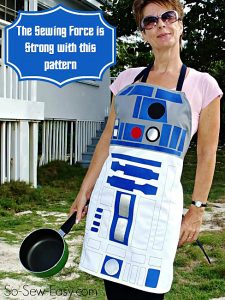
For a person — like me — who adores baking, making a character-inspired apron like this one feels like a wonderful option!

For a person — like me — who adores baking, making a character-inspired apron like this one feels like a wonderful option!

But if you’re feeling a little more Jedi/Rebel Alliance-inclined, maybe you’d rather embrace a concept from their side of things — like R2-D2. For a person — like me — who adores baking, making a character-inspired apron like this one feels like a wonderful option! Since I may or may not have a series of Star Wars kitchen supplies on an Amazon wish list, this would be a wonderful addition to the mix. I could totally see myself wearing an R2-D2 apron and oven mitts while my R2-D2 oven timer buzzes…

Oh, & remember how I said I loved Chewbacca? Imagine your little one decked out in this Chewbacca costume!

Oh, & remember how I said I loved Chewbacca? Imagine your little one decked out in this Chewbacca costume!

Oh, and remember how I said I loved Chewbacca? Imagine your little one decked out in this Chewbacca costume! This one could double as a Star Wars Day project and a Halloween one since this would make an adorable costume for trick-or-treating time! It would include a number of pieces — like ammo belt details — so you might want to make sure you start early enough to tend to all of these aspects!

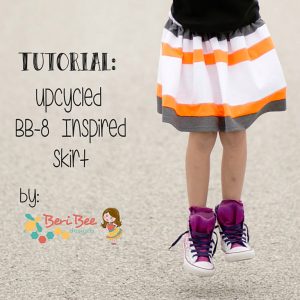
Another Star Wars project that you could make for your little one is this BB-8 skirt.

Another Star Wars project that you could make for your little one is this BB-8 skirt.

Another Star Wars project that you could make for your little one is this BB-8 skirt. It’s a nod to the more recent Star Wars movies with one of the two awesome droids that have come to the surface through them. Seriously! I adore BB-8, and K-2 is so awesome! This skirt would be something that could be worn any other day of the year as well since while it’s a nod to BB-8, it’s basic enough that it doesn’t necessarily have to be a skirt that’s Star Wars themed. It could easily just be a skirt with stripes, which isn’t day-specific! Essentially, with this product, you could have a perfect piece of clothing to wear through the day that’s general enough to wear again and again, regardless of the day.

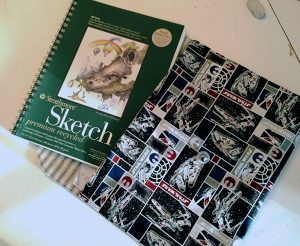
One last project applies to anyone in need of carrying around documents & such — whether that something to carry is the sketch pad shown or a stack of papers that you, as a teacher, graded!

One last project applies to anyone in need of carrying around documents & such — whether that something to carry is the sketch pad shown or a stack of papers that you, as a teacher, graded!

One last project applies to anyone in need of carrying around documents and such — whether that something to carry is the sketch pad shown or a stack of papers that you, as a teacher, graded! Now, obviously, you might want to make sure that this project is okay with your employer before you carry it into a formal meeting, but if you get a thumbs-up, there’s something awesome to me about the idea of carrying a Star Wars case into said meeting with your company-important documents. This could also be used for things around the house, like keeping your receipts or pictures in, and it’s a small enough project to easily manage between today and May 4, 2018!

This is the perfect day, in my opinion, to embrace your inner nerd and run with your sewing projects! It’s for what could be labeled the epitome of Sci Fi/Fantasy movies, and there’s plenty of room to work these mentioned projects into your May the 4th schedule. Need proof? Here you go: You could grab that Star Wars quilt and the baked goods you made while wearing your apron, toss that quilt over you and your kids in the Chewy costume and BB-8 skirt, put your distractions in your carrying case, and watch some Han Solo!

Spicing It Up! DIY Skirt Alteration

Sometimes, there are things in life that are pretty fantastic, but a bit of extra effort could make them even more so. That mentality can lead to furthering an education or moving to a different city…

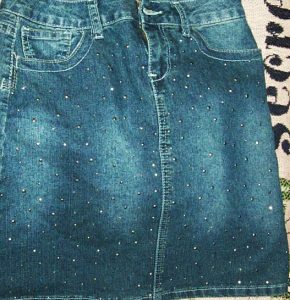
This skirt belongs to one of the nieces & the sparkly glam is enough to make me jealous!

This skirt belongs to one of the nieces & the sparkly glam is enough to make me jealous!

Or adding fabrics. What looks remarkable in and of itself can take on a whole new level of beauty with a bit of thought or creativity. Example? This skirt. It belongs to one of the nieces, and the sparkly prettiness is enough to make me jealous that I don’t have a skirt like this one. What I do have though is material from my own clothing that zipper-made holes ruined, and the color scheme was kind of perfect to go along with the niece’s pretty, sparkly skirt.

Well, there was no sense in throwing away usable material that could be a sewing project, right? This might or might not have been my logic before diving into said project.

So, let’s break this down, shall we?

Let’s begin! Step-by-Step

The mission: Use the zippered-up material on the already wonderful and sparkly skirt.

The process: Simple, but effective!

Step 1: Cut the zippered-up material into usable pieces. To do this, I first cut away the zipper territory, then cut along the clothing’s seam. That seam was easier to follow than an imagined line, so there was less chance of me getting waaaaay off in my cutting. The results weren’t small enough to use at this point, but they were flat enough to help me gauge what I needed to do for the future.

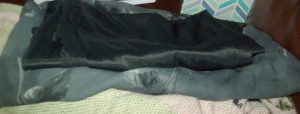
Cut off the underlining black fabric from my ripper-ruined clothing.

Cut off the underlining black fabric from my ripper-ruined clothing.

Step 2: Cut off the underlining black fabric from my ripper-ruined clothing. This way, it was completely separate from the pattern I wanted to use, and it was handy for an underlining detail for the skirt. Win/win, right?

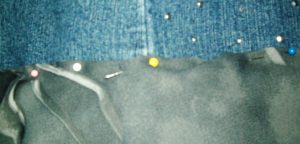
Step 3: Pin the underlining material to the skirt using straight pins. Luckily, it didn’t matter (since I didn’t think about it) if the line from my sewing matched to any line in the skirt because the floral pattern would cover it anyway. I just needed to make sure I stayed in the vicinity of the skirt’s already-present hem in order to not go so off-base with my sewing that the end result looked crooked.

Step 4: Hem the underlining fabric and make sure it came together when it needed to overlap at the end of its line. Again, it’s a good thing no one is supposed to see this piece of material because the section I used needed an extra piece sewn on to make it all the way around. That random addition might stick out, but who knows if I don’t tell them, right? Hey! You live and learn! I also made sure to cut away extra bits of material after I’d sewn so that there wasn’t excess falling well below the hem I’d created.

Step 5: Move on to the patterned fabric! After I looked over my options with the material I had, I decided on the piece that was at the bottom of the underlining black material so I could make use of the manufactured hem of the fabric. In addition, the material would already be set up for equal enough proportions since it began and ended in generally the same way from start to finish. All I needed to do was follow the same lines of the material to get a decent look for the skirt.

It's time to straight pin the skirt!

It’s time to straight pin the skirt!

Step 6: Once I’d selected the fabric I would use, it was time to straight pin it to the skirt! I kept it loose enough that the skirt didn’t bunch (if you pin it too tightly, you might end up with a pinched look you don’t care for) and made sure the fabric was being sewn above the underlining material. I also considered, this round, where my seam would be since A) I actually remembered, and B) it mattered since people would be able to see it. While the seam isn’t in exact line with the skirt’s side seam, at least it didn’t randomly show up in the front or something!

Almost there…

The final step of the process!

The final step of the process!

Step 7: Sew along the general area of those straight pins, and to piece together the floral fabric itself at the right moment when the sides would overlap. I did, however, have to make sure that the edges at the very bottom of that overlap would even out by adding a small hem. Since the overall hem was already there from the original clothing’s design though, that would be the final step of the process!

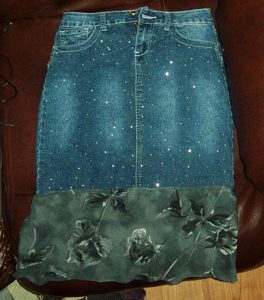
And, there you go! A pretty, sparkly skirt that has been upgraded into a pretty, sparkly skirt with matching material as an accessory!

What do you think?

Reuse and Recycle...Material!

Reuse and Recycle…Material!

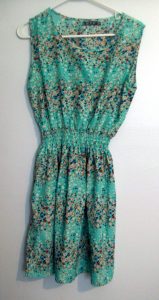
I had this piece of clothing that really wasn’t my style.

I had this piece of clothing that really wasn’t my style.

I’ve heard stories about my grandmother recycling material and such for the sake of future sewing projects. And, no, I’m not going give you a how-to of how to cut up your couch for the reusable material and filling! But the overall idea is a part of the general theme of today’s post: Reusing material for a new purpose.

I had this piece of clothing that really wasn’t my style. It’s the green, flowery one in the picture, and it wasn’t something I felt was *me* enough to wear in public. BUT, it did get the gears in my head turning with possibility. Even though I didn’t want to wear this as a top or a dress, I was convinced it could make a fairly good apron. I decided to keep the material for future cutting/sewing use.

I think it was last week that I got around to working on the project, and the process wasn’t all that difficult. In fact, there’s a tip for new sewers: Keep an eye open for projects that wouldn’t be overly difficult to build your sewing skills. What I had in the beginning with this piece of material just looked like it could be an apron, with the style and the fabric. And, when thinking through how I’d go about turning the clothing into an apron, I realized the steps wouldn’t be that numerous. If you can catch enough finds like this one—things you might have around your house that you’re maybe planning on throwing away—you can reuse material, make projects for little to no money, and improve your sewing with what could amount to baby steps! Sounds like a win to me!
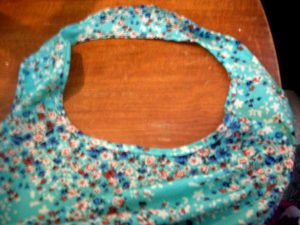
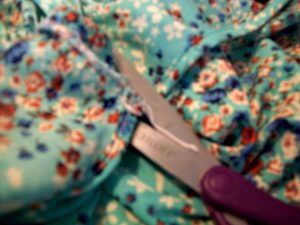
One side of the clothing had the seam along it, so I only had to follow the outline there.

One side of the clothing had the seam along it, so I only had to follow the outline there.

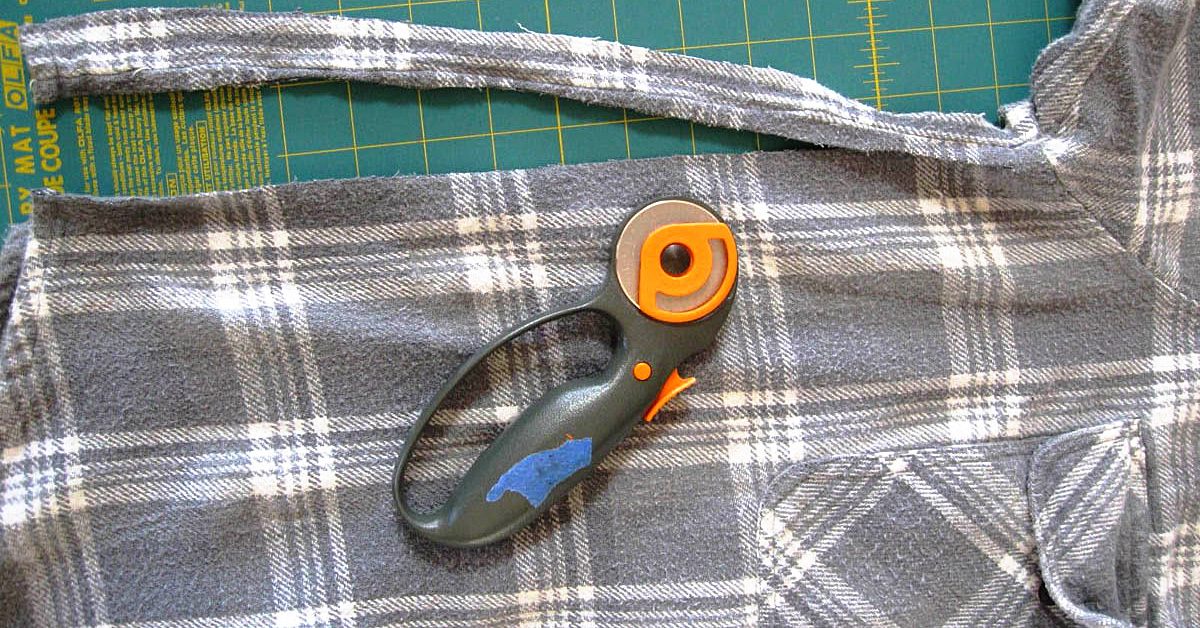
So what were the baby steps for this project? Well, they started with cutting, since I don’t know that I’ve ever seen an apron with a full back on it. One side of the clothing had the seam along it, so I only had to follow the outline there. The other side depended more on my judgment, but I do have a sewing mat and a rotary cutter now to hopefully help make more accurate cuts. Yay, sewing tools!

The material circling the neck could stay in place though, since aprons attach there anyway. That particular curve required a secondary round of cutting, which I’ll blame on my lack of experience with apron-making. I don’t usually have to make the right-place cuts for loops to go around my neck, so I won’t think too harshly about myself for going overboard on the first try. In the end, if you try for an apron, remember the loop should probably be no more than one inch thick once your sewing is finished, and make sure you’re keeping with the same general width range throughout your cutting. Otherwise, your backing might seem bulky overall, or just in parts. Neither is necessarily a good option!

Remember the loop should probably be no more than one inch thick once your sewing is finished.

Remember the loop should probably be no more than one inch thick once your sewing is finished.

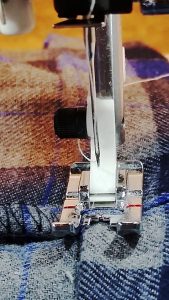
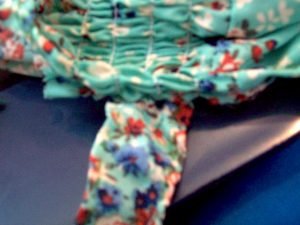
Once I was finished with the cutting, I sewed hems along the edges where I’d cut, and used some of the material I’d cut off for straps that I could use for the ties to attach to the waist. Honestly, that task was kind of frustrating since the straps were so small, and the thread kept bunching or wrapping around the fabric. Lesson I could potentially take from this experience: Tiny material should maybe be reserved for later use, like after I’ve gained more experience with sewing!

I sewed hems along the edges where I’d cut, and used some of the material I’d cut off for straps that I could use for the ties to attach to the waist.

I sewed hems along the edges where I’d cut, and used some of the material I’d cut off for straps that I could use for the ties to attach to the waist.

Possible lesson you could take from this experience, if you’re an early sewer: If you’re going to make an apron, start with thicker straps to go around the waist—maybe two inches or a bit more. As far as appearance goes, it might be better for those straps to be a little bulky than for them to have confusing thread patterns. As far as process goes, saving yourself the annoyance of fighting with your thread might be worth the extra material.

One more tip for the road: If you do a project like this one, make sure that when you can, you make use of the hem on the original clothing. It might seem like cheating, but saved effort and thread is saved effort and thread!

All in all, keep an eye out in your own house for things to recycle into sewing projects. You can learn to be a better sewer without breaking your bank account!