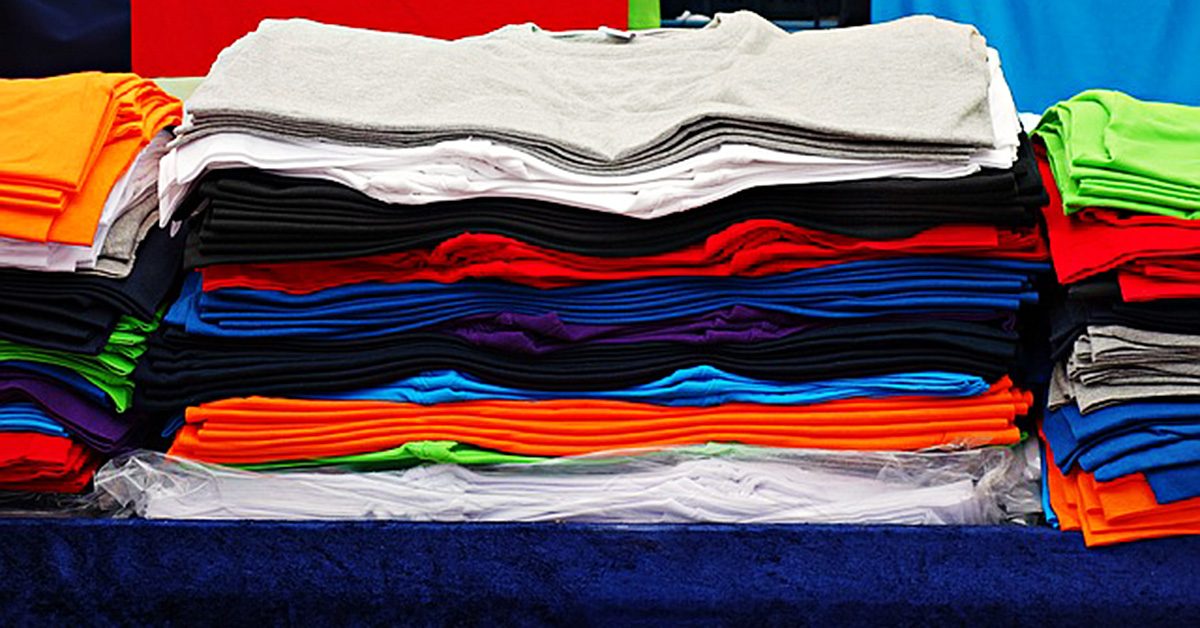
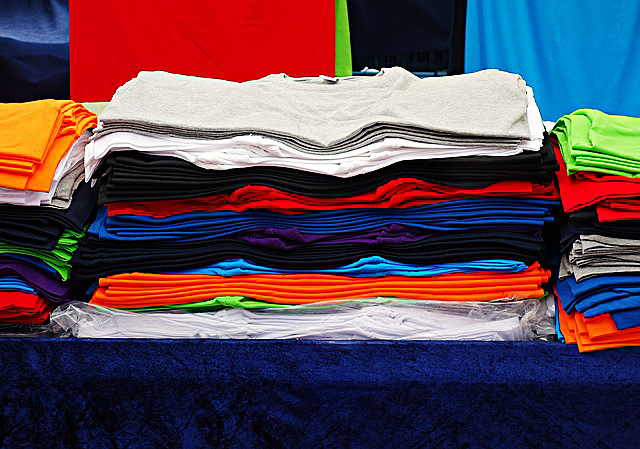
If you’re anything like me, when you find a t-shirt that fits well and is comfortable, you buy a bunch of them in a bunch of colors. Next time you do this, buy at least one more in a duplicate color. That t-shirt becomes the base for creating a fancy t-shirt that shows of your personal style. Build off it using items like lace, patches, fabric scraps, piping and beads. Or try your hand at embroidery.
Lace
There are a couple of ways to use lace on a t-shirt. You can use full pieces of it to create a collar or edging on the sleeves or bottom. If that’s a little too vintage for you, try cutting apart lace and sewing parts of the design on the shoulder, sleeves, hem or around the neckline.
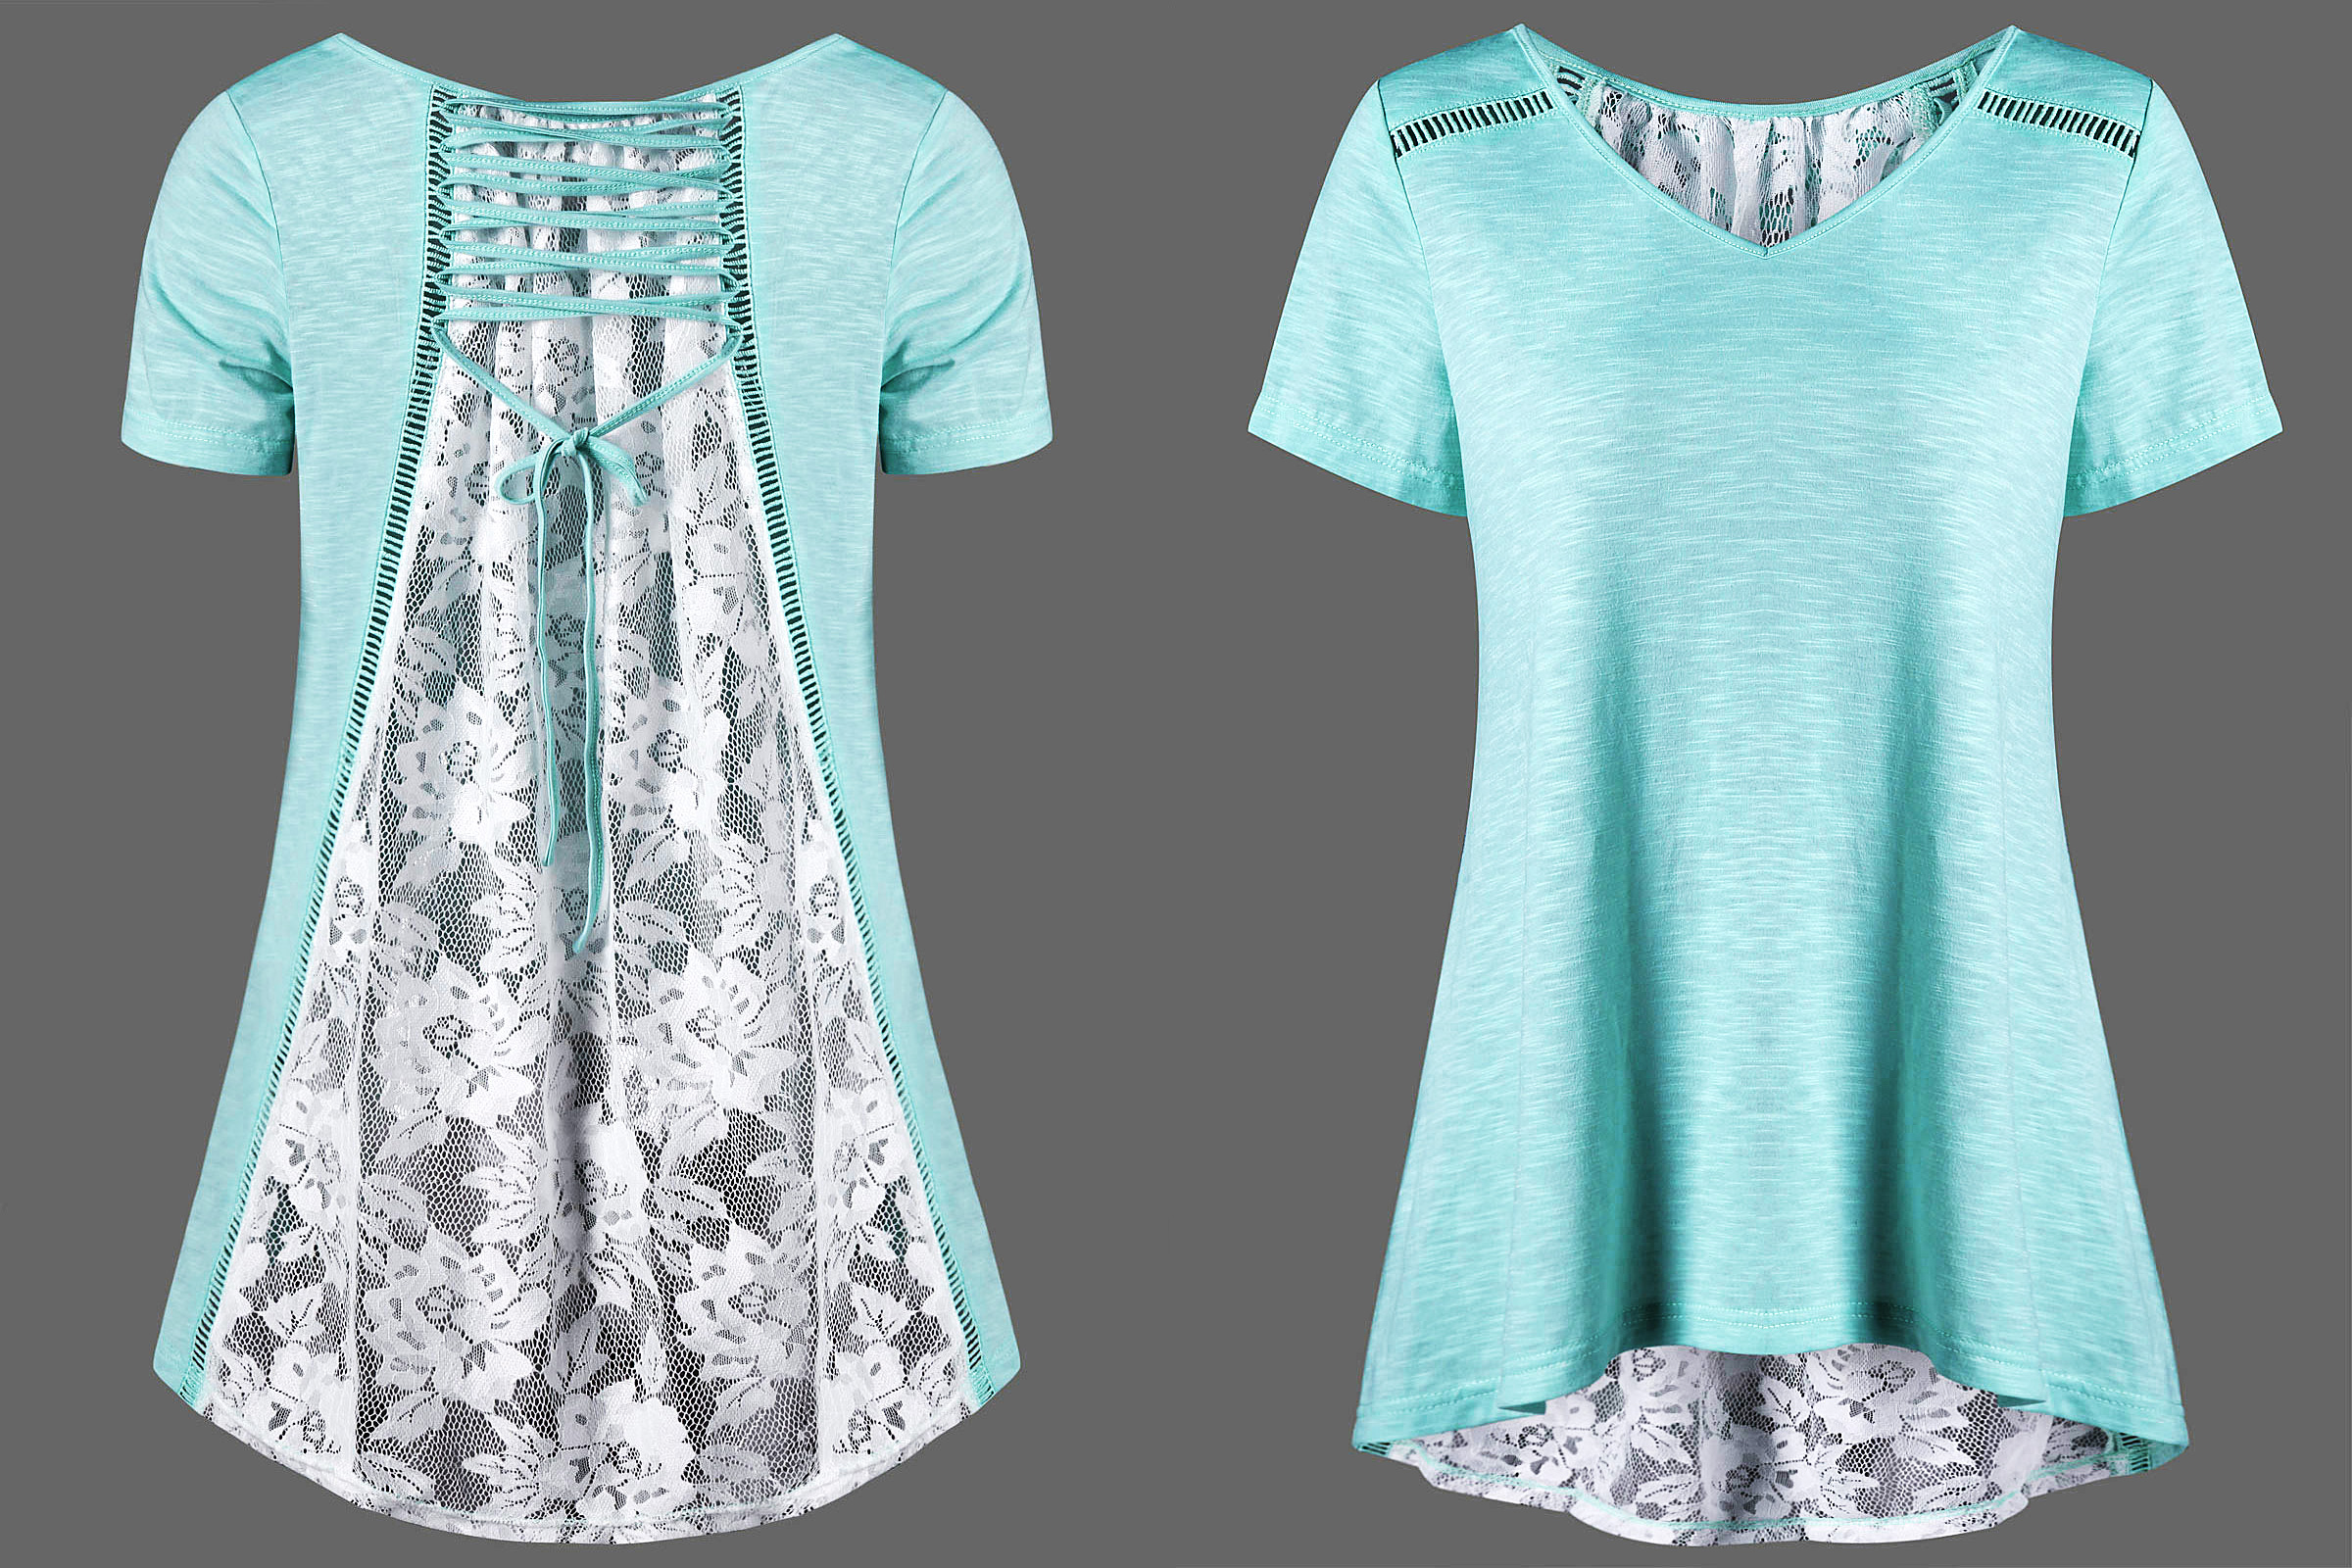
There are a couple of ways to use lace on a t-shirt.
Patches
I’m a big fan of patches. Browse through your local craft store and find some that you really like. Place them on the sleeves, shoulders or bodice of your t-shirt to create the look you want. Even if they’re iron patches, I advise you to sew them on using either your machine or hand stitching.
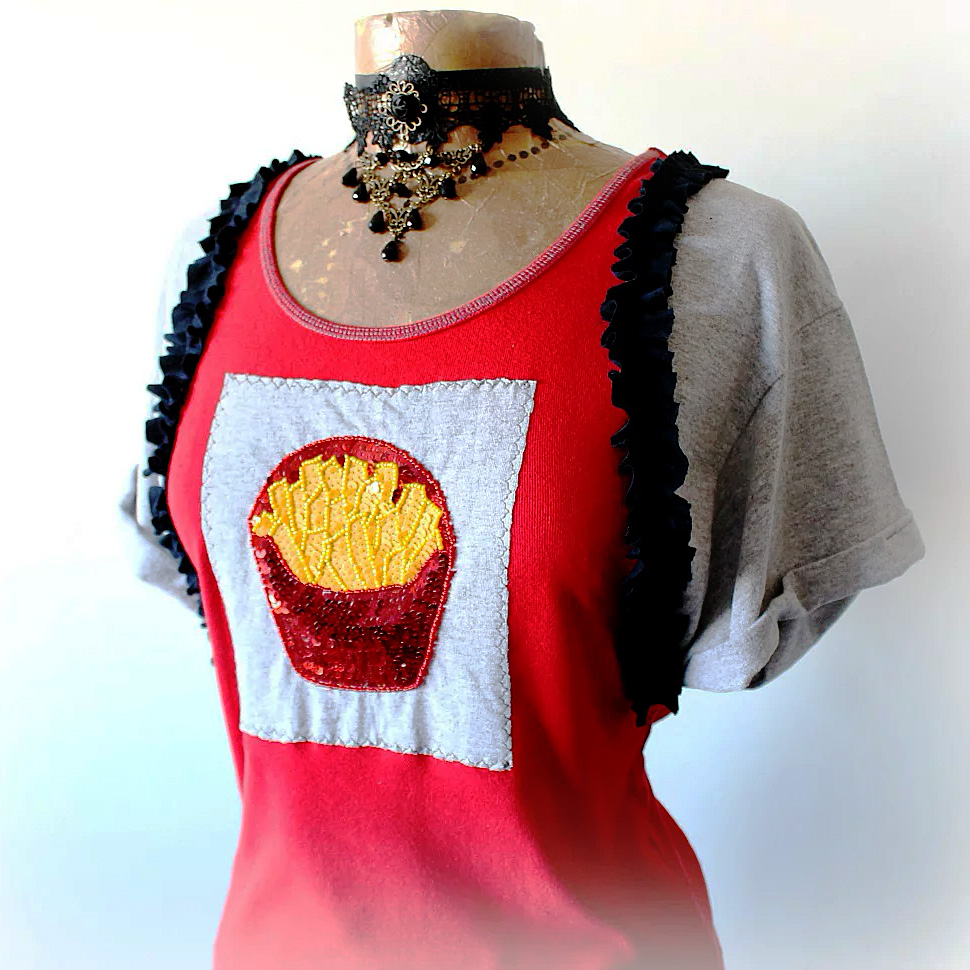
I’m a big fan of patches.
Fabric scraps
Use these in a similar fashion as store bought patches. It’s a great way to use up some of your fabric stash while creating a funky, country t-shirt look. I recommend sewing the edges under to prevent fraying, unless you’re going for that look. Using a fabric marker in combination with fabric scraps can add to the country-chic look.
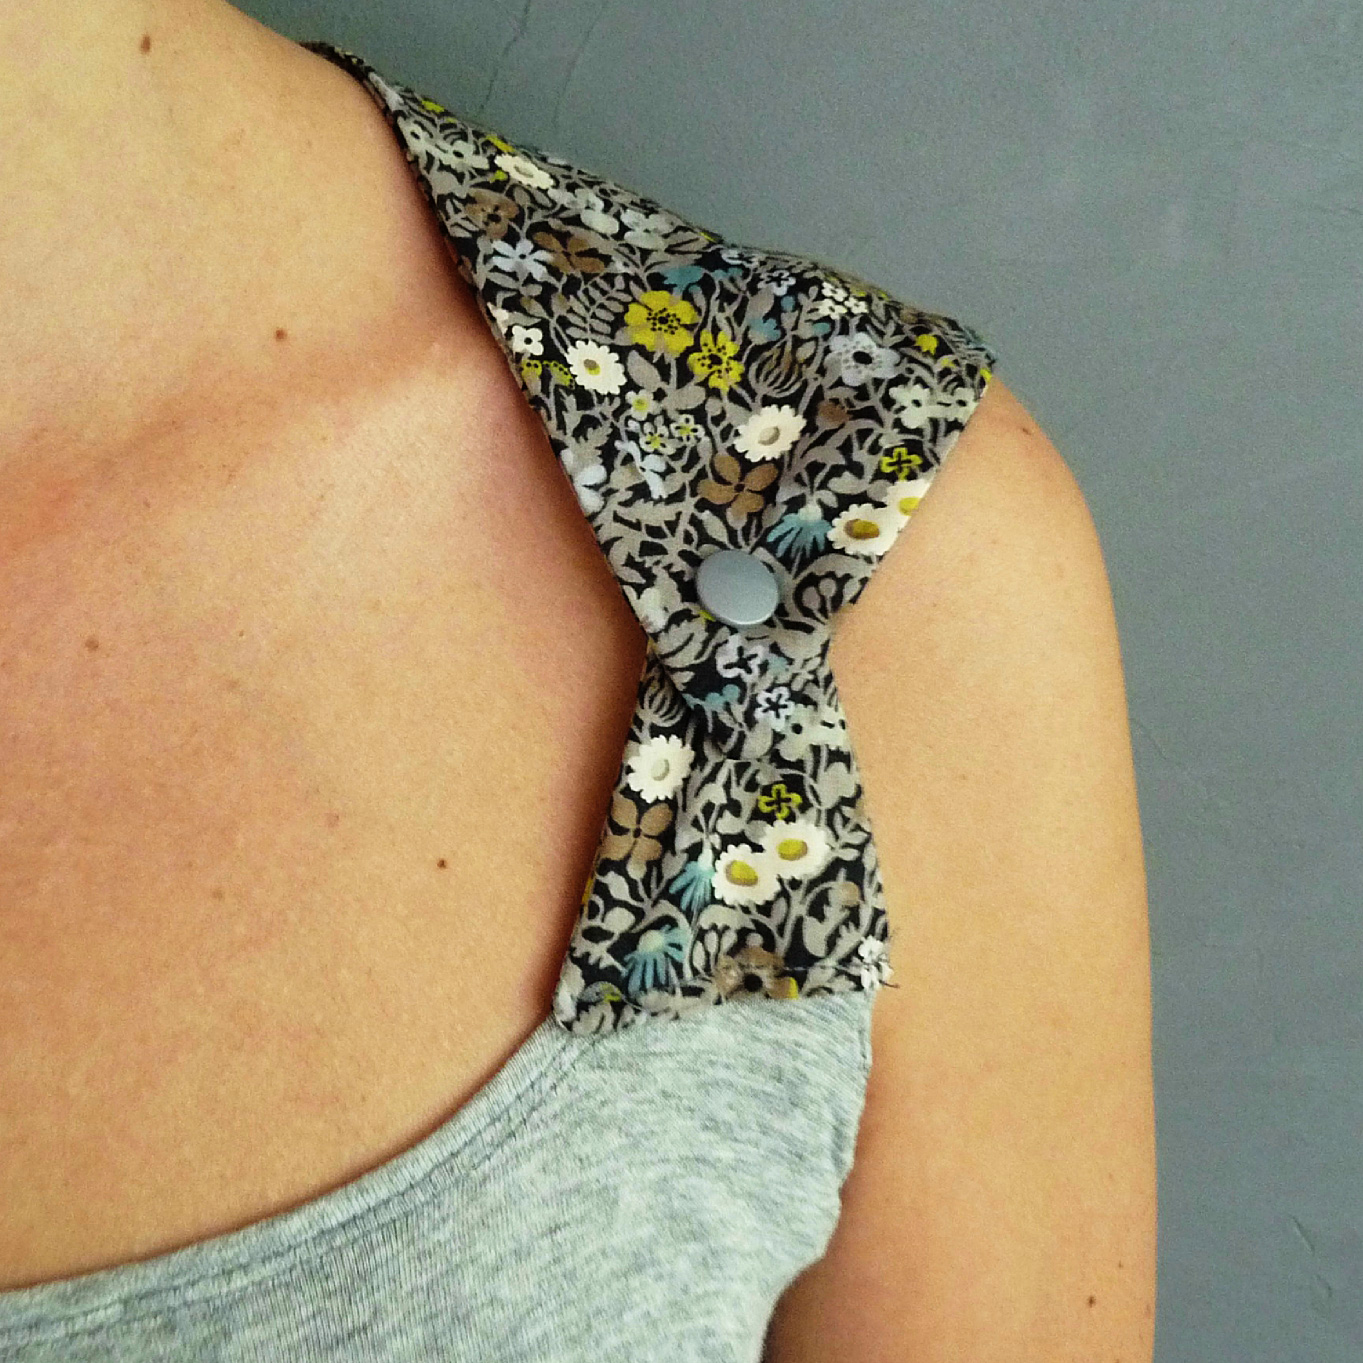
Use these in a similar fashion as store bought patches.
Piping
I love using piping around the bottom of the shirt and sleeves, but there are other options too. You can create a military look using piping on the shoulders or add some funk to the bodice. Get creative and use colors that contrast from the t-shirt color.
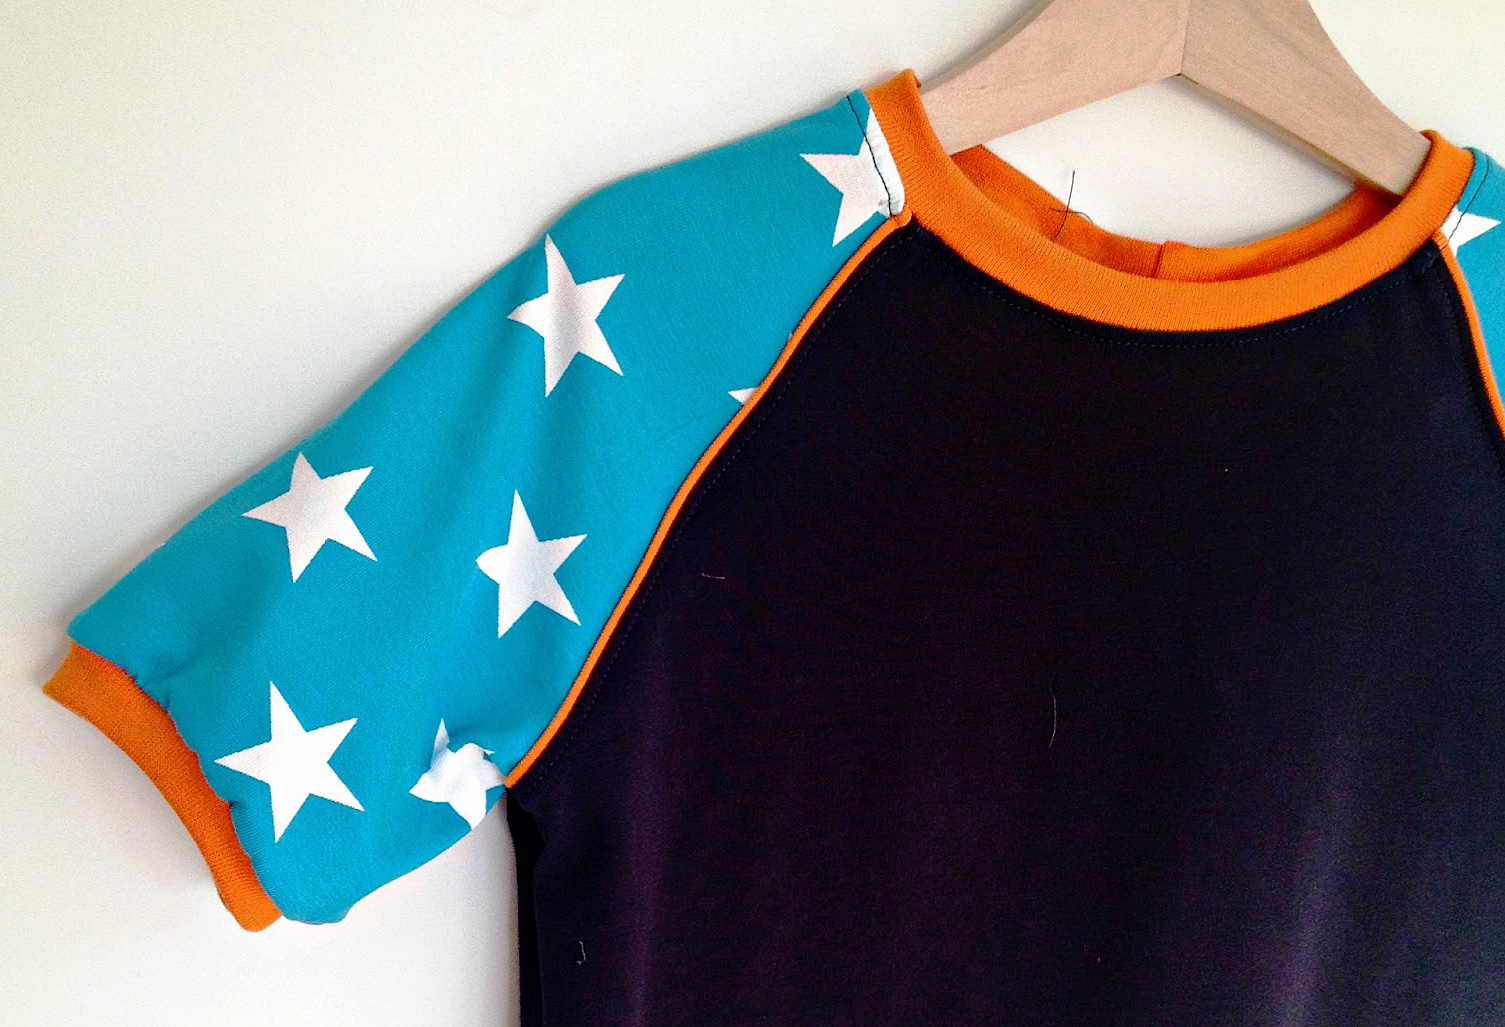
Get creative & use colors that contrast from the t-shirt color.
Beads
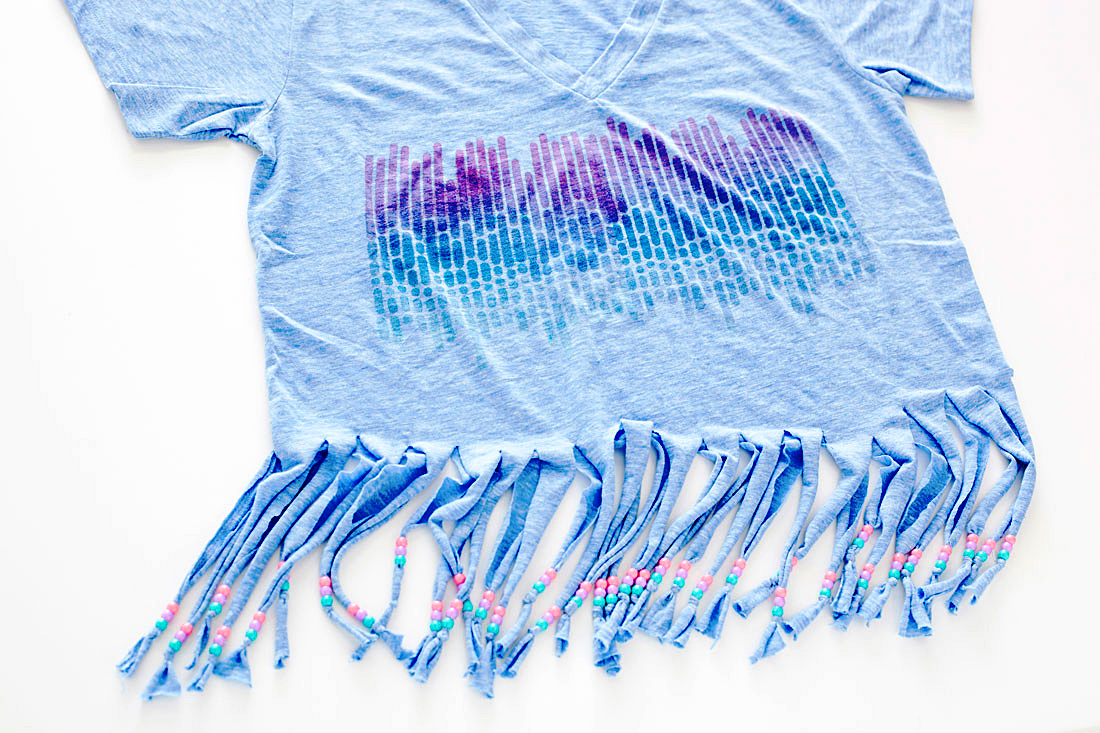
You can do a lot with beads on your t-shirt.
You can do a lot with beads on your t-shirt. They look great as a faux necklace around the neckline or along the edges of the sleeves or bottom of the shirt. Another option is to create a design on the front of back of your shirt using beads. I suggest using a washable marker or pencil to draw out the design before placing the beads.
Whether you use one or many of these techniques, you’ll wind up with a t-shirt that expresses your sense of style. They’re great in combination or alone. A t-shirt with even one of these creative additions would cost quite a bit in a store. Doing it yourself is both fun and cost effective. Give it a try and see what you come up with.