September is almost over. I always say, “When the kids go back to school, it is almost Christmas!” Time just flies the last quarter of the year. Holiday planning starts now! It is time to design and find fabric for our holiday projects for our homes and thoughtful gifts for others during the last months of 2017.
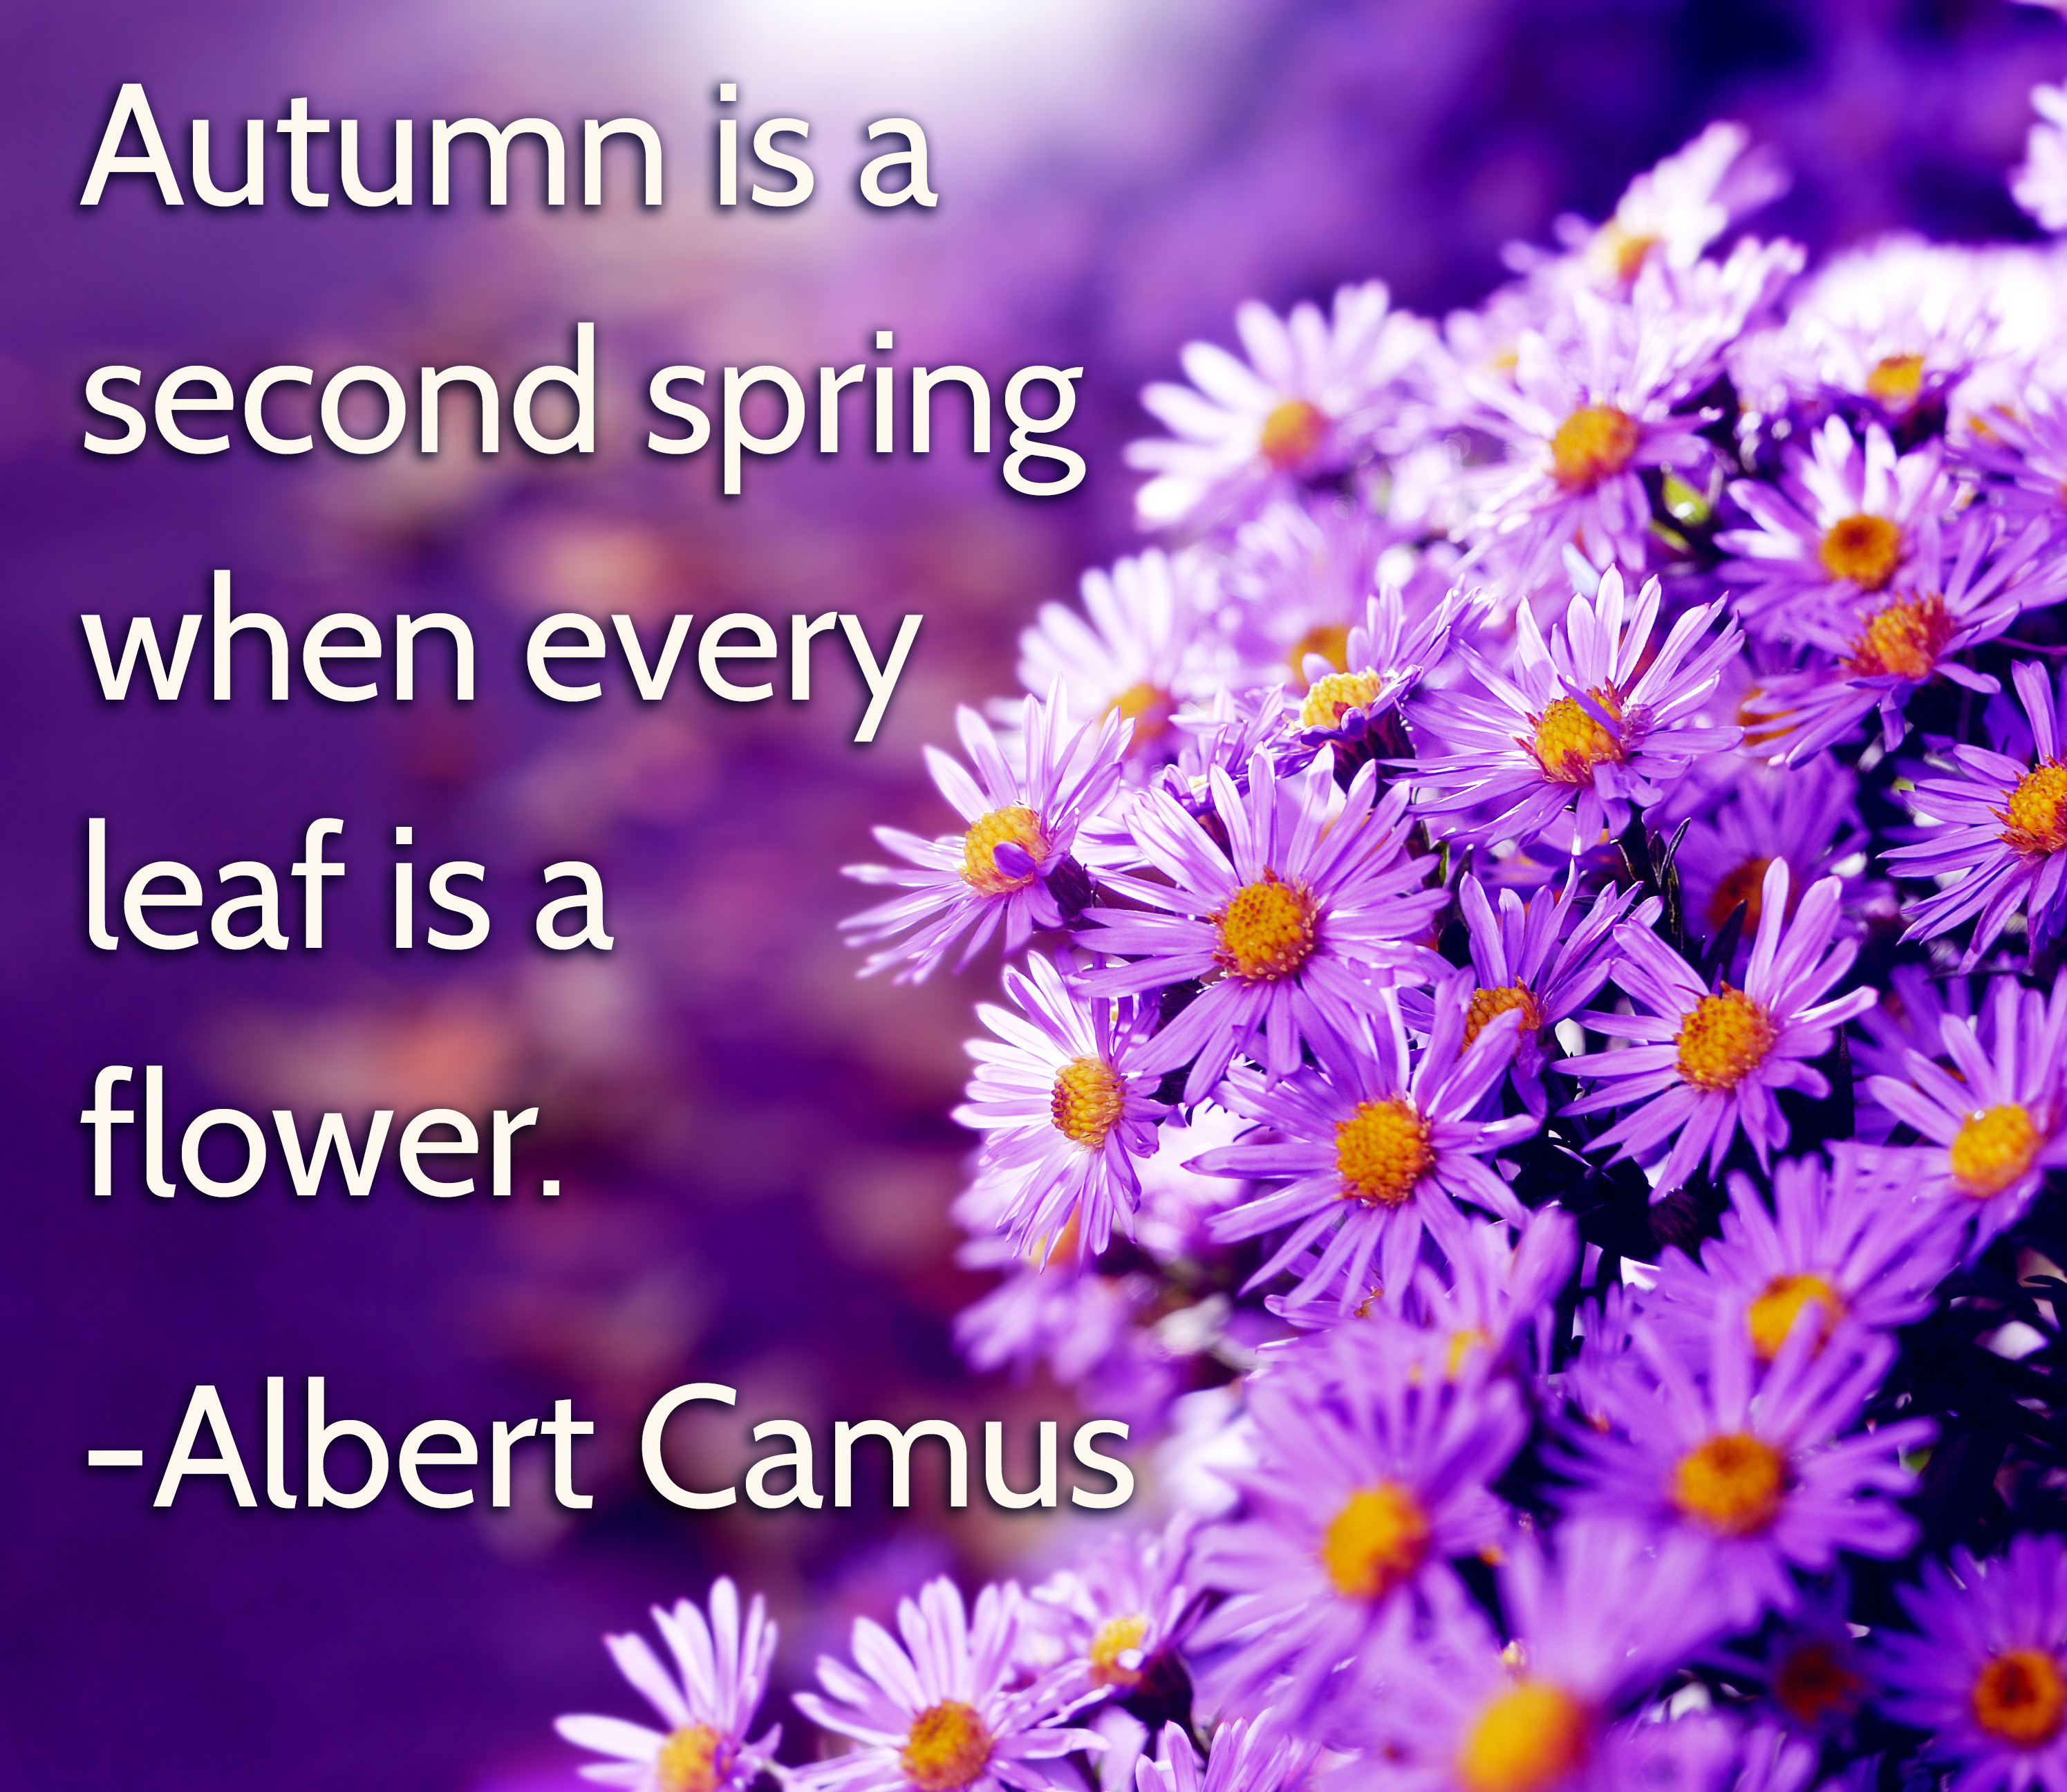
Autumn is a second spring when every leaf is a flower.
– Albert Camus
Personally, the earlier I order fabric for holiday projects, the more I enjoy doing them. Holiday sewing is a great way to show your creative side and the options are so many. Fond memories of handmade things are always fun. Someday all the decorations at my house will be hand made.
Fall brings cooler weather, sweaters, handmade comfy scarves and jackets and an occasional whiff of burning wood from neighboring houses (hopefully my own).
I love fall. I love warm, dark colors and a soft quilt or blanket to cuddle up in while watching those great football games. Especially if I can sit in the stadium! Cool weather and cinnamon colors beckons me to sew cozy things! How about you?
Today, I am offering inspiration for you to follow my passion for fabric. Its great news!! Trust me!
SewingMachinesPlus.com has begun providing fabric online and in their brick and mortar store in California. If you haven’t yet looked on their website, you need to!
Let’s get going!
First visit www.sewingmachinesplus.com & on the Search Bar at the top, enter “fabric”. You can also visit the fabric page here.
Since I enjoy shopping for sewing, my desire is to fly to California and visit this mega-store in person, to see their highly rated products and experience their friendly employees and customer service, but for now, I want to preview a few things with you that I really like! Hopefully, you will be inspired to place an order for sewing products for your stash or to get a head start on the season of giving!
The first fabric I saw, and promptly ordered was:
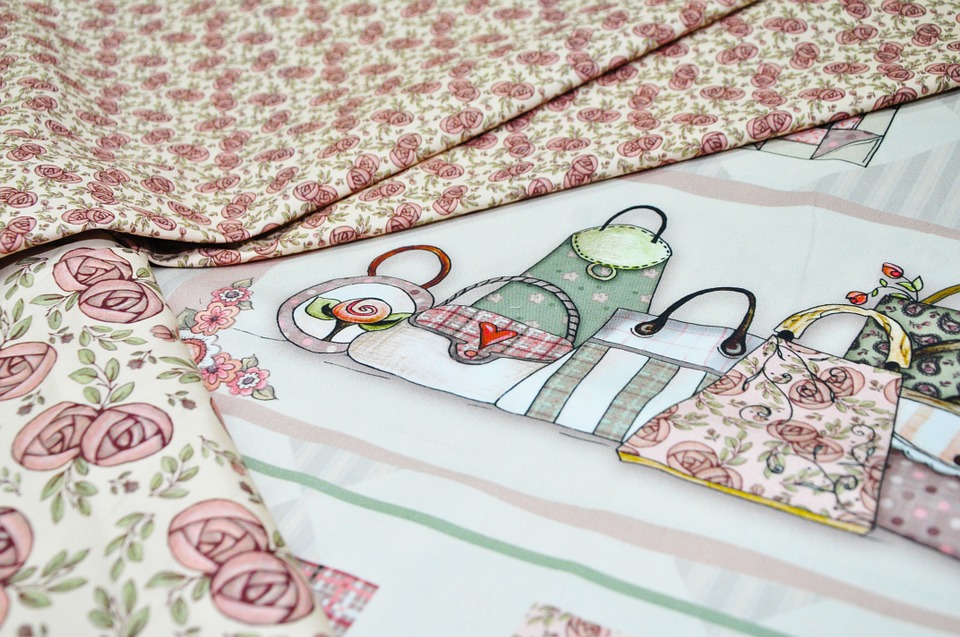
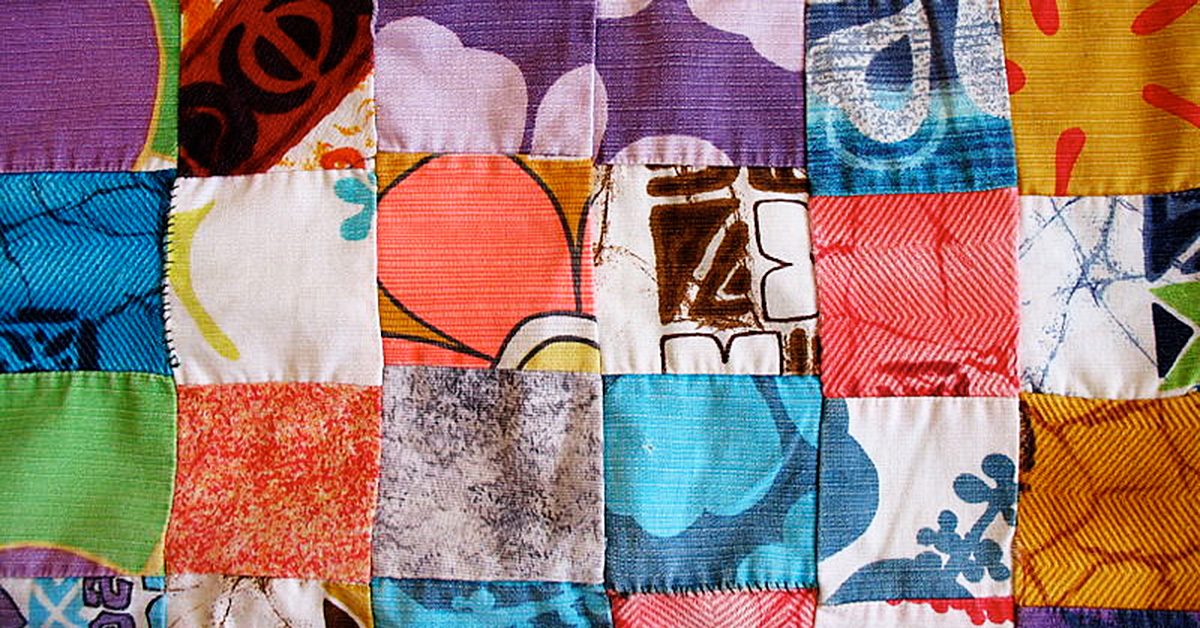
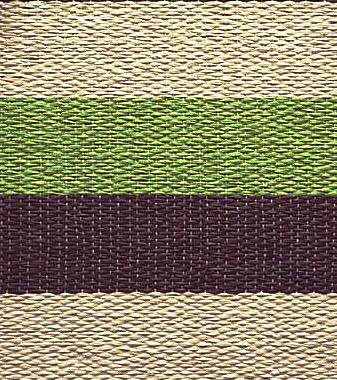
Stonehenge Gradations Chips – The color is Bright Iron Ore. A quality fabric made by Northcutt and has colorations like stone.

A beautiful package of (forty two) 10 x 10 inch precut squares in Browns, Golds, Cream and gradient neutral colors which look like different pieces of colored stone.
A beautiful package of (forty two) 10 x 10 inch precut squares in Browns, Golds, Cream and gradient neutral colors which look like different pieces of colored stone. This was a perfect choice for me as I have designed our new home in neutral browns, cream and beiges. This reminds of of swirling marble or granite and a harmonious accent to neutral décor.
I am thinking about a table runner or napkins for our dining room table right in time for autumn dinner guests or anytime of the year paired with the appropriate colors for that season.
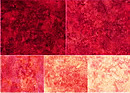
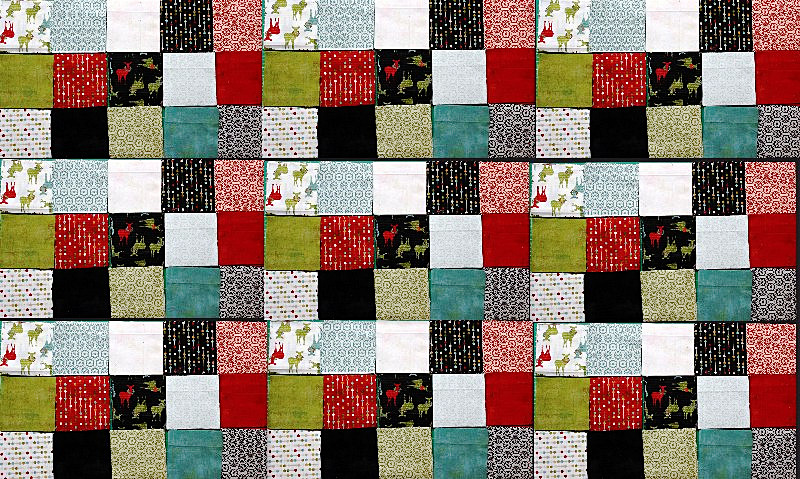
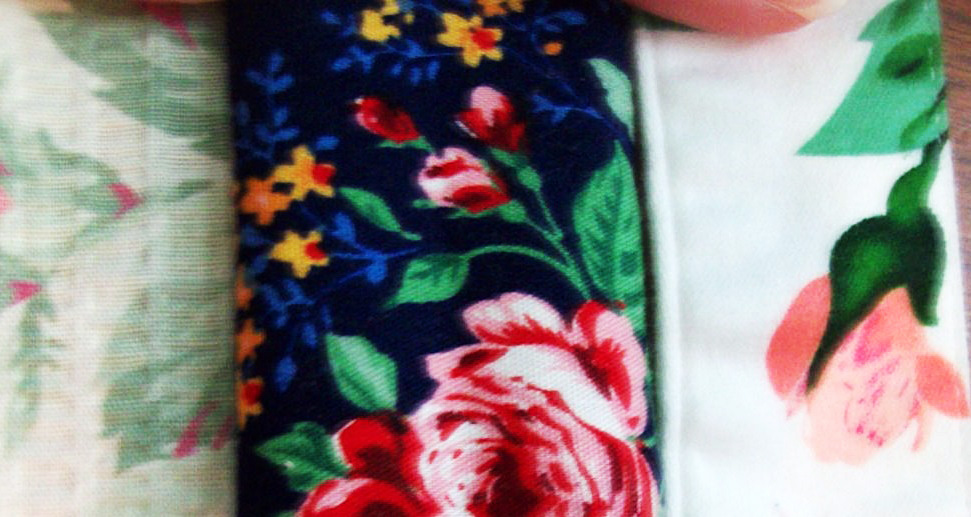
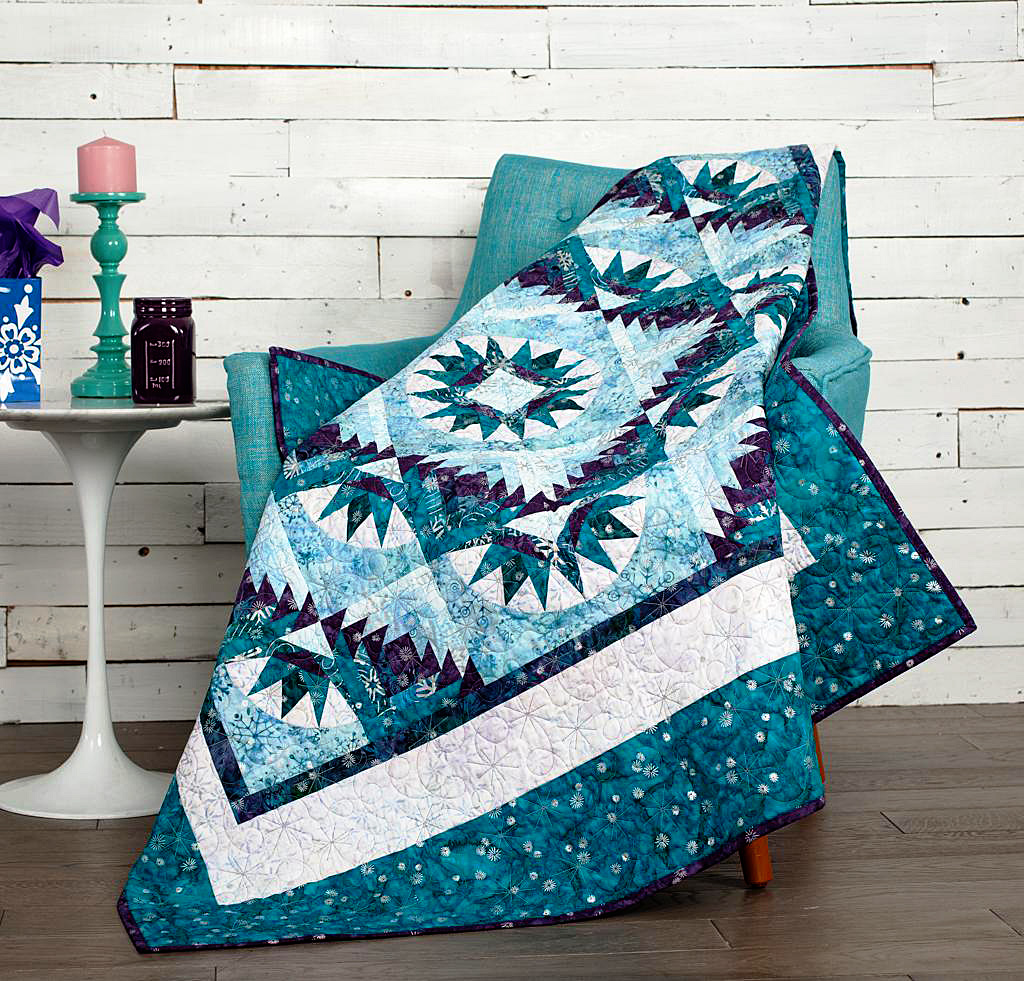
Burgundy shades with the creams for late winter events.
Or pair with the same brand in Burgundy shades with the creams for late winter events. Drumroll! Picture please!
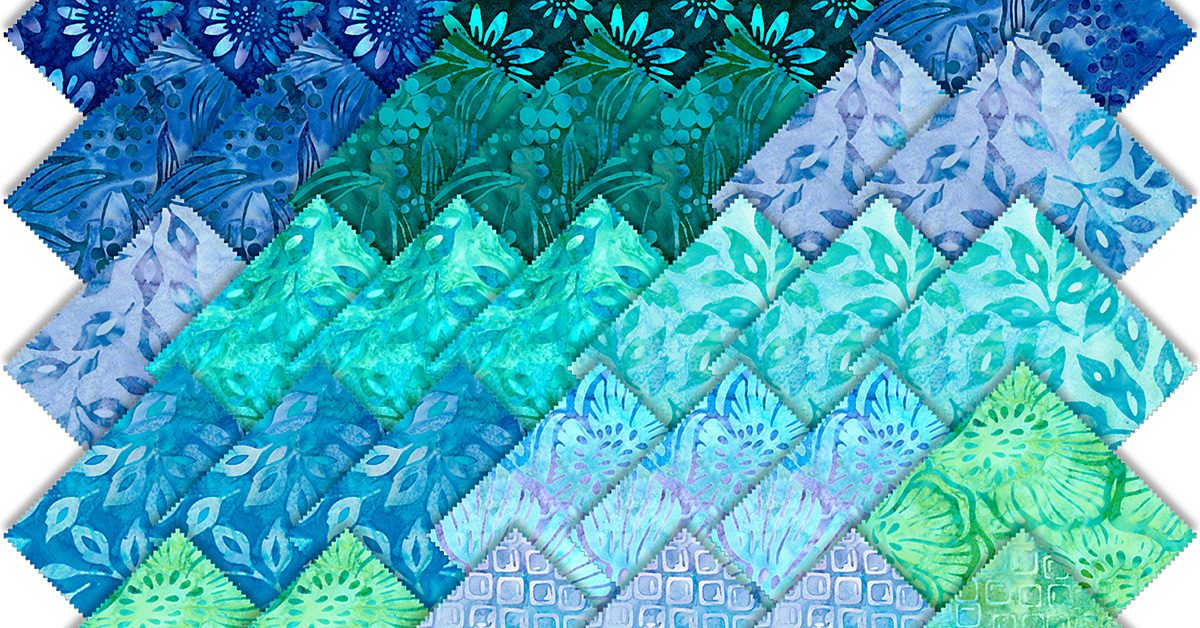
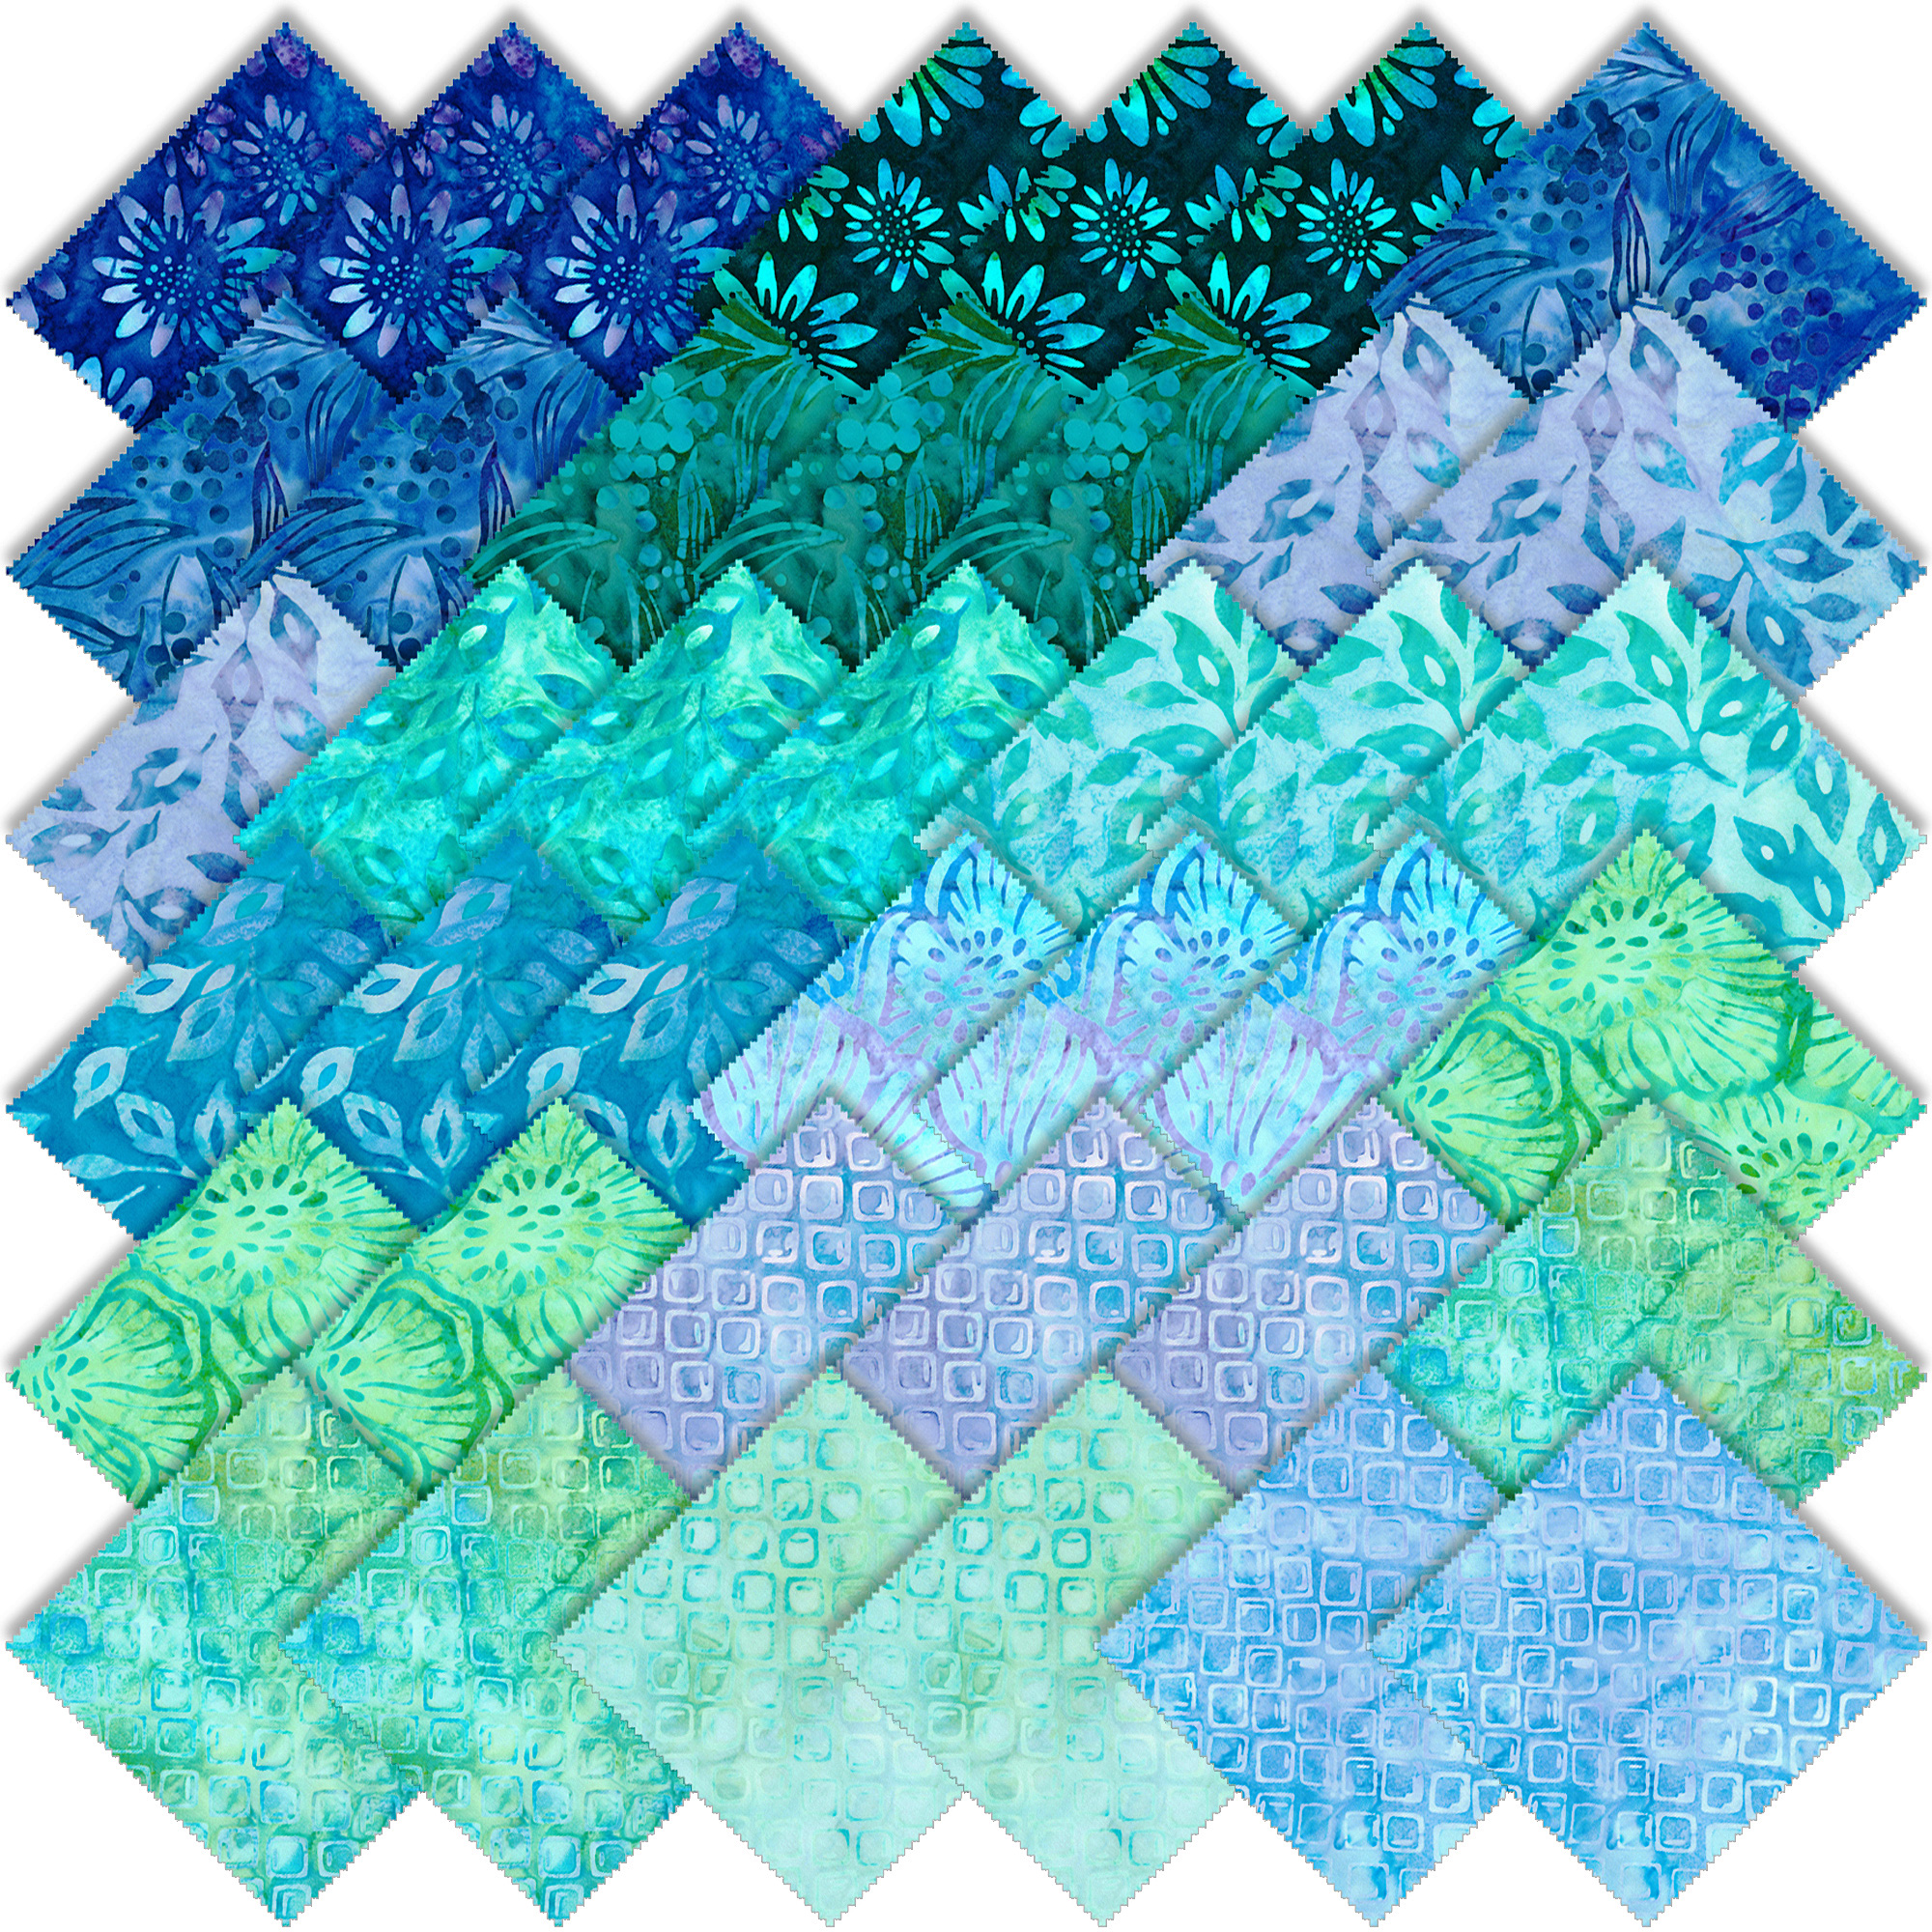
There are (forty two) five inch squares in this package. I suggest perhaps 2 or more packages depending on the size of the project. Look for the Brights- Amethyst and Lagoon Colors as well. Fabuloso!! Rich looking colors!
Precuts are done in different sizes by the manufacturer and sometimes the shop and work great in many applications. Since they are already cut, it helps considerably when putting together projects.
For a larger taste of these pre- cuts that can go together in perfect harmony, go ahead and visit the website. Take note of all the various cuts that are available in other fabric designs. Pick the ones you love! Ask the experts about yardage on the ones you really like (I have to ask that question myself). And then, comment on my blog and tell me what appeals to you. Make the project and send us a picture. We would love to see what you make!
I’m going full circle for a while. I have ordered the fabric, started designing and will hopefully share with you what turns out to be a great addition to my handmade collection! Dream, design, shop and create!
Having a creative life is: sew good!!
Speaking of tastes, I just received a call from my husband *who is upstairs organizing his man cave*. It’s the usual question at 5:00 p.m Friday night, i.e. what’s for dinner!