My husband and I sleep on a full-sized bed on 4” of high density foam that we bought from Keyston Brothers, a store that specializes in auto and marine foam and fabric (We use density type Q41 for anyone interested in doing the same). We find the foam lasts about five years before we need to replace it and for a full-sized mattress’ worth, it costs about $250. That is loads cheaper than a fancy mattress and we sleep like babies.
Sweet dreams!
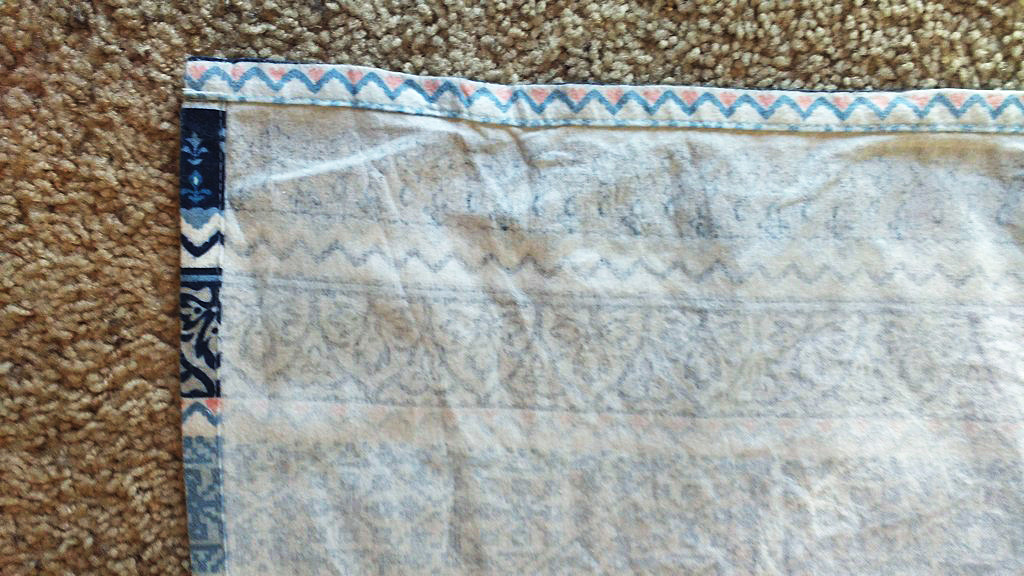
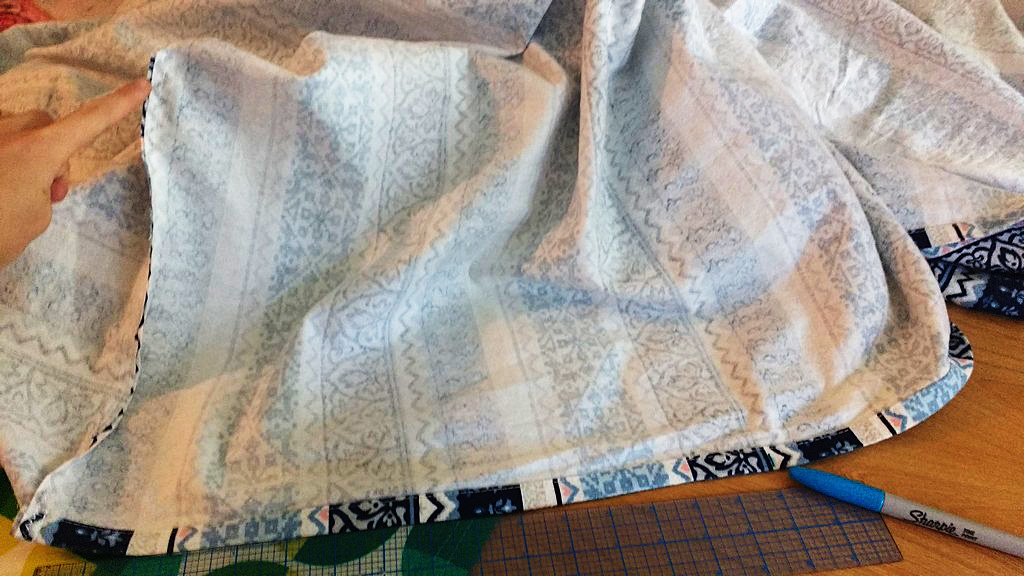
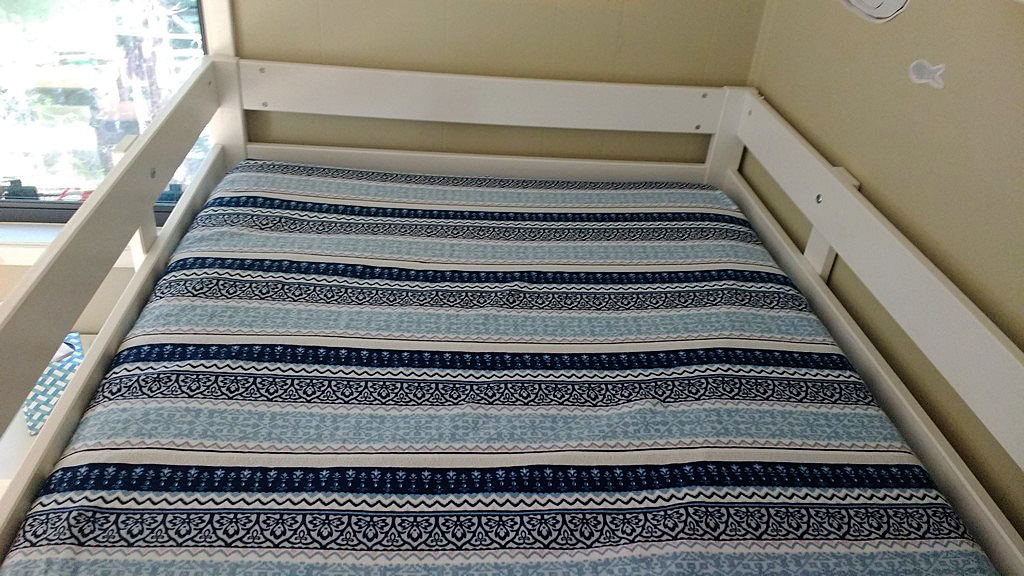
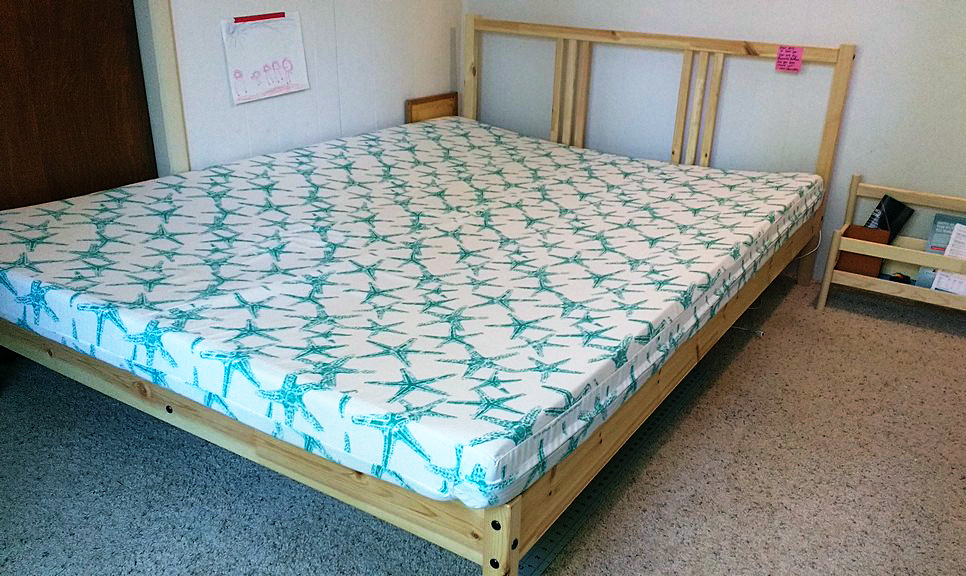
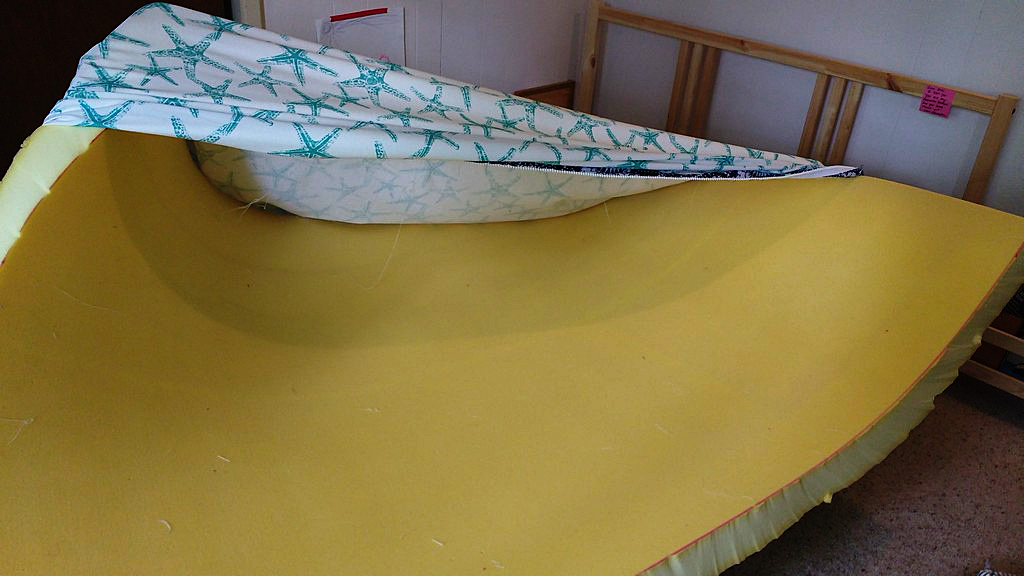
We discovered this foam when we were replacing the cushions in the v-berth of our sailboat. We lived aboard for almost eight years and slept amazingly. When we moved on land we decided to cut costs and stick with the foam. I made a custom cover for it but this frame we recently got from Ikea is smaller than the foam. See how it curves down into the bed and up and over the edges? My husband and I were getting rolled into each other at night so I knew I was going to have to take matters into my own hands.
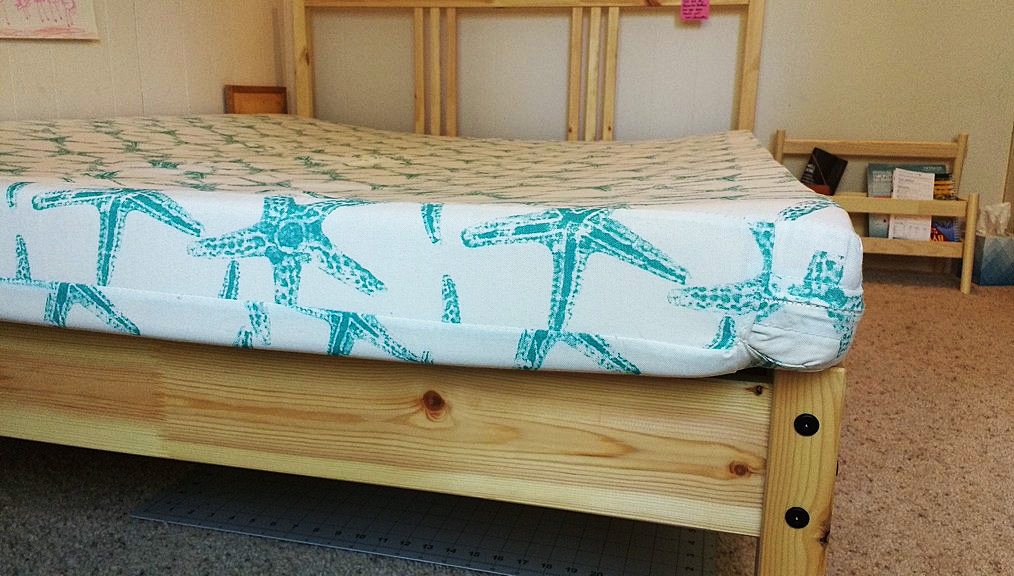
See how it curves down into the bed and up and over the edges?
Let’s get started
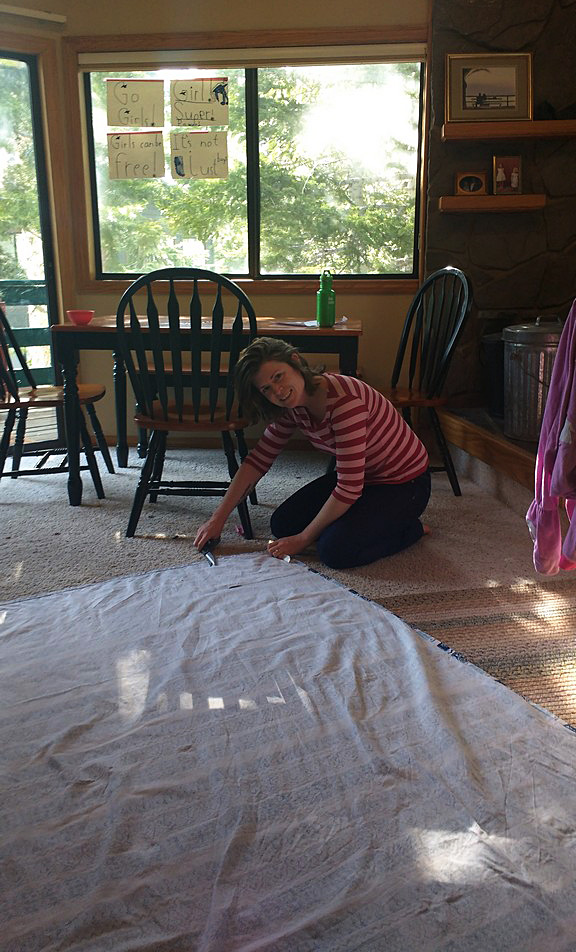
I took off the cover I had made and measured the foam to a size that would fit in the frame. Then I got out my $20 electric cutting knife from Walmart and got to slicing.
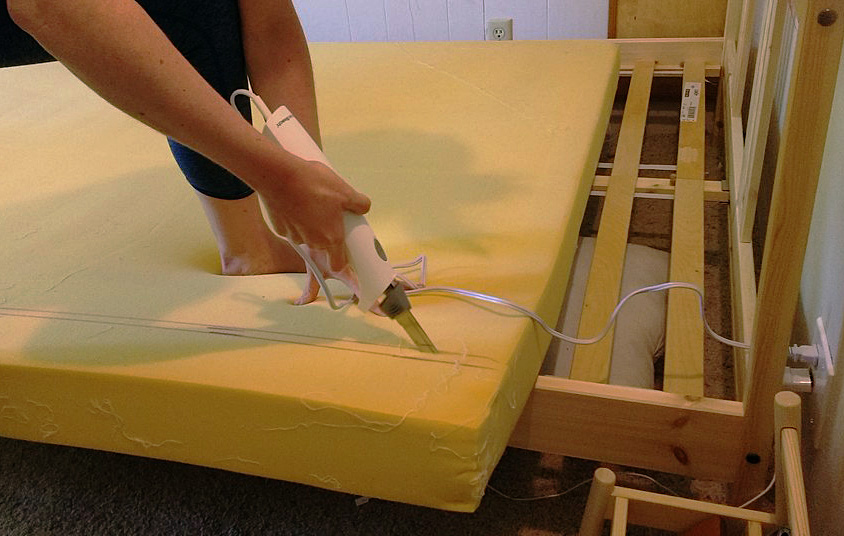
Take a deep breath. We’re about to slice into our bed. Ready? Let’s go!
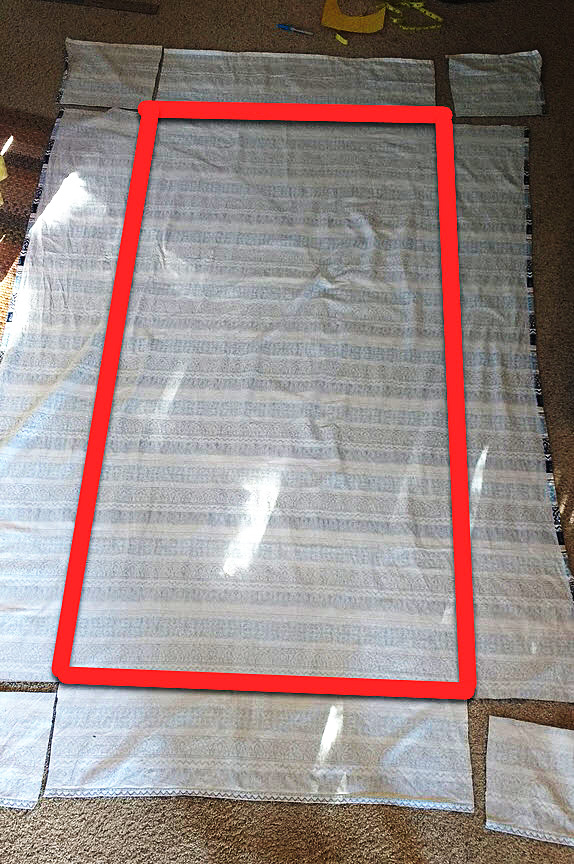
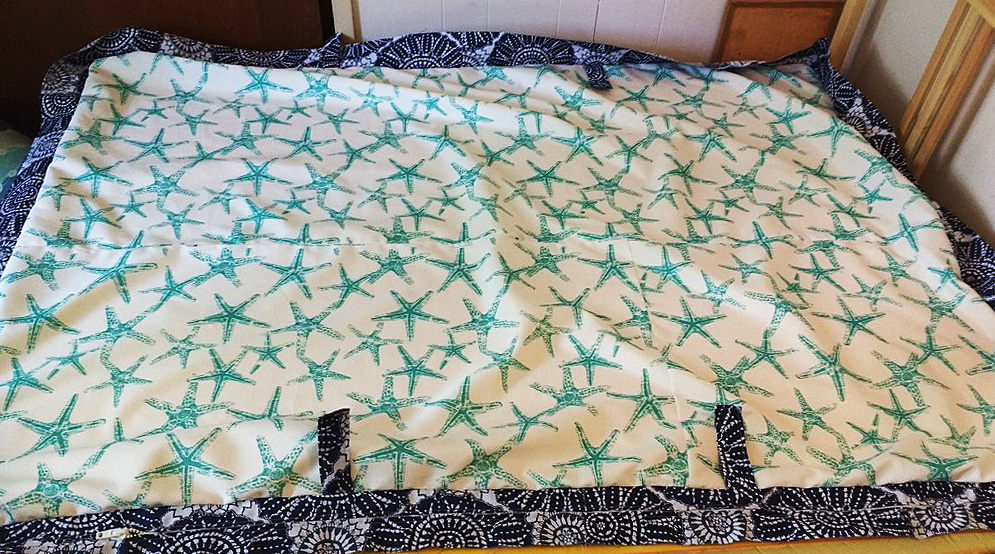
Upstairs, I cut the side piece (zipper piece) off of the top and bottom of the cover. Here are the two main panels laid out.
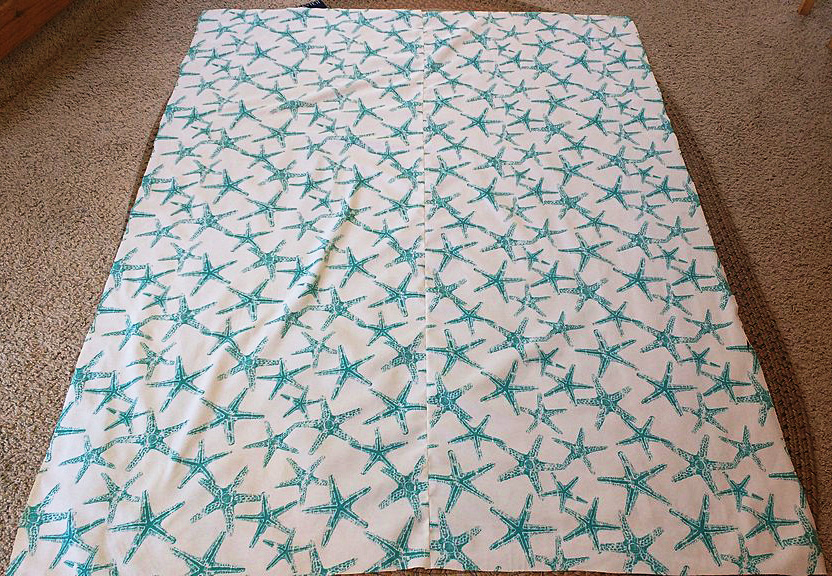
Here are the two main panels laid out.
Zipper time!
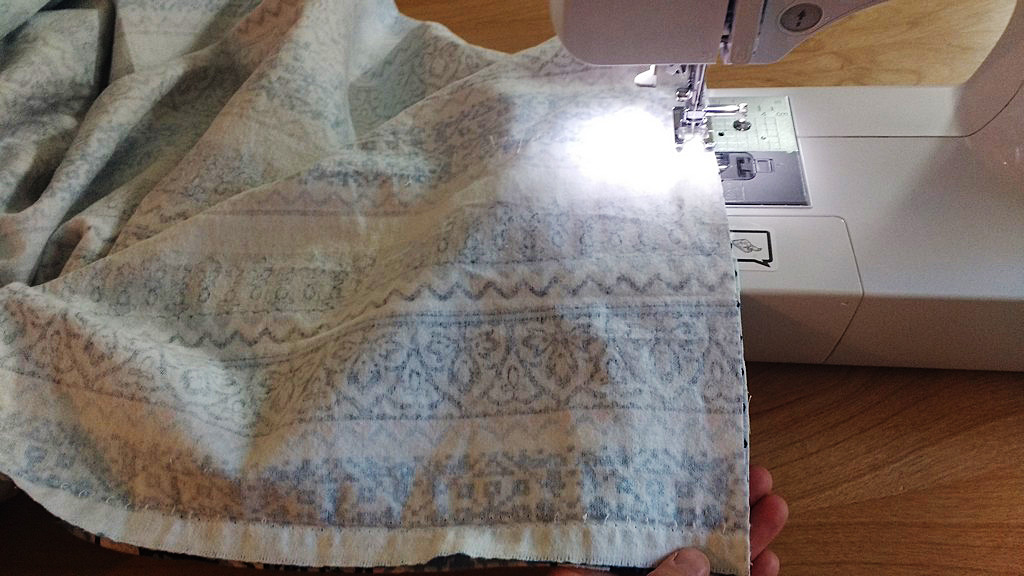
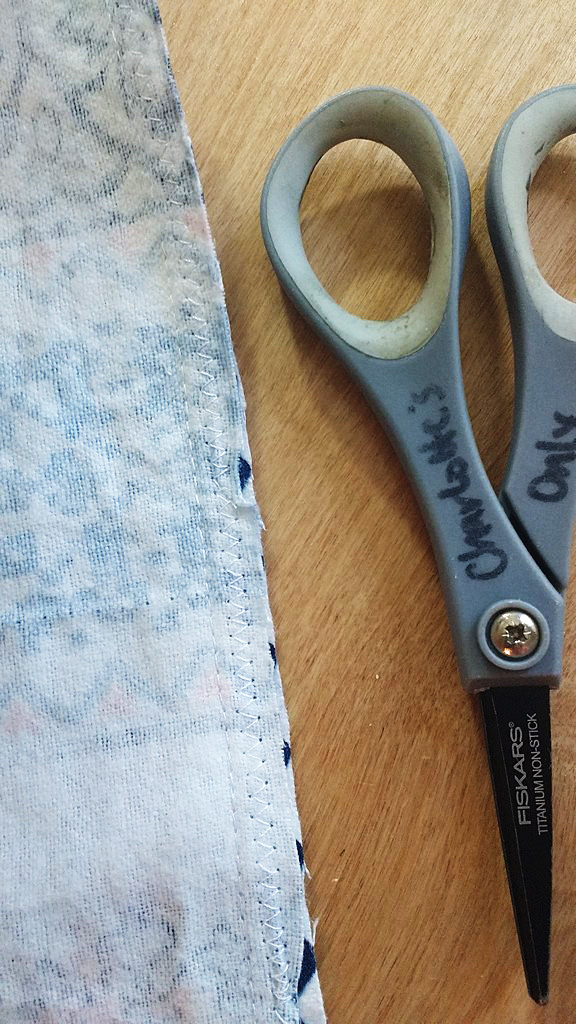
I had finished all my seams with zigzag stitches and there was no way I wanted to take out all those stitches. Instead I saved the zipper by just taking out the straight stitches holding it to the cover.
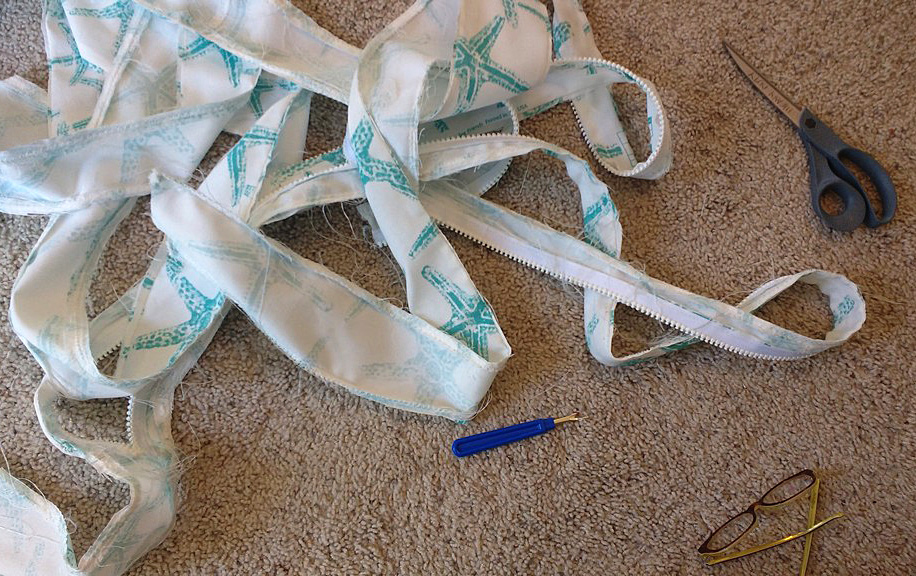
I saved the zipper by just taking out the straight stitches holding it to the cover.
Zipper saved! Now I didn’t have to buy another one for the smaller sized cover.
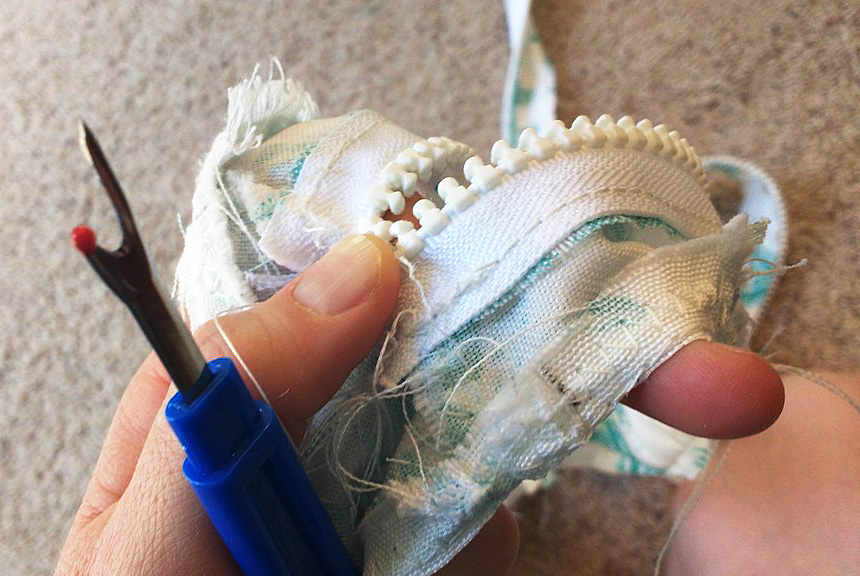
Zipper saved!
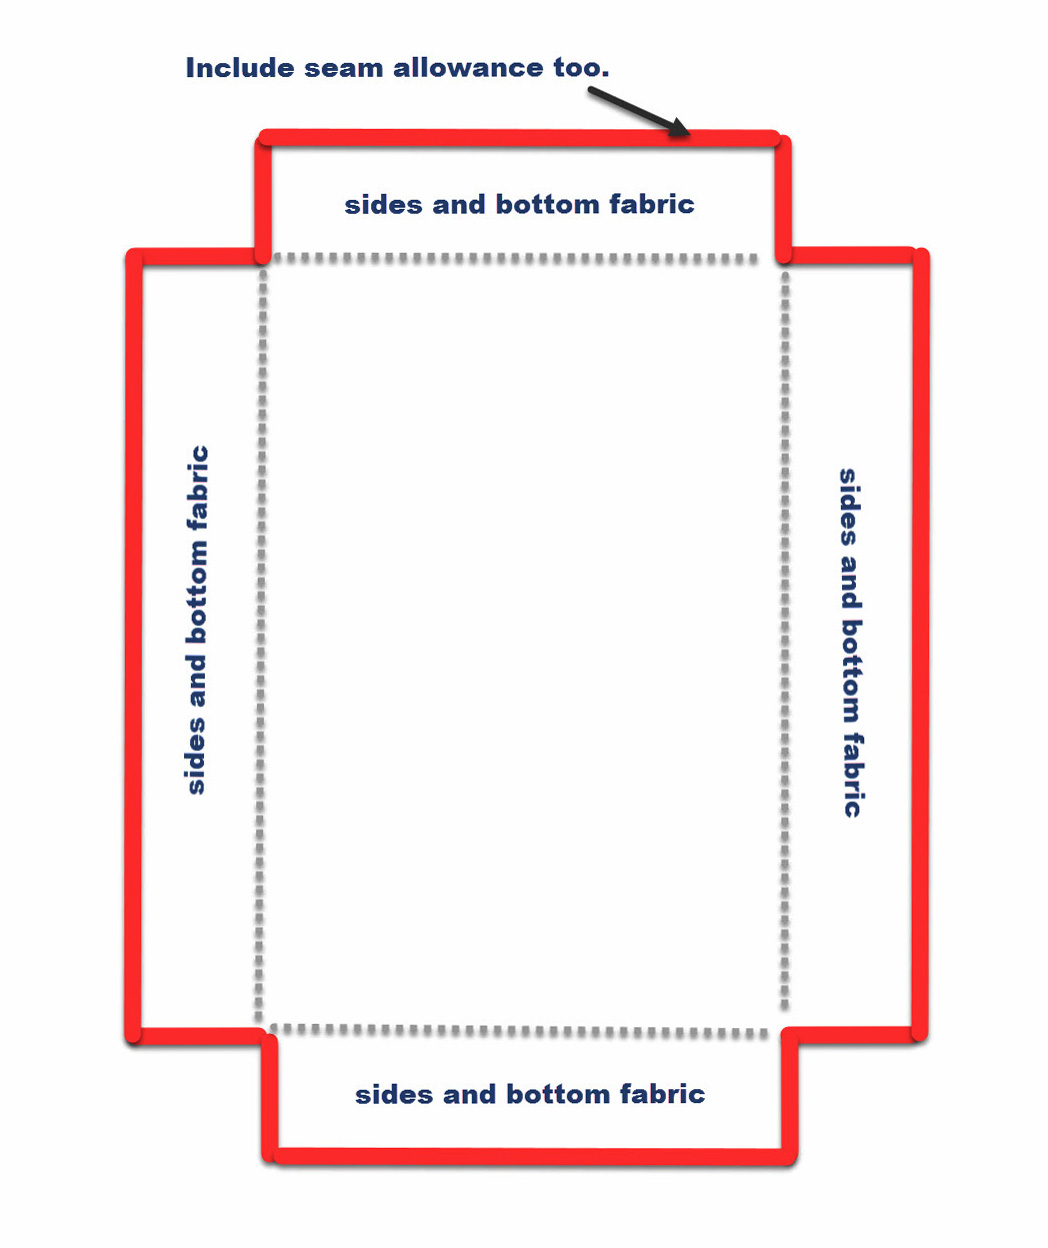
Let’s sketch this out…
Math time! Here I had to work out the new size of the zipper plaque and the rest of the side facing. Plus I wanted to add handles this time so I measured out those too. I also cut the top and back panels to the same size as the foam that now fit in the bed frame.
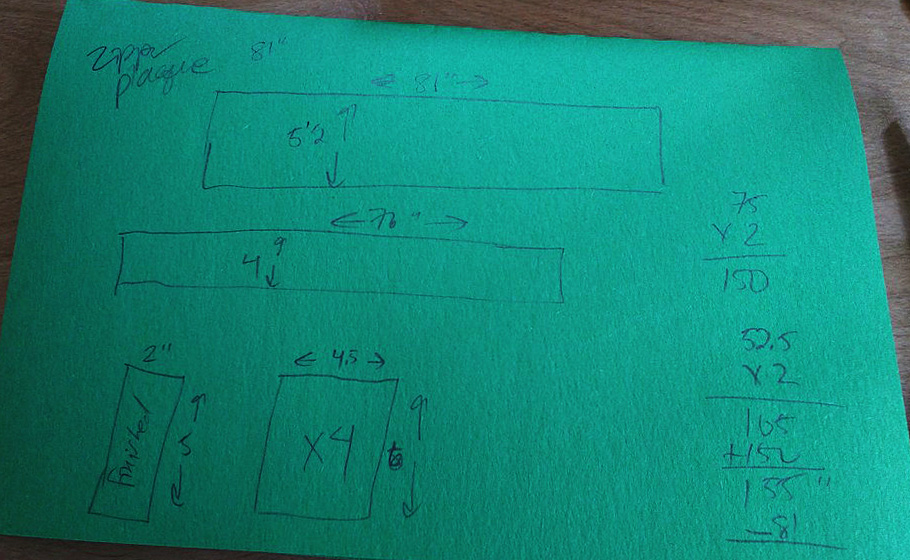
Math time!
I was all out of the original fabric I had used to make the mattress cover so I used some leftover Sunbrella scraps I had from another project. Here are the parts I’ll need to piece together for the zipper plaque, the rest of the sides and the handles.
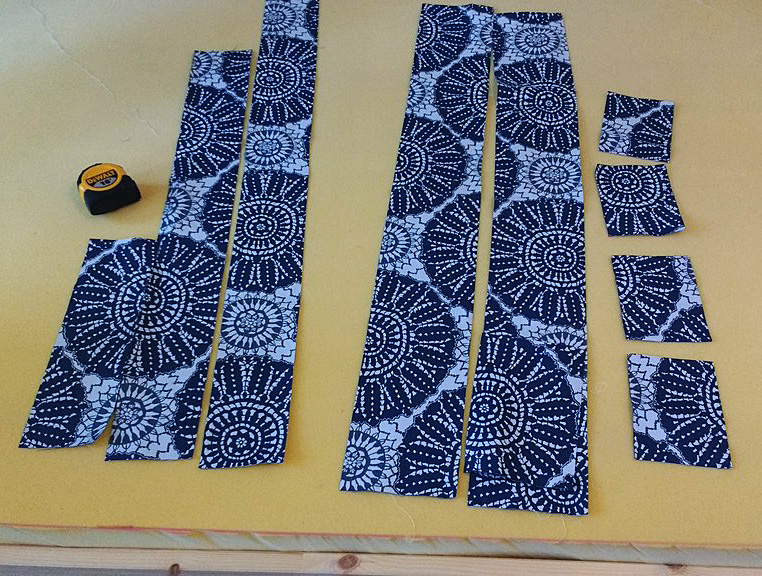
Here are the parts I’ll need to piece together for the zipper plaque, the rest of the sides, & the handles.
I made quick work of the four handles and top stitched them for strength. The ends are unfinished as they’ll be sewn inside the cover.
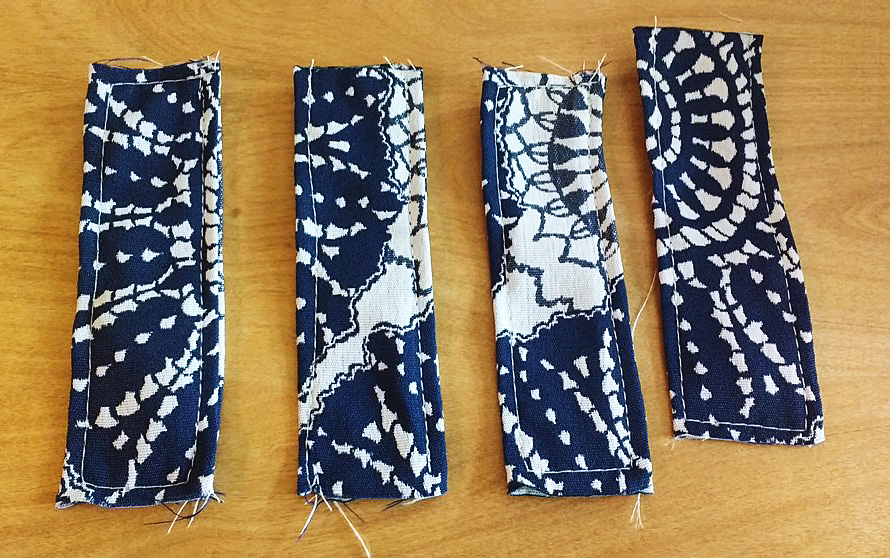
I made quick work of the four handles & top stitched them for strength.
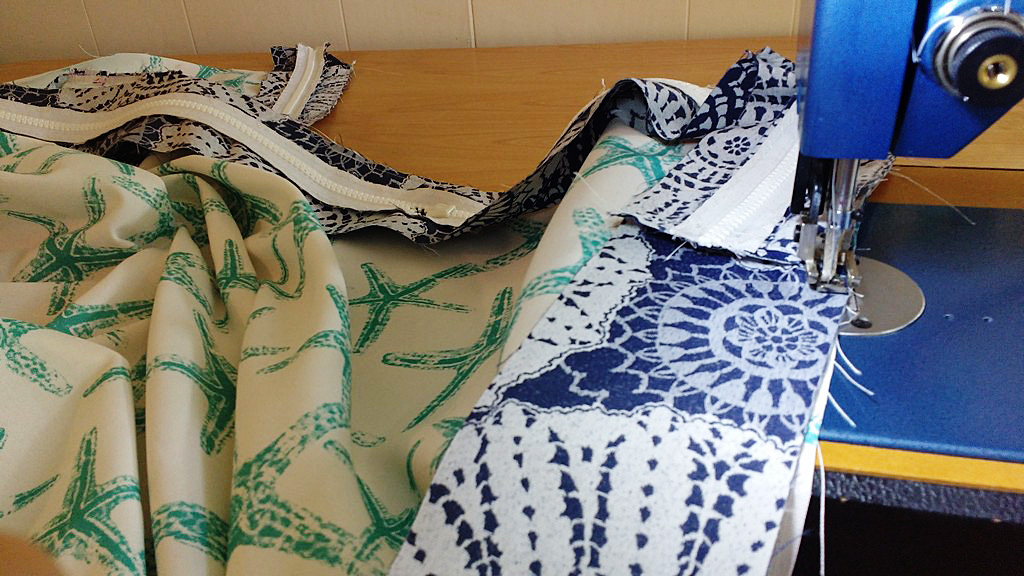
Next I sewed the zipper plaque and side pieces together. I also made sure to zig zag stitch each join to prevent the fabric unraveling.
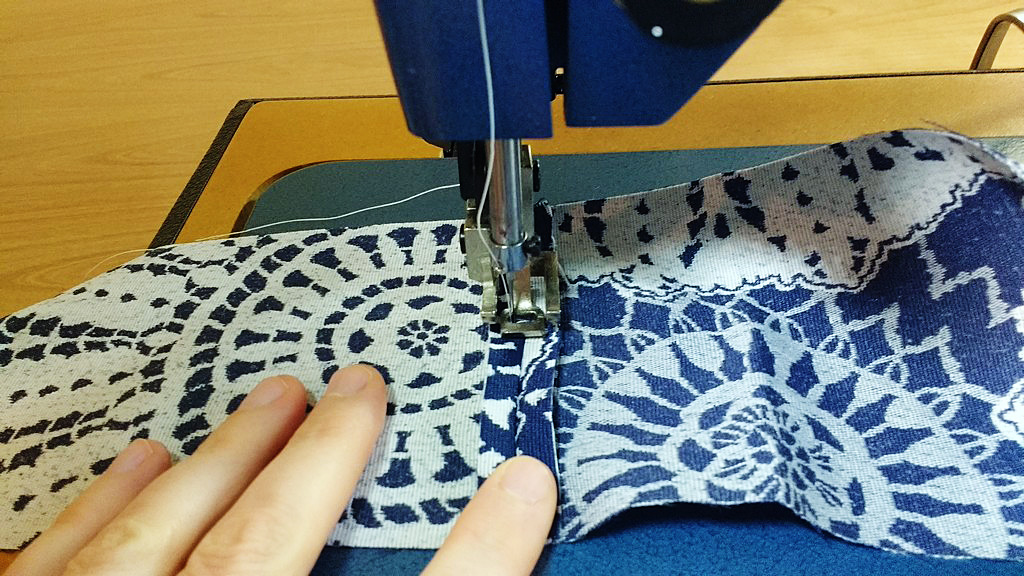
Next I sewed the zipper plaque & side pieces together.
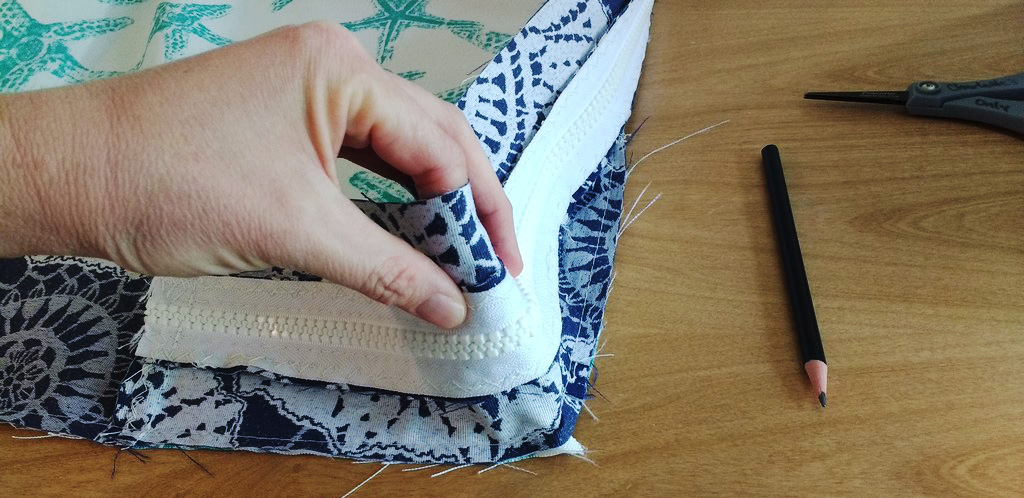
Making the zipper plaque is my favorite part. It means I’m getting close to being done. Here I’ve switched to a zipper foot so I can get super close to the zipper.
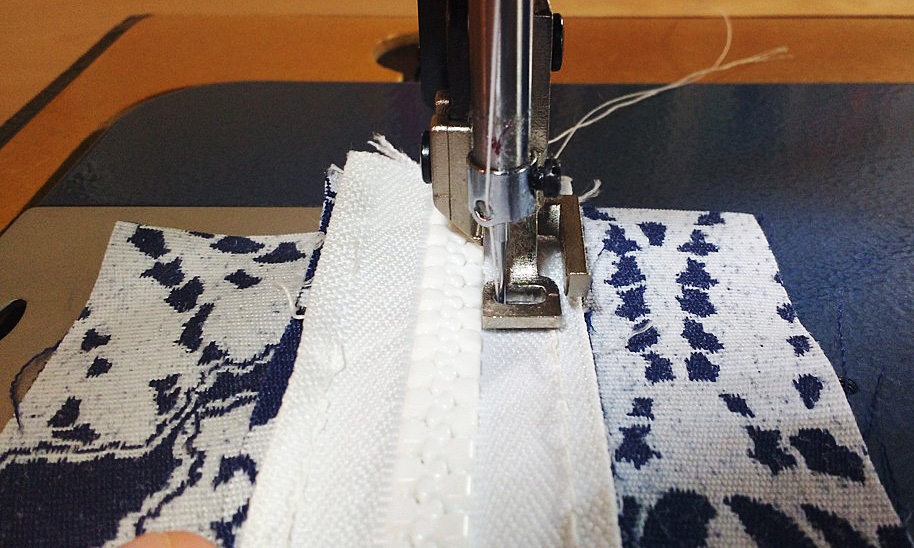
Making the zipper plaque is my favorite part.
Next I sewed on the handles to one of the large panels.
Next I sewed on the handles to one of the large panels.
Side facing
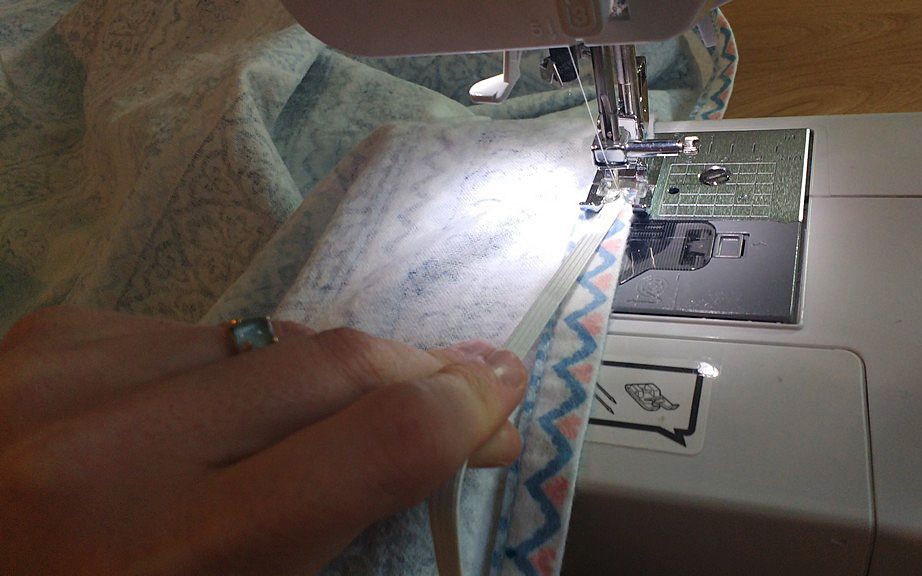
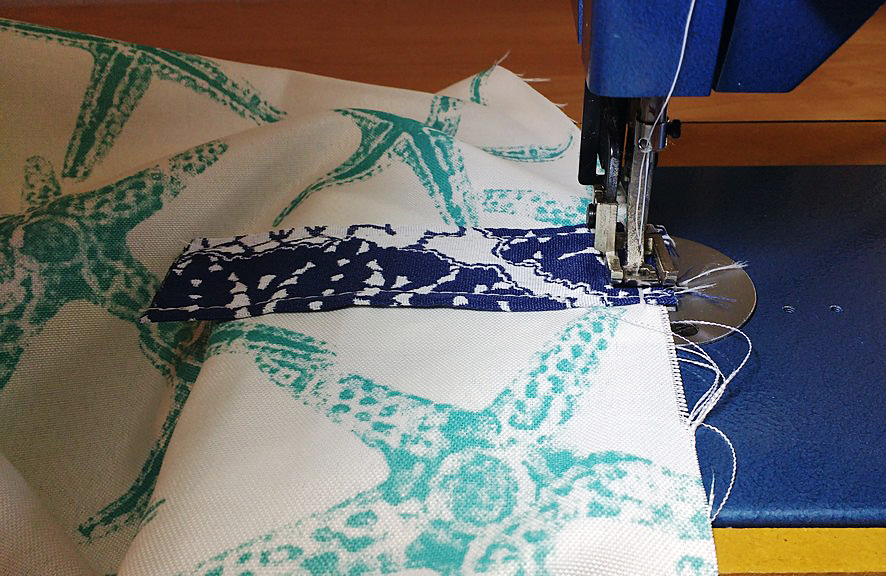
Now it was time to add on the side facing. Yes! I joined one end of the side panel to the zipper plaque and started sewing on the zipper plaque portion first. Then I just transitioned to the side piece and kept going all the way around.
Now it was time to add on the side facing.
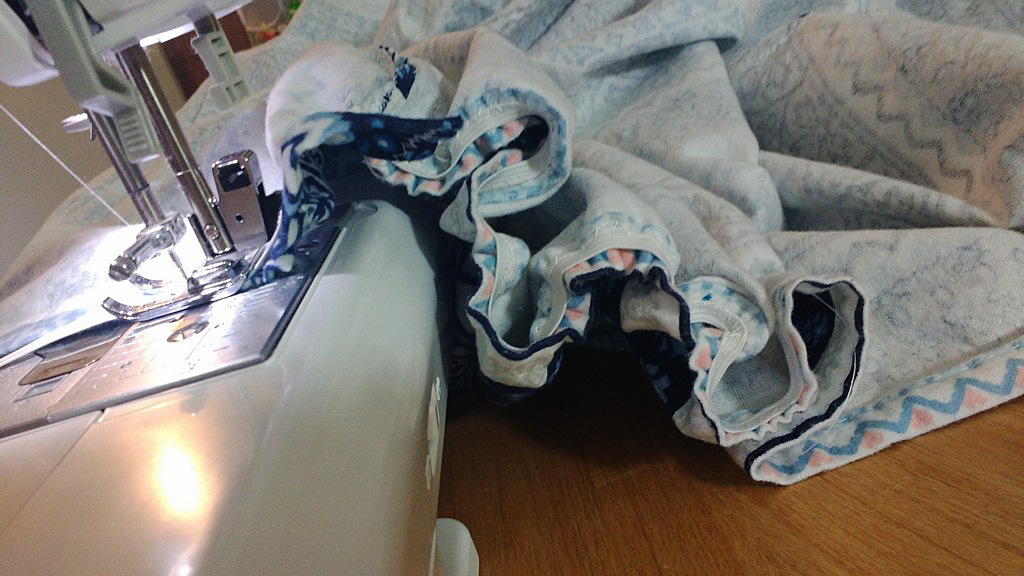
I stopped several inches before I got back around to the beginning and joined the two ends. Then I trimmed off the excess, zig zag stitched the join, and then sewed that piece onto the bottom panel completely.
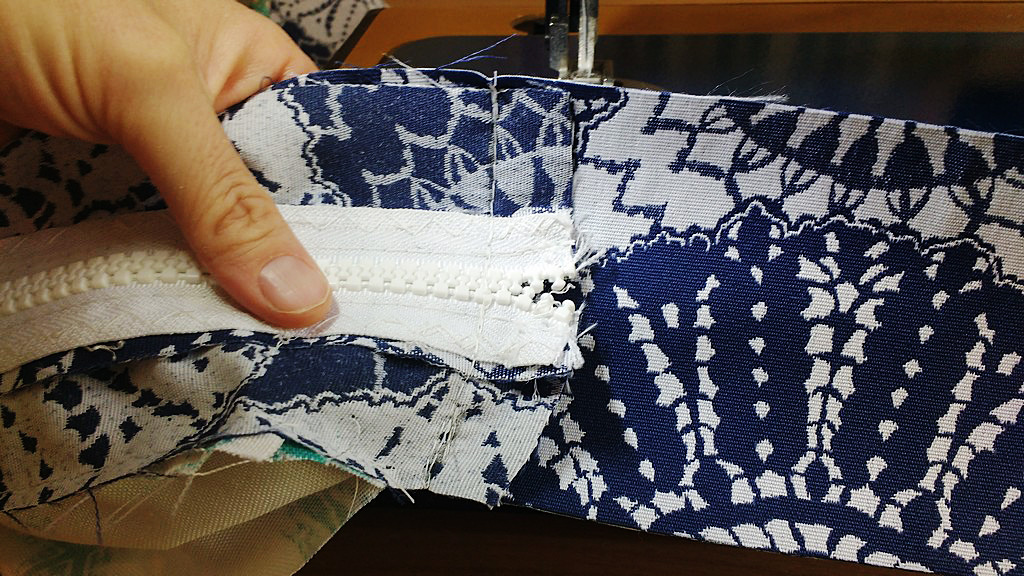
I stopped several inches before I got back around to the beginning & joined the two ends.
Pro tip: make sure you open up your zipper enough right now that you can get your hand through it to open it completely when turn this right sides out in a few more steps.
You are so close now!!!
You are so close now!!!
Before you begin sewing on the top panel there are still two important things you need to do.
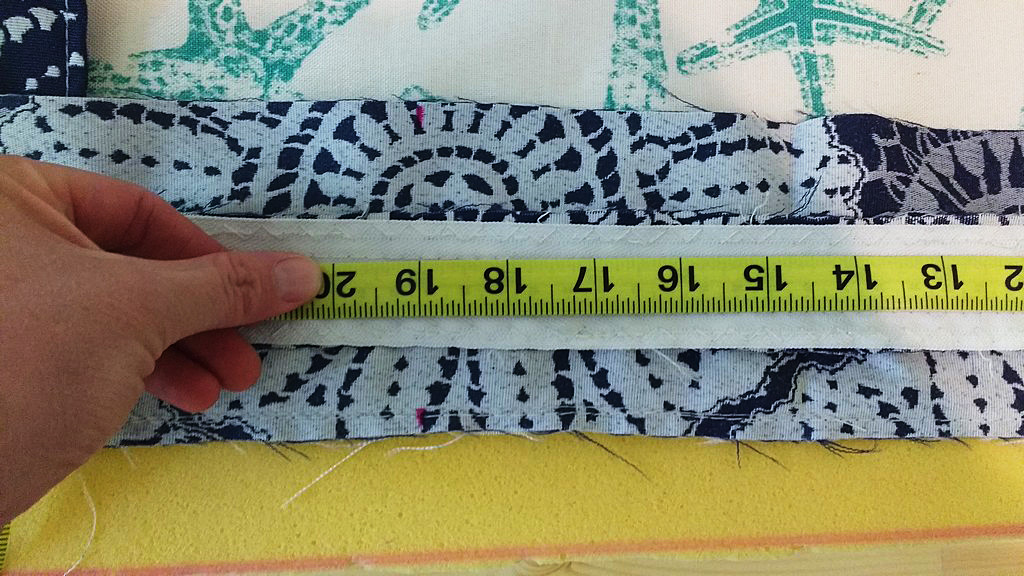
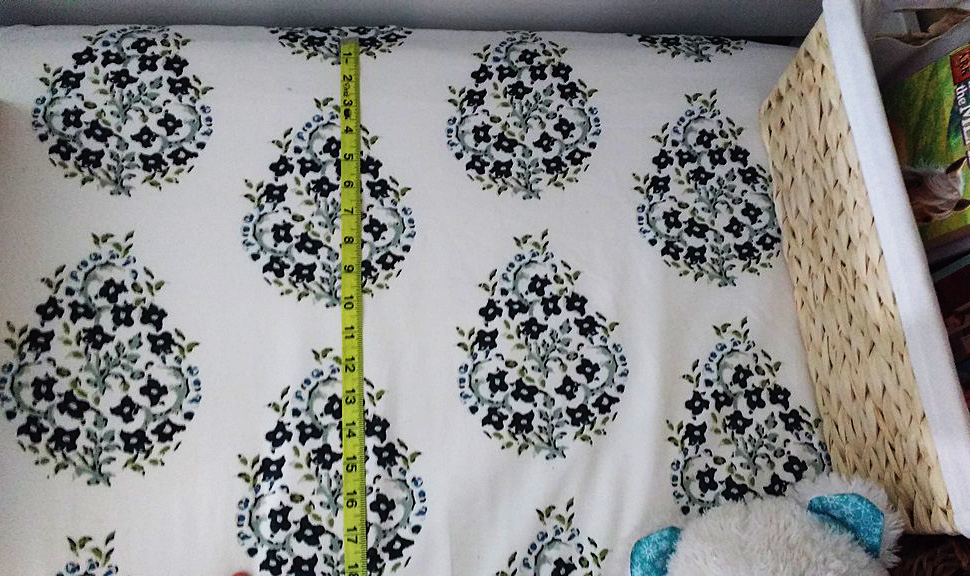
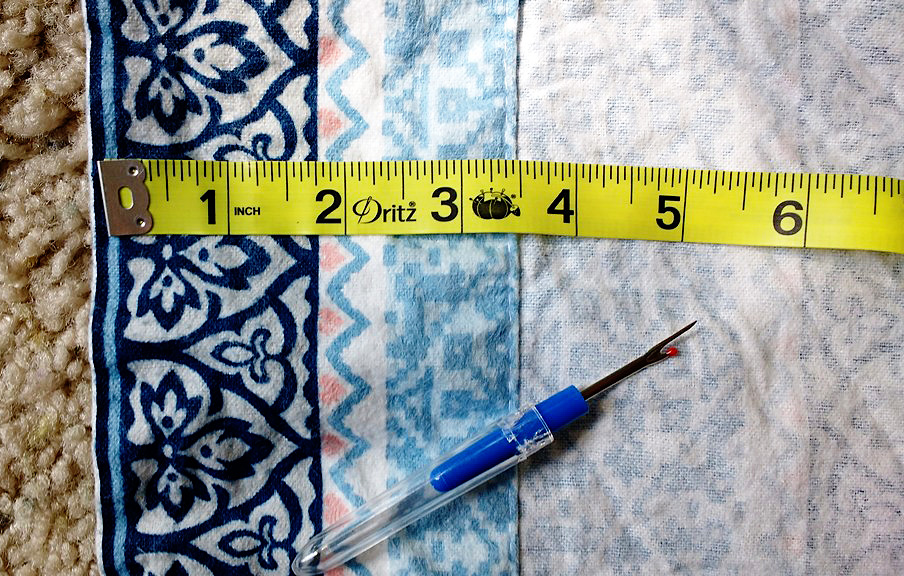
Create match up marks.
- Create match up marks. When you are working with large pieces of fabric, things have a tendency to shift. These marks will let you know you are joining the two pieces together where you should. If you look carefully you will see pink marks on either side of the fabric at the 19” mark. I marked the side pieces and then the top piece so everything should match up when I sew.
- Do your corners!!! This is crucial. Go to each corner and fold it down and back until you are sure the piece is square with each side. Then mark that spot so you know you’re at the actual corner when you get there.
Do your corners!!!
Begin sewing your final panel to the cover. I like to put the panel that is being sewn on the bottom. Here you can see I’ve matched my corners perfectly.
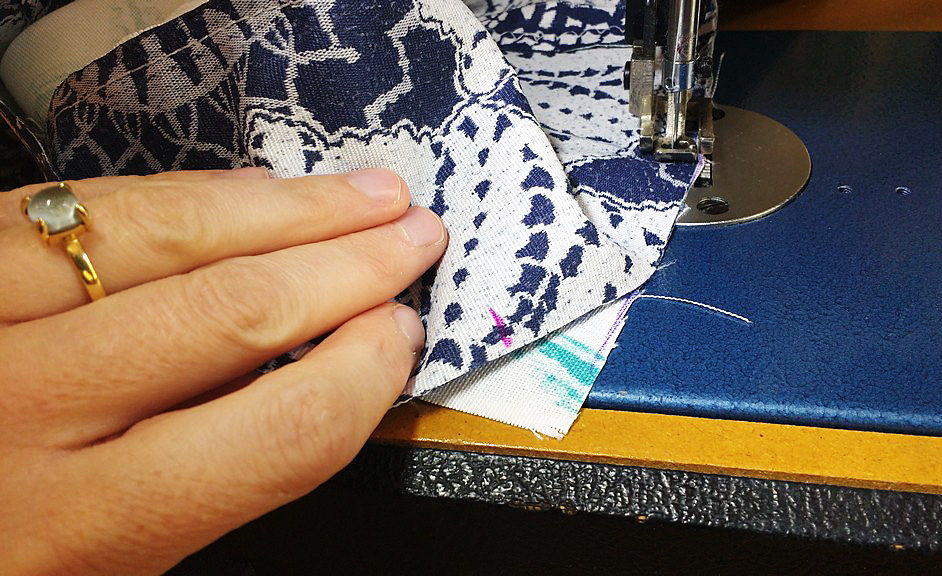
Here you can see I’ve matched my corners perfectly.
When you’ve sewn all the way around you are ALMOST done but not quite. There are two things to be done first.
- Take the time to carefully inspect ALL seams, fronts and backs. Sew anything you might need to.
- Then you need to zigzag stitch both seams in order prevent the fabric from unraveling.

You may think you have finished the hardest part, but the worst is yet to come.
Pat yourself on the back
You may think you have finished the hardest part, but the worst is yet to come. It’s time for cushion Olympics. Yes, wrangling foam into cushions should be an Olympic sport.
Here’s what you need to know:
- Go slowly. Do not pull the fabric or you will rip your seams and pop your zippers.
- Rather, walk the foam into the cover. I like to fold it on the ends and walk it a little sideways.
- Patience, patience, patience. Fit your foam into the pattern just the way you designed it. It you did your math right, it WILL fit.
Go slowly.
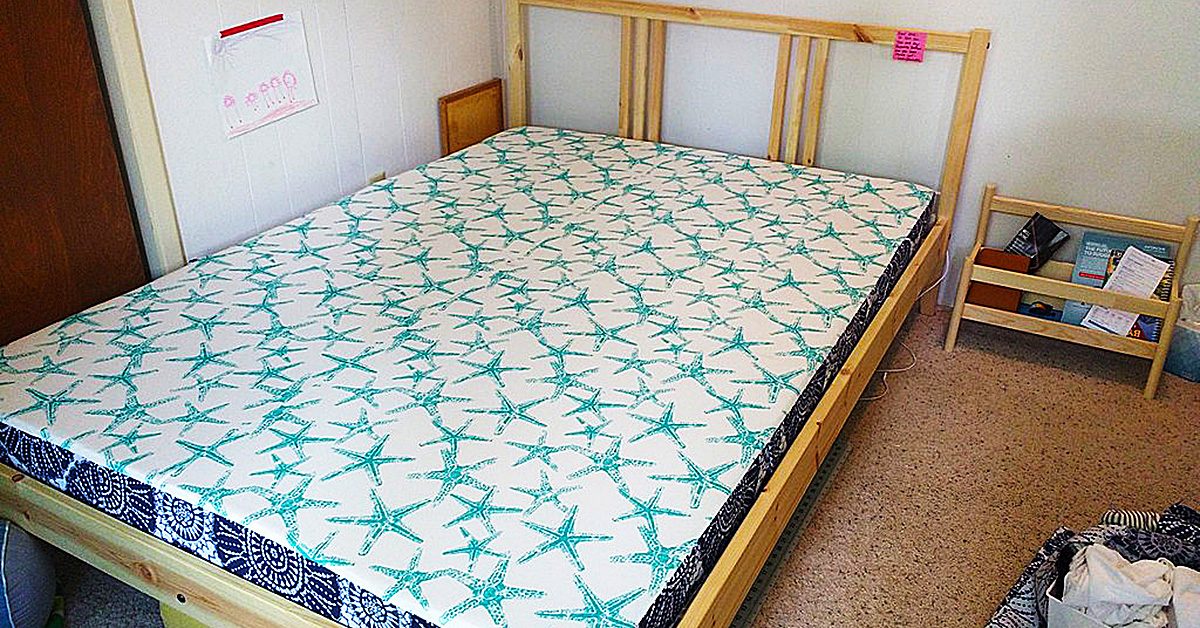
After burning some calories (always a good thing), you will have your new mattress with custom fitting mattress cover that actually fits into your bed frame. Now you may rejoice.

Now you may rejoice.
Look at those clean lines!
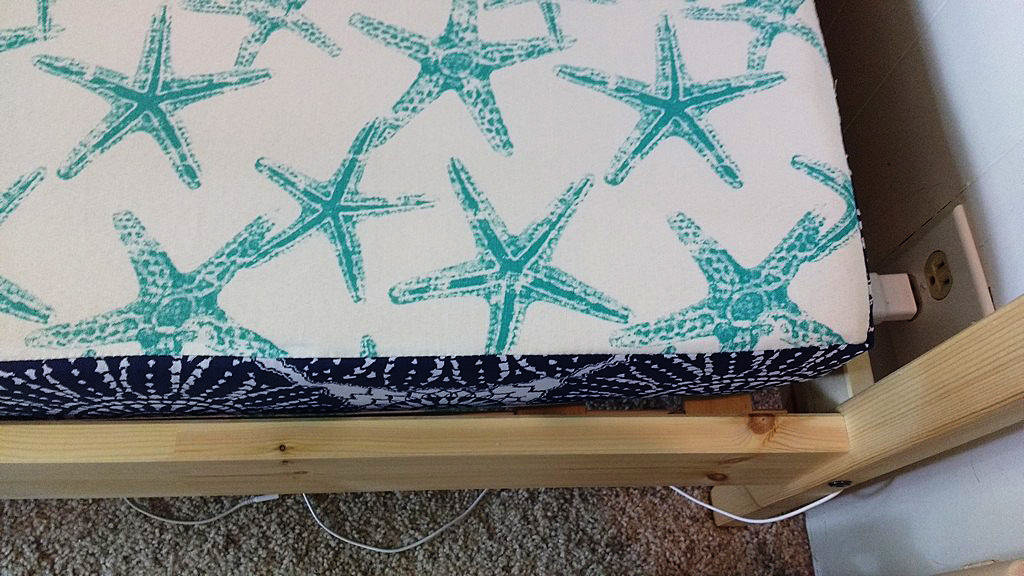
Look at those clean lines!