Sometimes it is hard to think of a great gift to sew for dad. It might seem like endless project options come to mind for most any other recipient, but gift ideas to sew for men don’t come quite as easy. Between the holidays, his birthday, and Father’s Day, you need a few good gift ideas each year—and that’s if you only have one dad to sew for!
Gifts to Sew for Dad
To help solve this perennial problem, here’s a long resource list of ideas to sew for men, including your dad, your children’s dad, or any other dad you might love.
Pillowcase
I seem to list pillowcases in every gift idea post I write! That’s because they are easy to make in a hurry, everyone uses them, and none are as nice as those that you make. So they make a nice gift to sew for dad, too. My dear always loves a gift of a new pillowcase, especially for his jumbo XL long pillow. Last year, I made him one with Star Trek fabric, it is covered with line drawings of the Enterprise. I used a vintage yard I’ve been saving and some vintage trim, too, and made him a new one today.
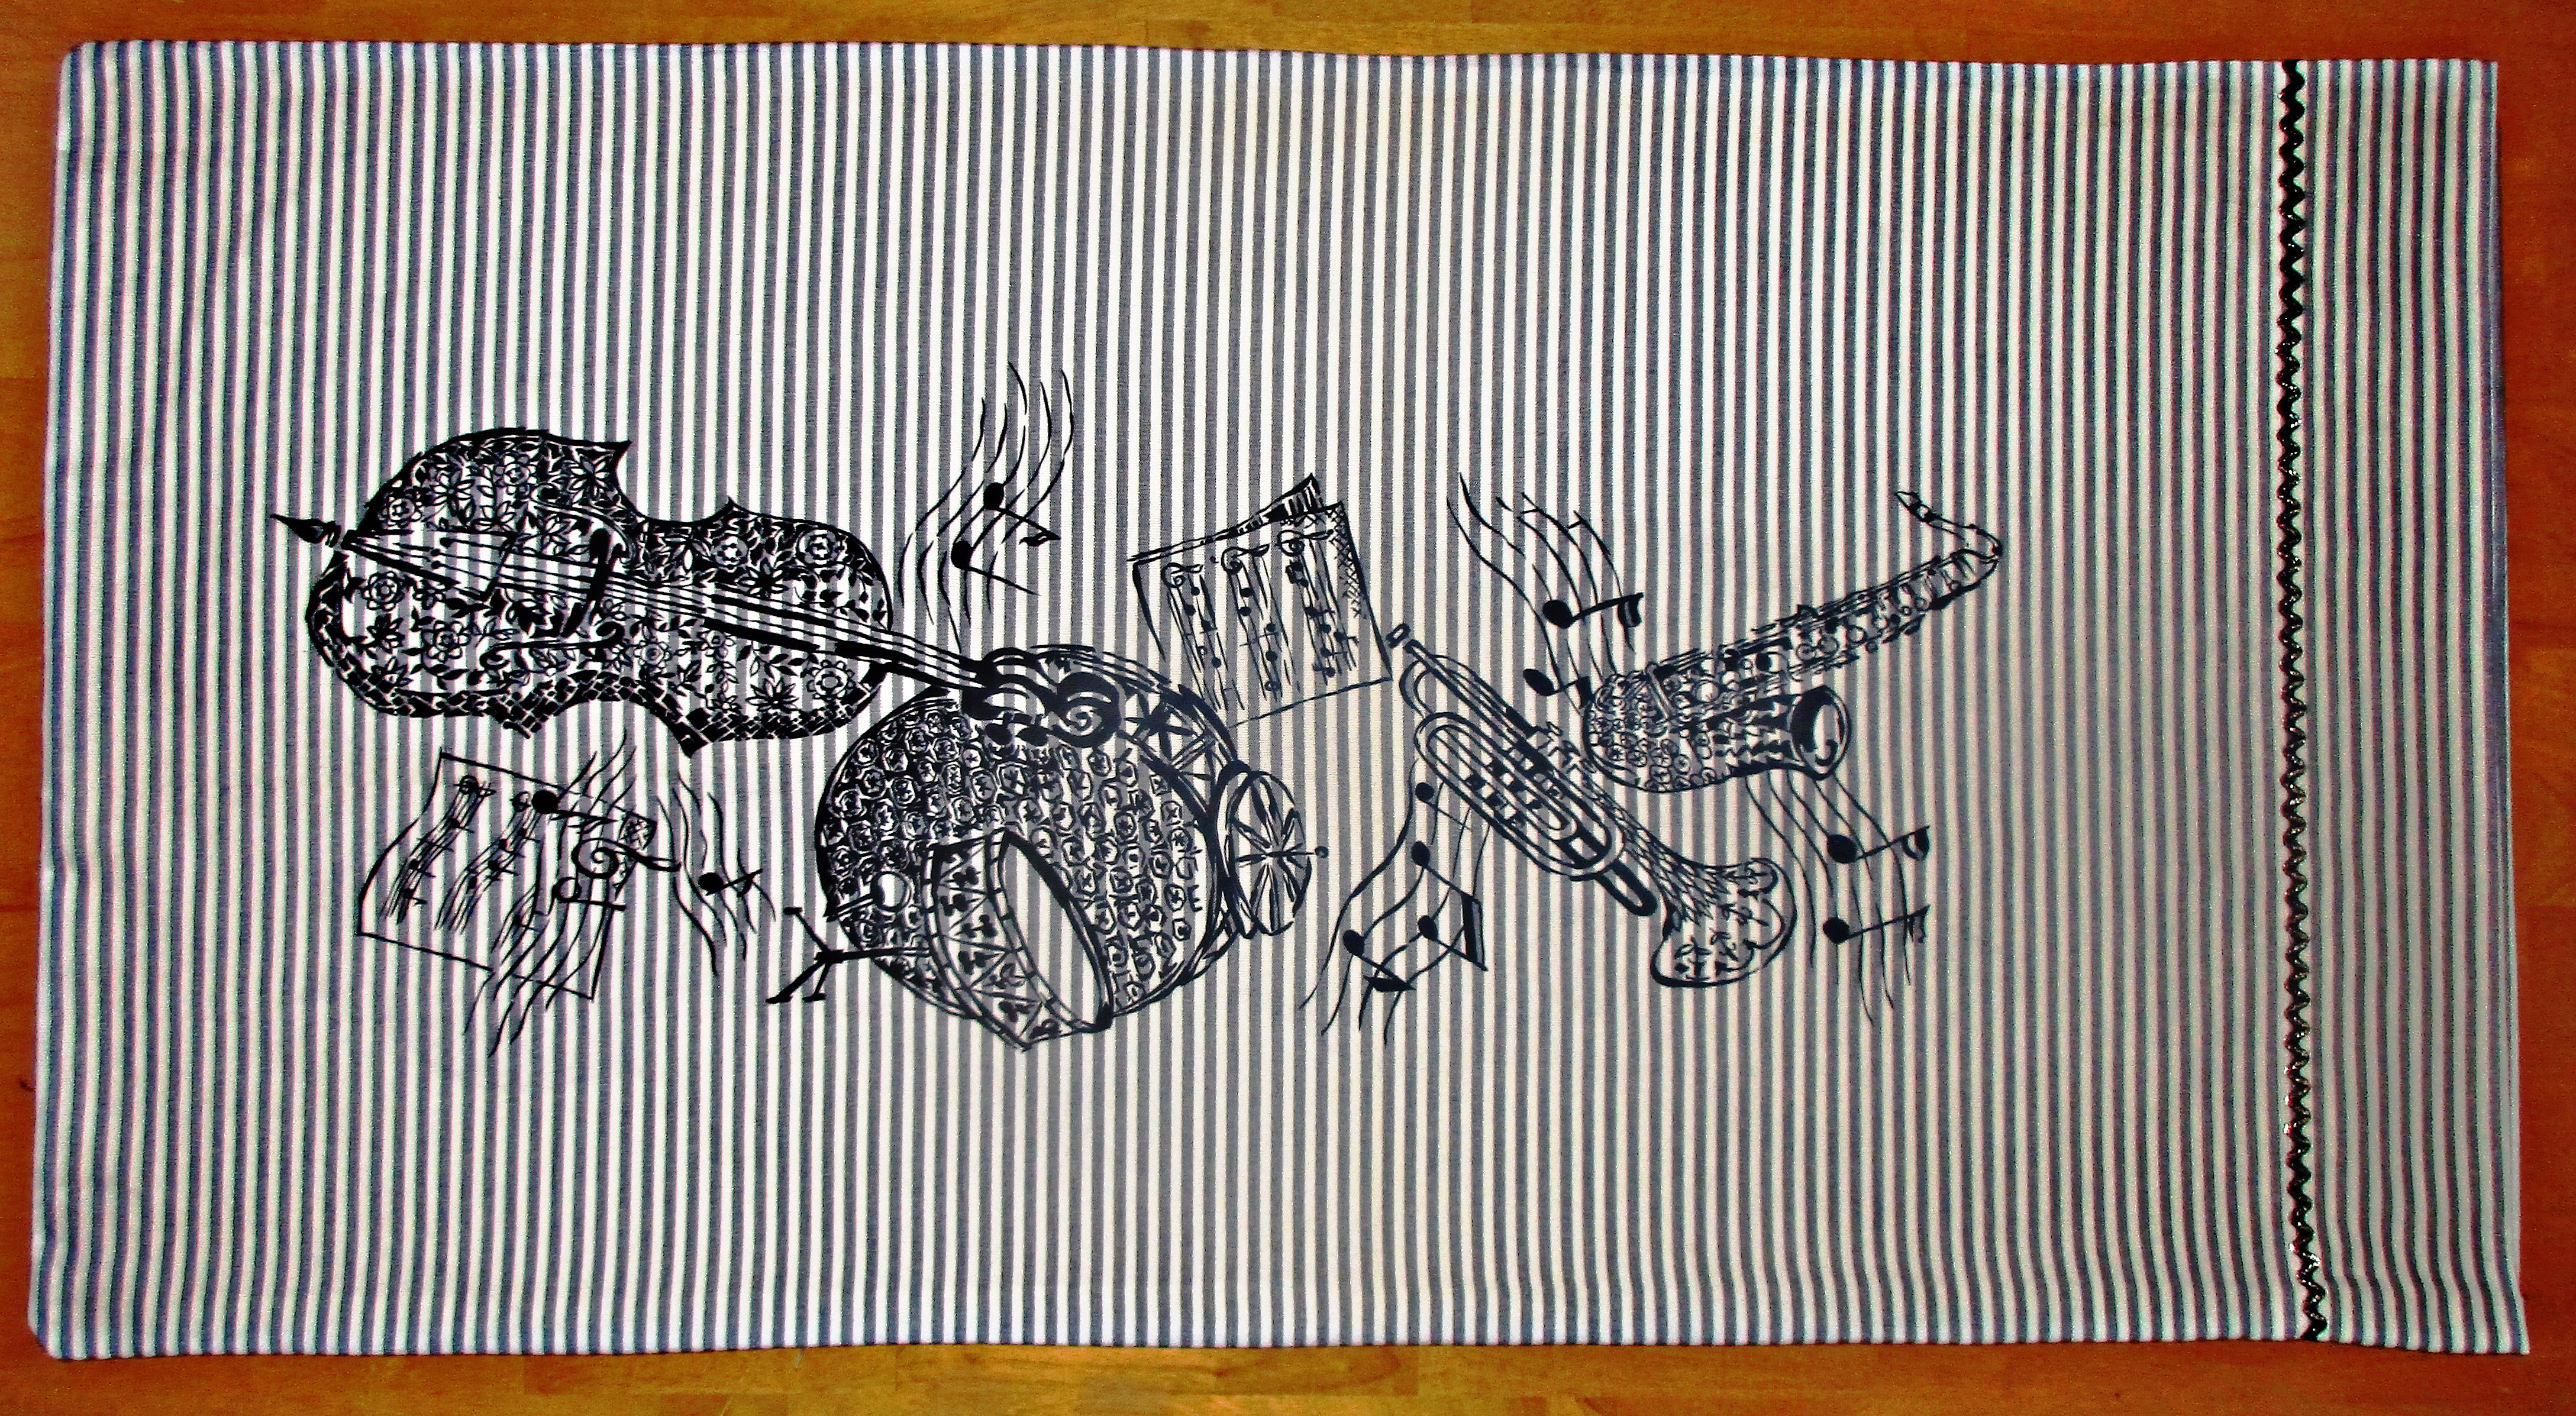
I think he’ll love this for his jumbo pillow. I love the extra bit the sparkly trim adds to this.
Pajamas
Simplicity and other pattern makers make super easy to follow patterns for pajama pants. Or you can trace a favorite pair to make a pattern, or you can follow an online tutorial. Make them extra nice by adding pockets and drawstring waist. My dear prefers these cut quite loose and made from plaid flannel shirting; these look great on him, too.
Handkerchiefs
Make these from soft cotton; they are nice in flannel, or even knit. Use a serger to finish all sides. For knit fabrics, you don’t even have to hem them at all. To save a step, buy these pre-made and make them more fun with tie-dye or personalize them with embroidery.
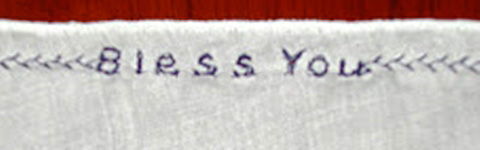
Handkerchief detail.
Quilt
A quilt is a perfect gift to sew for dad. Make him a lap sized or larger quilt in his favorite colors if you know them. If not, you know he loves his college or pro team’s colors, or go with a muted and manly collection of scrap fabrics. My favorite quilt I made for a man was a corduroy scrap quilt, with brightly colored squares alternating with khaki squares in a Streak of Lightning pattern. Choose a high quality, super soft cotton flannel for the quilt backing, and use cotton batting for maximum comfort quilts.
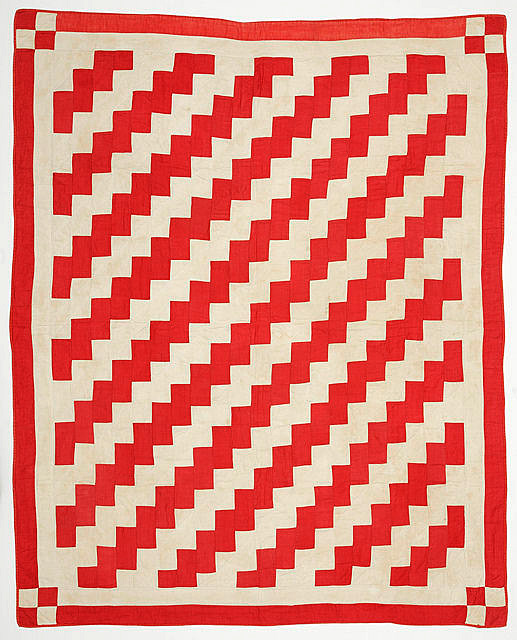
Streak of Lightning quilt, Ashley Van Haeften, from Flickr.
Bedside or chair arm organizer
Sew an organizer pocket to go over the side of his chair and hold his remotes and things, or under his mattress to keep glasses and reading material safely at hand.
Comfy his couch
Besides making a quilt, you can make his couch even cozier with custom cushions, perhaps one which includes pockets for his remote. Or make him a cuddly plush sofa blanket.
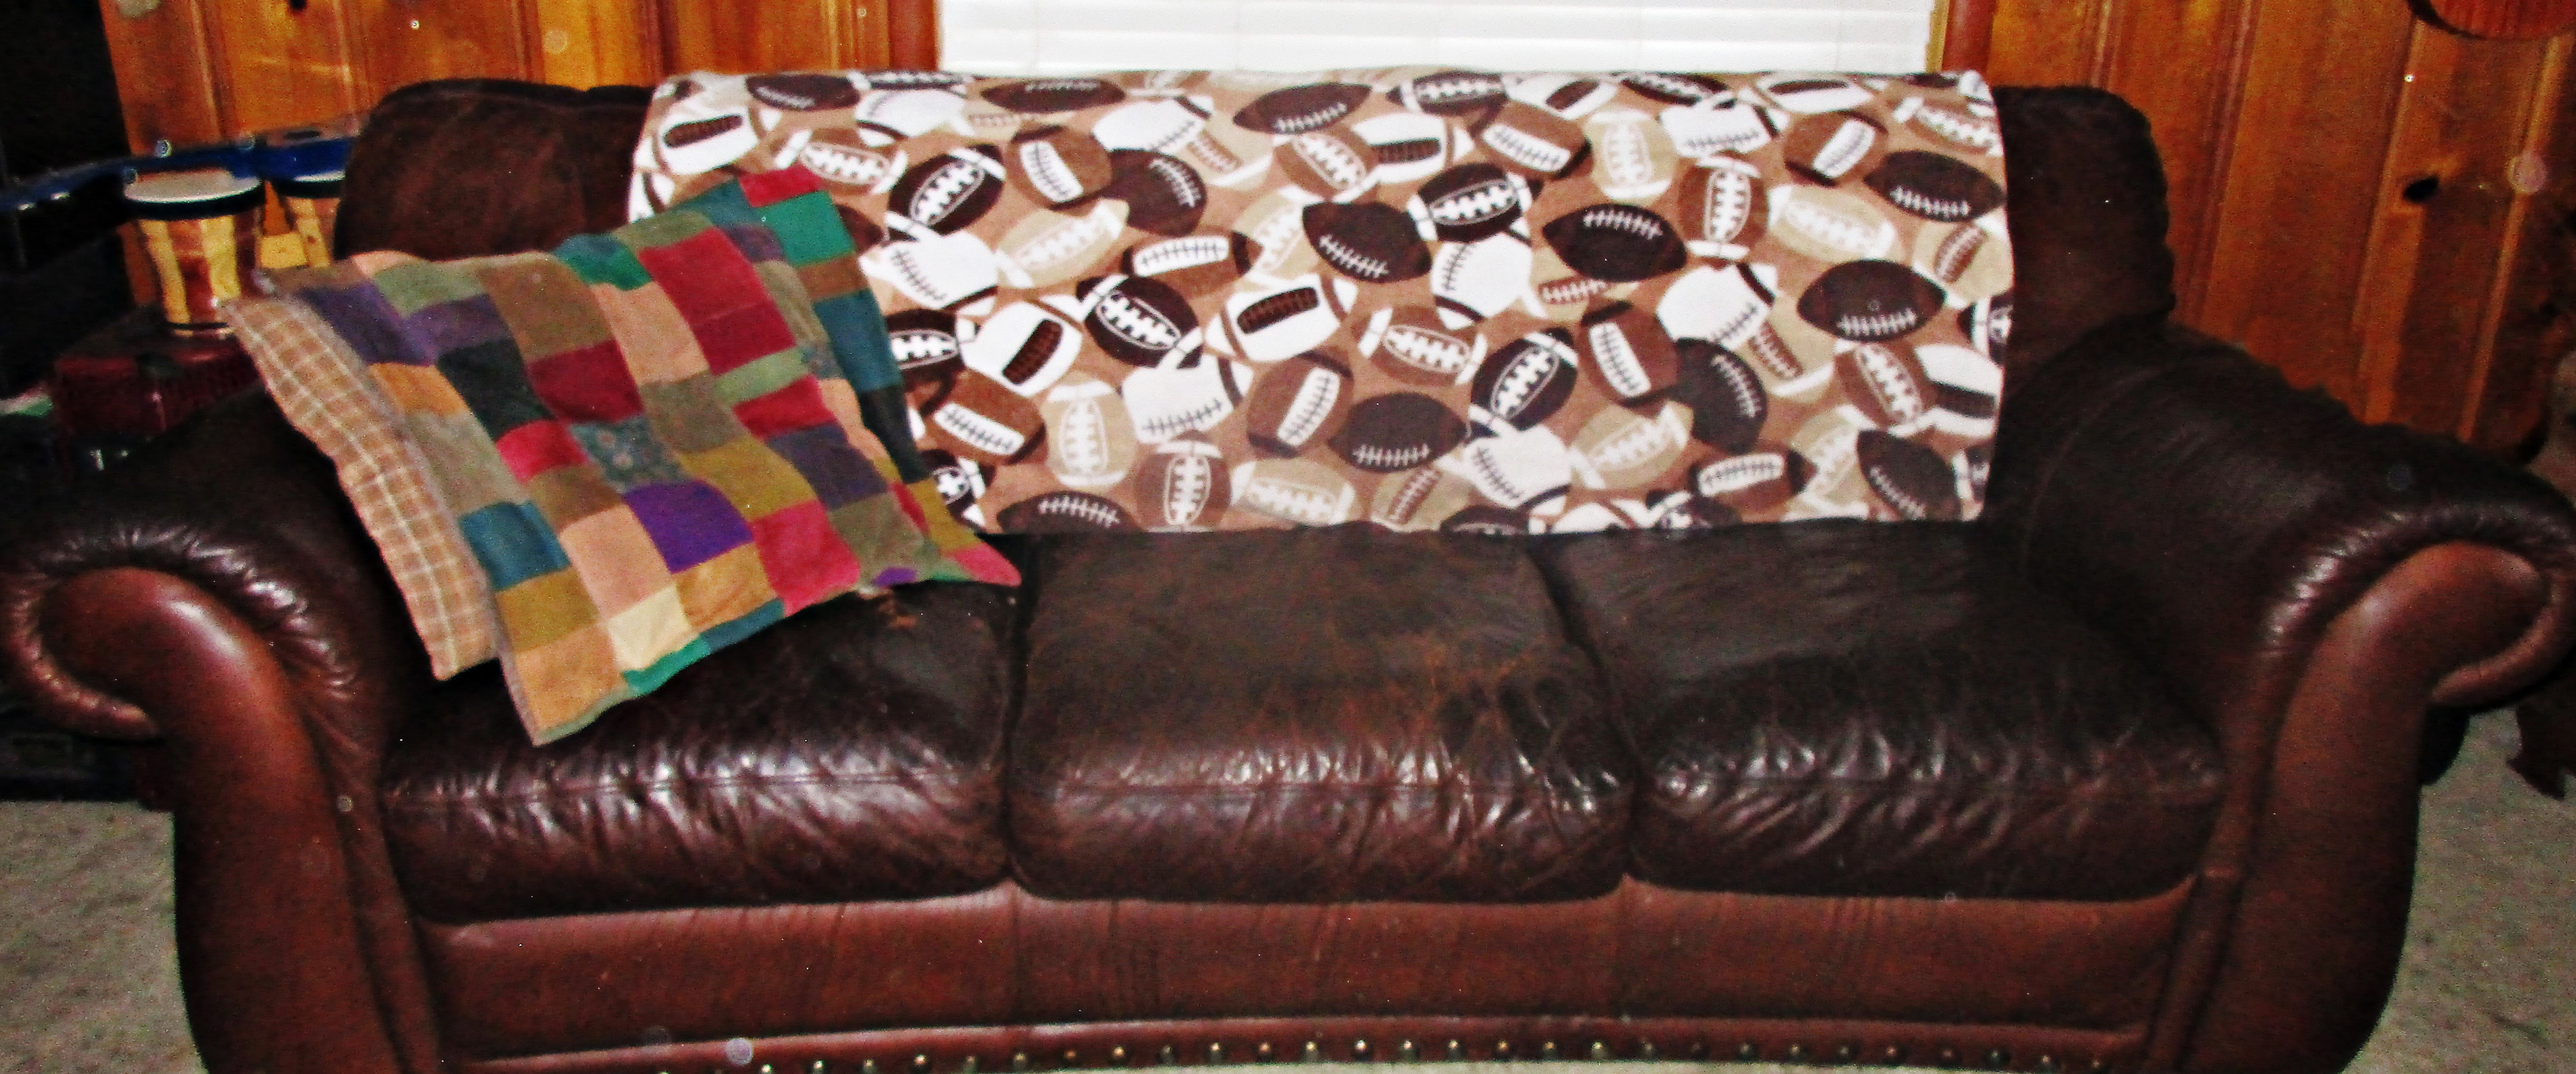
Two layers of Cuddle Plush fabric make an ultra cozy sofa blanket.
BBQ Apron / tocque / oven mitts
Use appliqué or a fun novelty fabric to make and personalize an apron just for him. I like this reversible pattern from Michael Miller fabrics best. Make the gift even nicer by pairing it with an easy-to-make, matching chef’s hat (tocque is the proper name for these) or an oven mitt.
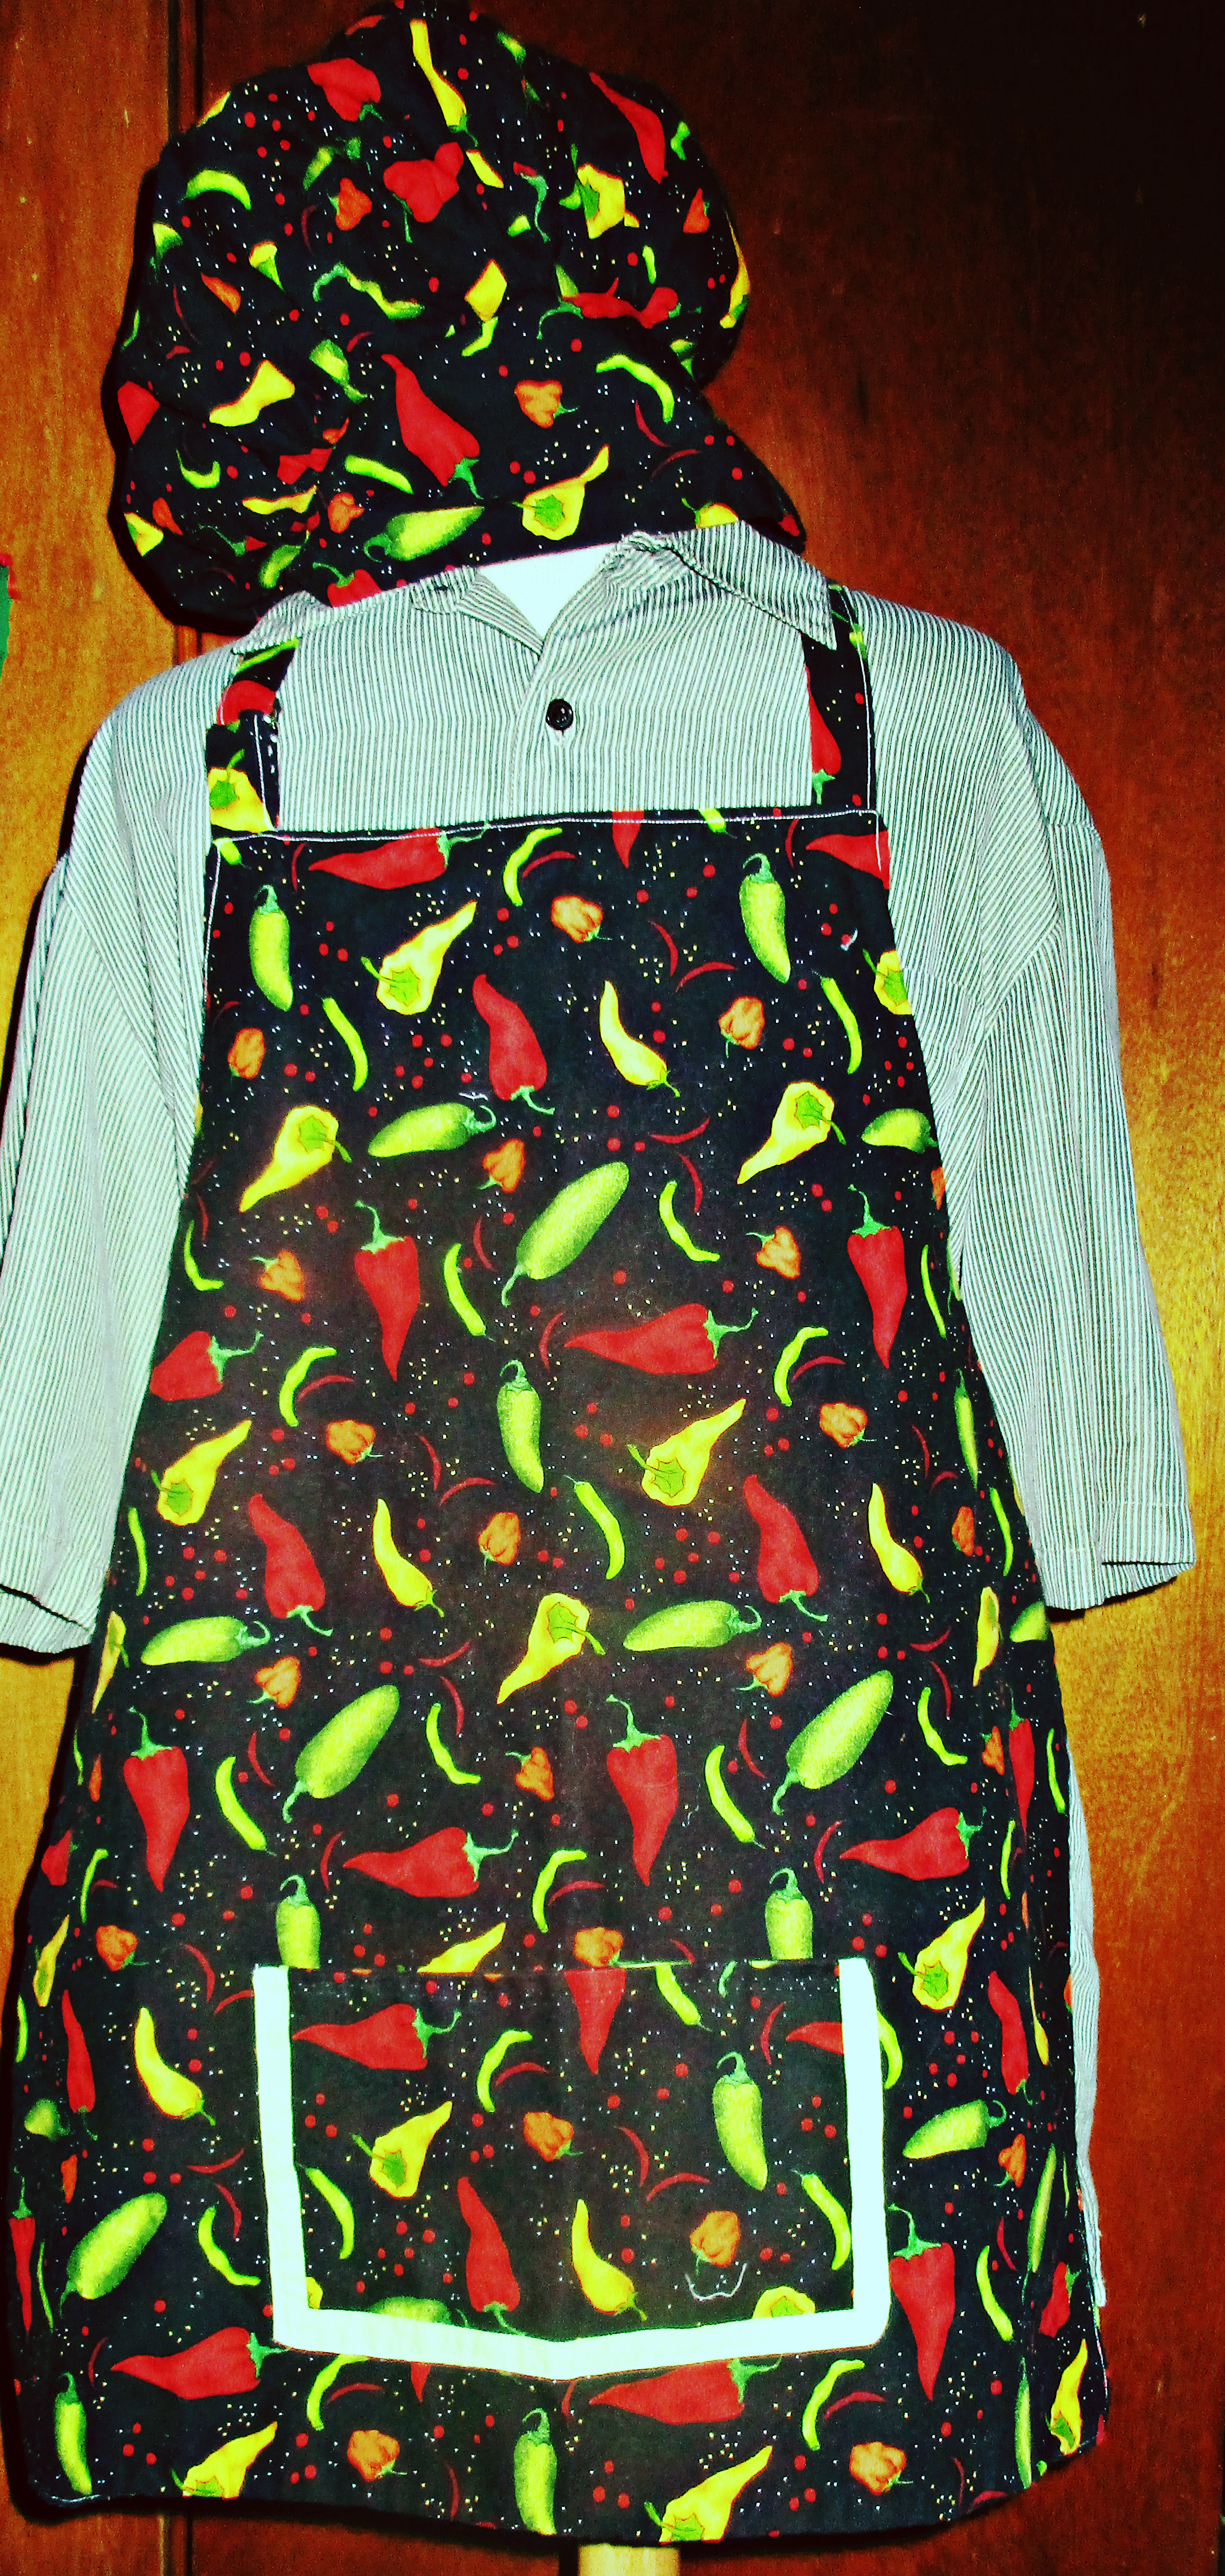
Reversible, adjustable apron & chef hat.
Handyman apron
Help him around the house by sewing a full-coverage handyman apron or an easy pocketed waist apron for holding nails or a few tools.
First aid kit
Everyone needs one. You can make it roll-up style, or with a zipper.
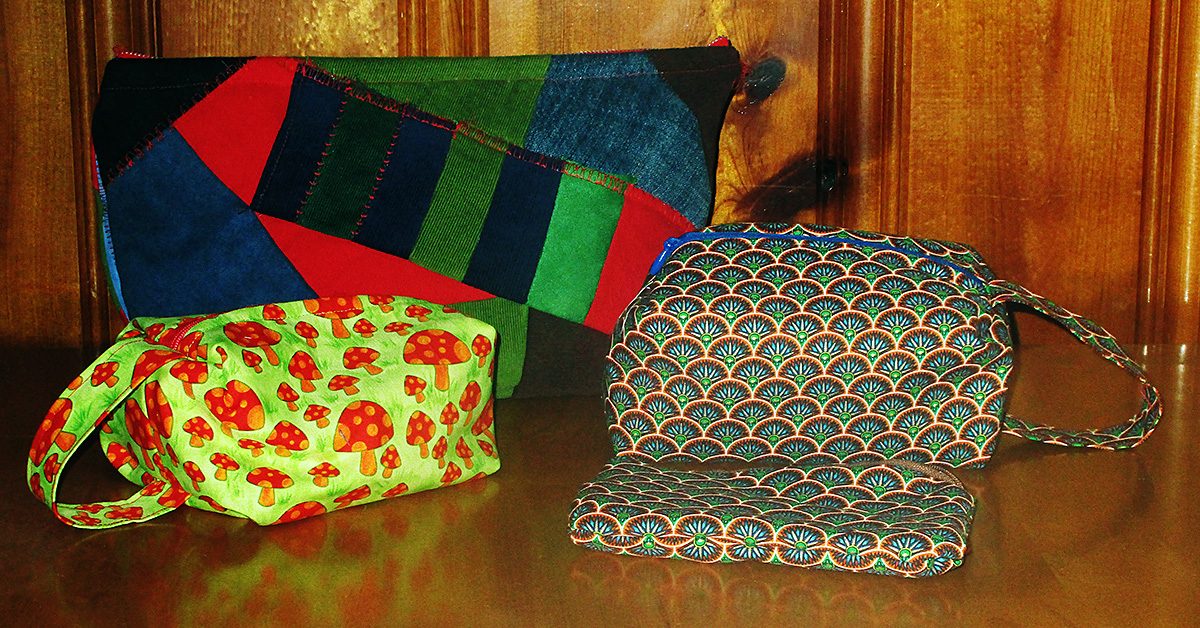
Zip bag
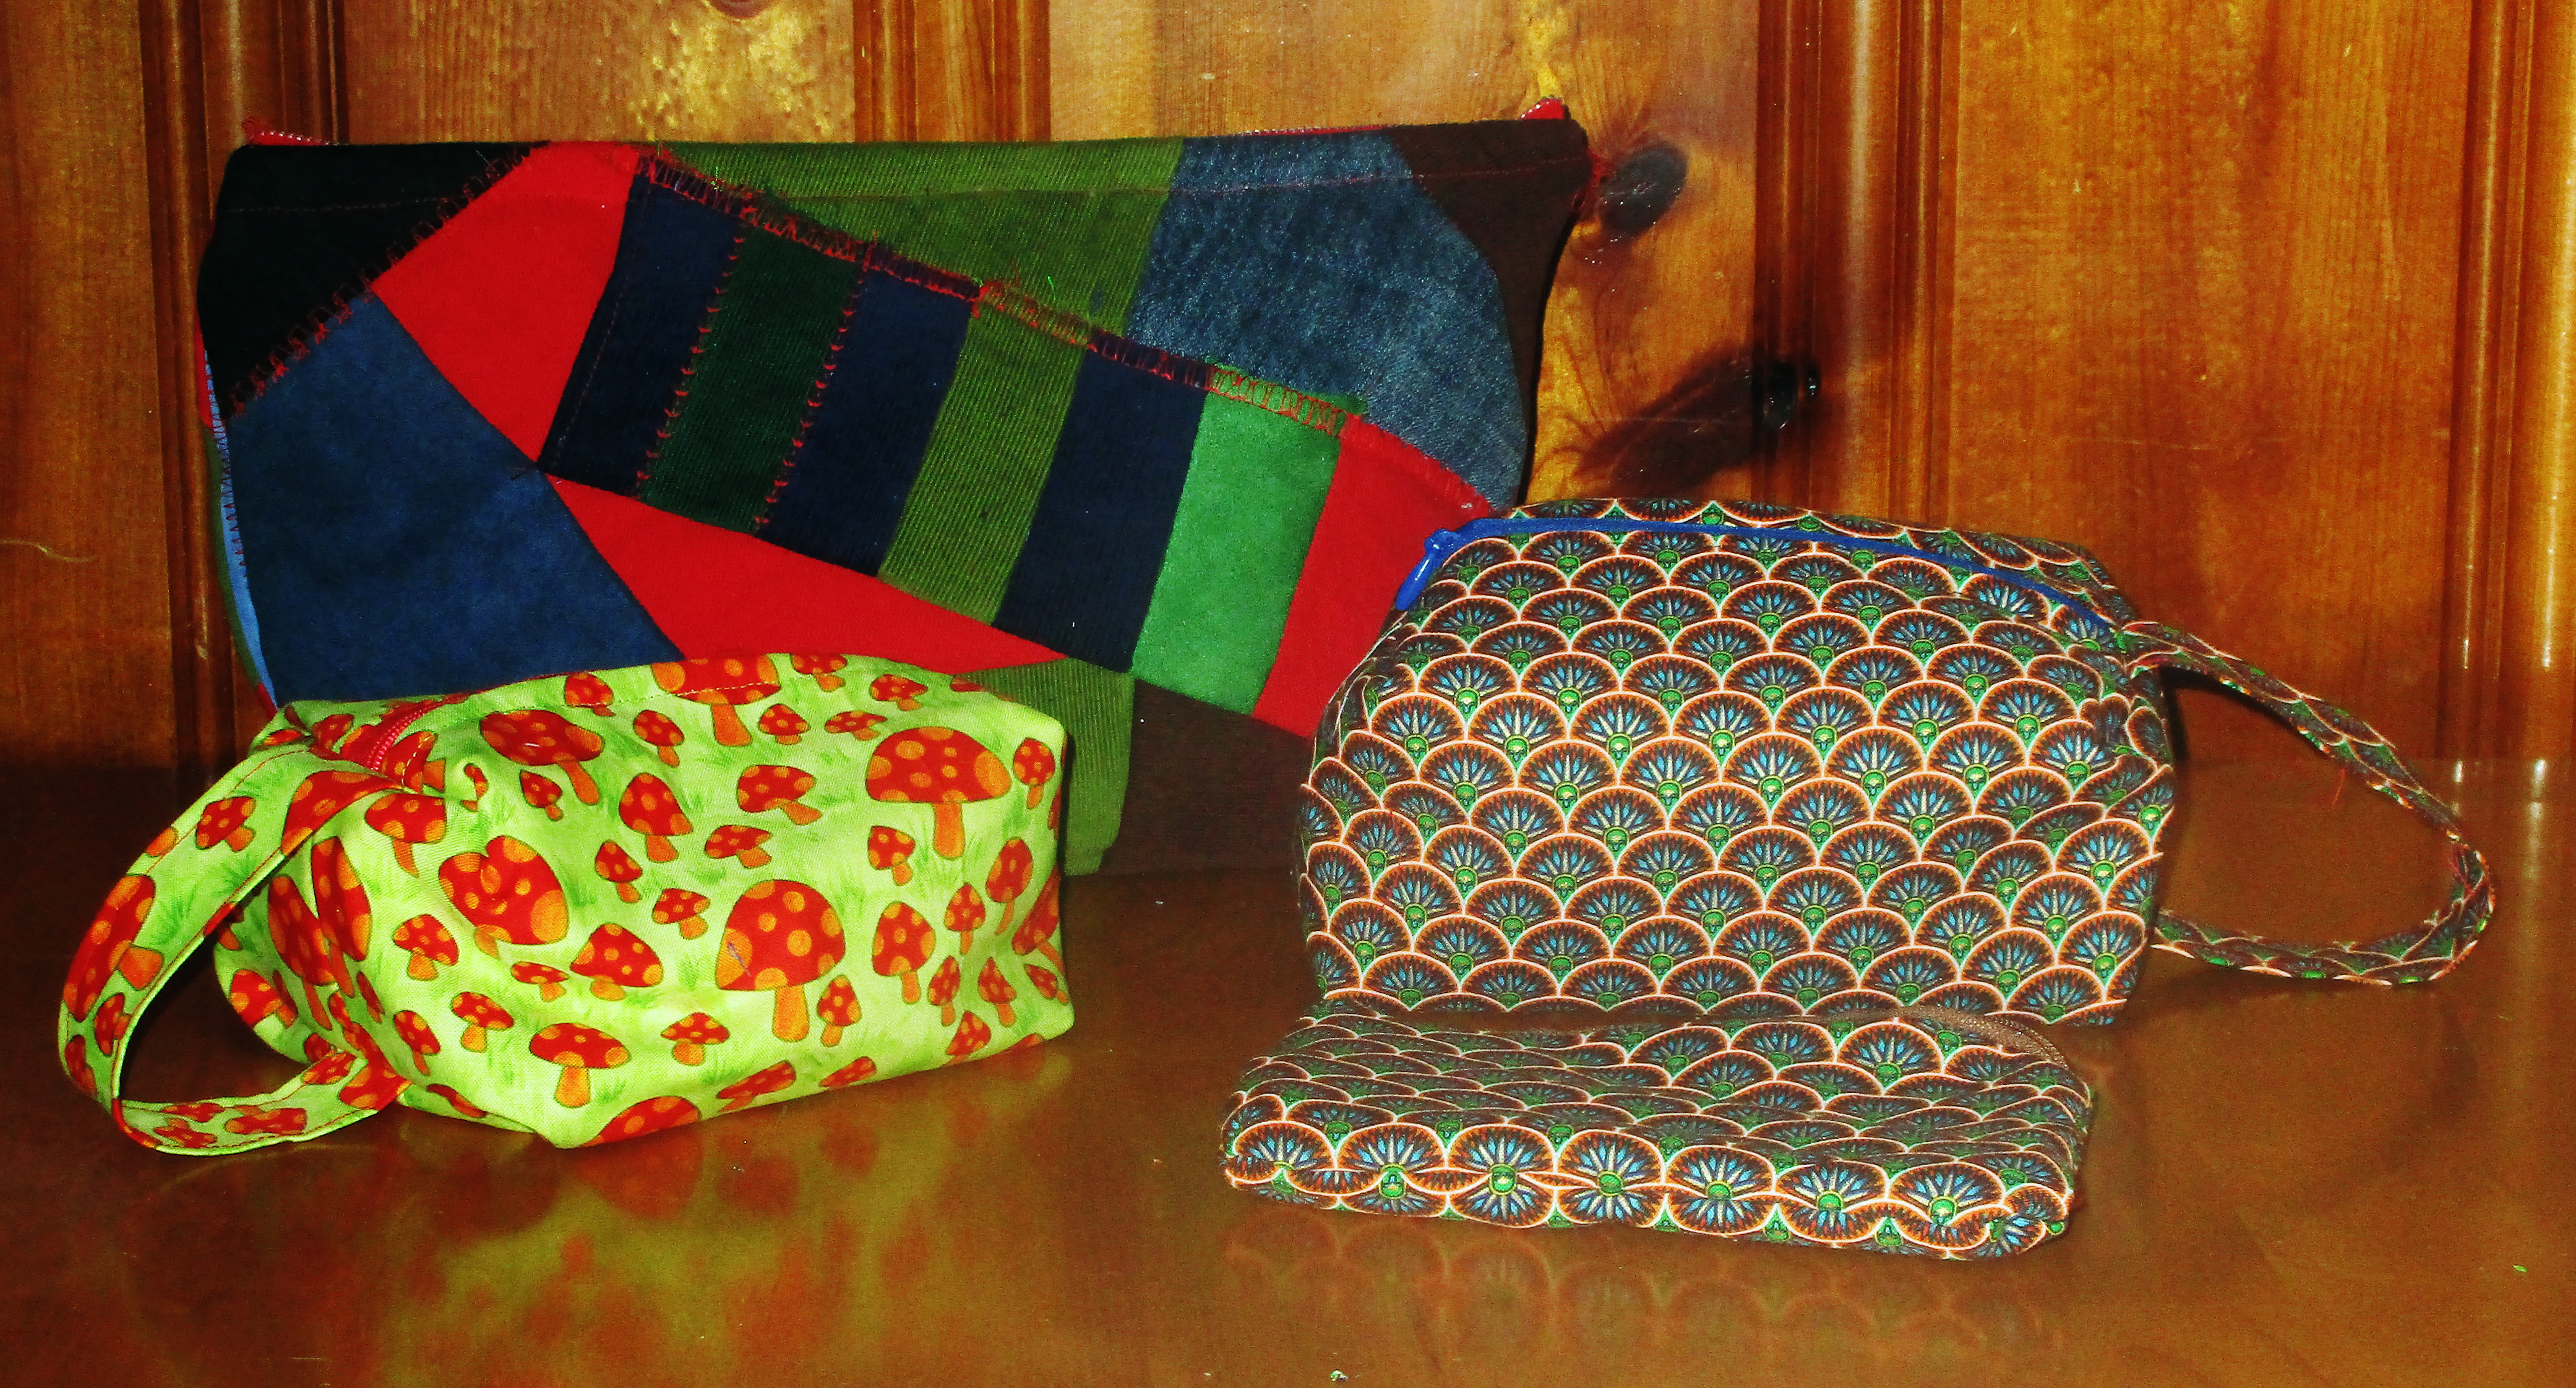
Zip bags I made for guys yesterday.
Make him a small and simple zippered pouch for holding his cufflinks and jewelry, sketching pencils, or other small items. For something a bit roomier, here is a tutorial for a boxy toiletries bag that will work well to sew for dad.
You can sew an easy zip bag in 15 minutes, or less.
Phone or glasses case
These are simple and easy to make. If you prefer, make a hanging charging pouch.
Tablet tote
This one is really easy to make; scroll down to see a manly looking option. The iPlaid is a good choice for a guy, or you could make one from scrap jeans.
Laptop sleeve or bag
If you can get your hands on his laptop to take measurements, then you can make this easy laptop sleeve in an hour or less. For something with a strap, make him a messenger style bag to fit his laptop.
Lunch bag
He’d probably rather not carry a cutesy lunch sack, so here’s how to sew a reusable brown bag with waxed canvas.
Wallet
Make it bifold or trifold. Or make him a simple business card wallet.
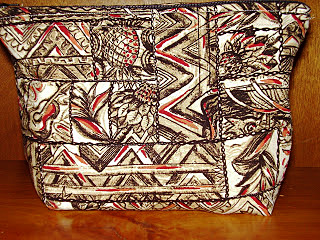
Other kits or bags
Make a tool roll or tool bag, a cord roll, a battery bandolier organizer, a monogrammed suede bag for his liquor bottle if he carries one to go, a shoe bag for travel. I’m making a patchwork quilted ukulele bag and a drumstick bag for my hubby this year. A soft padded guitar bag is a great idea, too.
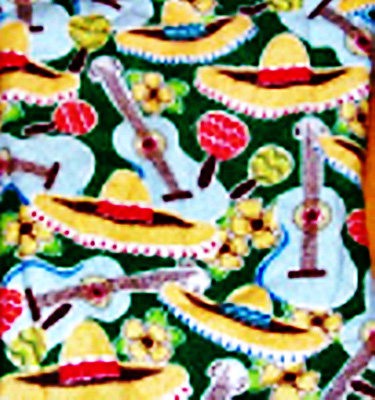
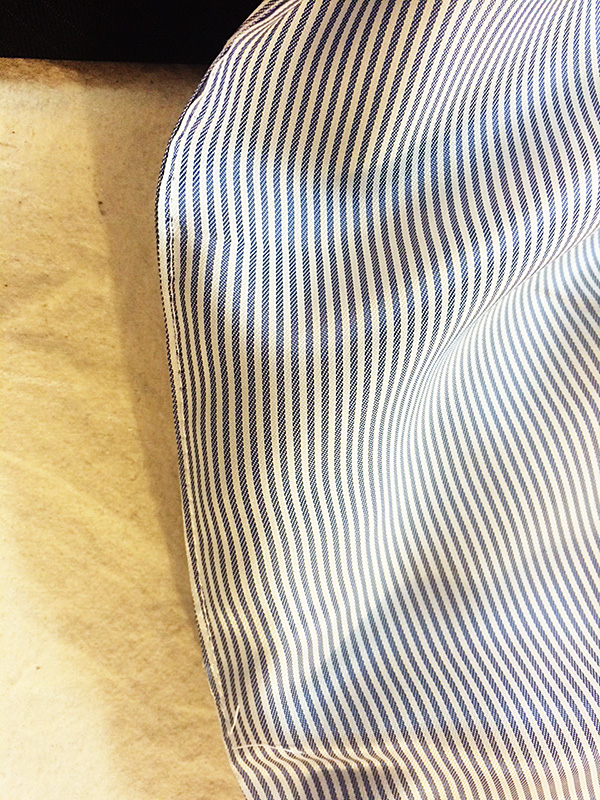
This fabric is perfect for lining his ukulele case.
Cup, can, or bottle cozy
Here are free tutorials to sew these for a can, a bottle, or a coffee cup.
Keychain
Lanyard type key fobs make useful gifts. You can make them with webbing, leather, even recycled jean denim. Here is a neat tutorial that includes a way to make these with a zipper for a place to stash cash. Or make something else useful to hang hang on his keychain, like a chapstick cozy or earbud or iphone pouch.
CD visor or book
Plenty of dads still keep their music on CD. If yours does, you can sew him a place to hold them on his car visor. I made one with a patchwork dive flag and ocean blue fabrics for my diver dad. You can also use felt to make pocket pages and sew a folder or book for holding CDs.
Baby carrier
Dads love to wear babies, and babies love it when they do. For a new dad, make a sling type, mei-tai, or a toddler sized soft structured carrier in a manly color or fabric.
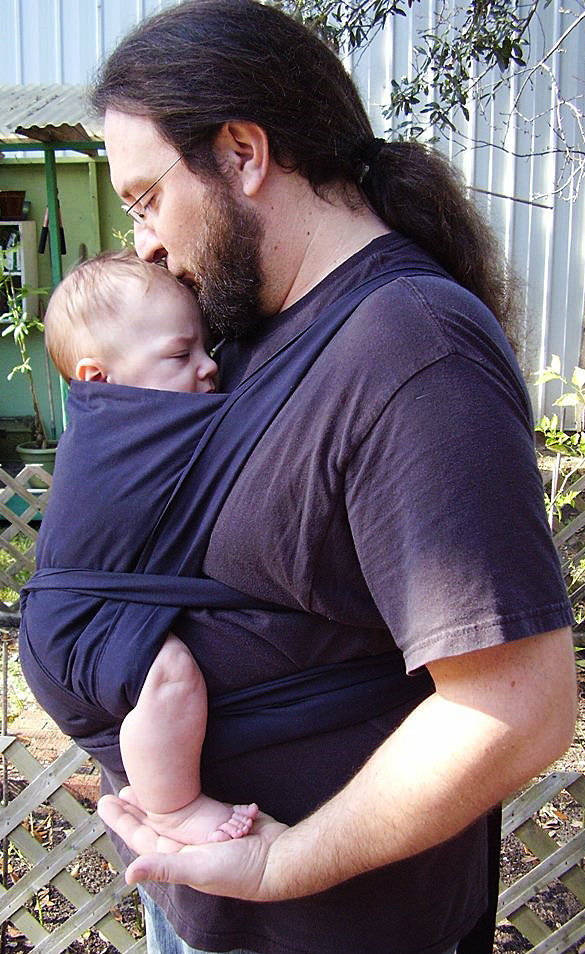
A mei-tai style baby carrier is super easy to sew and comfy for both dad & baby.
Sporting gifts
- Stadium cushion or blanket
- Gym bag – like this tough duffle tote
- Golf accessories bag
- Head covers for golf clubs
- Golf shoe bag
- Reel bag or rod and reel bag – for fisherman dads
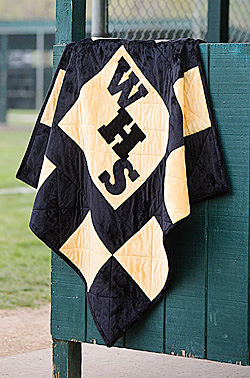
Stadium blanket, photo courtesy Fons & Porter.
Hat
There are lots of ways to sew a hat. Here are tutorials and free patterns for a few different styles:
- Cadet style cap
- Flat newsboy cap
- Reversible denim bucket hat
- Surgery scrub hat
- Welder’s cap
- Wool beret
- Easy double layered fleece hat
- Here’s how to draft your own hat pattern
Shorts
Buy a simple pattern, or use my 10-minute way to make shorts. You can make the bandana style shorts in that link for men using four bandanas instead of two. Just use two bandanas instead of one for each leg, and add side seams to sew these together. Add length at the rise with a matching or coordinating fabric, or cut a couple more bandanas in half and sew these at the top. Or choose a funky fabric and whip up some board shorts for him.
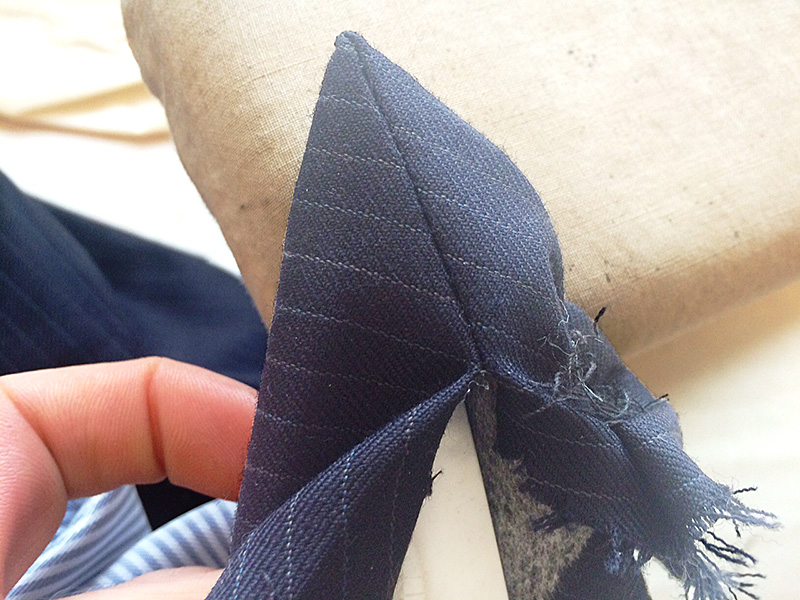
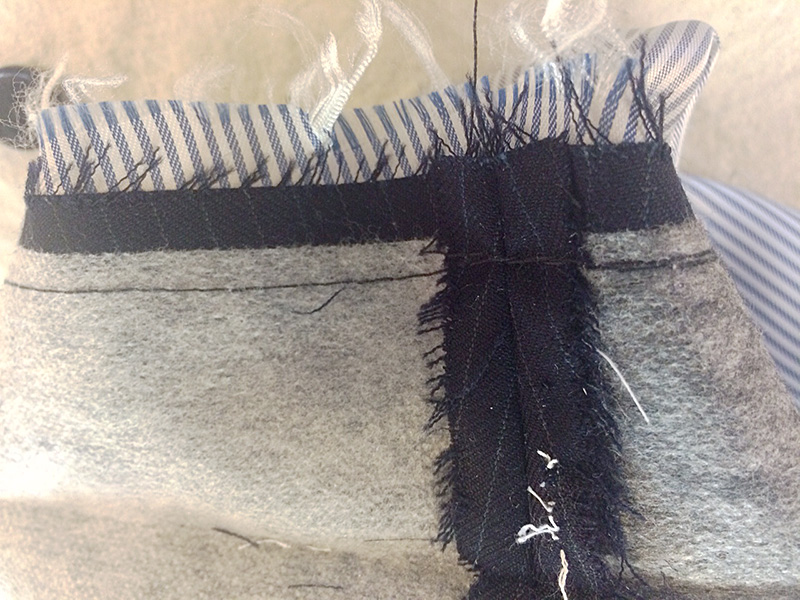
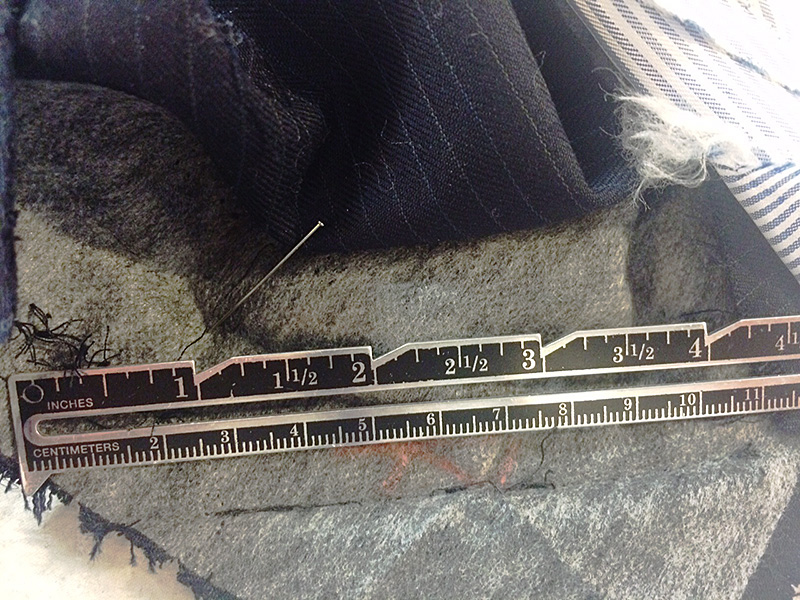
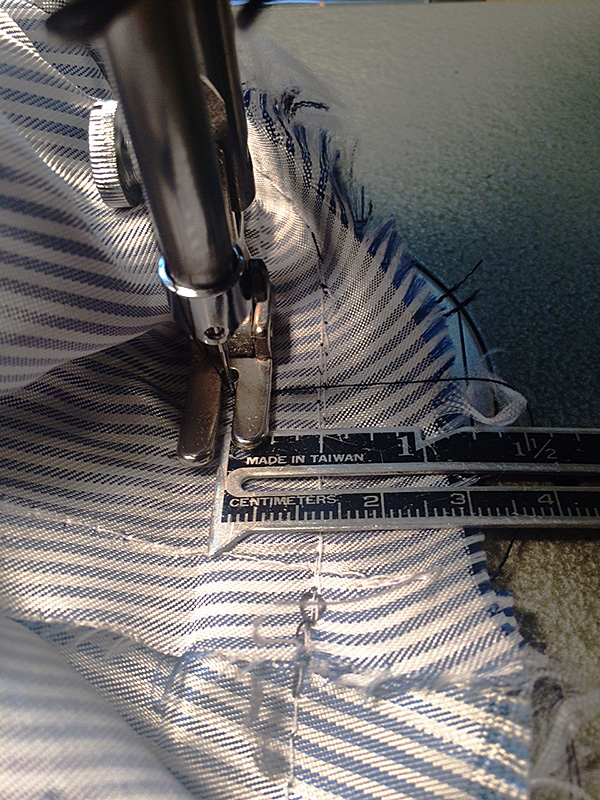
Tie / bowtie
Buy some silk and make him a stylish tie with a pocket square to match. Here are tutorials for a bow tie and how to add a secret wallet pocket to the back of any tie, too.
Scarf / cowl
Unless you live in the Southern Hemisphere, you probably won’t want to give dad a scarf for Father’s Day. But for winter holidays or birthdays, a scarf or cowl makes a great gift.