How to Sew Faster

How to Sew Faster

My job as a tailor on a television show often requires me to complete an alteration in a seemingly impossible amount of time. Not to be overly cocky or self-congratulating but, I can be pretty fast when needed. People frequently ask me how I’m able to do something so quickly.

Don’t hesitate. Just, do.

Honestly, I don’t think so much about it anymore: its pretty much second nature at this point. But, I suppose if I were to break it down, the process would go something like this:

First, don’t panic. Whatever you do, don’t panic. If you do, you could find that suddenly you’re unable to thread a needle, or your needle breaks, or the thread tangles.

Second, don’t hesitate. Just, do.

As you’re working, think about the next step. Plan ahead.

Concentrate fully on what you’re doing. Don’t listen to the conversations going on around you. Pay no mind to whatever random chaos might be happening in another part of the room. Just focus your full attention on the one thing you are doing. That is all that is important.

Whatever you do, don’t thread mark. I know that’s what they teach in sewing school but there is no reason to have to thread mark a pant hem.

A few tips on how to sew faster:

Do as much as you can without stopping to iron.

If I’m really pressed for time, I tend to leave all the ironing until the very end (pun intended).

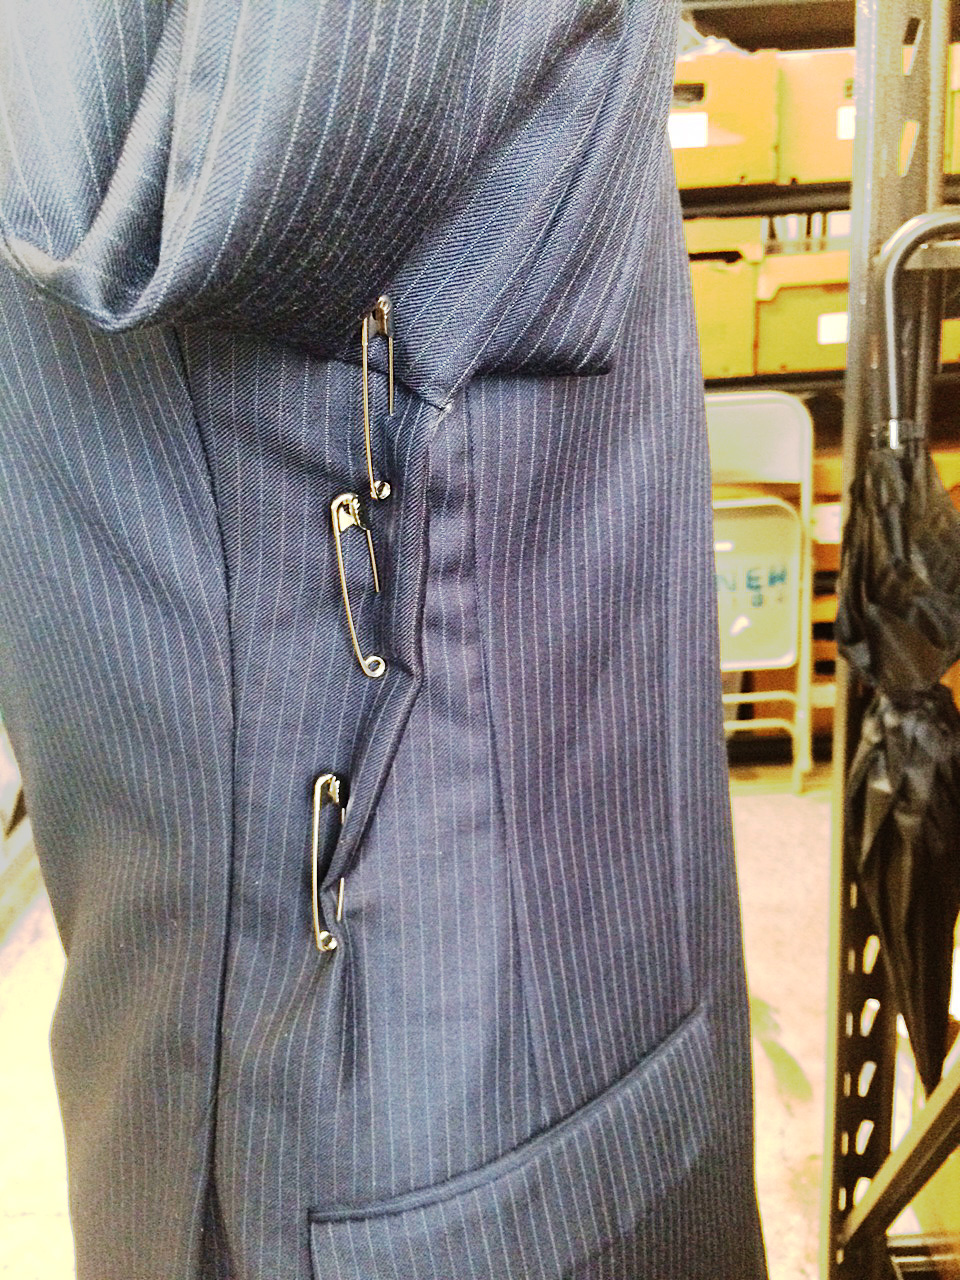
Learn how to eyeball measurements. Think about it, if you’ve been sewing long enough, you know what a ½” looks like. You honestly do not need to mark every single little line. If you want to measure, go ahead, put use your pins to mark the line. I often work with a metal seam gauge but rarely actually draw a new stitching line. One exception is if I’m re-mitering a suit jacket sleeve corner though I know lots of tailors that do not need to draw that line either.

Whatever you do, don’t thread mark. I know that’s what they teach in sewing school but there is no reason to have to thread mark a pant hem. I once had an additional tailor helping me on a show who insisted on thread marking the fold line on hems for cop pants. Buy some tailor’s chalk and use that to mark your hemline. It’ll disappear when ironed.

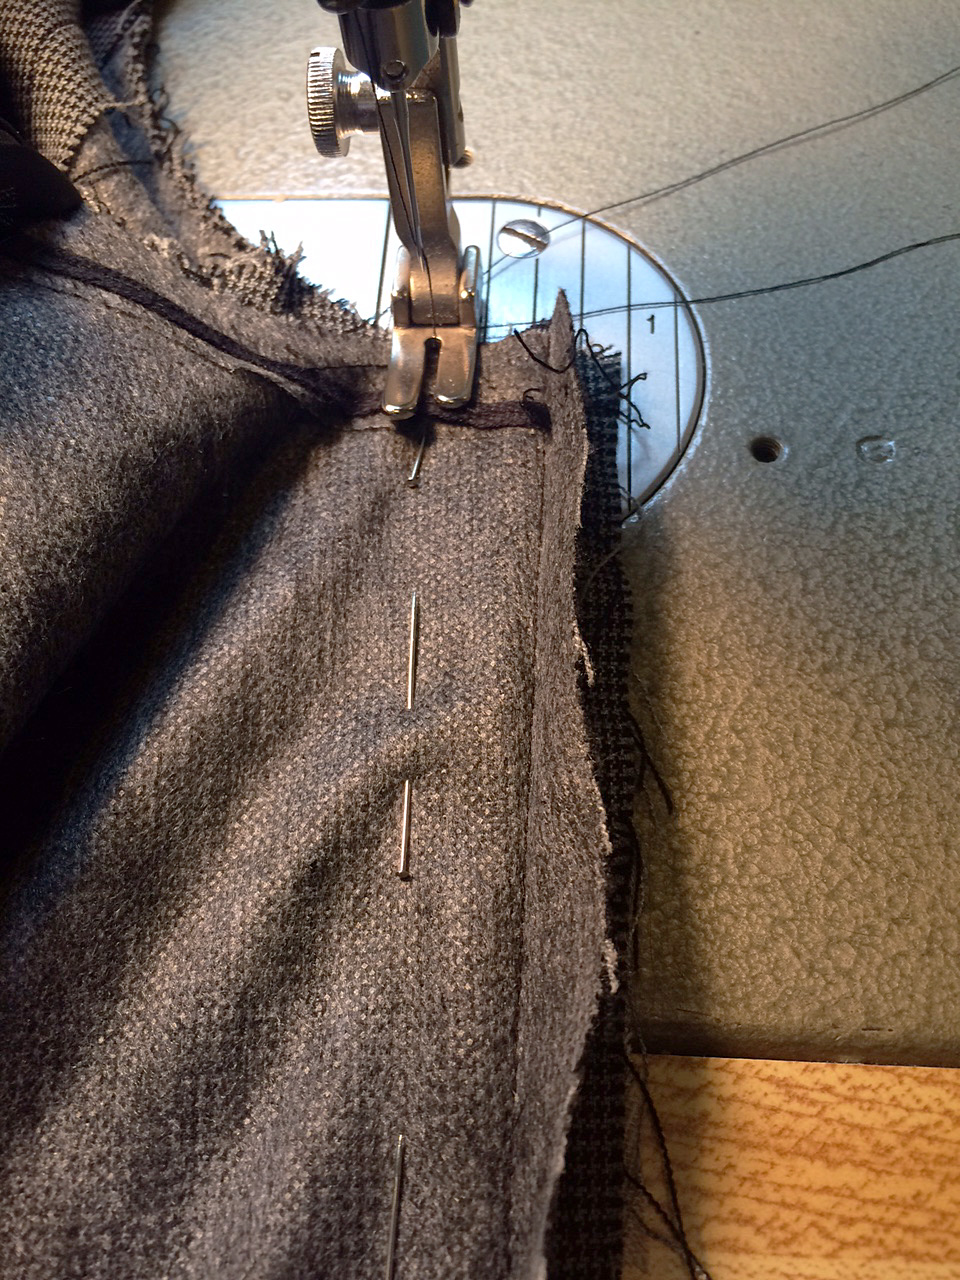
Unless you’re topstitching, you really don’t have to have your thread match exactly. Believe me. Whatever thread is in your machine is just fine. I cannot begin to tell you how many black garments I’ve altered quickly with red or yellow or whatever happened to be in the machine colored thread.

Learn how to undo a chain stitch. A lot of manufacturers use chain stitches in clothing construction. This makes it super easy to take them apart when needed. You can only unravel a chain stitch in one direction, the direction it was sewn in. Most of the time, all you need to do is insert a seam ripper and pull in that direction and all the stitching will come undone. The center back seam of men’s pants, often will have two rows of stitching so you’ll need to pull each row separately.

A couple other seam deconstruction tips:

To take apart a serged seam, use a nice sharp seam ripper and run it through the threads that wraps around the edge of a seam. After you do this, the rest of the threads will usually come apart rather quickly. Some serged seams are on a chain as well and you can undo them by pulling the thread on the straight stitch.

One of the fastest ways of taking apart a seam is to, again, use an extremely sharp seam ripper and insert it into the seam from the right side and just pull upwards through the seam. This technique takes a bit of practice (and bravery) though as the potential to accidentally slice through the fabric is ever present. There’s a knack to getting the angle of the seam ripper just right though and once you figure that out, you’re golden.

In the end, the one sure way of becoming a faster tailor is by practice. The more often you repeat the same task, the more efficient at it you become.

As you do an alteration, try to think of ways you could save time: do you really need to flip everything back right side out then inside out then right side out again? Probably not. If you sew this first, will it make it easier to sew this? Or visa versa? Experiment and try things multiple ways until you’ve figured out the quickest sequence of steps for yourself.

I love discovering a new, faster way of doing something I’ve done a million times. Sewing is kind of cool like that: there’s always something more to learn and fresh tactics to uncover.

Pressing: Side or Open?

Pressing: Side or Open?

Once upon a time, I had an extended conversation (argument?) with a friend as we — as adults — threw all of our cards on the table in regard to the matter of who had it worse: Pluto or Goofy.

The point of referencing this conversation is that sometimes some of the smallest details can be points of major debate, and that idea is as true in the sewing world as it is for preferred cartoon characters. For instance, pressing your seams while sewing is a common thing, but there are two methods that are seemingly at odds among seam-pressers: side pressing and open pressing. It’s a small detail, but both sides have very real support! Don’t believe me? Do some Googling!

Some of the smallest details can be points of major debate.

Some of the smallest details can be points of major debate.

I’m not sure I personally lean too heavily in either direction, so let’s go through them and see if we can come up with a winning method! The competition will be based on a point-gained system, and it will include the understood sewing project of a quilt for reference. Sound good? Then let’s go!

Let us begin

How about we start with the to-the-side method?

How about we start with the to-the-side method?

How about we start with the to-the-side method? One advantage would be that it’s easier to push the material to a single side for ironing than to force the pieces apart and iron openly. That’s something that, to me, a general consideration of the matter would support. You don’t have to hold both pieces of fabric in separate places like you might with the open method, so one point for side pressing!

Another benefit would be that, as a certain source pointed out, open pressing would logically weaken your product. With that technique, you would have an easier time seeing your stitches after the pressing because there isn’t that barrier of fabric to snuggly nestle them. Stitches are more protected with material covering them, and with the effort you put into your quilt, simple things to keep it intact are good! So, two points for the to-the-side notion!

One nice aspect about pressing to the sides is once you start pinning it's much simpler than pinning fabric pressed in the open fashion.

One nice aspect about pressing to the sides is once you start pinning it’s much simpler than pinning fabric pressed in the open fashion.

One other aspect about pressing to the sides is that, should you need to pin things following the pressing, doing so is much simpler than if you attempt it once it’s been pressed in the open fashion. Since I’ve been known to take a straight pin to the finger anyway, this advantage seems very tempting! Side pressing 3, open pressing 0!

Let’s open up

The open method isn’t altogether a bad idea.

The open method isn’t altogether a bad idea.

But, then again, the open method isn’t altogether a bad idea. For one thing, you don’t have to concern yourself with what direction you’re pressing your material. There’s no need to go back and see how you pressed a nearby seam because you can just assume it was open, like the rest. The uniformity is already there without having to come up with a pattern. Point one for the open strategy, then!

Another detail worth mentioning about this open approach is that you might find that you have a less lumpy final product. Again, this is logical. If you press your material to the right, then on the right, you have both sides of the seam and the fabric it’s laying against. That situation makes for three layers of fabric on the right for every pressed seam (not including batting and backing) while the left side — the one you pressed away from — would only have one. And that’s not counting places where your seams would overlap with other seams. Now, of course, the open approach doesn’t make everything equal across the quilt as not every piece of overlying material would have a seam pressed behind it. Still, for the areas where those seams would be present, having two pieces of material on one side and two on the other would be a more balanced situation and could lead to a smoother quilt (though as one source pointed out, “smooth” might not be your goal). So, one more point for this method!

The open approach doesn’t make everything equal across the quilt as not every piece of overlying material would have a seam pressed behind it.

The open approach doesn’t make everything equal across the quilt as not every piece of overlying material would have a seam pressed behind it.

An additional benefit of open pressing is that it’s more convenient when dealing with different colors of fabric, particularly if you’re pairing a dark one with a light one. If you press them to the side, there’s the chance that you’ll end up seeing darker fabric through a lighter one if you don’t plan and choose the correct side to press to. If you’re pressing them openly though, each color could be behind its own pattern, potentially hiding your dark fabric behind the same type of dark fabric. Seeing as how noticing a different pattern through the top of your quilt might not be aesthetically pleasing, I think the open method gets one more point in this contest!

And the winner is…

That makes the score three-to-three. So, what’s the tiebreaker?

Preference! I can toss all kinds of facts and details at you, but in the end, your quilt is, in fact, yours! Work with what makes you feel the most comfortable for these aspects. For some people, habit might lead the way. For others, it might be a logical deduction of what seems best. In the end though, there’s not an across-the-board right or wrong answer to this dilemma. Either/or, sometimes this one and sometimes that one… Sewing is a world of opportunity, and this small factor is one of the many to choose from!

A Pleating Problem

A Pleating Problem

You know the back pleats that are almost always present on the back of button front dress shirts? The ones that are sewn into the shirt body where it attaches to the yoke? Sometimes there are two, one on each side and sometimes, often on women’s shirts, there is a single big one at the center back. They exist for the purpose of ease, or freedom of movement but, what they really do, is just create a whole lot of extra unruly fabric and make a shirt look as if it is too big.

The camera adds ten pounds…

It’s basically true that the camera adds ten pounds so most things in film and television are fit without extra (usually un-needed) fabric mucking up the svelte look.

I spend a lot of time taking these pleats out of shirts, partially because they seem to be in almost all shirts except for ones specifically called ‘slim fit’ and, truth be told, it’s a rather complicated alteration if done correctly.

Step One:

Take things apart. Separate the shirt back from the yoke. If you have two side back pleats, you don’t have to take the whole thing apart. You can stop after the pleats are free on either side and leave the center part still attached. If you have a center pleat, you’ll have to take the whole seam apart. Note how much fabric is in the pleat or pleats. This will tell you how much to take out of the side seam.

Step Two:

Take more things apart.

Take apart the back arms eye. I usually go an inch down from the shoulder seam to the underarm side seam. Then take apart the side seams. Basically, the entire shirt back needs to be free so you can recut it.

Paper diagram illustrating marking new arms eye and side seam lines on the shirt back piece.

Paper diagram illustrating marking new arms eye and side seam lines on the shirt back piece.

Step Three:

Redraw the arms eye and side seam lines.

Lets say your shirt had a center pleat that 1” on either side, or two ½” folds on each side. From this, you know that you want to take an inch out of each side the entire way down the back piece.

Slice up of new arms eye line.

Slice up of new arms eye line.

To redraw the armhole, mark 1” in at the top of the armhole curve and 1” in at the top of the side seam. Then fold your back piece, using the opposite side as a guide as to where to draw the curve.

Mark the side seam line 1” in all the way down through the hem.

Folding one side over to use as guide for redrawing the arms eye seam.

Folding one side over to use as guide for redrawing the arms eye seam.

Step Four:

Sew the back piece to the yoke, lining up the centers first and pinning out from there.

Step Five:

Sew the back armseye along your newly marked seam line.

Step Six:

Sew the side seam. You should use the original line on the front piece and your new line on the back piece.

Step Seven:

Give everything a nice press and you’re done.

Sometimes, designers like to make a shirt even more fitted by having their tailors add side back darts. This is extremely common in the film business. If you ever watch Hawaii Five-0, check out the button front shirts that Scott Caan wears. They are altered to within an inch of their life. They fit him like a glove. And they all have side back darts. Whenever I see them, I think, “Oh, a tailor got a hold of that shirt.” If they’re not custom made for him, then they have definitely been through the back pleat extraction/side back dart procedure.

Next time you’re watching your favorite show, pay close attention to the button front dress shirts. You’ll start to notice side back darts everywhere!

What I Do at Work All Day (Part 2)

What I Do at Work All Day (Part 2)

(As promised) The Dart and Drop

Pinned side back seam.

Pinned side back seam.

I do a lot of suit alterations. Sometimes I alter up to eight suits in a single day.

Often, suit jackets fit well in the shoulders but are a bit too roomy in the body. Because of the inner canvas and the inevitable front pocket, you can’t really successfully alter the front of a suit jacket. You need to take in at the center back or side back seams. While pinning, you’ll usually notice that you need to take in the side back seam all the way into the armseye.

This presents the conundrum of:

  1. Should I also take in the sleeve so it will still fit?
  2. Do I need to get into that seam at all?
  3. Do I really need to take the sleeve out?

The answers are no, yes and yes. Do not take in the sleeve. Do take the bottom part of the sleeve out.

Men’s suit jackets are traditionally cut without an actual side seam. The place where you really want/need to take a jacket in, though, is often in that invisible side seam. The way to accomplish this is by using the dart and drop method.

The Dart

Dart pinned into side seam.

Dart pinned into side seam.

Take the lining out and the underarm sleeve apart from the side back seam to a few inches in the front of the side seam. There should be a notch in the jacket to indicate where the side seam would be if there were one. If no notch is present, lay the jacket flat on a table, buttoned up. Where the jacket naturally folds will indicate basically where that side seam is. Mark with chalk on the wrong side of the fabric in the coat body and in the sleeve.

Next, from the wrong side of the fabric, fold on the notch. At the top, measure in the amount you need to take in (as you determined by pinning your side back seam). Then draw a dart from that point down about 3 or 4 inches (or until you run into the top of the pocket). Sew the dart. You can put the same dart in the lining or you can simply do a tuck. Either is fine.

The Drop

The next step is to redraw your underarm seam. The armseye should remain the same size as it originally was. To do this, drop the underarm seam. I suspect there may be some actual formula for this but I’m more of an intuitive sewer. Dropping an inch is usually a good place to start. Use a curved ruler

to draw the new line making sure the connections are smooth. Pin your sleeve at your new side seam an inch below the original seam line. Then pin the rest. You might have to undo more of the original seam if the sleeve isn’t fitting. Do this in the back until you can easily fit the sleeve back in without any excessive easing.

Don’t Worry

Pinned underarm seam.

Pinned underarm seam.

If you end up having to undo part of the shoulder pad and sleeve header, that’s fine. Just reattach them once you have put your sleeve back in.

You can apply the same principle to jackets (or really anything) that have side seams. Unless you want to narrow the sleeve, dropping the armseye is a more accurate way to accomplish this alteration.

At this point I also want to add a little something about the idea of ‘a right way’ to do something. I don’t believe there is only one right way to do things.

Sewing jacket with side seam.

Sewing jacket with side seam.

I ran the costume building shop for Boardwalk Empire for four years. It was a shop full of talented tailors from all sorts of backgrounds and places (Russia, Uzbekistan, Turkey, Tunisia & various U.S. states). We had a running joke about people who insist that their way of doing things is the only way (We even had a little song called, “There’s only one right way to do things. The other ways are wrong…”).

Walk Your Own Path

You need to figure out the way of doing things that works best for you while accomplishing the desired result. Sometimes someone can show you a whole new way of doing something that makes it easier for you. Sometimes not.

The tips and tricks I write about are the things I’ve learned work best for me over the years. Hopefully they will prove to be useful to someone else as well.

Missed Part 1? Check it out here!

Oui, Oui – A Sheer Evening Bolero With French Seams

Oui, Oui – A Sheer Evening Bolero With French Seams

When the weather gets warmer, weddings and graduation party announcements arrive. This means strapless dresses, tanks, low necklines and open backs that get chilly in air conditioning and cool nights. An evening bolero or cropped jacket sewn with sheer fabric is a terrific solution: Small and light, you can fold it into your purse when the dance floor calls and pull it out again for a walk in the moonlight. Plus you can brag about your sewing skills to anyone who compliments your look.

What could be more evening elegant than a bolero by Vogue?

What could be more evening elegant than a bolero by Vogue?

Lace, chiffon, silk voile, and layered tulle are good choices for an evening jacket, but working with delicate fabric often requires French seaming, a couture technique that hides ragged edges and stray threads that would otherwise show through and destroy the elegant effect. The pattern I chose for my bolero, Vogue 8885/View C, required only one French seam (and only one big piece to cut), so I dared give it a try. In my sewing stash I found a few yards of black chiffon from Mood Fabrics. I’d fallen in love with its zigzagging details on a January evening when I’d been strolling their aisles. In retrospect, black wasn’t a good color choice for a first French seam attempt. A light color would have been easier to see and sew precisely.

After cutting the pattern piece – a gigantic parallelogram – with a one-half inch seam allowance and transferring marks with white tracing paper, I was ready to attempt my début French seam. Here’s how it works:

  1. The first step in sewing a French seam is to put the wrong sides of the fabric together. You must disregard the worry you’re sewing on the incorrect side. You are sewing on the incorrect side. Sew just one-quarter inch from the cutting line, then trim close to stitching.

    French seams hide ragged edges and stray threads.

    French seams hide ragged edges and stray threads.

  2. With low heat, press the seam to one side. Then flip to the wrong side. You will see the “right” side of the seam on the wrong side. This is normal, so don’t panic.
  3. Fold the fabric along the seam and stitch again at one-half inch. This hides the seam inside another seam. The new seam is on the wrong side as it should be. Press the French seam to one side. That’s all there is to it!
A sheer black bolero compliments a camisole.

A sheer black bolero compliments a camisole.

With the French seam complete, I had to finish other aspects of the bolero such as stitching a narrow hem along the edges. For this I used a rolled hem foot that came with my Singer Quantum Stylist. Rolling the hem is fun once you get the hang of it and the results are astonishingly professional. If you don’t have a rolled hem foot, you can buy one at sewing shops or online at Sewingmachinesplus.com. I also had to stitch along the back of the bolero and gather a section by pulling along the bobbin thread. The chiffon was uncooperative – I should have used a longer stitch length to make it easier. As a last step, I joined the center back section together to create “sleeves.” Doing this caused the French seam to present itself in a diagonal direction through the back, which looks pretty cool.

As the final step, I tried it on! The loose fit looks a little better on my dress form (her name is Aretha) than it does on me, so here’s Aretha:

I’m happy with the bolero, but I’m curious about some of the other views included with Vogue 8885. It looks like a few yards of lace and more French seams are in my future. Here’s to Paris . . .