
Just a view of my shop.
I’m currently the Key Tailor on a New York City based major network crime-procedural drama television show (Blindspot on NBC). I work mainly out of one of the Brooklyn studios with occasional on-set last minute fittings. Most of the work I do each day is for things that need to be ready for the actors to wear the next day on camera. What this means is that, over the years, I’ve become pretty fast at doing a variety of alterations (as well as patterning and constructing from thin air). In my industry, there are certainly a lot of excellent tailors but there aren’t all that many excellent and fast tailors. Here are a few of the tricks I’ve discovered along tQuhe way that help speed up some common alterations.
Shortening the Sleeves of a Men’s Suit Jacket (without fancy functioning buttonholes)
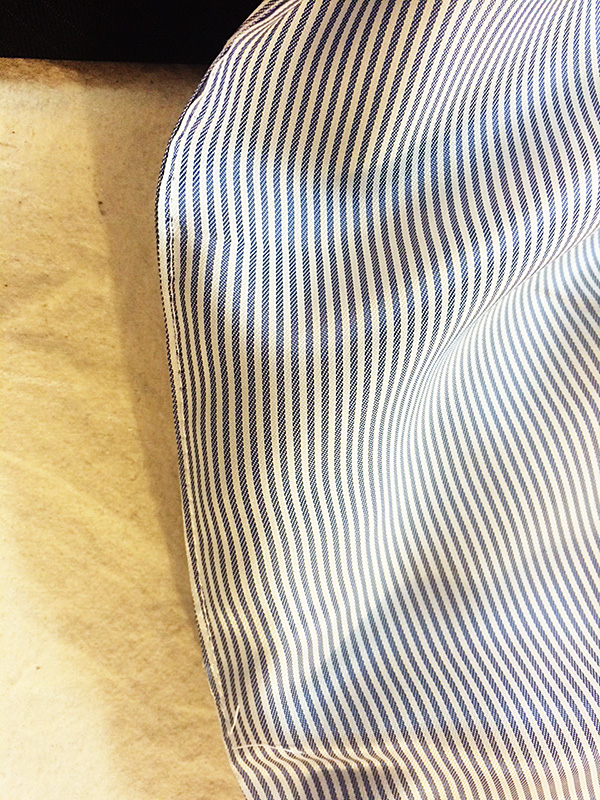
Topstitching on sleeve lining.
First, just go ahead and remove all the buttons. They’ll just be in your way. Turn the sleeve inside out and find the topstitching along the sleeve-lining seam. This is how the sleeve was originally put together. Open up that seam and turn your sleeve inside out. Take apart the mitered and straight corners but do not undo the lining from the rest of the hem. (Go ahead and release any stitching holding the actual hem up though.) Undo any fake buttonhole stitching that you need to. These should be on a chain stitch and easy to undo.
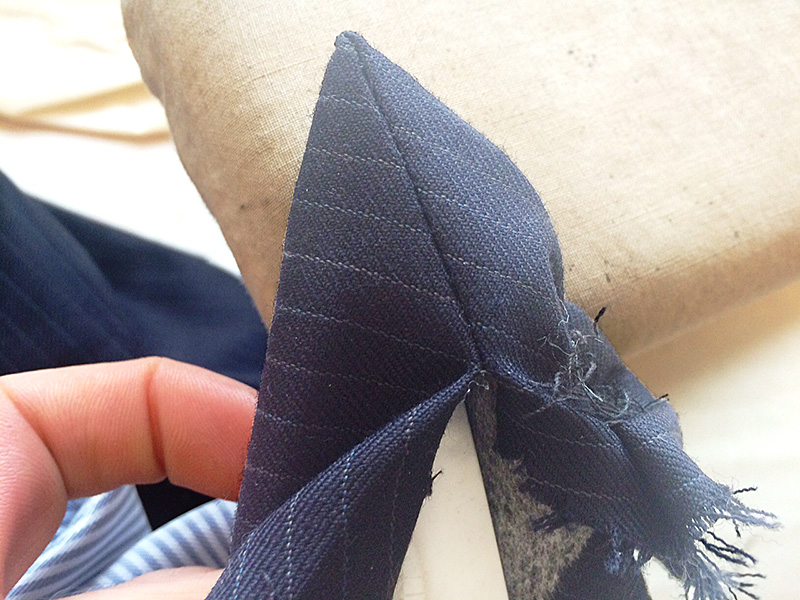
Press miter corner with point turner inside out.
Measure up or down the distance you want to shorten or lengthen at your corners and redraw your miter line if you need it.
Re-stitch all corners at new hem marks. I flip everything back right side out at this time and press my corners and the new hemline. Use a handy point turner
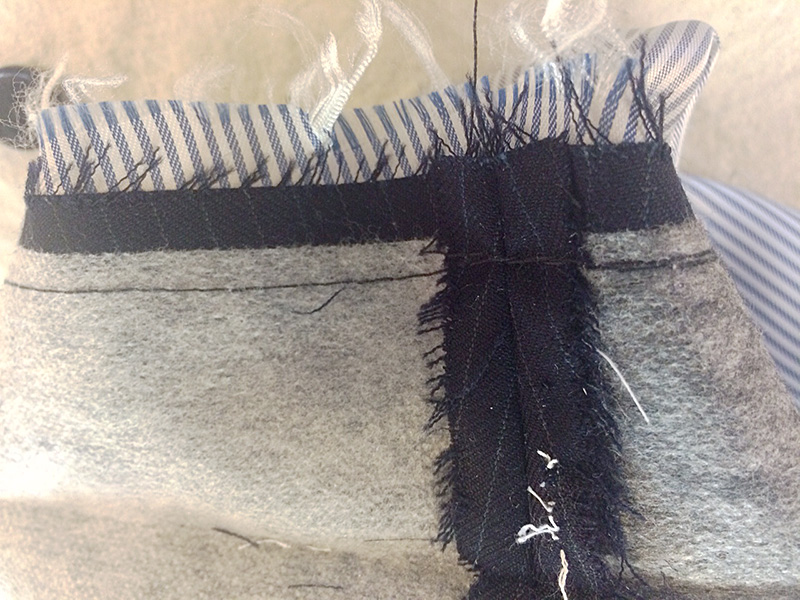
Don’t undo original stitching at hem.
and please don’t trim anything away from the mitered corner. If you press inside out first with the point turner inserted the fabric will go where it needs to. No need for trimming. One of the most annoying things is to go and alter a jacket sleeve only to find that someone has trimmed the miter corner, meaning I can’t lengthen the sleeve properly.
(Still don’t unattach the lining)
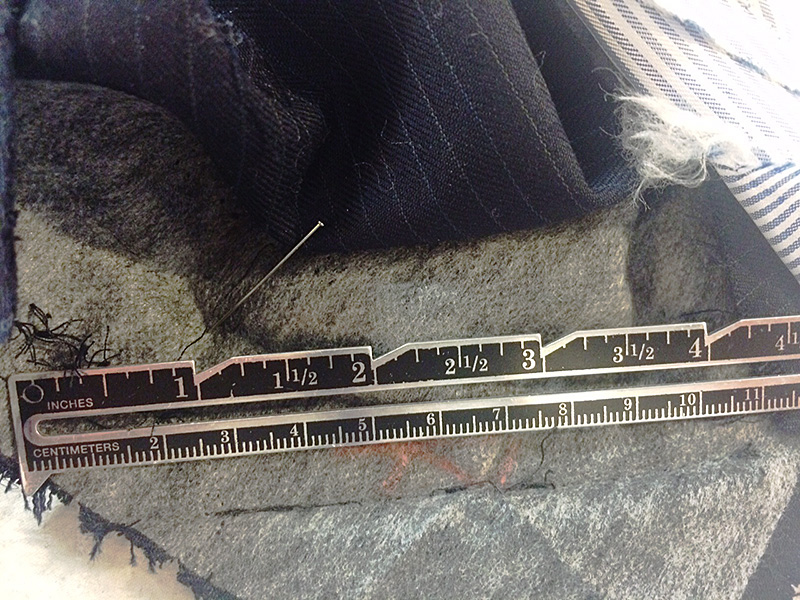
Redraw miter line.
After pressing, turn inside out again. Then simply measure up or down (I use an old fashioned metal seam gauge) from the current stitching line the desired amount and sew along that line. If you are shortening, there is no need to undo the original stitching line. If you are lengthening, you will need to. Machine tack the seam allowances together at the seam to keep the hem up.
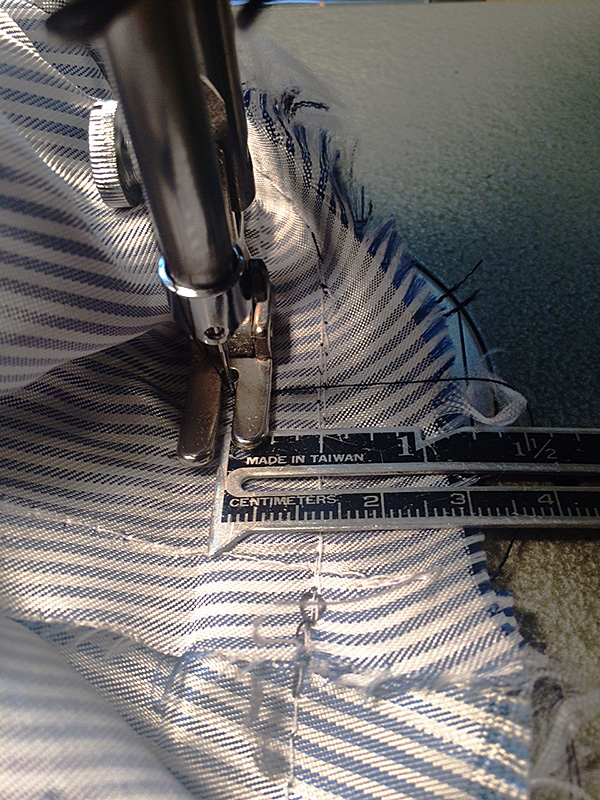
Sew new stitching line shortening hem.
Turn everything back right side out and topstitch the seam of the sleeve lining closed, put your buttons back on and you’re done!
There are of course a few situations that will make this alteration a bit more challenging – such as functioning buttonholes or having to add fabric to the hem seam allowance because of lengthening. If I’m having a good day and nothing strange is going on inside the sleeve, I can usually do this alteration in 30 minutes.
Center Back or Side Back Alterations on a Suit Jacket
The time saving trick on this one is pretty simple. Open up the under vent seam and turn everything inside out through there. When done, just topstitch the vent closed again, no opening up the lining and sewing it back by hand.
Men’s Vest Alterations – Center Back or Side Seams
I’m a huge fan of bagging things out. Men’s vests are one of my favorite things because you can bag everything out through a mere 2 inches on one of the side seam linings. First, find the opening where the vest was bagged out originally, probably a small hand stitched couple inches on one of the inside side seams. If its not there (if the vest was bagged through the neck, make your own. Then pull the entire vest inside out through those two inches. It will fit.
Vest side seams are most usually put together with one stitching line through all 4 layers (fronts and backs with linings). On the side without the opening just stitch a new line taking in (or out, though most commercial vests don’t have a lot of seam allowance to let out) the desired amount. If the amount is significant, you may need to re-stitch the arms eye curve so that everything lines up properly under the arm.
If you need to take in the center back seams, undo at the neck and bottom hem, alter as desired, the re-sew what you released.
On the side with the opening, stitch in two sections, above and below the opening. In the 2 inch gap, sew through all layers except the back inside lining.
Pull everything back through your opening, press and voila!
I just topstitch my opening from the right side of the vest, hiding the stitches in the seam line.