When Alterations Go Wrong

When Alterations Go Wrong

Things don’t always go as expected. Sometimes you do something and it fails to turn out like you imagined it would. Or it just doesn’t look as good as you wanted. Sometimes you unintentionally execute a crappy alteration.

There’s no reason to panic or get upset when this happens. You simply fix whatever it is. A problem only arises when you don’t see that something has gone awry or you try and convince someone that nothing is wrong; the garment just needs a good press.

twisting sleeves

twisting sleeves

Ironing and a healthy dose of steam can right all kinds of wrongs but neither of those things can make a bad alteration, good.

The old distraction trick

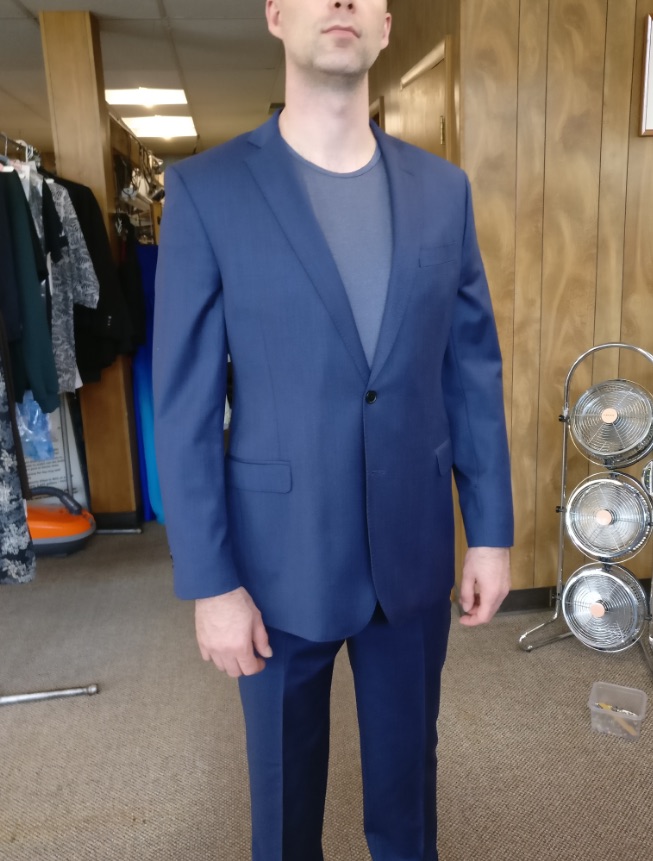
This past week, a Costume Designer friend of mine, Lauren, called to ask if I could look at a suit jacket for a friend of hers. He’s getting married in a few weeks and had purchased a Brooks Brothers suit. Brooks Brothers had recommended a tailor for him to go to for alterations.

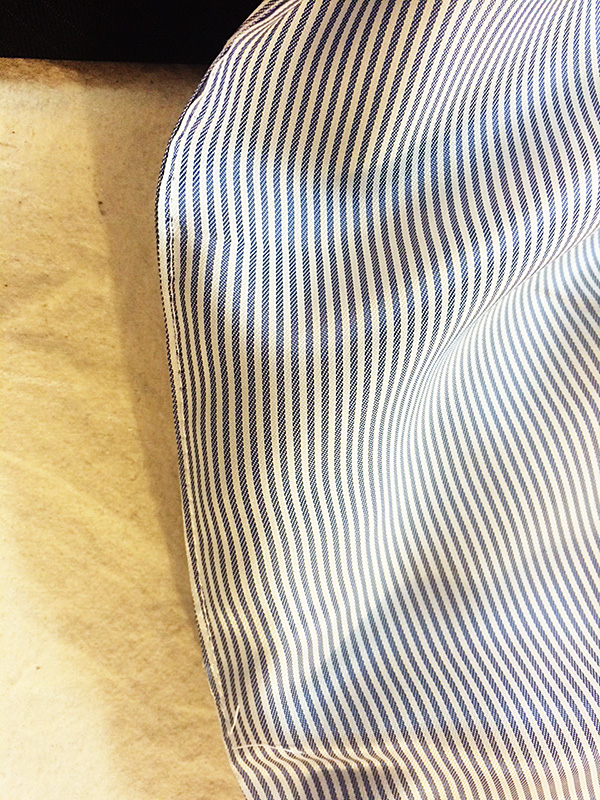
The suit didn’t need all that much, just a little taking in on the sides to slim it a bit. When my friend’s friend – I’ll call him Dan – went to pick up his suit and tried on the jacket, he noticed some strange twisting in the sleeve. His fiancé (I’ll call her Kate), was with him.

They both pointed out the twisting to the tailor, but the man kept insisting that all they needed to do was send the suit out to be pressed and they should take a look at the back because it was smooth. You know, the old distraction trick.

Well, Dan and Kate weren’t really buying it, but they paid the man and took the suit to the dry cleaners to be pressed professionally. As they suspected, when they picked up the suit, nothing had changed. The sleeves were still hanging in a sort of corkscrew way. That’s when they asked Lauren if she knew someone who could help and they ended up calling me.

Its much easier to fix your own alteration snafus than it is to remedy the ones of others, mainly because you know what you did to get to where you are. When you’re not the one that started the whole thing, you have to use a bit of detective work.

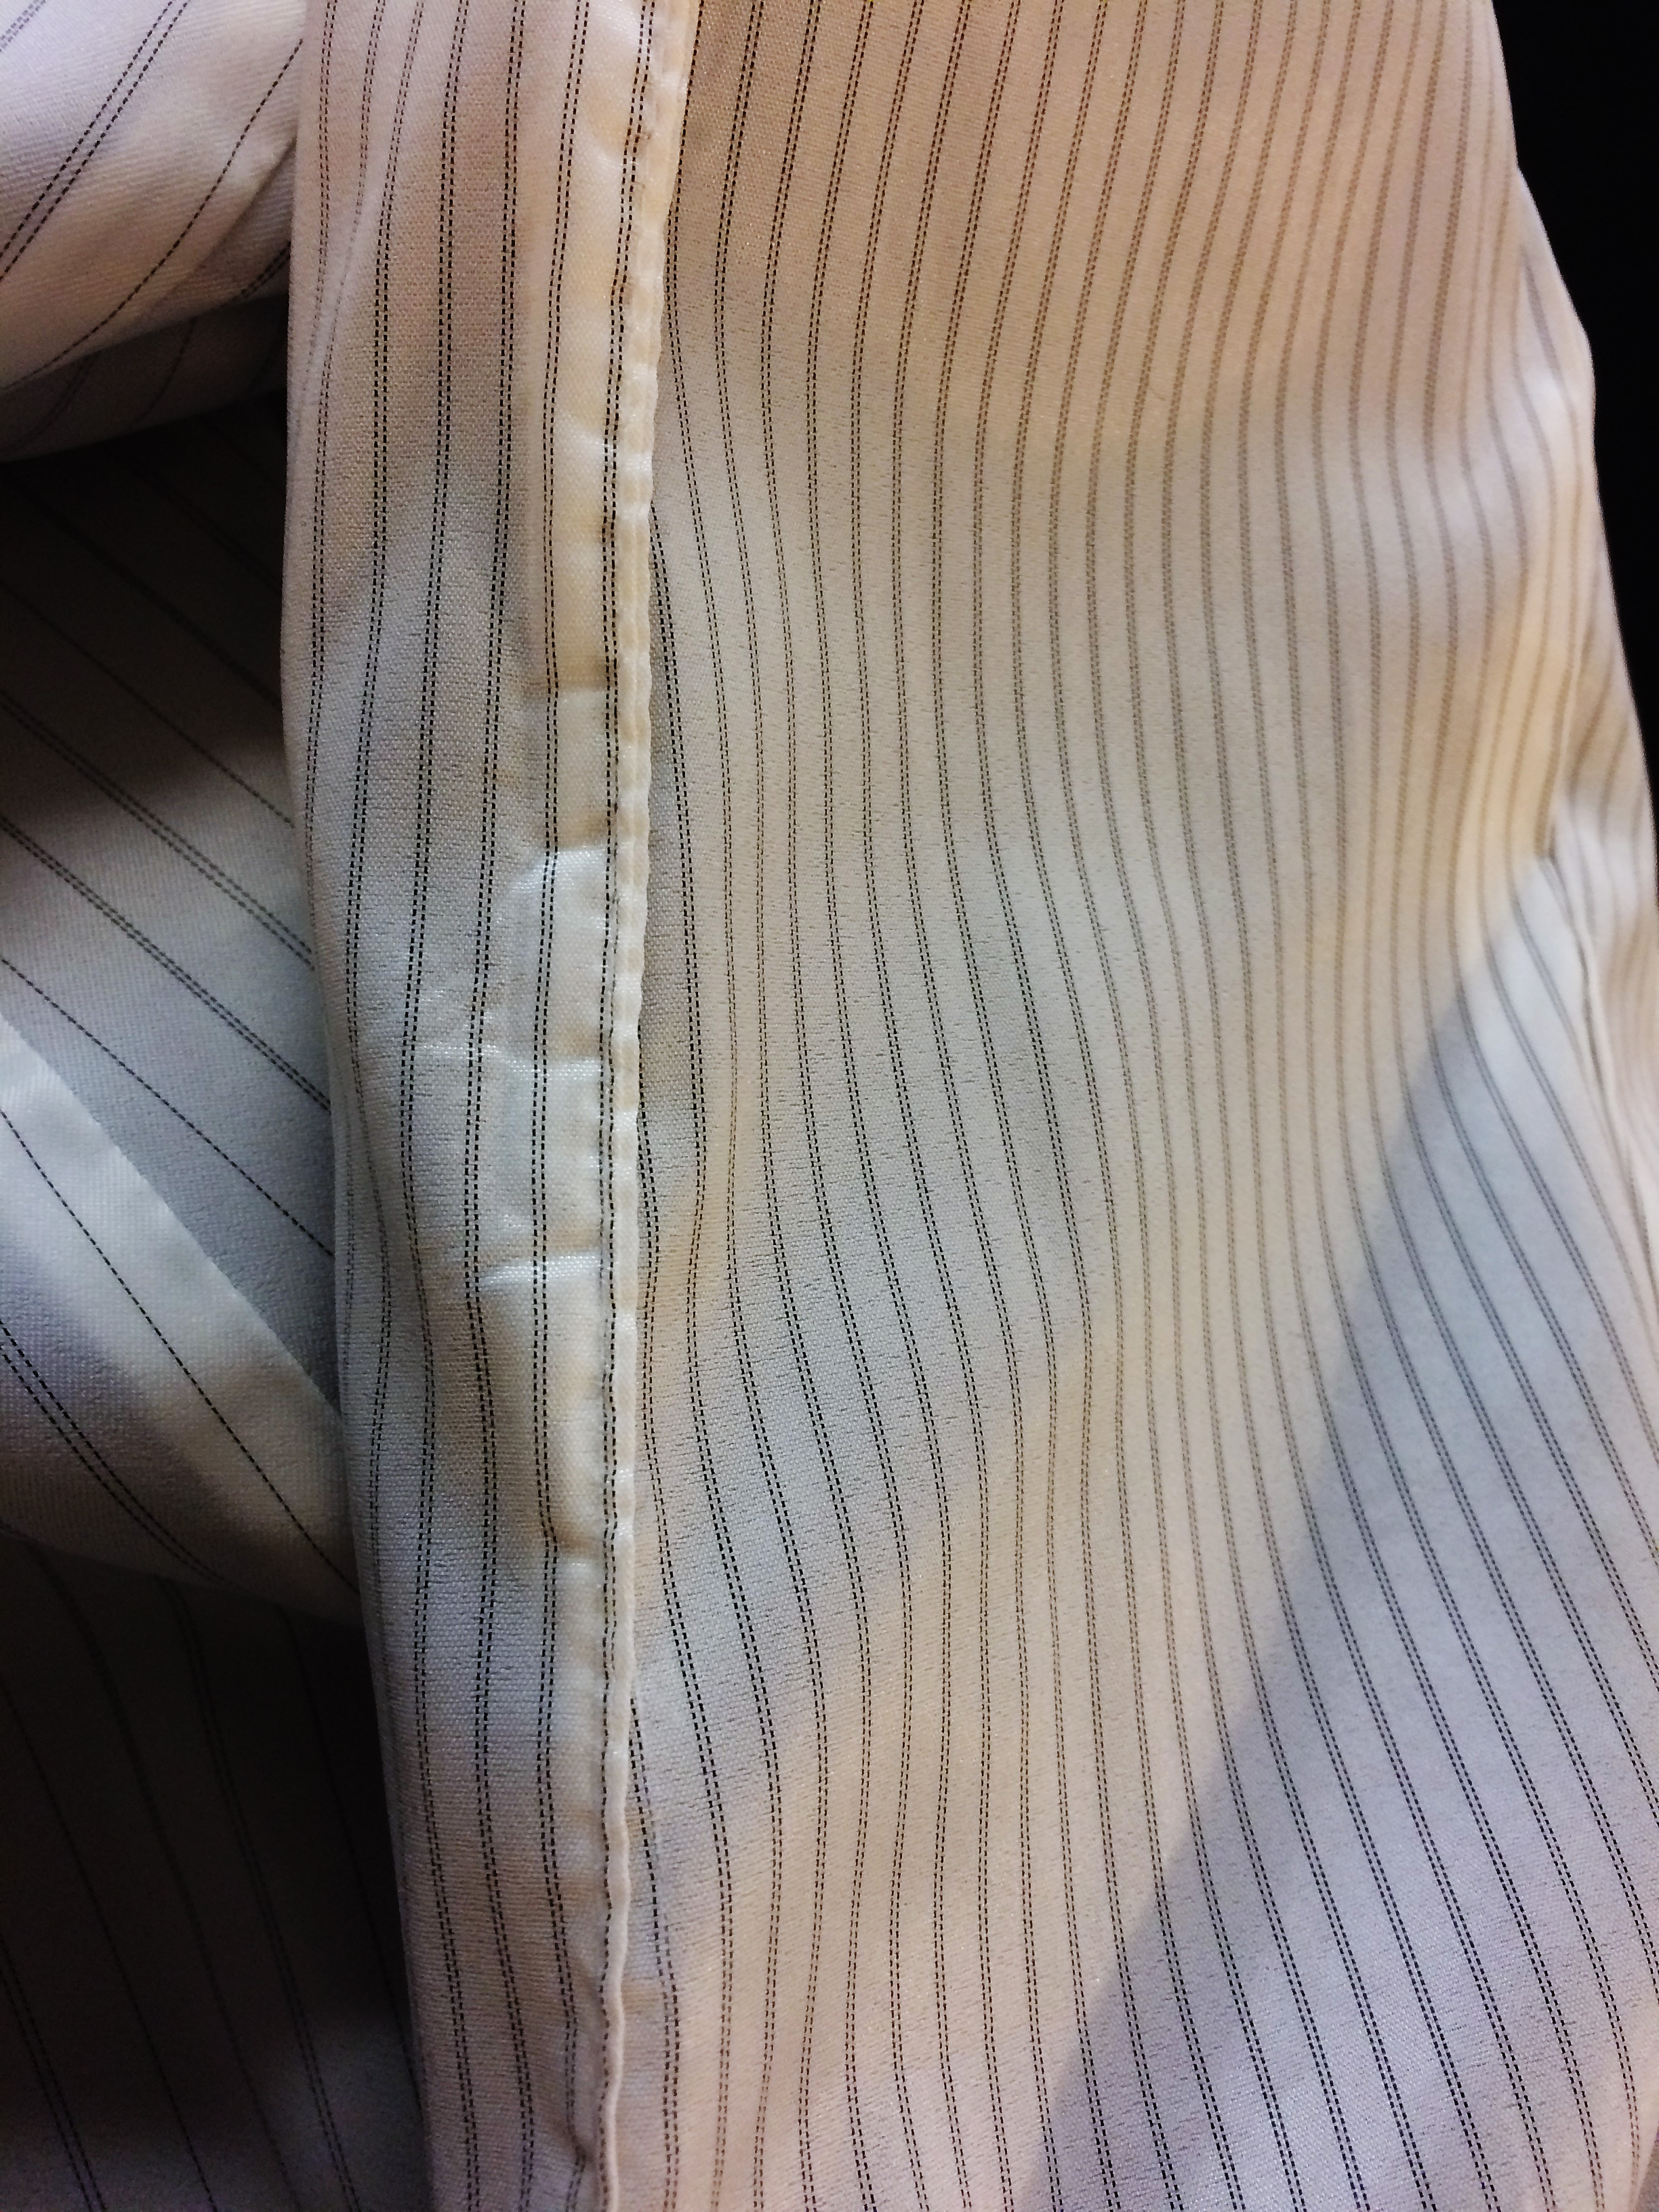
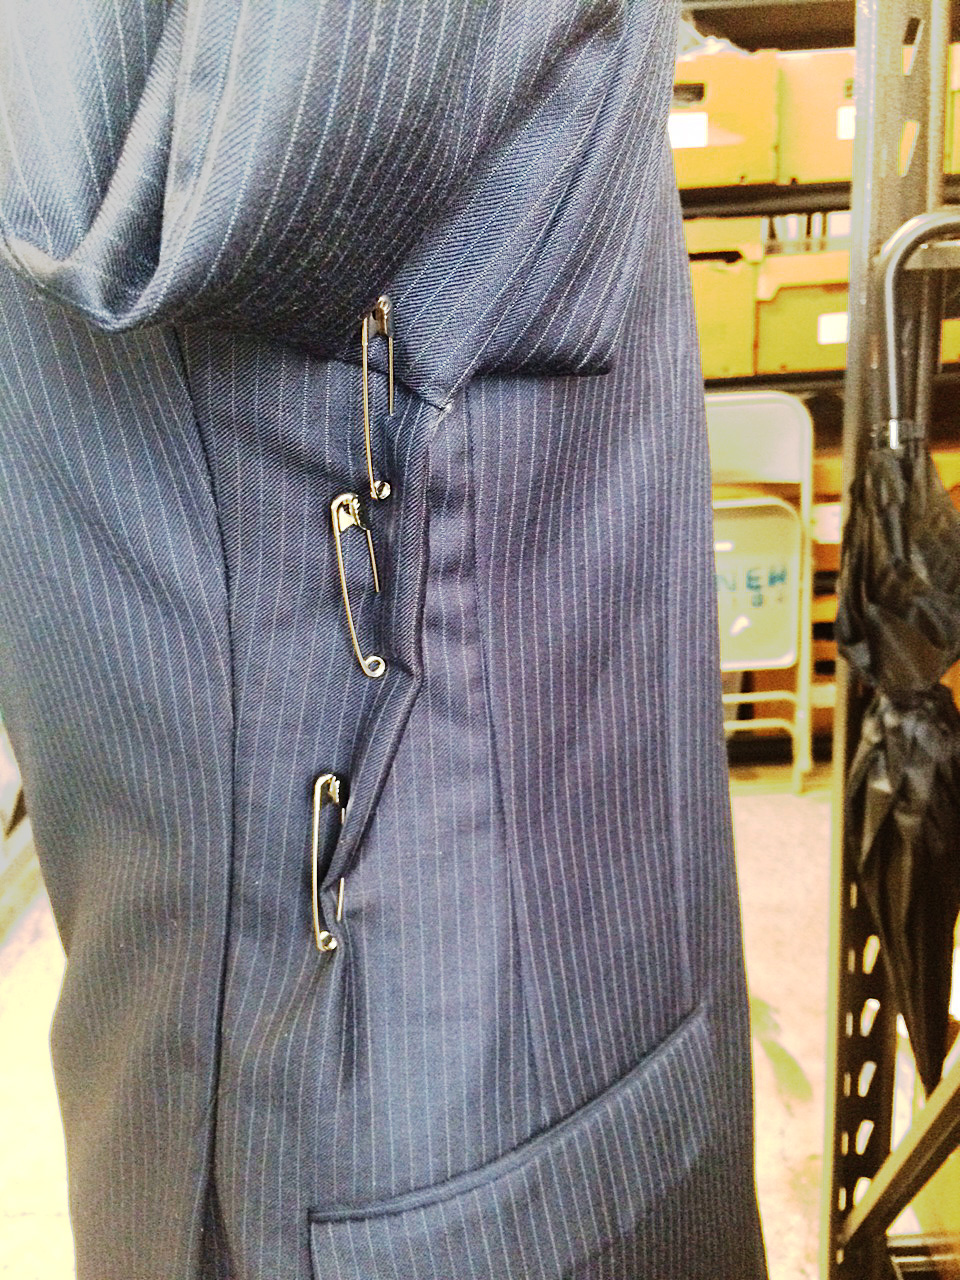
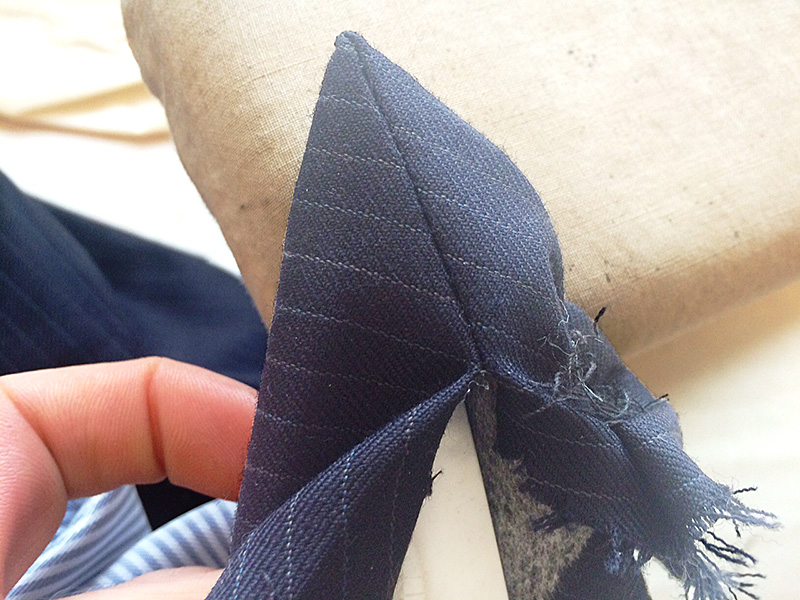
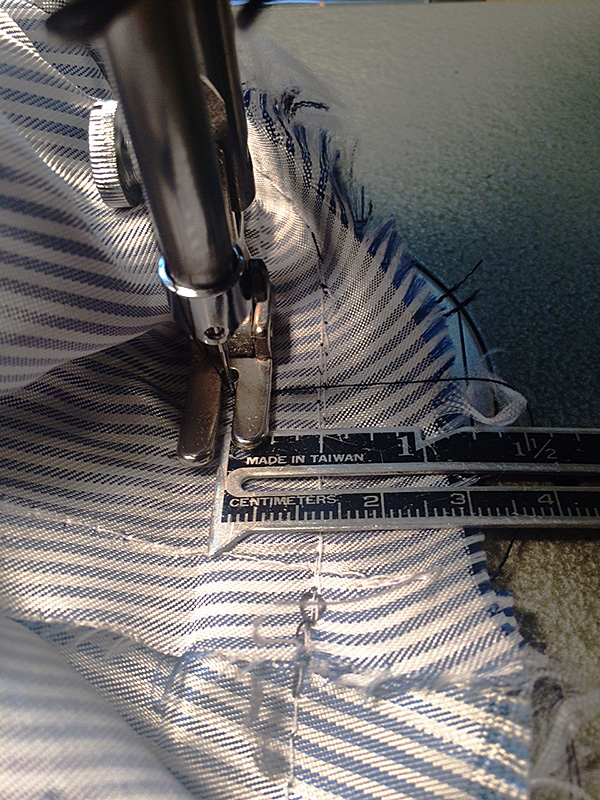
Before I told Kate and Dan that I could fix the twisting sleeves, I opened the lining of the jacket to see what I could see. Men’s suit jacket sleeve linings are stitched in by hand at the armseye so that’s where to open them up.

I took out the sleeve lining from the back notch to the front notch, then unattached the lining body from the jacket body at the armseye.

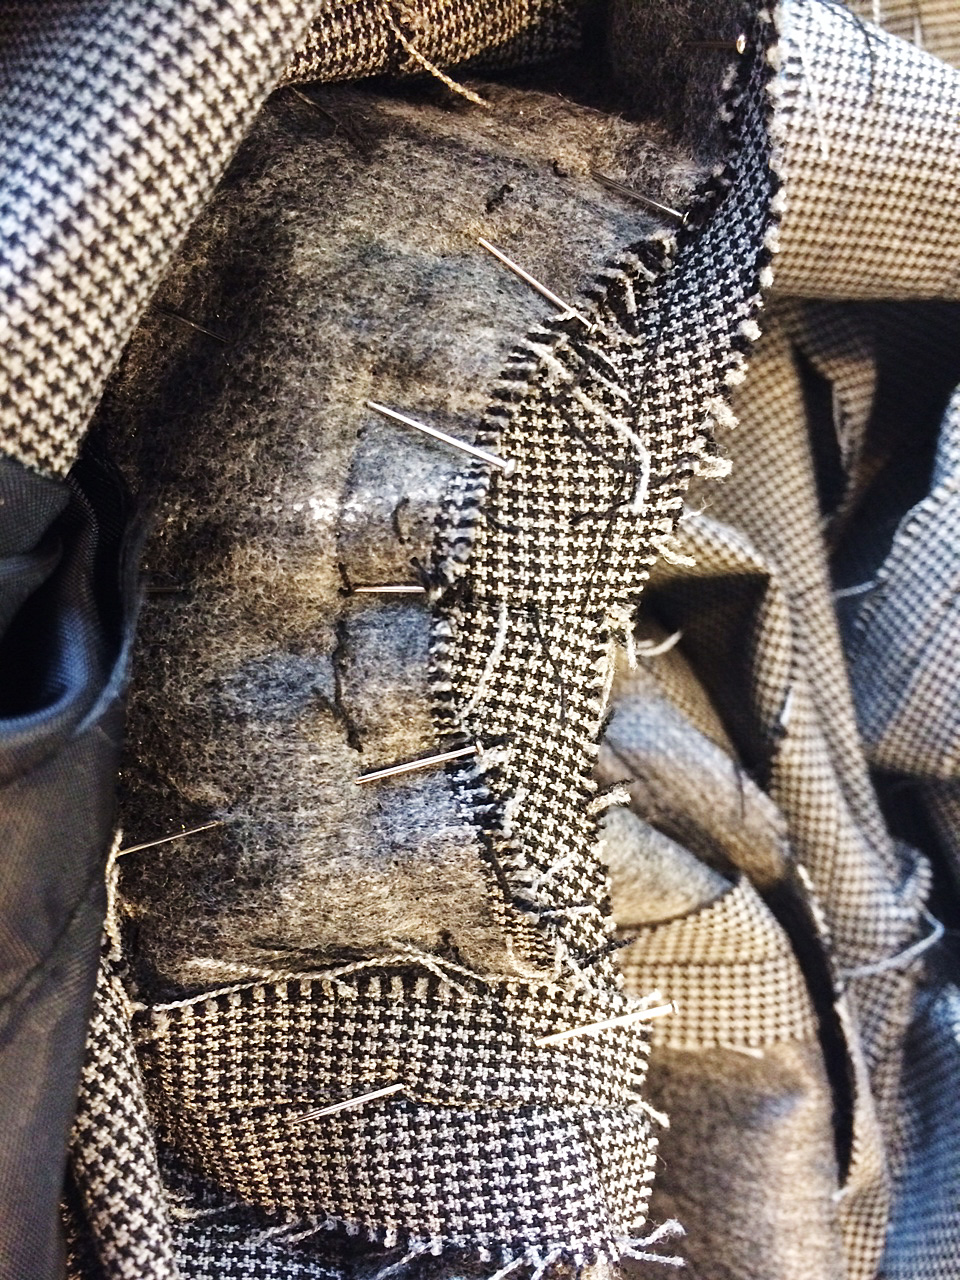
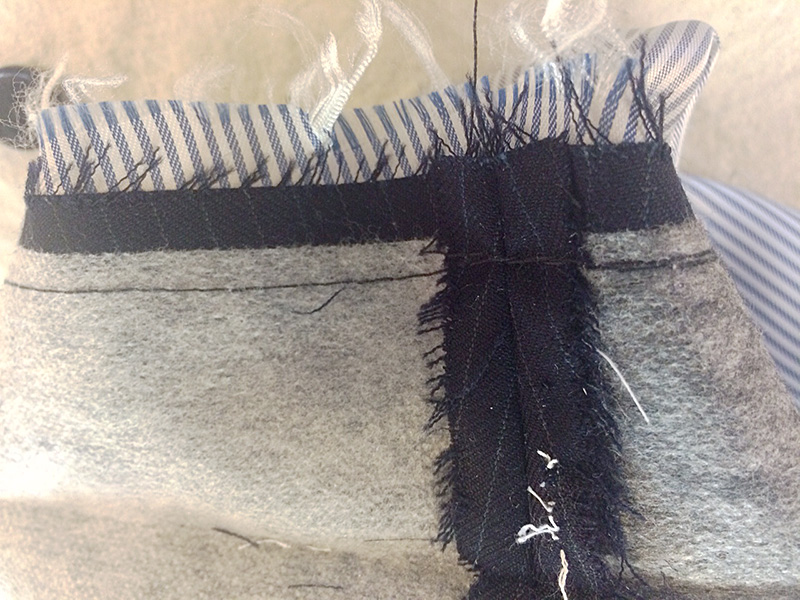
Suit jackets are constructed fairly standardly when it comes to seam allowances. I could see that the side back seam of the jacket had been taken in, but just in the back, as well as the side front seam above the pocket. All of that had been done quite nicely, and the shoulder part of the sleeve was smooth and lovely. The problem was with how the bottom portion of the sleeve had been put back in.

Fitted Armholes

Men’s suit jackets, as a rule, have pretty fitted and constricting armholes. When you take in the side back and side front seams, you make the armhole smaller. If you don’t take in the seams equally front and back, you change where the bottom of the sleeve is (where a side seam would be if men’s suit jackets had side seams). You have to compensate for this in some way or your sleeve will be off balance and hang in a weird way.

Which is what happened in this instance. There are a couple ways the original tailor could have prevented this.

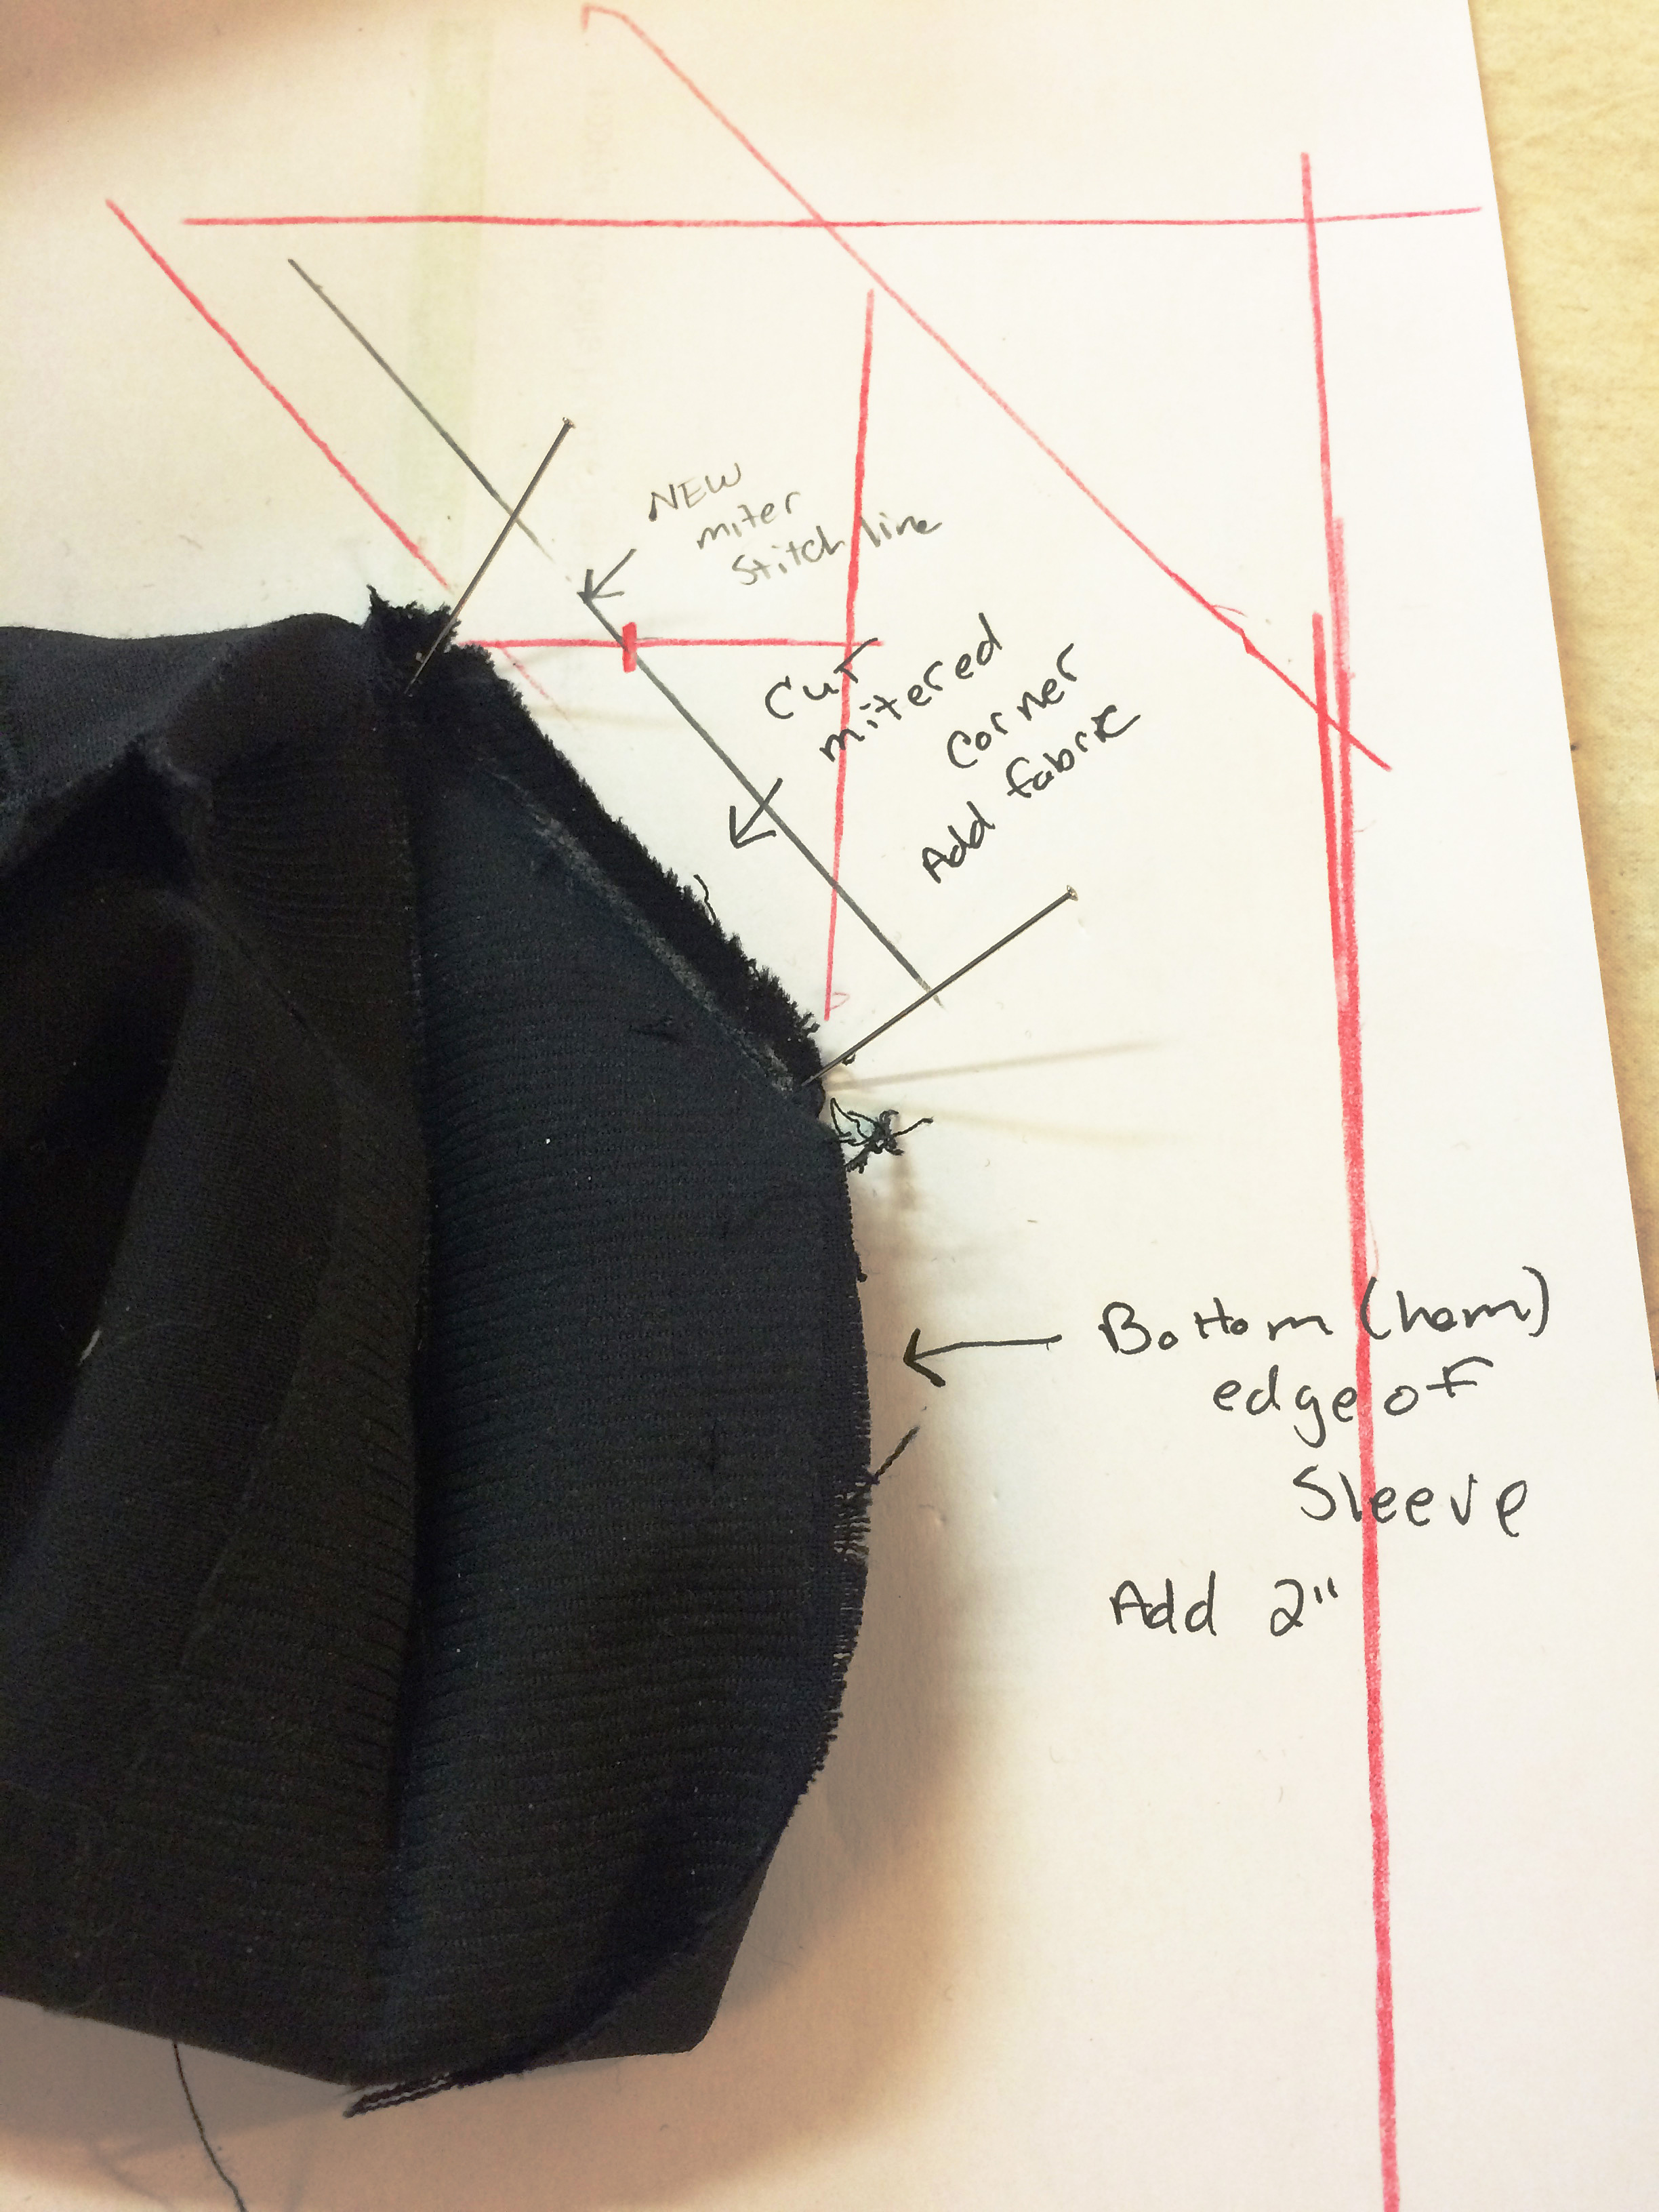
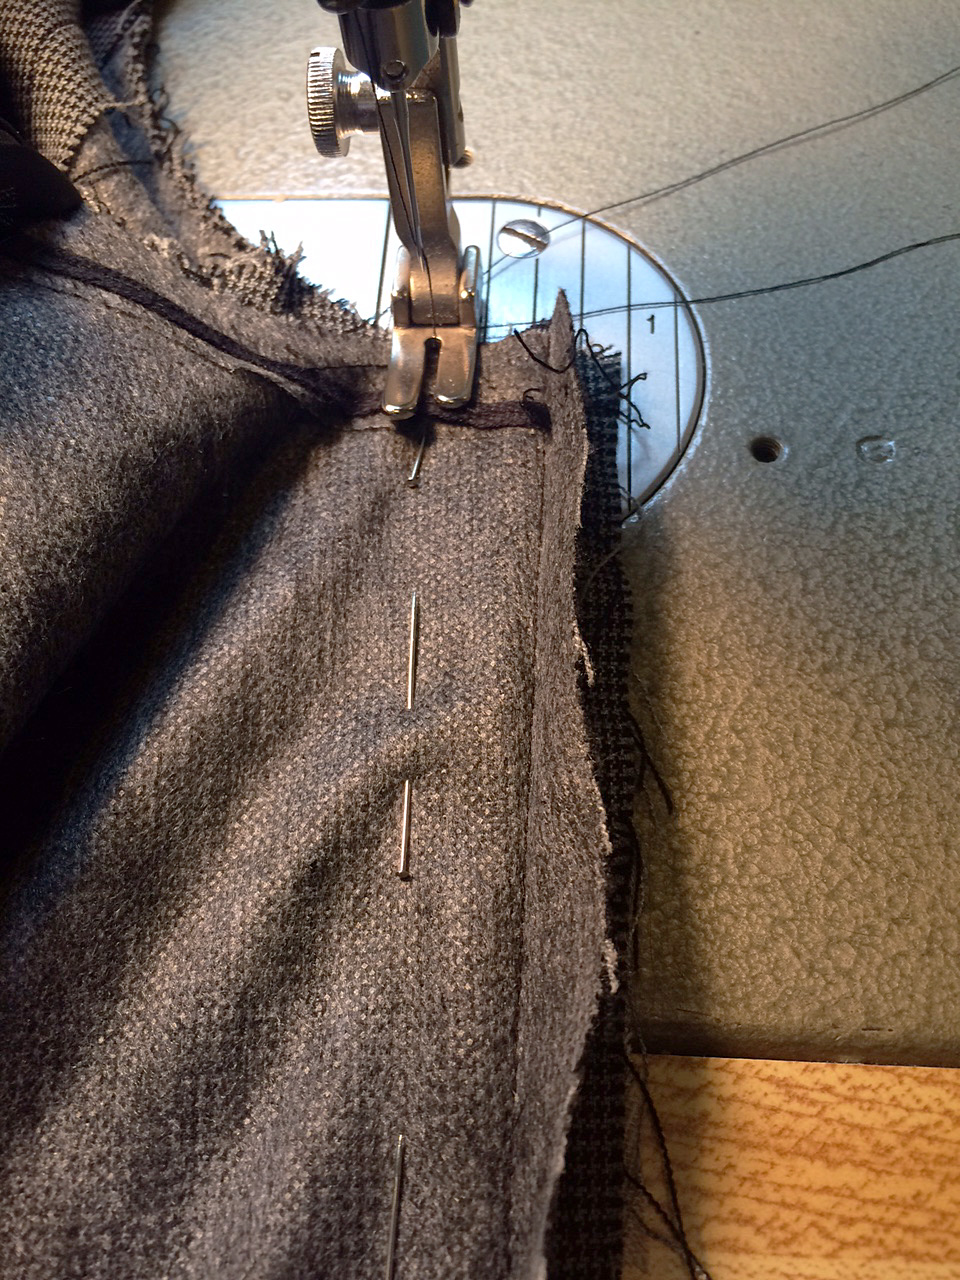
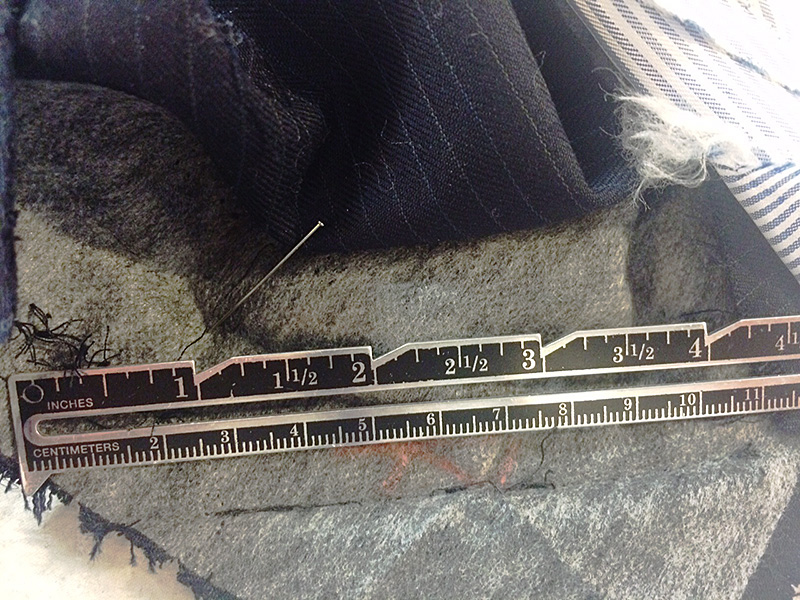
He could have taken in the sleeve itself the same amount he took in the body of the jacket. I don’t normally do this, though, unless the entire sleeve really does need to be slimmed. A better, more accurate way, to solve the twisting sleeve problem (in my opinion, at least) is to drop the armseye, starting from the back notch and ending at the front notch. What this does is make the armhole bigger and, essentially, the same size it was before you took in those jacket seams.

Oh boy…

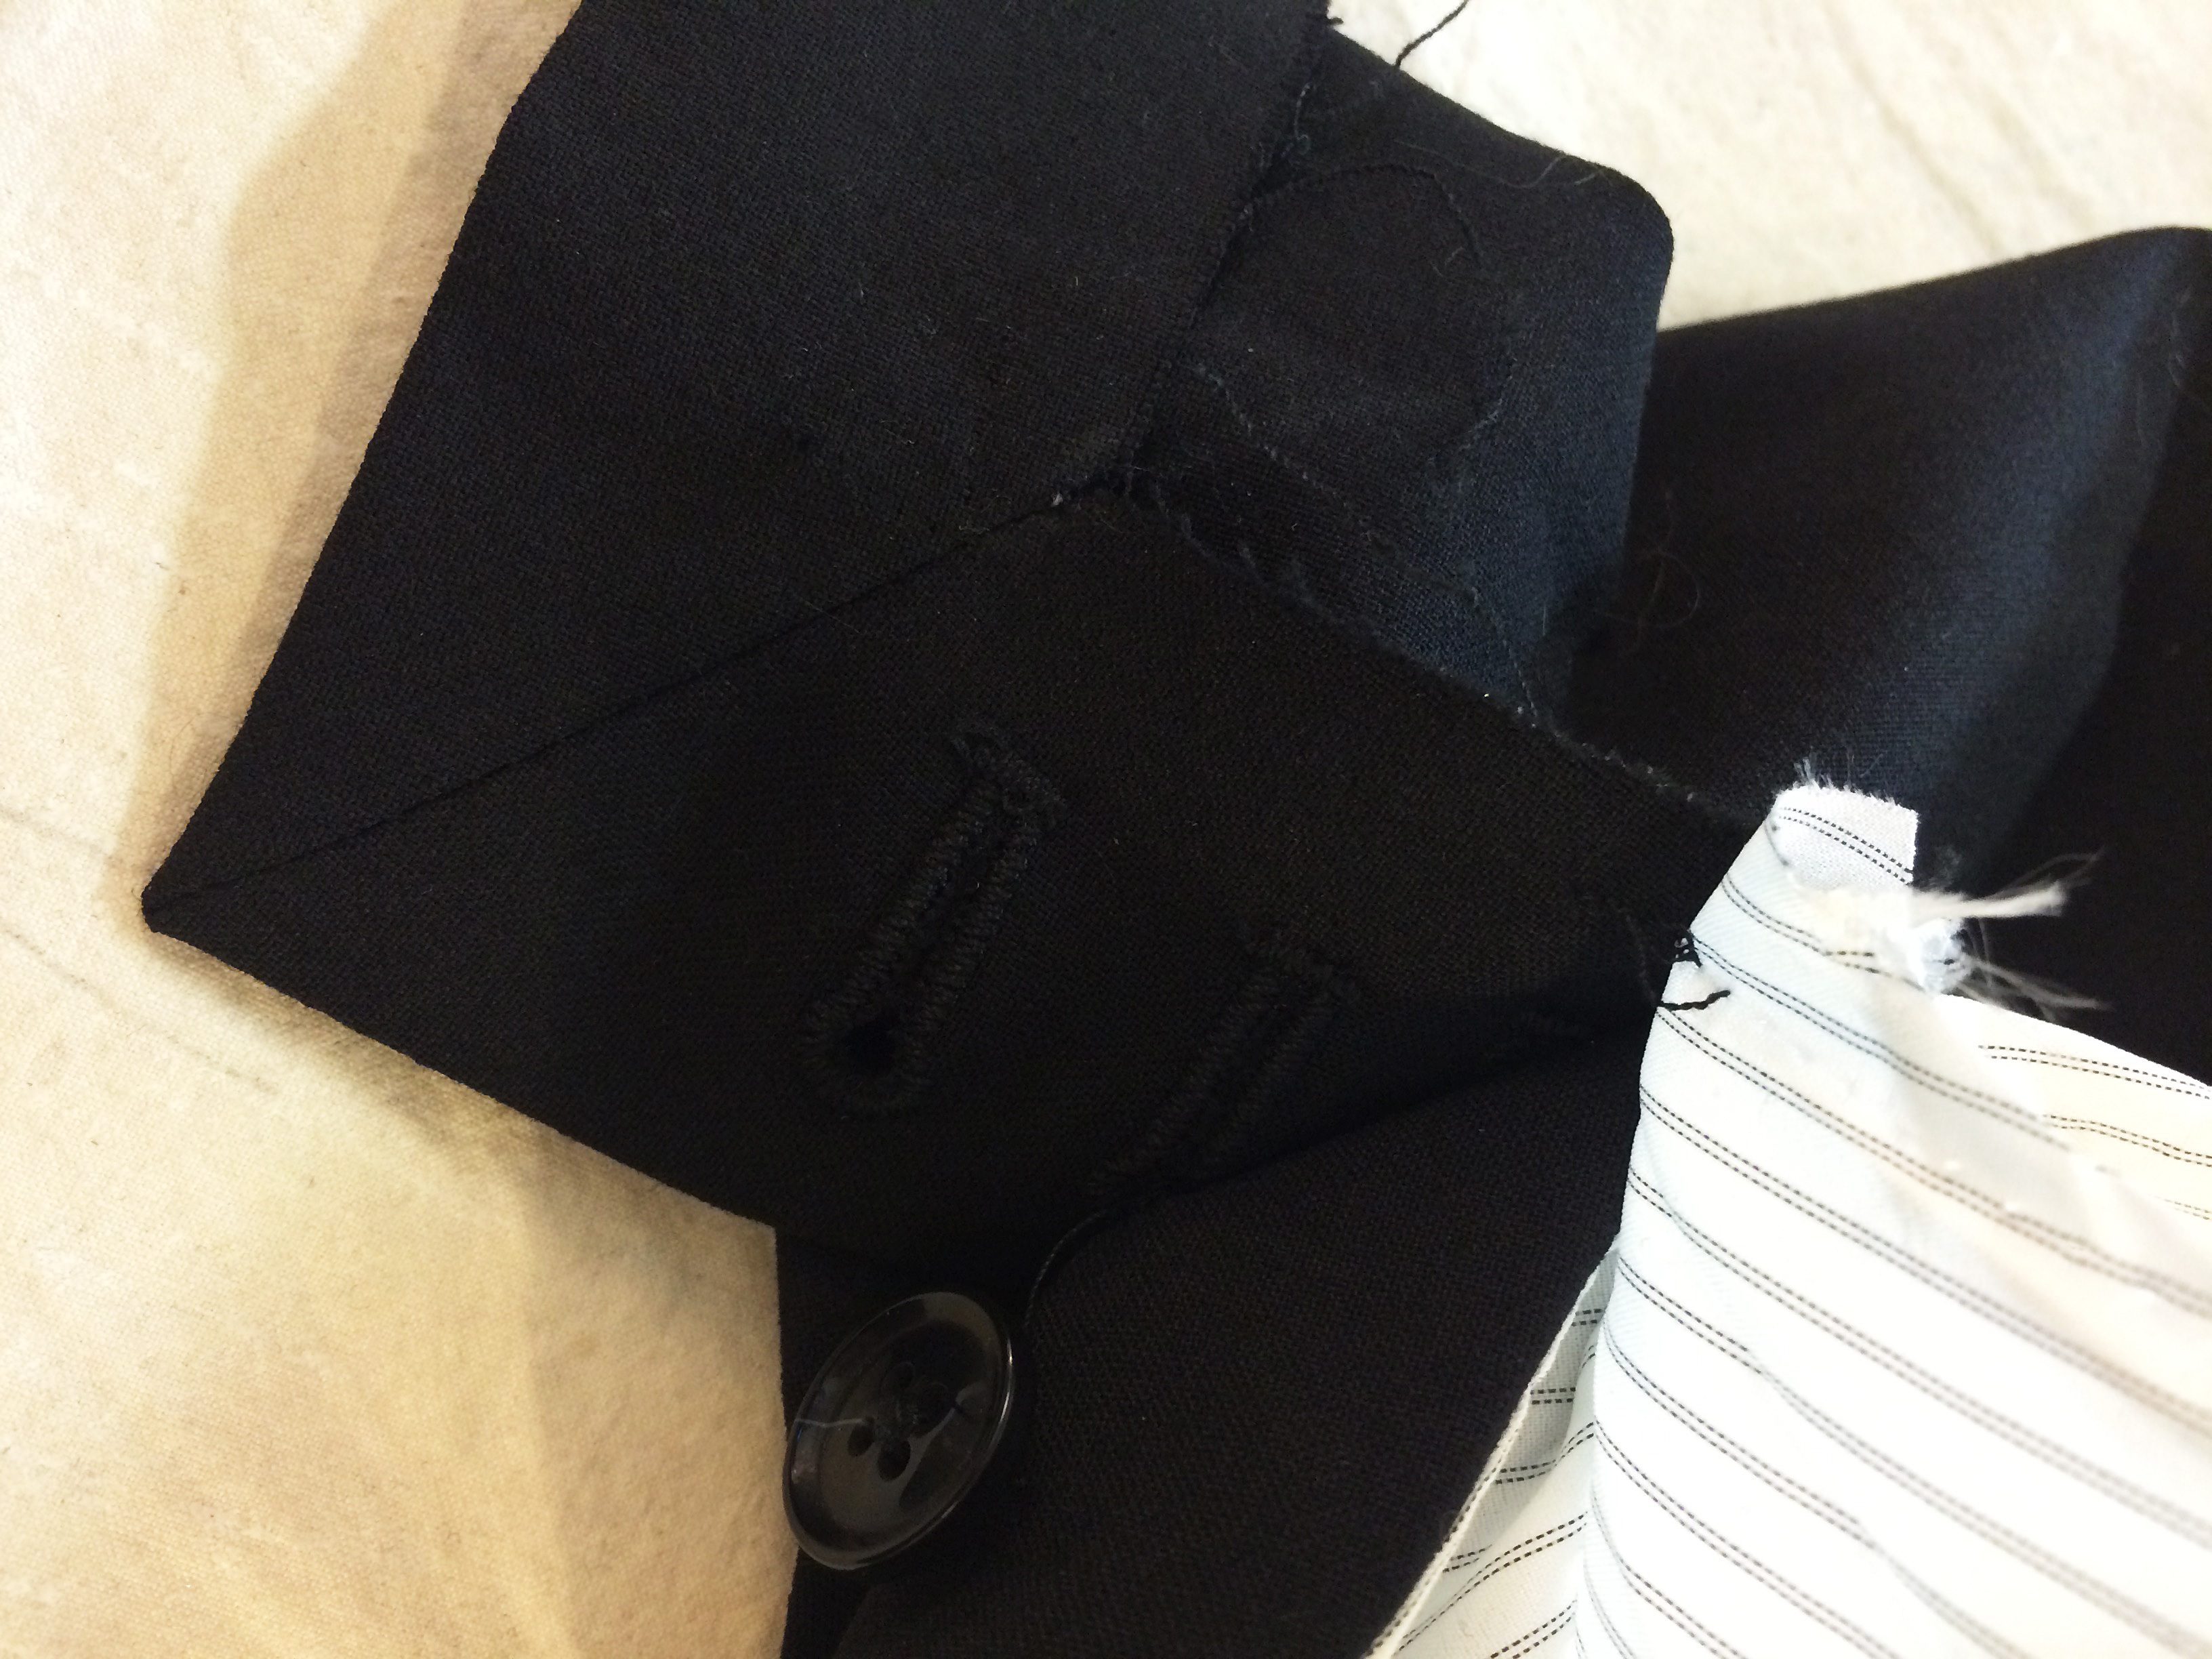
In this particular jacket, not only did the tailor neglect to lower the armhole, but, when he eased the too big sleeve into the smaller jacket armseye, he rotated the whole bottom part of the sleeve too far forward.

Once I dropped the armseye, the sleeve, once again, fit perfectly and I was able to line up the bottom of the jacket body with the bottom of the sleeve. No more twisting!

Dan and Kate are happy now – though they’re asking the first tailor for some money back. I don’t think the man is necessarily a bad tailor because his alteration didn’t turn out so well (everyone does a wonky alteration every now and again) but, I do think he maybe doesn’t know what he’s doing because he didn’t see that something was wrong when Dan tried the jacket on.

It’s ok to make mistakes and have to do something over. It’s not ok to tell someone that nothing is wrong and not offer to fix it. Even if you think they’re wrong. And especially if it’s a suit they’re going to wear at their wedding.

Miter Me This

Miter Me This

One of the alterations I did last week for the television show Blindspot was lengthening the sleeves on a woman’s suit jacket for one of our actresses – a straight-forward and fairly simple task.

Or so it should be

Functional, cut buttonhole, unless you need to lengthen the sleeve.

Functional, cut buttonhole, unless you need to lengthen the sleeve.

This time, though, the alteration gods (and the clever designers at Banana Republic) were against me. The suit jacket had cut, functional buttonholes (three of them) on the sleeves. Not that big of a problem. I just needed to lengthen the sleeves 3/4″ and could get away with leaving the buttonholes as they were as the first hole was only an inch and ¼ from the hem.

No biggie

So, no big deal, I could still re-miter the corner 3/4″ below the original hem and not have to mess with the buttonholes. I might have to cut some of the seam allowance free from the bottom hole but it shouldn’t matter. I would still have enough fabric to do the miter properly.

I pulled both sleeves inside out to find the one with the top stitched opening. Women’s jackets normally just have one sleeve with the lining opening and the entire thing can be pulled through that hole and inside out. This is because, in most cases, the armhole lining isn’t attached all around the seam allowance as it is in men’s suit jackets.

I pulled my two sleeves inside out through the opening and started taking the hem apart. Much to my annoyance, I discovered that the miter corner had been trimmed so it was impossible to redo the miter at a longer length. I also needed to add more seam allowance to be able to lengthen the sleeve the amount I needed.

Take a step back

A simple alteration just got a bit more tedious. First, I dug into my fabric stash to find a wool similar to that of the jacket. In this particular case, the jacket I was working on was a dark brown and black tweed. The jacket was paired with black wool pants so I decided I could get away with using a black wool for my corner and added seam allowance.

I cut two pieces of black wool 2″ wide ( ¾+ ¾+ ¼ for each seam allowance. you need ¾ twice because you need the length for both the lining and the face fabrics) and 10″ long (this length doesn’t matter except it needs to be longer than the sleeve hem) on the bias (or diagonal). I also cut an addition 2″ wide by 6″ long bias piece for the corners.

Sleeve lining with topstitched seam (open up from here and pull everything through).

Sleeve lining with topstitched seam (open up from here and pull everything through).

The next thing to do after opening the entire sleeve hem up (don’t press, you’ll want to see the original seam creases) is to sew the black wool to the miter edge. Follow the stitching line from the original miter and make sure to leave additional fabric on both ends. Then, open the sleeve hem up so you can see the straight angles of the bottom and side edges. Draw straight lines to connect those edges, then trim.

The mitered corner.

The mitered corner.

Next, attach the 2″ piece to hem edge and trim any excess off the ends. At this point, I redraw my miter line. Measure down ¾ from the original hemline exactly on the fold line – that’s your cross line for miter. Use your old miter line as a guide for the proper angle. Sew the miter, press, and turn. Don’t cut. I use a wooden tailor point pressing block, a simple point turner, and generous steam.


Diagram on where to add fabric and redraw miter seam line.

Diagram on where to add fabric and redraw miter seam line.

Wash, rinse, repeat

Mark the ¾ down on the un-mitered corner and any sleeve underarm seams into your fabric extension so that you can match up the lining properly. Then, pin together your hem edges and sides. Sew. Repeat for the other sleeve, turn everything back right side out, and sew the opening closed in the sleeve lining.

The finished contrasting corner miter: (note: the suit jacket will be worn with black pants so the corner coordinates nicely).

The finished contrasting corner miter: (note: the suit jacket will be worn with black pants so the corner coordinates nicely).

Done. I now have a jacket with a cool little detail. Most people probably won’t notice it but if you happen to watch Blindspot and see it, let me know! I like it and my designer and actress like it, if only for the reason that the sleeves are the proper length.

The Safety Pin

The Safety Pin

I try to collect them all in one drawer, but they escaping & disburse themselves all about the apartment.

I try to collect them all in one drawer, but they escaping & disburse themselves all about the apartment.

Almost every pocket in every article of clothing I own, there are a couple of safety pins. I can also usually find at least three of four of the little buggers on the bedroom floor. Sometimes they end up outside my apartment door because I reached for my keys and pulled out a fistful of safety pins instead. I try to collect them all together in one drawer but seem intent on escaping and disbursing themselves all about the apartment.

I use safety pins for fitting clothing, for hanging patterns, to attaching notes to things. Of course, there are different sizes and flavors of safety pins.

Size matters

I use the tiny gold ones when I’m fitting something very delicate like silk or gauze so that they don’t make an unsightly pin hole.

I use the tiny gold ones when I’m fitting something very delicate like silk or gauze so that they don’t make an unsightly pin hole.

I use the tiny gold ones when I’m fitting something very delicate like silk or gauze so that they don’t make an unsightly pin hole. For some reason, someone thought that gold pins without the end spiral were good idea. I suspect because sometimes things snag on the little coil but, without that coil, the pin is free to slide about so it’s hard to know exactly where/what the mark is.

I use the big number 3s for the majority of my fitting needs. And the number 2s if I need a thinner pin.

History Hunt

Walter Hunt invented the safety pin in 1849. He was the first one to create a pin with the coiled spring on one end and the clasp or catch on the other end to keep the pointy bit safe from tender fingers. Hunt sold his idea outright for $400.00 so never collected any royalties or anything from it. Legend has it that he needed to pay off a debt and thus invented the safety pin and sold the rights within a few hours.

I use safety pins for fitting clothing, for hanging patterns, to attaching notes to things.

I use safety pins for fitting clothing, for hanging patterns, to attaching notes to things.

Selling his safety pin idea wasn’t Hunt’s only unfortunate business decision though. He was also the first one to invent many of the significant parts of the sewing machine, including a curved needle and a shuttle. Hunt created the first sewing machine prototype in wood, which didn’t work all that well so he ended up selling his idea to Elias Howe and Isaac Singer.

Hunt invented a plethora of other things including a streetcar bell, a knife sharpener, paper collars, and an antipodean walking device – or suction cup shoes!

Alas, Hunt didn’t seem to have much business savvy or any true idea of what his inventions could be worth, and just how wide spread and common place they would become.

A modern twist

The safety pin has found its way onto the catwalk and into high fashion with decorated, embellished safety pin broaches and large dangling safety pin earrings.

The safety pin returns as punk becomes more relevant than ever – via Independent.

The humble safety pin also has a rich symbolic history and significance. Punk culture has long used the safety pin as an expression of individual freedom and DIY culture. In the wake of the UK’s Brexit and the US presidential election it has come to symbolize tolerance and unity with all people.

Wonder what Walter Hunt would have sold his idea for back in 1849 if he had been able to foresee even a small fraction of what his pin would become.

The Zen of Making

The Zen of Making

I’ve been a professional tailor and pattern maker for twenty-five years. Some days I love my job. Some days I hate it. Some days everything goes together without mishap. Other days needles break, threads knot, seams bunch, the sewing machine makes crazy bobbin art for no reason, and garments with alteration tags that read, “drop a lining in” hang on the to-do rack. (please see ‘drop a lining’ rant at the end of this post). All of these things sometimes make me forget that I actually really do like to sew, to make things, to create from a pile of fabric a new complete garment.

The hard part about ending up in a career that involves doing something you love is that, every once awhile, you end up hating the very thing that you know you love.

Which is a shame. Thankfully, I always get over it. Sometimes the getting over it as easy as finishing an annoying project and moving on to something new. Occasionally, I need to have a little talk with myself, take a deep breath, and slow down (even if there are three people asking me when I’m going to be done.) I have to block out outside distractions and focus fully on what I am doing. That is when the ‘flow’ happens.

…my alterations motto is: leave no trace.

Currently I’m working on a show that, though it involves endless multiples (lots of stunts so actors usually need four to five of the same outfit plus one for their stunt double), never really sends me to the “I hate sewing” place of darkness.

One of the characters, new to this season, wears high-end clothing that usually requires quite a bit of alteration. I love taking apart a designer dress and figuring out the best way to alter it without anyone being the wiser. As in hiking, my alterations motto is: leave no trace. I can get happily lost in such a project.

Go with the Flow

The same goes for when I’m patterning or building something from scratch. I find that I’m in the flow of making. I forget about everything else going on and just concentrate on the thing I am doing.

Psychologist Mihaly Csikszentmihalyi says that Flow is the secret to happiness — a statement he supports with decades of research. During a 2004 TED talk, he said “When we are involved in (creativity), we feel that we are living more fully than during the rest of life. You forget yourself.”

A study titled, The Neurological Basis of Occupation, found that music, drawing, meditation, reading, arts and crafts, can stimulate the neurogical system and enhance health and well-being. And this study concluded that computer activities; craft activities, quilting, playing games; and reading books were associated with decreased odds of having MCI (mild cognitive impairment).

What this all adds up to is probably what most of us who sew and create already know: making things is good for your psyche and your soul (and your memory!). However you do it, wherever you find your flow is important and necessary to your well being, to you being you.

Drop a Lining In Rant

“Just drop a lining in,” they said, “It’ll be easy. No big deal. Shouldn’t take you that long.”

Anyone who tells you this really doesn’t know much about sewing or patterning. “Dropping a lining in,” is no easy task and certainly not as simple as dropping, well, anything. Unless your garment is a true honest to god couple of rectangles sewn together (and believe me it very likely is not) there isn’t anything ‘just’ about it. To line a jacket, or skirt, or dress, or anything, you really need to make a pattern and it’s going to take more than a couple hours to do it correctly. On Boardwalk Empire, we would regularly end up with vintage dresses literally hanging on by thread with the note, “Drop a lining in!” attached. None of us wanted to do them. We’d shuffle them to the end of the rack until we couldn’t put it off any longer and finally someone would say, “Ok, ok, fine, I’ll do this one if you’ll do that one.”

What I Do at Work All Day (Part 2)

What I Do at Work All Day (Part 2)

(As promised) The Dart and Drop

Pinned side back seam.

Pinned side back seam.

I do a lot of suit alterations. Sometimes I alter up to eight suits in a single day.

Often, suit jackets fit well in the shoulders but are a bit too roomy in the body. Because of the inner canvas and the inevitable front pocket, you can’t really successfully alter the front of a suit jacket. You need to take in at the center back or side back seams. While pinning, you’ll usually notice that you need to take in the side back seam all the way into the armseye.

This presents the conundrum of:

  1. Should I also take in the sleeve so it will still fit?
  2. Do I need to get into that seam at all?
  3. Do I really need to take the sleeve out?

The answers are no, yes and yes. Do not take in the sleeve. Do take the bottom part of the sleeve out.

Men’s suit jackets are traditionally cut without an actual side seam. The place where you really want/need to take a jacket in, though, is often in that invisible side seam. The way to accomplish this is by using the dart and drop method.

The Dart

Dart pinned into side seam.

Dart pinned into side seam.

Take the lining out and the underarm sleeve apart from the side back seam to a few inches in the front of the side seam. There should be a notch in the jacket to indicate where the side seam would be if there were one. If no notch is present, lay the jacket flat on a table, buttoned up. Where the jacket naturally folds will indicate basically where that side seam is. Mark with chalk on the wrong side of the fabric in the coat body and in the sleeve.

Next, from the wrong side of the fabric, fold on the notch. At the top, measure in the amount you need to take in (as you determined by pinning your side back seam). Then draw a dart from that point down about 3 or 4 inches (or until you run into the top of the pocket). Sew the dart. You can put the same dart in the lining or you can simply do a tuck. Either is fine.

The Drop

The next step is to redraw your underarm seam. The armseye should remain the same size as it originally was. To do this, drop the underarm seam. I suspect there may be some actual formula for this but I’m more of an intuitive sewer. Dropping an inch is usually a good place to start. Use a curved ruler

to draw the new line making sure the connections are smooth. Pin your sleeve at your new side seam an inch below the original seam line. Then pin the rest. You might have to undo more of the original seam if the sleeve isn’t fitting. Do this in the back until you can easily fit the sleeve back in without any excessive easing.

Don’t Worry

Pinned underarm seam.

Pinned underarm seam.

If you end up having to undo part of the shoulder pad and sleeve header, that’s fine. Just reattach them once you have put your sleeve back in.

You can apply the same principle to jackets (or really anything) that have side seams. Unless you want to narrow the sleeve, dropping the armseye is a more accurate way to accomplish this alteration.

At this point I also want to add a little something about the idea of ‘a right way’ to do something. I don’t believe there is only one right way to do things.

Sewing jacket with side seam.

Sewing jacket with side seam.

I ran the costume building shop for Boardwalk Empire for four years. It was a shop full of talented tailors from all sorts of backgrounds and places (Russia, Uzbekistan, Turkey, Tunisia & various U.S. states). We had a running joke about people who insist that their way of doing things is the only way (We even had a little song called, “There’s only one right way to do things. The other ways are wrong…”).

Walk Your Own Path

You need to figure out the way of doing things that works best for you while accomplishing the desired result. Sometimes someone can show you a whole new way of doing something that makes it easier for you. Sometimes not.

The tips and tricks I write about are the things I’ve learned work best for me over the years. Hopefully they will prove to be useful to someone else as well.

Missed Part 1? Check it out here!

What I Do At Work All Day (Part 2)

What I Do At Work All Day (Part 1)

Just a view of my shop.

Just a view of my shop.

I’m currently the Key Tailor on a New York City based major network crime-procedural drama television show (Blindspot on NBC). I work mainly out of one of the Brooklyn studios with occasional on-set last minute fittings. Most of the work I do each day is for things that need to be ready for the actors to wear the next day on camera. What this means is that, over the years, I’ve become pretty fast at doing a variety of alterations (as well as patterning and constructing from thin air). In my industry, there are certainly a lot of excellent tailors but there aren’t all that many excellent and fast tailors. Here are a few of the tricks I’ve discovered along tQuhe way that help speed up some common alterations.

Shortening the Sleeves of a Men’s Suit Jacket (without fancy functioning buttonholes)

Topstitching on sleeve lining.

Topstitching on sleeve lining.

First, just go ahead and remove all the buttons. They’ll just be in your way. Turn the sleeve inside out and find the topstitching along the sleeve-lining seam. This is how the sleeve was originally put together. Open up that seam and turn your sleeve inside out. Take apart the mitered and straight corners but do not undo the lining from the rest of the hem. (Go ahead and release any stitching holding the actual hem up though.) Undo any fake buttonhole stitching that you need to. These should be on a chain stitch and easy to undo.

Press miter corner with point turner inside out.

Press miter corner with point turner inside out.

Measure up or down the distance you want to shorten or lengthen at your corners and redraw your miter line if you need it.

Re-stitch all corners at new hem marks. I flip everything back right side out at this time and press my corners and the new hemline. Use a handy point turner

Don’t undo original stitching at hem.

Don’t undo original stitching at hem.

and please don’t trim anything away from the mitered corner. If you press inside out first with the point turner inserted the fabric will go where it needs to. No need for trimming. One of the most annoying things is to go and alter a jacket sleeve only to find that someone has trimmed the miter corner, meaning I can’t lengthen the sleeve properly.

(Still don’t unattach the lining)

Redraw miter line.

Redraw miter line.

After pressing, turn inside out again. Then simply measure up or down (I use an old fashioned metal seam gauge) from the current stitching line the desired amount and sew along that line. If you are shortening, there is no need to undo the original stitching line. If you are lengthening, you will need to. Machine tack the seam allowances together at the seam to keep the hem up.

Sew new stitching line shortening hem.

Sew new stitching line shortening hem.

Turn everything back right side out and topstitch the seam of the sleeve lining closed, put your buttons back on and you’re done!

There are of course a few situations that will make this alteration a bit more challenging – such as functioning buttonholes or having to add fabric to the hem seam allowance because of lengthening. If I’m having a good day and nothing strange is going on inside the sleeve, I can usually do this alteration in 30 minutes.

Center Back or Side Back Alterations on a Suit Jacket

The time saving trick on this one is pretty simple. Open up the under vent seam and turn everything inside out through there. When done, just topstitch the vent closed again, no opening up the lining and sewing it back by hand.

Men’s Vest Alterations – Center Back or Side Seams

I’m a huge fan of bagging things out. Men’s vests are one of my favorite things because you can bag everything out through a mere 2 inches on one of the side seam linings. First, find the opening where the vest was bagged out originally, probably a small hand stitched couple inches on one of the inside side seams. If its not there (if the vest was bagged through the neck, make your own. Then pull the entire vest inside out through those two inches. It will fit.

Vest side seams are most usually put together with one stitching line through all 4 layers (fronts and backs with linings). On the side without the opening just stitch a new line taking in (or out, though most commercial vests don’t have a lot of seam allowance to let out) the desired amount. If the amount is significant, you may need to re-stitch the arms eye curve so that everything lines up properly under the arm.

If you need to take in the center back seams, undo at the neck and bottom hem, alter as desired, the re-sew what you released.

On the side with the opening, stitch in two sections, above and below the opening. In the 2 inch gap, sew through all layers except the back inside lining.

Pull everything back through your opening, press and voila!

I just topstitch my opening from the right side of the vest, hiding the stitches in the seam line.

Check out Part 2 here!

My next post will tell you about the one of the sneakier men’s suit alteration tricks – the old dart and drop! So keep a look out for the follow up and as always – keep sewing!