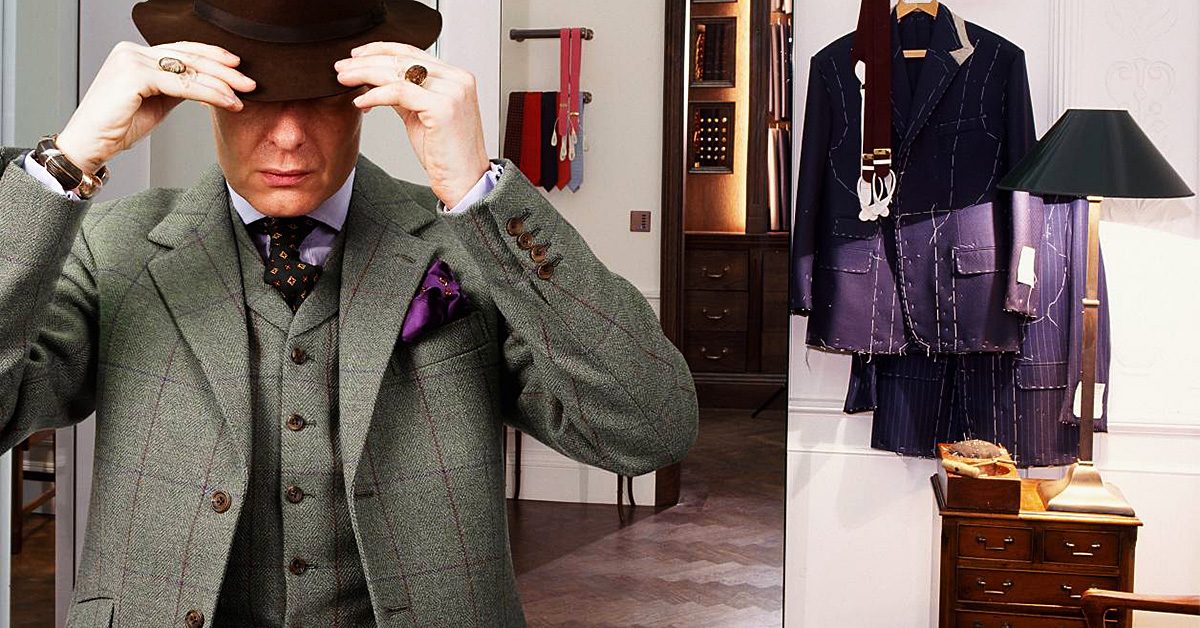
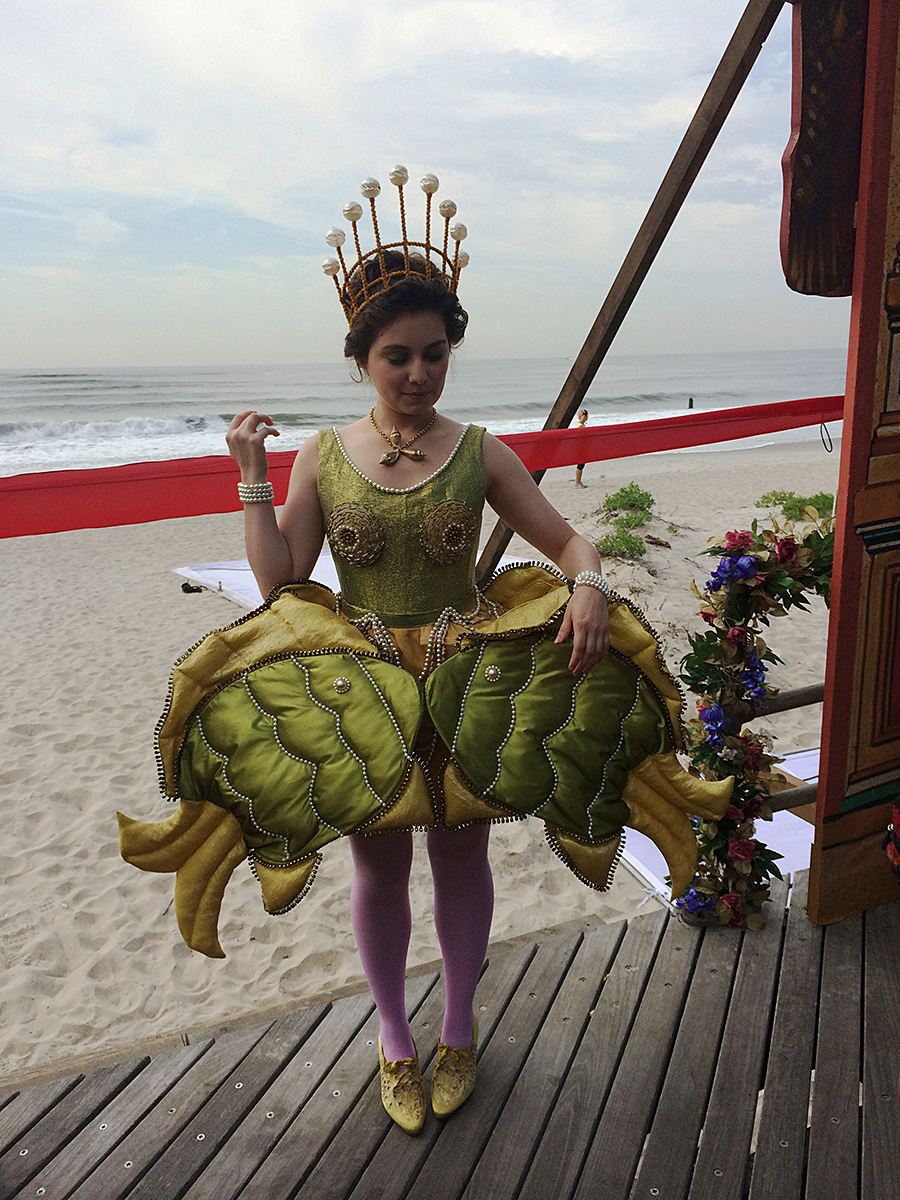
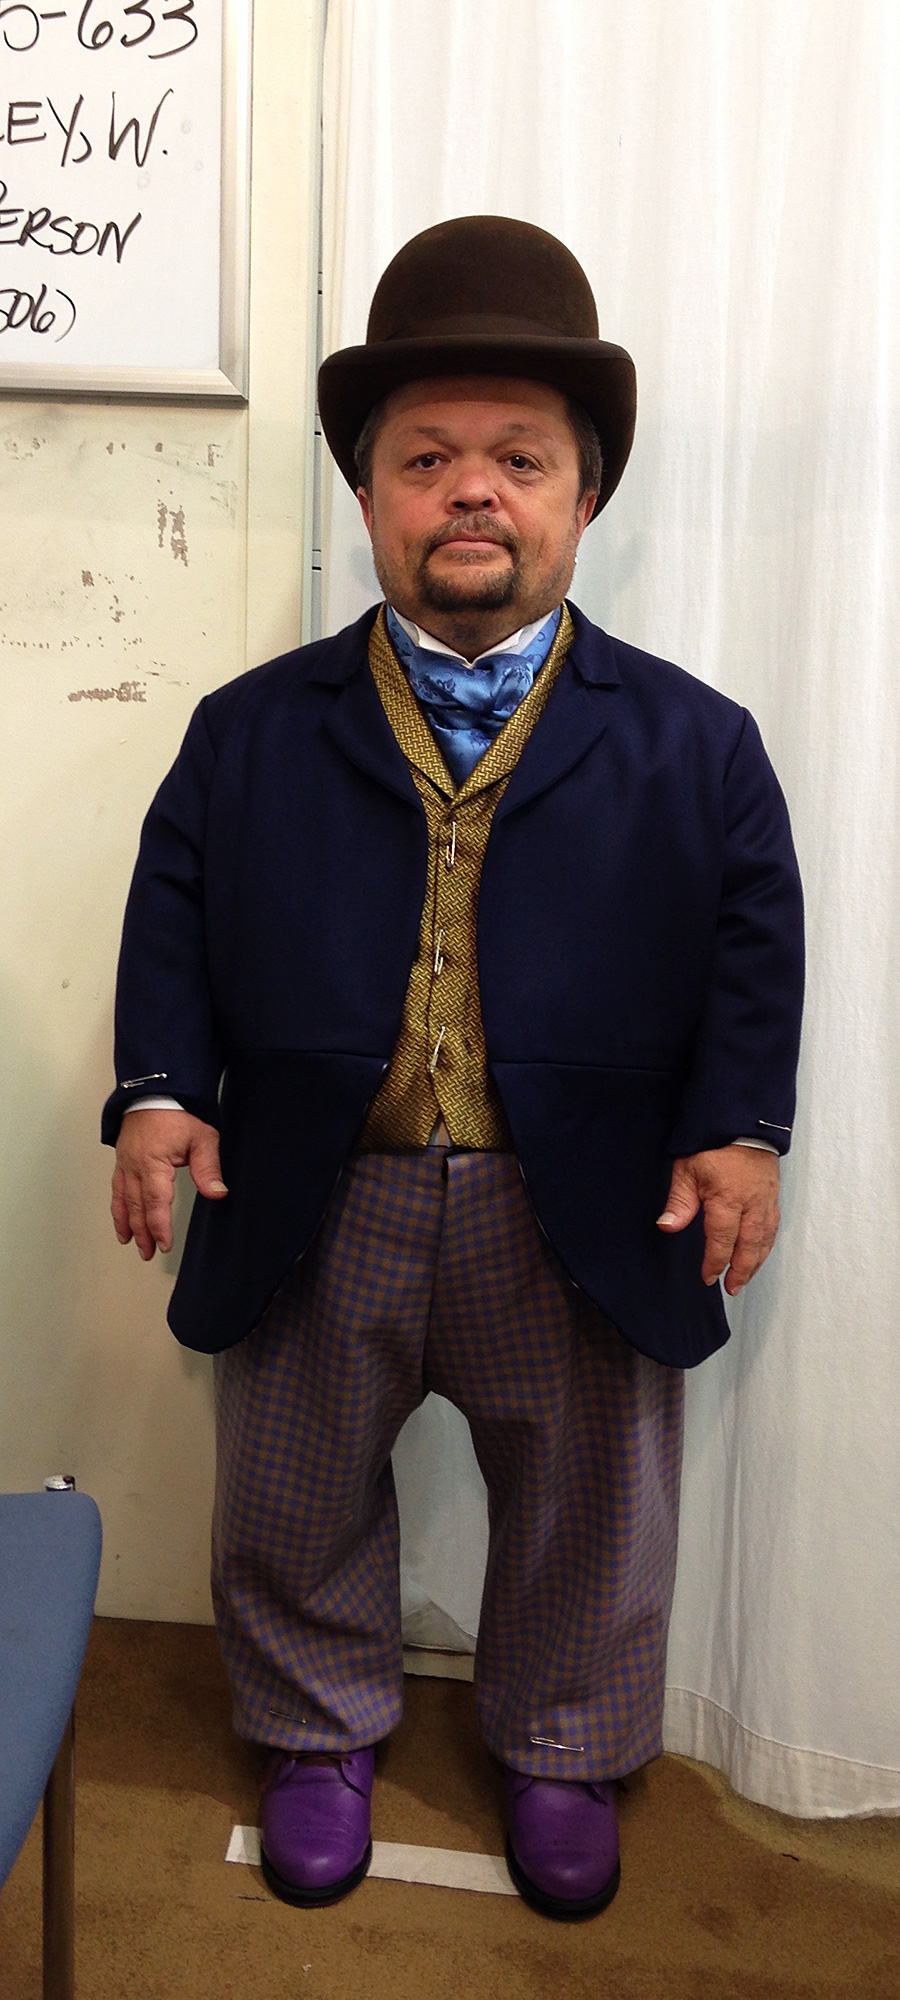
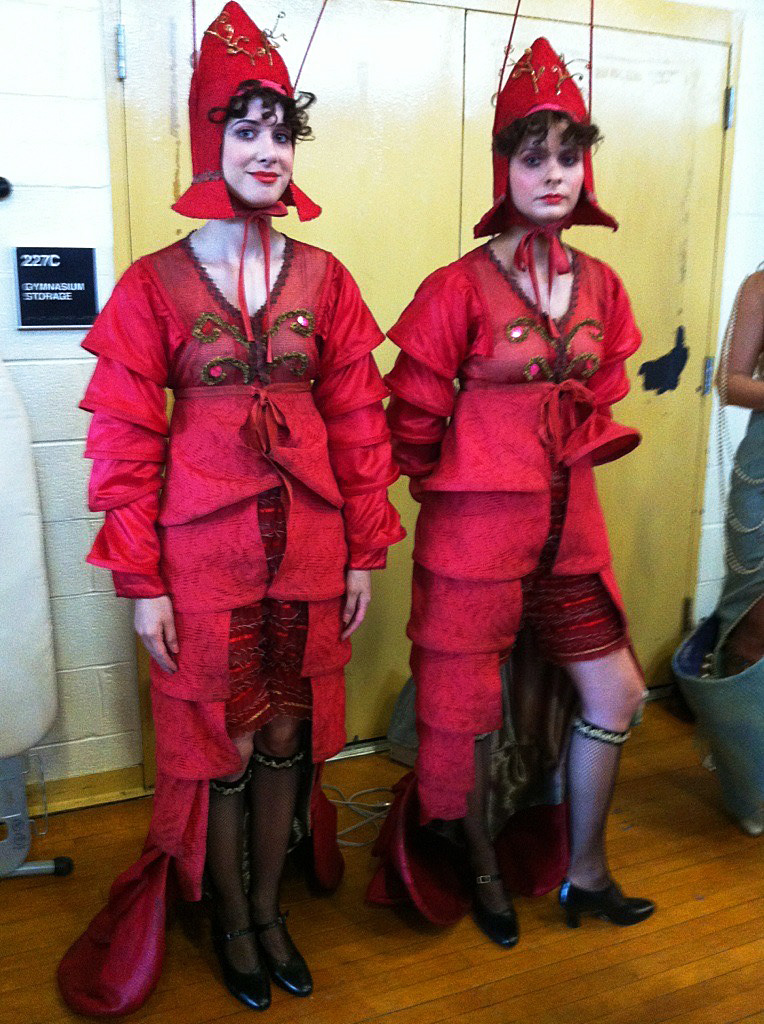
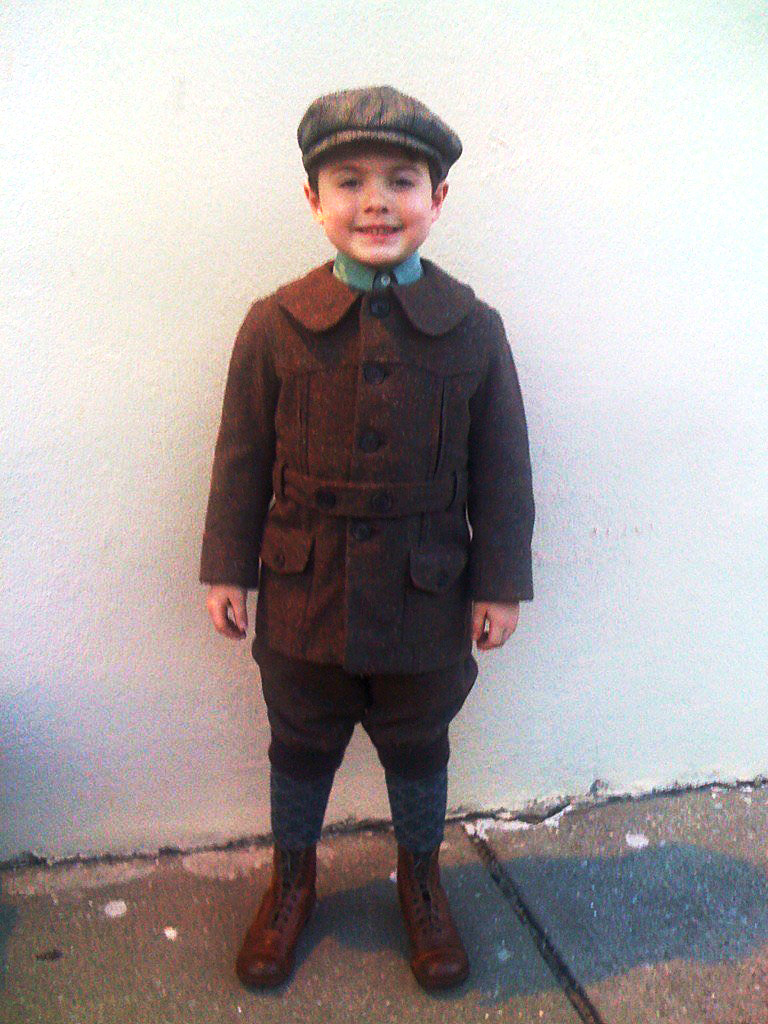
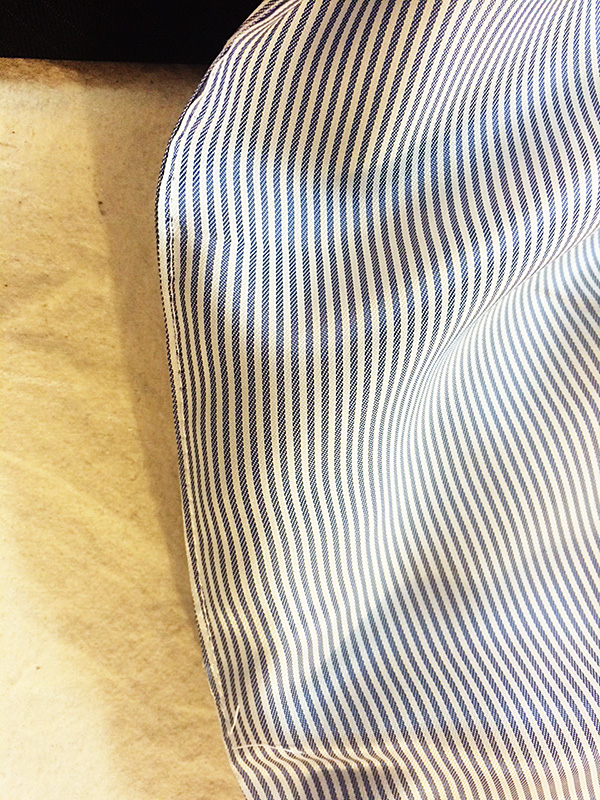
This past week, I got a call to tailor and do some fittings for my friend Matthew, who is the Costume Designer for TBS’s Search Party. I love working for Matthew. He’s sweet and fun and his design choices are quirky, a lovely mix of vintage and high end with a bit of funk blended in.
Search Party doesn’t have the budget for a full time tailor, so Matthew only calls me in for days when he’s doing a lot of fittings or he has a pile of alterations that he needs completed for the next couple weeks of filming.
Day playing
Day playing, which is what we in the film business call working for a day or two on a show when extra help is needed, can be an enjoyable experience (it can also be annoying but I try my best to avoid those types of day playing gigs). Search Party is pretty much always a positive experience, mainly because of Matthew and the people he has working for him.
So, I was happy to get the call, even though it involved going all the way to Red Hook (a neighborhood in Brooklyn sadly lacking in convenient public transportation access) and sewing on a cramped Wardrobe Truck.
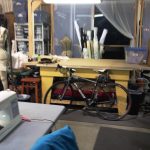
The inadequate subway connection was easily solvable: I’d ride my bike just as I do most places in the city, except that I needed to bring a sewing machine and basic sewing supplies with me. Tailor day playing assignments almost always involve dragging your machine and kit through the streets, and usually not on a bicycle.

I discovered that my favorite freakishly lightweight Brother sewing machine fit perfectly into the backpack.
But, a few months ago, I received an unexpected gift from REI. I’d ordered a tent for some planned bike packing adventures but, instead, received a backpack (definitely not a tent). REI costumer service was very helpful when I called, said they’d send the tent straight away and would email me a pre-paid return label to ship the backpack back (back…). About twenty minutes after I hung up, they called back to say never mind, keep the backpack for free.
I don’t know what made me try it, but a couple weeks after that, I discovered that my favorite freakishly lightweight Brother sewing machine fit perfectly into the backpack. Brilliant! Here are some photos. If you’re interested in which backpack it is, it’s the Osprey Comet.
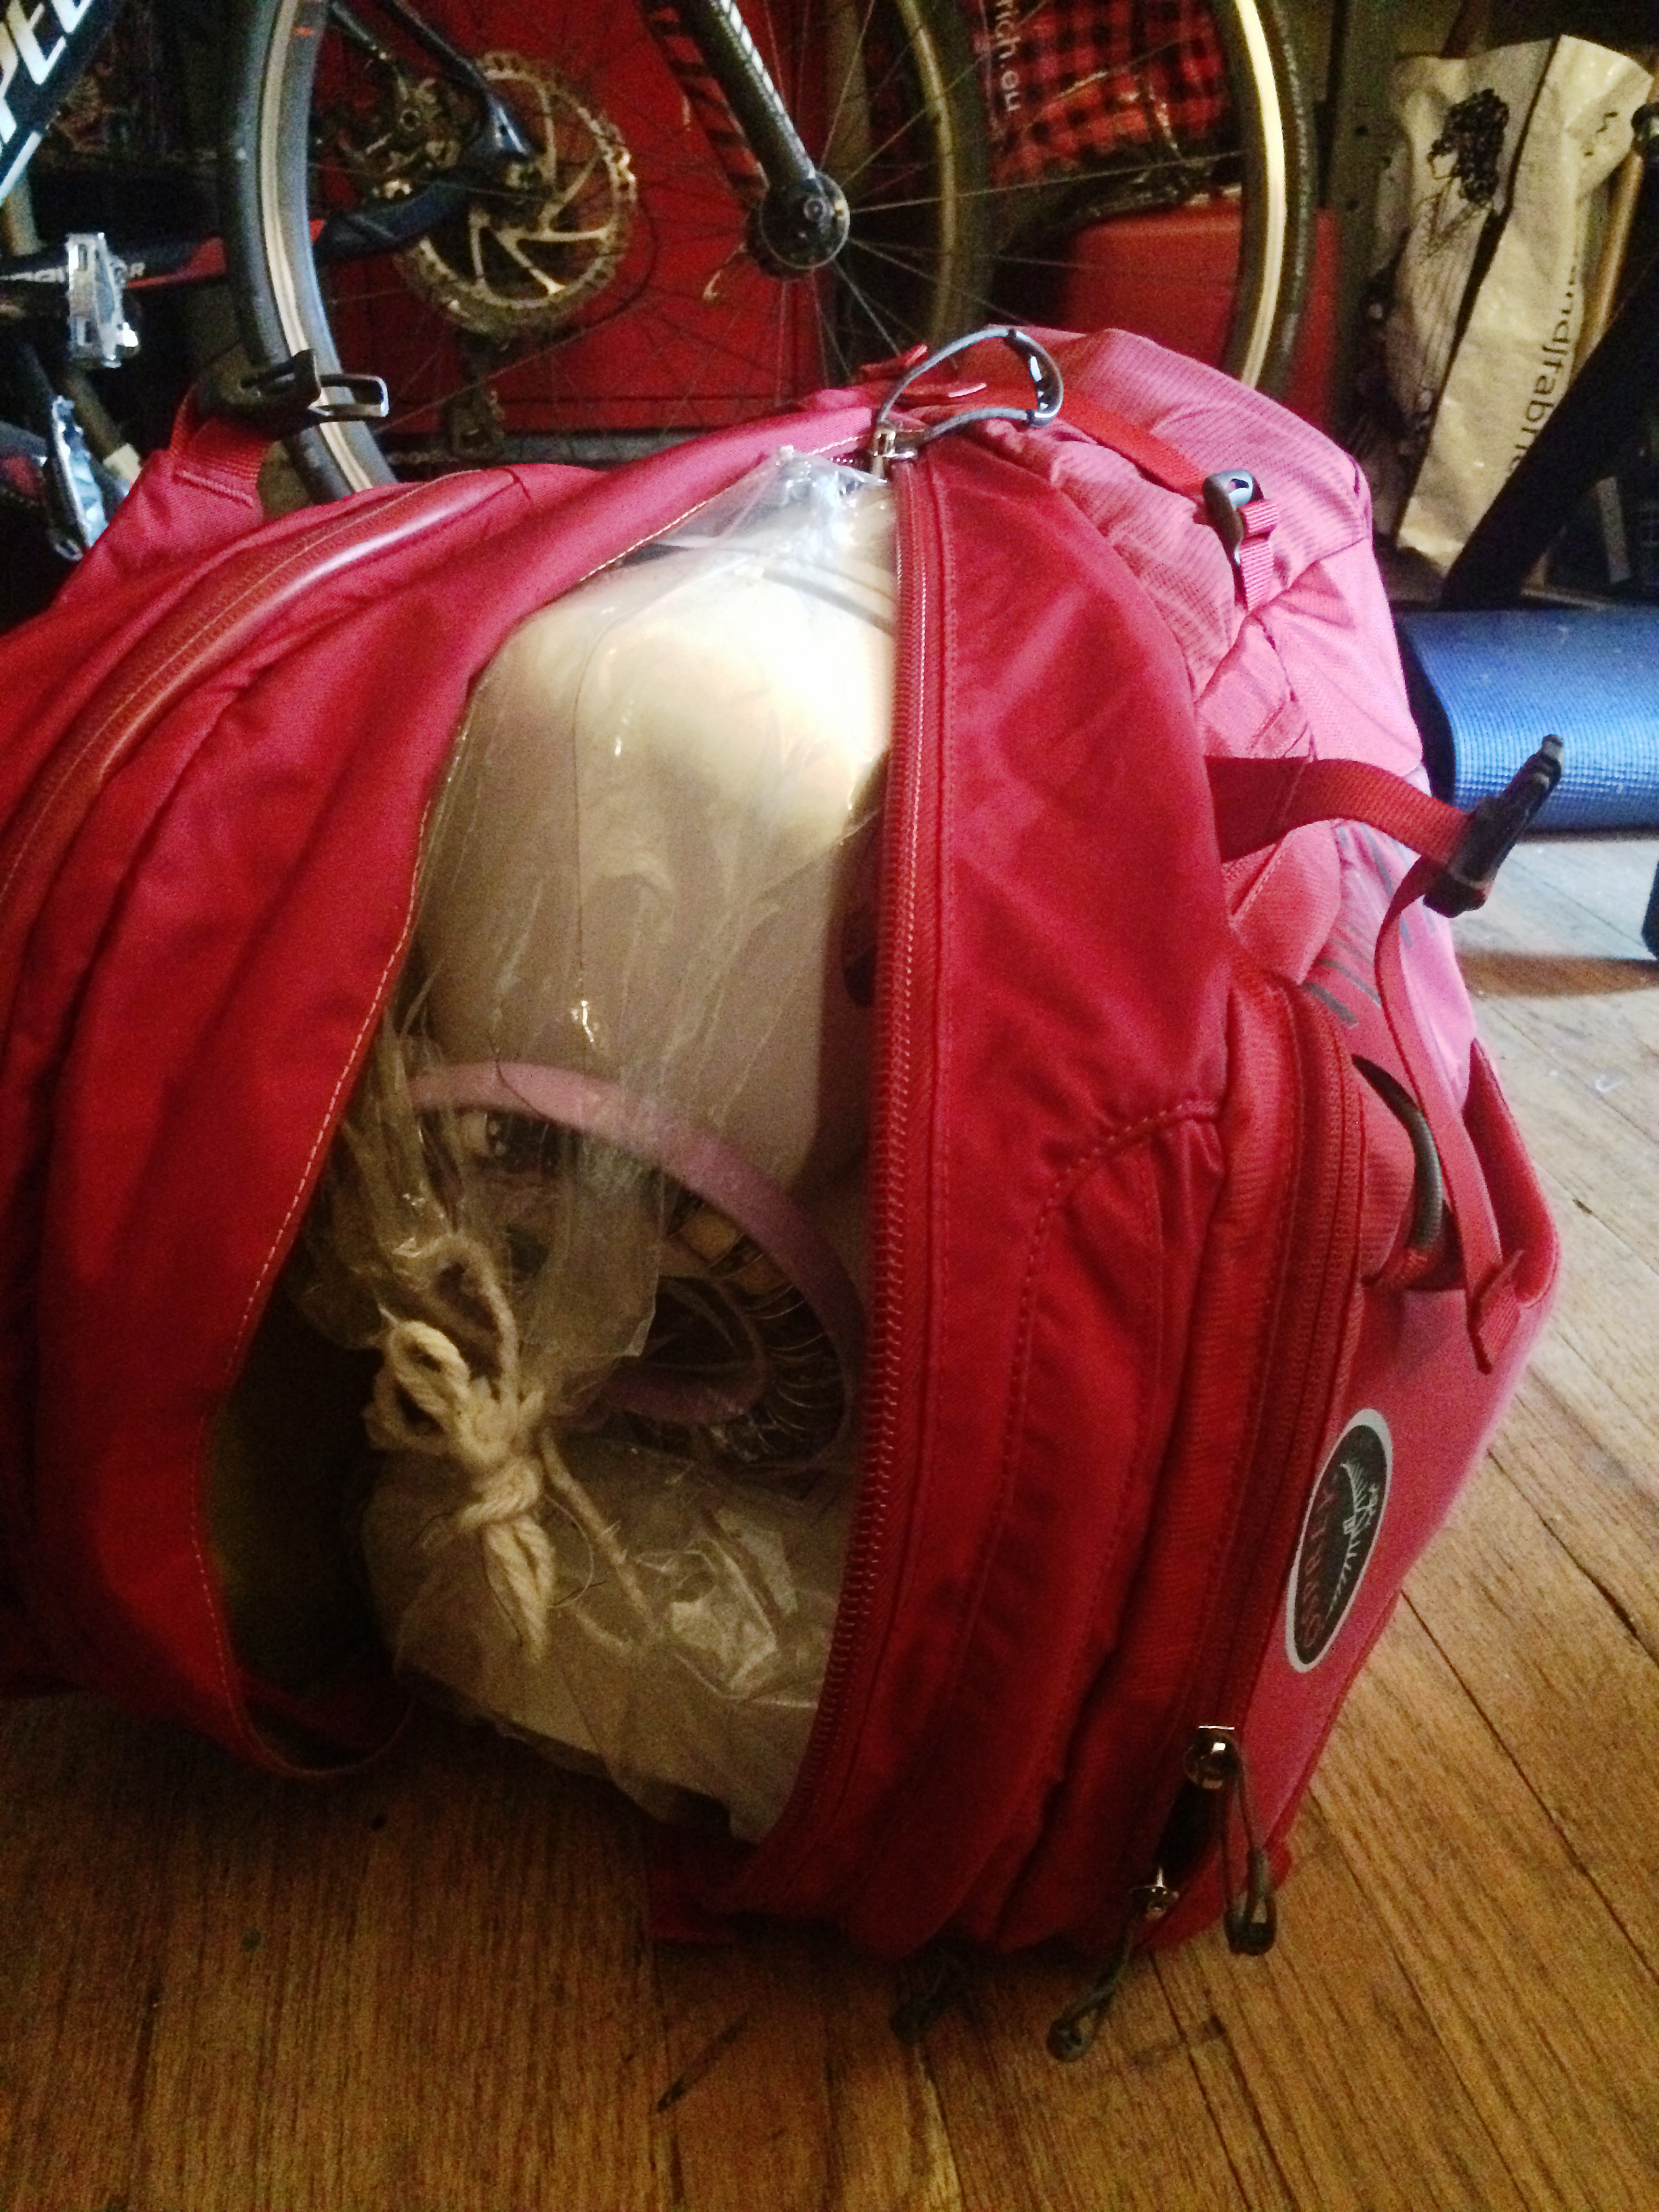
If you’re interested in which backpack it is, it’s the Osprey Comet.
I packed a few other things in the backpack with the machine (there was still more space!) – shoulder pads, interfacing, and lining scraps, a bag of thread, and some other not very heavy notions. The rest of my supplies, the scissors and more threads and gallon bag of elastics and tapes, I packed into my Revelate Seat Bag that I purchased from my favorite local bike shop. And I was good to go, albeit not very quickly (cause all that gear was a bit heavy)…
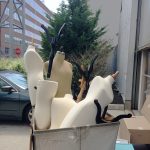
The lion, the witch and the Wardrobe truck
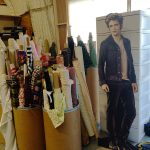
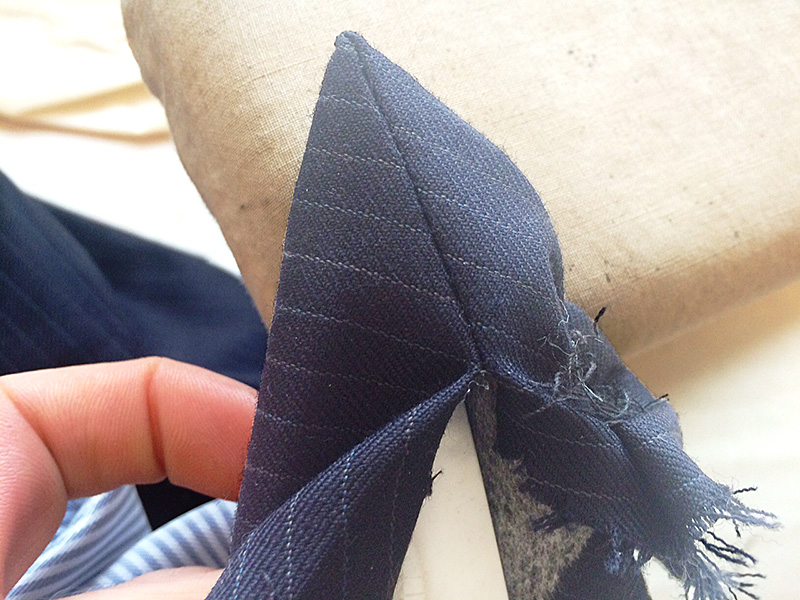
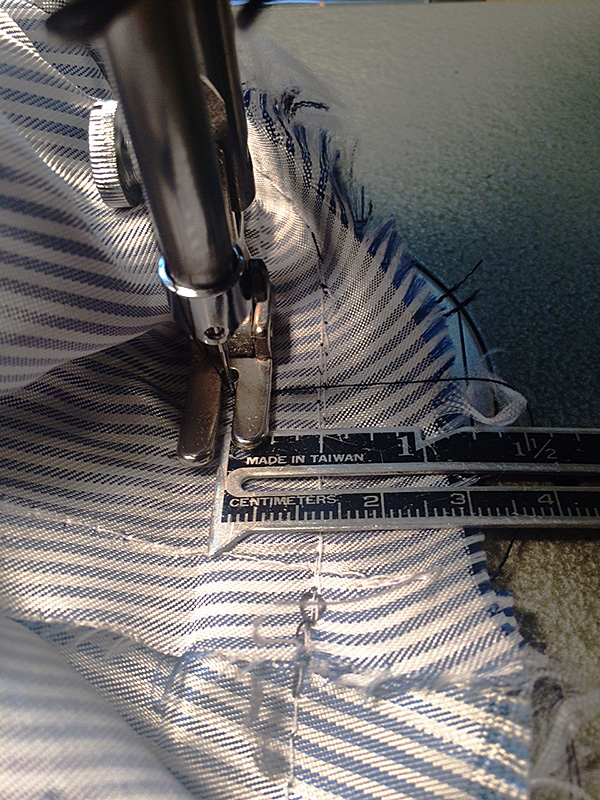
Sewing in small spaces on a Wardrobe truck where a whole crew of other people are also trying to do their jobs presents its own set of challenges. Working on the Search Party truck even more so as they use the dreaded split Wardrobe/Hair/Makeup style of 18-wheeler film truck. Most productions have separate trucks for Wardrobe and Hair/Makeup and twice as much space but smaller productions who are trying to save money go with the split trucks. What this means is that there is even less space than normal.
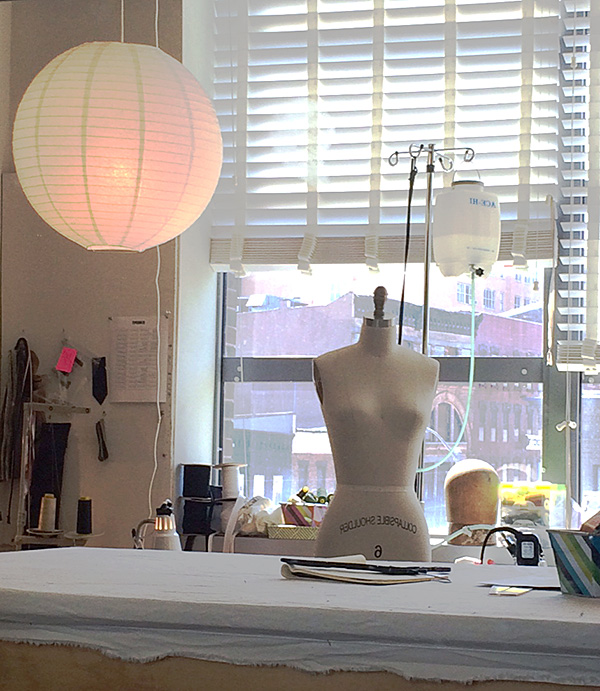
I set up my machine on the front corner, the sink and washer/dryer on my right and the busy Wardrobe Supervisor and her computer on my left. A few feet away, one of the customers steamed and ironed the clothes for the next day and, in the back of the truck Matthew and his assistant did fittings with various cast members. Occasionally, the set costumer was also on the truck gathering things for the next scene, as well as the shopper dropping off or picking up items.
High chair
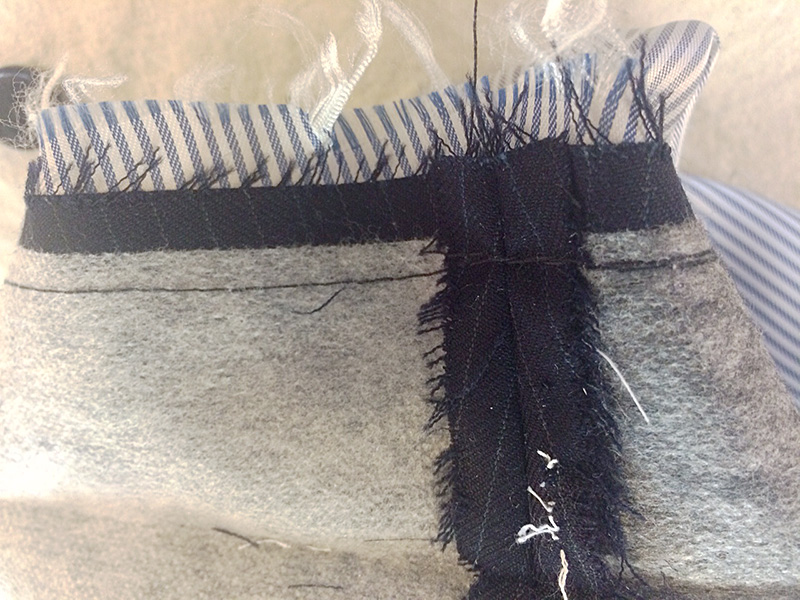
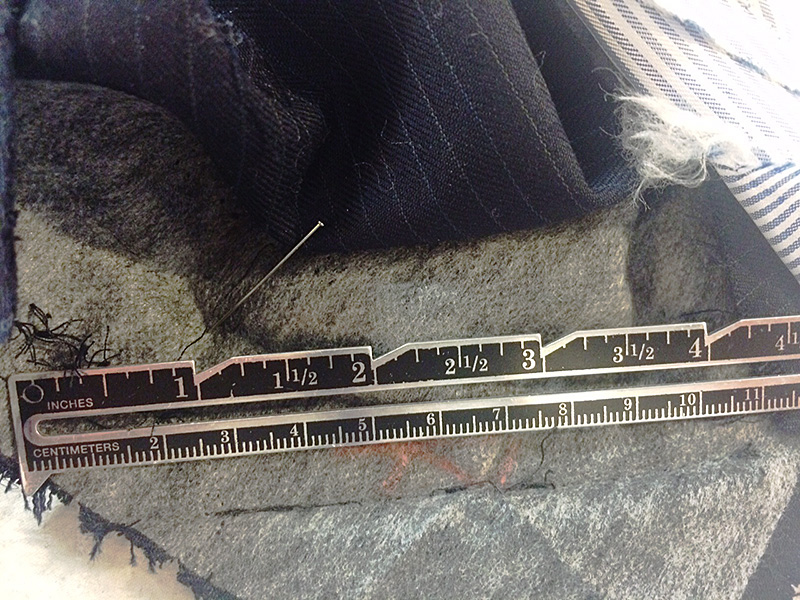
I had a chair that was too high for the counter. I’d have to crouch in order to sew while sitting in it. Below the counter were drawers so there was no convenient place to put the foot pedal. I ended up standing up to sew, my leg turned out to the right to operate the pedal from a side-saddle angle. The foot kept getting stuck under the lip of the bottom drawer so that the machine would continue to sew even after I’d taken my foot off. I had about two inches of empty space to the left of my machine before the supervisor’s notebooks and computer and the cord from the iron kept falling (along with a bunch of my pins) into the sink to my right. I had to shift position slightly every time someone needed to fill or empty the washer and dryer.
But, it was still a wonderfully pleasant work-day. Because we were all in good spirits and we all worked together, happily jockeying for space, seamlessly adapting to each other’s needs, laughing when we all seemed to need to occupy the same twelve inches of space at the same time, all of us just getting our jobs done.
Things don’t always work this well on a crowded wardrobe truck. Sometimes people forget that everyone’s jobs are important and necessary to the project. Sometimes people are cranky because of lack of sleep, or stress, or just because it’s their nature. But it doesn’t have to be that way and, if you ask me, it shouldn’t. Making TV does not, after all, have anything to do with curing cancer or launching rocket ships (sometimes people forget that!).
One of the most wonderful things is a group of people working together to achieve a common goal. Its also a pretty good way of getting things done! I highly recommend it. 🙂