Brother SE1800 Sewing & Embroidery Machine Review

Brother SE1800 Sewing & Embroidery Machine Review

Brother SE1800 Sewing & Embroidery Machine Review

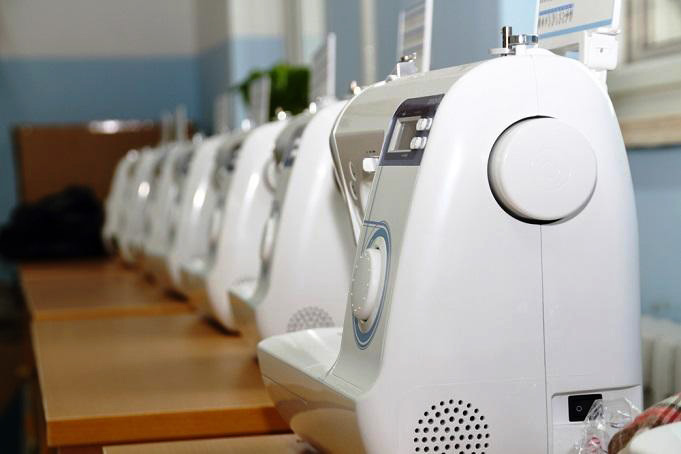
If you looked at my sewing room right now, you would think I was my own little sewing shop. Seriously. There are seven machines strewn out right now. Some of them have their own little stack of projects just waiting for attention, and some are lined up against a wall waiting for projects.

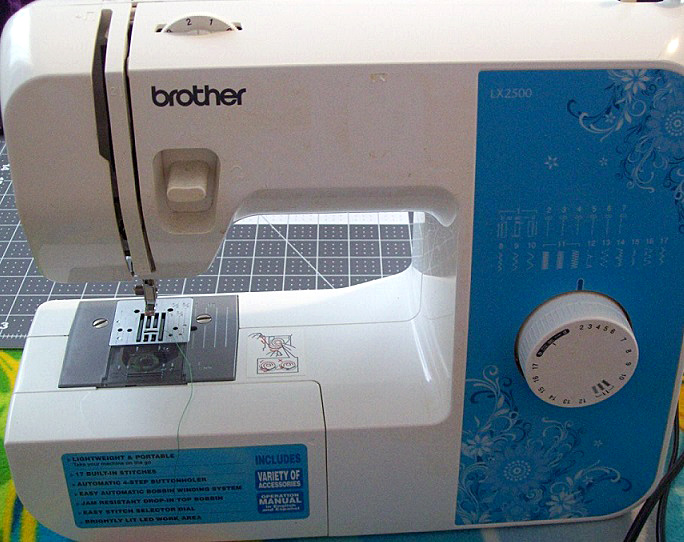
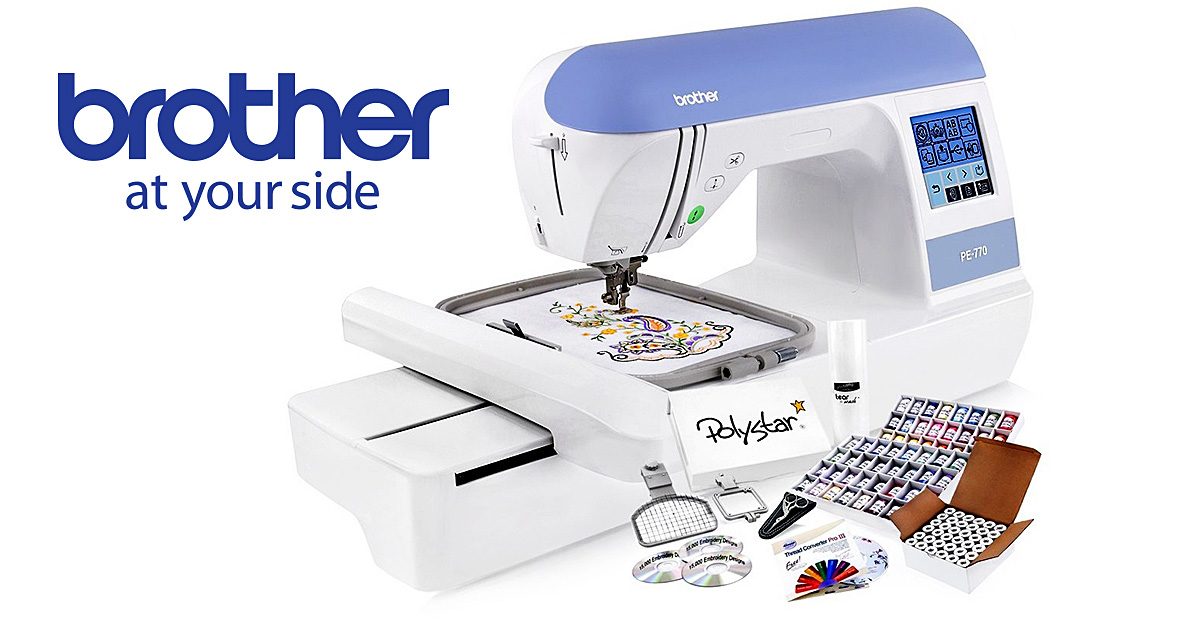
This year, I added the Brother SE1800 Embroidery And Sewing Machine to my collection. I received this machine from Sewing Machines Plus in exchange for my honest review. All opinions are my own.

First impressions

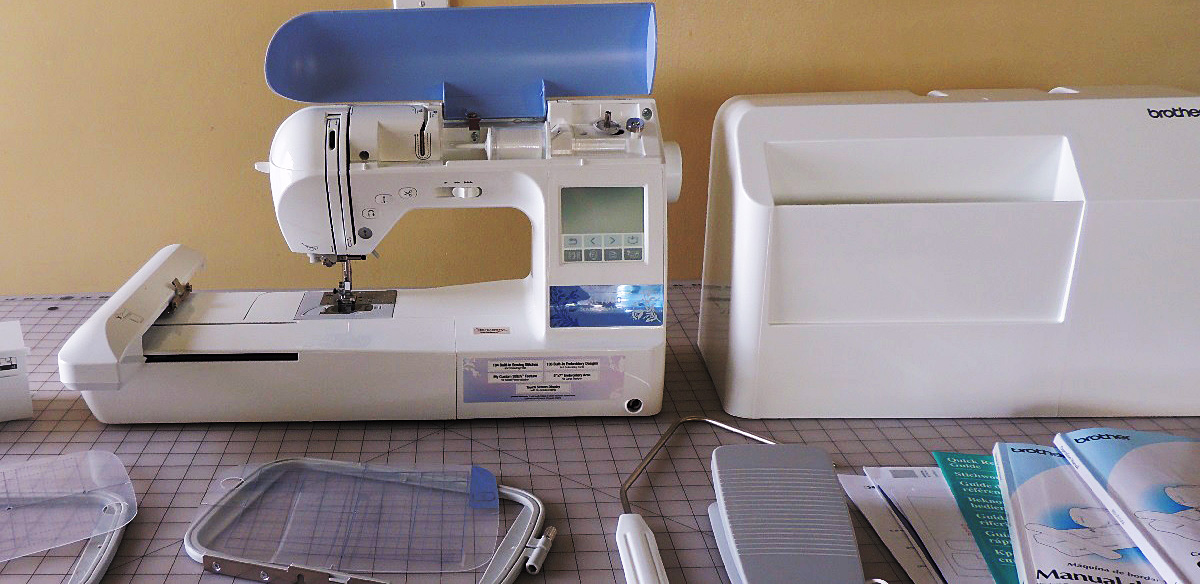
I was very pregnant when this box arrived at my doorstep — about three days after completing my “order.” So, needless to say, I thought this 39 pound box was quite heavy. Lest you think the machine itself is super heavy, you should know that there are a lot of extras included with this 22 pound machine.

I was very impressed with how quickly this machine was delivered to my front porch, and how carefully packaged it was.

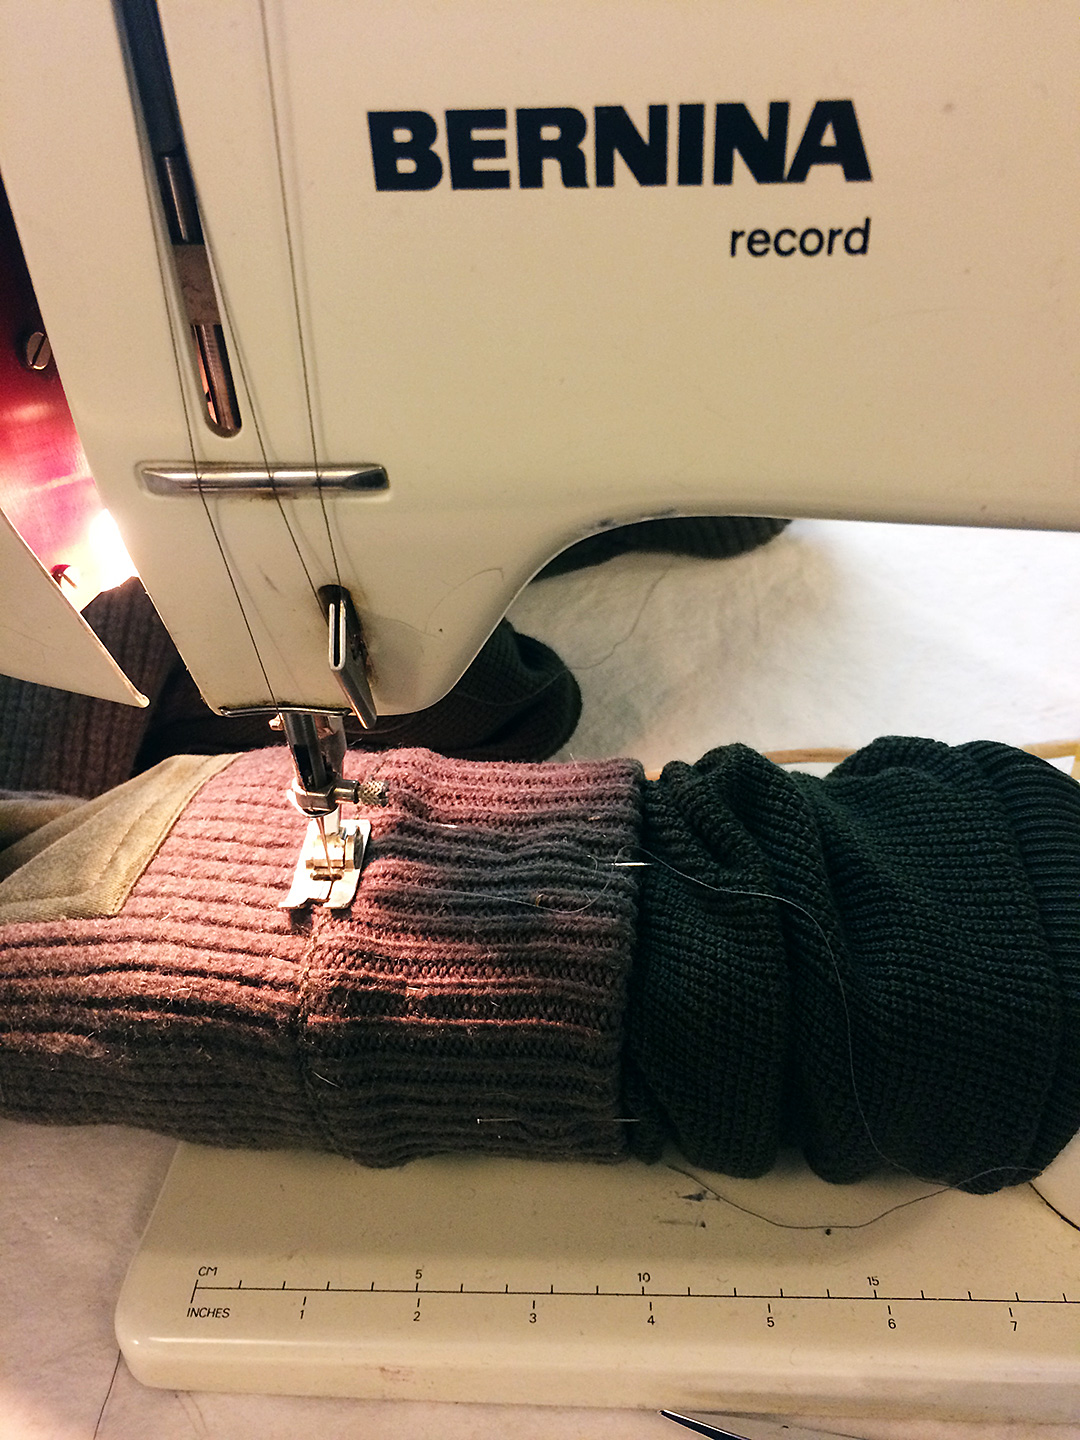
After I got my machine out of the box and set up, my first impression of the Brother SE1800 was how quiet it was. In both the embroidery and the sewing modes, this is a very quiet machine.

Putting the Brother SE1800 through the tests

I wanted to put this machine through as many tests as I could, so I began by reading the owner’s manual from front to back (which I highly suggest any new owner do). I then made a list of projects I could make. My goal was to try out as many of my new machines features as I could — which was a lot.

Embroidery patterns are easily downloaded to a USB, which then plugs directly into the left-hand side of the machine.

Embroidery patterns are easily downloaded to a USB, which then plugs directly into the left-hand side of the machine.

I initially set up my favorite sewing machine next to this one and planned to use the two machines together to make projects faster and smoother. However, I found myself using this combination machine for both the sewing and the embroidery parts of my sewing stack.

Switching back and forth between tasks was as easy as turning the machine off and switching the flat bed with the embroidery unit. After turning the machine back on, the display automatically switches to the proper mode.

I used this machine for basic sewing, heirloom sewing, basic smocking, embroidery and appliqué. It also has darning features I have yet to use.

The pro’s

I could go on and on telling you all the features this machine offers, but that would be boring and you can see all those details here for yourself. I will get straight to the exciting part — my favorite features.

My favorite type of machine sewing is heirloom sewing. This machine made pulling strings and sewing lace together smooth and quiet — it has been a very peaceful experience.

Secondly, I also enjoy smocking. Until receiving this machine I had previously only done this with a smocking machine and hand stitching. Although there is definitely a learning curve with this machine, I have thoroughly enjoyed learning a new trick to a timeless technique.

The appliqué process/instructions are different from how I normally do appliqué, but once again I enjoy learning a different technique.

I have, since receiving this machine, had a new baby. The Brother SE1800 has become one of the main machines I use now because of how quiet it is. Although this machine doesn’t replace a heavy duty machine or serger, because it’s a combination machine, it’s done every other project I’ve needed to do.

If you have never had an embroidery machine before, then I highly suggest getting one with a USB port, as this one has, so that data transfer cords are not needed when embroidering — unless you like to be attached to a computer for that part.

The con’s

If there is one thing I would change about this machine, it would be that the owner’s manual would have pictures of the included embroidery programs. The screen showed a picture of the embroidery and appliqué designs, but I wasn’t sure what the exact picture would look like until I did a test run for each one. Although it’s not that big of a deal, I did have to use extra thread and material to do a test run of each one to see it before I placed it on my desired garment.

While I'm unable to add beads & change colors smocking on the machine, I was able to save at least a day working on these side panels.

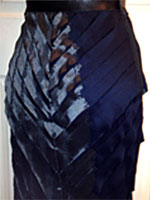
While I’m unable to add beads & change colors smocking on the machine, I was able to save at least a day working on these side panels.

Is is worth the price?

Would I have purchased this particular machine myself? Yes, I would have. Although I probably would not have paid the full amount of this machine, Sewing Machines Plus very often has sales going on, and that’s when I would have made a purchase.

Another thing that sweetens the deal is all the extras that they put in with this machine. I was able to get started trying out different features right away with all the tools and extras that came as part of this package (which you can check out here).

Overall impression

This machine is one of the three machines I have out on my sewing table right now, along with a heavy duty machine and a serger.  I’m sure that is where it will stay for quite awhile.  Though I will use the other four here and there, this combination machine really replaced them all in so many ways.

To read more details and see what I was able to do with my machine while I was running through its features, read this. If you have more questions after you have read this, please feel free to ask.


Deborah Olsen writes for gracegardenandhomestead.com from her farm & homestead deep in the heart of the Rocky Mountains.
Free Brother Sewing Projects

Free Brother Sewing Projects

Free Brother Sewing Projects

How cool is this? Project Runway uses Brother sewing machines to create their fabulous fashions. To celebrate, we’ve got some amazing Free Brother Sewing Projects right from Project Runway. You’ll love making them and wearing them!

Feathered Skirt

Free pencil skirt pattern by Christopher Palu.

Free pencil skirt pattern by Christopher Palu.

Christopher Palu shares his amazing feathering technique. It’s easier than you might think and makes any fabric look gorgeous. He teaches it to you in this free pencil skirt pattern. You’ll need two different fabrics, one solid and one patterned, that look well together and a zipper. Give it a shot and share a picture of your results!

Makeup Bag

Seth Aaron’s free makeup bag pattern.

Seth Aaron’s free makeup bag pattern.

No fashionista’s get up is complete without makeup and way to touch up imperfections on the go. Seth Aaron’s makeup bag pattern is the ultimate in makeup carry-alls. There’s room for all your makeup essentials inside the bag and the exterior strap holds all the brushes you’ll need to keep your face looking its best all day and night long.

Custom Laptop Case

Joshua Cook’s custom laptop case free pattern.

Joshua Cook’s custom laptop case free pattern.

In the on-the-go world we live in, most people carry their laptop with them at some point. This is simply another way to show your style. Forget those laptop cases you can buy at any retailer. Instead, create a custom laptop case with Joshua Cook’s pattern. It works up quickly in less than 20 steps.

Earrings

Anthony Auld’s free Embroidered Earrings pattern.

Anthony Auld’s free Embroidered Earrings pattern.

Yes, that’s right, you can make earrings with your Brother sewing machine. They’re a great way to practice your embroidery skills. Anthony Auld shows you how to get fashion on your ears using your Brother in this free Embroidered Earrings pattern. Make sure to share pictures of your amazing earring creations.

Whether you’re looking to practice your sewing skills or learn some new ones, these fabulous Project Runway Free sewing patterns for Brother are a great place to start. They’ll add some class and style to your wardrobe, too – you’ll feel like you just stepped off the runway!

Everyone needs an Arm Sometimes

Everyone needs an Arm Sometimes

I rarely use a free arm on a sewing machine, mainly because I sew most often on my industrial Juki straight stitch machine and it doesn’t have one. I sew sleeve and pant cuffs by either leaving the garment right side out and sewing with the wrong side to the top or vice versa (garment wrong side out and sewing with the right side to the top).

I sew most often on my industrial Juki straight stitch machine and it doesn’t have a free arm.

I sew most often on my industrial Juki straight stitch machine and it doesn’t have a free arm.

Most things are easily sewn this way. You basically put the needle and presser foot inside the pant leg or sleeve.

Something up my sleeve

This past week though, I needed to attach a nine and half inch sleeve extension to the top of a cuff – making a sweater look as if there was another layer underneath when in actuality there was only an extra sleeve poking out from the bottom.

I marked and pinned, tried going in from one way, then another but couldn’t get the needle to the right sewing position. The sleeve extension was too long and the existing cuff on the sweater I was attaching it too, far too bulky and heavy.

My little light weight Brother SC9500 was no help either as it doesn’t have a really skinny free arm.

My little light weight Brother SC9500 was no help either as it doesn’t have a really skinny free arm.

My little light weight Brother SC9500 was no help either as it doesn’t have a really skinny free arm.

A sewing machine free arm is the narrow platform you’re usually left with if you remove the flat bed attachment on a domestic machine.

It’s a Bernina Record 830 which is, along with the Bernina 930, one of the best domestic ‘portable’ machines ever made.

It’s a Bernina Record 830 which is, along with the Bernina 930, one of the best domestic ‘portable’ machines ever made.

After some struggling (and cursing), I remembered that my good old trusty heavy metal Bernina was under the cutting table. It’s a Bernina Record 830 which is, along with the Bernina 930, one of the best domestic ‘portable’ machines ever made.

Standing the test of time

The 830 was made in the 1970s and the 930 in the 1980s. Both machines are mechanical (no electronic ‘smart’ stitch settings) and will sew through pretty much anything. They’re also faster than most modern domestic machines. And the 830 has a nice skinny free arm.

The one thing it doesn’t have is extra ‘give’ in the presser foot – which allows you to get really big bulky things under it. In order to get my sweater cuff and extra sleeve under the foot I needed to exert a good amount of what my father always referred to as ‘elbow grease’.

But once under there, the old 830 happily sewed over all the lumpy bulk. Crisis averted.

Bernina reliability

Bernina is still making some great machines, many of them are electronic now.

But, if you ever see an 830 or a 930 at a garage sale, snatch it up. They make excellent all around machines and seem to be virtually indestructible. Mine has taken a dive off the tailgate of a wardrobe truck and it still works great (though I don’t necessarily recommend testing that theory).

My experience with the troublesome sweater reminded me that there is always a solution to a seemingly impossible task. Sometimes that solution only becomes clear after you’ve pretty much given up. I did indeed say out loud (to no one in particular as I’m pretty much always sewing alone in my little sunny corner) “I can’t get in there. I just can’t get in there.” Then, low and behold, I spotted the red plastic case that houses my Bernina and I knew everything was going to be ok.

This also reminds me of something I was told when I first started cycling up steep, long mountains. “Every climb has a gear. You just need to find it.” I wasn’t thoroughly convinced at first but, if history is to be believed, that is absolutely the case. I have yet to find a mountain I couldn’t climb.

There’s always a way. You just have to find it.

The Traveling Tailor

The Traveling Tailor

Sewing machines and supplies aren’t exactly the most portable things. Sometimes, when I’m not working fulltime on a show, I’ll get a one or two day job that requires me to schlep a machine and supplies to a work space. These are my least favorite kind of jobs – for no other reason than I have to transport my machine and a small kit of sewing supplies somewhere.

I live in New York City. I haven’t owned a car in over ten years.

What’s the big deal, you may ask, just throw it all in your car and go. Well, that’s the thing: I live in New York City. I haven’t owned a car in over ten years. The last time I drove was about two years ago. And I’m not a huge fan of Uber or even good old-fashioned yellow cabs. Cars are just not the most efficient way to get around the city. So, I’m usually dragging a sewing machine up and down the subway stairs to get to where I need to go.

On the go

I know I’ve recommended these machines before, but Brother makes some incredibly good and lightweight machines. I have two SC9500s. They are so lightweight that I carry them in a tote bag on my shoulder. I then use a backpack to carry my supplies: scissors, threads, rulers, chalk, a small collection of notions.

Other Brother machines that are very light weight are the CS5055 and the ES2000.

I also bike a lot, which is always the most efficient way to get around the city, and have been known to strap a machine (in a box) to the rear rack on my bicycle.

When going to a job that is only one or two days, sometimes it’s hard to figure out what to bring, especially if you’re trying to not lug your entire shop down the length of Manhattan and across the bridge to Brooklyn.

Here’s a list of what I usually bring to a short one-day job:

  • 1 pair of tailor’s points or small scissors
  • 1 pair of medium sized shears
  • 1 pair of pinking shears (because I’m certainly not bringing a serger along to finish seams.)
  • 1 gallon sized Ziploc of thread. Must have colors include black, grey, white, tan, a greeny-brown, nude, and a yellow-orange for topstitching on jeans.
  • 12” see through 2” wide ruler
  • 1 soft tape measure
  • Tailor’s chalk, red marking pencil, pencil, black disappearing ink pen
  • Seam ripper
  • Metal hem gauge ruler
  • Small container of straight pins
  • Extra bobbins for machine
  • Small collection of hand and machine needles (I always bring some leather needles and double needles, just in case.)
  • 1 gallon sized Ziploc of bias tape (black and white), elastics, twill tape, and hem tape.
  • Small containers of snaps and hook & eyes.
  • Muslin pressing cloth
  • Small collection of nude spandex and netting scraps and interfacings

Lighting is key

Sometimes it’s nice to bring along a small light of some kind. I often find myself sewing in inadequately lighted spaces. I tend not to bring a lamp because, well, the subway. I always make sure the light in the machine is working. And the flashlight on an iphone can be extremely helpful in especially dark circumstances.

Gear up

I’m not very high tech with my carrying cases but there are lots of really lovely ones out there if you’re not into backpacks and tote bags.

https://www.sewingmachinesplus.com/sewing-accessories-cases.php

The key is to keep everything super organized. And don’t worry about not having all the thread. Unless you’re topstitching, most things can be sewn with black, white, or tan. I know some tailors that only use those colors of thread. It really is ok if your thread doesn’t match exactly. And sometimes you just have to use what you have, especially if you are a traveling tailor.

We Can Be Heroes

We Can Be Heroes

Growing up, my Mom had one of those metal Singer sewing machines that lived in a cabinet, the kind that folded in on itself where the machine dropped down underneath so that when not in use, the whole shebang was just an unassuming small wooden table.

That’s the machine I learned how to sew on, downstairs in the basement laundry room of my parent’s ranch style house in rural Ohio. Shoved against a wall right next to the furnace closet that, somehow, also contained the laundry shoot, there was barely room for the machine table. When you unfolded the top, it blocked the doorway. Clothes lines stretched across the ceiling of the room and the air space above the sewing machine was most often occupied by my father’s button down dress shirts either waiting to be ironed or just fresh off the board. I would bend over the machine with only its tiny little internal light to see by, trying to keep my stitches straight while the sleeves of my father’s shirts brushed against the top of my head.

Oldie but a goodie

It’s a wonder I ever completed a garment. But somehow I did. I constructed quite a few. Sometimes, I think that those early years of sewing with inadequate lighting next to a furnace room in the basement among men’s dress shirts perfectly prepared me for a career as a film and television tailor. If you can sew on a tiny table wedged into a rack of clothes on the back of a wardrobe truck and still create a well fitting and properly constructed garment while six different people ask you how long its going to take, you are well suited to be a film tailor. Cut out a perfect circle skirt with no pattern in five minutes or less on the tailgate of the same truck, and you will likely be a hero – at least for that day.

Tradition

Growing up, my Mom had one of those metal Singer sewing machines that lived in a cabinet, the kind that folded in on itself where the machine dropped down underneath so that when not in use, the whole shebang was just an unassuming small wooden table.My maternal Grandmother, my Nana, also sewed a lot. She had a whole room allotted for sewing, though it also held a bed and dresser. She sewed in the narrow space between the bed and the wall, only able to push her chair out so far. There are quite a few pictures of her at the machine. She made dresses for my Mom when she was a girl and later, jumpers and pants for me. She had a Singer 401 – the tan and cream model, the kind with the decorative stitch black cams that you insert into the top. The cabinet is long gone, but I still have the machine.

At that time in history, when I was young and my mom was young, the 1940s through the 1970s, sewing machines were common in most households. A lot of those machines were lodged into corners and narrow pathways. People laid their patterns out on wood floors, or the dining room table, or even the bed. Prom dresses and bridal gowns and Sunday bests were created in small, dimly lit spaces across the world by women and girls and boys (yes even boys), all of them heroes.

What about you?

Do you have a young person in your life who has discovered the joy of creation and sewing? If so, perhaps this might be the year to get them their very own machine – if you haven’t yet.

I’ve written before about the wonderful lightweight affordable machines Brother makes like the CS-5055 and the PC-210.

Either of these machines would make an excellent gift for that young dressmaker and tailor in your life. They are the perfect size to jockey into an unused corner with no light and launch the next generation of resilient, adaptable and creative sewers.

How Many Sewing Machines Do you Need?

How Many Sewing Machines Do you Need?

As a professional tailor and pattern maker in the film and television industry for about 25 years, I’m always on the lookout for a something that can make my job easier and more efficient.

As a professional tailor and pattern maker in the film and television industry for about 25 years, I’m always on the lookout for a something that can make my job easier and more efficient.

A subjective question, perhaps. In the cycling world, of which I am part, the number of bicycles is defined as x + 1 where x = the number of bikes you currently own. I suppose the same formula could be applied to sewing machine ownership. I’m continually fascinated by the scope and design of new machines and confess that, if I could, I would adopt one of virtually every machine I see.

As a professional tailor and pattern maker in the film and television industry for about 25 years, I’m always on the lookout for a something that can make my job easier and more efficient. I, as I suspect most tailors do, have a small collection of machines that I consider my “go-to’s”, that I can’t imagine doing my job without.

1. Juki High Speed Single Needle Straight Lockstitch Industrial Sewing Machine

I have an old model of this machine, the DDL-555-4. The beauty of this machine is that it only does one thing: sew in a straight line. And it does it exceptionally well. Even my old model is smoother and more sensitive than many domestic machines. Five layers of denim or a single layer of chiffon emerge from the presser foot with no complaint and straight, even, stitches. I rarely even have to adjust the tension. And the Juki is fast. The newer models have a speed adjustment on the motors so if you want to start out a little slower you can.


Check out the current models, the DDL-8700 and the DDL-5550N and go test drive one if you can. I think you’ll be able to tell right away that it’s a machine that will quickly pay for itself.

2. Brother lightweight Portable Machine

My SC9500, which is similar to the CS-5055, is the most incredible inexpensive machine I’ve come across in my twenty some years of sewing. Not only is it lightweight enough to put in a tote bag and carry on your shoulder but it also sews like a champ. I use it most often for its pre programmed buttonholes and stretch stitching. In my experience, a lot of domestic machines produce less than ideal buttonholes. The Brother never falters: each buttonhole is perfect and akin in quality to those in manufactured clothing (where they use a machine that does nothing but buttonholes).

3. Bernina

Everyone I know in the film business owns at least one Bernina.


Everyone I know in the film business owns at least one Bernina. For many, their Bernina is their prime machine, the one they use most often. I’ve yet to find a model, or hear of one, that doesn’t work well. I have an old mechanical model, which is still made in the form of a 1008. The advantages of a mechanical sewing machine lie in its durability and ease of use. I keep my old school Bernina mechanical on the wardrobe truck of whatever show I’m currently working on. I’ve had the same one for twenty years and its never ever failed me – despite years of being knocked around and asked to do impossible things like sewing through three layers of glued leather in an inordinate short amount of time.

4. Reliable Blind Hem Machine

A good blind hemmer that doesn’t snag or pull and is easily adjusted for varying fabric weights is essential to my tailoring work. The Reliable is just that, reliable. The setup is easy and the machine, though technically not a portable, does pack up nicely and can be transported to a work site.

5. Serger

There are so very many sergers to choose from. The first question to answer when choosing which one to buy is: what you will mainly be using the machine for? Do you need something to efficiently finish seams? Or will you be sewing entire garments with it? Do you want a machine that also does a cover stitch?

The automatic rolled hem feature is game changing.

My favorite is the Juki Garnet Line MO-623 1 needle 2/3 thread Serger. The machine is dependable, smooth, easy to thread, and fast. The automatic rolled hem feature is game changing. As opposed to many machines where you need to change the presser foot, with the Juki, you manipulate the fabric with built in fingertip control.

Learning Re-Learning

Learning & Re-Learning

Generally speaking, I can be more of a hand-sewer than a machine-sewer. Getting frustrated with a machine, to me, isn’t the most difficult task, so stepping back from one can be a fairly easy decision. What I’ve found in stepping away is that I actually like hand-sewing. Sure, the process might take longer, but there’s something relaxing about going one stitch at a time with my own hands.

And, believe it or not, I might actually be more likely to sew a straight-ish line by hand than I am with a machine! Weird? Maybe!

But stepping away from the machine has led to me trying to re-acquaint myself with my sewing machine, and what I found is that the time away caused me to potentially forget things—maybe keep me from fully learning all things—about my machine. Had I had (or kept) those things in mind, I suspect my sewing-machine-experiences might’ve gone a bit better—and a bit quicker.

Brother LX2500

Brother LX2500

Now, don’t get me wrong! I’ve completed projects on my sewing machine. But I was potentially setting myself up for frustration by not really understanding or memorizing the details of this machine (Brother LX2500):

Imagine how far I could be with machine-sewing if I would’ve taken the time to learn more details and commit them to memory! So, for today, I’m going to give you that bit of information: Get to know your sewing machine! Even something as simple as realizing the thread-holder lifts higher could prevent grief, since you might not have as much issue with the thread falling off while you’re sewing or threading your bobbin. And, yes! That happened to me!

For me, figuring out the need-to-know details and letting the rest go might’ve been tempting. Do yourself a favor, and don’t keep that thought process. There might be aspects of your machine that make for easier sewing, or that advance your capabilities in a way that a basic “Hey! I can thread the needle and bobbin!” don’t quite cover. Possible examples: Apparently, I have a reverse button on my machine I maybe never knew about, and a way to alter the tension. Who knew?! And if you don’t get to know your machine, by the way, don’t be surprised if you come out with stitches that look like these:

If you buy your sewing machine brand new, check out any instruction manual that comes with it. The reading might seem tedious, but that tedious task could be worth it when you don’t hate your sewing machine, like, twelve times per use (Am I exaggerating??? You decide!). If you buy yours used, don’t have a manual, or lose the manual, try looking online. I think I threw mine away (don’t do that!), but luckily there are videos available on Youtube that show the basics of running my model. I can’t encourage you enough to look into such information to learn what you can about your sewing machine! Doing so could extend your possibilities and preserve your nerves!

Your sewing machine is only as good as your ability to use it, so don’t hold yourself back by not learning about it properly.

And even if you did know all there is to know about your machine, forgetting details after a limited amount of use isn’t out of the realm of possibility. Think about all the math classes you had over the years. Even though you might’ve had formulas in your head for a time—like, for an exam—how many do you still remember? After a while, your sewing machine’s details might be so burrowed into your thought process that you can be away for a time and remember them, but don’t be too embarrassed to rediscover those details if you can’t bring them to mind. Something like which way your bobbin’s thread goes could be so small that you don’t remember it, but not knowing could complicate your sewing.

So that’s lesson number two, one I had to learn when I came back to my sewing machine after time away: Don’t be afraid to admit you don’t remember, or be too proud to look into how to do these things again. Your sewing machine is only as good as your ability to use it, so don’t hold yourself back by not learning about it properly—even if it isn’t the first time you’re learning about it! Don’t stop until you know what every button, knob, or contraption does!

How Many Sewing Machines Do you Need?

How Many Sewing Machines Do you Need?

A subjective question, perhaps. In the cycling world, of which I am part, the number of bicycles is defined as x + 1 where x = the number of bikes you currently own. I suppose the same formula could be applied to sewing machine ownership. I’m continually fascinated by the scope and design of new machines and confess that, if I could, I would adopt one of virtually every machine I see.
Everyone I know in the film business owns at least one Bernina. For many, their Bernina is their prime machine, the one they use most often.

As a professional tailor and pattern maker in the film and television industry for about 25 years, I’m always on the lookout for a something that can make my job easier and more efficient. I, as I suspect most tailors do, have a small collection of machines that I consider my ‘go-to’s’, that I can’t imagine doing my job without.

1. Juki High Speed Single Needle Straight Lockstitch Industrial Sewing Machine

I have an old model of this machine, the DDL-555-4. The beauty of this machine is that it only does one thing: sew in a straight line. And it does it exceptionally well. Even my old model is smoother and more sensitive than many domestic machines. Five layers of denim or a single layer of chiffon emerge from the presser foot with no complaint and straight, even, stitches. I rarely even have to adjust the tension. And the Juki is fast. The newer models have a speed adjustment on the motors so if you want to start out a little slower you can.

Check out the current models, the DDL 8700 and the DDL 5550 N and go test drive one if you can. I think you’ll be able to tell right away that it’s a machine that will quickly pay for itself.

2. Brother lightweight Portable Machine

My SC 9500, which is similar to the CS-5055, is the most incredible inexpensive machine I’ve come across in my twenty some years of sewing. Not only is it lightweight enough to put in a tote bag and carry on your shoulder but it also sews like a champ. I use it most often for its pre programmed buttonholes and stretch stitching. In my experience, a lot of domestic machines produce less than ideal buttonholes. The Brother never falters: each buttonhole is perfect and akin in quality to those in manufactured clothing (where they use a machine that does nothing but buttonholes).

3. Bernina

Everyone I know in the film business owns at least one Bernina. For many, their Bernina is their prime machine, the one they use most often. I’ve yet to find a model, or hear of one, that doesn’t work well. I have an old mechanical model, which is still made in the form of a 1008. The advantages of a mechanical sewing machine lie in its durability and ease of use. I keep my old school Bernina mechanical on the wardrobe truck of whatever show I’m currently working on. I’ve had the same one for twenty years and its never ever failed me – despite years of being knocked around and asked to do impossible things like sewing through three layers of glued leather in an inordinate short amount of time.

4. Reliable Blind Hem Machine

A good blind hemmer that doesn’t snag or pull and is easily adjusted for varying fabric weights is essential to my tailoring work. The Reliable is just that, reliable. The setup is easy and the machine, though technically not a portable, does pack up nicely and can be transported to a work site.

5. Serger

There are so very many sergers to choose from. The first question to answer when choosing which one to buy is: what you will mainly be using the machine for? Do you need something to efficiently finish seams? Or will you be sewing entire garments with it? Do you want a machine that also does a cover stitch?

My favorite is the Juki Garnet Line MO-623 1 needle 2/3 thread Serger. The machine is dependable, smooth, easy to thread, and fast. The automatic rolled hem feature is game changing. As opposed to many machines where you need to change the presser foot, with the Juki, you manipulate the fabric with built in fingertip control.