Should Your Child Learn to Sew on a Machine or by Hand?

Should Your Child Learn to Sew on a Machine or by Hand?

Recently, more or less, my oldest niece has shown an interest in Chess, and it’s been a learning experience for me as well as I play games with her. Given how little I knew about Chess going in, honestly, I almost had to learn something along the way, but we’re both growing as players—which is fairly awesome. She’s come a long way from the girl who played with a toy phone in the kitchen floor, and now, she’s exploring more advanced hobbies.Sewing and Chess

Chess, as it happens, is just one of the latest. She’s also tried making stepping stones, baking, and sewing.

Once upon a time…

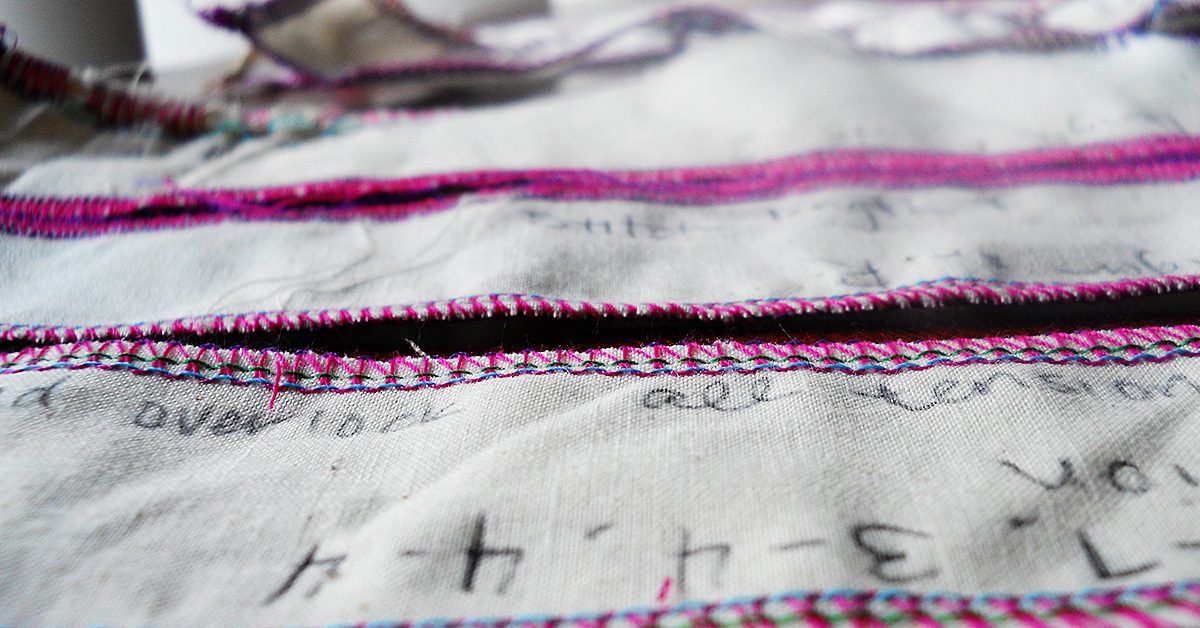
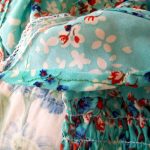
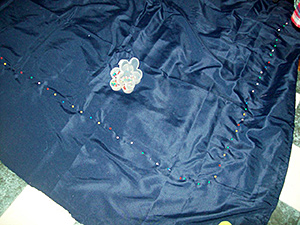
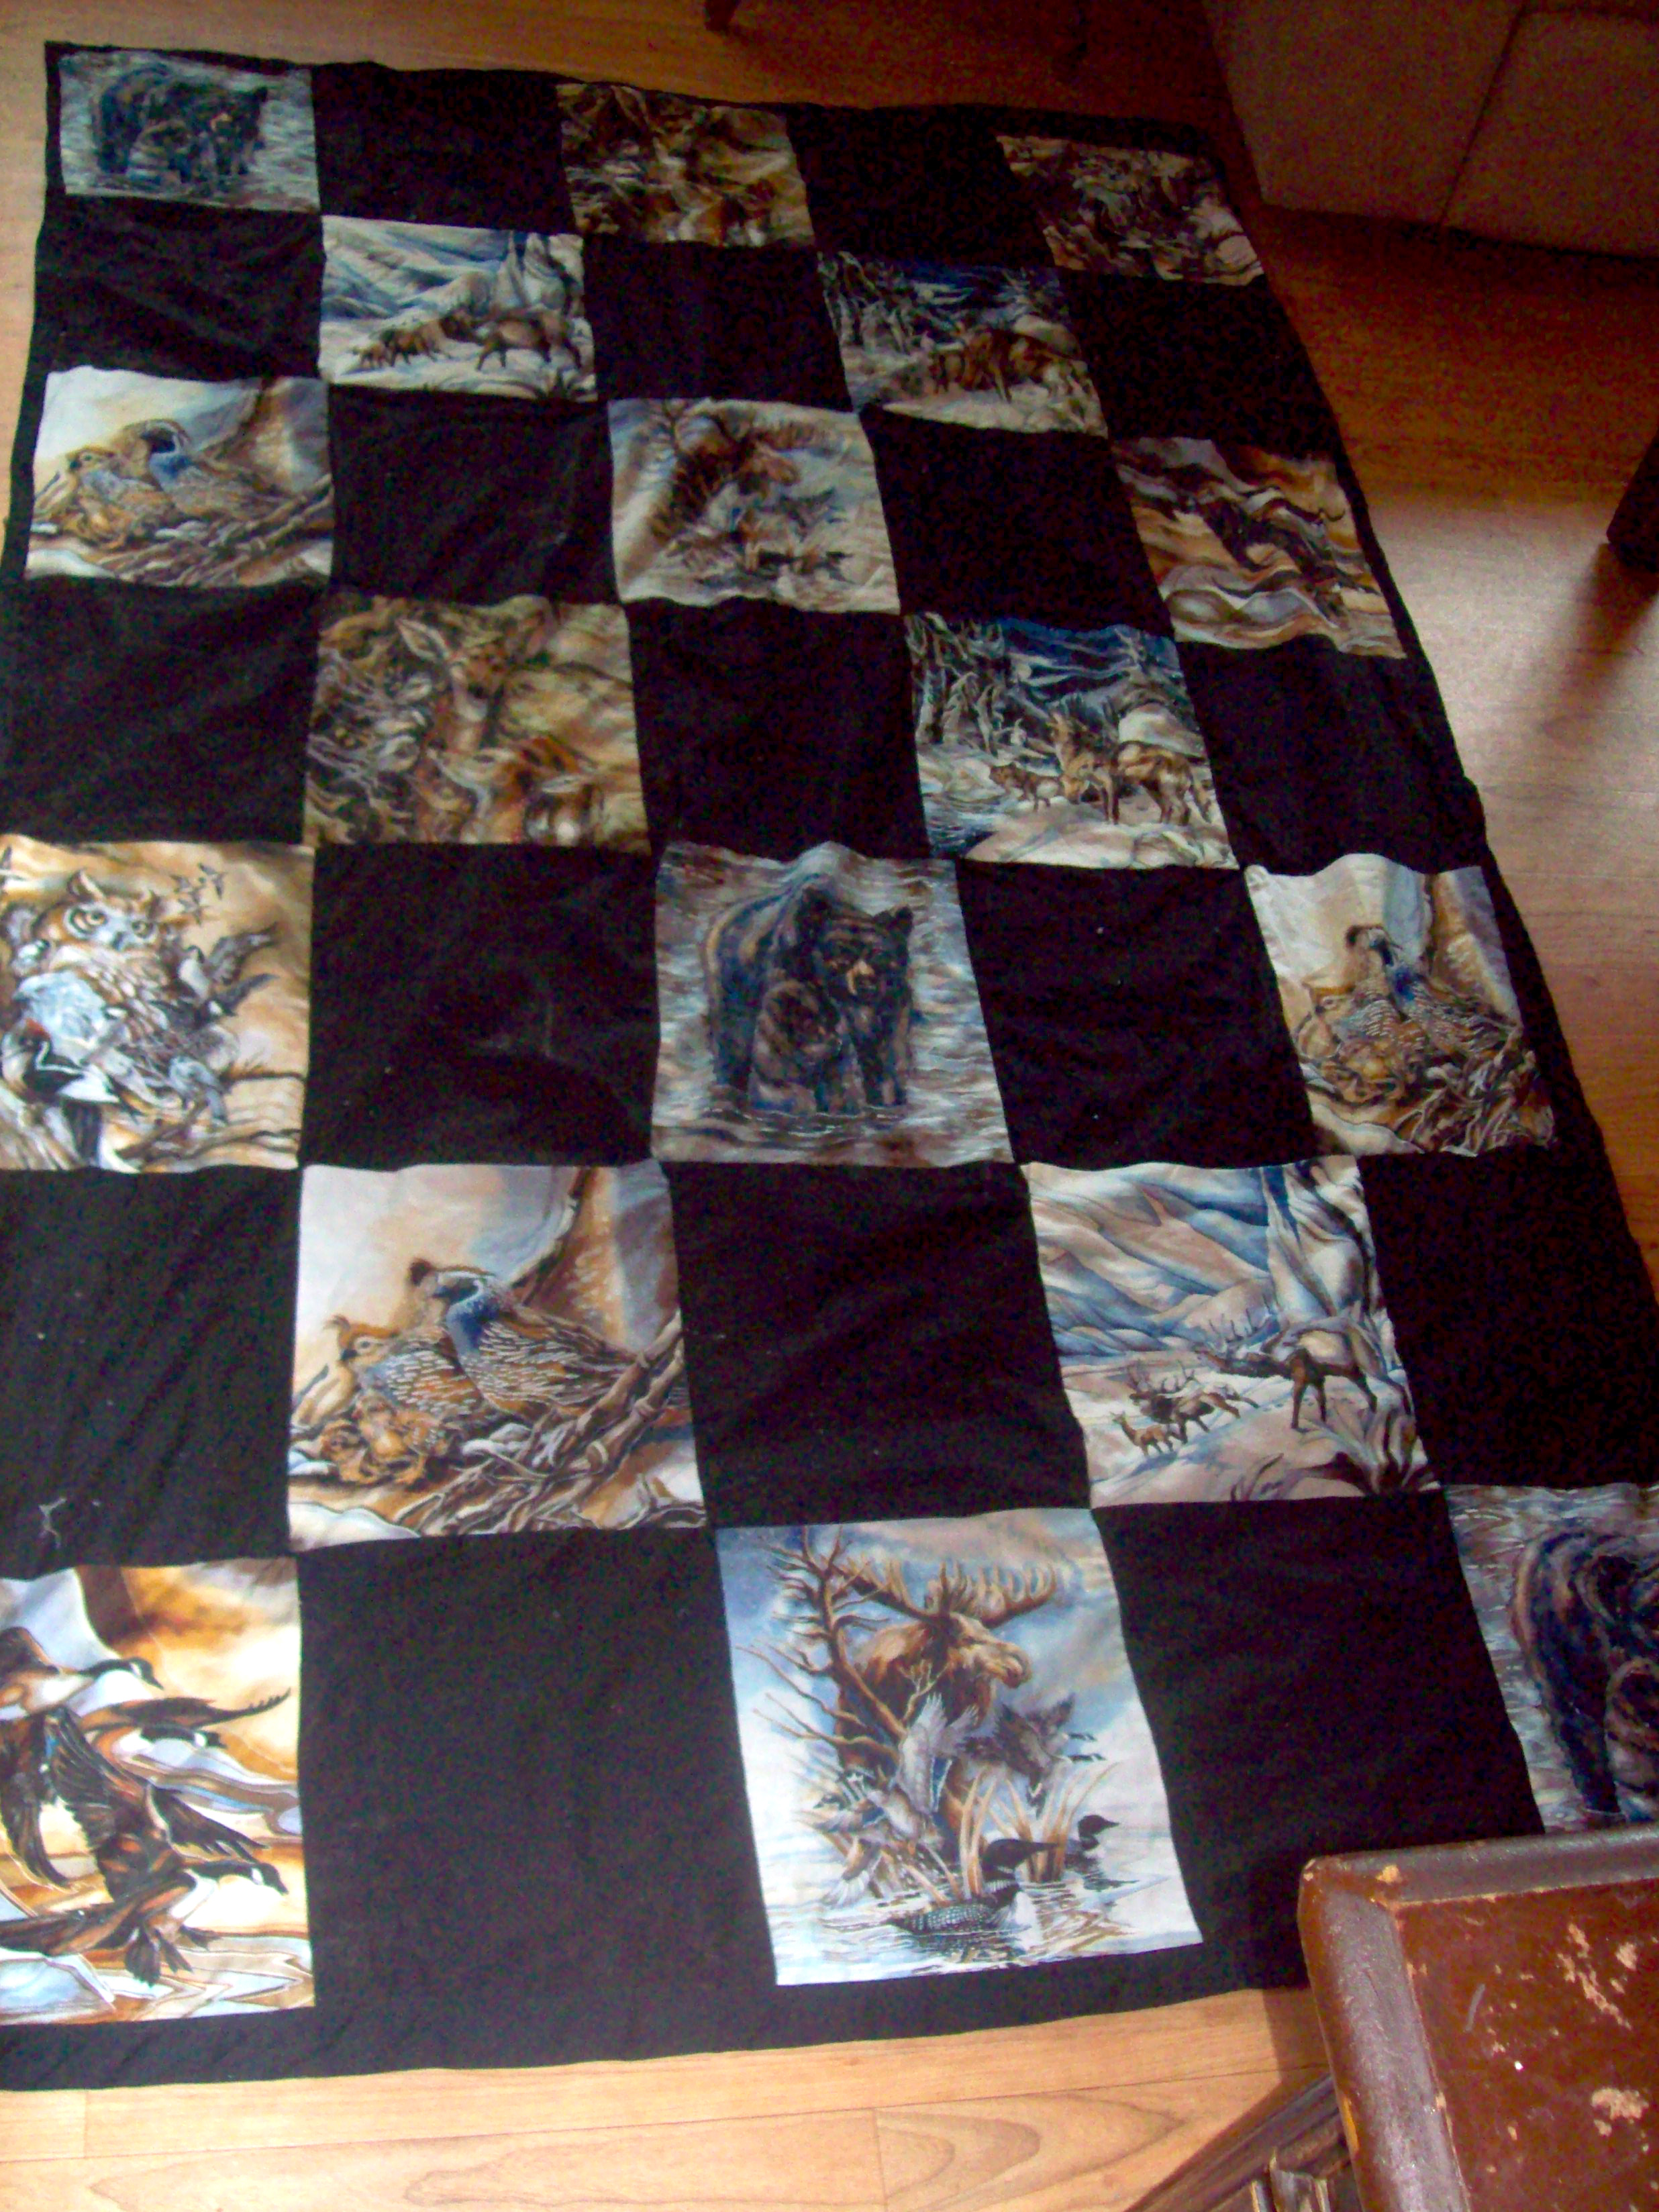
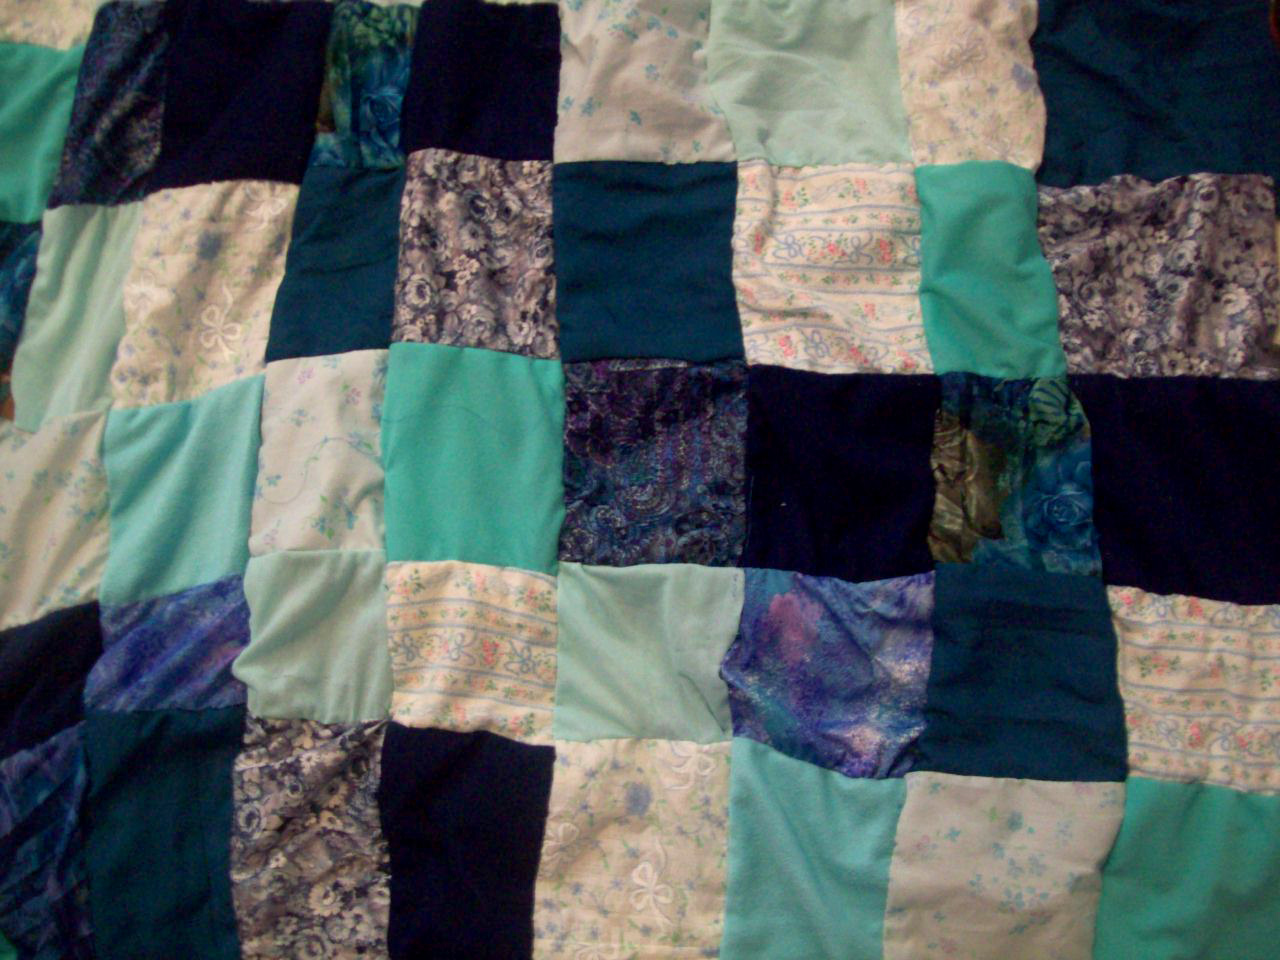
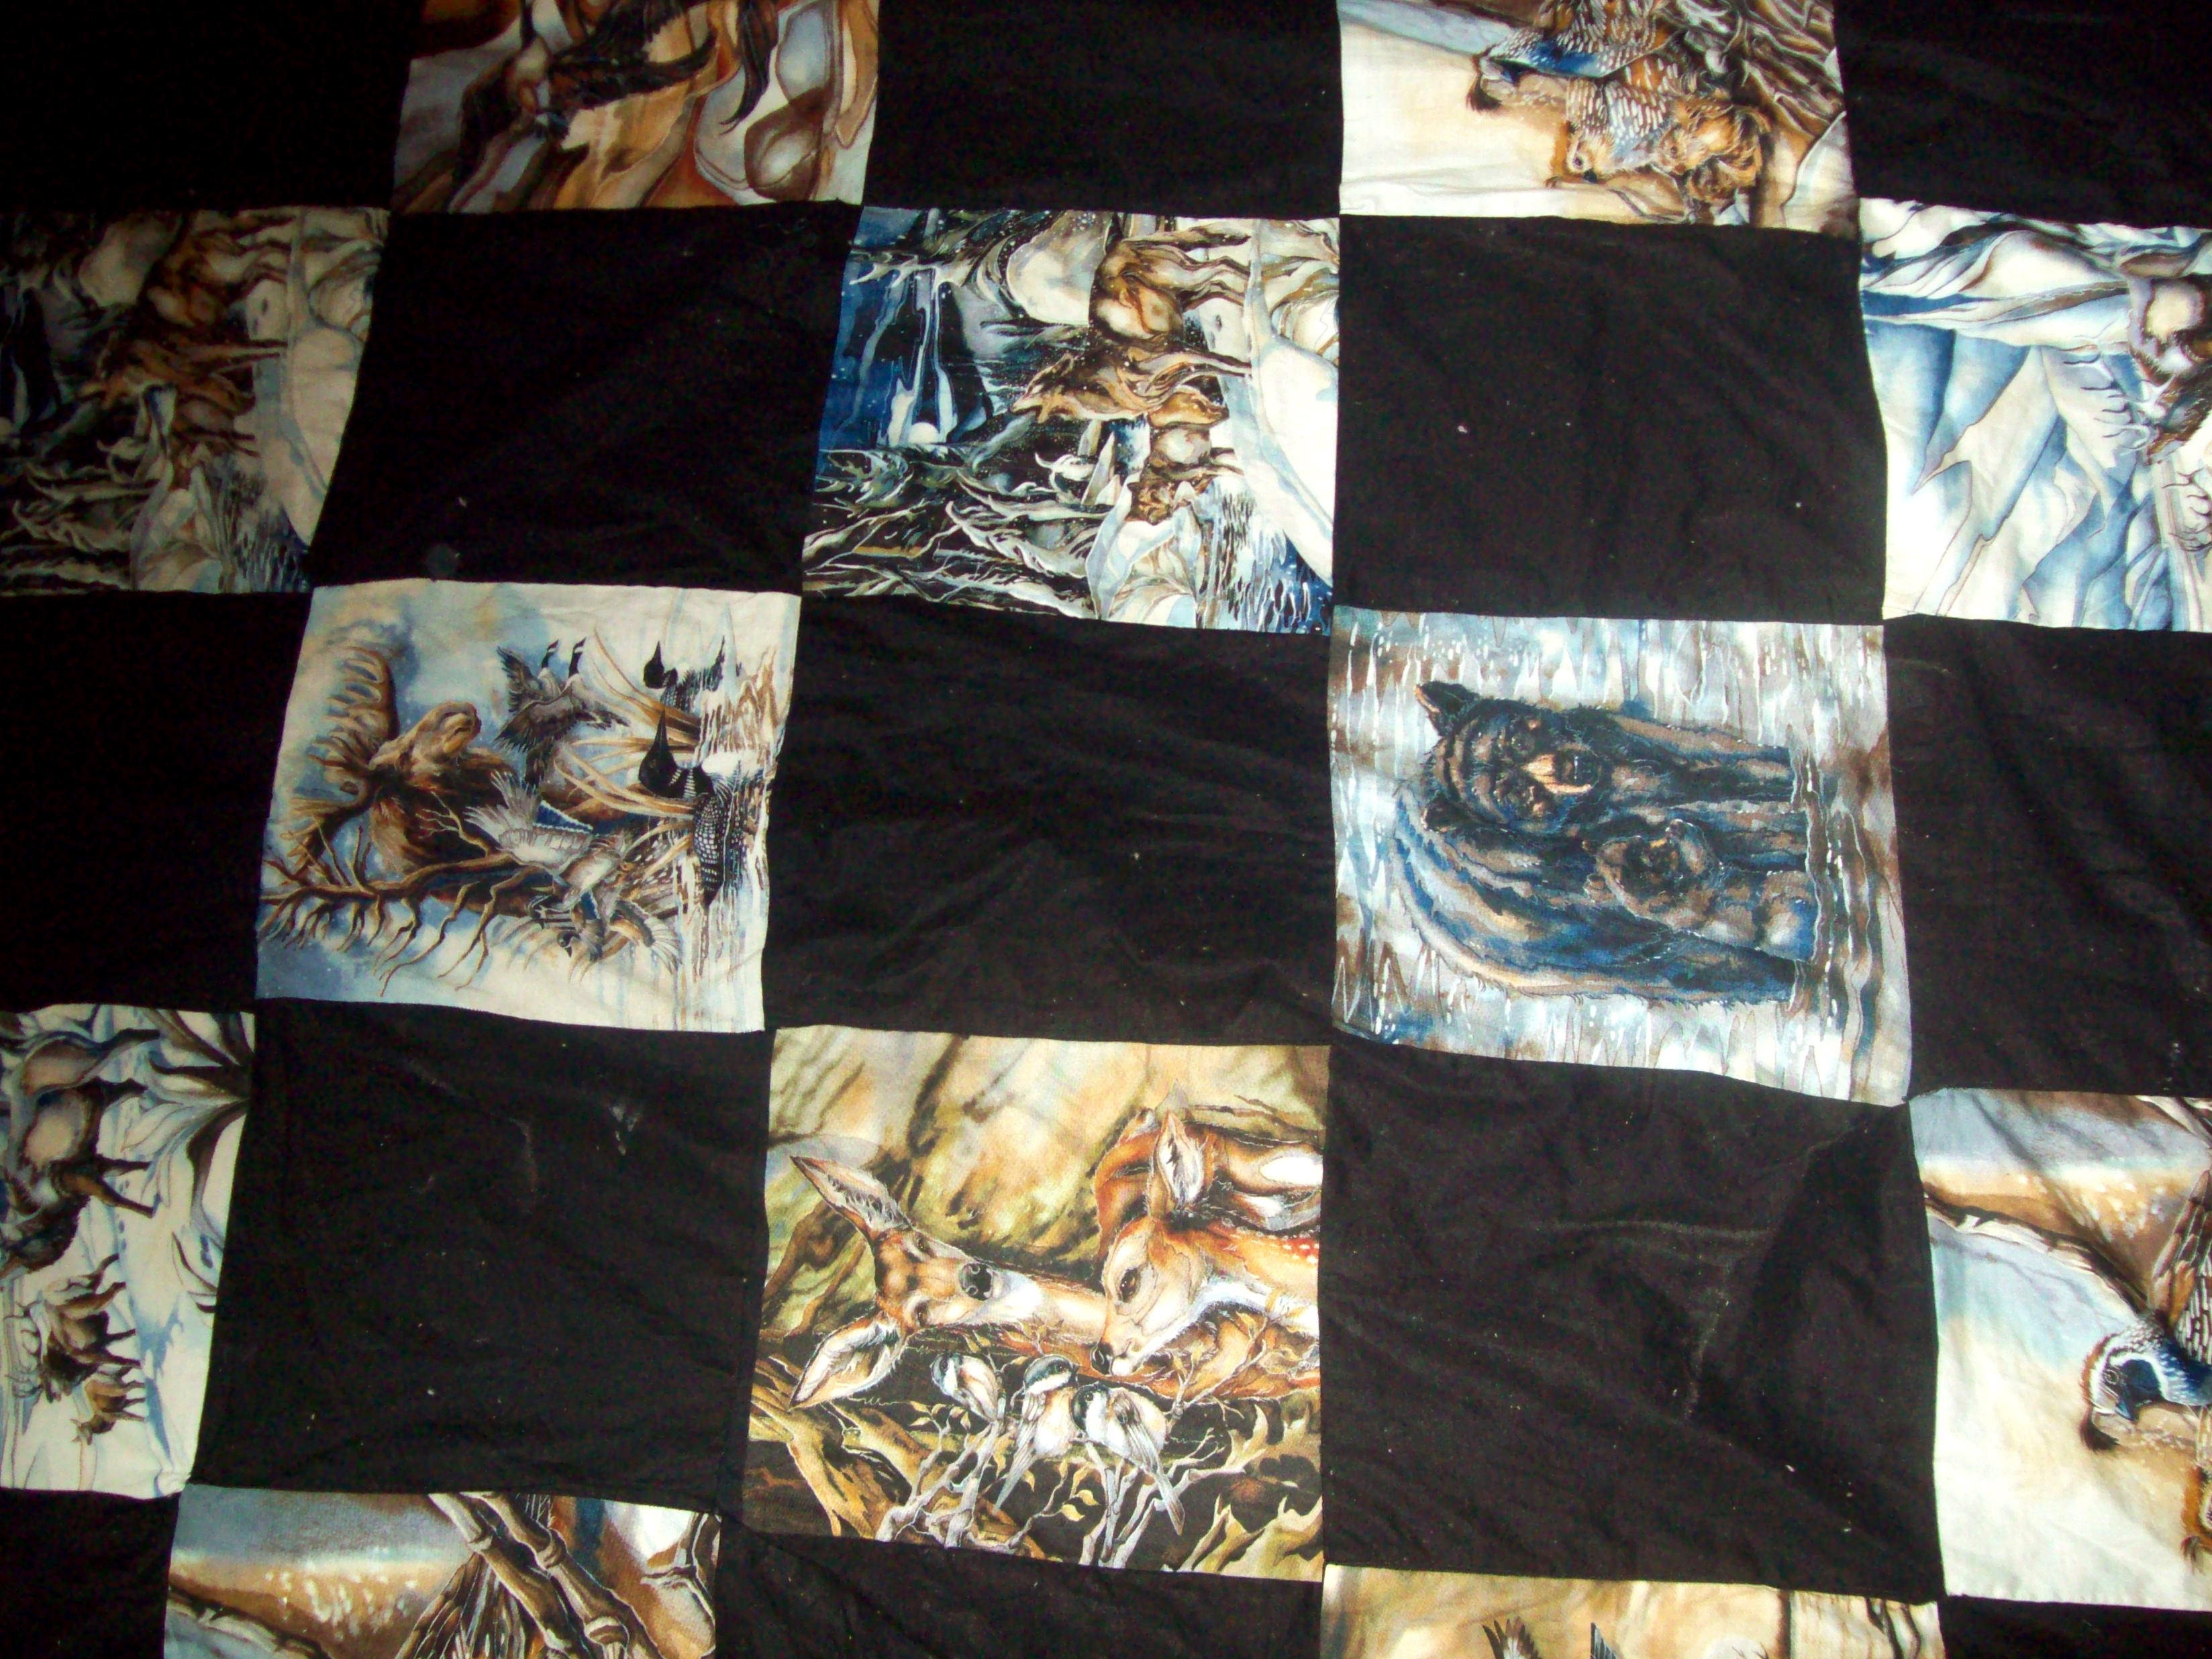
Sewing, like you might have guessed, is the topic of this particular post since once upon a time she found herself wanting to explore the territory as a hobby. That hobby was encouraged when she got a toy sewing machine, but what I assumed would be the case turned out to be accurate. Those toy machines aren’t good strategies to teach your children how to sew. Even with all of the hours that I’d spent sewing, I couldn’t get the toy to work right, and I ended up encouraging her to just forget the machine and sew by hand. That strategy actually led to her progressing a bit, and it turned out better than if I’d left her alone to the machine.

But that brings up an interesting question. Sure, this toy wasn’t a good machine for my niece to learn sewing, but what about a real machine? Essentially, which is the better strategy to teach your children to sew: on a machine or by hand?
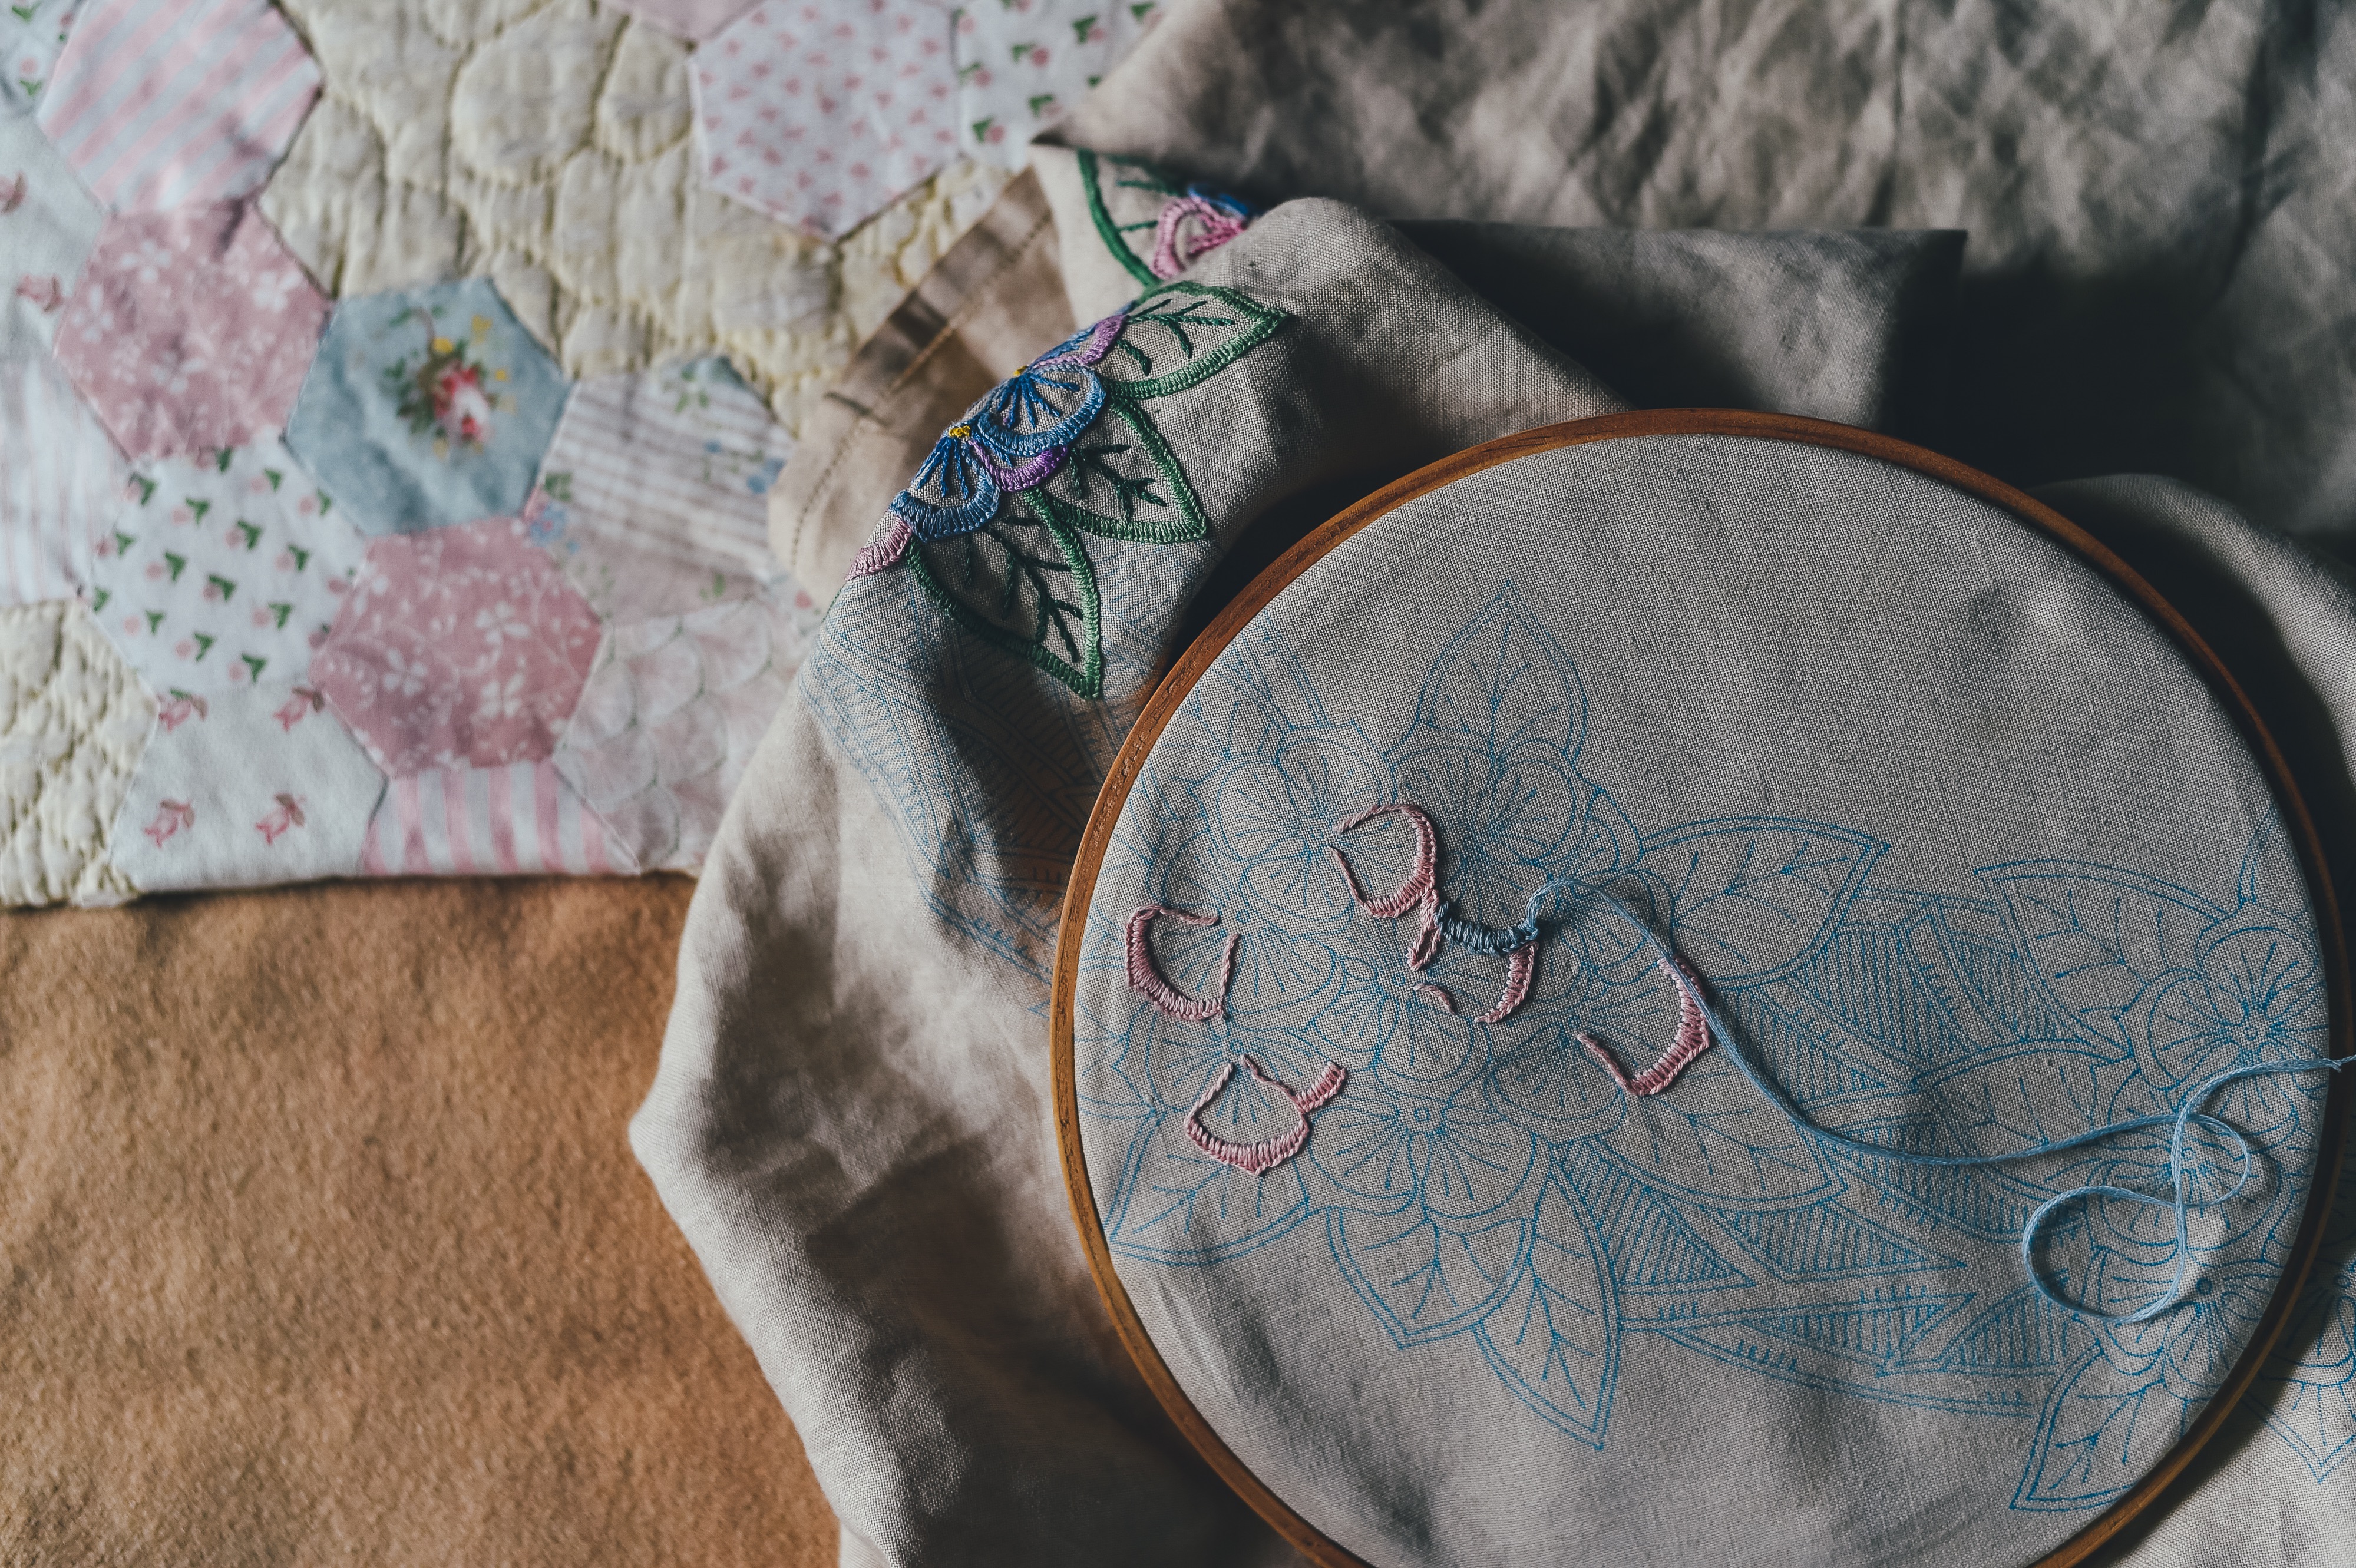
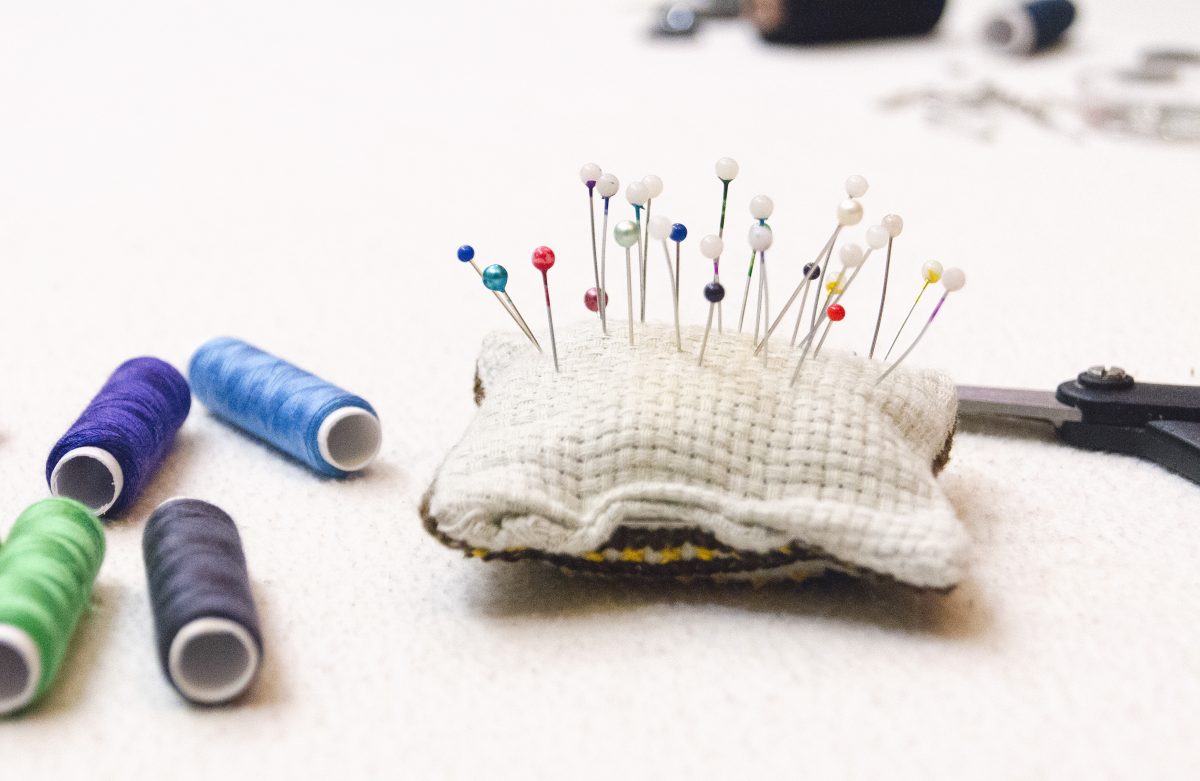
Sewing with Kids

By hand

The answer, to me, is two-fold. If you want your child to finish an early project on a more individual basis, the sewing by hand method works better because there’s less chance for injury while working alone. Sure, the child might stick themselves with a needle, but it won’t be with the force and repetition that a machine can deliver. This would make the overall process safer, and even though you might argue that it could slow the project’s completion, keep in mind that if you were dealing with a child on a machine, you probably wouldn’t get the full speed that’s possible through using the machine because of safety and the child’s hesitance during the learning process.Sewing by Hand

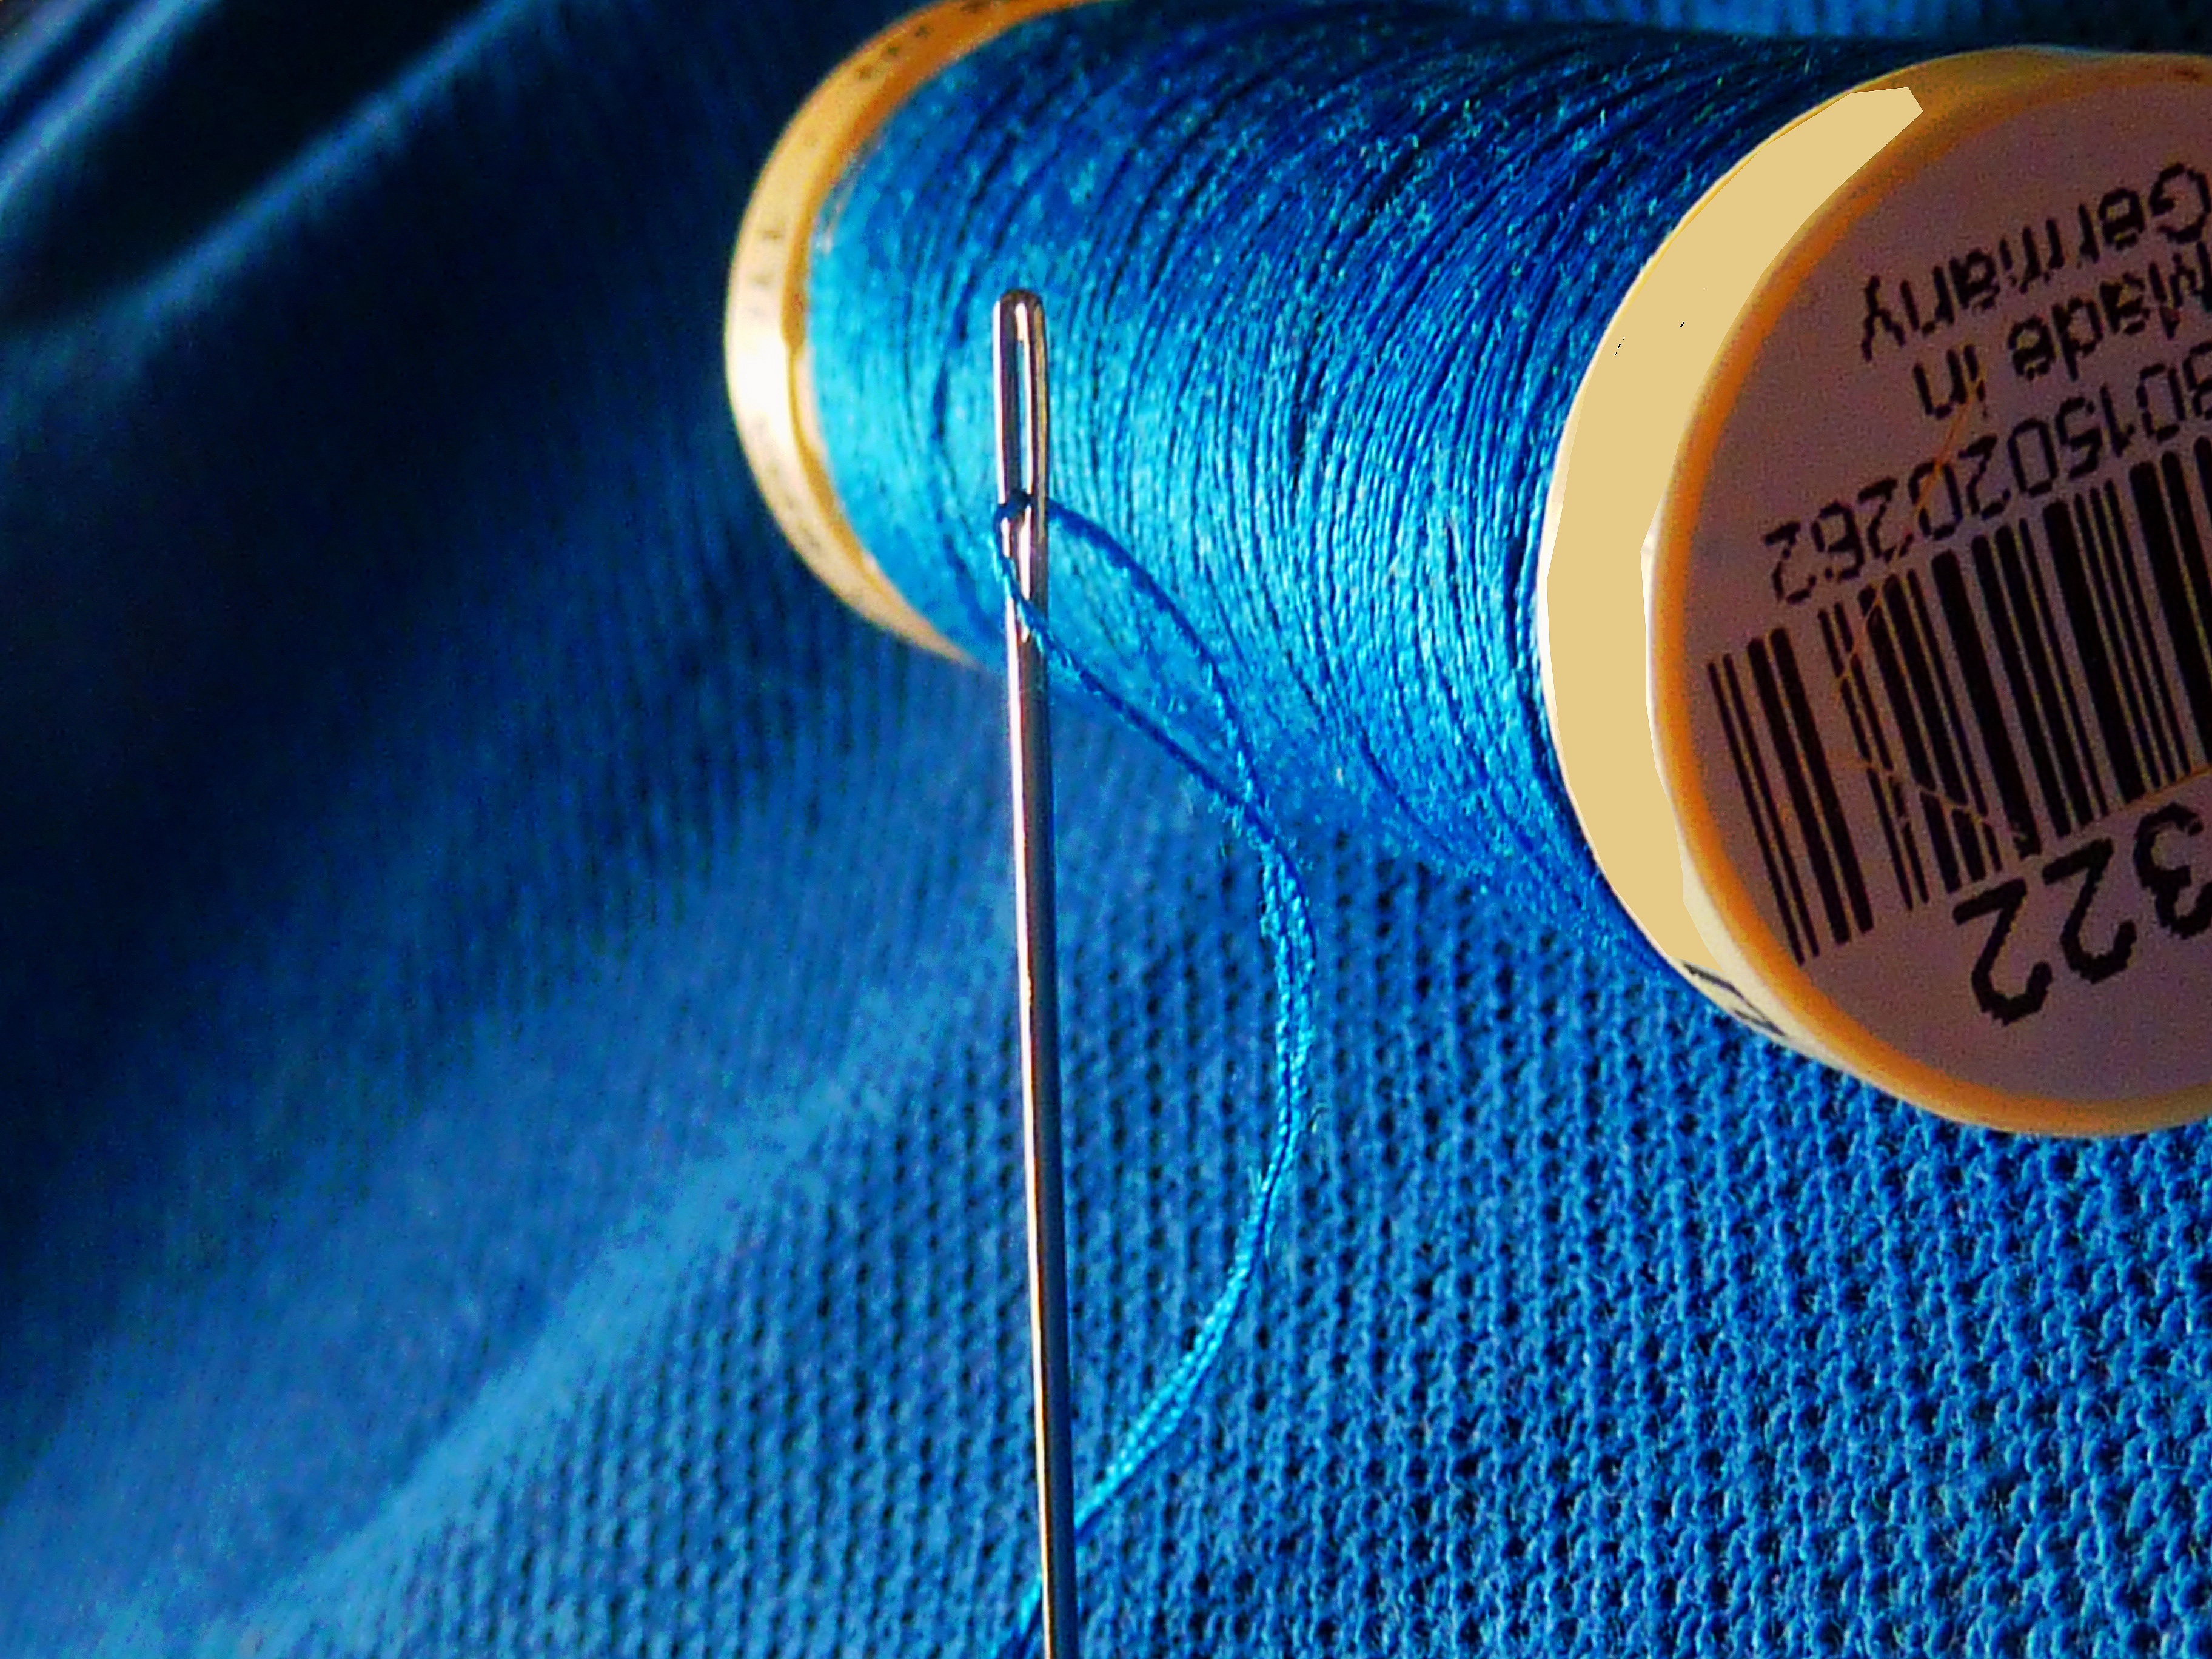
Children can learn concepts that can benefit them later in life through this by-hand process, like how to tie off the thread or make consistent stitch sizes, and they’re doing so with less chance of serious injury. Still though, keep in mind that any needle can cause injury, so always supervise and only allow the child to try sewing in this method if they’re old enough—and mature enough—to handle it.
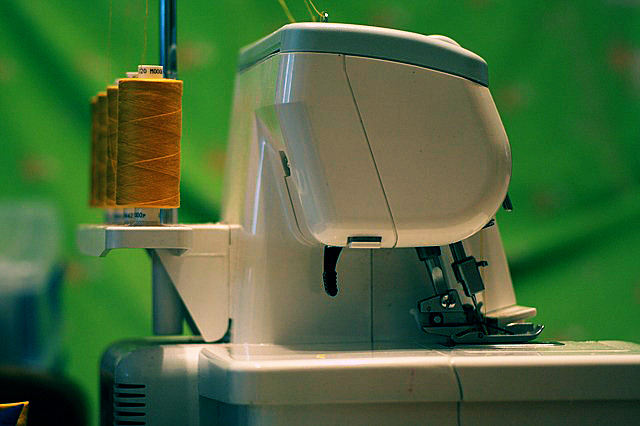
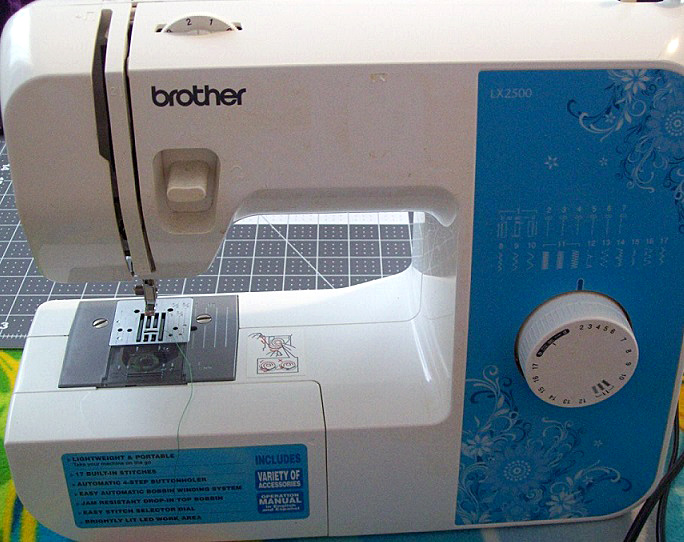
By machine

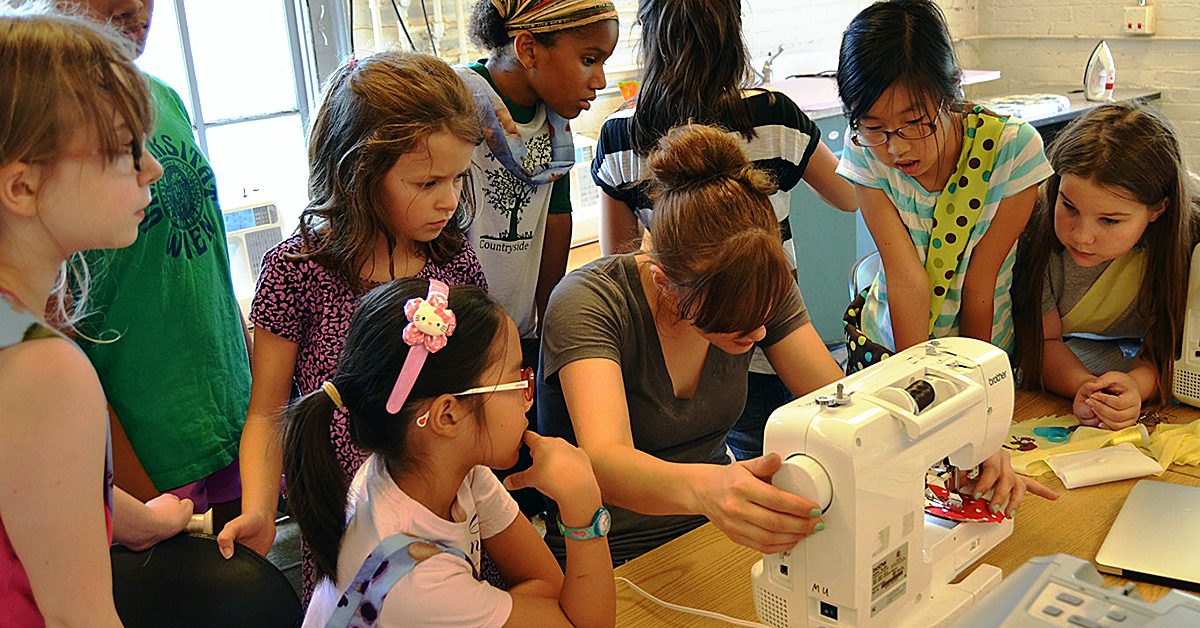
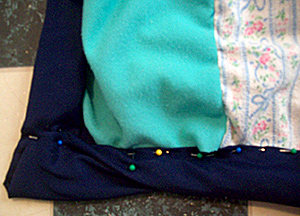
If you want your child to be at their safest rather than their most individual, it might be a good idea, believe it or not, to break out the sewing machine since the needle stays in the same vicinity during the process. Regardless, guidelines for these early sewing machine moments should definitely be in place to lessen the chance of serious injury. Although other people probably disagree, as an example, if my niece (who’s 12 now) sat down with full control of a machine and fed the fabric through, I’d be paranoid that she’d accidentally get her fingers caught under the needle because she’s never tried it.Sewing by Machine

There is a way to combat this complication, fortunately, and that’s a guideline to only allow your child to do certain things on the machine—as in either work the pedal or the feed the fabric through. This way, while your child is smaller, they can focus their attention on learning how the speed of the machine works through operating the pedal without getting near the needle. Once your child is older, you can switch places and let them feed the fabric through while you’re in charge of the pedal to make sure the fabric feeds slowly enough for their fingers to be in the right places every time the needles comes down. This keeps the child from learning to feed the fabric through at a too-fast pace and lessens the chance of injury. That’s a good combination to pass on sewing to your kids!Sewing Generations

If you choose not to decide – you still have made a choice

Basically, there’s room for both hand sewing and machine sewing. To make the call, you should consider child’s needs and capabilities, and always—always—think of safety first. Always supervise and guide your child through the process, whether it’s more individual-centered through a by-hand method or tag-team through dividing the sewing machine labor. If you plan these things right though, your child can blossom in the sewing world, and the roots to their success can trace back to these moments you shared over their early interests.

Master Your Serger with Tote-Making Class

Master Your Serger with Tote-Making Class

Sewing Machines Plus in San Marcos, CA has the perfect class to help you master your serger, use your fabric stash & walk away with a fabulous tote bag!

Sewing Machines Plus in San Marcos, CA has the perfect class to help you master your serger, use your fabric stash & walk away with a fabulous tote bag!

If you’ve been using your serger machine for a while now, you’ve probably mastered many of the basics. And if you’re like me, you’re completely in love with your serger! But you’ve probably also noticed there are a lot of features you’ve never used. Some of them you may not need, but wouldn’t it be cool to at least know a few of them? I think so too.

Sewing Machines Plus in San Marcos, CA has the perfect class to help you master your serger, use your fabric stash and walk away with a fabulous tote bag!

Serger Class Details

This class is 2-hours a day for three consecutive Wednesdays in May. May 17, 24 and 31 from 3:30 – 5:30. You’ll need to bring you serger including the power cord, foot pedal and cord. You’ll also need a variety of serger feet, including standard, cording, lace applicator, cover and chain, ruffler, elastic and clear. If you don’t have all of these serger feet, don’t worry, you can buy them at SMP before class.

Don’t forget the fabric! You’ll need at least 7 coordinating fat quarters or scraps and one yard of Soft and Stable.  To go along with the fabric, you’ll also need to bring thread, zipper, buttons, piping and cording. Full class supply list and registration instructions available here. It’s a fun, affordable way to learn the ins and outs of your serger, connect with other stitch aficionados and make an adorable tote bag project.

When your serger tote bag is done, it’ll be great for you or as a gift for a graduating student. Plus, you’ll have a much greater understanding of your serger machine and all its features and accessories.

Are there other classes you’d like to see offered? Let us know! We’ll do our best to accommodate and provide classes of interest.

Magic Makers and Dreamers of Dreams

Magic Makers and Dreamers of Dreams

As the tailor in the costume department on a major network television show, I often am asked to do minor sewing repairs/favors for people in other departments. I mostly don’t mind, especially if the person who is actually in need of the favor comes to ask me in person. It’s usually small things like sewing on a button or repairing a seam that has split open. If I’m not too busy and the repair will take five to ten minutes, I’ll often go ahead and do it while they wait.

If the favor-seeker is a woman, they inevitably say something like, “I always wanted to learn how to sew,” or “My mom tried to teach me but I was never interested,” or “I wish I knew how to sew.”

You’re never too old to learn

I always want to ask why they didn’t, or why don’t they now and then. Sometimes, if I think about it too much, I become a bit sad as, once again, I realize that sewing really kind of is a dying art. Along with shop and industrial arts classes, sewing certainly isn’t taught anymore in most school systems. Many people view ‘maker’ type skills as not as prestigious or “smart” as careers in finance or marketing. There’s quite a bit of research on the subject and, also, apparently a “Maker Movement”. It seems maybe people are starting to realize how important and necessary building and making skills are and how much the world really does still need true craftspeople.

I’m fascinated by anyone who has practiced and honed their skills to the point of being able to create something beautiful and functional with just their hands. When it comes to making things out of fabric or wood or metal or whatever, the true magic is in watching the thing emerge from beneath your fingers.

The importance of guidance

Jorge, who was the man who taught me how to drape, always used to say, “Just cut away all the parts that aren’t a 1930s dress,” (or whatever it was I was endeavoring to make). I suppose it’s true that not everyone has the ability to see a 1930s dress in a pile of fabric: that’s what makes some drapers and pattern makers artists. But if you do have that ability, or the ability to see a three-dimensional object and know what it would look like as a two-dimensional pattern than you owe to yourself to develop that gift. Because it’s a rare thing indeed. Or if you know a young person who has expressed interest in sewing and making things, teach them and encourage them.

Sewing and patternmaking are incredible skills to have and you can make a very lucrative career out of them. When I met Christy Rilling years ago, she was working out of her tiny East Village apartment. Now, she has a full studio and a roster of talented tailors working for her. And she tailors Michelle Obama’s clothing.

Use your hands and make something

I ride my bike everywhere in the city, over all sorts of potholes and debris.

I ride my bike everywhere in the city, over all sorts of potholes and debris.

I wish more young people were interested in pursuing careers in things like furniture building, masonry, tailoring, and clock & watch repair though I do think that our schools systems are partially to blame for the lack of “interest”. The world is always in need of beautiful & unique things and the individuals who can make them. By beauty, I mean anything that is lovingly & expertly crafted – from a simple wood chair to an intricate mechanical pocket watch, to a bias cut dress that hugs the body it was made for just right to a hand built bicycle wheel.

Have you ever watched someone build a bicycle wheel? It’s kind of amazing. I recently had one built for my bike. When the wheel was done and on my bike, I was struck suddenly by the immense importance of that wheel to be well built. I mean, I ride my bike everywhere in the city, over all sorts of potholes and debris and I trust, completely without thinking, that that wheel will do its intended job and not suddenly crumple under the pressure. That’s a big trust when you really think about it.

I will say here that I do have a locally owned bike shop https://www.bicycleroots.com I always go to and my friend, who owns the shop, is the only one I’d trust to build me a wheel. Which brings me to my next point.

The most valuable commodity: People

Relationships and trust are key when it comes to building a business around your skill, sewing or otherwise. When it comes to sewing and patternmaking, your goal is most always to make a person look their very best. If you do that, they will come to realize the value in having something made or altered just for them and they’ll come back and they’ll also send their friends.

So encourage some aspiring maker today if you can and tell them it’s an extremely wonderful thing if they think they might want to do this making thing for a living someday. Because there’s always room for more magic makers in this world.

Sewing for the Non-Sewer

Sewing for the Non-Sewer

Sewing seems like something that requires loads of skills and creativity. Often, that’s the case, but it doesn’t have to be. In fact, you can dip your toes in the sewing pool without even owning a sewing machine. You will need a needle and thread though, so add those to your shopping list!

Sewing for the Non-Sewer

Start Small

Making a shirt or skirt can be really overwhelming for someone who thinks they can’t sew. Instead of starting with something that big, do something smaller and less complicated with more instant gratification. For example, a fabric credit card holder or wallet. Simply choose a fabric remnant you like (ask the fabric store clerk to show you where those are) and purchase a spool of thread that coordinates with it. And don’t forget the needles!

Credit Card Holder or Wallet

At home, grab a credit card from your existing wallet. Unfold the fabric remnant and place it right side down on your work surface. A kitchen or dining room table works well. With a pencil or machine washable pen, trace the credit card then flip it so that the long side abuts where the trace mark now lies and trace it again. Using a ruler, draw a line around the full tracing to encompass the double size of the credit card about one inch from the trace line. This becomes the line you will cut on.

It may take a few tries to get this right.

If you’ve got fabric scissors, use those. If not, use the sharpest pair you’ve got in the house. Carefully cut around the outer line. Placing the right side of the fabric together, fold the fabric in half along the line where you abutted the two credit cards and iron it flat. This will help you hold and sew it evenly without needing pins.

Cut a length of thread you’re comfortable working with from the spool you purchased. To easily tie a knot on one end, lick your index finger and wrap the thread around it two or three times. Using the opposite hand, roll and slide the thread off your finger and pull the knot tight. It may take a few tries to get this right. Take the other end and thread it through the eye of the needle. It helps to wet the thread to form a point. This can be tricky even for the most skilled sewers, so stick with it if it doesn’t work right away.

Now that you’ve got the needle and thread situated, sew the two short sides of the wallet between the cut edge and the line from when you traced the cards. When you’ve reached the end of the seam, tie down the end by feeding the needle under a stitch and through the loop that creates. Pull it tight. The open long side will become the opening. First, fold down the edge halfway between the trace line and the cut edge. Again, iron flat so you won’t need pins. Sew those edges down making sure to leave the opening accessible and tie.

Finally, turn it right side out and put your credit cards inside. DONE! You just made your first sewing project. You can consider yourself a sewer and move on to machine projects!

Families, Mentors, Legacies and Sewing

Families, Mentors, Legacies and Sewing

My first long-term professional job in a Costume Shop was at The Alley Theatre in Houston, TX. The Alley has two stages and puts on a creative and diverse season of plays, often mounting the regional premieres of new productions. I certainly never intended to live in Texas for as long as I did but I spent my 20s at The Alley. The Alley is where I grew up and where I learned the basis for pretty much everything I know about sewing and pattern making.

Family

Years later, I was having a conversation with some friends and co-workers about our professional backgrounds. One of them asked me if I was still friends with the people I knew when I worked there.

“Friends?” I said, “They’re family.”

Then I got to thinking about family and home, mentors, and the sense of ‘belonging’ somewhere, of finding your people. Sewing is often a solitary activity. In fact, I spend most of my time these days in my little windowed corner at Steiner Studios sewing and patterning by myself. Some days, I miss being in a shop with others, everyone working and creating together.

There were days at The Alley when we would all be bent over our machines or projects, working diligently and quietly. Sometimes there was music playing, sometimes NPR (there weren’t podcasts yet), then suddenly, from the silence, someone would say, “Ummm…do we have any more of this fabric?” And everyone would burst out laughing. Ha. Tailor humor.

Nothing Beats Experience

The thing, or person, I miss most from those years in theatre, though, was my mentor, Jorge, the man who taught me patterning, millinery, and gave me to courage and tools to think outside the box and trust my instincts.

I don’t have a degree in any sort of Costuming or Fashion Design and I only ever took one sewing related class at college. Lots of people I know follow patterning or draping guidelines from a particular book. I don’t dispute that many of these books are extremely useful with their formulas and precise calculations (I own and reference many of them) but I always like to say that I pattern from the heart. I know that sounds dorky but that’s the way I work. Pretty much ten times out of ten I end up at the same result as I would if I had followed some directions in a book.

And, yes, I have tested this theory many times.

The point, I think, that I’m trying to make is that the books are useful but they only tell you the how, not the why. I always want to know the why. I believe that once you figure out why something needs to be done a certain way or why that curve should look like that, the how easily follows. I also believe wholeheartedly in mentors. I think our country and society is sorely lacking in that arena. Here’s a great paper about the importance of mentors.

My Mentor

“Are you going to save that thread?”

“Are you going to save that thread?”

One of the best and lasting gifts I’ve ever received was Jorge’s knowledge. I am his legacy. I hope that in my approaching old(er) age I will be able to give back and share his knowledge which has become my knowledge to someone young and just starting out. In this way, he, and eventually me, will continue to live on. How humbling to think that I might have a legacy to leave.

Teach someone, even if it’s just one someone, the things you know and have learned through the years. Before books and computers, people passed their stories and knowledge to their children who passed them to their children and so on and so forth. Create your own legacy. The knowledge and talent you have so worth passing on.

Jorge has been gone from this world for over ten years now but every single time I am unwinding a bobbin because I need an empty one and its less than halfway full, I hear his voice in my head, “Are you going to save that thread?”

And often, I do. I wrap it around a manila card because you never ever know when you might need a bit of bright green thread.

Teaching Kids to Sew

Teaching Kids to Sew

How Young is Too Young

Does your daughter (or son) hang around while you’re sewing? Do they seem really interested? Maybe they even beg you to show them or let them help? If you’re like most parents, this makes you happy that they’re interested, but unsure when is the right time to get them involved in your hobby.

Like many things in the course of childhood, the decision of when to teach your child to sew isn’t as much about chronological age as it as about maturity level. Before you teach your child to sew, they need to exhibit patience and ability to sit still and pay attention for an hour or so at a stretch. Manual dexterity helps, but isn’t absolutely necessary since you’ll be there to help with items like pinning and cutting.

Step 1: KISS

Even if your child doesn’t love momma kisses and hugs, keeping their first sewing project simple and fun will help keep their interest. Bean bags, doll pillows, and similar items are a great way to engage your child’s interest and help them learn basic sewing skills. They’re small enough to be completed quickly and not overwhelm your child with several steps.

Bean bags can be cut freehand without the benefit of a pattern. Depending your comfort level and your child’s interest and abilities, you can guide them through the setup and use of the sewing machine. At the end, you can both have a great time stuffing the bean bags and playing a game of bean bag tag.

Step 2: A Tougher ProjectHelp your child learn to read the pattern and understand how to lay out the pattern pieces.


Assuming the first project went well and they’re still interested, you can help your child pick a simple pattern to work on. Projects like simple doll clothes for American Girl sized dolls or a basic stuff animal can be great options. Give them some guidelines and set them free to pick out fabric.


Help your child learn to read the pattern and understand how to lay out the pattern pieces. If they’re up to it, explain about the different ways to fold the fabric based on how the pattern needs to be laid out. If you think they’ve got the dexterity, it might be appropriate to let them help you pin and/or cut the pieces. As with the simple first project, let them help you with the sewing machine if it seems appropriate to do so.

Things to Remember When Teaching Your Child to Sew

  • Every sewing project is unique – so is your child
    • Go at their pace
    • Keep their physical needs/abilities in mind
  • Start small
    • Keep it simple with an easy, fun project
    • Judge their interest and only move on to a tougher project if they want
  • Be patient
    • Just as many parents can’t teach their kids to drive, teaching your kid to sew may not work out
    • If teaching your child to sew is too stressful for both of you, check around for classes. Often places like the local YMCA will offer sewing classes for kids.
When the Art Bug Bites!

When the Art Bug Bites!

Once upon a time, I was an academic—almost exclusively. I didn’t do well in the athletic department, and I was a bit too flower-on-the-wall to try my hand at much else. But I rocked that academic thing! I ended up being co-valedictorian of my high school class, and going to college. I did some transferring and made some stupid decisions, but eventually graduated from a university, double-majoring in Speech Communication and History.

That’s right! Two papers!

That’s right! Two papers!

The History part of the degree had me embracing academia maybe more than I ever had. In fact, at one point, I had the stacks of books you can see in this post setting on my bed for what I remember to be a grand total of two papers. That’s right! Two papers!

The thing is though, despite the non-fiction aspect of my life, I had a bit of an art-bug-bite going on. I don’t know the exact moment the bug bit me, but there was a part of me that wanted creativity through the years I was learning about the Ancient World in undergraduate classes. Even when pursuing my BA in History and planning on an advanced education in the field, I considered working at an art museum—academia with an artsy twist. Whatever path my life took, not having art be some part of it might’ve been odd!

A mildly early art-love I remember having was writing, and I’m not entirely convinced that embracing writing wasn’t connected to academia. They tell you to write in school, after all. I mean, sure, I had art classes, but drawing in a non-grid way wasn’t necessarily my forte.

Writing fiction was a creative outlet, and even when I was writing non-fiction, I still felt like it was something I had a knack for.

Writing fiction was a creative outlet, and even when I was writing non-fiction, I still felt like it was something I had a knack for.

Writing though? That one stuck. Writing fiction was a creative outlet, and even when I was writing non-fiction, I still felt like it was something I had a knack for. So if my professional life was going to take an artsy road, having writing as the first step in that journey shouldn’t have been crazy-surprising. Actually, writing has been a driving force for a number of the more artistic career/hobby moves I’ve made in more recent times. Instead of finishing up my MA in Ancient and Classical History, I got my MA in English and Creative Writing, and I have seven published fictional works for sale on Amazon.

Books, Creative Writing education… Basically, I gave the art bug a bit of leverage, and—whether or not it’s a cause-and-effect thing—he’s showing up in more areas of my life than he did in my high school/undergraduate days! Floral arranging has been a non-career activity, and baking (which I think could be creative enough to count!) has become a very real interest of mine as well.

Floral arranging has been a non-career activity.

Floral arranging has been a non-career activity.

And the idea of quilting has gained my attention, maybe more than any artistic endeavor has besides writing. I see beautiful quilts, and I might get a little disappointed in myself that I’m incapable of making them. But it’s a goal to work toward. I’ve published books. I’ve baked pretty good Reese’s cookies. I’ve used floral arrangements I’ve made for décor. Now, I want to see how far I take this quilting thing.

Right now, I know I’m a quilter/sewer at the lower end of the spectrum, but I didn’t start off writing something that was published. And it isn’t like everything I’ve ever baked or cooked turned out fantastic either. Learning is a process, and I’m glad I have the opportunity to push myself in regards to learning a craft that is of such interest to me. Being able to explore this? It’s kind of a modern dream come true for me!

But does embracing this artistic side so much mean that I suddenly don’t care about academia? Not exactly! There’s still a part of me that misses being in an actual classroom, taking notes, and learning facts about a person or people from the past. I still think art museums can be interesting, and I still wouldn’t be too surprised if I decided to watch some kind of documentary in the future.

SewingMachinesPlus.com has instructions for projects available…

Would I be happy working in a completely academic world? I think even if I tried, I’d probably end up writing verses and baking strawberry milkshake cookies in my spare time! Why? Because when the art-bug bites, you might as well embrace its toxin!

One beauty that comes with taking on quilting and sewing to satisfy that art-bug-bite is that there’s so much information available online—for free!—that can help a person with the trade. For instance, SewingMachinesPlus.com has instructions for projects available through the site, and I’m interested in both the elephant wall hang and the tea party quilt! Other sites offer free patterns for sewing, or free classes about sewing/quilting. And, of course, there’s Youtube to browse and find some helpful videos!

All in all, although it’s a pretty daunting idea to create a complex quilt, there are bits of information available to potentially help me get there, and I can take it one sewing project at a time from here on out. I don’t need to wake up and make a museum-worthy quilt tomorrow. I can just focus on getting better one step at a time, and time will tell how far I get.

Either way, the art-bug’s effect isn’t getting out of my system any time soon, and quilting is another direction to let the toxin flow!

Learning Re-Learning

Learning & Re-Learning

Generally speaking, I can be more of a hand-sewer than a machine-sewer. Getting frustrated with a machine, to me, isn’t the most difficult task, so stepping back from one can be a fairly easy decision. What I’ve found in stepping away is that I actually like hand-sewing. Sure, the process might take longer, but there’s something relaxing about going one stitch at a time with my own hands.

And, believe it or not, I might actually be more likely to sew a straight-ish line by hand than I am with a machine! Weird? Maybe!

But stepping away from the machine has led to me trying to re-acquaint myself with my sewing machine, and what I found is that the time away caused me to potentially forget things—maybe keep me from fully learning all things—about my machine. Had I had (or kept) those things in mind, I suspect my sewing-machine-experiences might’ve gone a bit better—and a bit quicker.

Brother LX2500

Brother LX2500

Now, don’t get me wrong! I’ve completed projects on my sewing machine. But I was potentially setting myself up for frustration by not really understanding or memorizing the details of this machine (Brother LX2500):

Imagine how far I could be with machine-sewing if I would’ve taken the time to learn more details and commit them to memory! So, for today, I’m going to give you that bit of information: Get to know your sewing machine! Even something as simple as realizing the thread-holder lifts higher could prevent grief, since you might not have as much issue with the thread falling off while you’re sewing or threading your bobbin. And, yes! That happened to me!

For me, figuring out the need-to-know details and letting the rest go might’ve been tempting. Do yourself a favor, and don’t keep that thought process. There might be aspects of your machine that make for easier sewing, or that advance your capabilities in a way that a basic “Hey! I can thread the needle and bobbin!” don’t quite cover. Possible examples: Apparently, I have a reverse button on my machine I maybe never knew about, and a way to alter the tension. Who knew?! And if you don’t get to know your machine, by the way, don’t be surprised if you come out with stitches that look like these:

If you buy your sewing machine brand new, check out any instruction manual that comes with it. The reading might seem tedious, but that tedious task could be worth it when you don’t hate your sewing machine, like, twelve times per use (Am I exaggerating??? You decide!). If you buy yours used, don’t have a manual, or lose the manual, try looking online. I think I threw mine away (don’t do that!), but luckily there are videos available on Youtube that show the basics of running my model. I can’t encourage you enough to look into such information to learn what you can about your sewing machine! Doing so could extend your possibilities and preserve your nerves!

Your sewing machine is only as good as your ability to use it, so don’t hold yourself back by not learning about it properly.

And even if you did know all there is to know about your machine, forgetting details after a limited amount of use isn’t out of the realm of possibility. Think about all the math classes you had over the years. Even though you might’ve had formulas in your head for a time—like, for an exam—how many do you still remember? After a while, your sewing machine’s details might be so burrowed into your thought process that you can be away for a time and remember them, but don’t be too embarrassed to rediscover those details if you can’t bring them to mind. Something like which way your bobbin’s thread goes could be so small that you don’t remember it, but not knowing could complicate your sewing.

So that’s lesson number two, one I had to learn when I came back to my sewing machine after time away: Don’t be afraid to admit you don’t remember, or be too proud to look into how to do these things again. Your sewing machine is only as good as your ability to use it, so don’t hold yourself back by not learning about it properly—even if it isn’t the first time you’re learning about it! Don’t stop until you know what every button, knob, or contraption does!

The Final Touches (And Reinforced Lessons)

The Final Touches (And Reinforced Lessons)

Remember on my last blog post when I proclaimed that sewing isn’t baking? In the latest stages of my quilt, I’ve once again found myself facing similar details and thoughts as the ones I experienced earlier. Why? Because — as I said before — guesstimations and “until-it-looks-right” attitudes don’t necessarily spill over from the kitchen to the sewing area.

My homemade backing.

My homemade backing.

You see, I completed all the main lines of a nearly-finished quilt. What that meant, to me, was that it was time to sew on some kind of backing. My tactic for doing so? Getting a flat sheet, cutting it *very* generically around the exterior of the quilt, and trying to fold the excess material down in an appealing manner for the outer edges of the quilt. I ended up with a mess that looked something like this:

Not good, right? And I couldn’t seem to fix the issue with the backing/quilt this way. Whenever I would try to re-pin something so that the massive/slanted corner was more size-and-style-similar to the line leading up to it, the material would twist unpleasantly (like you can see). This blatant issue led me to undoing most of my pin-and-sew work connecting the backing to the actual quilt, in hopes that the lines and corners would better match up.

The process this go-round was a bit more precise, in that the original wrinkles in the sheet had fallen out, and the overall quilt was more carefully positioned under the sheet for more accurate results. That’s right. Under the sheet. Rather than focusing on exactly where the backing would overlap on the front, I concerned myself with making sure that the back portion was somewhat smooth against the quilt blocks. My rationale was that if I could get that territory as it should be, I could flip it over and fold over the ends with more confidence that what I couldn’t see on the back was proficient enough to allow my focus to safely fall on what I could see. Basically, if the backing was smooth, I could do things, like better decide how much material needed to be beyond the quilt blocks to fold over and work with, without worrying so much that the material on the underside was bunched or wrong in some way:

Pins, pins and more pins!

Pins, pins and more pins!

Once I flipped it over, I cut off a bit of the backing material, and I took out the pins from one side (and admittedly—accidentally—a number more!). Some of the quilt had already been sewn (I’m currently thinking of redoing that section, by the way), but beyond that stopping point, I could fold over the excess material, tuck it under itself, and pin it back down so it would create a more pleasing line and corner:

Progress is progress for an early quilter, right?

Progress is progress for an early quilter, right?

Perfect? Eh. But progress is progress for an early quilter, right? And, perfect or not, this strategy seems to have helped.

Still, knowing if the strategy will prove effective throughout the rest of the process might be something I judge later. After all, I’m less than one line into it, and there are over three sides to go (not to mention inner attachments).

In any event, this particular dilemma has led me to another tactic in learning to quilt better, and that’s to look for answers online. I’ve looked at a quilting video before, but a number of things that I’ve attempted to do are details I could’ve found assistance for online. There are charts, for instance, about how big to cut blocks, or how large a certain size of quilt should be. I might’ve literally been the girl who measured a bed with measuring tape (not sewing tape!) to see how big I should make a quilt, which I wouldn’t have had to do if I’d looked at a chart! I wouldn’t be too surprised if I took more of my sewing/quilting concerns online to try and find answers for them in the future!

Hopefully, this quilt will be finished soon, and I’ll be able to move on to another project with the skills and lessons I’ve learned up to this point. And maybe one day, I can become the quilter I want to be!

Quitling is Not Baking

Quilting Is Not Baking

My mom was the type of cook who didn’t accurately measure ingredients, and to this day, if you ask her how much of an ingredient to put in food, she might say something like, “Until it looks like enough.”

Be exact. The “it’s good enough” mentality I might’ve had for baking doesn’t spill over so well into the world of sewing.I don’t always accurately measure things in the kitchen either. I might use a coffee cup when the recipe calls for a cup, but even then, I’ve been known to eye-ball the food and decide it needs more. I put baked goods in still pre-heating ovens, guesstimate about time, and haven’t owned a measuring cup or spoon in my adult life that I can recall.

This is how I bake, and I’ve come up with some tasty sweets.

This is, to some extent, how I’ve tried quilting, and the results are evidence of the title of this post.

Quilting is not baking…

I’m a bit of an amateur in the quilting/sewing department. I’m working on my second quilt (third if you count that one atrocity I never finished), and my overall products have been somewhat lacking.

Even with missing the mark on projects though, I still learned. As it turns out, a number of things I’ve learned for quilting are in opposition to habits that worked fine in my baking. See? It’s not baking!

My first quilt.

My first quilt.

1) Less can be more. I’m not saying smaller quilts are better than bigger quilts, but — let’s connect this food-thing again — “portions” can be too big, and ruin the effect. For baking, if I put in too many ingredients, I might just get more cookies. Who doesn’t love more cookies? For quilting, if the sizing is too big, the best I can do is something that looks amateurish. Like my first quilt:

I hesitate to definitively label this a quilt because it’s so simplistic. The design made sense here, since the animal print was from a fabric I cut up, but imagine how much better this quilt could’ve looked if the panels on that fabric had been smaller. It still might’ve been lacking — hey, it was my first finished one! — but that smaller size of each block could’ve made the overall appearance more refined.

My latest quilt.

My latest quilt.

2) Be exact. The “it’s good enough” mentality I might’ve had for baking doesn’t spill over so well into the world of sewing. Want to see an example? Here’s part of what I have so far with my latest quilt:

These shapes were not all cut in the same sizes. Instead, my system was more general—like “it’s good enough” with baking. Spotting places where this work has issues isn’t too hard. Blocks are different sizes, and I’m not entirely sure the middle rows aren’t smaller than the ends. A reason these problems could’ve happened is because I wasn’t exact with my measurements. Here’s another example of the same flaw:

Crooked corners, but a great learning experience!

Crooked corners, but a great learning experience!

See how the corners don’t line up? Oops! Not good! More accurate measuring could’ve kept this from happening.

3) Have the right tools. I might not have measuring cups and spoons. I might not even use an oven mitt. And my baking could still turn out okay. But what I’ve discovered is that tools might be a key in quilting, especially for an early quilter/sewer like me, and I should look into equipping myself with utensils for the job. Currently, I want a rotary cutter and ruler. With those, getting the right measurements could be easier, which could in turn make my final products look more refined.

4) Have a plan. Going into the kitchen and deciding I’m going to experiment with ingredients might be fine. I’ve done that. And I got some pretty tasty banana cake out of the deal. But if I go into a quilt project without a plan, things could go wrong. For my latest quilt, I changed my technique for sewing after I’d started, which caused some let-downs. My quilt is smaller than I intended, holes showed up in my fabric, and my final row of material might’ve been decided by the fact that I didn’t have enough pieces of certain materials to continue my pattern (which I slightly messed up anyway). Basically, with quilting, I should potentially map out my strategy from start to finish. Otherwise, tasty banana cake might not be the end result.

Hopefully, I’ll learn from my mistakes though, and maybe someone else can, too! Like with just about anything, practice can lead to improvement.