Are you one of those people who knows what an inch looks like without measuring?
I am. I also know what a ½ inch looks like and two inches and, well, honestly, most units of measurement from an 1/8 of an inch to about eight or ten feet.
I can also look at a photo of someone and determine how many inches shorter (or longer) his or her pant, shirt, jacket, or dress hem needs to be. And I can take a picture or drawing of a garment and recreate it with only that image as a reference.
I bet a lot of people reading this blog can do these things too.
I never thought too much about the why. It was just something I was always good at.
3D vision – no Oculus Rift needed
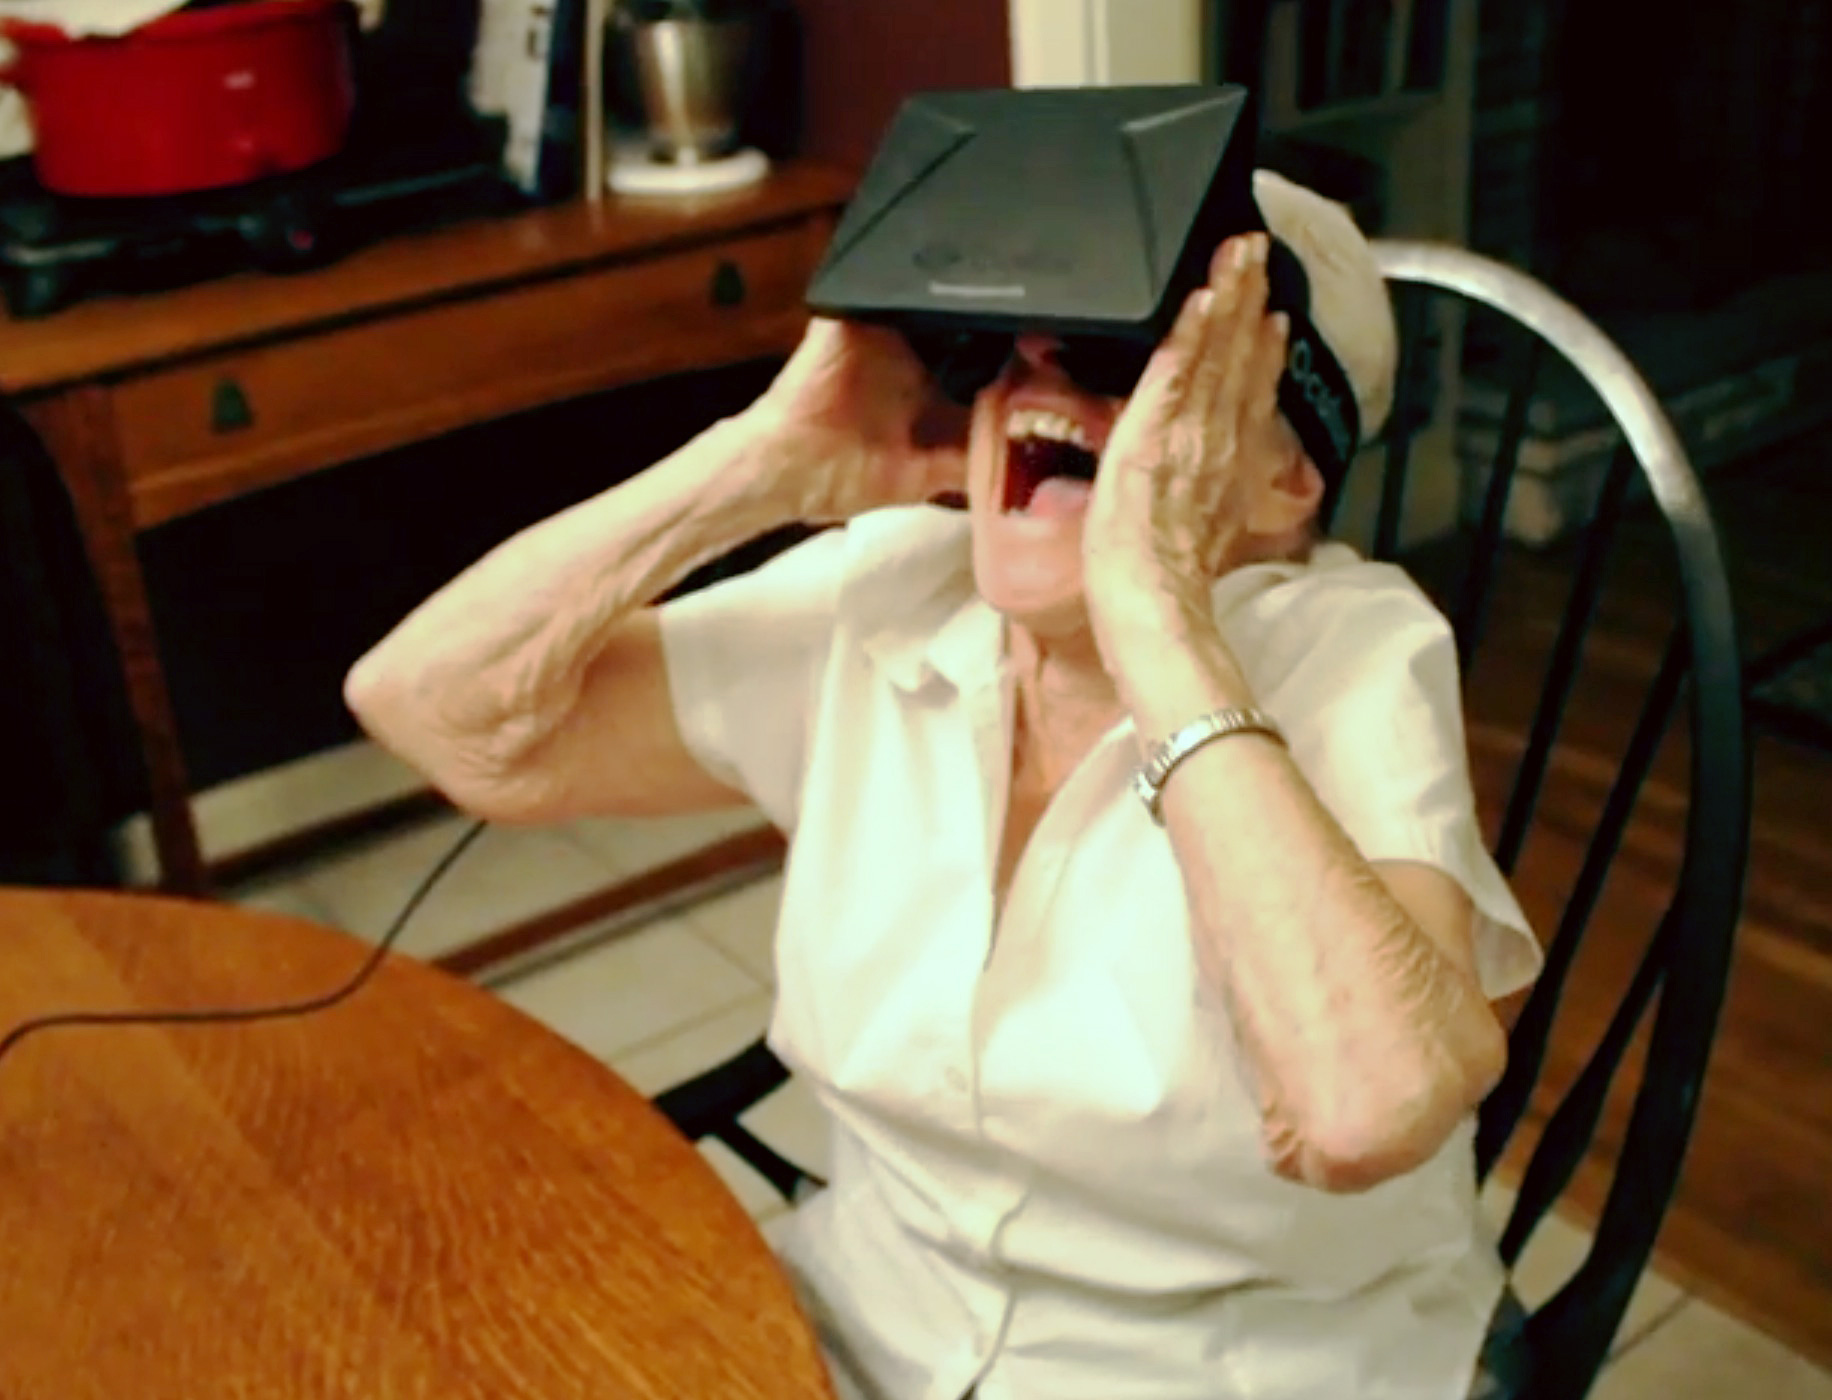
3D vision – no Oculus Rift needed
Well, this past week, a new scientific study was published at the University of California at Berkeley about how dressmakers were found to have “needle sharp” 3D vision.
3D vision is also referred to as stereoscopic vision, which is the ability of the brain to take 2D information and translate it into 3D. Depth perception is part of this equation, meaning stereoscopic vision is what allows us to thread needles, catch balls, and park cars (among a myriad of other things.)
It also means that some of us, those with especially keen stereoscopic vision abilities, are able to look at the distance between things and immediately calculate a correct (and often freakishly accurate) measurement.
There have been countless occasions when I’ve looked at a fitting photo of an actor with a hem pinned up and said, “Oh, I need to shorten that an inch and ½,” (or whatever) and someone else has said, “Let’s measure to make sure.”
And so we do. And I’m always exactly right.
In the same way, I can often walk into a fitting room – or even just watch someone wander by – and say, “That needs to be lengthened ¾” and the waist taken in an inch.”
And then I do the alterations without pinning and its correct.
Batman’s got nothing on me

Batman’s got nothing on me.
I’ve always just thought of it as one of my super powers. I believe everyone has a couple or three superpowers. The trick, sometimes, though, is figuring out what they are.
Adrien Chopin, the neuroscience researcher who conducted the 3D vision study, says that they’re still trying to figure out if tailoring and sewing sharpens stereoscopic vision or, if tailors and the like are drawn to the profession because of their enhanced “stereo-acuity”.
I’m definitely not a scientific researcher but I think it’s both of these things. My brain has always been adept at moving between the 2 dimensional and 3 dimensional worlds. I just never knew it had a specific name. And because I use this ability many times a day, I’ve become better and better at it to the point where my accuracy percentage is probably 99.9999999%.
Or something like that
I can also go from 3D to 2D quite easily, meaning I can look at a 3 dimensional object, like a garment (on or off a person) and know what shape it would be as a flat 2 dimensional pattern.
Chopin’s study goes on to say that people like surgeons and dentists have normally been assumed to have superior stereovision but that dressmakers and tailors in general had even more precise 3D vision abilities that those in the medical fields.
Kind of crazy, huh?

Take care to use your powers for good.
Chopin intends to study more extensively the stereoscopic superpowers of dressmakers. He says that a better understanding of the ability will help in efforts to train those with visual impairments like “lazy eye” to strengthen their 3D vision. He also believes that improved stereoscopic vision could be tantamount in training people in occupations that require precise hand-eye coordination like military fighters or athletes.
On the other end of the spectrum, some vision scientists think that painters often have poorer stereovision which is what gives them an advantage when working in a 2 dimensional world. Rembrandt, the 17th century Dutch painter, is thought to have suffered from stereo blindness.
I find all this quite fascinating. If you do to and want to read more in depth information about the study, you can see the whole report here.