Magic Makers and Dreamers of Dreams

Magic Makers and Dreamers of Dreams

As the tailor in the costume department on a major network television show, I often am asked to do minor sewing repairs/favors for people in other departments. I mostly don’t mind, especially if the person who is actually in need of the favor comes to ask me in person. It’s usually small things like sewing on a button or repairing a seam that has split open. If I’m not too busy and the repair will take five to ten minutes, I’ll often go ahead and do it while they wait.

If the favor-seeker is a woman, they inevitably say something like, “I always wanted to learn how to sew,” or “My mom tried to teach me but I was never interested,” or “I wish I knew how to sew.”

You’re never too old to learn

I always want to ask why they didn’t, or why don’t they now and then. Sometimes, if I think about it too much, I become a bit sad as, once again, I realize that sewing really kind of is a dying art. Along with shop and industrial arts classes, sewing certainly isn’t taught anymore in most school systems. Many people view ‘maker’ type skills as not as prestigious or “smart” as careers in finance or marketing. There’s quite a bit of research on the subject and, also, apparently a “Maker Movement”. It seems maybe people are starting to realize how important and necessary building and making skills are and how much the world really does still need true craftspeople.

I’m fascinated by anyone who has practiced and honed their skills to the point of being able to create something beautiful and functional with just their hands. When it comes to making things out of fabric or wood or metal or whatever, the true magic is in watching the thing emerge from beneath your fingers.

The importance of guidance

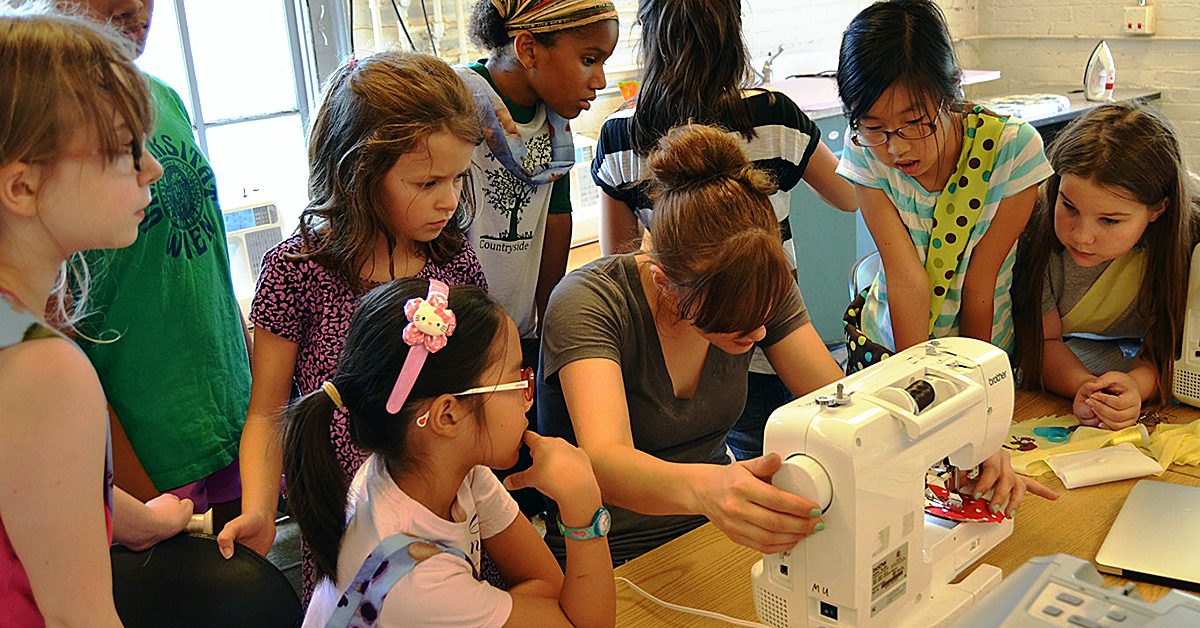
Jorge, who was the man who taught me how to drape, always used to say, “Just cut away all the parts that aren’t a 1930s dress,” (or whatever it was I was endeavoring to make). I suppose it’s true that not everyone has the ability to see a 1930s dress in a pile of fabric: that’s what makes some drapers and pattern makers artists. But if you do have that ability, or the ability to see a three-dimensional object and know what it would look like as a two-dimensional pattern than you owe to yourself to develop that gift. Because it’s a rare thing indeed. Or if you know a young person who has expressed interest in sewing and making things, teach them and encourage them.

Sewing and patternmaking are incredible skills to have and you can make a very lucrative career out of them. When I met Christy Rilling years ago, she was working out of her tiny East Village apartment. Now, she has a full studio and a roster of talented tailors working for her. And she tailors Michelle Obama’s clothing.

Use your hands and make something

I ride my bike everywhere in the city, over all sorts of potholes and debris.

I ride my bike everywhere in the city, over all sorts of potholes and debris.

I wish more young people were interested in pursuing careers in things like furniture building, masonry, tailoring, and clock & watch repair though I do think that our schools systems are partially to blame for the lack of “interest”. The world is always in need of beautiful & unique things and the individuals who can make them. By beauty, I mean anything that is lovingly & expertly crafted – from a simple wood chair to an intricate mechanical pocket watch, to a bias cut dress that hugs the body it was made for just right to a hand built bicycle wheel.

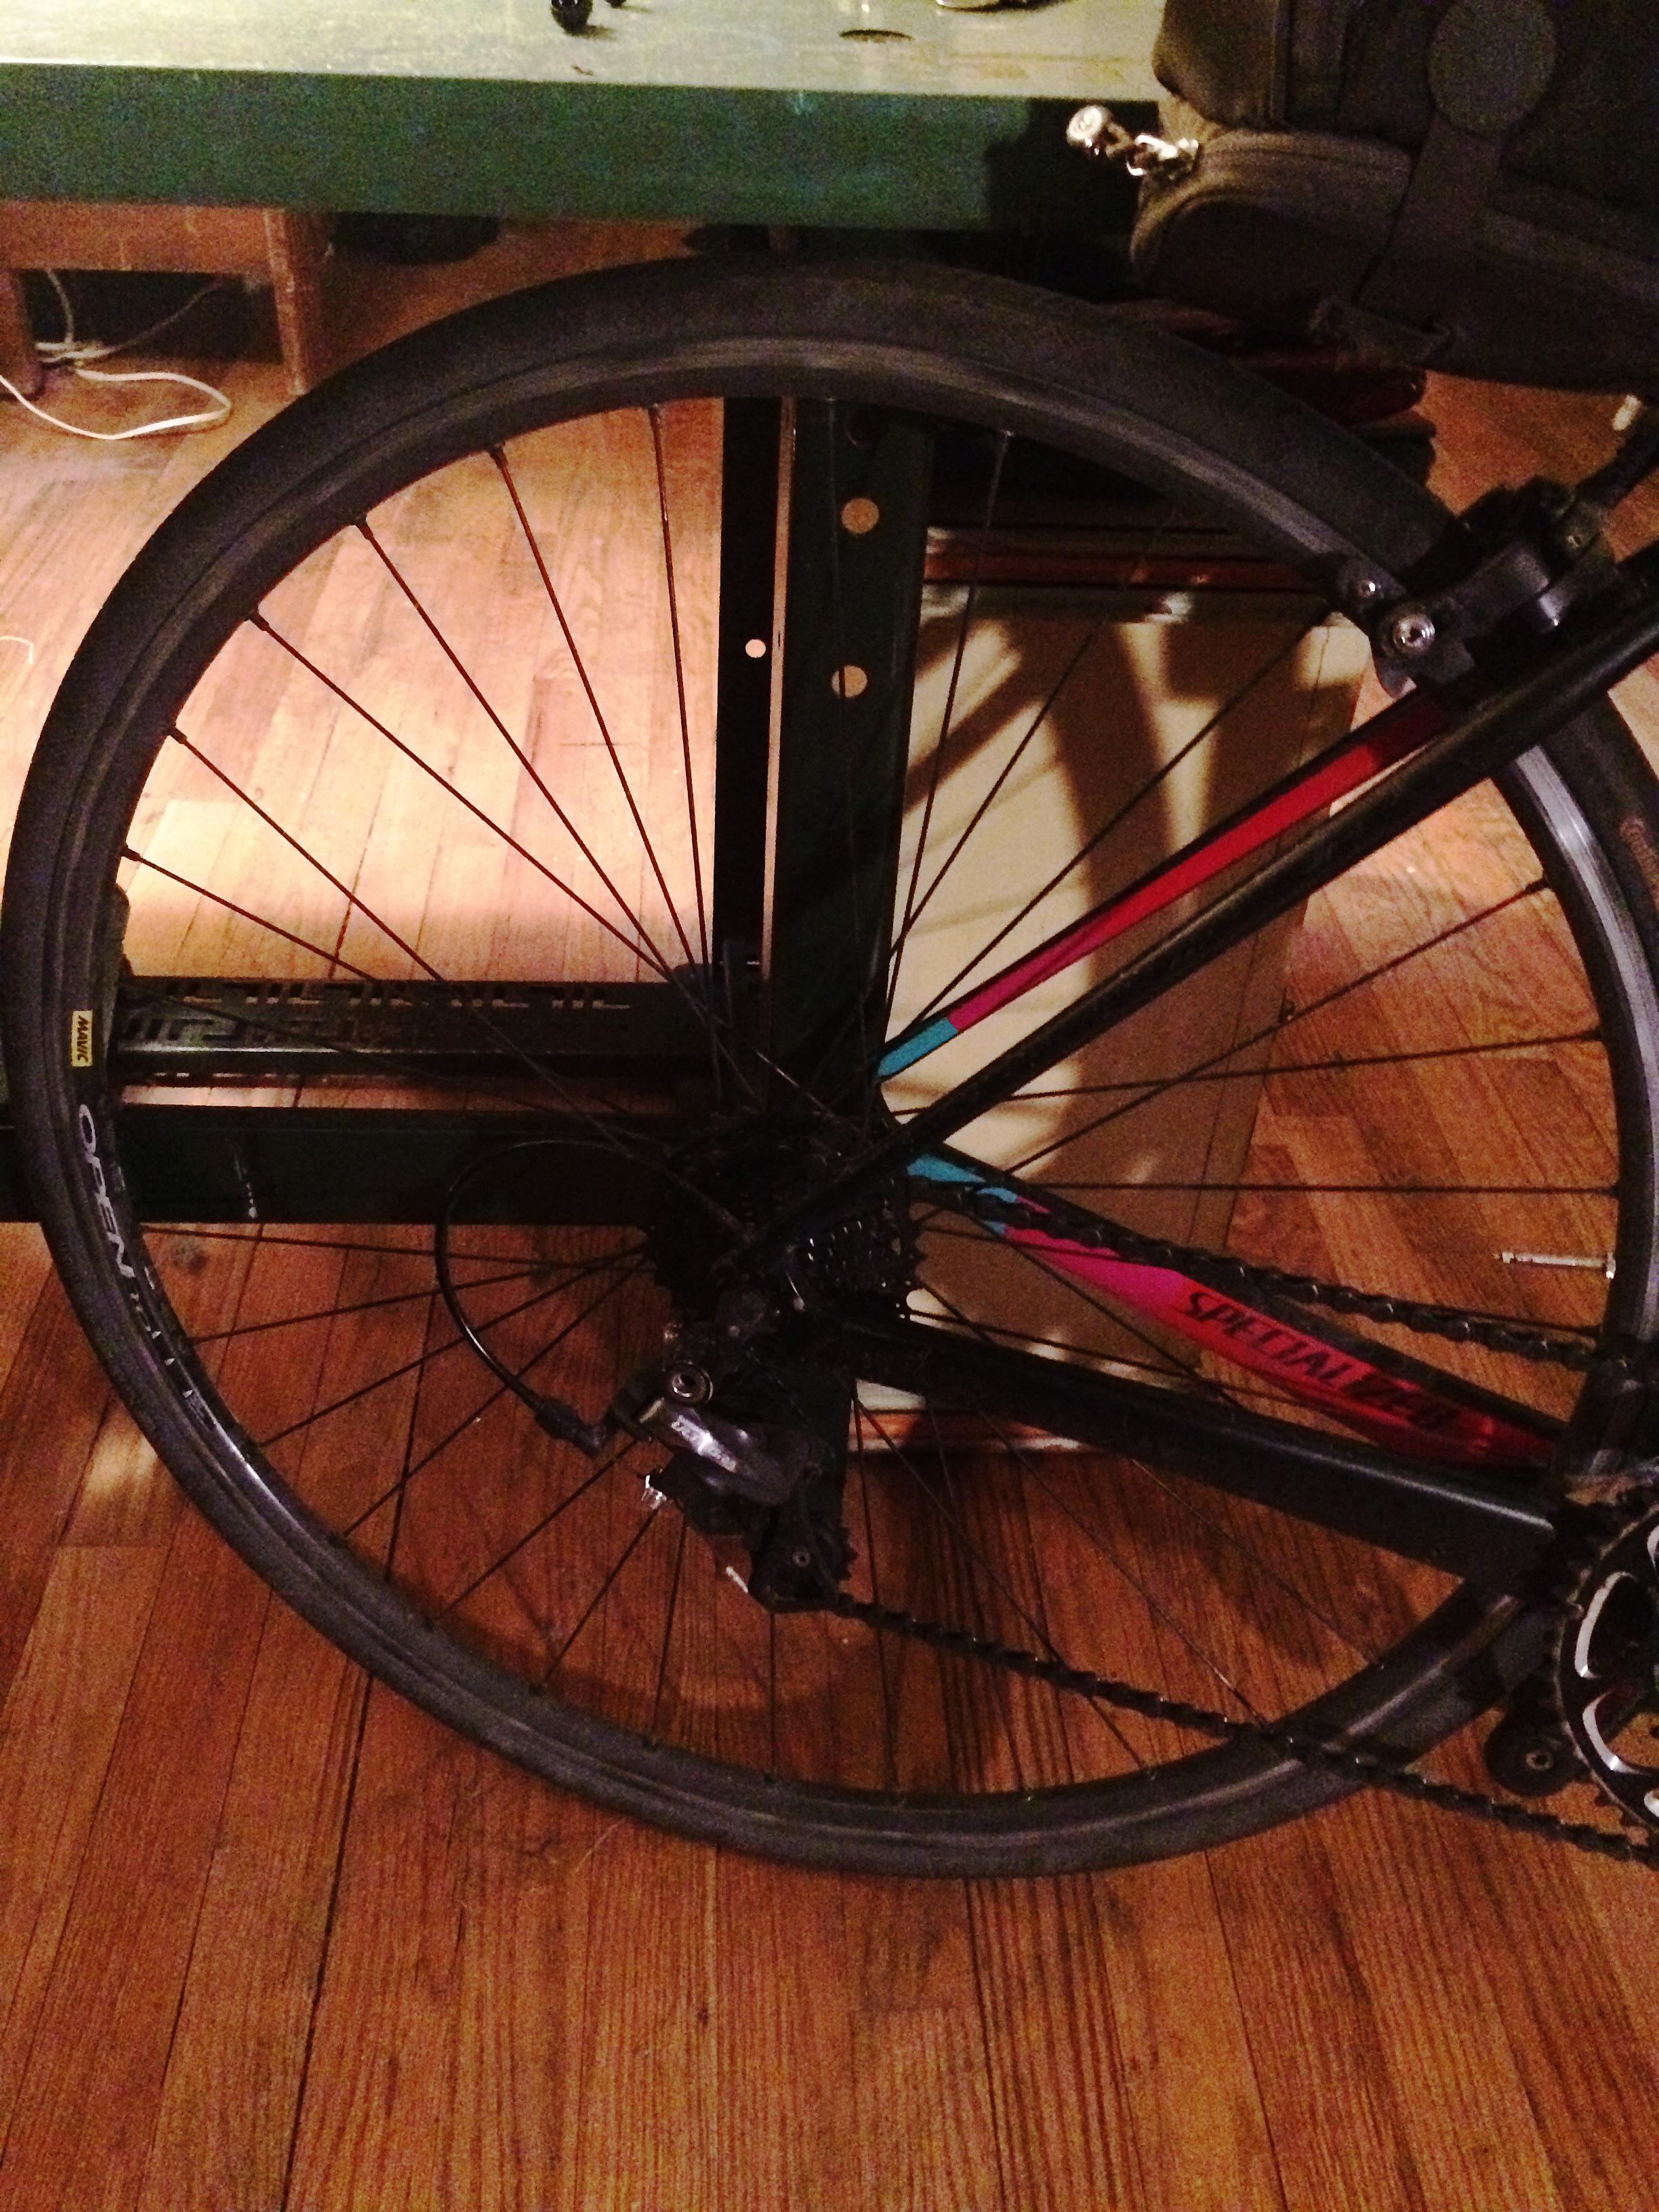
Have you ever watched someone build a bicycle wheel? It’s kind of amazing. I recently had one built for my bike. When the wheel was done and on my bike, I was struck suddenly by the immense importance of that wheel to be well built. I mean, I ride my bike everywhere in the city, over all sorts of potholes and debris and I trust, completely without thinking, that that wheel will do its intended job and not suddenly crumple under the pressure. That’s a big trust when you really think about it.

I will say here that I do have a locally owned bike shop https://www.bicycleroots.com I always go to and my friend, who owns the shop, is the only one I’d trust to build me a wheel. Which brings me to my next point.

The most valuable commodity: People

Relationships and trust are key when it comes to building a business around your skill, sewing or otherwise. When it comes to sewing and patternmaking, your goal is most always to make a person look their very best. If you do that, they will come to realize the value in having something made or altered just for them and they’ll come back and they’ll also send their friends.

So encourage some aspiring maker today if you can and tell them it’s an extremely wonderful thing if they think they might want to do this making thing for a living someday. Because there’s always room for more magic makers in this world.

Fabric Trend: Cats and Things Cats Love

Fabric Trend: Cats and Things Cats Love

Galaxy Cat fabric by Timeless Treasures

Galaxy Cat fabric by Timeless Treasures

Last October, I highlighted three lines of cat fabric for you including From Porto with Love, Cat Lady, and Meow or Never.

I should be honest however, and not call cat fabric a trend because our love for cats will never go away. To prove this, here are more cat fabric lines for you, including fabrics with things cats love.

Maker Maker by Andover Fabrics

From Andover Fabrics, you’ll find cats in blue, black and yellow. Along with their coordinating cat scratches.

From Andover Fabrics, you’ll find cats in blue, black and yellow.

From Andover Fabrics, you’ll find cats in blue, black and yellow.

Flower Shop by Alexia Marcelle Abegg

Inspired by walks through Mexico’s outdoor flower markets, Flower Shop brings you cats amongst flowers, bow ties, thistle, and cats with foxes, elephants & donkeys.

Flower Shop brings you cats amongst flowers, bow ties, thistle, and cats with foxes, elephants & donkeys.

Flower Shop brings you cats amongst flowers, bow ties, thistle, and cats with foxes, elephants & donkeys.

Smarty Cats by Maria Carluccio

Maria Carluccio’s Smarty Cats fabric line is for the true lover of traditional fabrics and traditional cats. You’ve got cats on books, playful cats, smarty cats, and mice, string and balls.

Maria Carluccio’s Smarty Cats fabric line is for the true lover of traditional fabrics & traditional cats.

Maria Carluccio’s Smarty Cats fabric line is for the true lover of traditional fabrics & traditional cats.

Whisper by Dear Stella and Riley Blake’s Double Gauze

These two fabric lines seem to coordinate seamlessly. Add a dash of Dear Stella with Riley Blake and you have the quilting cottons of Dear Stella on the top row in cats, mice, and dandelions, and the double gauze dreaminess of Riley Blake, featuring delicate cat, deer, and panda faces, with tiny Xs and Os and I Love You’s.

These two fabric lines seem to coordinate seamlessly.

These two fabric lines seem to coordinate seamlessly.

Tabby Road by Tula Pink

Tula Pink takes their coolness to the next level by combining cats + The Beatles. This psychedelic fabric line will arrive in most stores by March and perfectly blends your feline friends with the some of the trippiest nods to Abbey Road. Fabric names include: Tangerine, Strawberry Fields, Fur ball, Lucy, Cat Snacks, Blue Bird and Disco Kitty.

Tula Pink takes their coolness to the next level by combining cats + The Beatles.

Tula Pink takes their coolness to the next level by combining cats + The Beatles.

Pura Vida by Hawthorne Threads

Hawthorne Threads Pura Vida line is reminiscent of a Central American jungle and features wild cats and their surroundings.

Hawthorne Threads Pura Vida line is reminiscent of a Central American jungle & features wild cats.

Hawthorne Threads Pura Vida line is reminiscent of a Central American jungle & features wild cats.

Hemma by Lotta Jansdotter

For the lovers of all things Scandinavian, Lotta Jansdotter fabric line, Hemma, combines cat faces, tulips, lemons, half-moons, and clean & classic colors to give you a modern twist on cat fabric.

For the lovers of all things Scandinavian, Lotta Jansdotter fabric line, Hemma.

For the lovers of all things Scandinavian, Lotta Jansdotter fabric line, Hemma.

Do you have any cat fabric lines you love? Please share them with us in comments!

———————————————————————————–
Charlotte Kaufman is a writer and sewist in Mammoth Lakes, California. She specializes in marine and home interiors and continues to fall more and more in love with quilting. You can follow her at charlottekaufman.com.
DIY - Bias Tape with a Bias Tape Maker Tool

10 Steps to Making & Sewing Bias Tape

Gardening Apron, pattern from “Sewing for All Seasons” by Susan Beal.

Gardening Apron, pattern from “Sewing for All Seasons” by Susan Beal.

You might appreciate a well-stocked sewing shop, but don’t you get bored with the limited choices for bias and binding tape? The standard spectrum of hues leaves little room for imaginative and interesting ideas.

If you’re sure the best binding for your project isn’t on the notions shelf, consider making it yourself. Although it’s possible to create tape with only an iron and your fingers, the process will go more smoothly and be more fun with a special tool called a bias tape maker. These little aluminum color-coded gadgets are sold at most sewing shops, including Sewingmachinesplus.com. They come in widths ranging from two inches all the way down to one-quarter inch and can be purchased individually or as a set. Save the instructions that come with the tool—you’ll need its measurement guide when cutting strips.

With a small tool that costs under $10, you can conquer the bias tape bores.

My curiosity about homemade tape led me to Susan Beal’s book “Sewing for All Seasons,” where I found a pattern for a canvas gardening apron made with DIY binding tape. My tape edging was folded from a poplin just slighter lighter than the canvas used for the apron body. I used a three-quarter-inch bias tape maker by Clover, and I even have some tape left over for a matching hat.

When making your own projects with DIY tape,
follow these 10 steps:

  1. Select similar fabrics. Cut swatches from your stash and consider how each would work as either the tape or the body fabric. As a general rule, your tape should be the same weight or just slightly lighter than the body fabric. Avoid using silky fabrics because you’ll have trouble keeping the tape in place when sewing. Also avoid transparent or translucent material that will show seams and frayed edges.
  2. Determine measurements. Refer to your pattern’s specifications – what size bias or binding is required? Use the guide that comes with your tool to determine how wide your strips should be in order to achieve the proper finished size. For example, if you need three-quarter-inch binding, your strip width (for medium weight fabric) would be one and three-eights. Make sure you have the right size bias-making tool for the size you need.
  3. Measure and cut your strips. If your tape will be sewn around curved edges, such as with a circle-shaped potholder or Christmas tree skirt, your strips should be cut on the bias (at a 45-degree angle against the fabric grain). If your project is made of only straight lines like the gardening apron in the photos, you can cut strips horizontally from selvage to selvage.
  4. Prepare the strips. If your pattern requires many yards of tape, you can sew long strips together with a three-quarter-inch seam allowance. Open and gently press the seam before using the tool.

    Run the strips through the tool to create perfectly folded tape.

    Run the strips through the tool to create perfectly folded tape.

  5. Press perfectly. Use an iron at the appropriate setting for your fabric to flatten the tape as you pull it though the tool. Take your time and use your fingers to hold the tape in position before applying steam. Store the finished tape so it doesn’t lose shape when you’re working on other aspects of the project.
  6. Check your machine’s needle and thread. You’ll be sewing through many layers, so make sure your needle is up to the challenge. Likewise, consider your thread color. A thread that looks good with the body fabric might not look as good when sewn into your bias tape.
  7. Pin the tape into position. Use plenty of pins with the head accessible in the direction you plan to sew. Use small pins that won’t distort the shape of your project. The flatter, the better. In some cases, you might want to baste the tape into place.

    Create a folded angle at corners.

    Create a folded angle at corners.

  8. Be careful at corners. Fold the tape at an angle, making sure it doesn’t slip. When sewing on the machine, sew one half of the corner and stop to pivot the project to the other direction before beginning again. Do not rush—take your time and concentrate on keeping the tape in place.
  9. Cut with caution. If your pattern asks you to cut the tape at particular points, don’t cut exactly flush to the body fabric. Leave a millimeter or two in case the next part of the process pulls your tape more taut than expected.
  10. Press gently. Resist the temptation to vigorously iron the tape after it’s sewn on. Give the project some time to settle into its seams, then use light steam to gently coax out lumps and wrinkles.

With a small tool that costs under $10, you can conquer the bias tape bores. New doors open with tape made from abstract prints, solids, florals, and plaids. A fancy or patterned bias edge against a plain fabric is a fun and interesting take on cosmetic bags, T-shirts, placemats, table runners or blanket edges. Make your own tape and take your project from OK to extraordinary.