Random fact: My family does not like ironing.
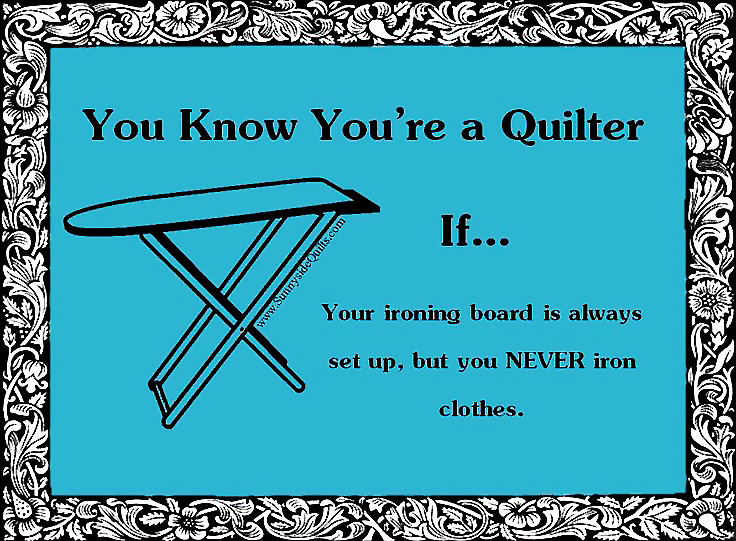
We’re the type of people who, if something is wrinkled, minutes in the dryer are the way to work on the issue.
Seriously. We’re the type of people who, if something is wrinkled, minutes in the dryer are the way to work on the issue. That being said, my hobby/profession of sewing is a bit contradictory for such an I-don’t-love-irons approach because an iron can be such a significant part of the sewing process.
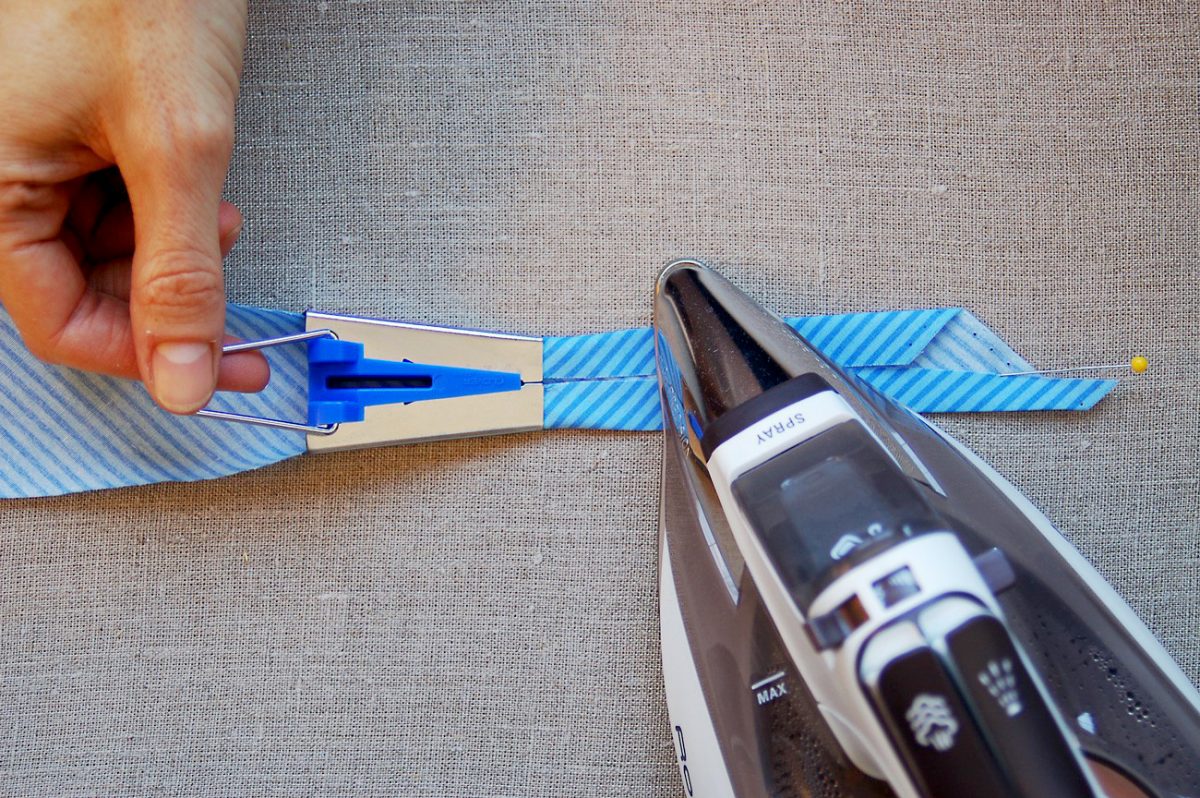
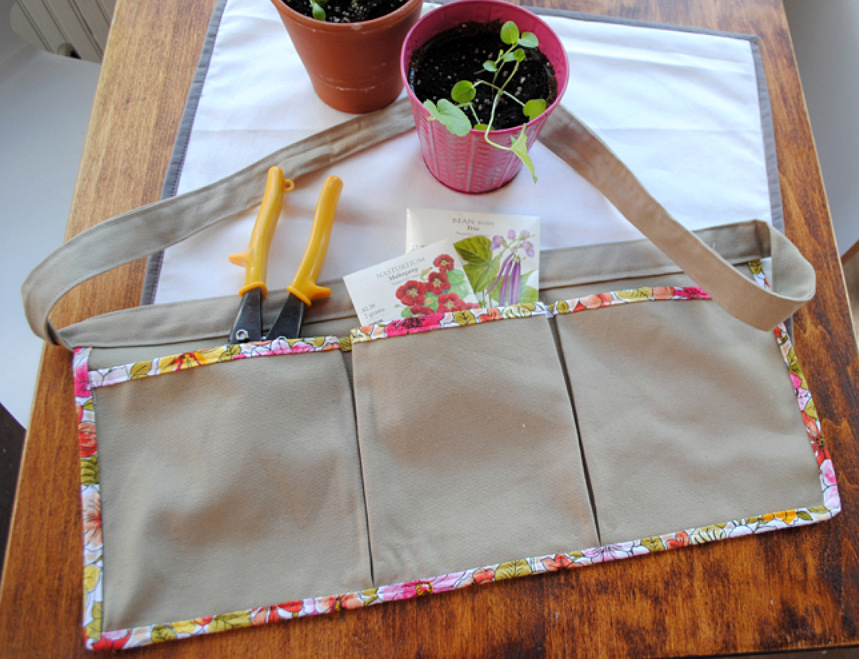
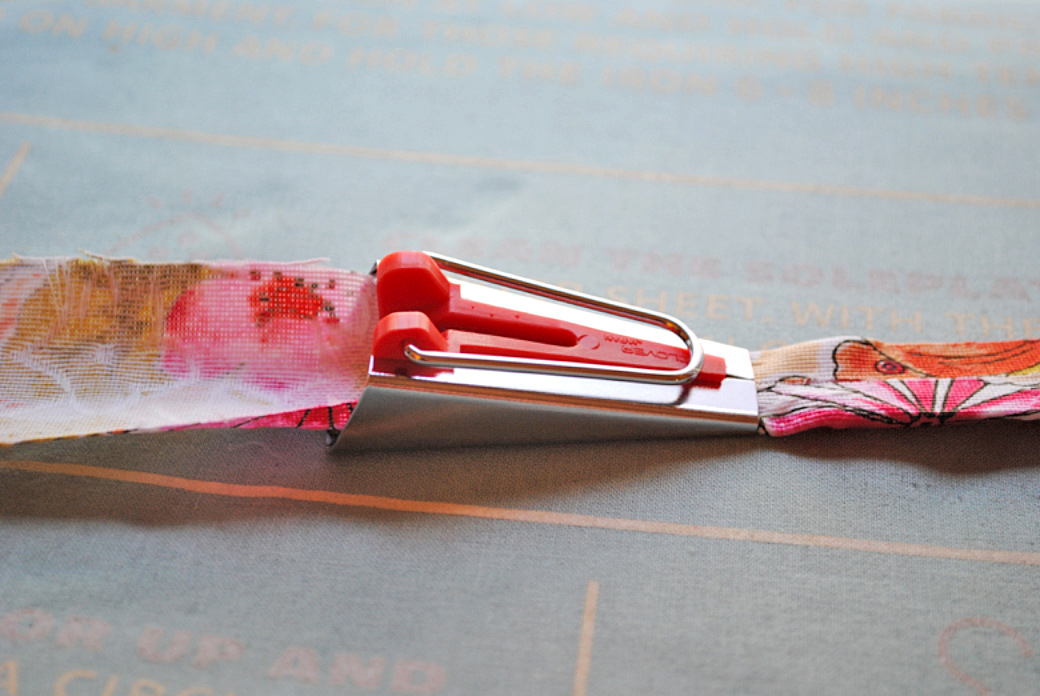
Pressing seams, for instance, could add to the professional look of your project, and ironing your fabric before you sew can help to create more equal blocks and pieces. All in all, if you don’t iron, your product might look less impressive than you want it to, and with all the work you invest, taking the small steps to create a wonderful product could be worth the effort!
I come from an anti-iron family.
But given that I come from an anti-iron family, the idea of embracing the step can be daunting. Even picking an iron could pose a problem because there’s such a range of options. When you literally have thousands of options to choose from, selecting that right one could be a complex process. Do I get the pretty blue one, or should I pay the extra $50 for that name-brand one? What kind of features do I need, and what ones will I never use? Is this iron going to break in a month, or will it last me for years? These are the kinds of things worth considering should you choose to buy a new — and fitting — iron for your sewing.
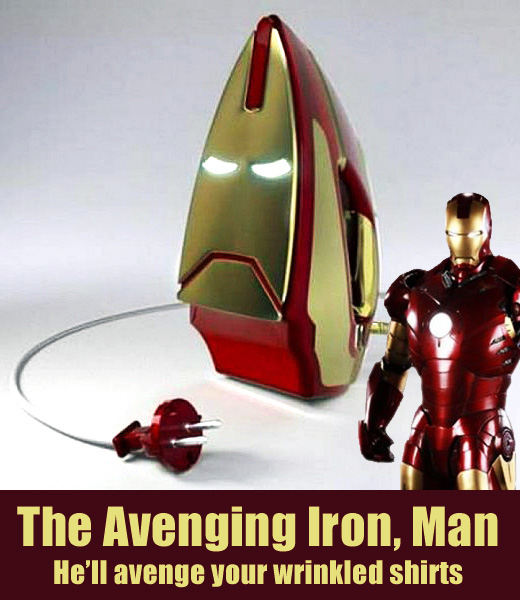
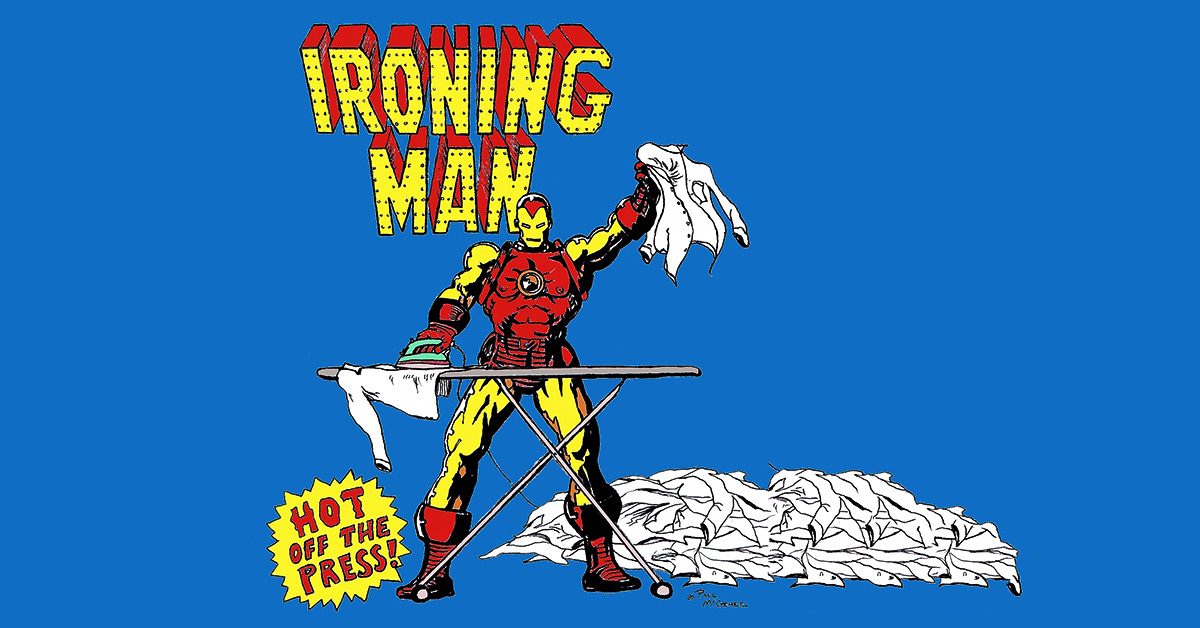
Note: With my nerd interests, all of this anti-iron business could potentially be overlooked if I owned an Iron Man iron like the one seen here.
Anyway. I did some research this week on iron-related topics, and I came up with a list of what I felt were the most important qualifications for an iron and the preferred method of selecting that sewing tool.
Price
Hey, remember me? I’m the cheapskate who blogs about saving money on sewing projects! Of course — of course — cheaper isn’t always the overriding criterion for an iron because sometimes things are cheaper for a reason. Maybe the $10 iron has no special functions to help you. Maybe it’s made of bad materials and will leave an imprint on your fabric. Maybe it’ll fall apart in five minutes. The point is that this is NOT the only detail worth considering, but if you can find an iron that suits your purposes for $30, why pay hundreds?
Functions
As I said, price can be overshadowed by functions that your iron can bring to the ironing board. For sewing, I don’t know that there’s a more important function than releasing steam to better tackle wrinkles in fabric. Basically, if you see an iron that doesn’t release steam, you might want to keep looking! Another detail you might want to think about is if your iron automatically shuts itself off after a span of time. While this might be an aspect that doesn’t concern you in the least because you’re so careful with your iron, if there’s a chance you’ll forget and leave your iron going, I would recommend trying for an iron that’ll automatically shut off. That choice could prevent a fire, after all!
Build
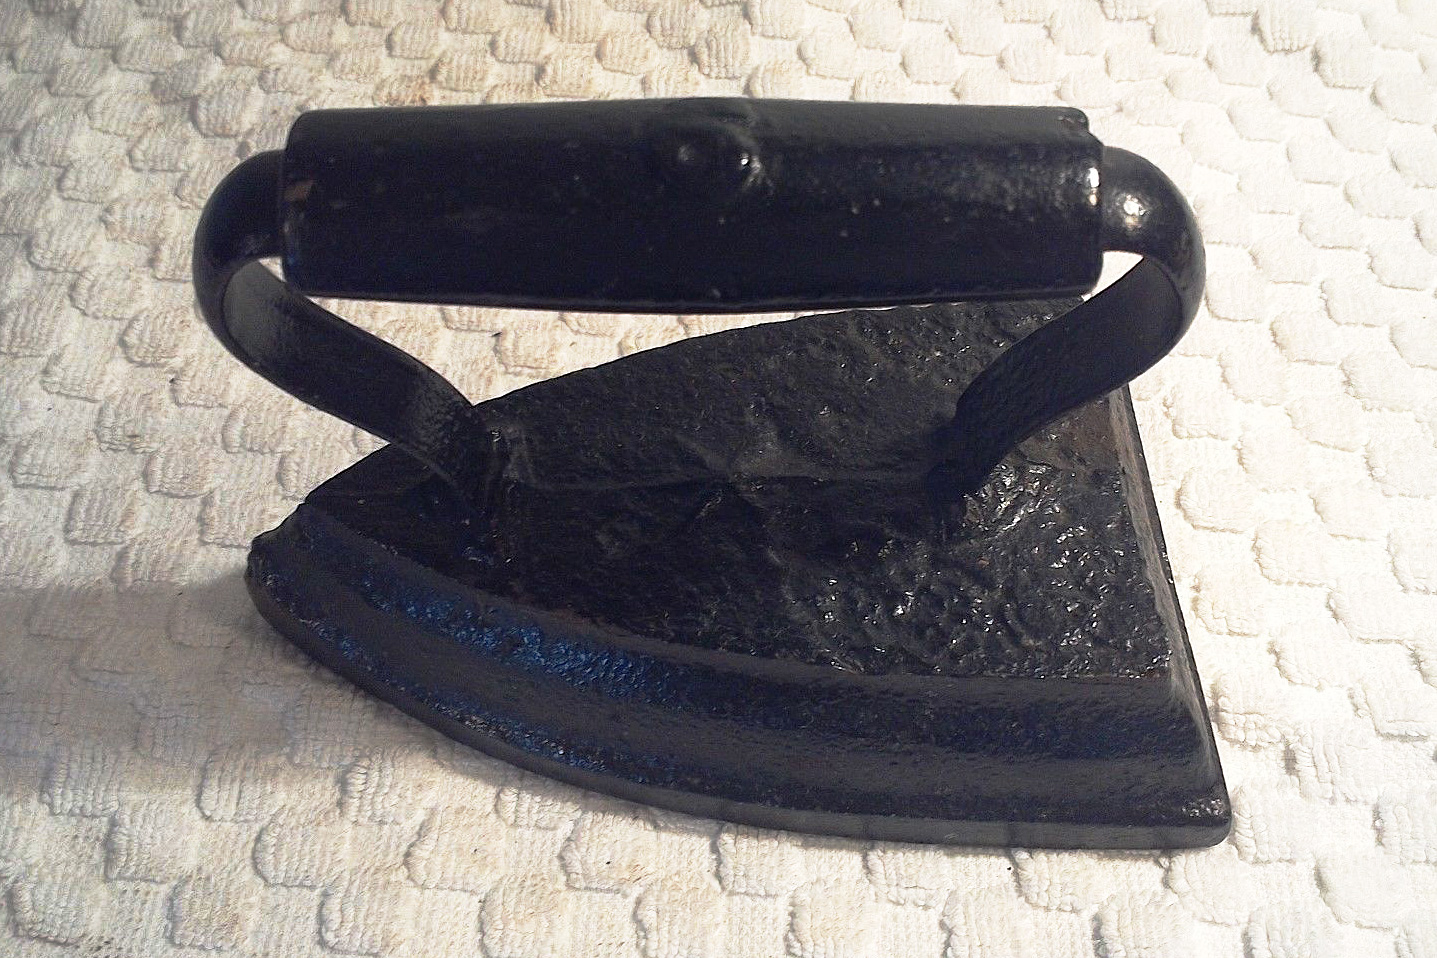
More than one source that I found mentioned older irons — “vintage” or “antique.”
In a world where smaller technological devices can steal the spotlight, believe it or not, heavier can be a good thing for an iron when it comes to pressing seams! More than one source that I found mentioned older irons — “vintage” or “antique.” And it makes sense because that extra weight could make it easier to smooth out your seams with a smaller amount of effort. So should you completely fall back on your grandma’s iron from the 1800s? Not necessarily! Remember what I said about steam? But that doesn’t mean that a secondary iron for this purpose can’t benefit you, especially since you can buy used ones for such small prices (like, less than $10). For a brand new iron though, thinking about that extra weight could lead you to the right iron, as could other details like whether or not it uses a cord. As a person who can forget something is plugged up and trip over a cord fairly easily, I think cordless might be a good option for me!
And, now that we’ve labeled some of the most important traits for an iron, the situation comes down to how you can find that perfect iron even after you narrow down your options by price, function, and build. My main recommendation for this step would be to read customer reviews and try for something that received a high average rating. You might also want to look at how many reviews the product has since a 4.5 rating over 5000 reviews provides more credible feedback than a 3.0 rating out of 2 reviews. Why? As an example, a 5.0 rating could’ve been lowered by a 1.0 rating from someone who was criticizing the seller rather than the product.
Look for irons that have a lot of reviews, read through them for details that fit your needs, and pay very real attention to the average ratings. If you do, you could have the right information to find the perfect iron for your products.