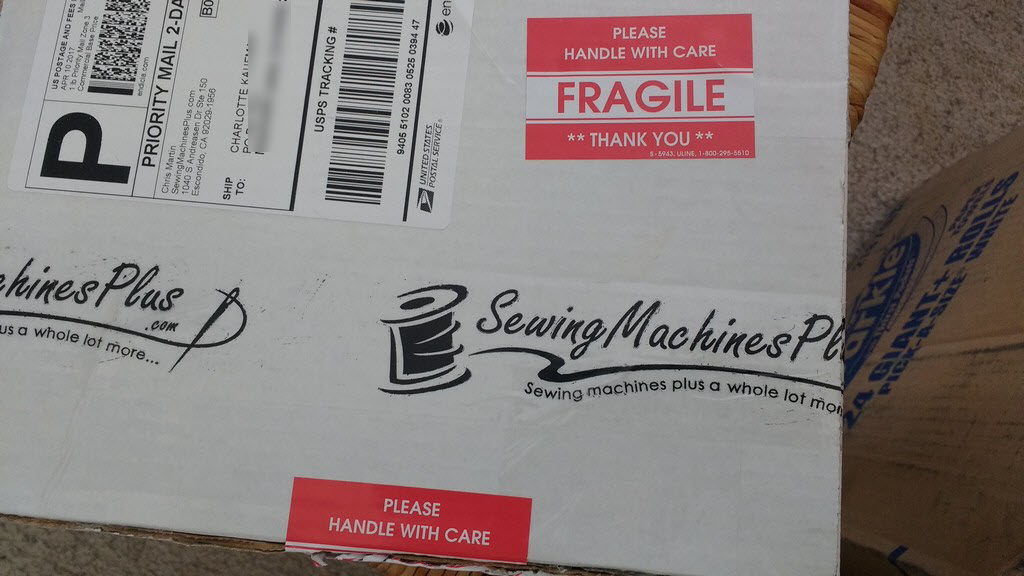
I love the feeling of getting sewing packages in the mail, don’t you? This particular box included a new tool that I’ve been excited to try. It is part of my top five sewing tools that will take your sewing to the next level, or at the very least, make your sewing more efficient and enjoyable.
I love the feeling of getting sewing packages in the mail, don’t you?
1. A sewing mini iron
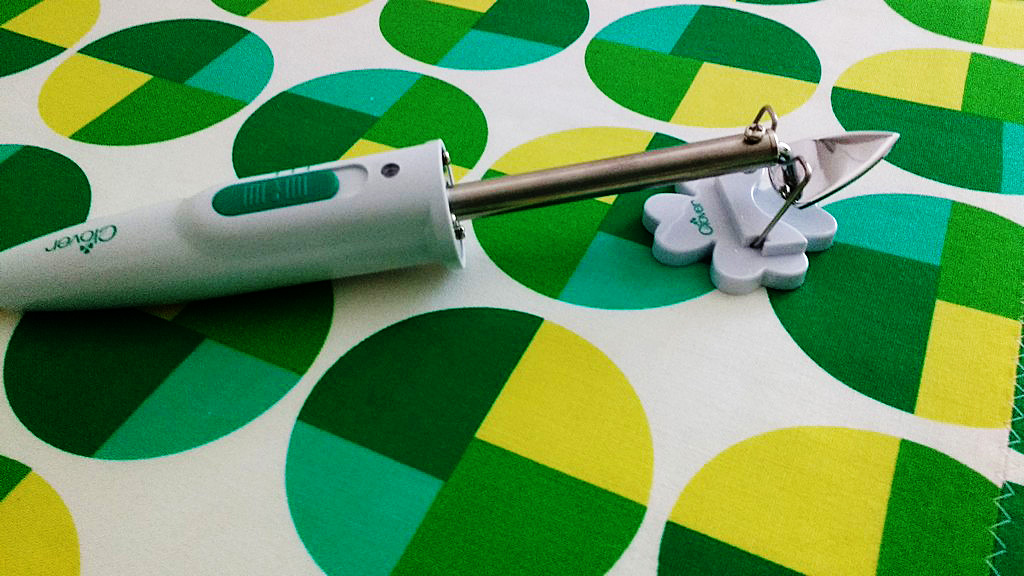
This is the Clover Mini-Iron. Isn’t it precious? I ordered it from SewingMachinesPlus.com and it is more than just an adorable accessory to your ironing board. A mini iron lets you iron hard-to-get-to seams or helps iron tiny seams on things like mini quilts.
It even comes with a little stand. Awwww.
It even comes with a little stand. Awwww.
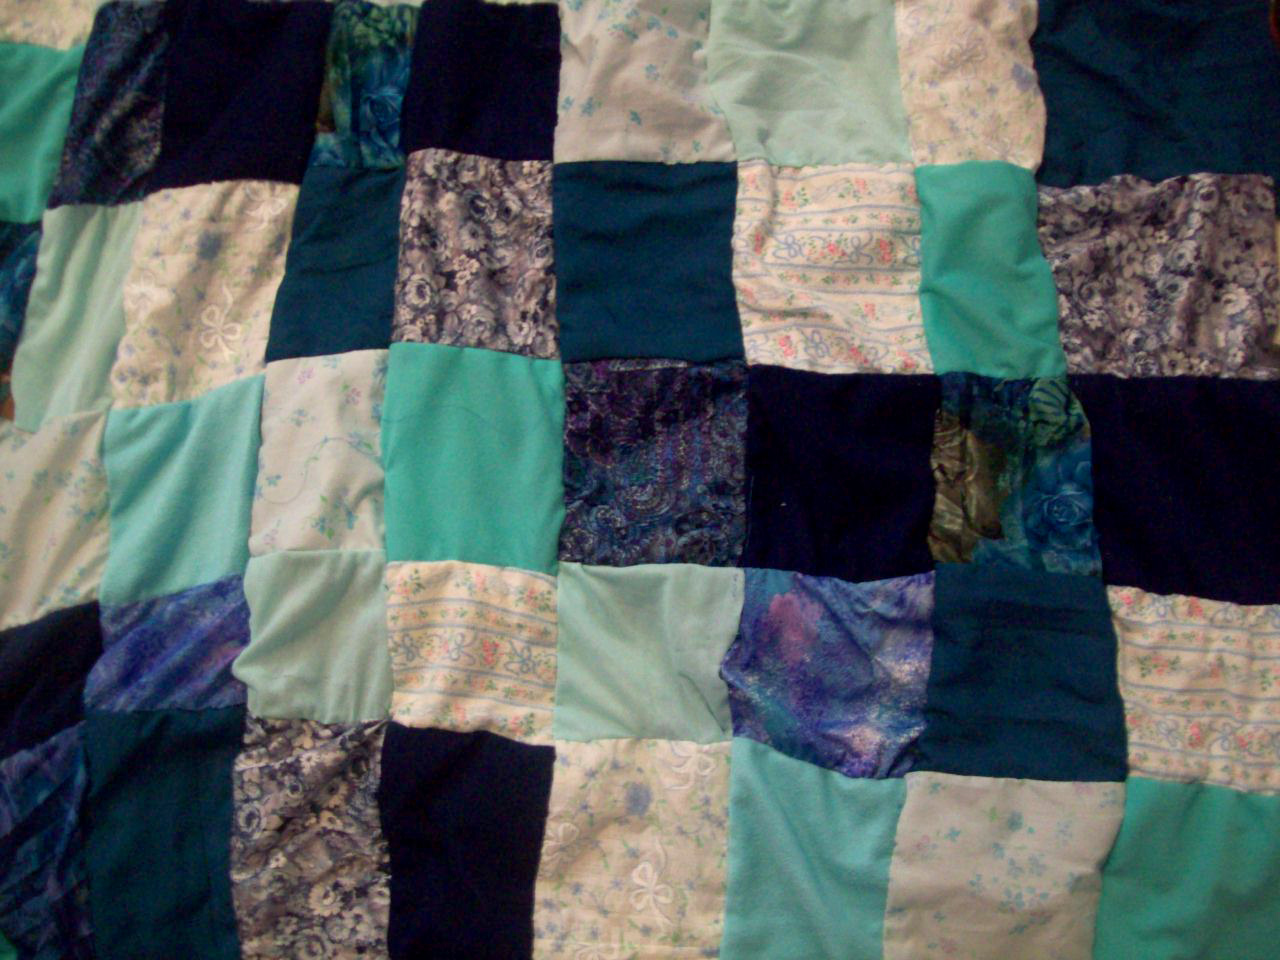
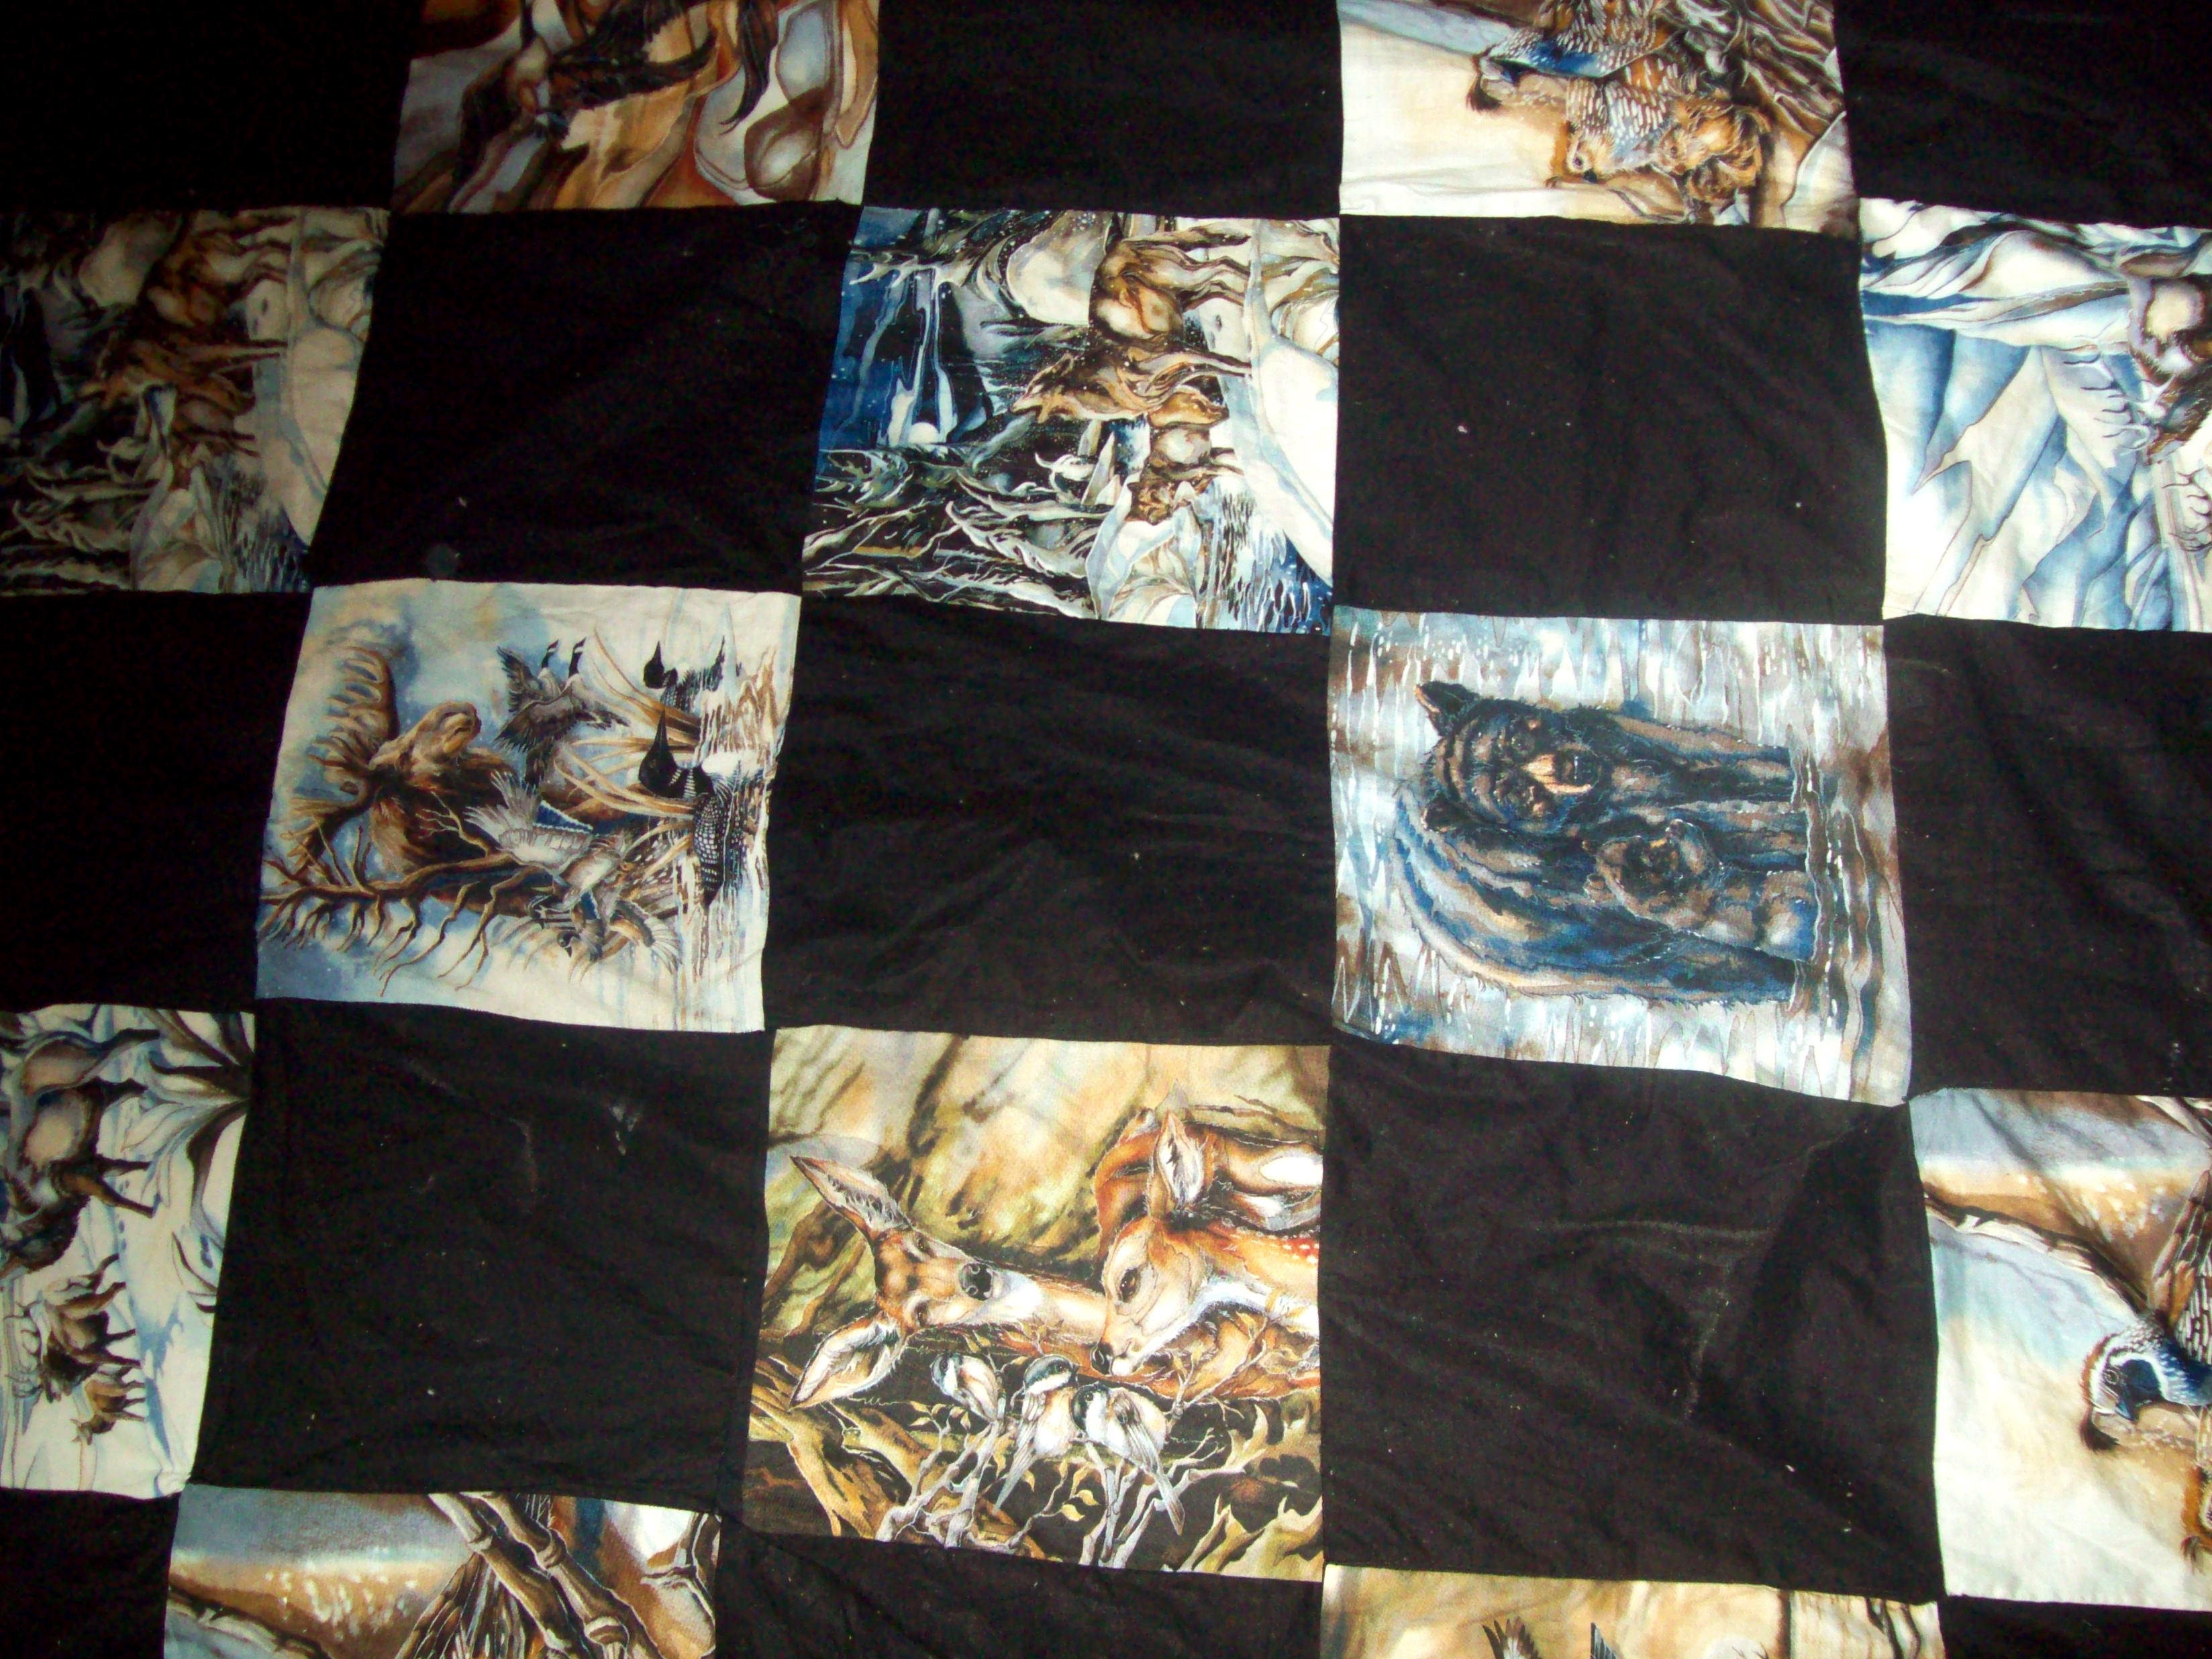
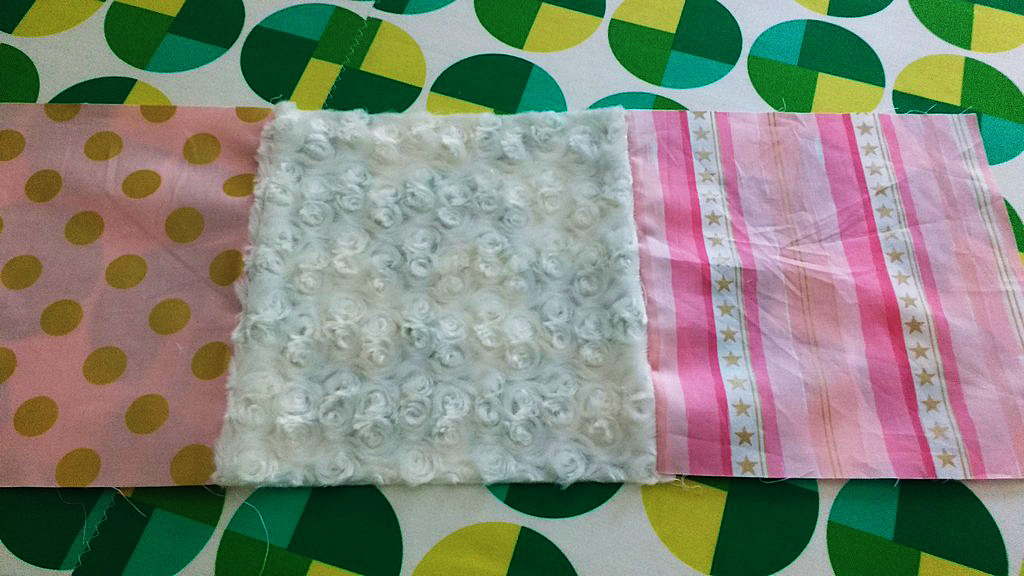
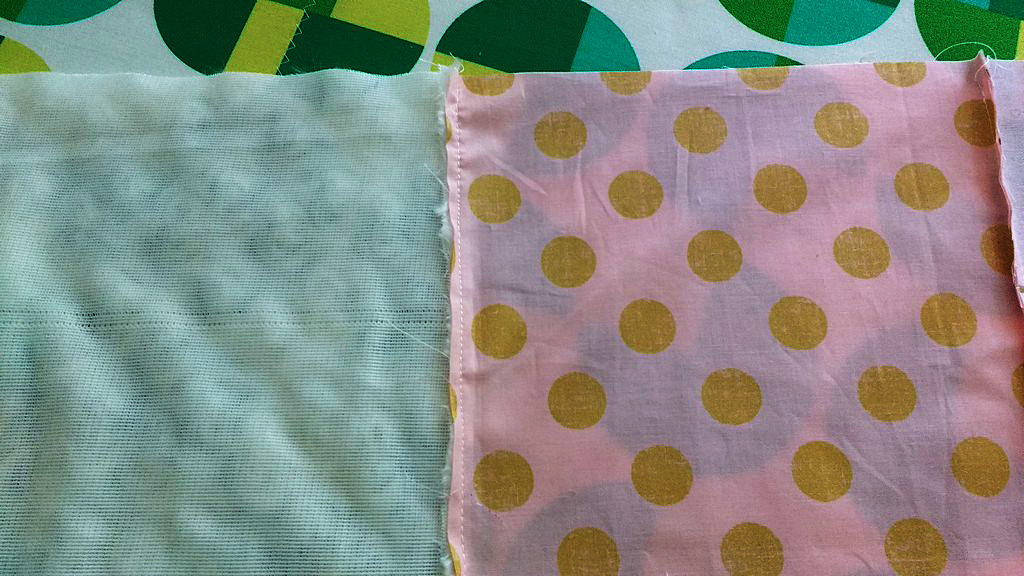
While I know I’ll have many opportunities to use this, I specifically bought it for this current project. My girls and I are working on BFF (best friends forever) quilts and the squares alternate with minky fabric.
My girls & I are working on BFF quilts with alternating minky blocks.
Using a regular iron to iron over the seams would be a challenge. Hot irons can melt or destroy minky fabric. (For more on how to sew with minky, check out my post here).
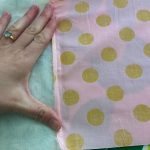
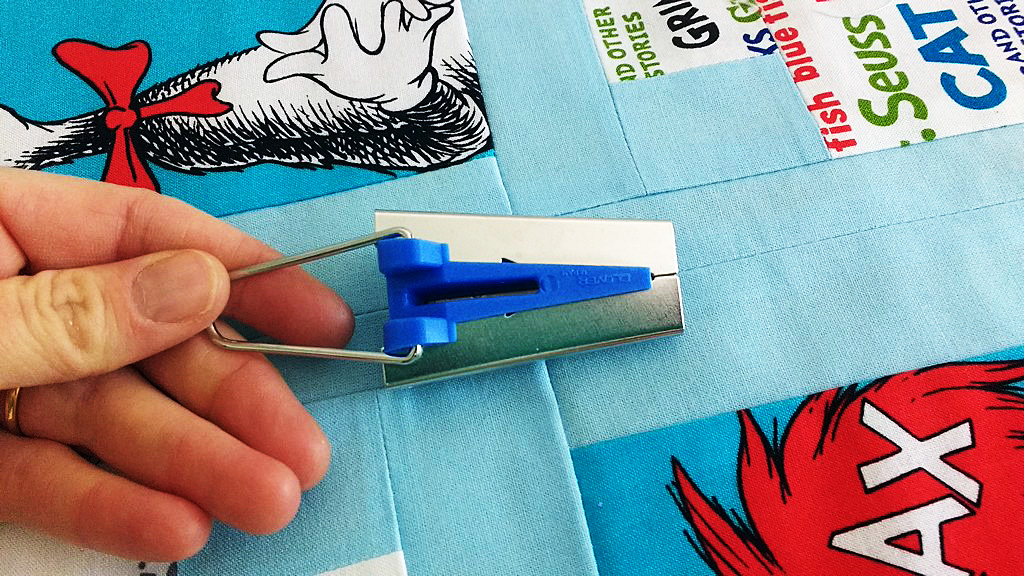
Here I folded the cotton fabric seam over the minky fabric and then placed a scrap of fabric over both. Then I ironed the seam down.
That’s what I’m talking about! This mini-iron is worth its weight in gold.
This mini-iron is worth its weight in gold.
For fans of mini-quilts, or anyone who wants to iron their seams open, the mini-iron makes short work of it.
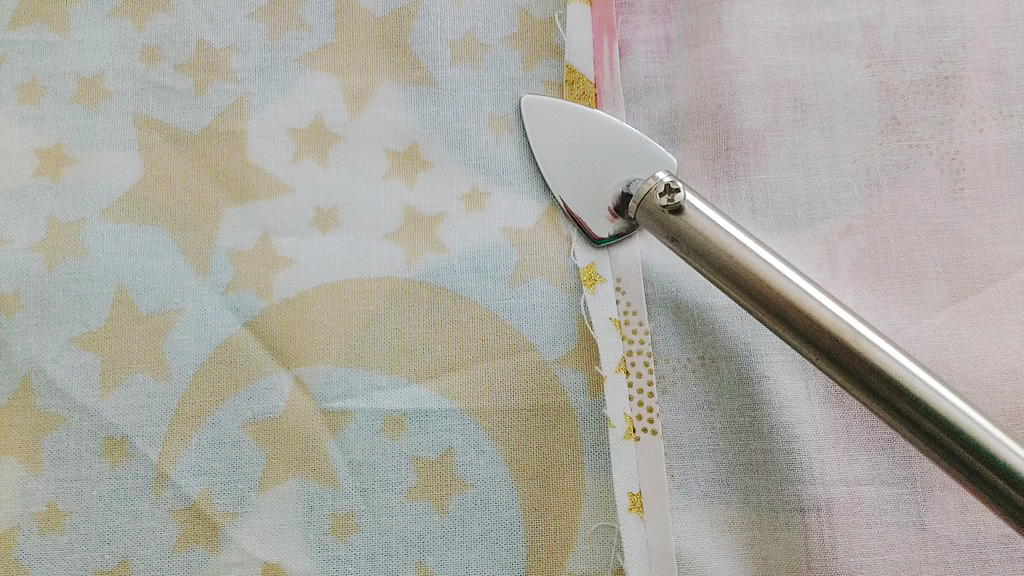
For fans of mini-quilts, or anyone who wants to iron their seams open, the mini-iron makes short work of it.
2. A rotating (rotary) cutting mat
Yep, you heard me correctly. This is a cutting board that rotates on its base. If you’ve ever had a pile of HSTs (half-square triangles) or any other type of project that involved a lot of trimming, you will never look back from making this purchase. SewingMachinesPlus.com sells several different sizes.
This is a cutting board that rotates on its base.
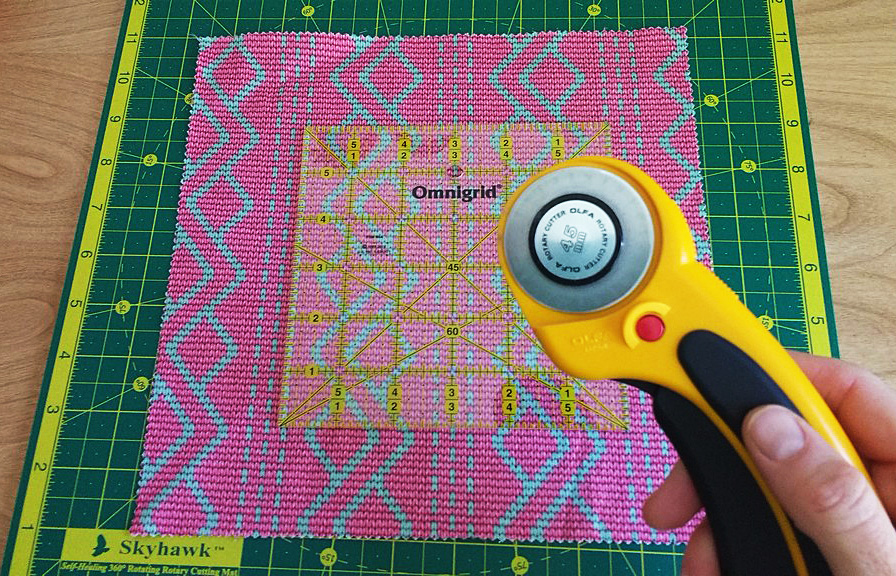
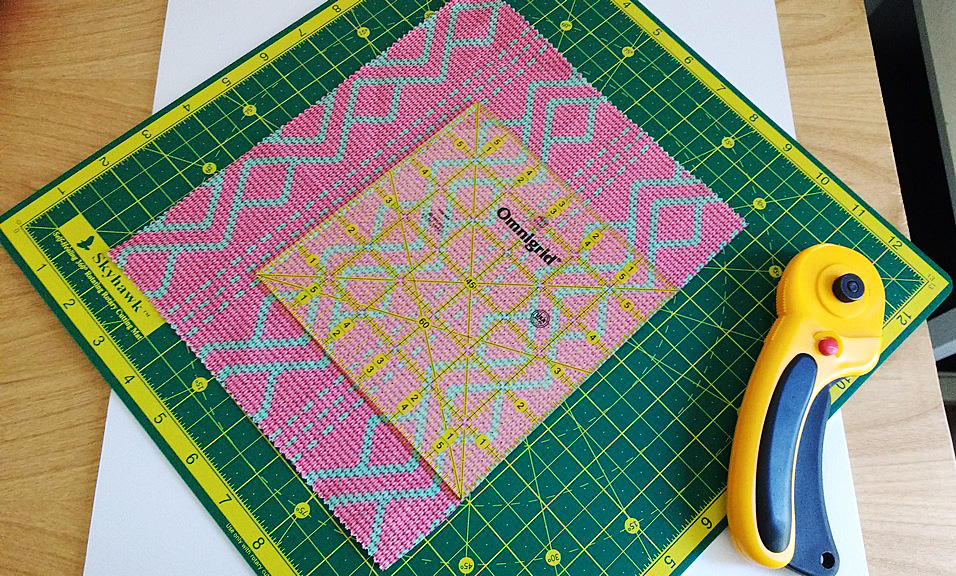
Here you can see I’ve cut one side of the fabric square. Prior to owning a rotary mat I would have had to move my body or the fabric and the ruler to make the subsequent cuts.
Here you can see I’ve cut one side of the fabric square.
Not anymore. Look how it spins!! The base stays put while the cutting board goes for a walk.
The base stays put while the cutting board goes for a walk.
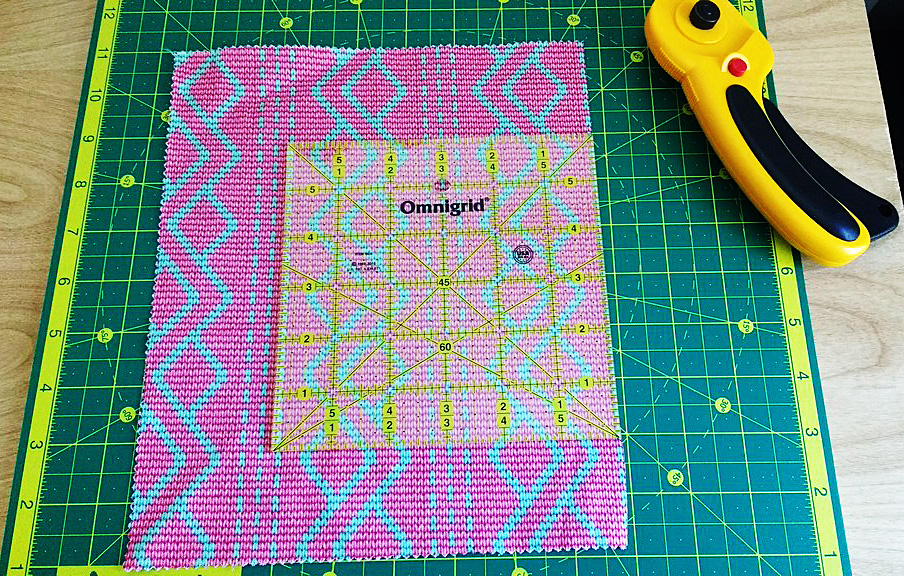
Here is my square fully cut. It’s a thing of beauty, no?
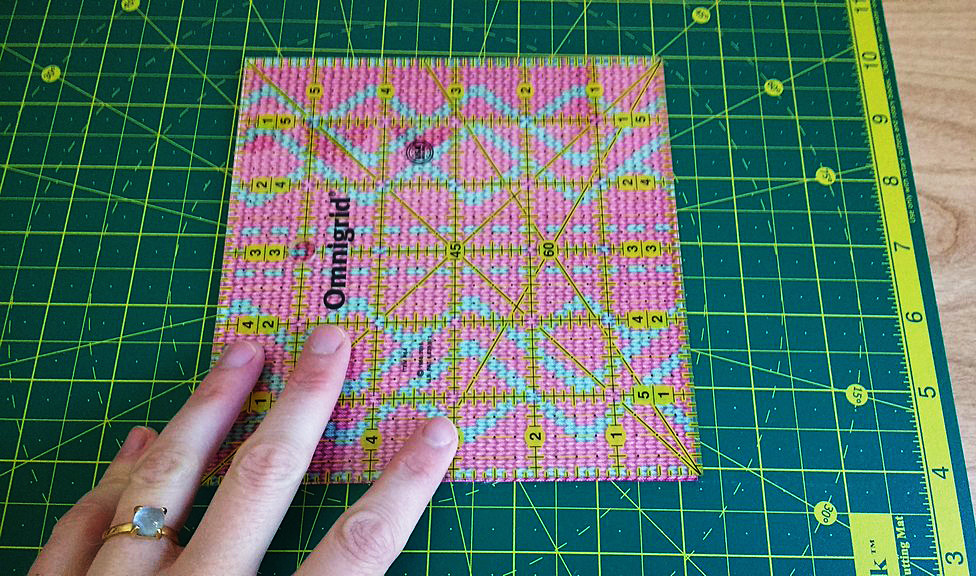
Here is my square fully cut.
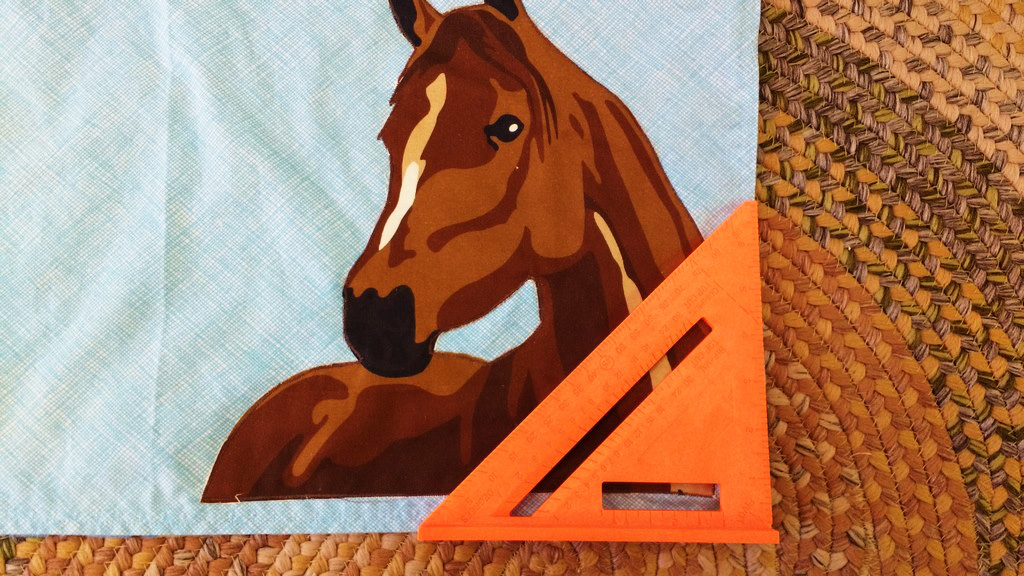
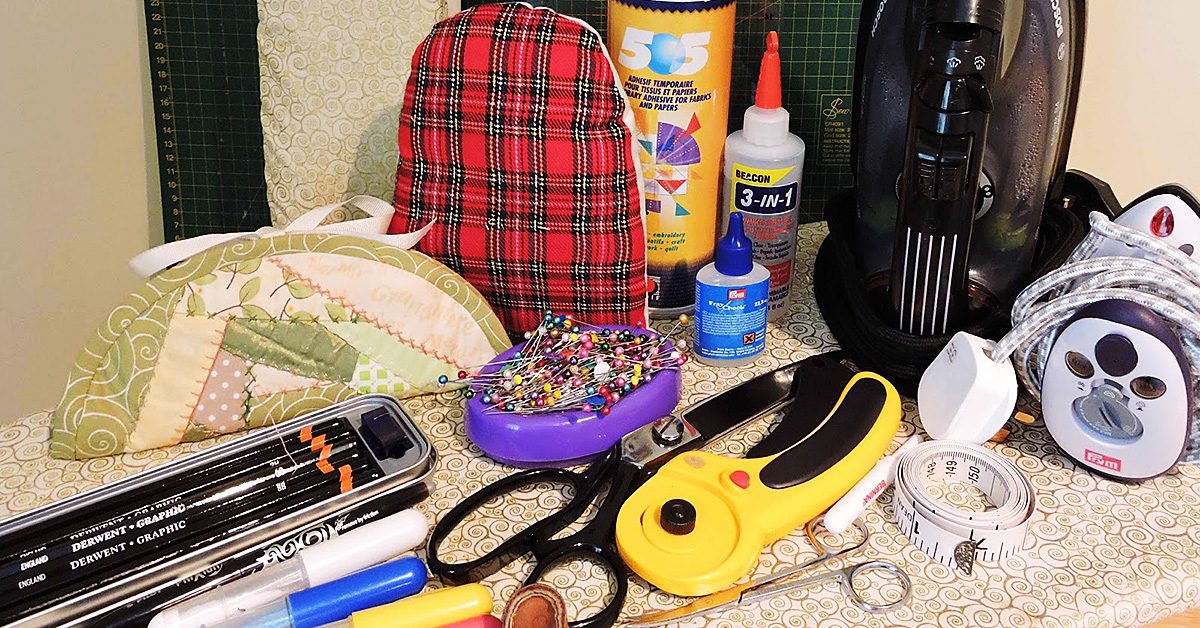
3. Rulers and grids
This is my assortment of rulers and grids. There is nothing like having the right tools for the job. The two square grids were purchases for projects whose final size HSTs needed to be trimmed exactly to the size of the grid.
The large grid on the bottom is 24” long and my primary ruler for measuring and cutting out my fabric. The 2” ruler is my workhorse, everyday ruler.
Lastly, I had to include a classic measuring tape. I have about seven floating around the house and in my backpack and car. You never know when you might need to measure something!
The small, black and silver ruler below the measuring tape is a seam gauge. It helps you mark precise seams at a variety of lengths.
SewingMachinesPlus.com has a wide assortment of rulers and grids: https://www.sewingmachinesplus.com/searchresults.php?search_field=omnigrid

SewingMachinesPlus.com has a wide assortment of rulers & grids.
I also have this heavy, metal, 48” ruler that I use for canvas and large home interior projects, or when cutting very large lengths of fabric.
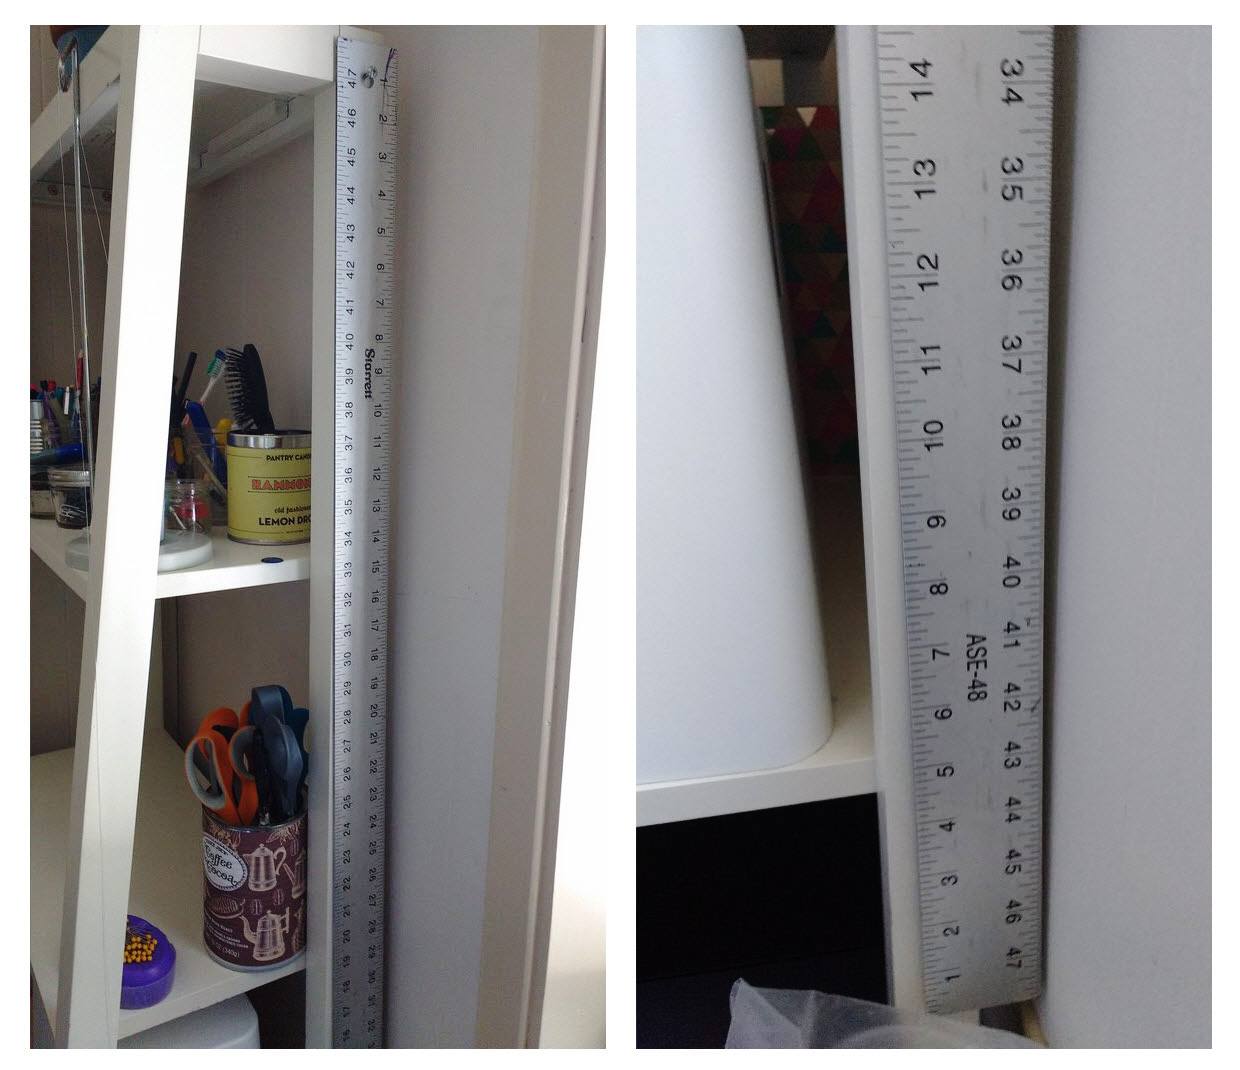
I also have this heavy, metal, 48” ruler.
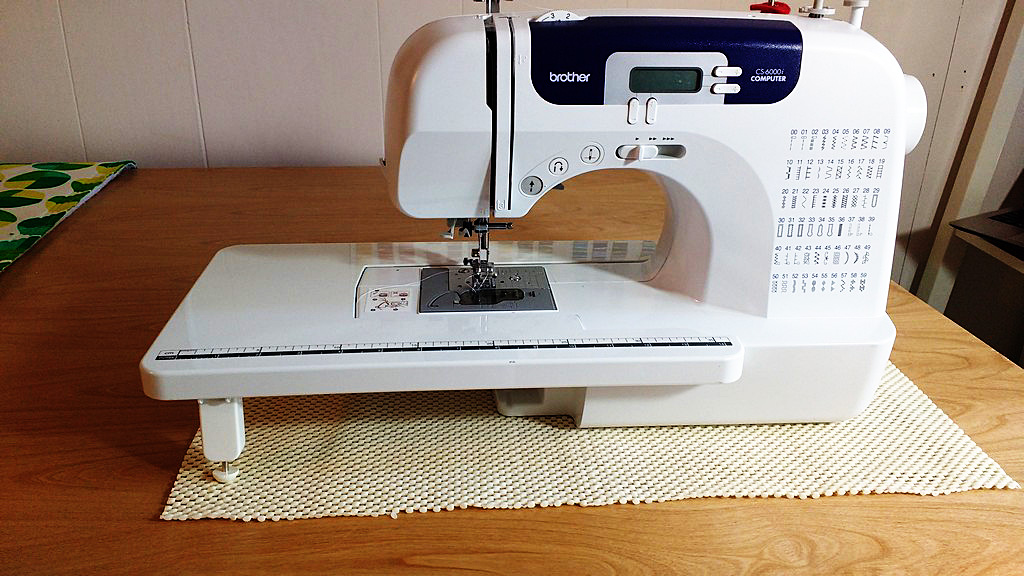
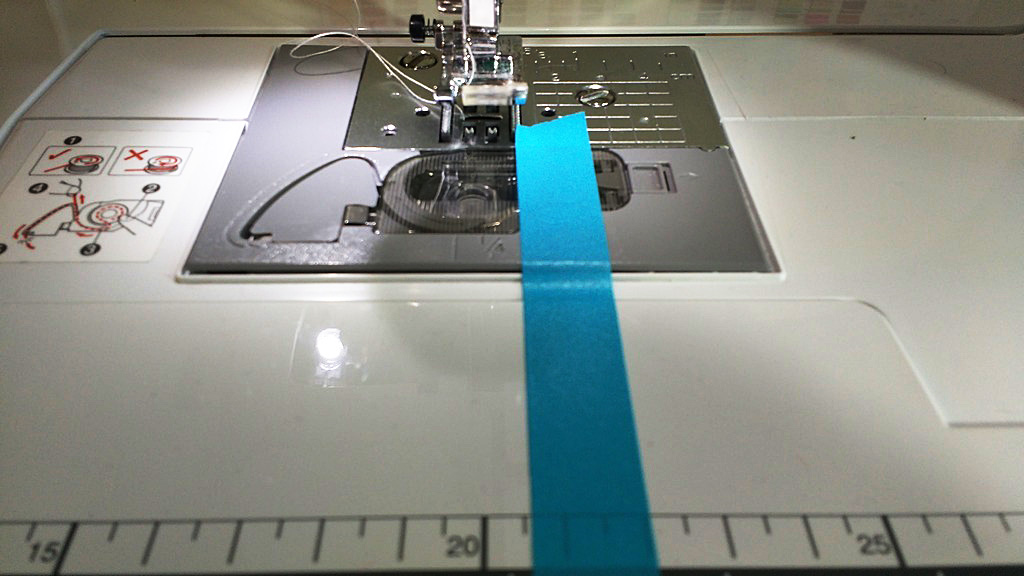
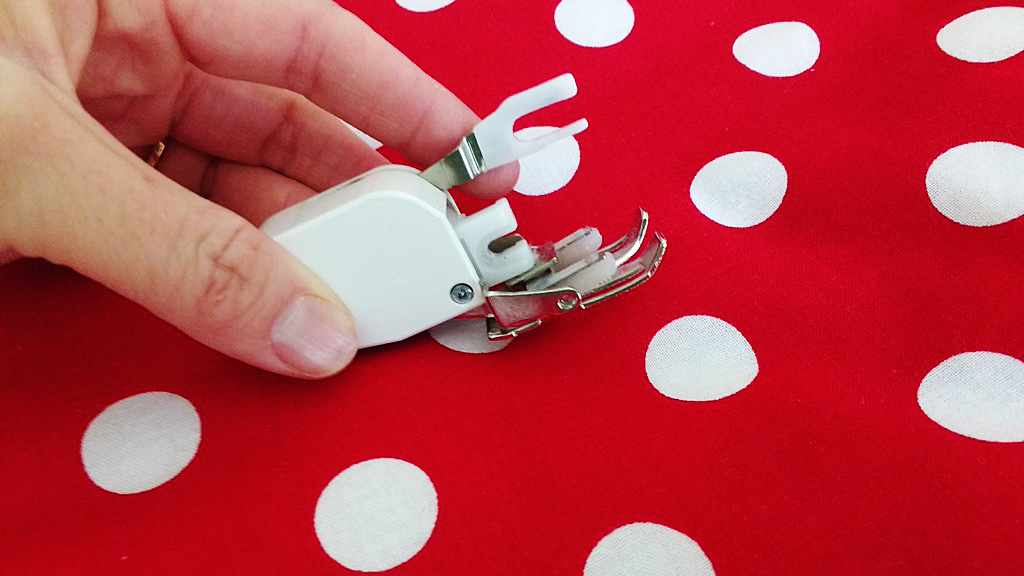
4. A walking foot
I mention my walking foot a lot in my posts here and that’s because I use it a lot. In fact as a rule, I have it installed as my go-to sewing foot and only switch out to other feet as needed. Your machine probably came with one and you tucked it away not knowing what the strange, Star Wars-like contraption was.
Get it out of the box and learn to use it! If you quilt or work with thicker fabric, your walking foot will be your best friend.
Get it out of the box & learn to use it!
If your machine didn’t come with one, I guarantee the maker of your machine sells one as an accessory. Check out all the options available on SewingMachinesPlus.com here.

Image via The Seasoned Homemaker.
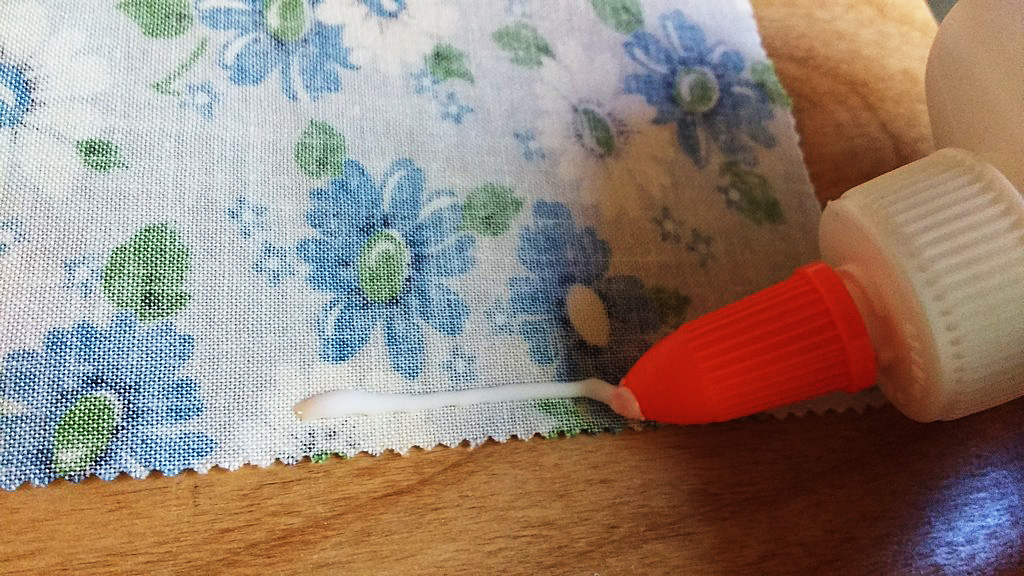
5. A bias tape maker
There will come a point in your sewing career when the pre-made bias tape available in stores and online just doesn’t meet your needs. When you get to that point, grab a bias tape maker, in fact, grab a few (they make different sizes of tape). With one of these humble tools you can make both single and double-fold bias tape and the sky is pretty much the limit as far as your creativity goes.
When you get to that point, grab a bias tape maker, in fact, grab a few (they make different sizes of tape).
You can make coordinating, contrasting, or complimenting colors of bias tape to match your projects and the process is extremely quick. It won’t be as fast as using premade, but I promise it will be worth it.
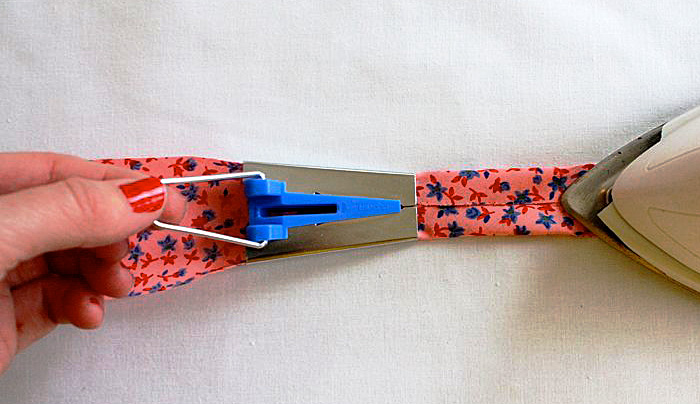
Image via Made Everyday with Dana.
Do you use any of these tools already in your sewing projects? What other tools would you add to a list like this? Let us know in comments!