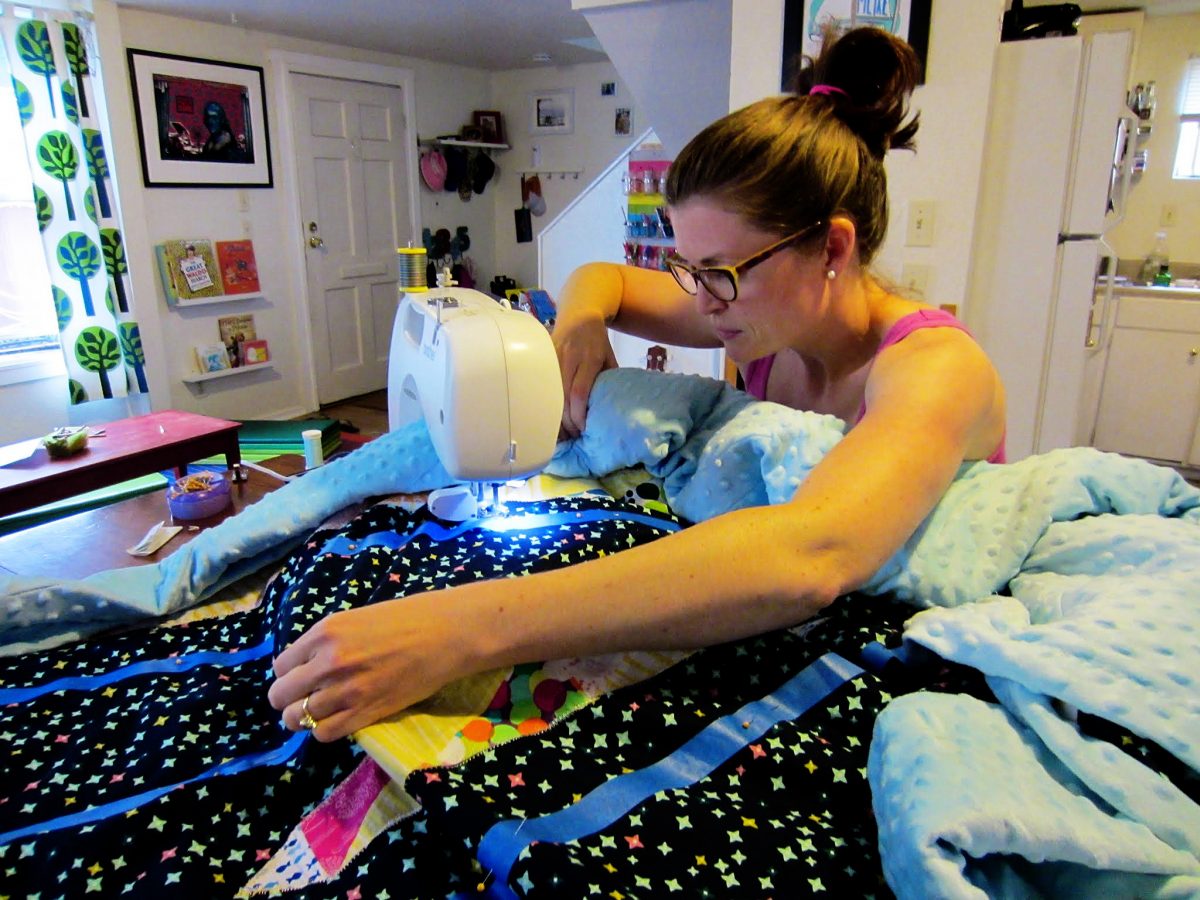
As I step further into the world of sewing, I find that there’s plenty of information out there that I didn’t even know to look for. My primary focus in sewing has been patchwork designs, and I definitely continue to hold a passion in regard to that style of work. I’d love to have a patchwork purse, patchwork clothing, patchwork pillows…
My primary focus in sewing has been patchwork designs, & I definitely continue to hold a passion in regard to that style of work.
But I’m not sure I fully realized how many other avenues there are to plan out a quilt before I started looking, and those are details that can be interesting finds! Some of them, though, require a bit of an explanation to truly understand what a quilt of that nature is, and this post will explore one of those types in particular.
Once upon a time
I was in a social media marketing program where, for two of the classes, I had to keep a blog for a business. For one course, I used my author career as the business. For the other, I created a could-someday-be-real quilt company. It was fine, by the way, for the company to not actually be real in the current world!
The idea was that we were to explore marketing concepts through the blog and end up with a marketing plan — at least generally — by the end of the semester. During that quilt-company semester, I came across the idea of a primitive quilt, which was a fairly new phrase to me. At the time, I focused mostly on the social media presence of one particular company, but I find myself now thinking on what exactly a primitive quilt is.
During that quilt-company semester, I came across the idea of a primitive quilt, which was a fairly new phrase to me.
If I claim to be quilter, after all, it might help to know the basic terminology!
After research and consideration of a number of quilts with the label of “primitive,” I offer you a number of details that help to make a primitive quilt… Well, primitive! Note: These are commonalities — not necessarily requirements through and through!
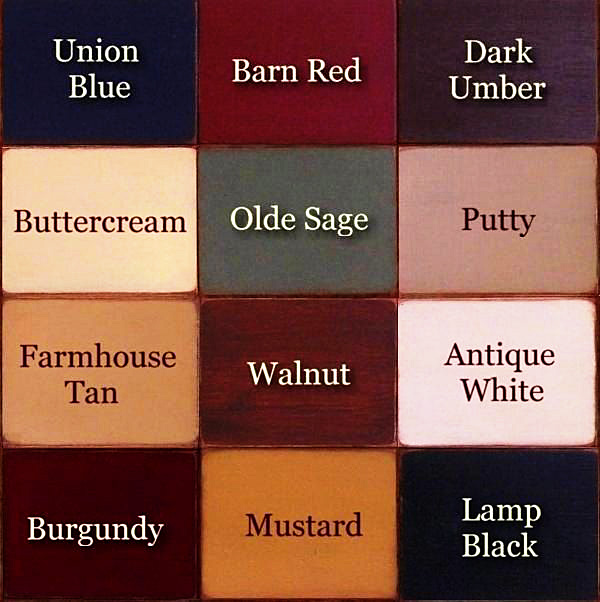
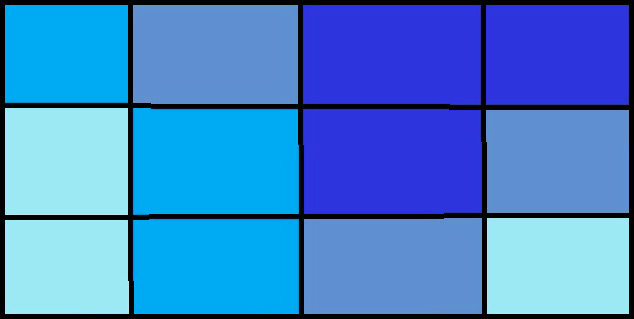
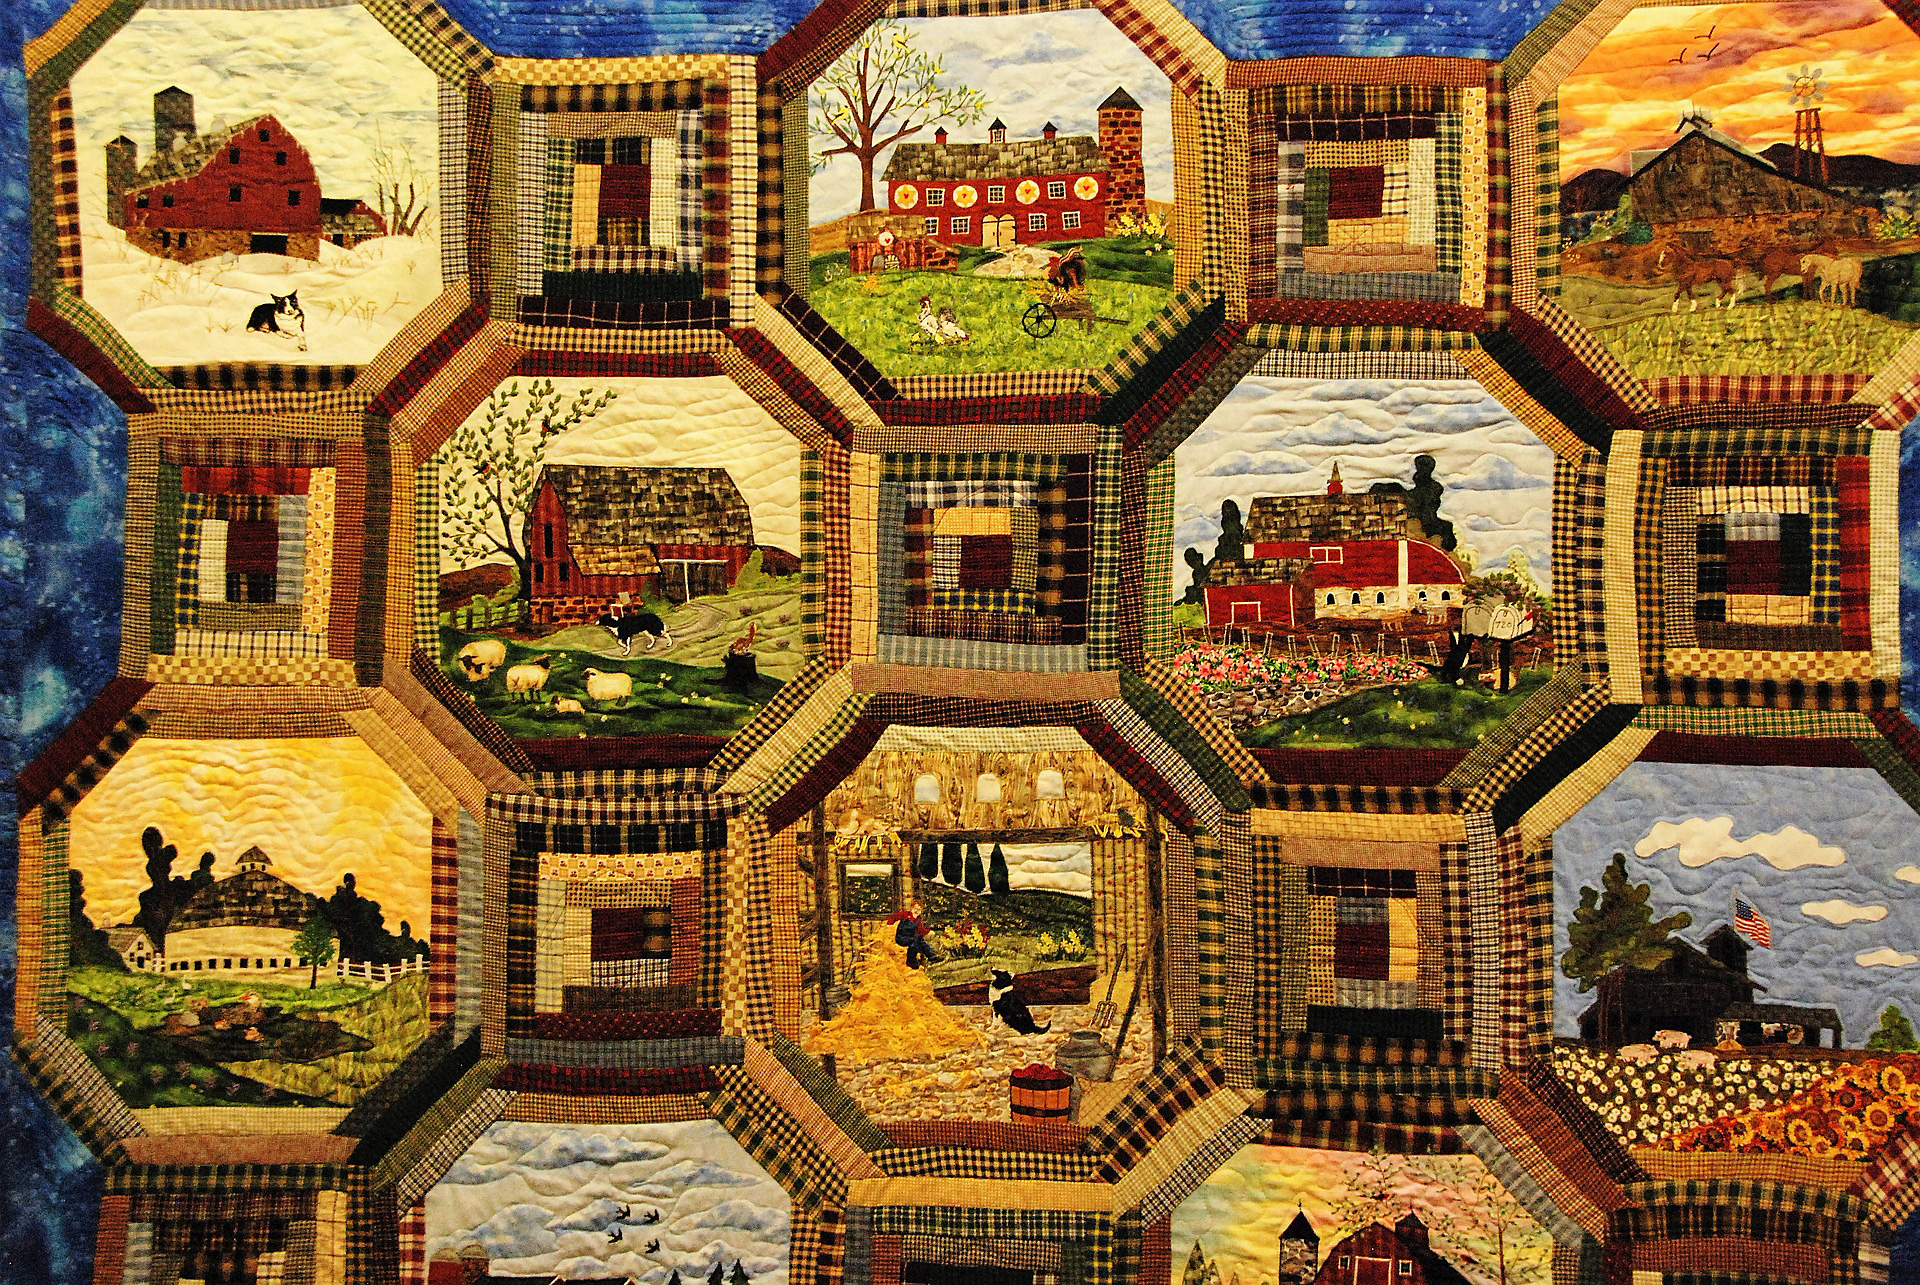
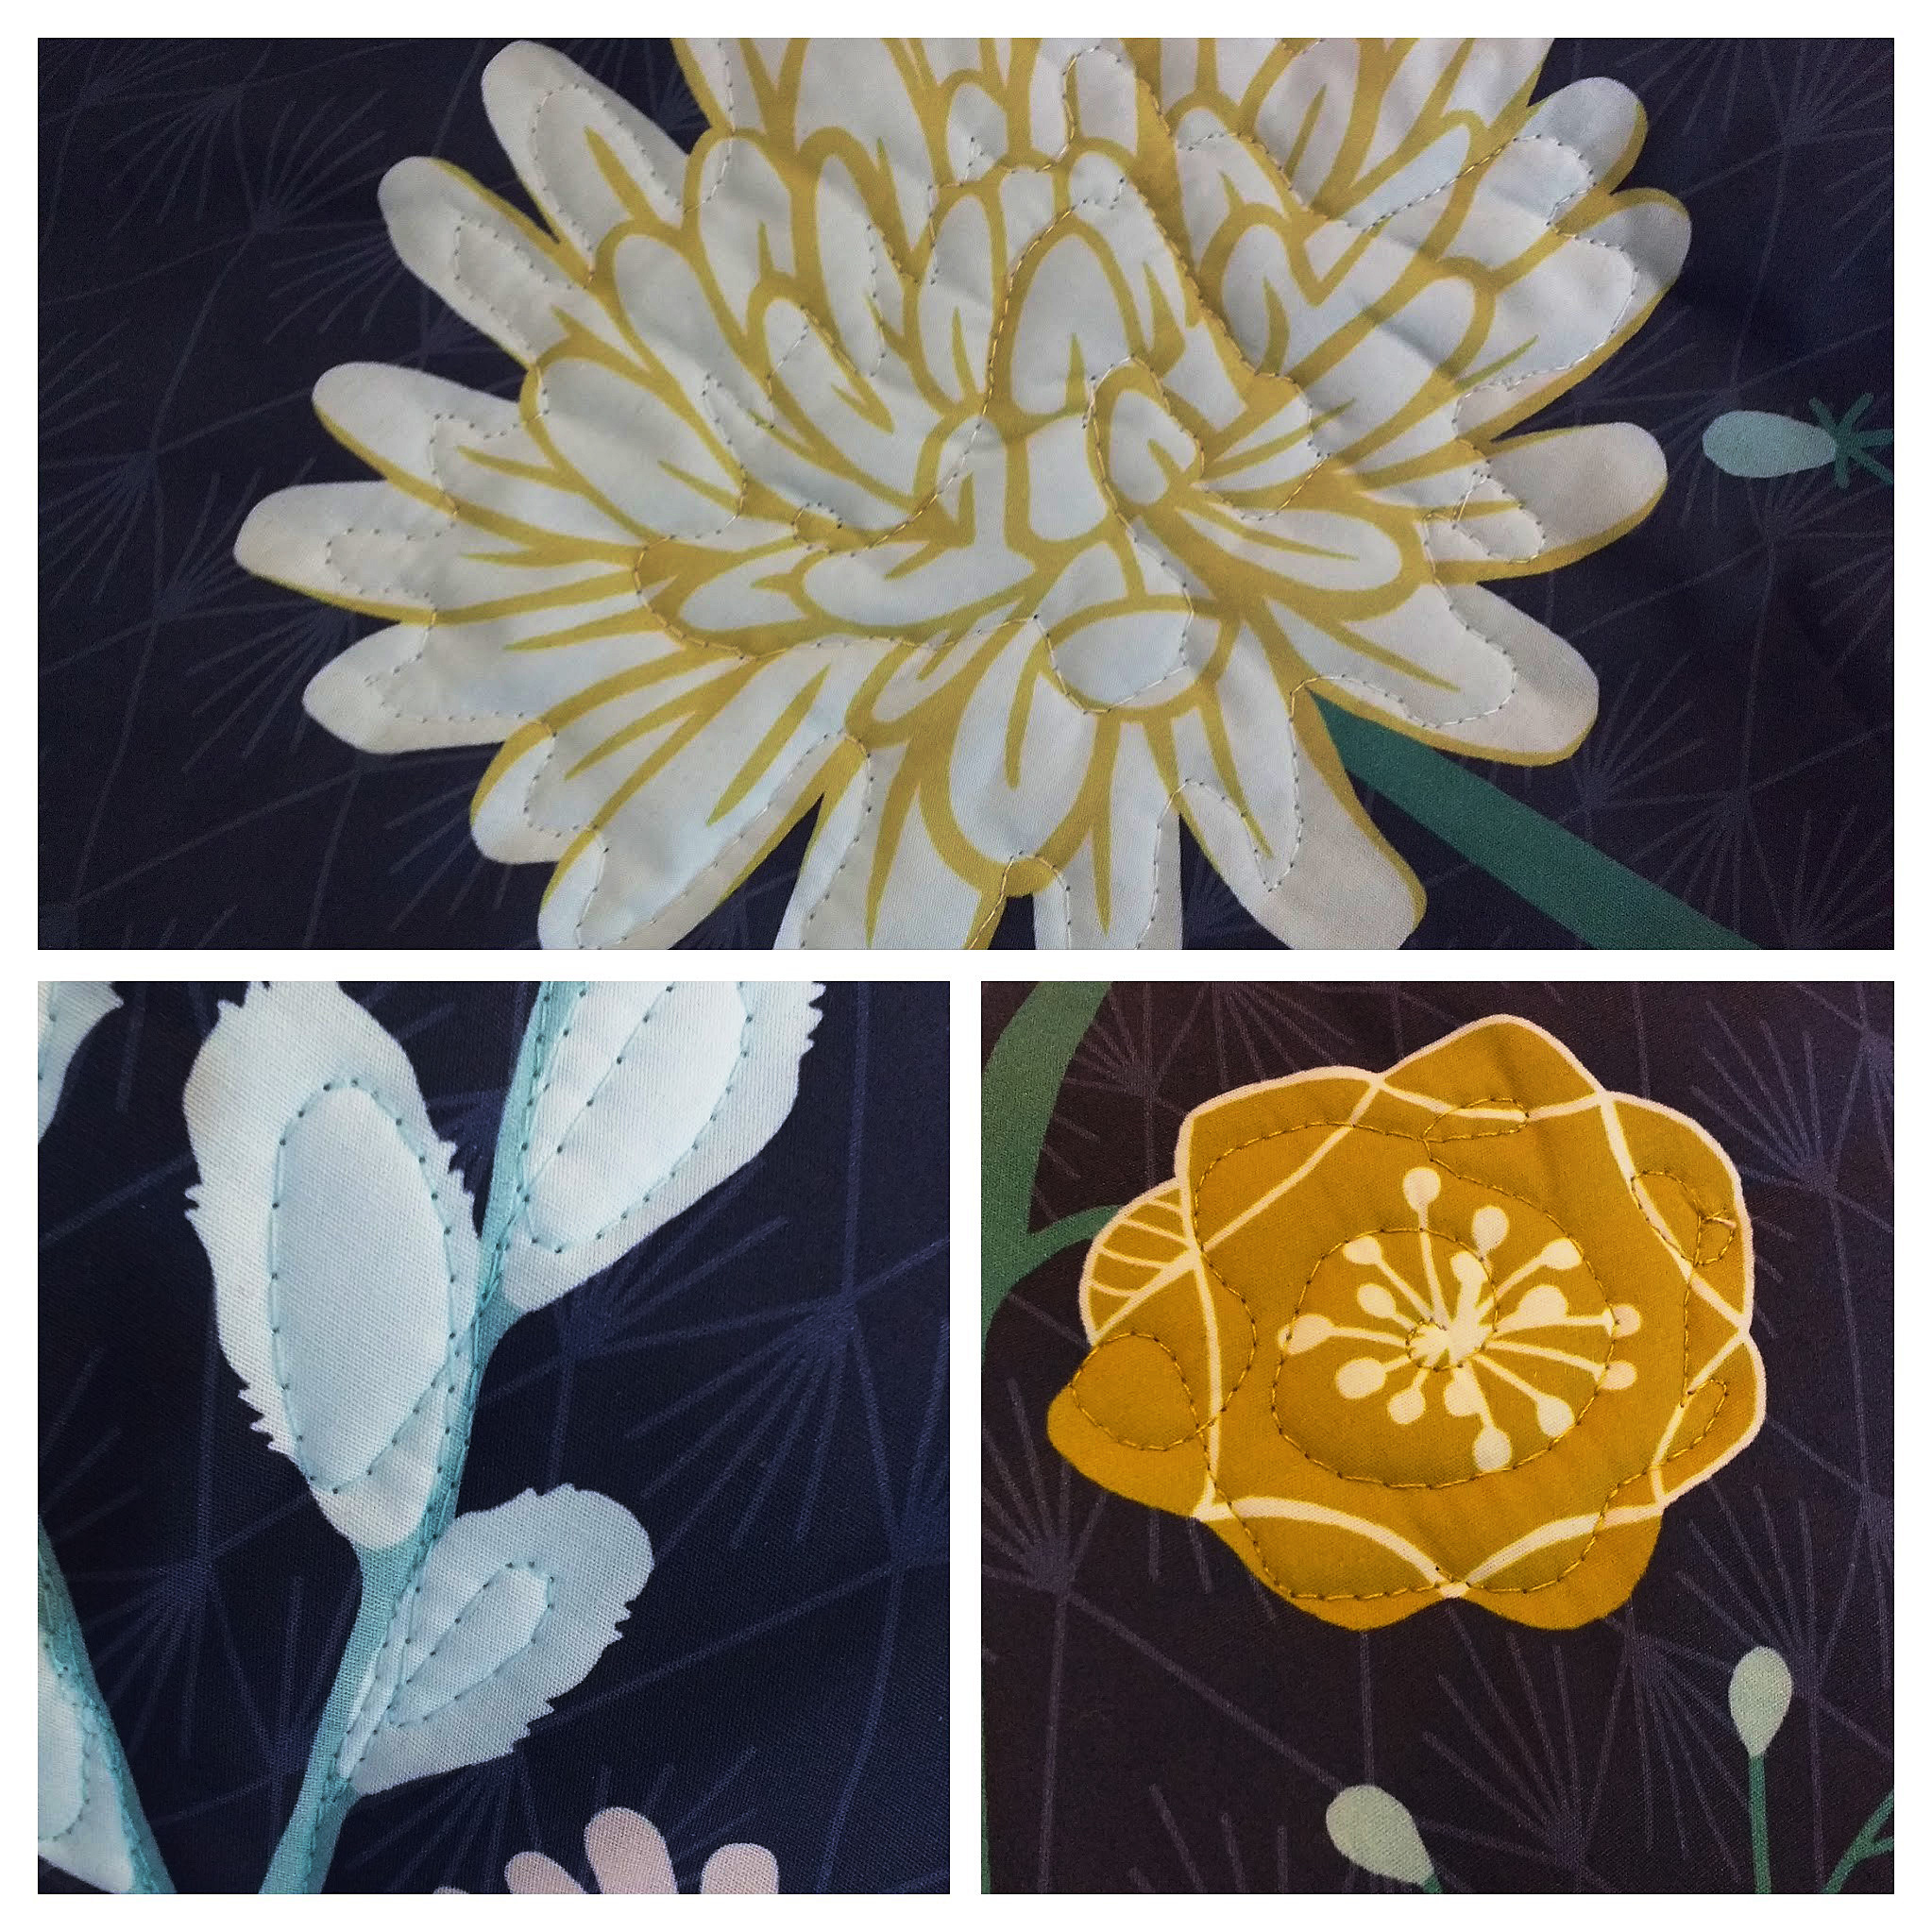
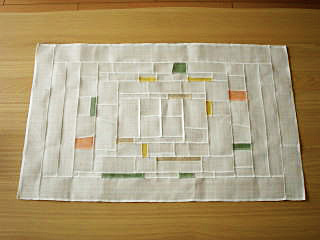
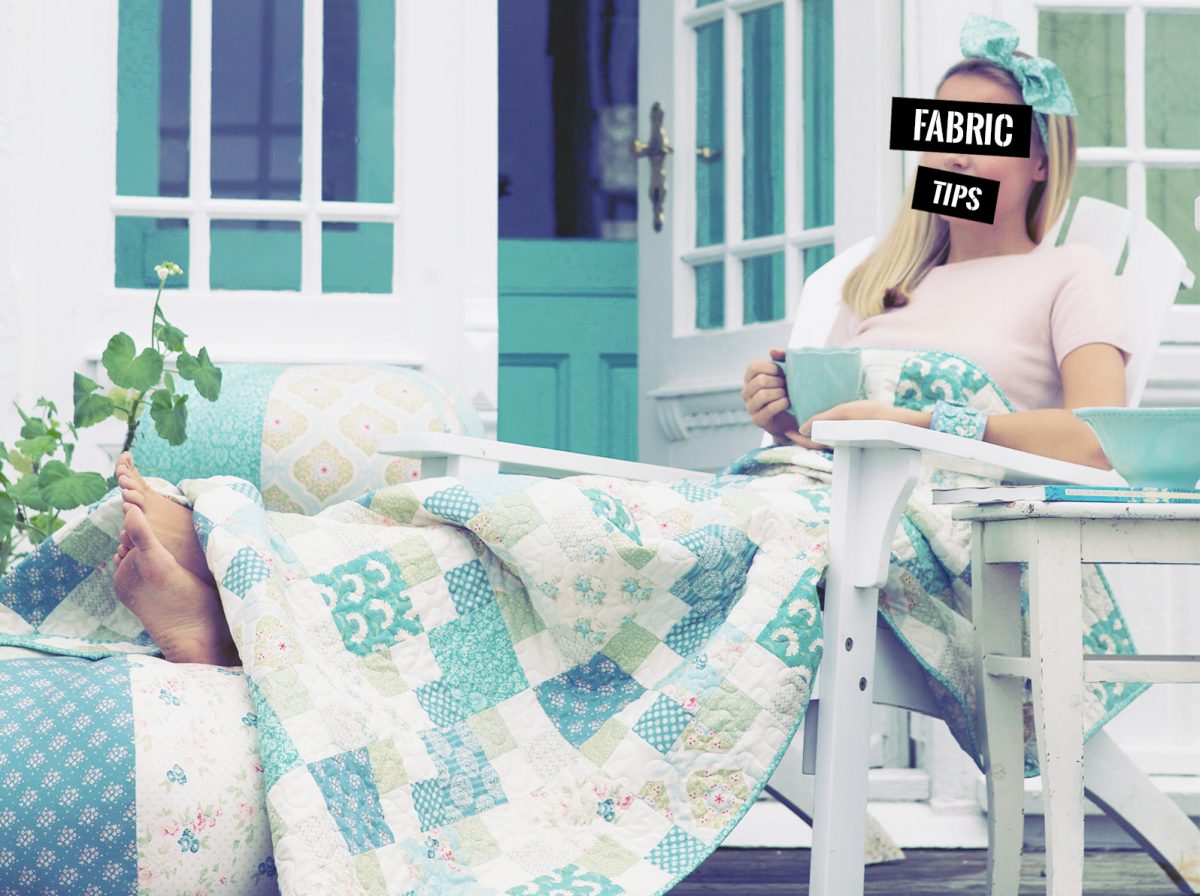
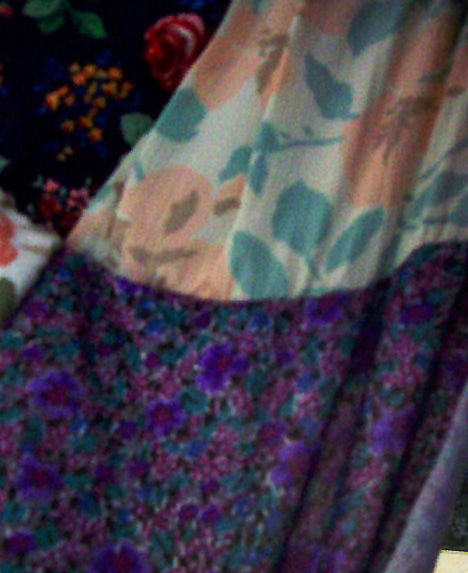
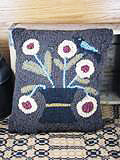
A primitive quilt will make use of neutral colors, though things like dark red & dark blue can make appearances.
Basic Coloring
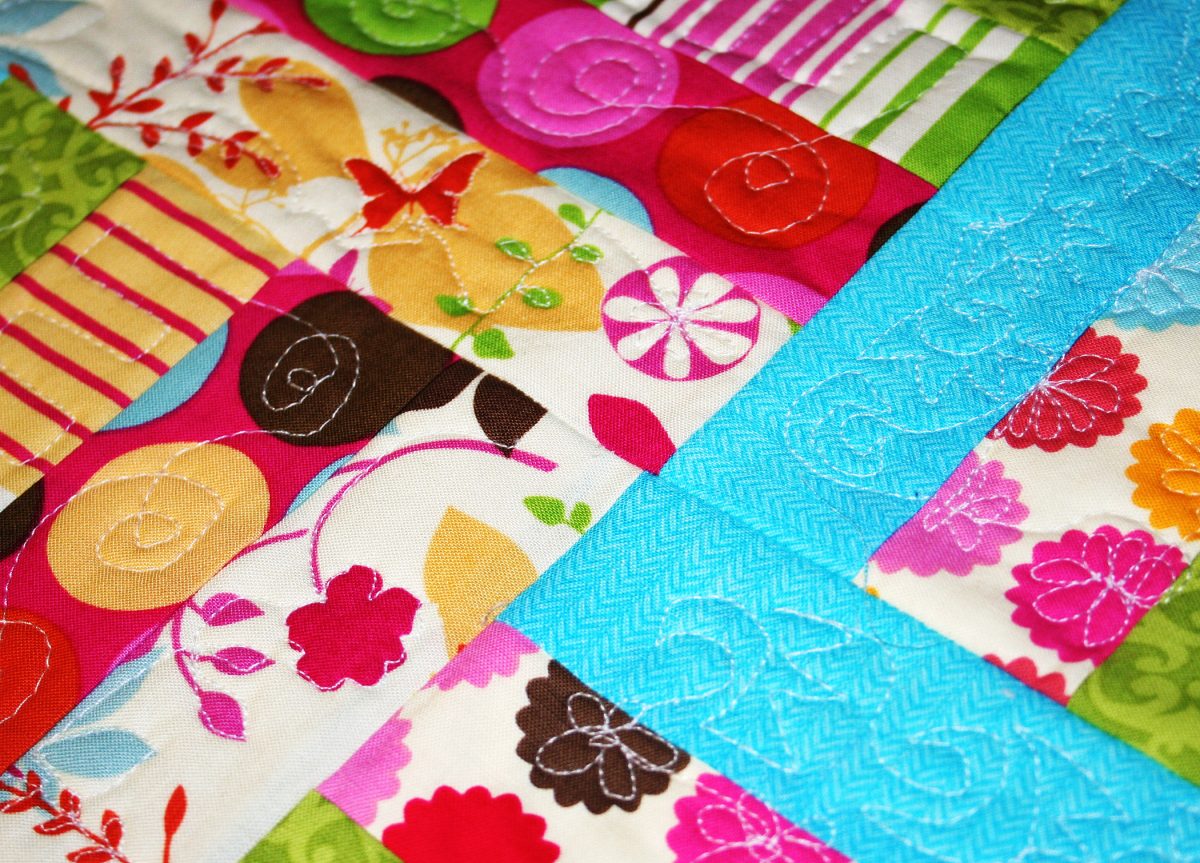
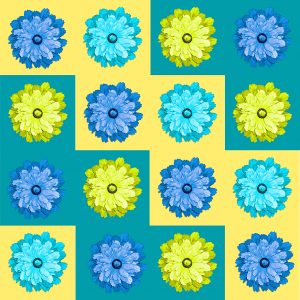
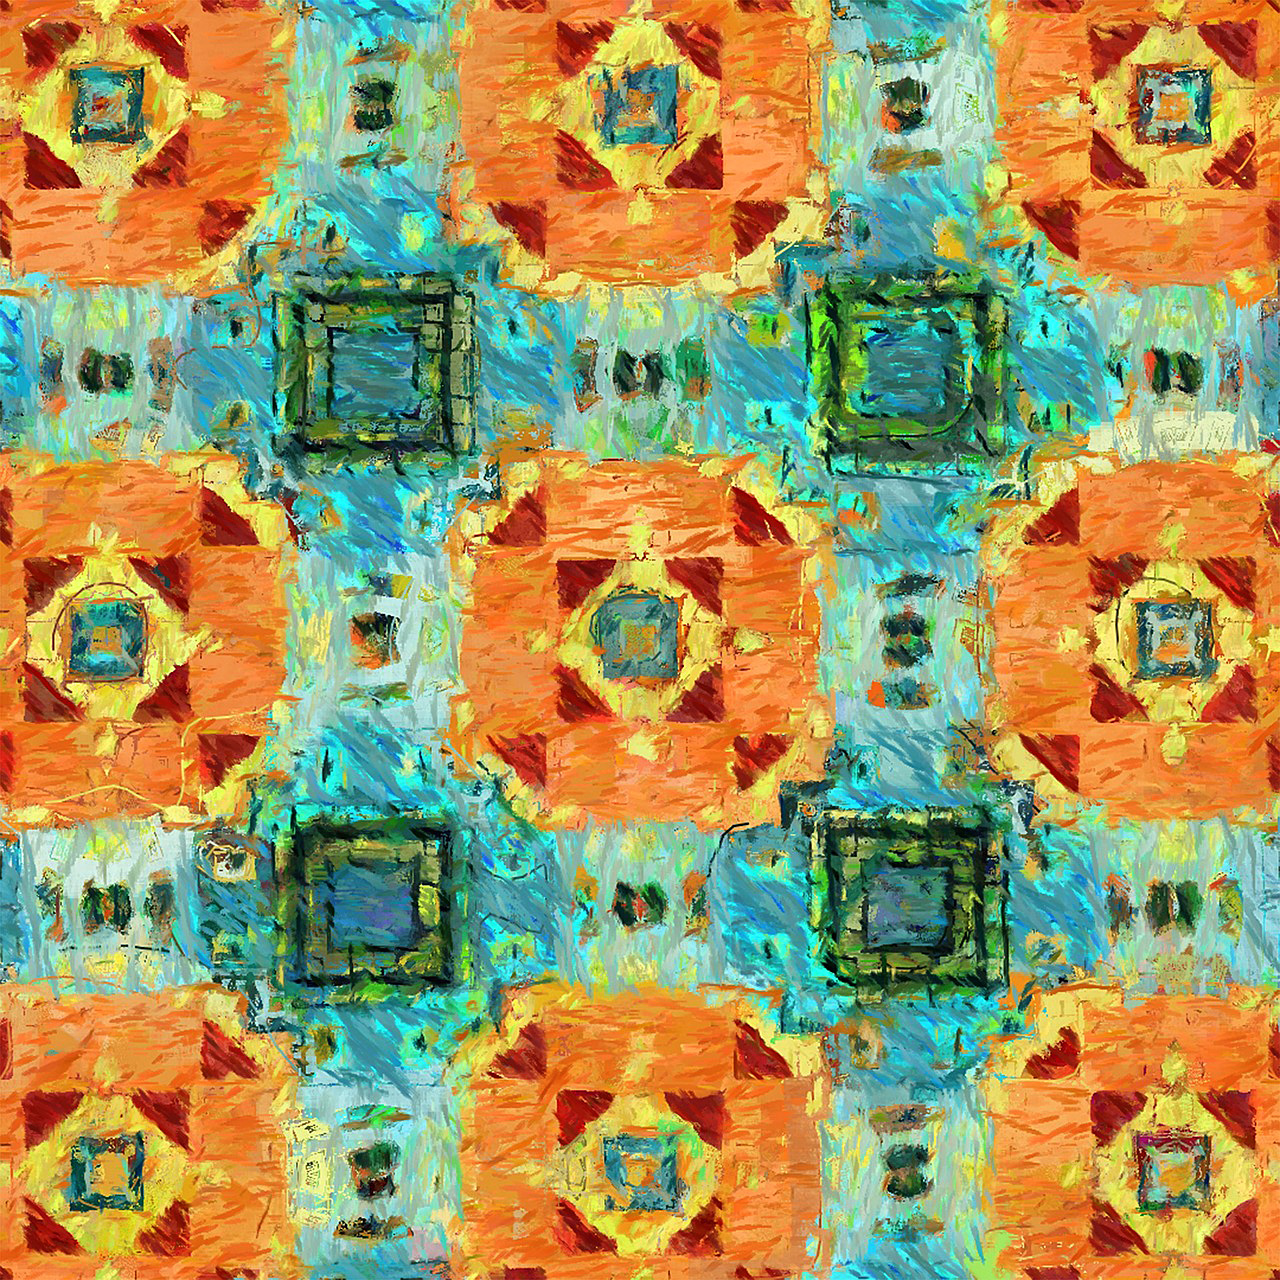
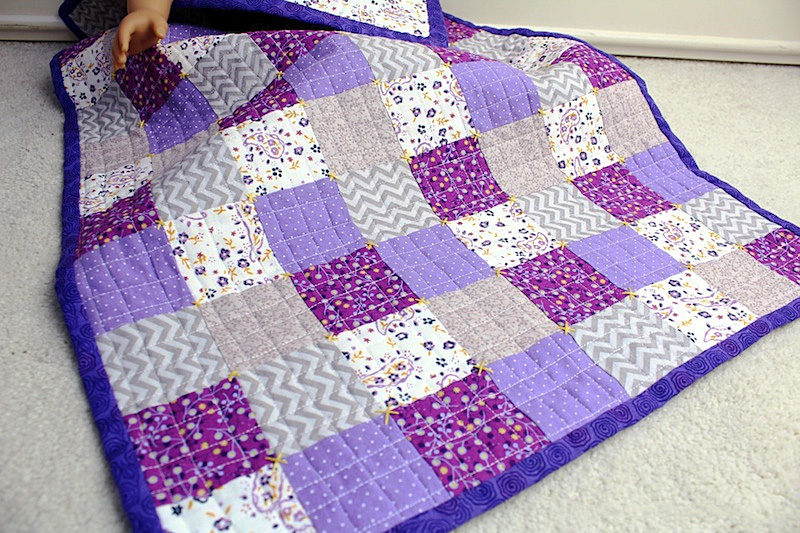
By this, I don’t mean a color-equivalent to no-artificial-flavoring! I mean that the colors are typically more straightforward than neon oranges and vivid pinks. Instead, a primitive quilt will make use of neutral colors, though things like dark red and dark blue can make appearances. These quilts often employ the colors that you might think of when words like “rustic” come to mind — which rationalizes why red and blue are used in regard to red barns and blue skies. In the end, if you plan on making a primitive quilt, you might want to keep the lime green fabric stored away for another project!
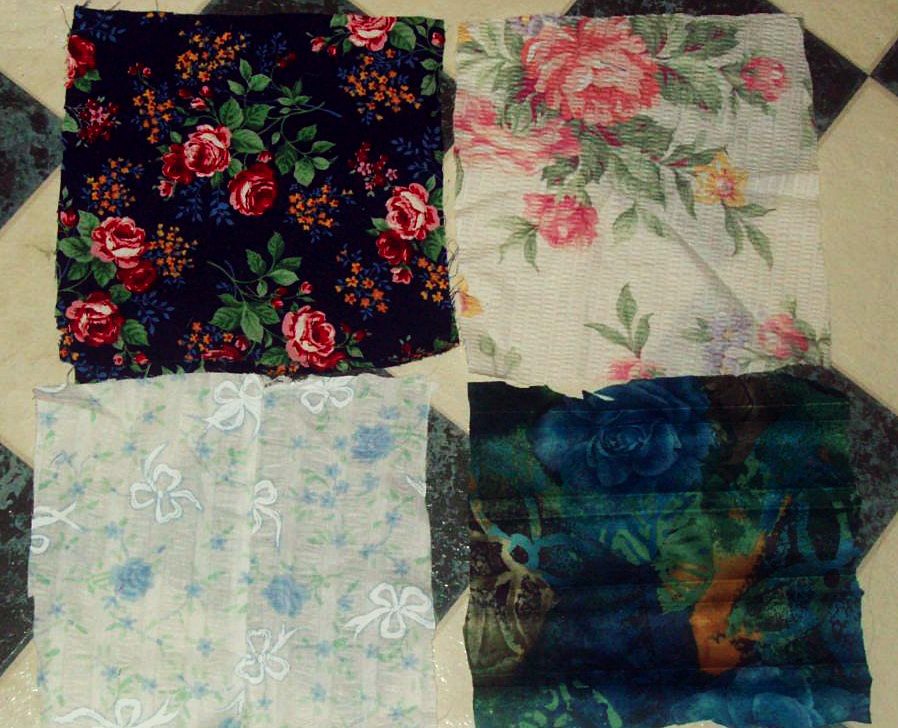
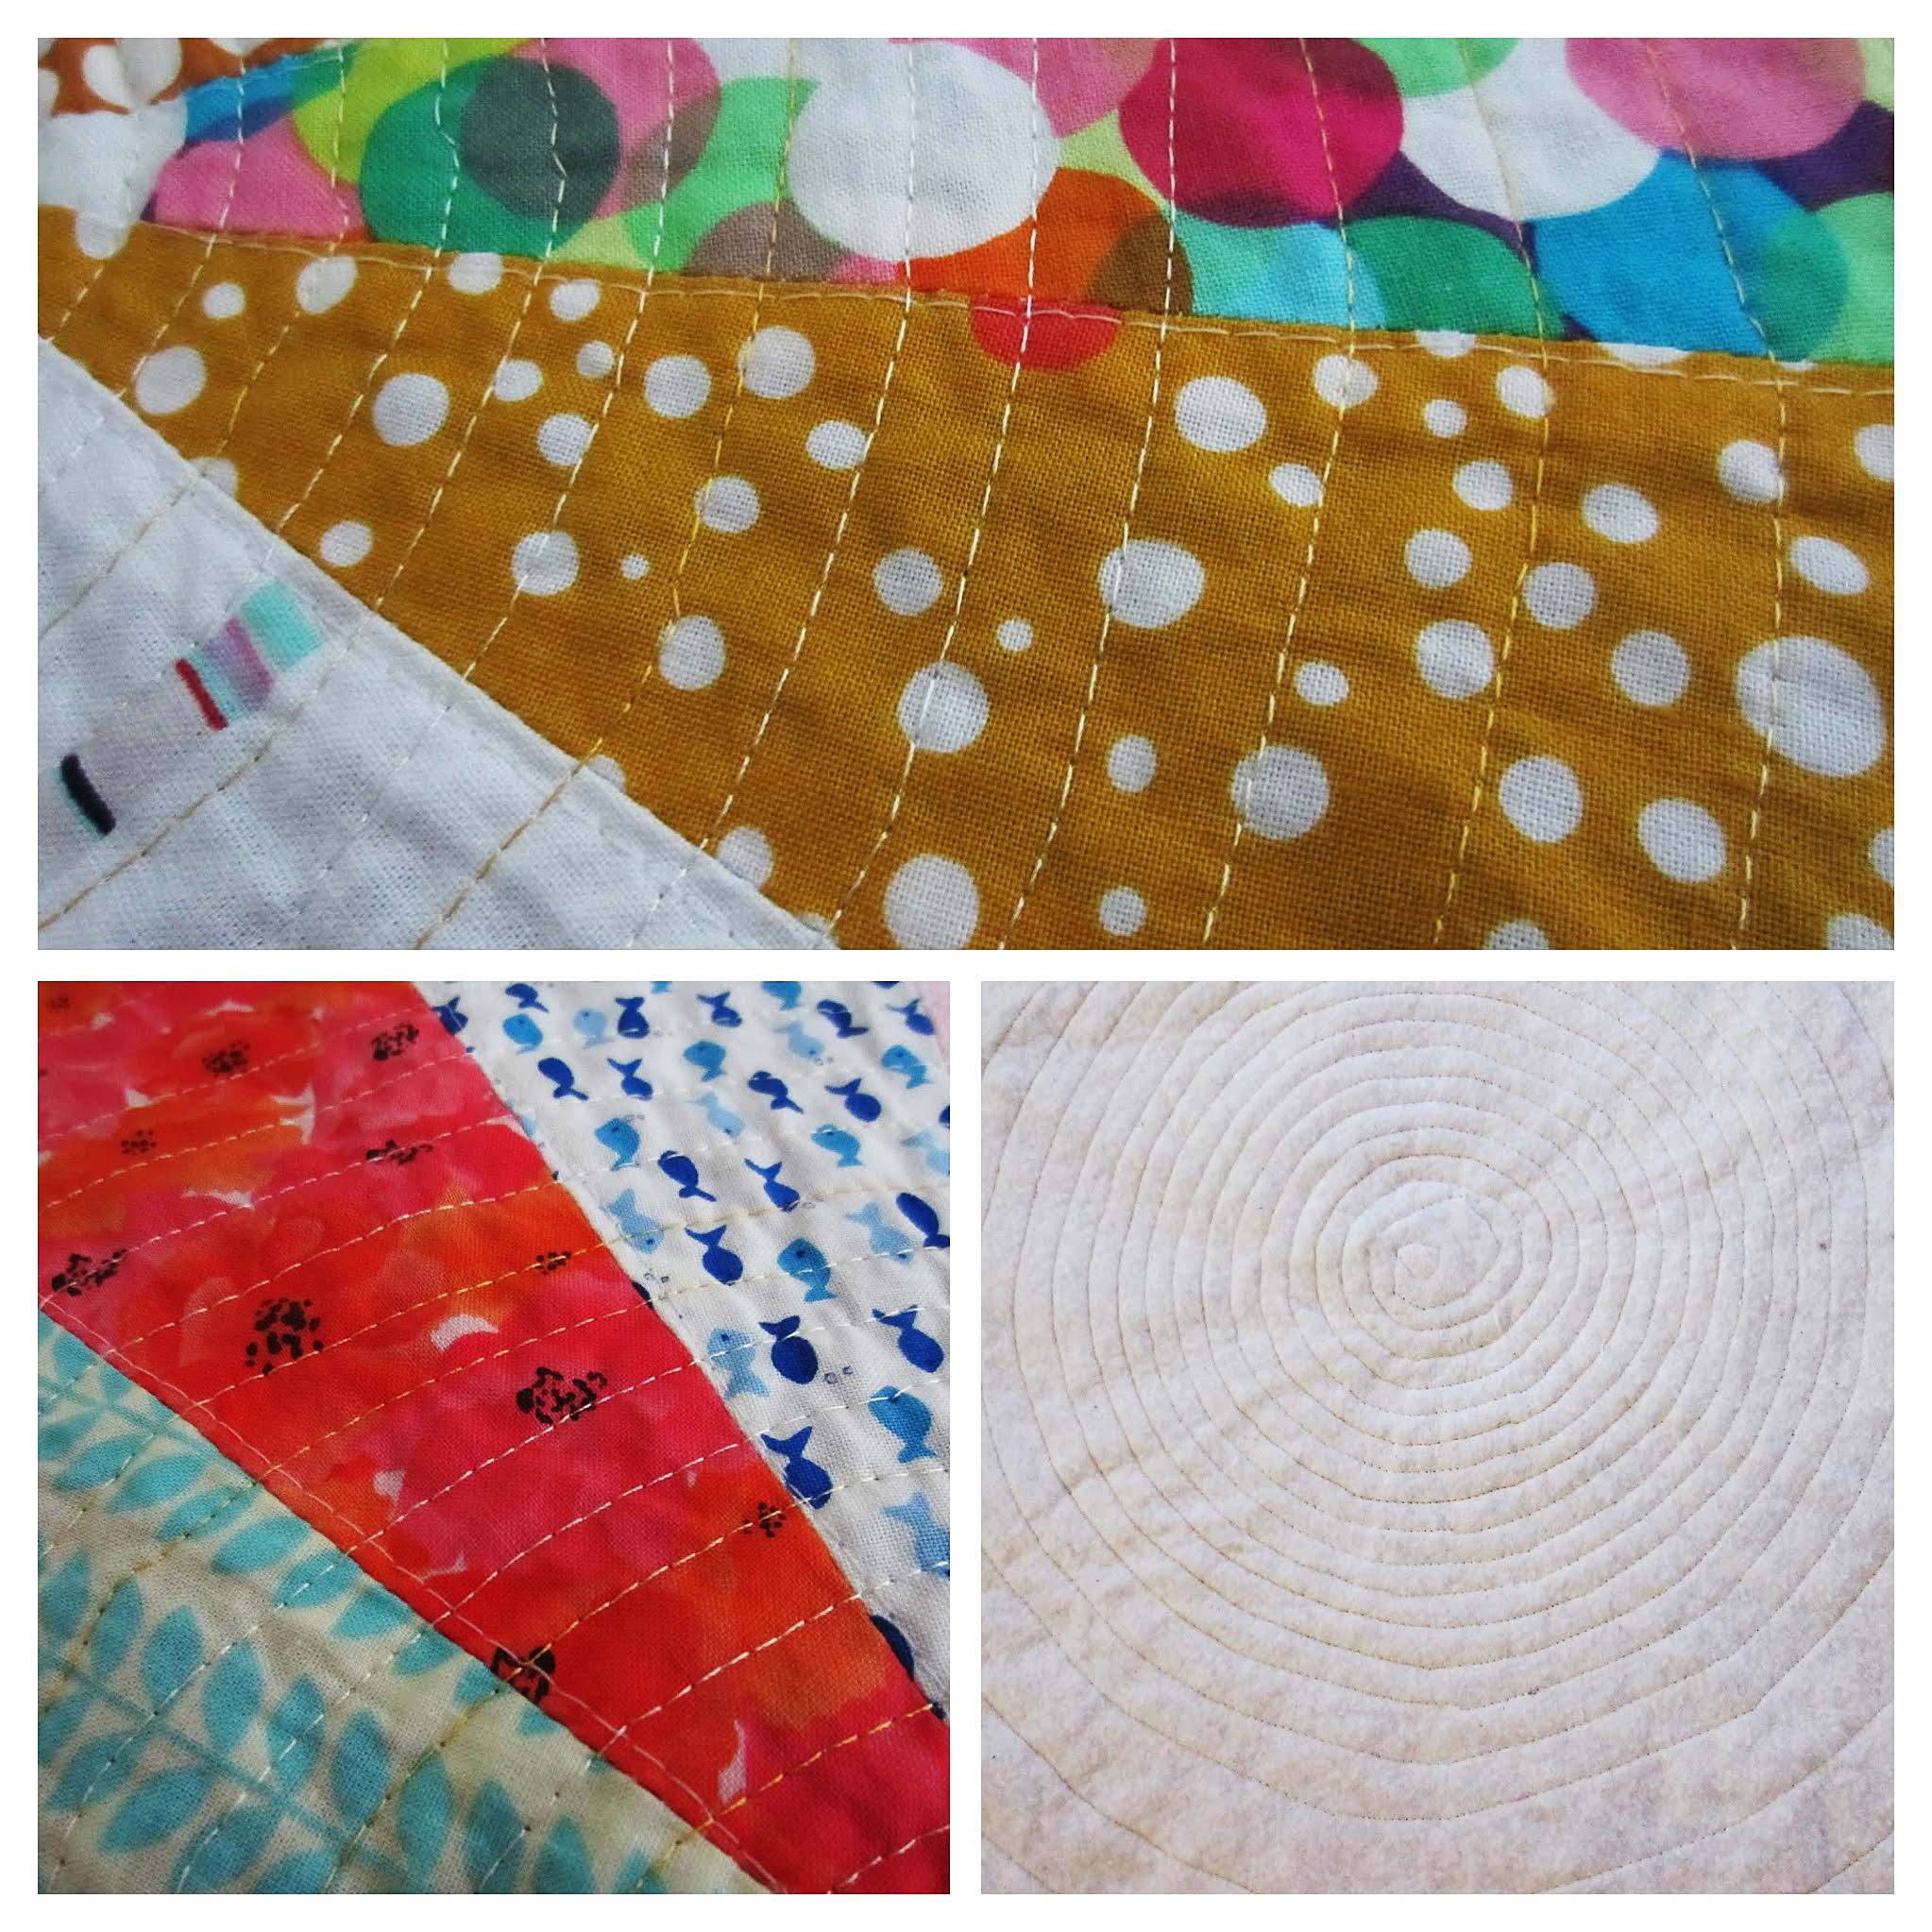
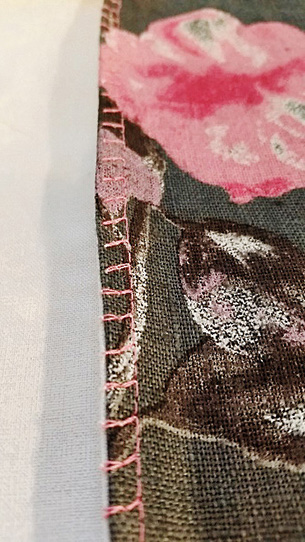
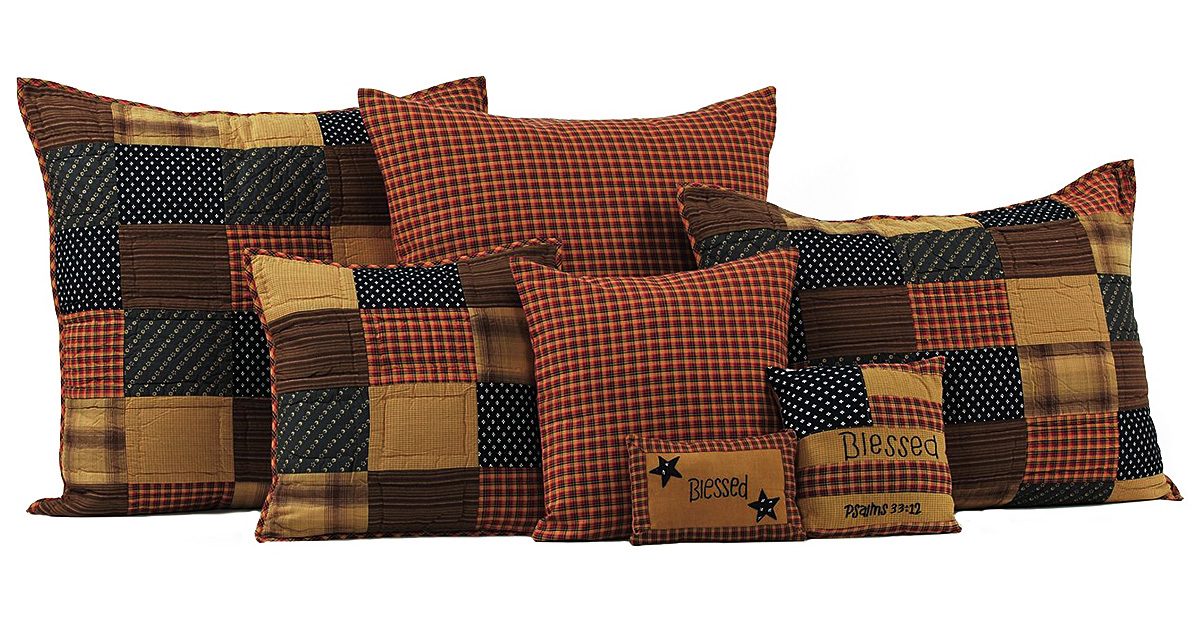
Simple Fabric Patterns
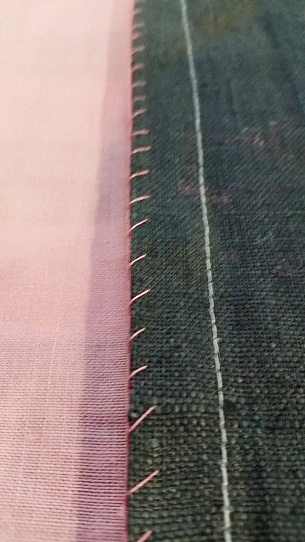
Like the coloring, the fabrics, too, are less elaborate than what might be common for a more vividly styled work. Typically, patterns — rather than fabrics — steal the focus in primitive quilts, so no fabric should be so busy or stand-out that it takes attention above and beyond the level of the quilt pattern as a whole. For this, solid colors or very simple patterns on your fabric are your best bet for forming your primitive quilt.
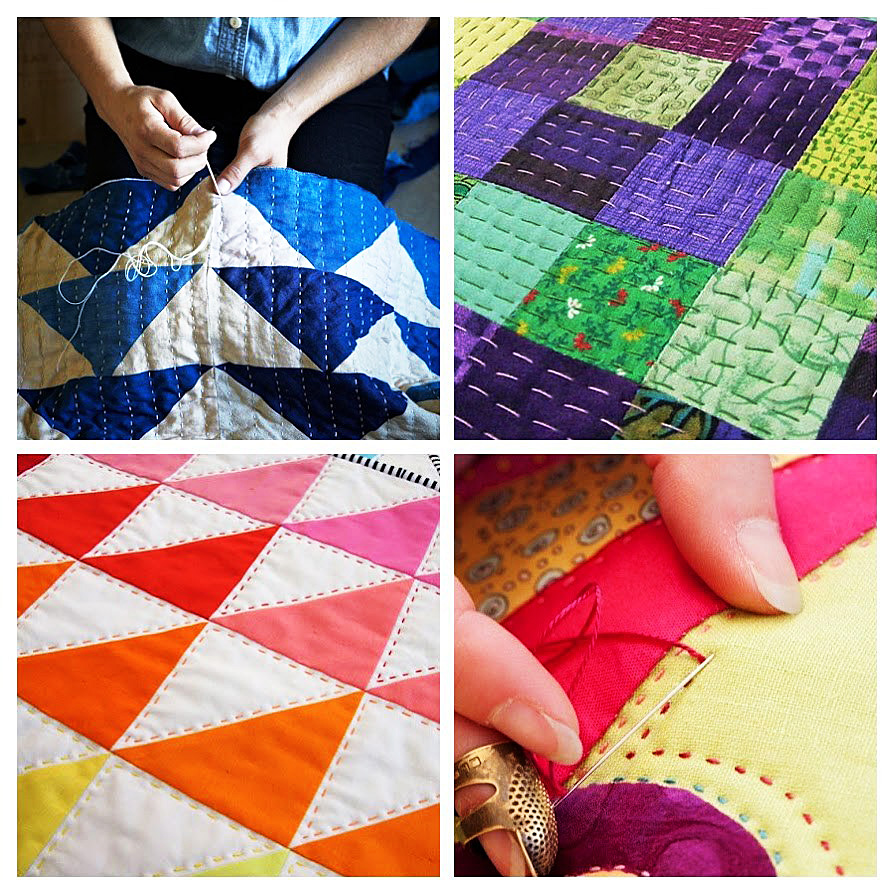
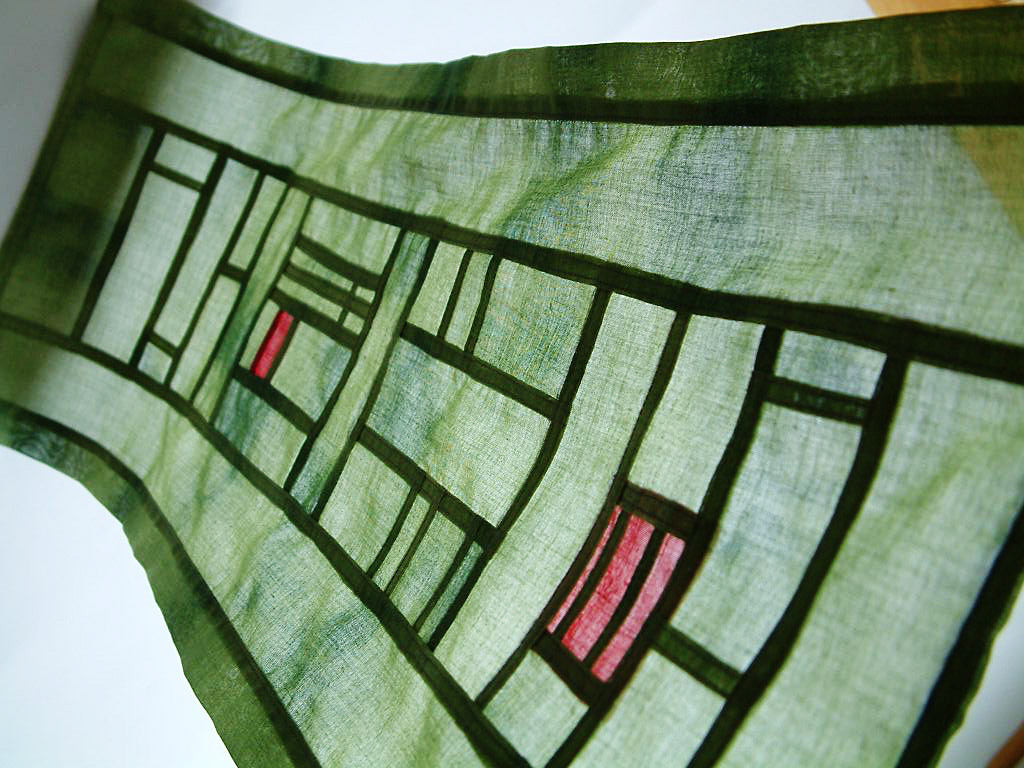
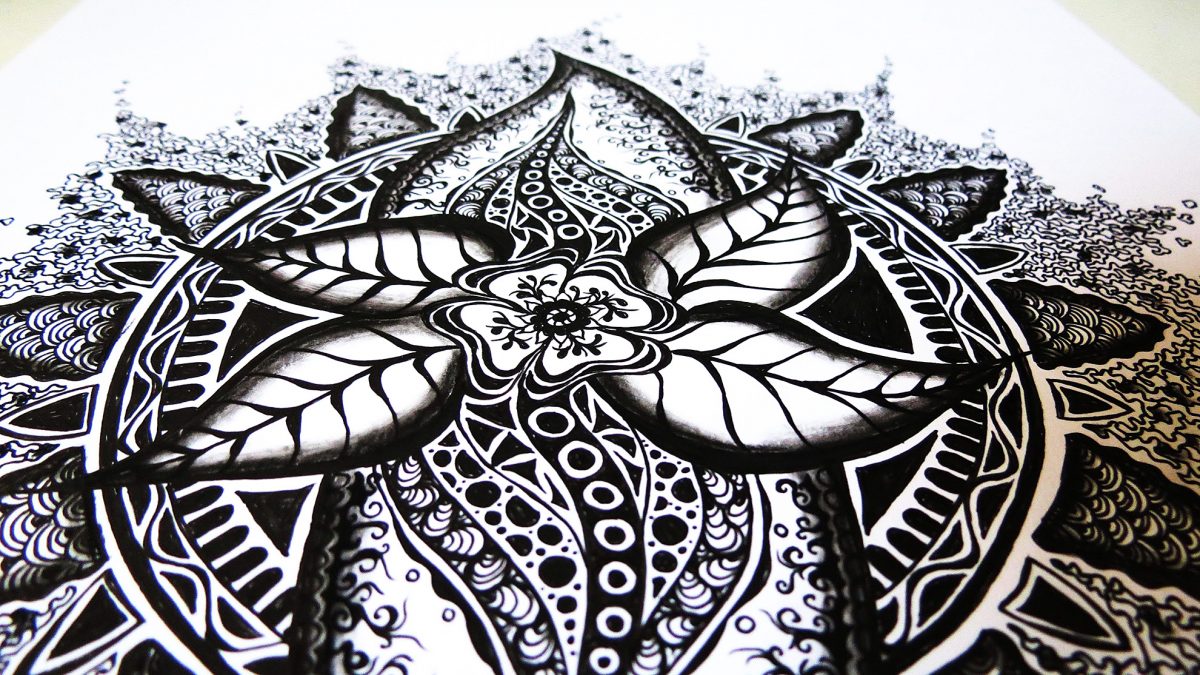
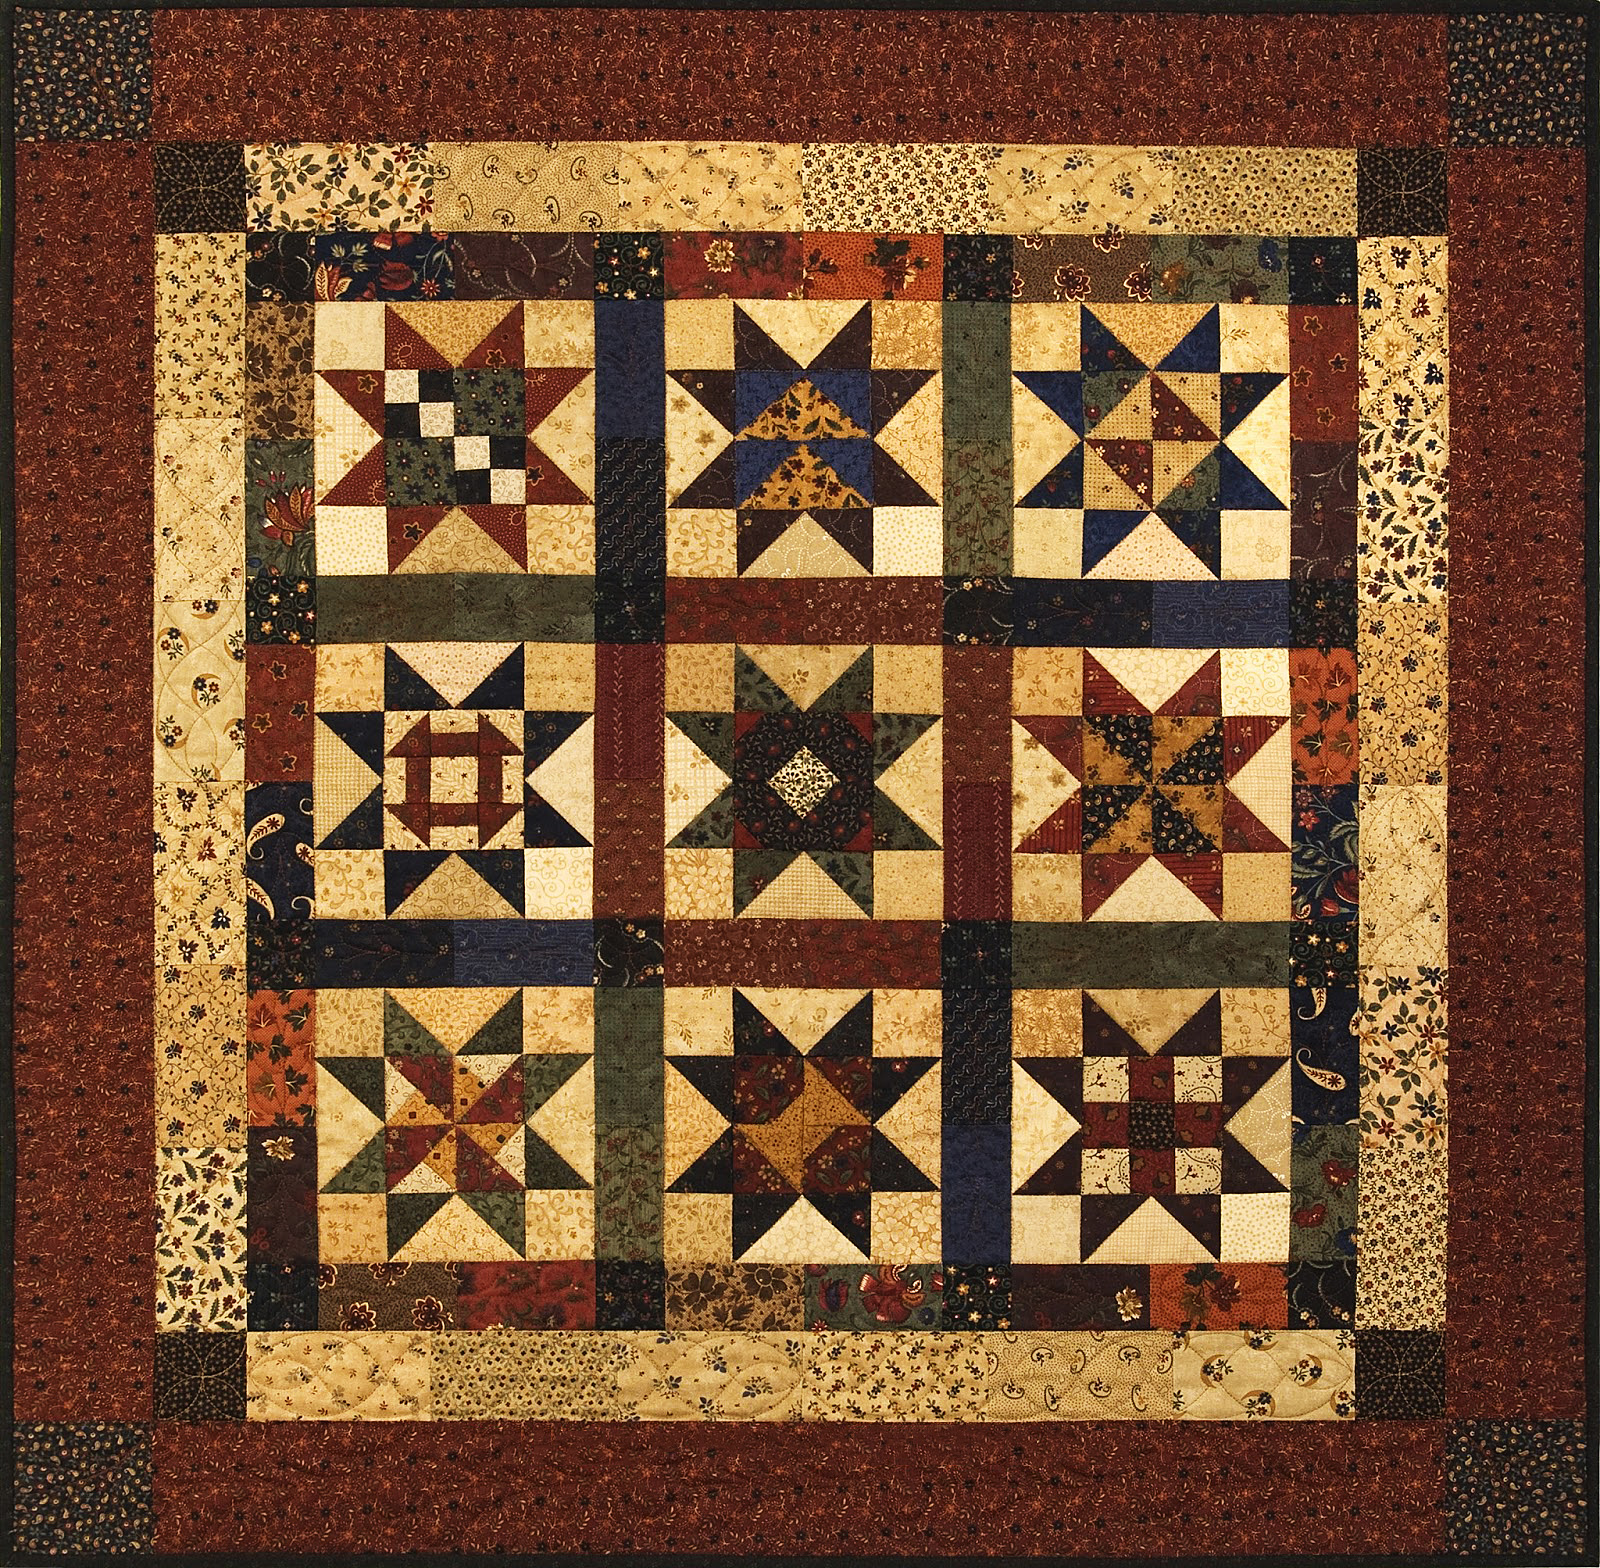
Basic Shapes
Don’t fancy it up!
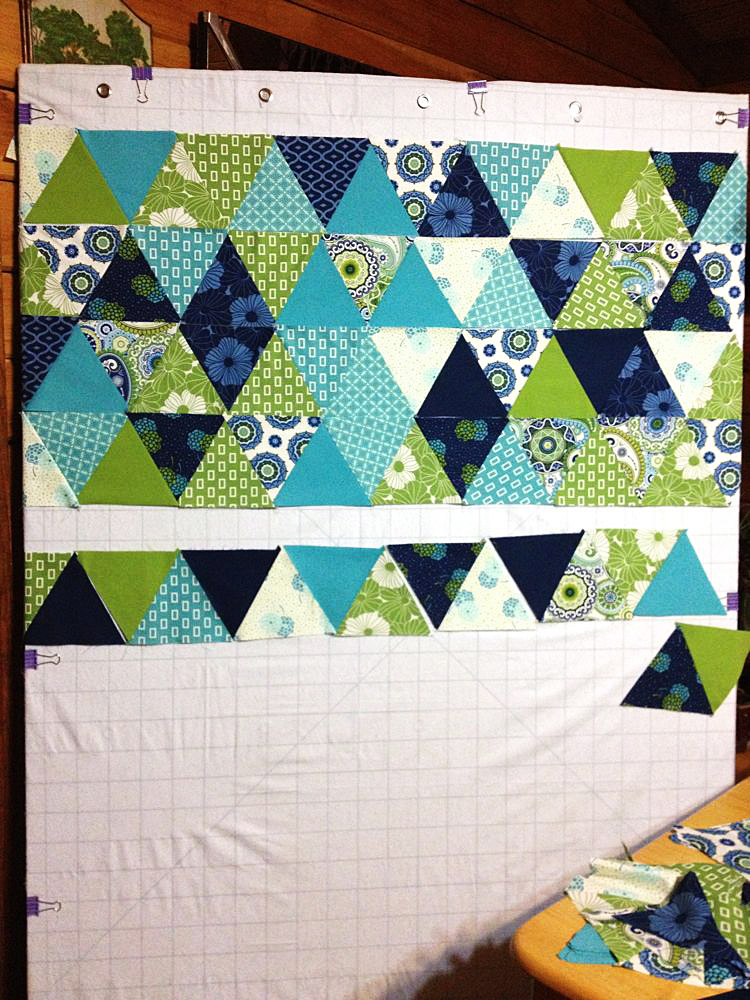
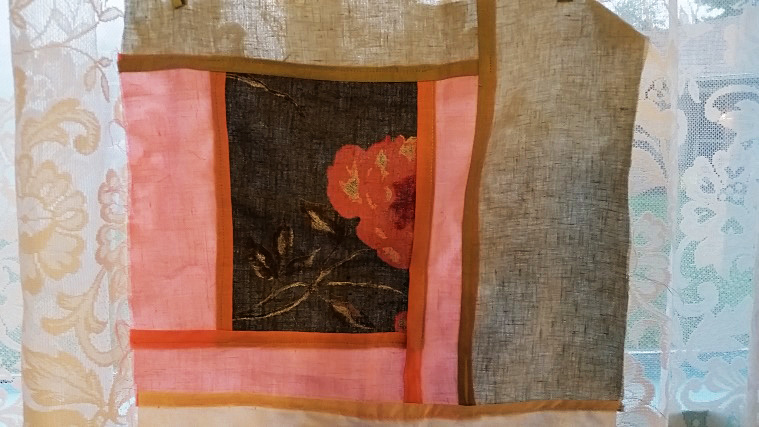
While the overall quilt might have a remarkably interesting visual in regard to its structure, the pieces of fabric that make up that visual are often based on the simplest of designs, like triangles, squares, and rectangles. This doesn’t mean that only geometric shapes can be used for your quilt though! Other shapes can come into play, but make sure to keep them simple to provide that outdated appearance that’s so synonymous with the rustic, primitive design. Think to yourself what the simplest method of delivering an object or shape is — don’t fancy it up!—and you could have the right look!
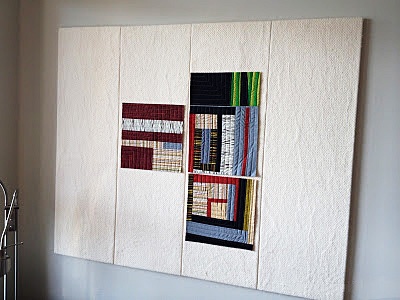
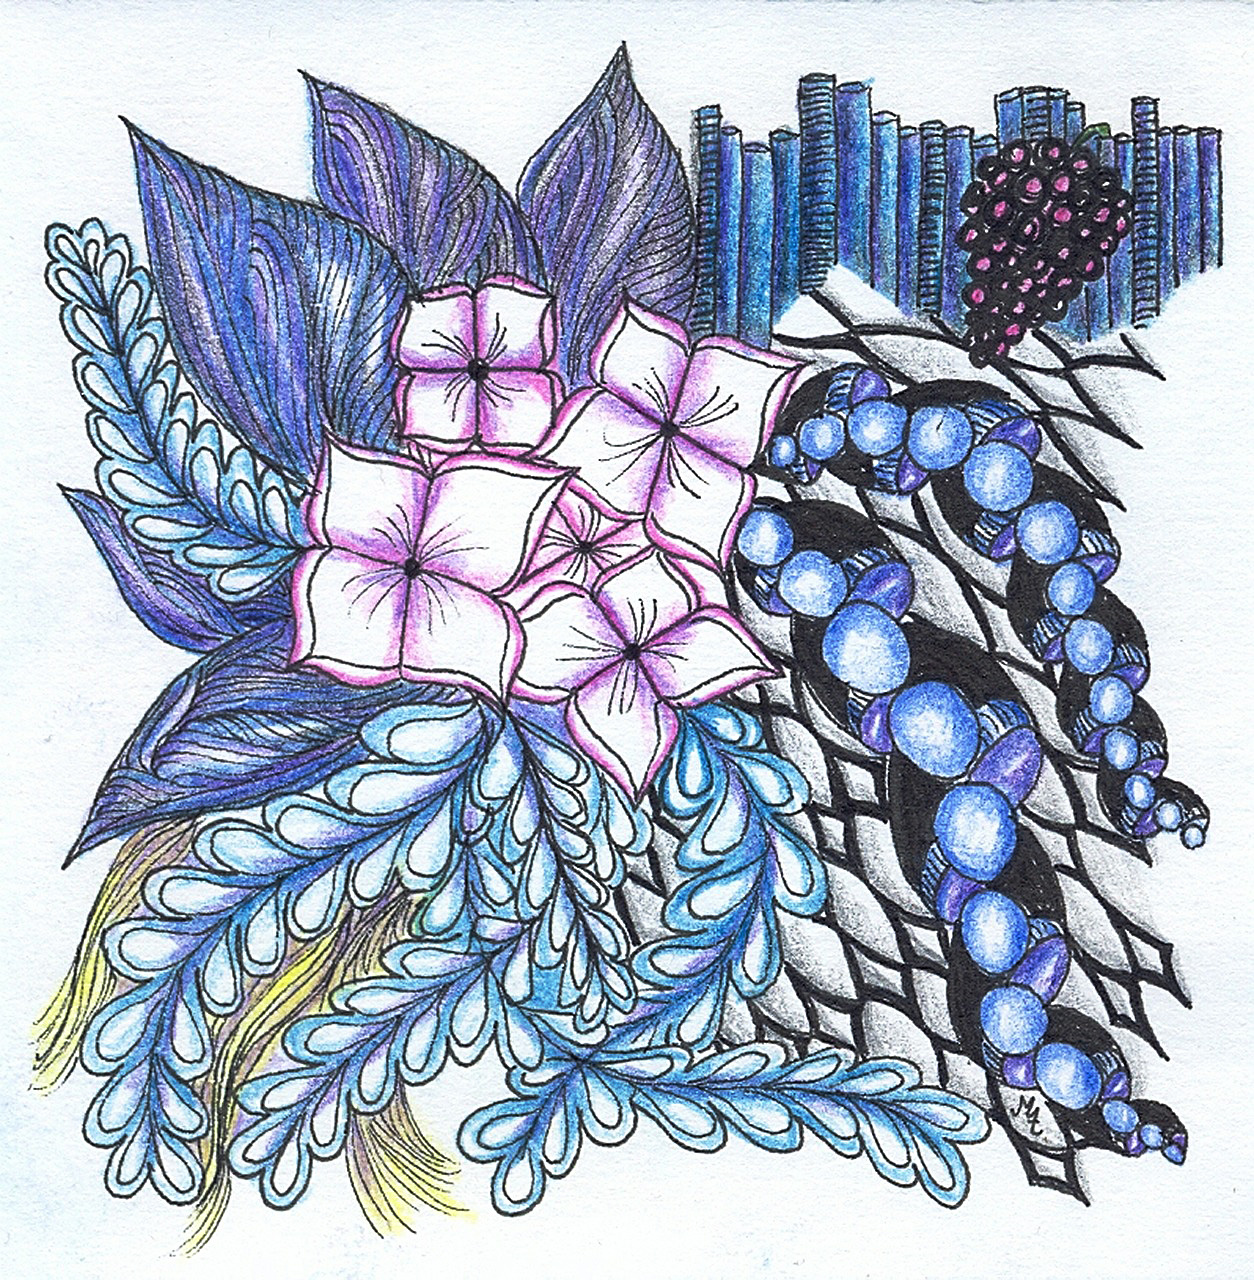
Empty space
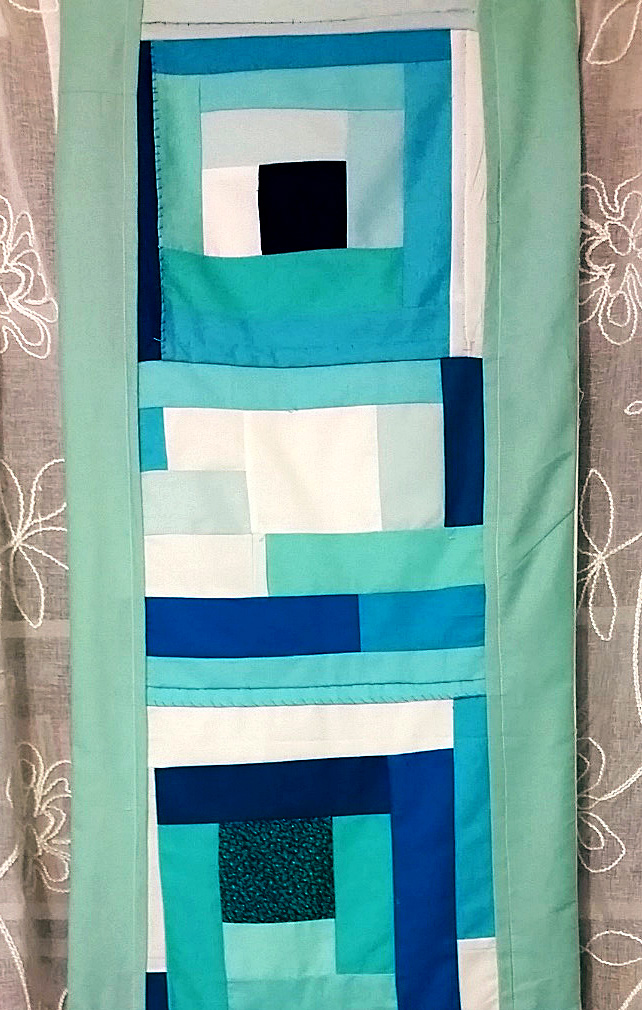
The patterns for primitive quilts are structured, but those empty spaces between the distinct pattern formations can be just as organized. Now, this isn’t necessarily the case for every quilt! It’s not unheard of though for darker, geometric patterns of multiple fabrics to be separated by pieces of lighter fabric that are larger than any individual dark piece. It creates an overall repetition to the quilt, and the result is an almost soothing effect in that the contrast softens the appearance to something calming and steady. As I said, this tactic might be more pronounced in some primitive quilts than others, but don’t be shocked if you notice it fairly often for quilts of this style.
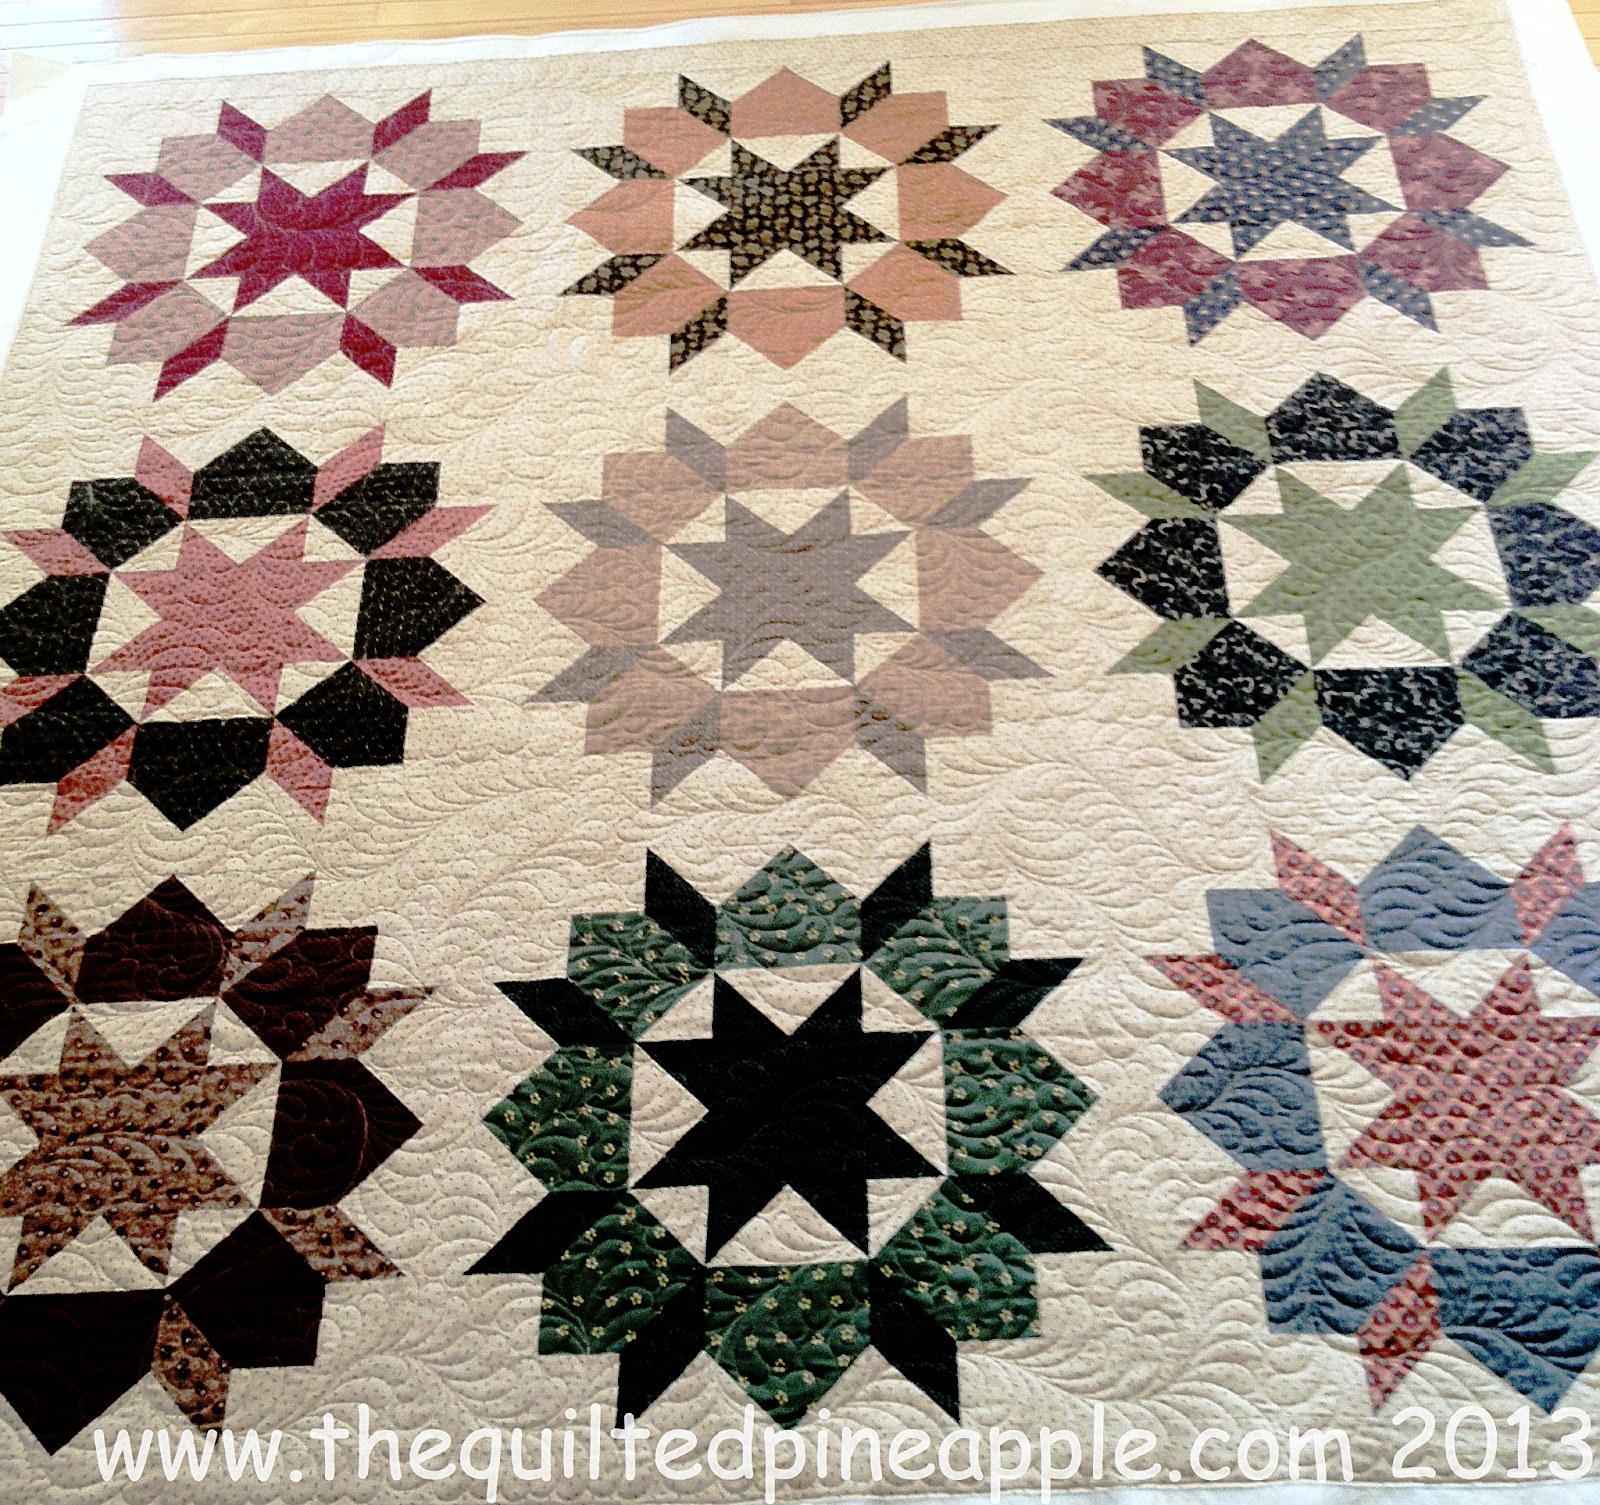
Geometric patterns of multiple fabrics to be separated by pieces of lighter fabric that are larger than any individual dark piece.