Maintenance. It can be a big deal in home, car and… quilt upkeep. That’s right. Just like letting your car go well beyond its oil change moment can snowball into a vehicle that isn’t budging without a major repair bill, not maintaining a quilt in the proper way could result in a sentimental treasure that’s good for little else than — maybe — scrap material. Sure, your quilt might not cost as much as, say, an engine to replace, but there’s more value in something handmade than a dollar sign. Maybe it was a wedding gift from a relative or a crib accessory that your mother started making before you slept your first night in said crib. Those types of belongings can have a lot of worth, so preserving them might be a big deal.
Wear, tear & time

Don’t break your own heart by letting this kind of damage happen to something close to it!
One of the most important details about this preservation is to keep an eye on the products on a regular basis since smaller complications that come from wear, tear and time could be much easier to repair than those that have been expanding for some time. Other important details are to know how to fix the damage and determining if the damage is even fixable. As an example for these aspects, I’ll use a quilt that has some sentimental value to me, but a lack of maintenance has taken its toll. Don’t break your own heart by letting this kind of damage happen to something close to it!
Damage control

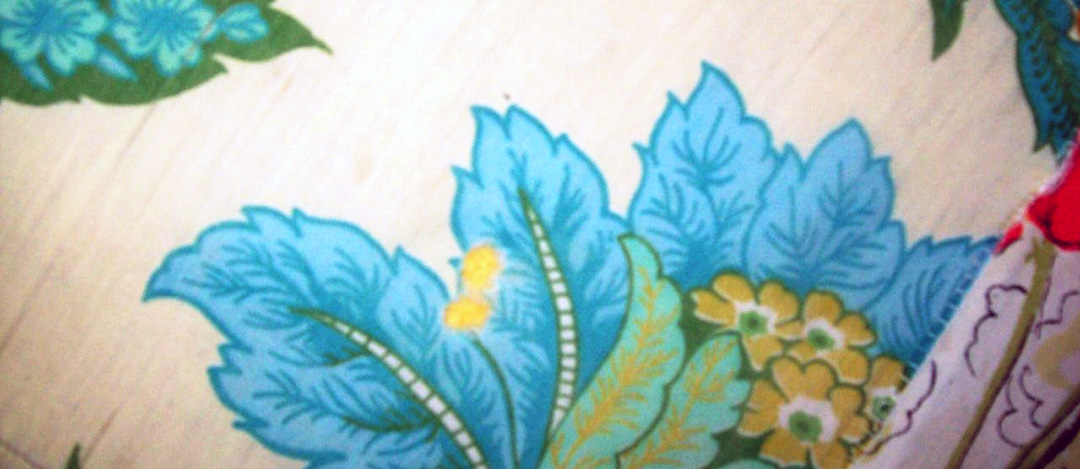
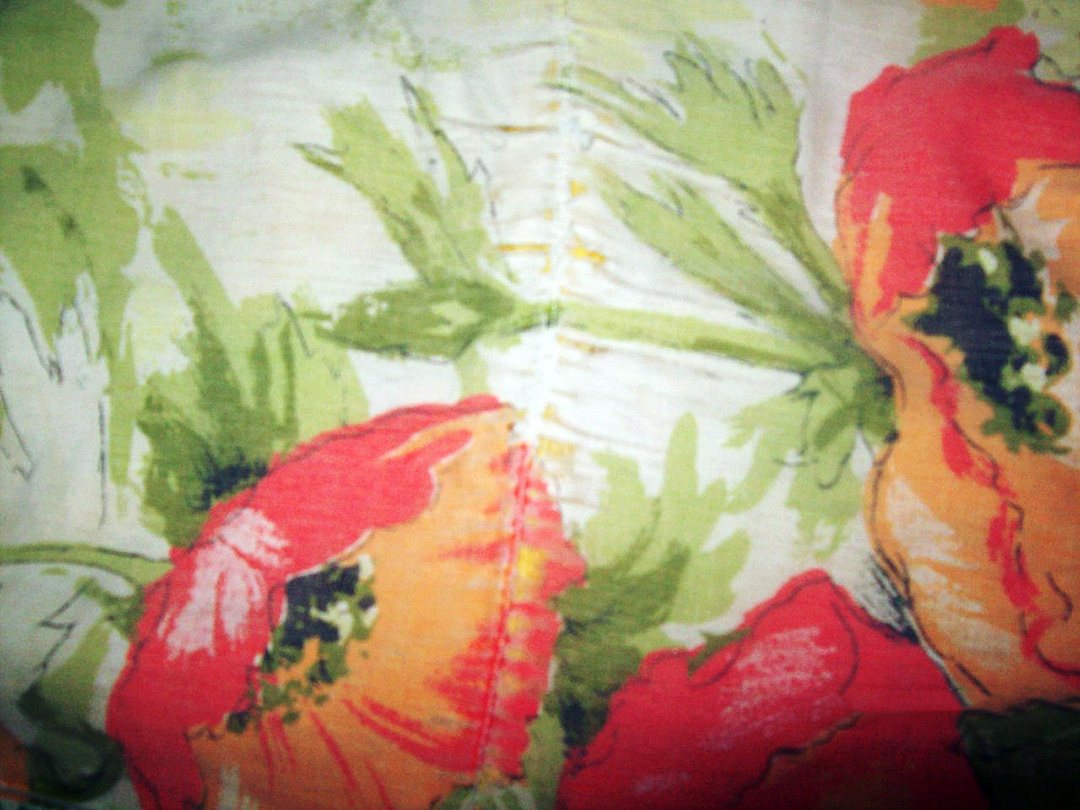
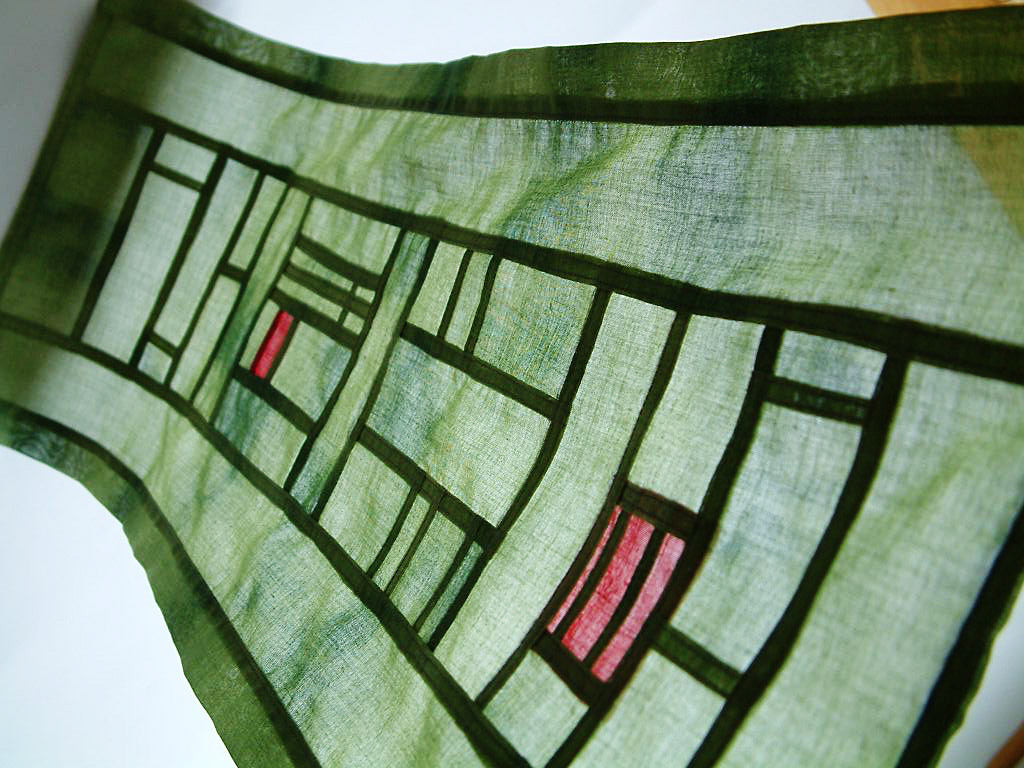
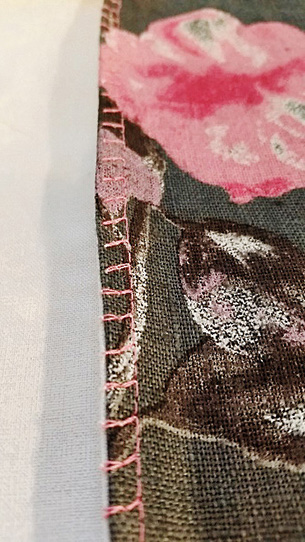
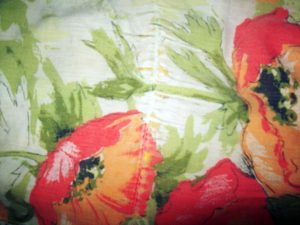
Let’s examine this first spot of damage, shall we?
Let’s examine this first spot of damage, shall we? It looks fairly simple with just two simple holes in the top layer of fabric, so if I begin this examination with the basic question of whether or not it’s fixable, the answer would be yes! The smaller sizes here would allow a little bit of embellishment — maybe a patch — to be placed directly over the damaged area. Since this is a quilt that has a floral design, I could add something like a butterfly there so that it looks like it’s landing on the flower. Sure, it changes the design a bit, but it fits and is corrective. This issue, it seems, was detected in time!
Do away with the fray
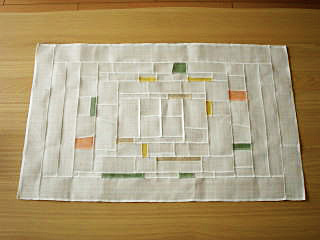
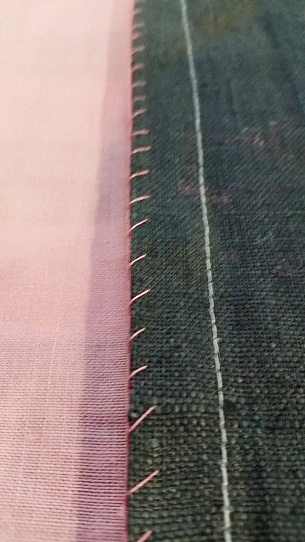
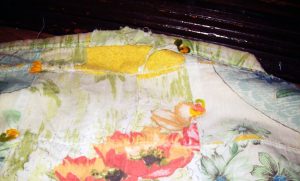
The material is showing wear & tear around the seams and that’s not very surprising!
Now, let’s try this one. The material is showing wear and tear around the seams and that’s not very surprising! The damage does extend a bit beyond the immediate area surrounding the seam, but it still seems to stem from that one line where the thread is running through. So, is it fixable? Yes! All I would need to do is add a border around the block to cover the issue, and if I did that for every block, the strategy would be replicated throughout so that this block wouldn’t look out of place. Again, it would change the design of the quilt, but not in a way that would necessarily make it look odd. I could match the border to the colors already present, and the addition could actually create a popping look for each block.
To fix or not to fix
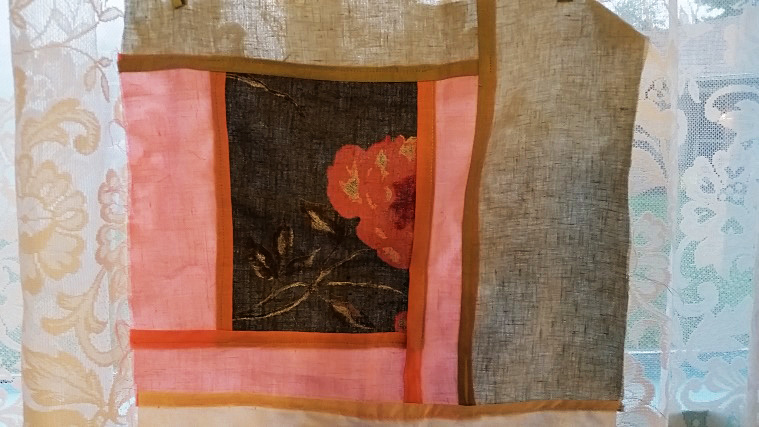
This one is shredded, & the top layer isn’t covering as much material as it did in the prior pictures. But is it fixable? Believe it or not, yes!
How about this one? Well, the damage here is much more drastic than a simple tearing from stitching or tiny holes in the fabric. Instead, this looks more shredded, and the top layer isn’t covering as much material as it did in the prior pictures. But is it fixable? Believe it or not, yes! Since this area is at the end of the quilt, changing the size of the quilt could work. I would need to cut off enough material on this side of the quilt so that the damaged territory is done away with and redo the border work. It’s not as easy of a fix as sewing on a butterfly embellishment, and the appearance of the quilt would definitely be altered by the smaller territory. But, if pressed, this would be a fix!
Too far gone?

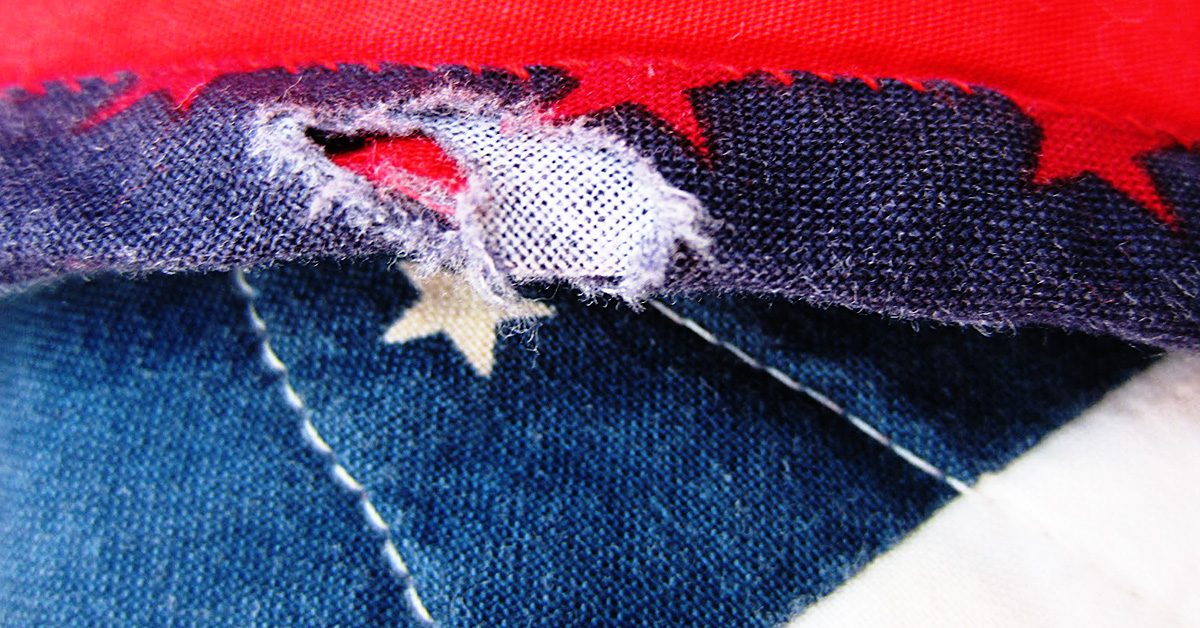
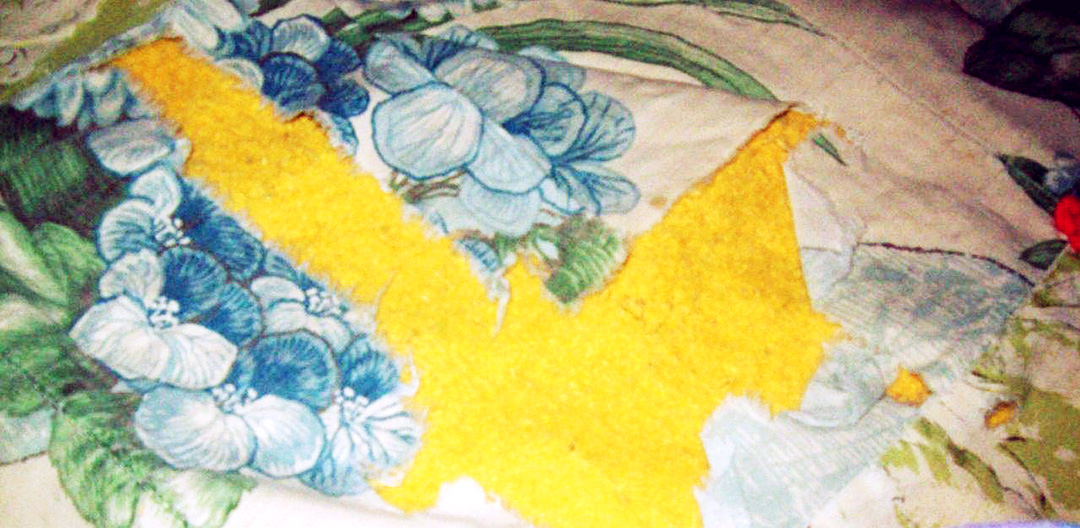
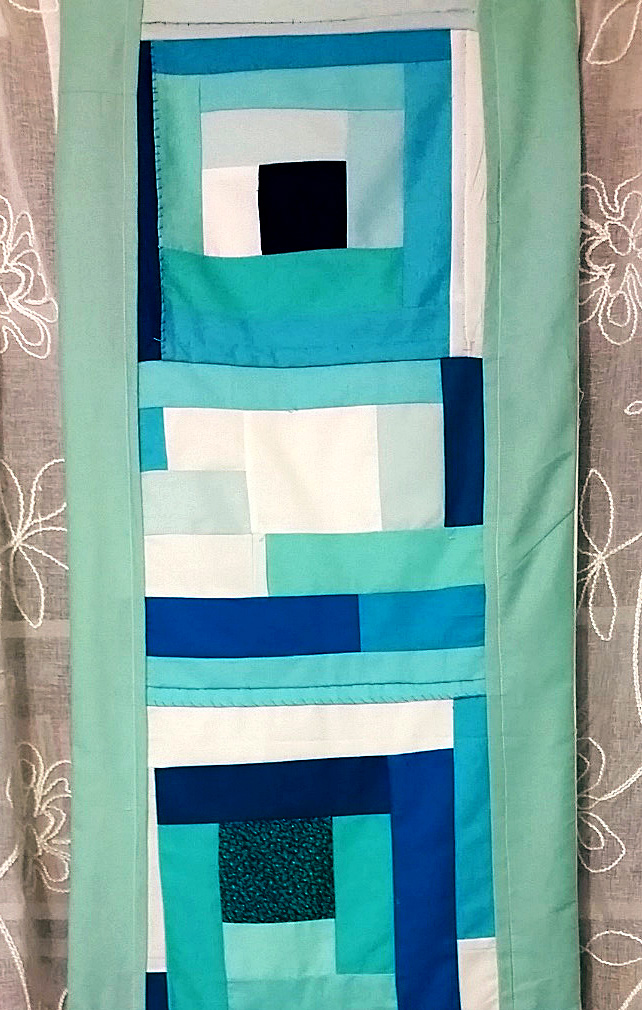
The fabric became too worn, whether from use, washing, time, or some other variable, & without the proper methods to fix the problem, it spread.
Now, we get to this one. Here, this looks as if the fabric became too worn, whether from use, washing, time, or some other variable, and without the proper methods to fix the problem, it spread. Of course, there could be another explanation for it. Perhaps someone ripped it, and the damage grew. Whatever the reason, the faulted block is in the midst of the quilt, and this fabric probably won’t go together at this point. This one, dear readers, doesn’t seem to be strategically fixable. In my defense, this damage could have happened before I got into sewing, but if I’d paid attention and caught a small hole in the fabric, I could have embellished it. If there was a tiny rip, I could’ve stitched it. As it stands though, the only ways I can see to fix this would be to add on an embellishment that would be too large to look natural or change the entire block — which would throw off the pattern of the quilt. This one, it seems, has gone too far.
And this is precisely why you should keep an eye out for damage! If you catch the smaller problems, you can fix them. If you let them escalate, you could be looking at a ruined quilt. So to preserve your works, keep tabs on them and — through borders, embellishments, and adjustments — tend to those issues as they show up!