Hi! Good to see you. Hope you are having warm weather like here in Texas!
Today, I want to just give you a quick lesson for mending project.
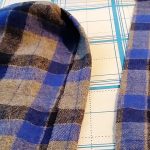
My current task is to shorten a pair of my hubby’s leisure pants. They are a pair of soft flannel pants that he bought a while back, and they (uhhh) kind of surfaced as I was packing my sewing studio to move. I secretly panicked when he reminded me, he hasn’t seen them in a while! I sweetly said, “Oh yes, dear, I have them. They are on the mending list.”
That’s a call to action for me! So he went out to do his errands, and I scrambled in to find the buried pants.
So as quickly as possible, I found my also found a few necessary tools to accomplish this goal, hopefully in the time he was gone.
I assembled:
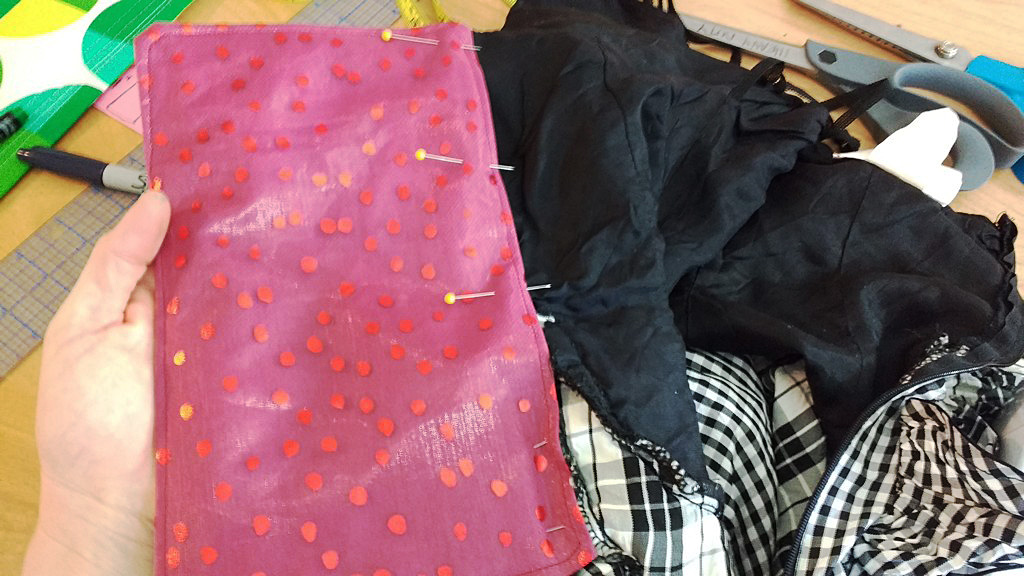
- Pins
- Olfa 45 mm Rotary Cutting mat, the one which is 18″ x 24″
- Rotary Cutter
- Acrylic Ruler (these packages at SewingMachinesPlus.com come with everything you need all together – great deal!!)
I also keep on hand a few smaller rulers, such as the June Taylor Shape Cut/Sprint as well as the Handi Quilter Mini Ruler for smaller projects. SewingMacinesPlus.com has a great selection of rulers and other supplies for your sewing needs.
Back to the project, now
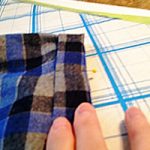
- The first step was shortening the pants which were about 4 inches too long. I turned the pants inside out so they were ready to measure and sew. I measured and cut the 4 inches off both legs.
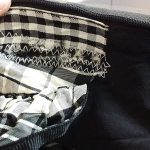
- Turning the edge toward the top of the pants about ¼ inch, I pressed with my iron. They can be pinned first if you want to be precise, however, actually I just winged it, but hey, I was in a hurry.
- Then turning again approximately an inch, (actually two finger widths) I measured a press a crease again.
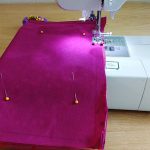
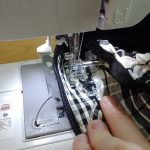
- I changed my bobbin thread to black since it would show on the right side, and carefully stitched a new hem very close to the fold.
Ta da!
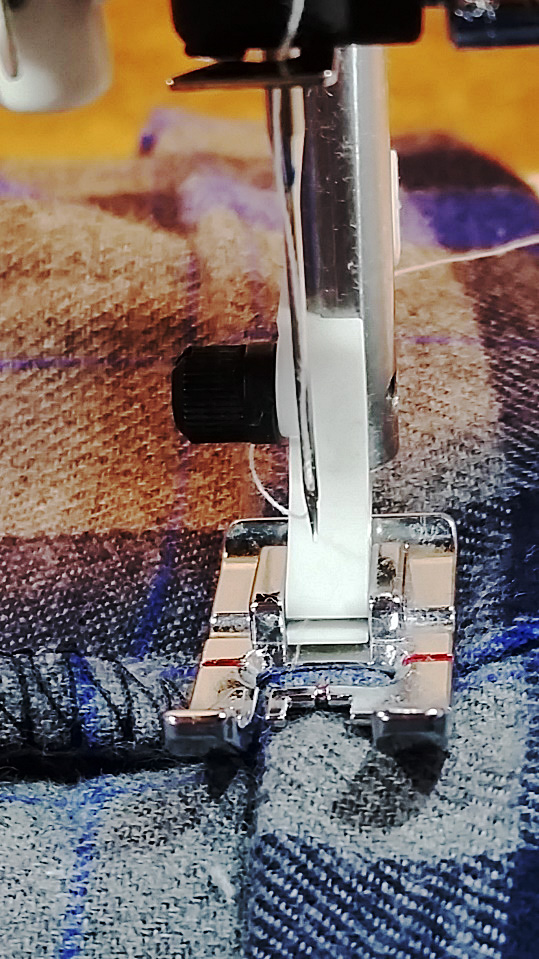
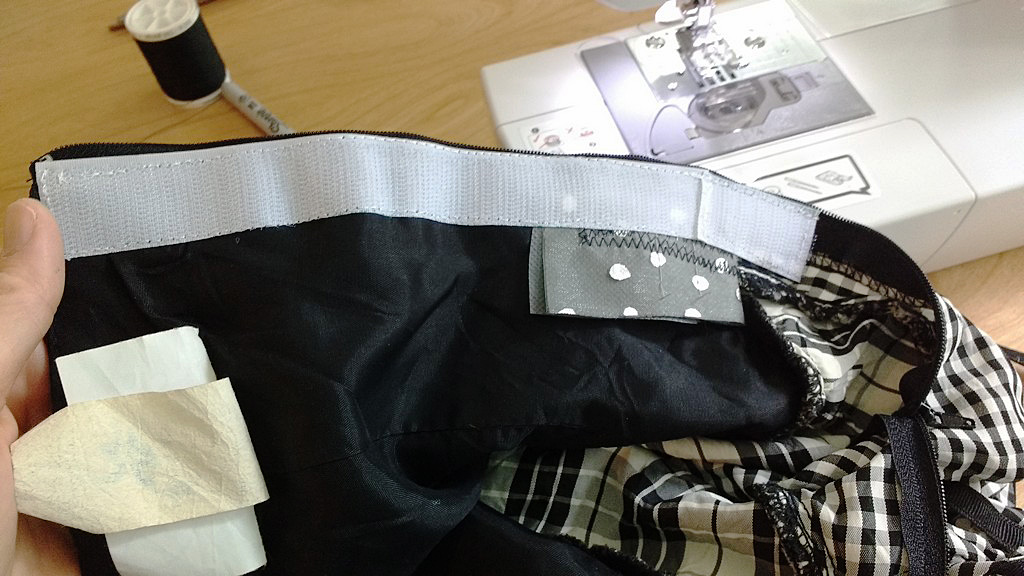
Last, stitch very close to folded edge on both legs, press the hem flat & you are done!
Last, stitch very close to folded edge on both legs, press the hem flat, and you are done! Or you can also blind-hem stitch by hand. I find that hand-stitching is very relaxing and gratifying when the stitches come out nice and neat.
So, what kinds of project do you have waiting to be mended? It’s a rewarding thing to do when you compare the cost of new clothes to some time devoted to thinking through the best way to refurbish something that takes just a few minutes to fix. Please be assured, measurements with rulers are better than measuring with fingers, and results are more professional. Rushing never works for me without tearing out something.
Back to packing and discovering other projects waiting for me. Nope, maybe tomorrow. Hubby is home!