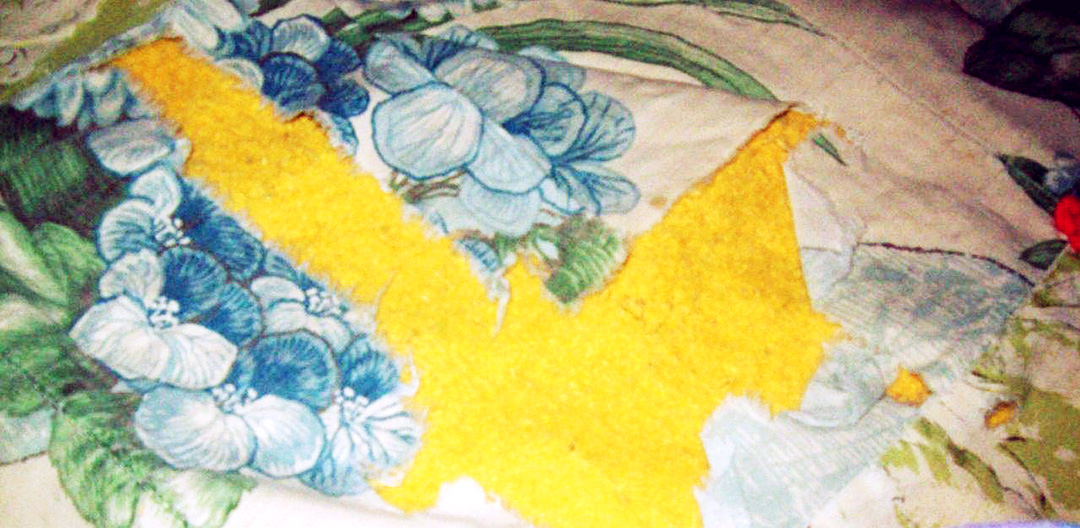
For the most part, I use my sewing skills for myself, and my immediate family. Sometimes, however, I get to help friends out. As was the case this week when my friend, Tania, asked if I could help her with a costume for a party this weekend. The theme was 80s Night and she had found an authentic 80s Prom Dress that ALMOST fit her. She just needed the dress to work for that one night. I was game to help her make it happen.
Verdict
When she brought over the dress I assessed three main issues:
- The zipper was broken on the left side of the plaque.
- There were two rips to the right of the right-side zipper.
- Her rib cage was wider than the fit of the dress. We would need to somehow expand the torso piece of the dress to get it to fit her for an evening.
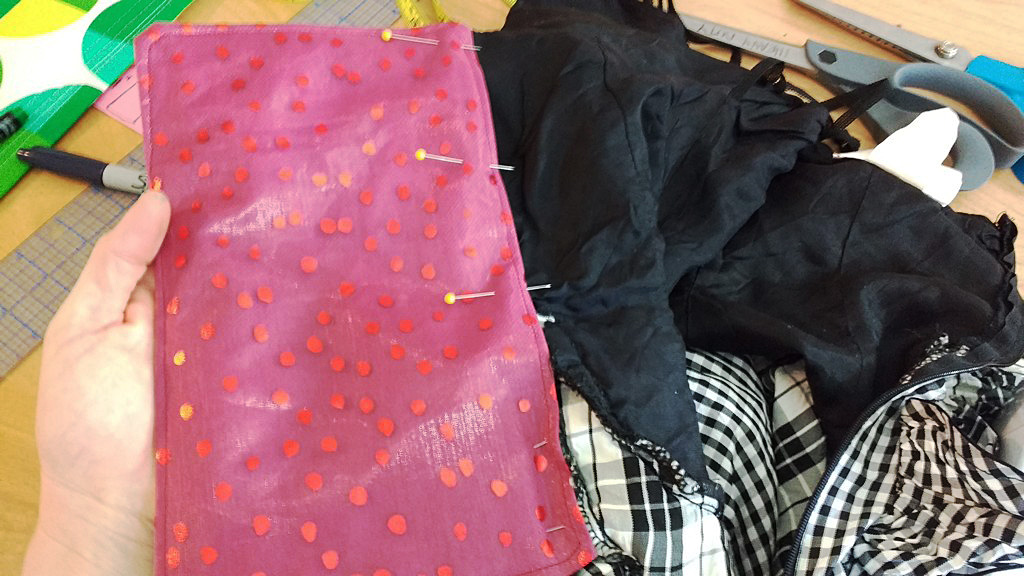
I decided to extend the circumference of the dress by creating a fabric plaque that would be sewn onto the left side of the zipper opening.
The good news is that these were all problems I could tackle. I decided to extend the circumference of the dress by creating a fabric plaque that would be sewn onto the left side of the zipper opening (I cut off the broken zipper) and would attach via Velcro to the right side of the zipper opening.
The good news is that these were all problems I could tackle.
Resourceful fabric recycling
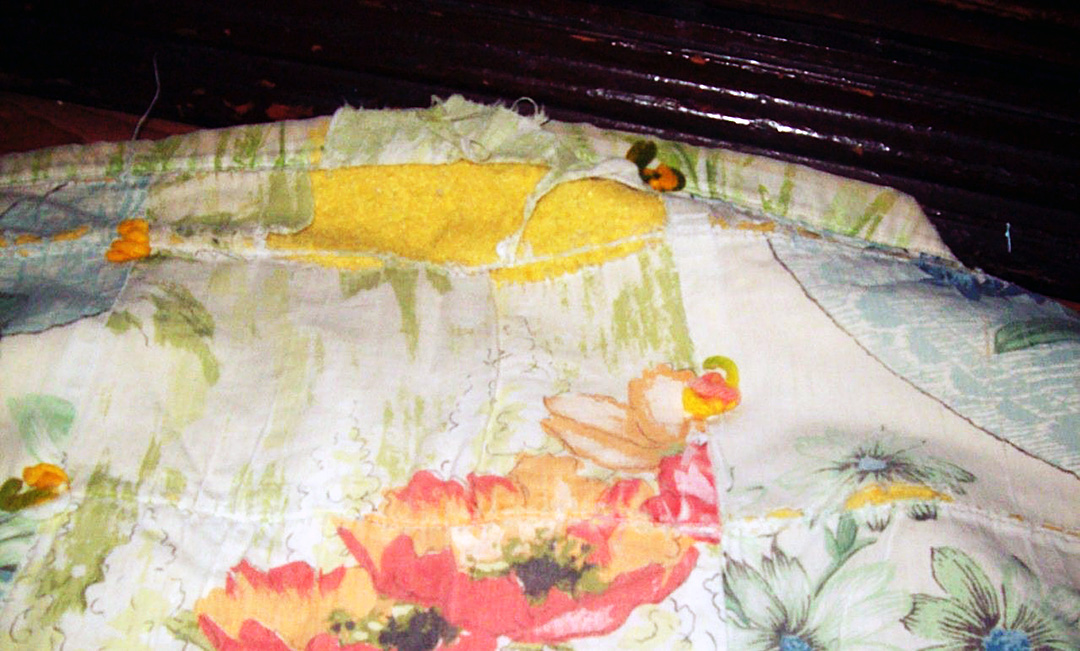
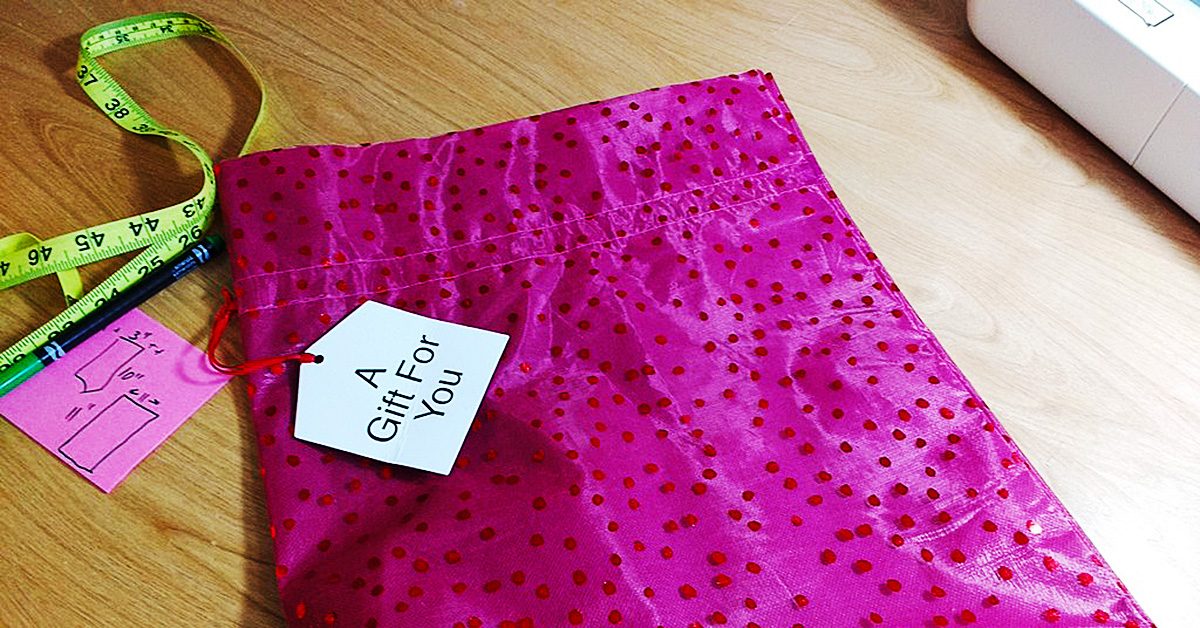
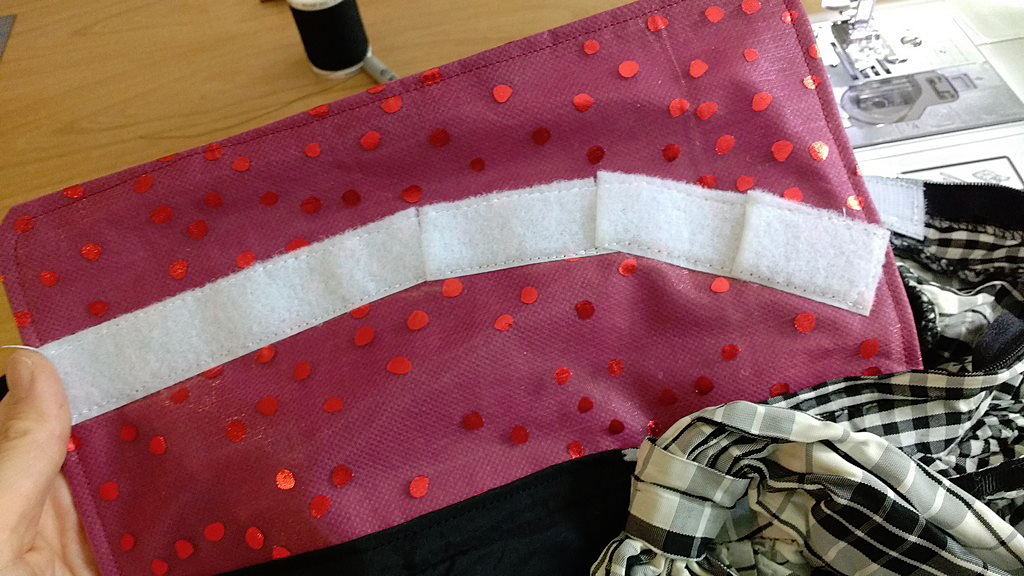
Tania brought two gift bags with her that we planned to use as extra fabric. They were glittery and shiny and would match the dress and the theme of the party. From the red bag I cut out the larger plaque.

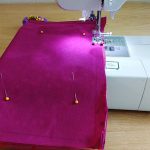
I sewed it directly onto where the zipper would have zipped up on the left side of the dress opening.
I sewed it directly onto where the zipper would have zipped up on the left side of the dress opening.
Patches?! We don’t need no stinking patches
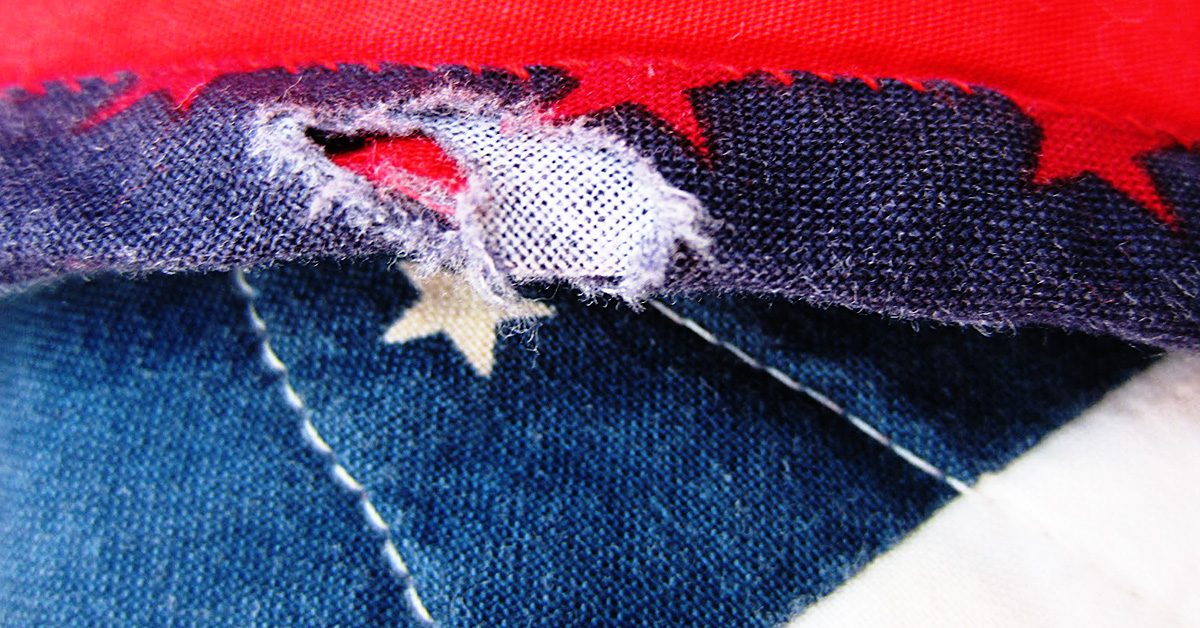
Then I tackled the holes. I used the gray gift bag fabric to support the fabric under where the rips were and then zig zag stitched several lines of stitching to patch the rips (Remember this just needed to work for one night).
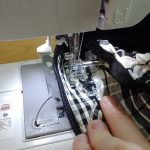
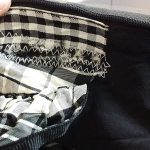
Here you can see the gray gift bag fabric on the underside of the dress. I sewed Velcro to the right side of the dress opening, sewing right over the invisible zipper.
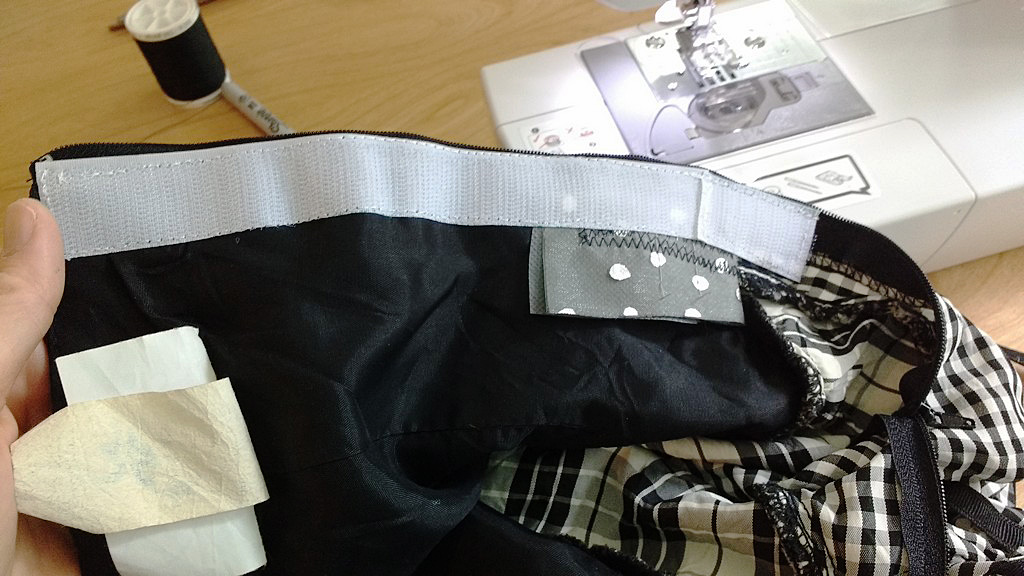
Here you can see the gray gift bag fabric on the underside of the dress.
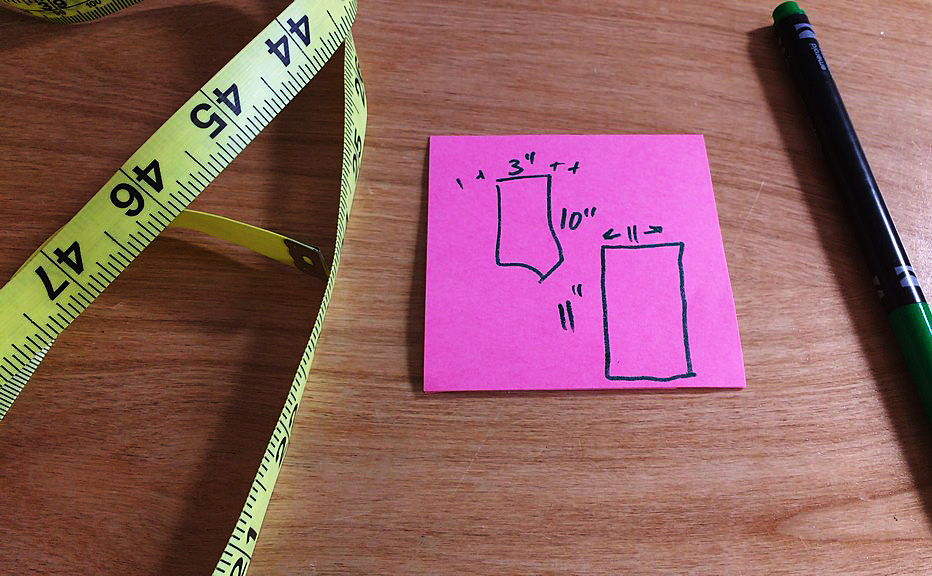
Measure twice – cut once
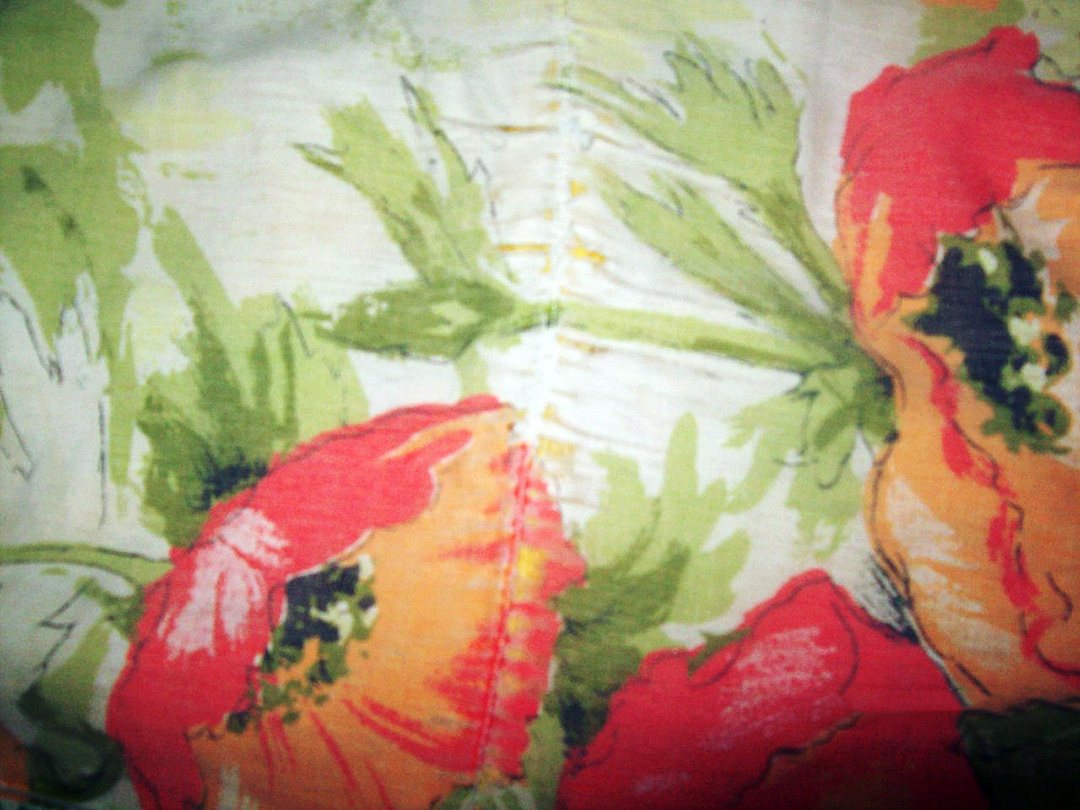
For this part, I had her put the dress on and then we fit the dress to exactly the width she felt comfortable in. I used my Clover Chaco-liner Pen to draw a line where the other side of the Velcro needed to be sewn on. The curve at the end is where the lower portion of the still working zipper zipped up to meet the straight line of the back piece.
The curve at the end is where the lower portion of the still working zipper zipped up to meet the straight line of the back piece.
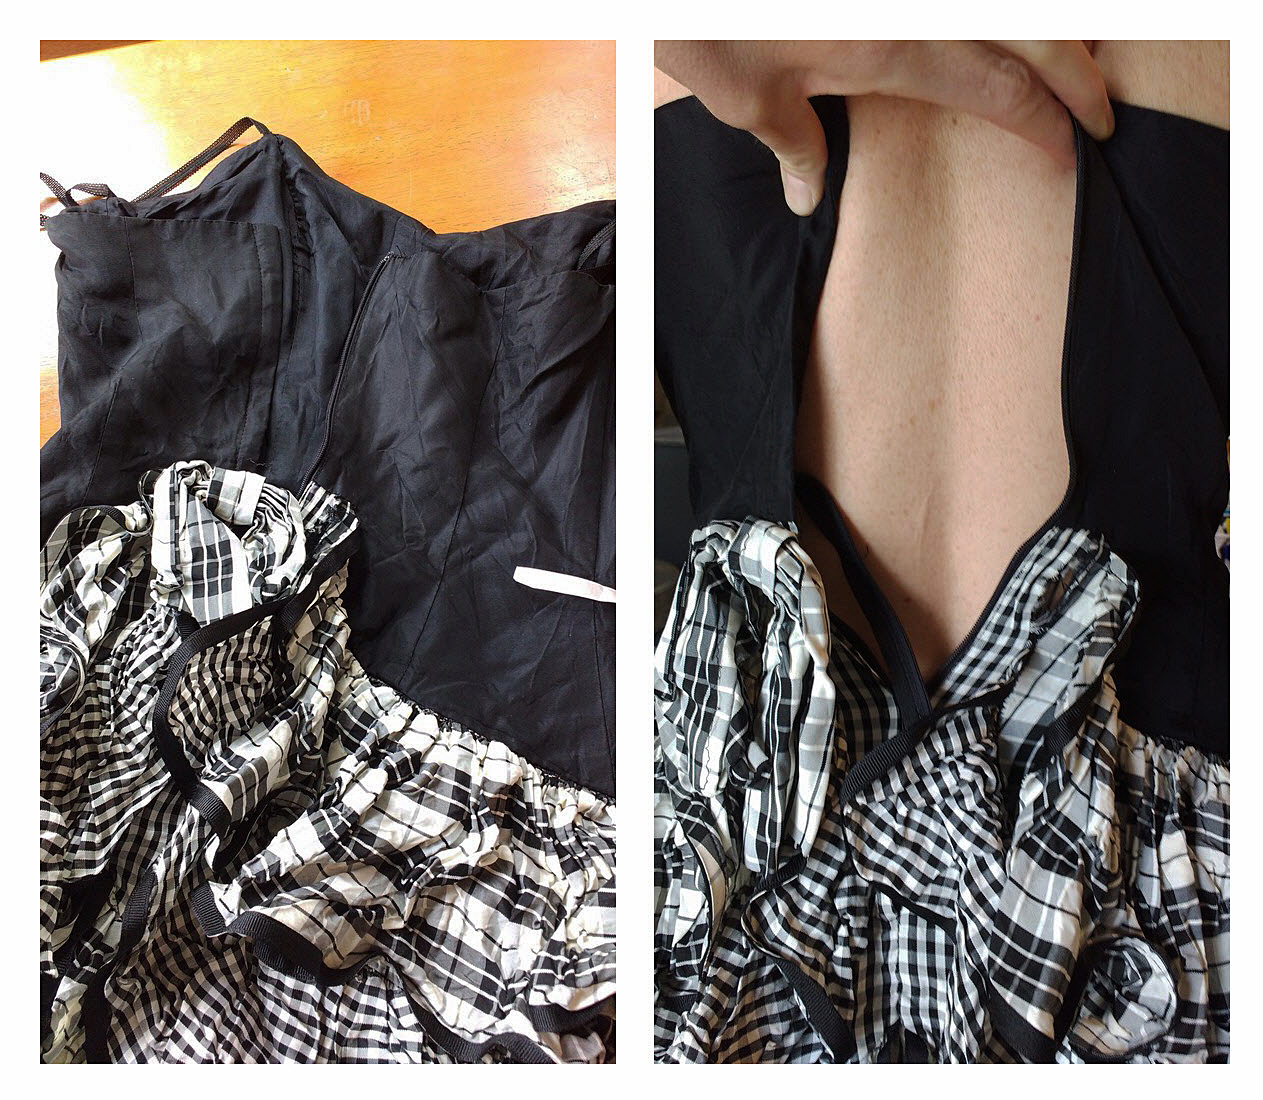
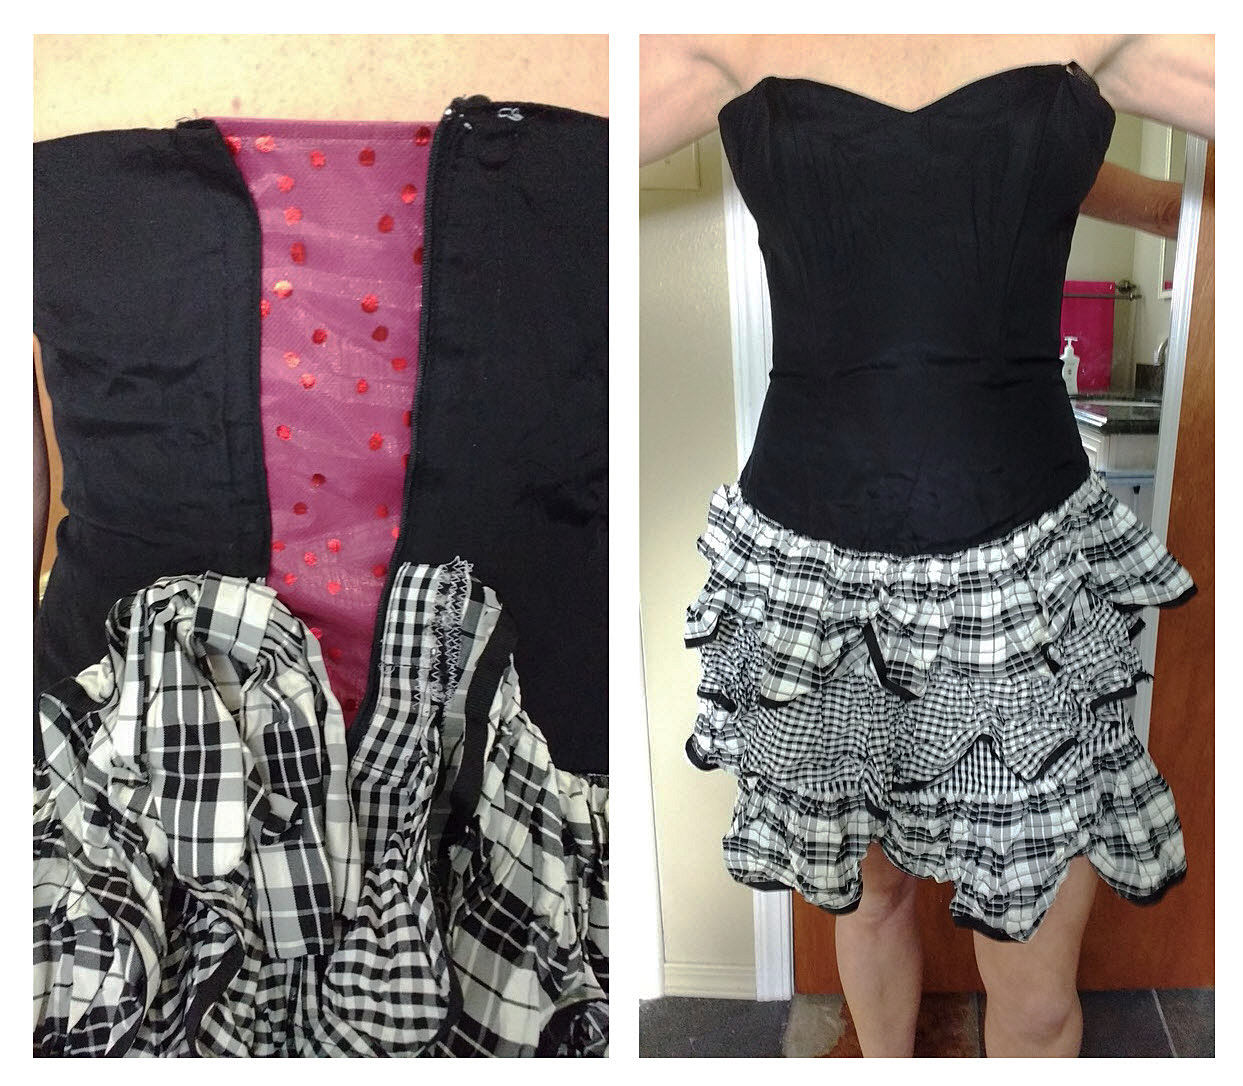
Ta da!!! The red fabric + Velcro expanded the corset piece perfectly. On the right you can see her in the dress after we’d finished. The dress is a little roomy in the bust, but she will be wearing a strapless bra to fill that in.
I’m so glad I could help my friend out with my sewing skills.
I’m so glad I could help my friend out with my sewing skills.