Here are more tips to make more time to sew
Hi! I hope you found part one of this series helpful for making more time to sew. I saved my favorite productivity hacks for this week. Here are new ideas for how to make more time to sew; hopefully these will help you, too.
Automate systems
If you can’t get someone else to go for your groceries, could you streamline and automate your system by meal planning and ordering the groceries online, for example, rather than wandering grocery store aisles with your cart?
An easy system for meal planning definitely helps me to make more time.
Another example: some people do laundry on a certain day of the week, but I can’t imagine that. I do laundry every day, automatically. Or I did, anyway; I battled laundry and gave up significant amounts of time to taking care of laundry with love for my family.
Finally, I managed to eliminate laundry backups and piles by doing a load or two — through to completion of putting them away, without exception — every day.
And my work on getting this system into an automated rhythm paid off for me even further. My husband surprised me by offering to take over this daily management! I happily loaded laundry onto my don’t do list and that gives me more time every day.
Keep reading to see more ideas for easy automation of regularly recurring tasks.
Just having an automated system of where you always put your keys, phone, and other items, for example, could potentially save many minutes of time spent searching for your things.
The same goes for your sewing tools and space, of course. Keep your machines next to their thread, for example. Arrange a hot iron and pressing board within your reach from your sewing machine when you make patchwork. Always know exactly where everything you need is by having a dedicated place for everything and keep everything always in its place when not in use. These little tweaks can save a lot of time for more sewing.
Speaking of systems:
Take a tip from the king of Twitter. I am talking about Jack Dorsey. Dorsey is one of Twitter’s founders and its first CEO. And when Twitter performance was lagging in 2011, he came back as CEO to turn the company around. Dorsey also founded Square, the app that turns a cell phone into a card scanner and enabled everyday folks to easily accept credit card payments. For a time, he was CEO of both giant operations.
This productivity whiz shared his secret by talking about how he themes his days. When I read his descriptions about how he handles marketing, communications, and growth on Wednesdays, and culture and recruiting on Fridays, for example, I sensed a way to make more time and I started thinking about this.
Keep it simple, silly: easy to remember themes
For this to work for me, it had to be simple and easy to remember. After working with different iterations of this idea, my current themes for my days include things like:
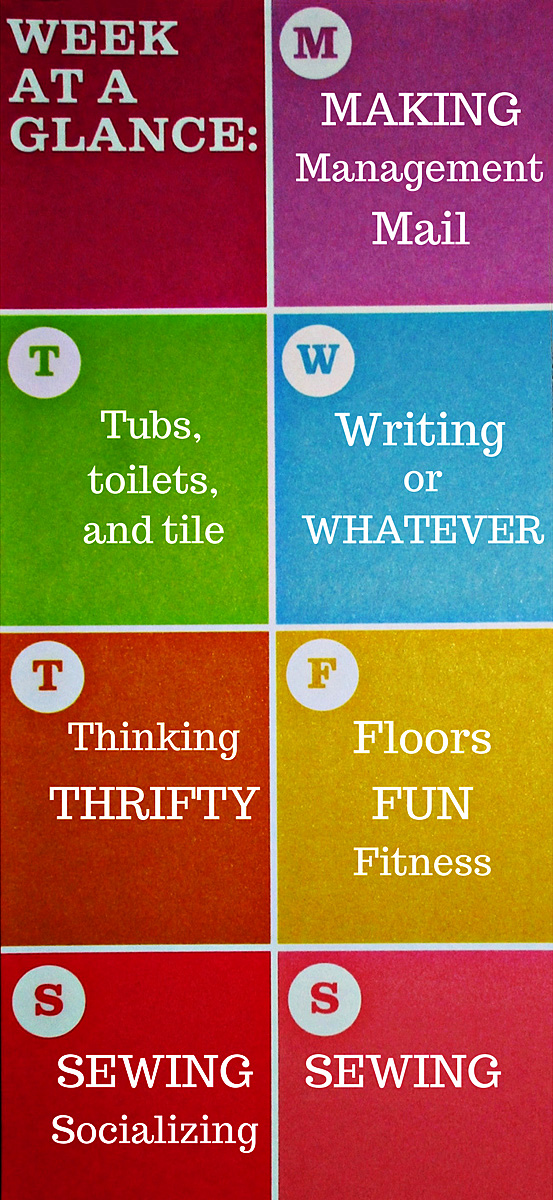
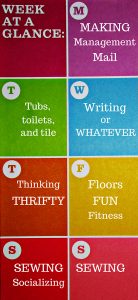
Monday
Mail and management on Mondays. Some folks might prefer to use the OHIO rule (only handle it once) for mail. For me, though, I prefer to deal with the last week’s incoming mail quickly and all at once on Mondays.
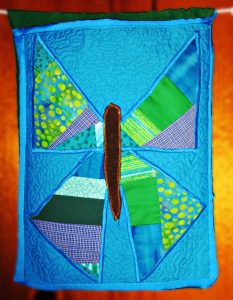
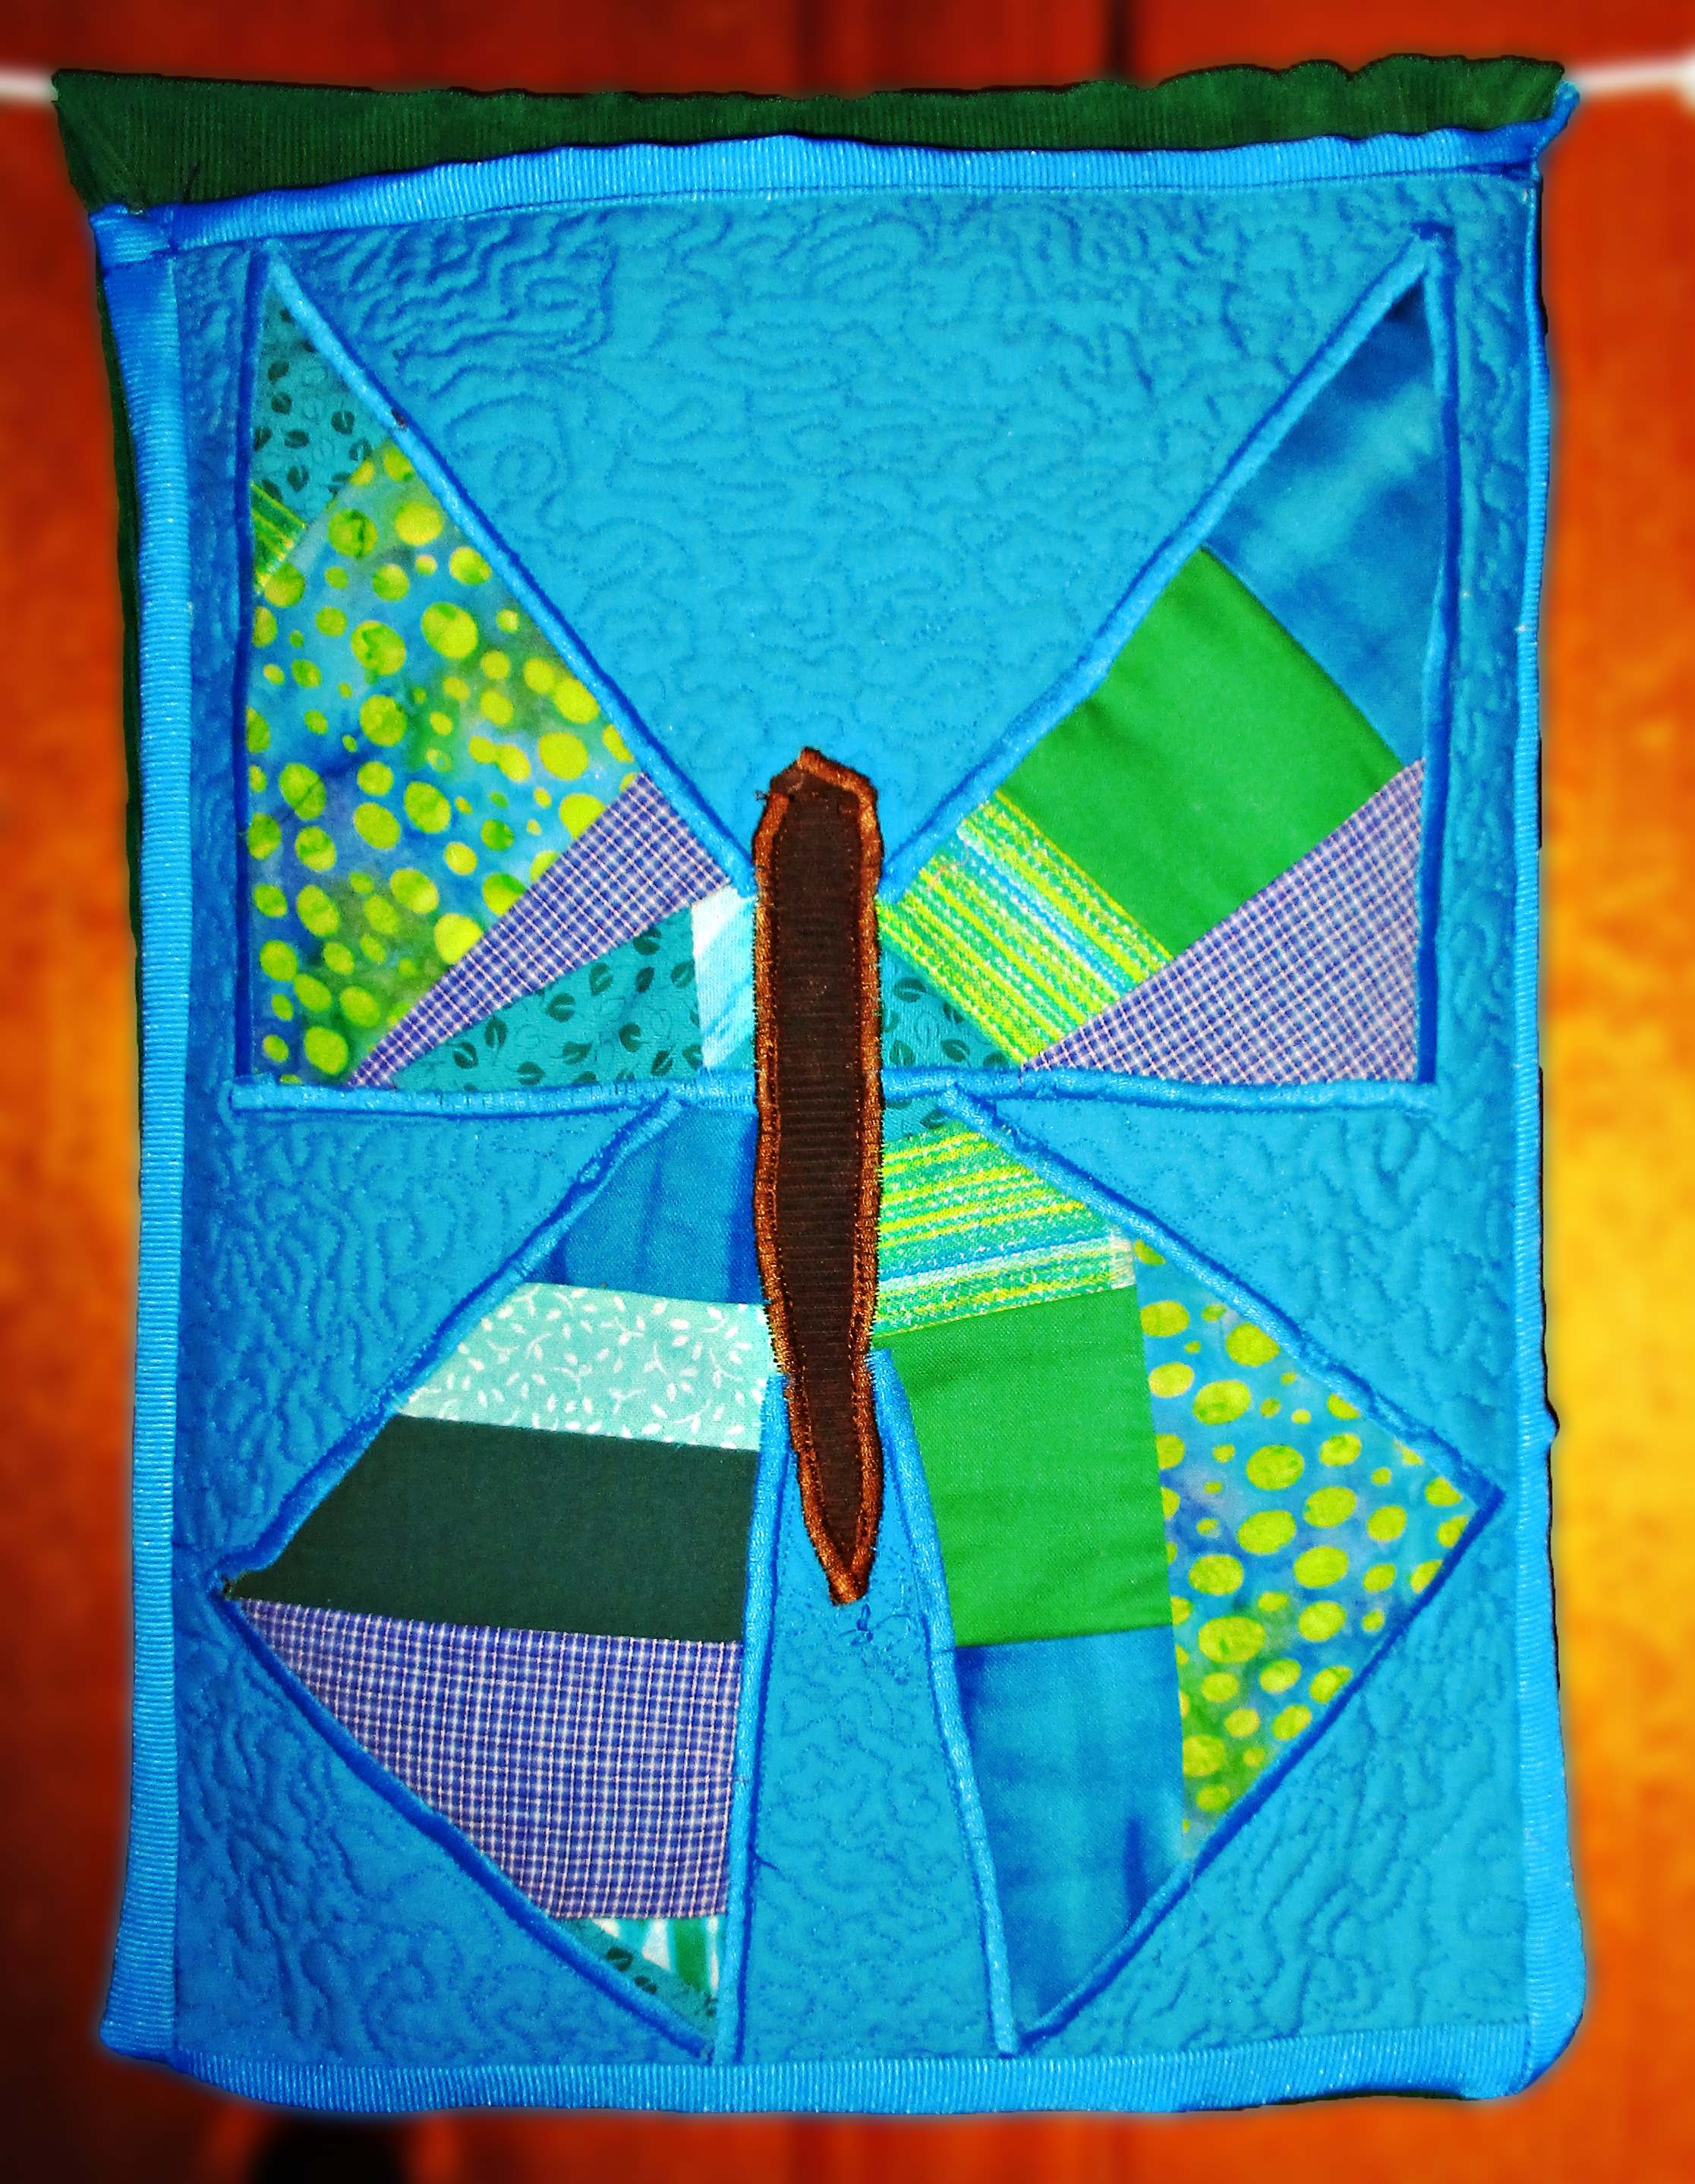
I made this butterfly organizer pocket to hold my mail for dealing with on Mondays.
Management for me means I am paying bills, scheduling tasks, planning my next week and reviewing the previous week, following up on things, etc.
You could have Making on Mondays, and fit sewing and other projects in on this day every week.
Tuesday
I clean tubs, toilets, and tile on Tuesdays.
Or how about teaching on Tuesdays? You could teach yourself or someone else how to do something new.
Wednesday
For me, Wednesdays are devoted exclusively to writing, and I try to do not much else, because I am currently writing more than one book.
If you don’t have much writing to do, you might like to have whatever Wednesdays instead, for maximum scheduling freedom on hump days.
Sewing could definitely fit into Whatever Wednesday!
If you are in the once a week laundry camp, you could do your washing on Wednesdays.
Thursday
Thrifty Thursdays. I used to choose to do my shopping on this day, since following the thrifty theme helped me not to make impulse purchases or otherwise spend unwisely.
Now that shopping is on my don’t do list, I am helping to free time from excess management on Mondays by theming Thursdays for thinking, too. I allow myself to invest a larger percentage of this day for reading and learning new things.
Friday
Floors, FUN, fitness, and friends on Fridays- I use Fridays for fitting in all these things.
I try to schedule most of our outings, field trips, hikes and other outdoor activities, and also playdates or informal dinner parties with friends, on Fridays.
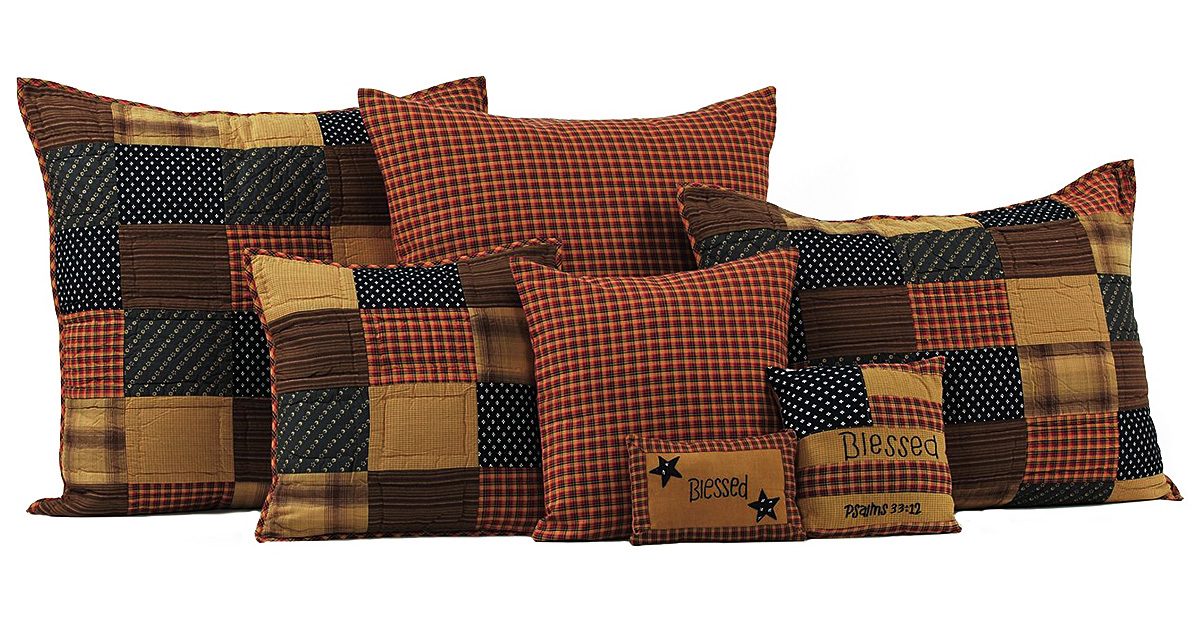
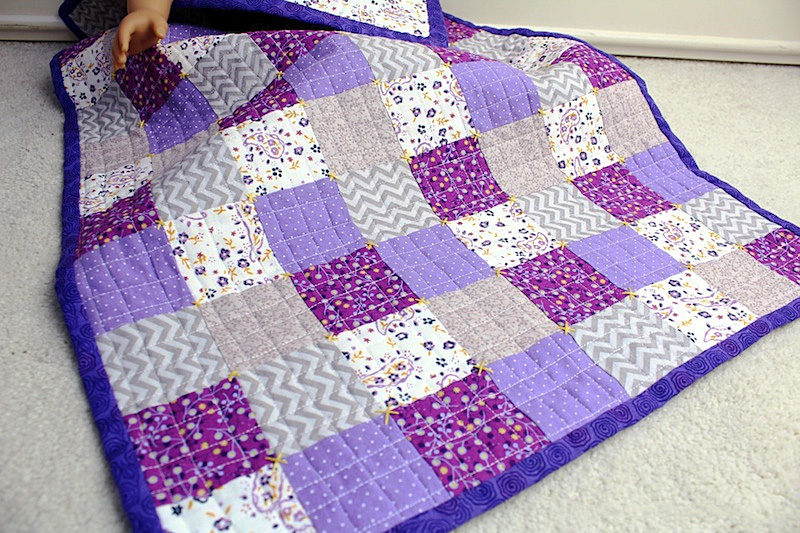
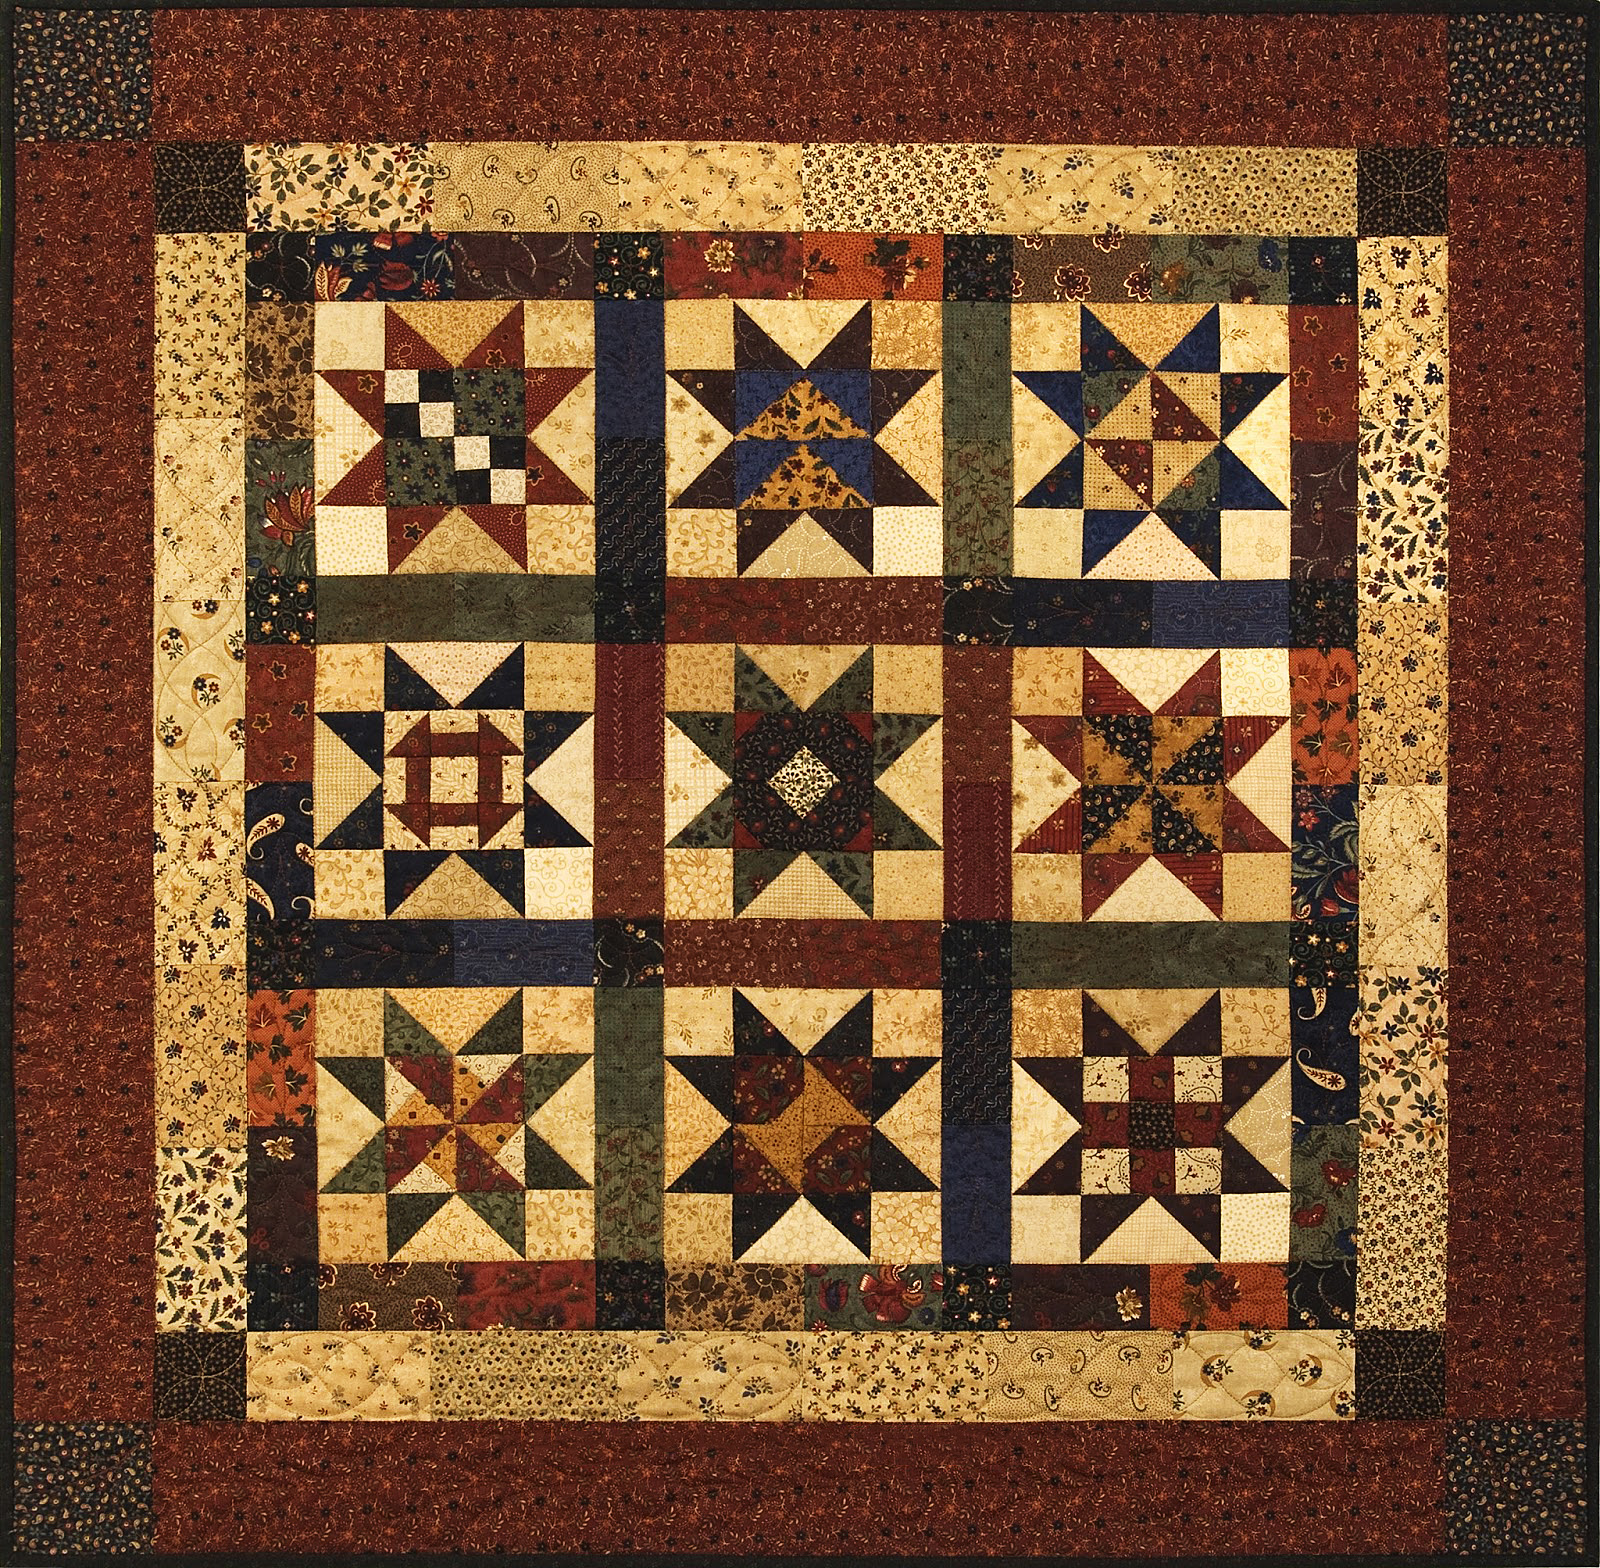
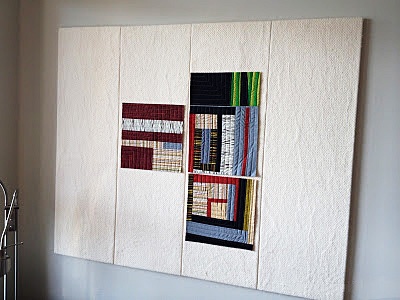
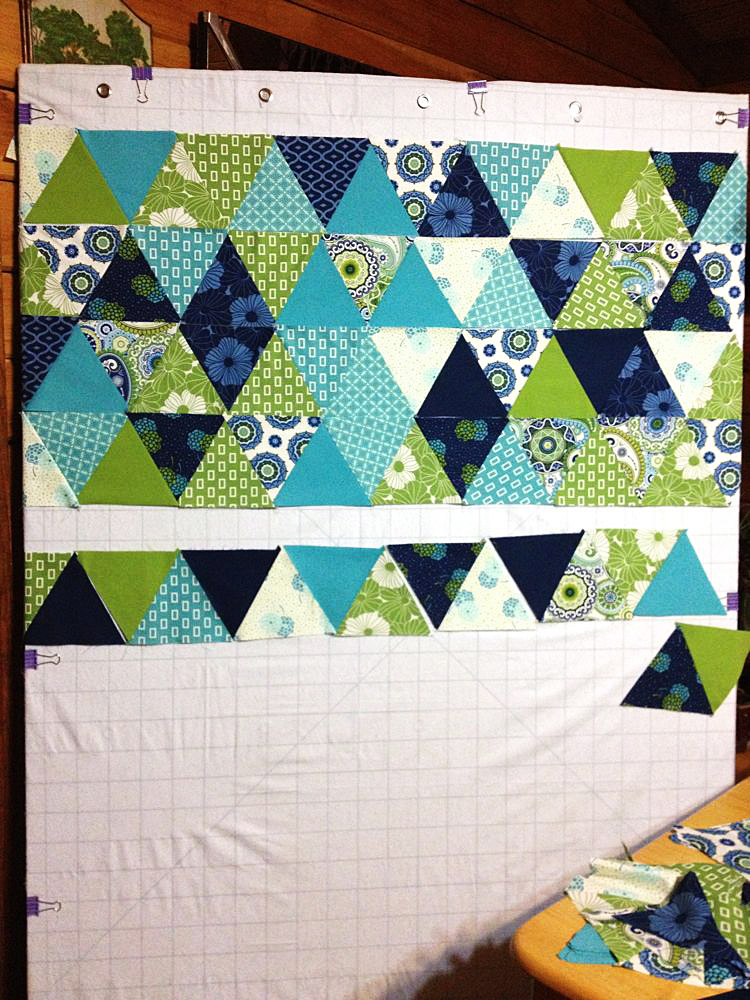
I also do a good bit of sewing under the umbrella of fun on Fridays. This would be for fun new project ideas, just playing with patchwork or starting a new quilt, stuff that is fun. I wouldn’t do mending on a Friday, since that isn’t as much fun.
We have family time every day here, but if yours doesn’t live with you, maybe you could use Fridays for family time, if this will help you.
I’ll also tell you about a tool that can save a ton of time from Friday’s floor cleaning task. I have a lot of hardwood and other hard floors, and also a pack of boys and a dog. So cleaning floors used to take up what felt like half my day on Fridays.
Luckily, a steam mop is a huge helper that cuts this task from tedious chore to so fast and effective it is almost fun to clean floors.
These are not all made equal, however. I love the well-designed Luna Plus steam mop system, especially because of its handy extra uses in the bathroom. This baby can save time on the floors on Fridays, and the tub and tile on Tuesdays, too.
It cleans twice as well as you can, and in half the time!
Saturday
Sew on Saturdays.
Here are some ideas to get you started thinking about your own themes for every day of the week.
I would advise against any temptation to have Saturday shopping as a theme! That is based on my own opinions, however; you should do what makes you happy.
If you normally shop on Saturdays, could you move to using thrifty Thursdays for this? Then you could save money for more sewing equipment and supplies and a whole day of the week for sewing. I’d love to help you save time AND money, so do consider this option.
Some folks might like to theme their Saturdays for socializing. I do this some weeks myself.
Sunday
Sew on Sundays, too!
It is fortunate that there are two days of the week beginning with S! And it makes perfect sense when theming your days to plan two days of sewing, if you want to make more time to sew.
Of course you could also devote all or part of either Saturday or Sunday to Service or as your Sabbath day of rest and reflection.
And wait, there’s more!
This series will be continued to part three, next week, because I’ll like to show you a few more ways to make more time. And I’ll share a video I am working on for you, where I’ll give you more details and inspiration about all the ideas from this series.
Until then, happy sewing. I hope these tricks can help you to make more time for sewing this week, and I hope you get to enjoy making something you’ll love.