Not every holiday has to be one that leaves the shelves of stores stocked with accessories and baking supplies that are that-holiday-themed. Some of them can pass by with a lot less glitz and glamour, with only those people who are interested and aware of said holiday embracing it on their own terms. National Talk Like a Pirate Day, anyone?
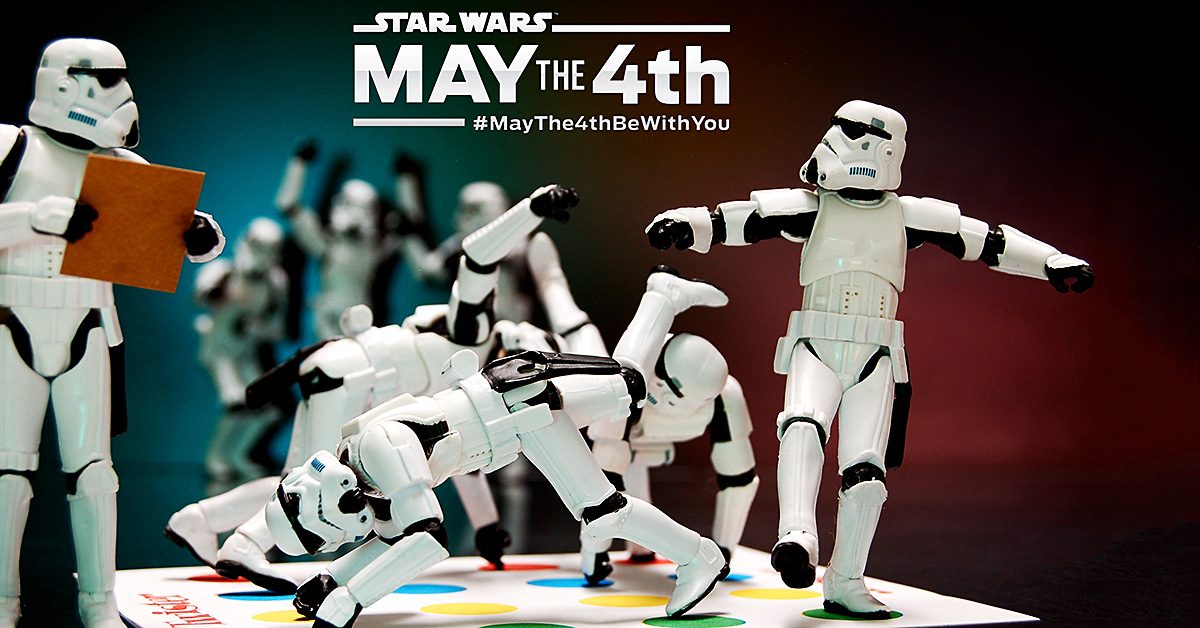
Pirate talk included, one of my absolute favorite holidays of that category is one that embraces a very real part of my nerdy heart: Star Wars Day.
That’s right. May the 4th is a good day for me! In fact, for this Star Wars Day, I’m planning on trying to introduce my youngest niece to the first movie of the original trilogy. Here’s hoping she loves Chewbacca as much as her Aunt Connie does!
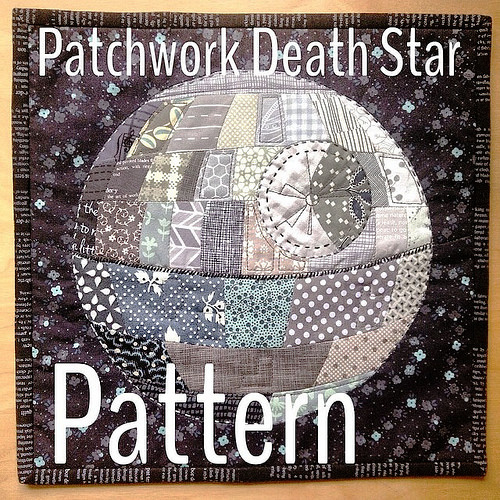
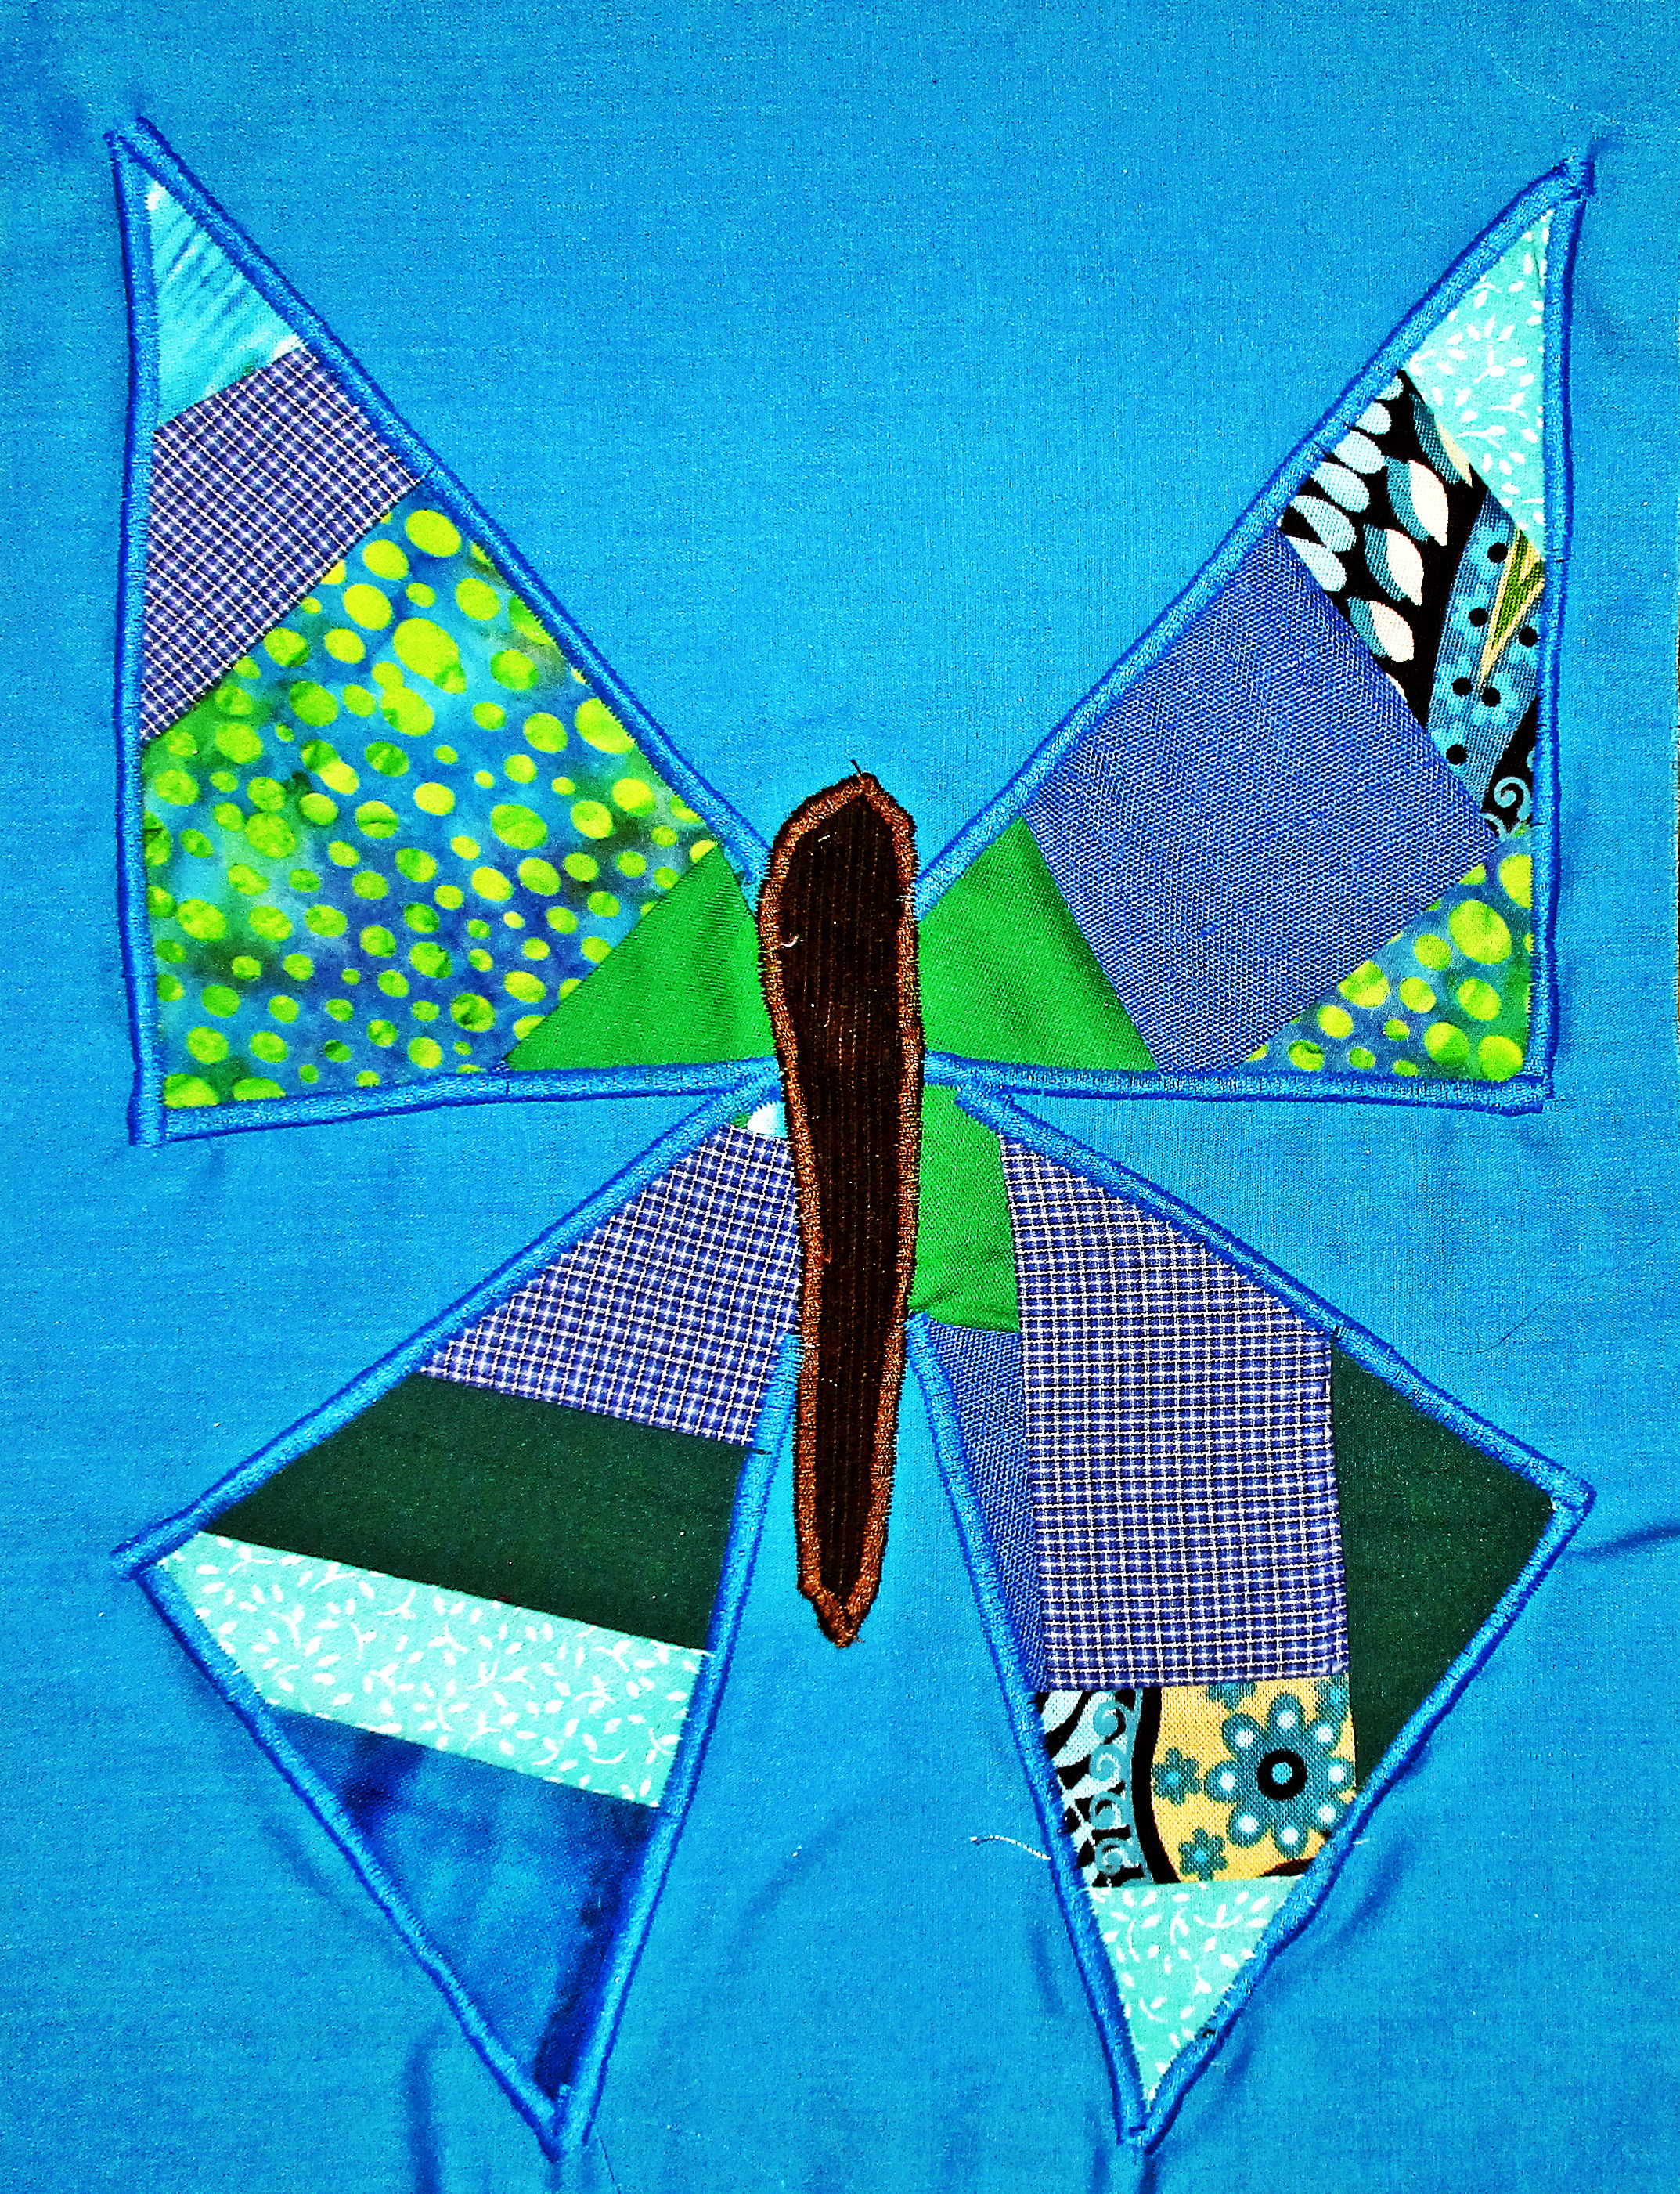
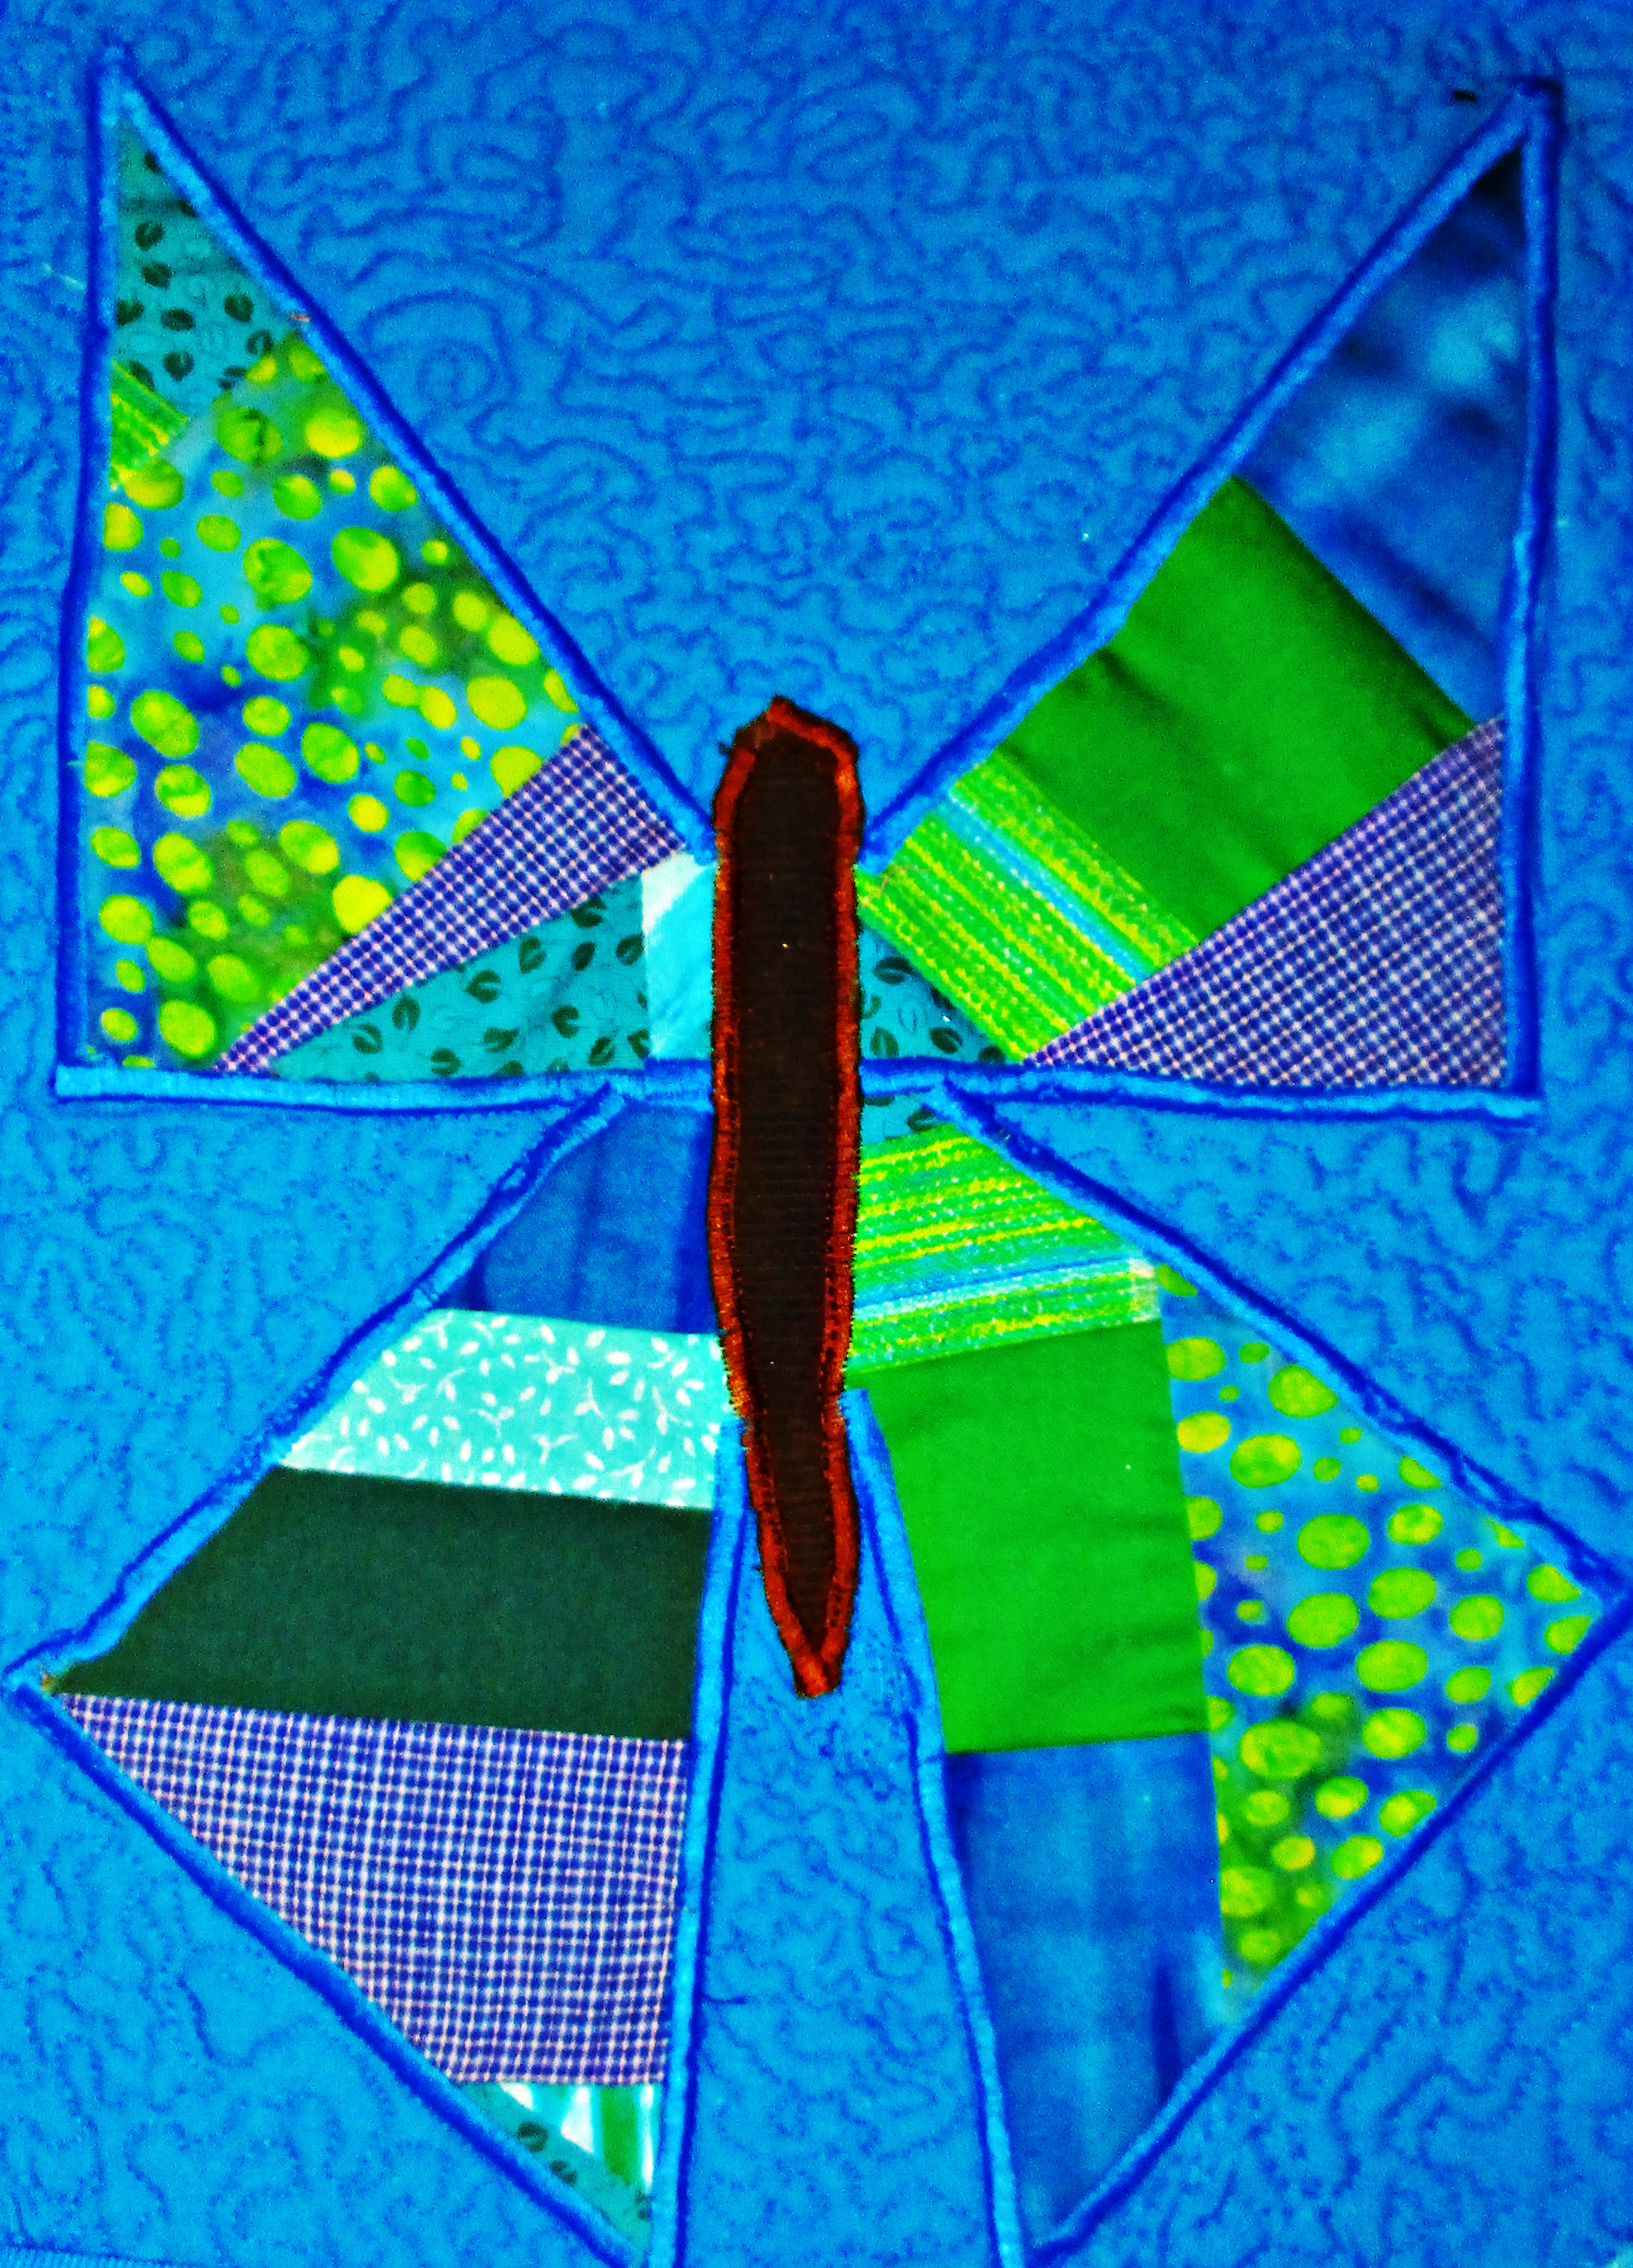
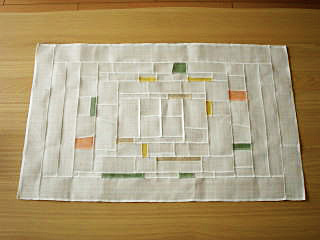
There are a number of options for this kind of product, but one that really stuck out to me was this Death Star quilt.
And there are plenty of sewing projects that are fitting for the day. Of course, it’s a little late in the game to make these for this Star Wars Day, but they’re ideas to keep in your head for 2018!
For instance, you could make a Star Wars blanket or quilt. There are a number of options for this kind of product, but one that really stuck out to me was this Death Star quilt. I absolutely love the collage element that makes up the Death Star in this project, and the galaxy-esque material it’s on is a perfect fit for the theme. It’s dark and looming, just like the Death Star should be! I, personally, would be proud to be the maker of such an interesting take on the empire’s weapon!
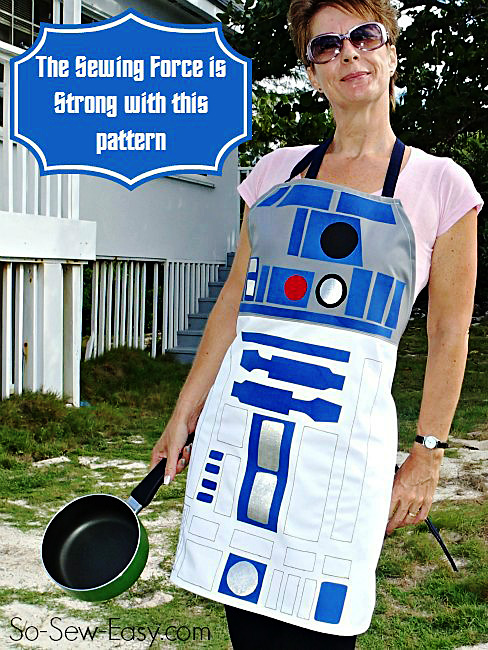
For a person — like me — who adores baking, making a character-inspired apron like this one feels like a wonderful option!
But if you’re feeling a little more Jedi/Rebel Alliance-inclined, maybe you’d rather embrace a concept from their side of things — like R2-D2. For a person — like me — who adores baking, making a character-inspired apron like this one feels like a wonderful option! Since I may or may not have a series of Star Wars kitchen supplies on an Amazon wish list, this would be a wonderful addition to the mix. I could totally see myself wearing an R2-D2 apron and oven mitts while my R2-D2 oven timer buzzes…
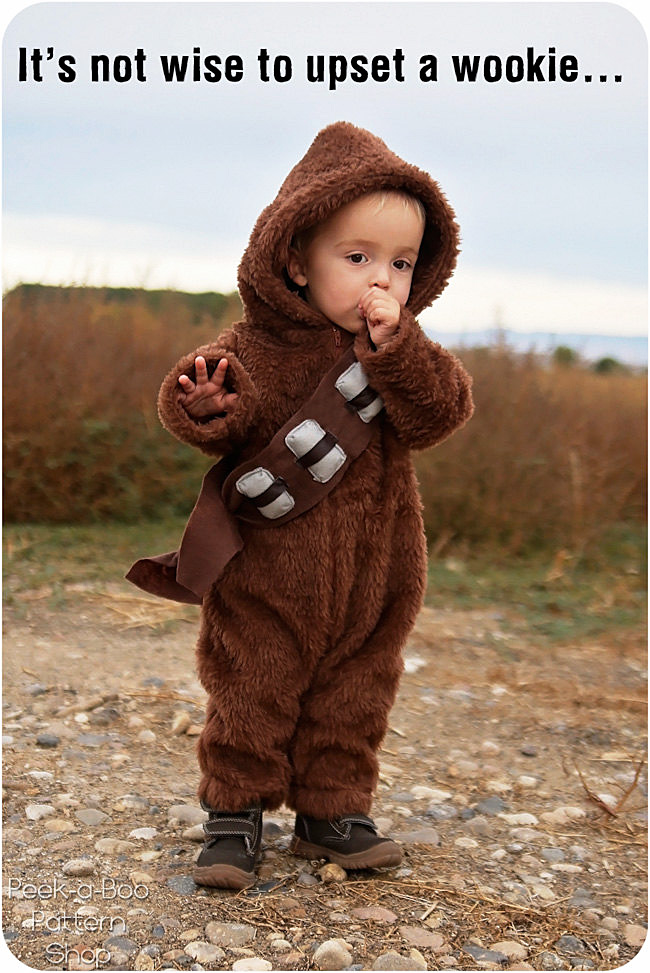
Oh, & remember how I said I loved Chewbacca? Imagine your little one decked out in this Chewbacca costume!
Oh, and remember how I said I loved Chewbacca? Imagine your little one decked out in this Chewbacca costume! This one could double as a Star Wars Day project and a Halloween one since this would make an adorable costume for trick-or-treating time! It would include a number of pieces — like ammo belt details — so you might want to make sure you start early enough to tend to all of these aspects!
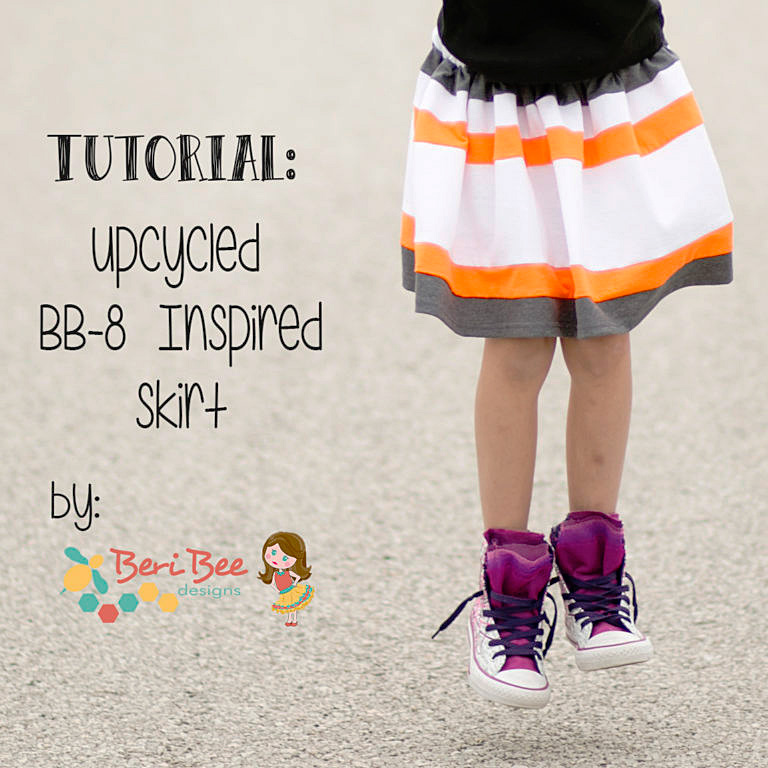
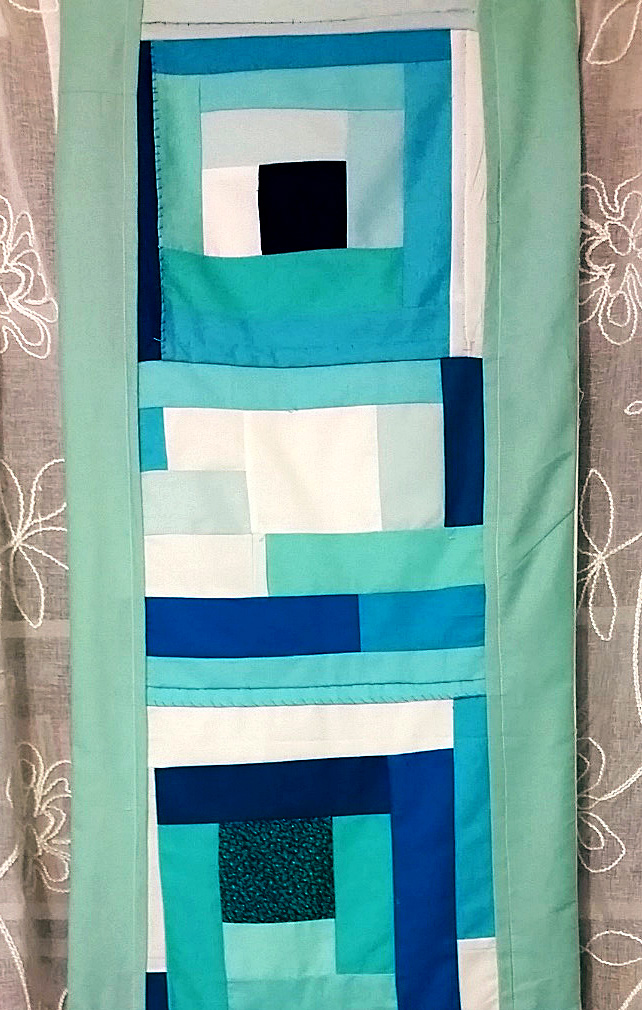
Another Star Wars project that you could make for your little one is this BB-8 skirt.
Another Star Wars project that you could make for your little one is this BB-8 skirt. It’s a nod to the more recent Star Wars movies with one of the two awesome droids that have come to the surface through them. Seriously! I adore BB-8, and K-2 is so awesome! This skirt would be something that could be worn any other day of the year as well since while it’s a nod to BB-8, it’s basic enough that it doesn’t necessarily have to be a skirt that’s Star Wars themed. It could easily just be a skirt with stripes, which isn’t day-specific! Essentially, with this product, you could have a perfect piece of clothing to wear through the day that’s general enough to wear again and again, regardless of the day.
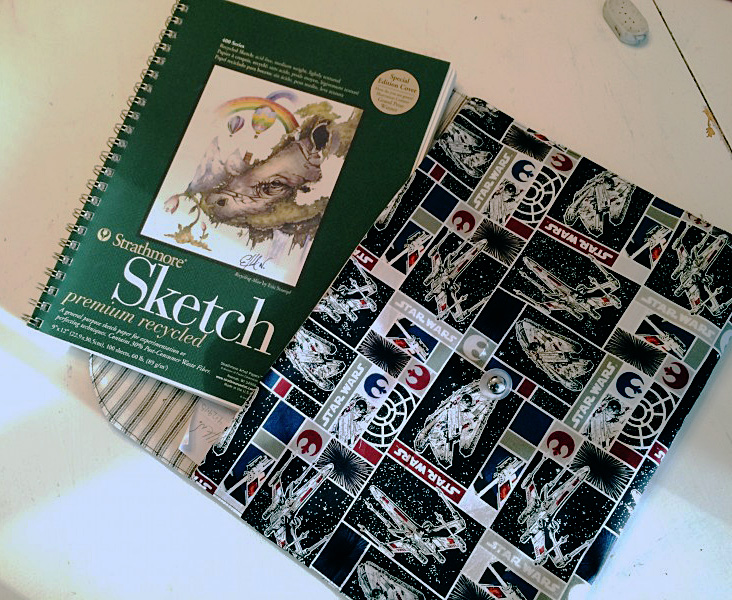
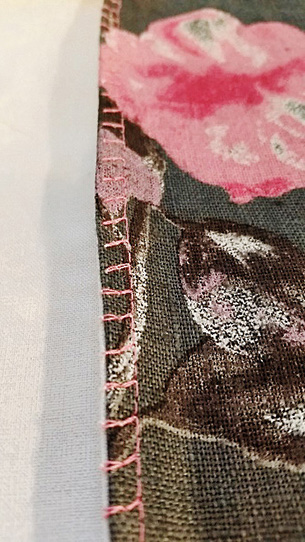
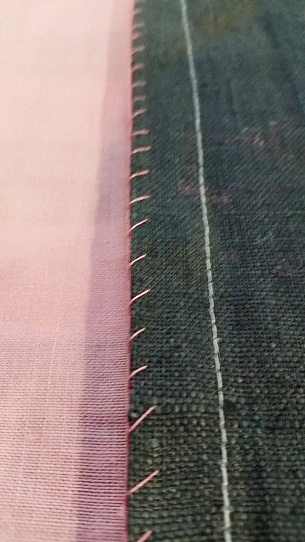
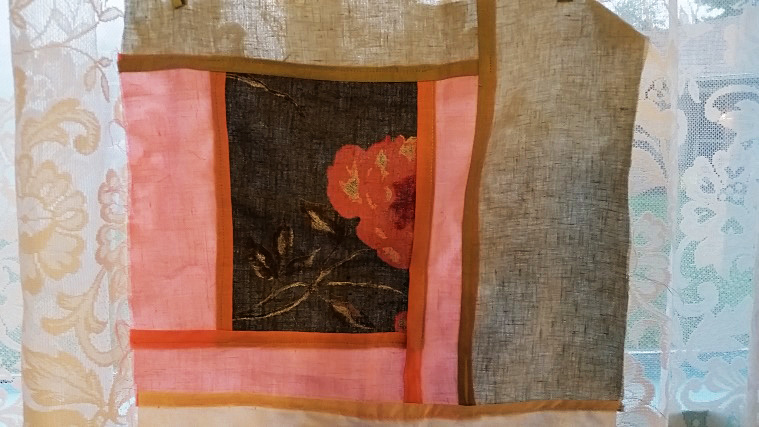
One last project applies to anyone in need of carrying around documents & such — whether that something to carry is the sketch pad shown or a stack of papers that you, as a teacher, graded!
One last project applies to anyone in need of carrying around documents and such — whether that something to carry is the sketch pad shown or a stack of papers that you, as a teacher, graded! Now, obviously, you might want to make sure that this project is okay with your employer before you carry it into a formal meeting, but if you get a thumbs-up, there’s something awesome to me about the idea of carrying a Star Wars case into said meeting with your company-important documents. This could also be used for things around the house, like keeping your receipts or pictures in, and it’s a small enough project to easily manage between today and May 4, 2018!
This is the perfect day, in my opinion, to embrace your inner nerd and run with your sewing projects! It’s for what could be labeled the epitome of Sci Fi/Fantasy movies, and there’s plenty of room to work these mentioned projects into your May the 4th schedule. Need proof? Here you go: You could grab that Star Wars quilt and the baked goods you made while wearing your apron, toss that quilt over you and your kids in the Chewy costume and BB-8 skirt, put your distractions in your carrying case, and watch some Han Solo!