How to sew Sunbrella fabric outdoor pillows.
After a record amount of snowfall this year and the ensuing snow melt and run off, my new home town of Mammoth Lakes, California is in full summer swing. We live at 8,000ft elevation. This means that while we’re high up amongst mountains and the trees, we’re also closer to the sun. UV exposure increases about 4% for every 1000 ft. (305 m) gain in elevation (source). So at my house, we are 32% more exposed to UV rays than at sea level.
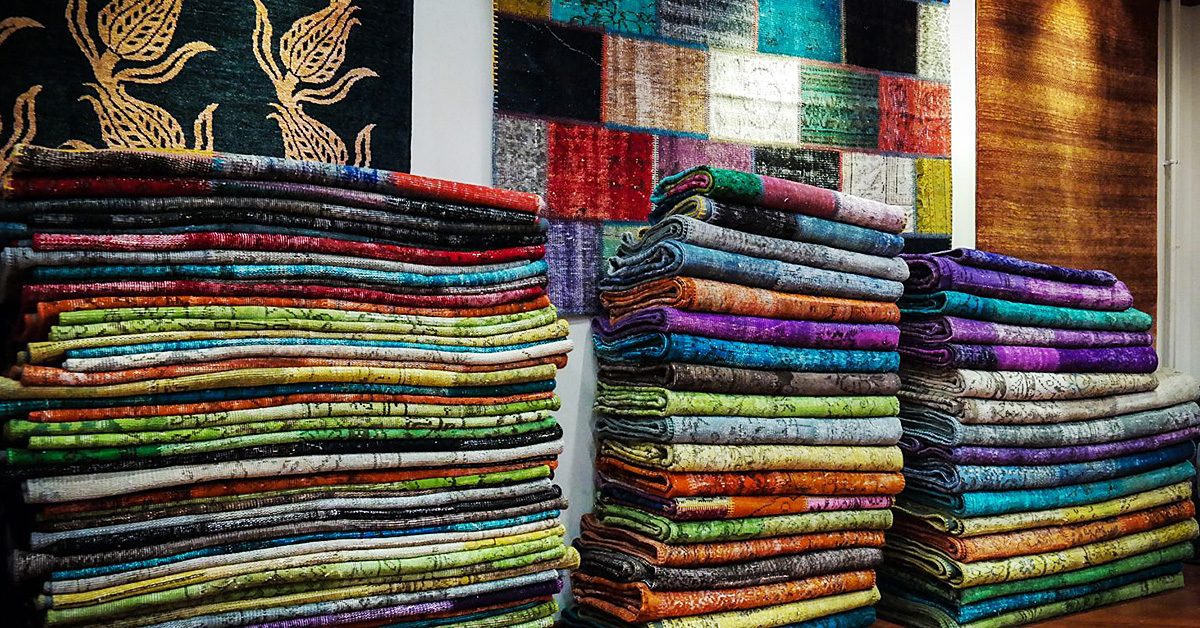
I mention this because I recently made some outdoor pillows for our patio furniture. I immediately chose Sunbrella fabric as my go-to because of its incredible sun resistance and durability (among many, many other factors. Seriously, read up on Glen Raven’s Sunbrella fabric and see why it’s the number one choice in marine environments).
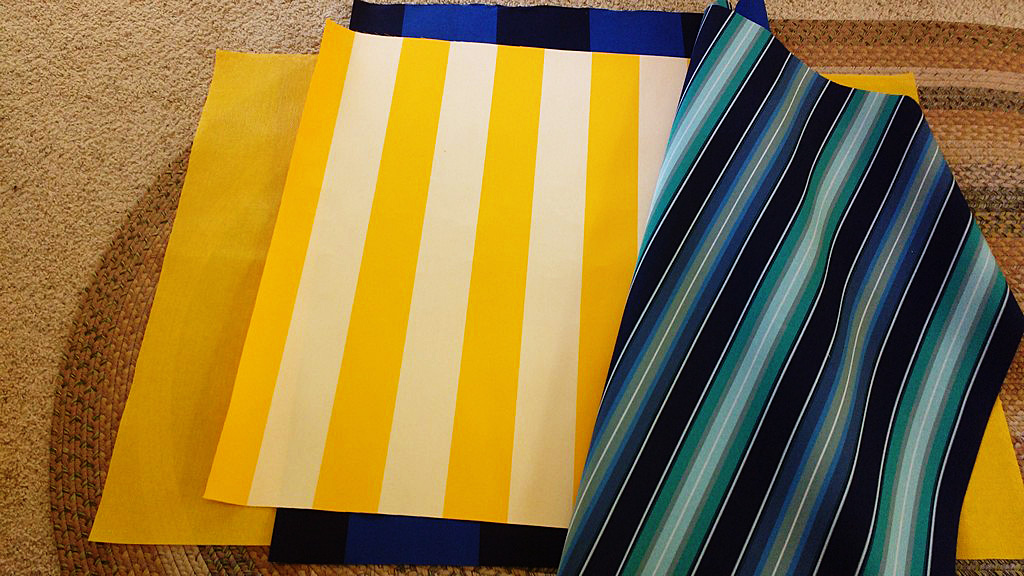
Sunbrella
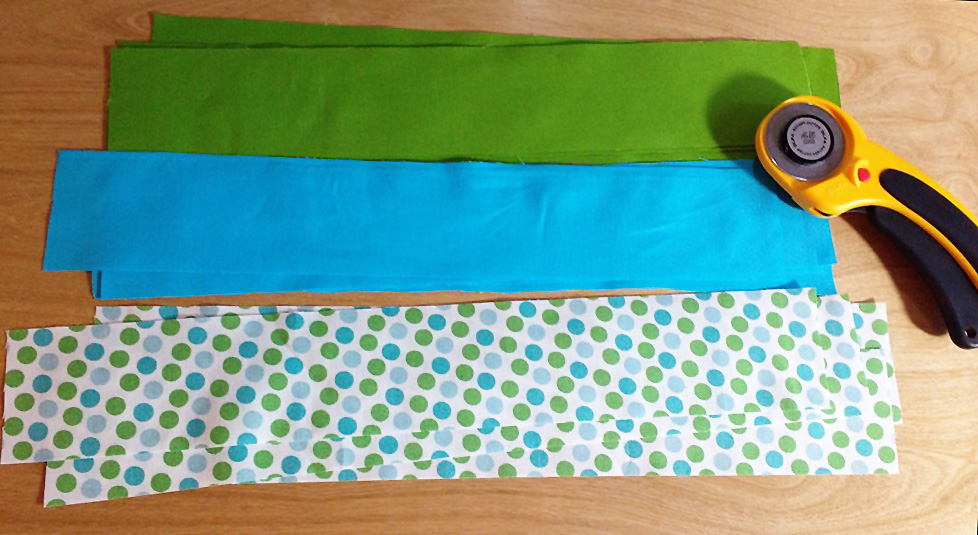
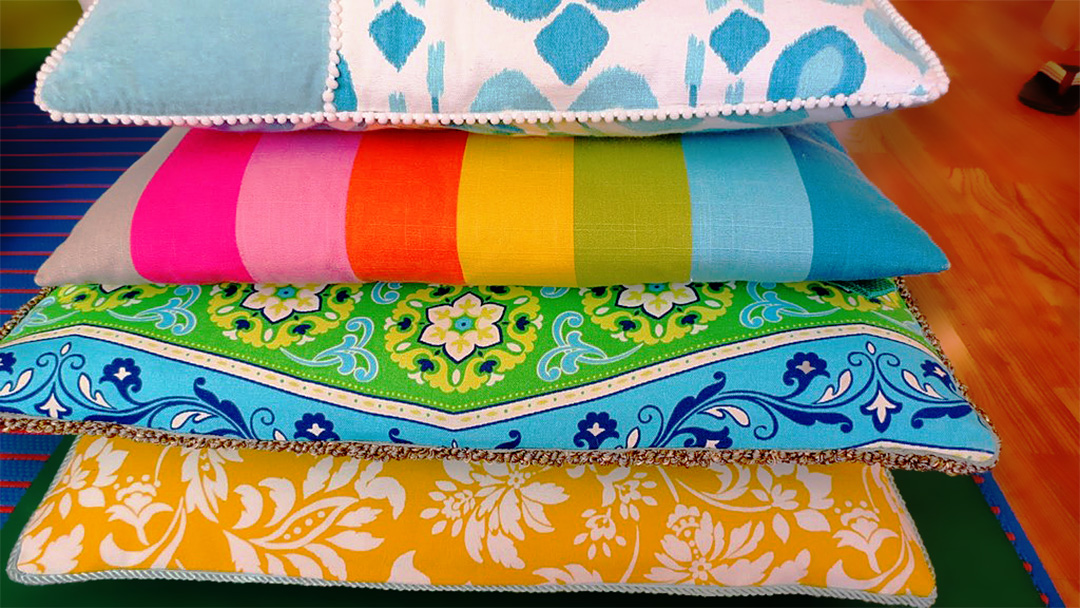
I dug through my stash of Sunbrella which is currently three yards of fabric. I settled on Sunbrella Saxon Cascade, both because I liked the pop of turquoise and how it matched with my welcome door mat, and because the other two pieces’ stripes were too big for the 18″ x 18″ pillow forms I planned to use.
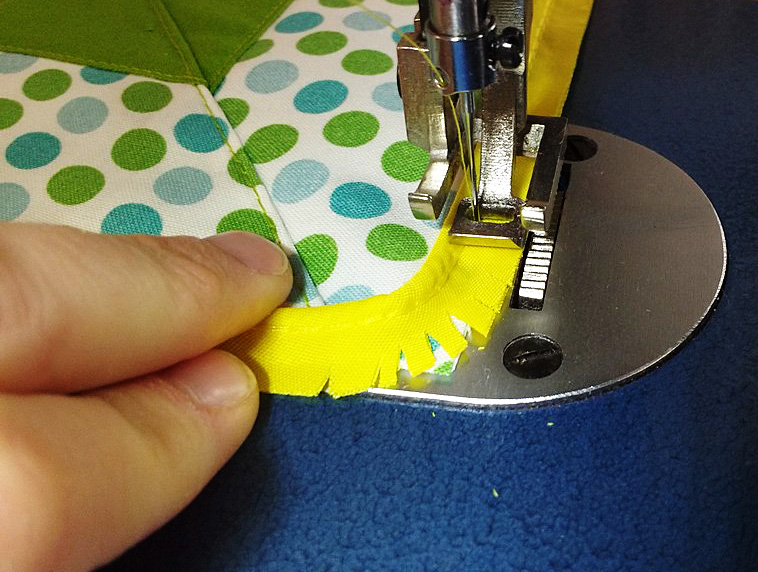
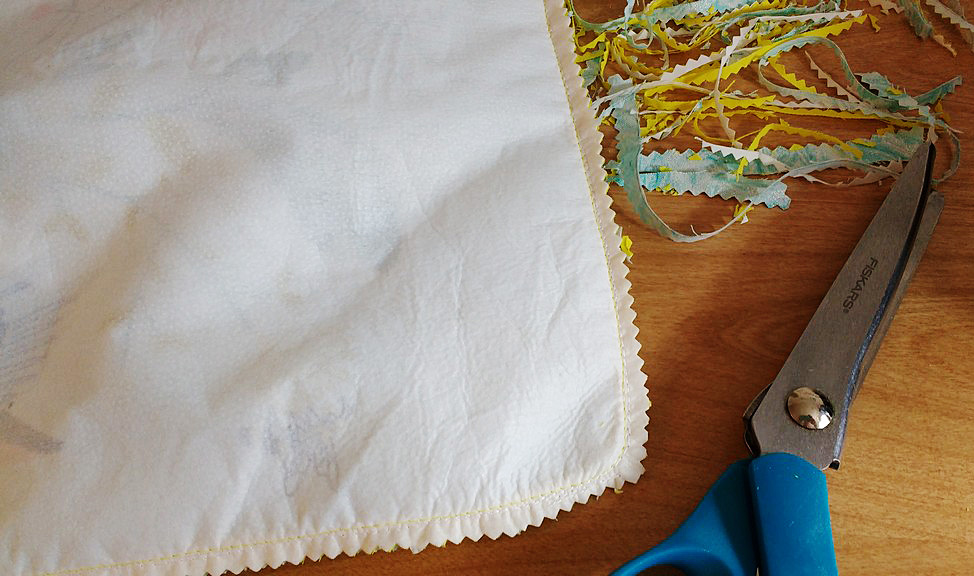
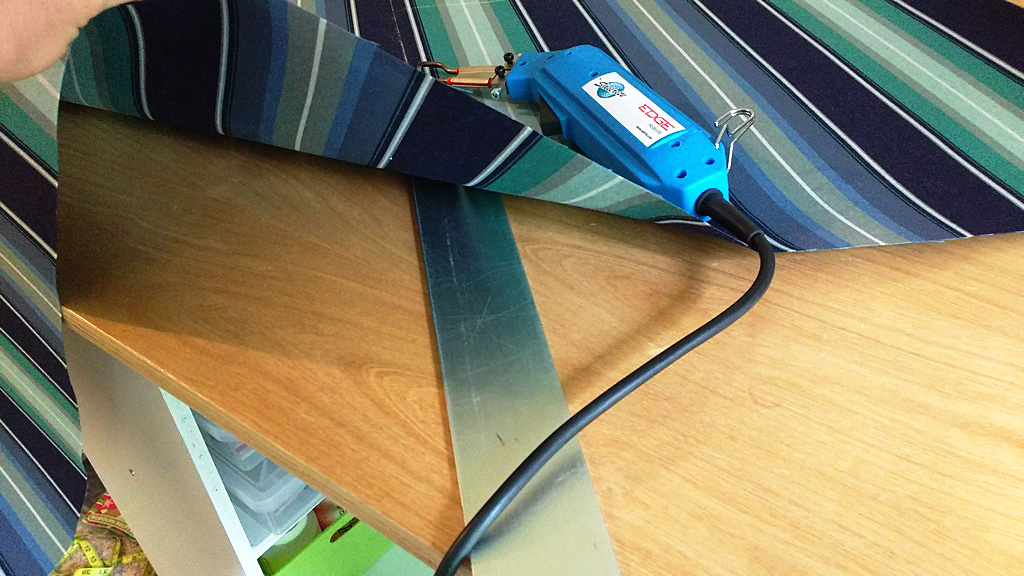
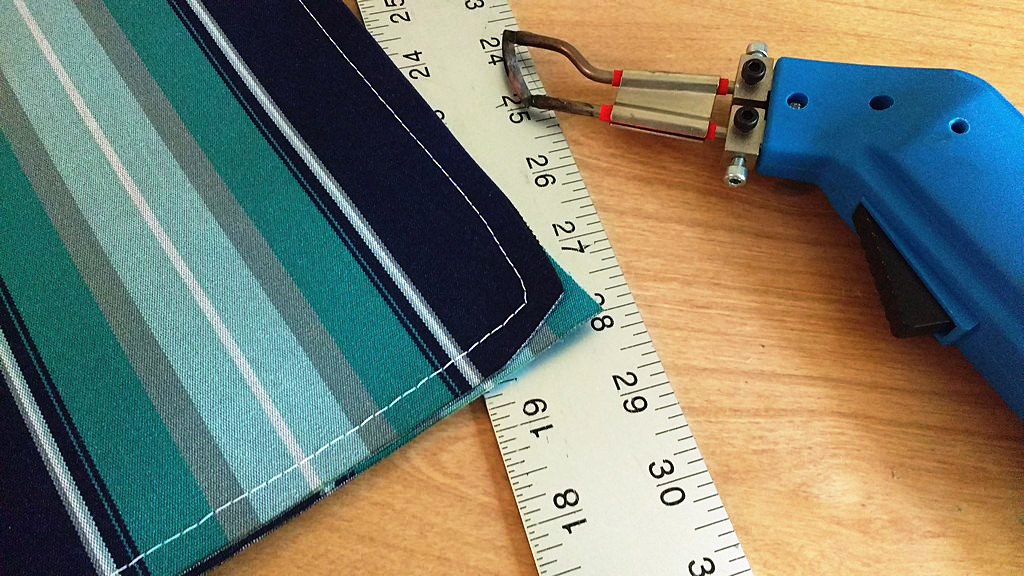
Sunbrella is an acrylic fabric & hot knives cut through it like butter.
Sunbrella is an acrylic fabric and hot knives cut through it like butter. I love to use hot knives when I cut out my pieces because the knife seals the edges to prevent unraveling.
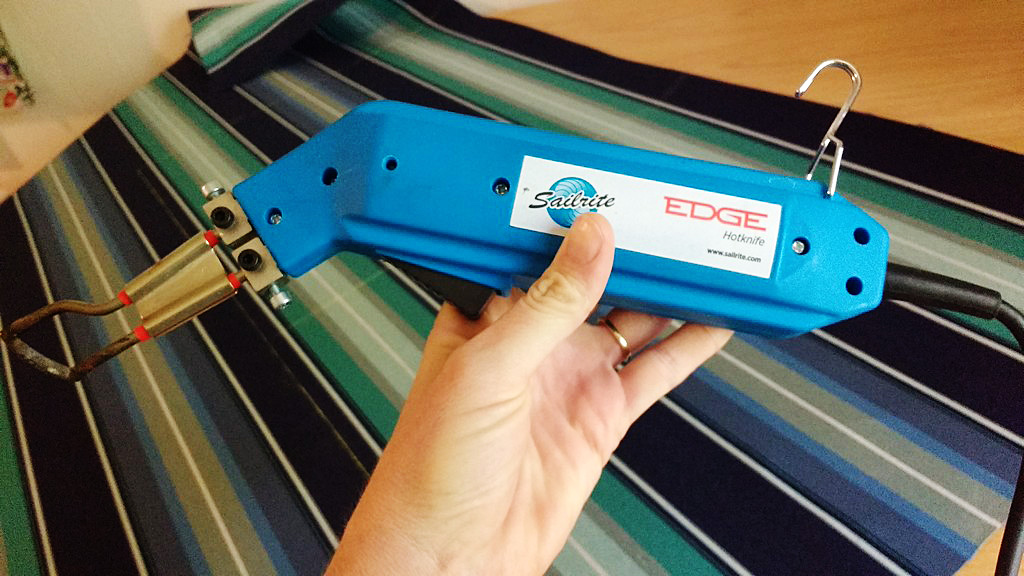
I love to use hot knives when I cut out my pieces because the knife seals the edges to prevent unraveling.
Clover Chaco Liner pen
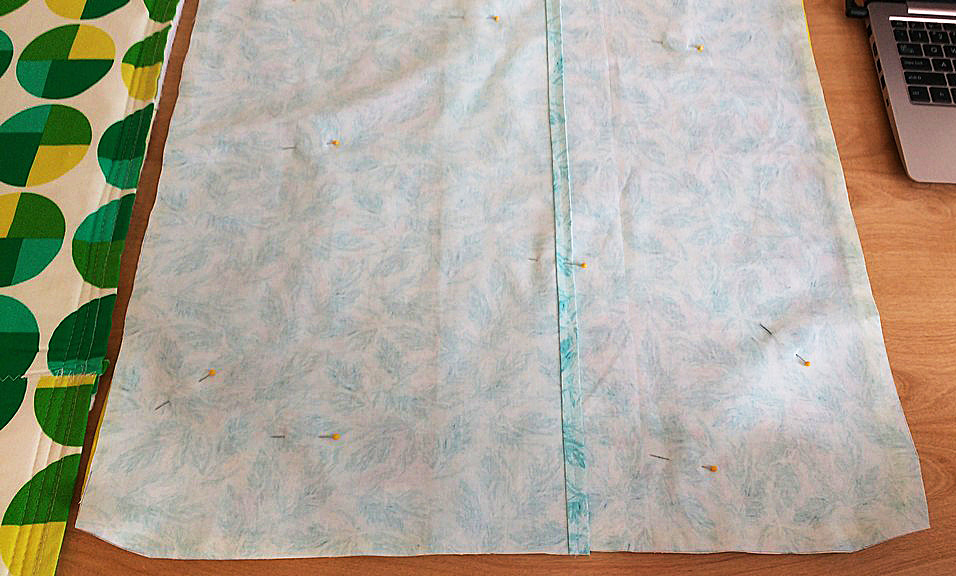
I planned to do envelope closes for these pillows so I marked out my two front pieces and four back panel pieces. For navy or black-colored fabric I use my Clover Chaco Liner pen in Yellow which is available from SewingMachinesPlus.com.
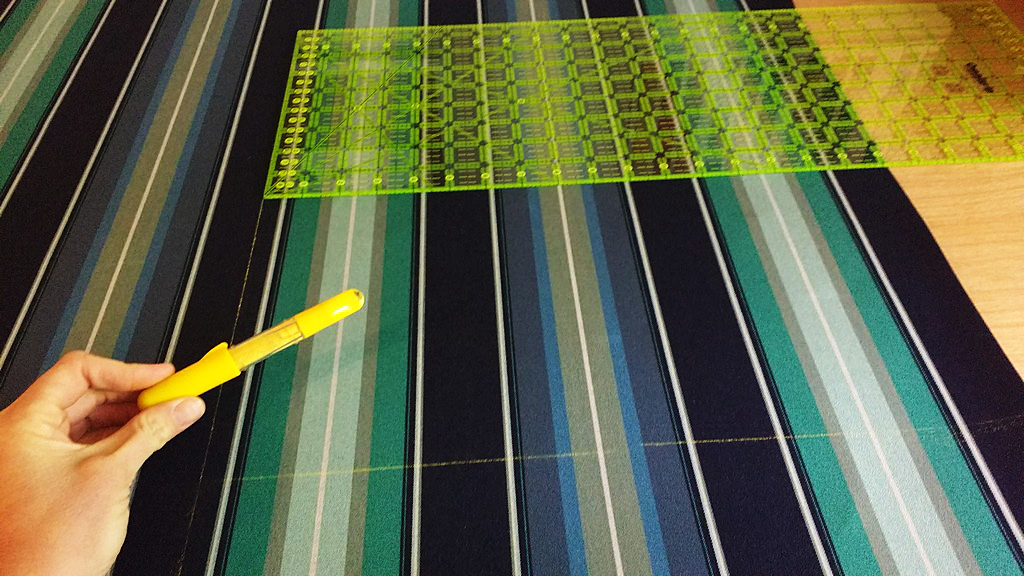
For navy or black-colored fabric I use my Clover Chaco Liner pen in Yellow.
It’s super important that you put metal or ceramic, or something safe under the marked lines you’ll be using the hot knife on. I flip my 48” Starrett ruler over and cut on that.
It’s super important that you put something safe under the marked lines you’ll be using the hot knife on.
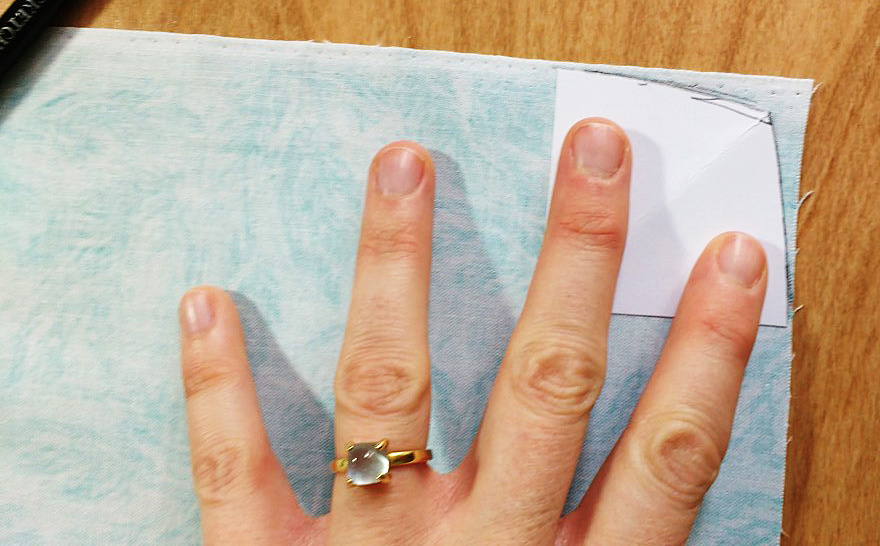
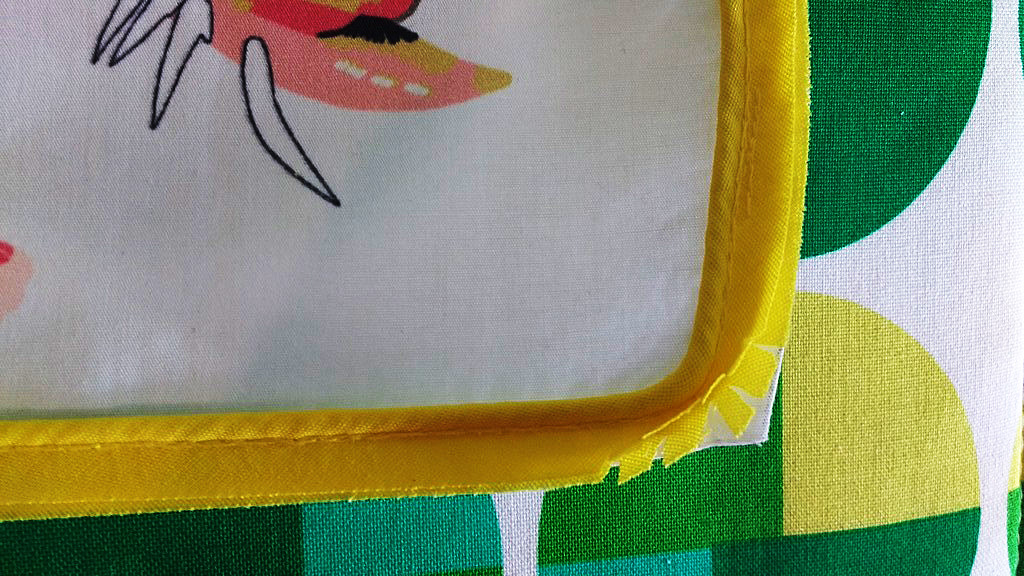
Rounded corners
Next, I like to slightly round the corners of the pillow fronts (I’ll do it to the back pieces too once everything is sewn together.) I went over this method in my post here on how to sew square pillows with piping.
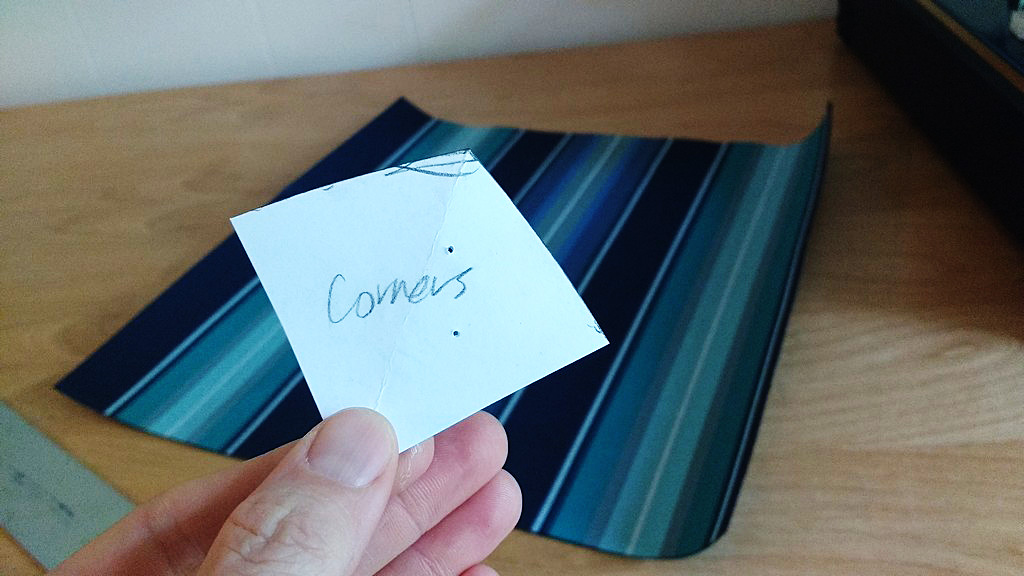
I like to slightly round the corners of the pillow fronts.
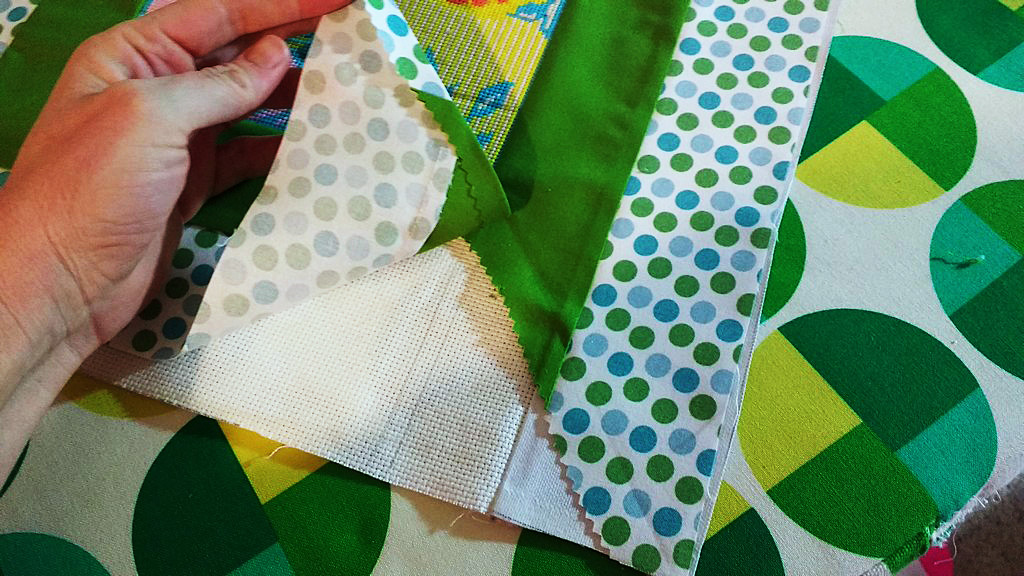
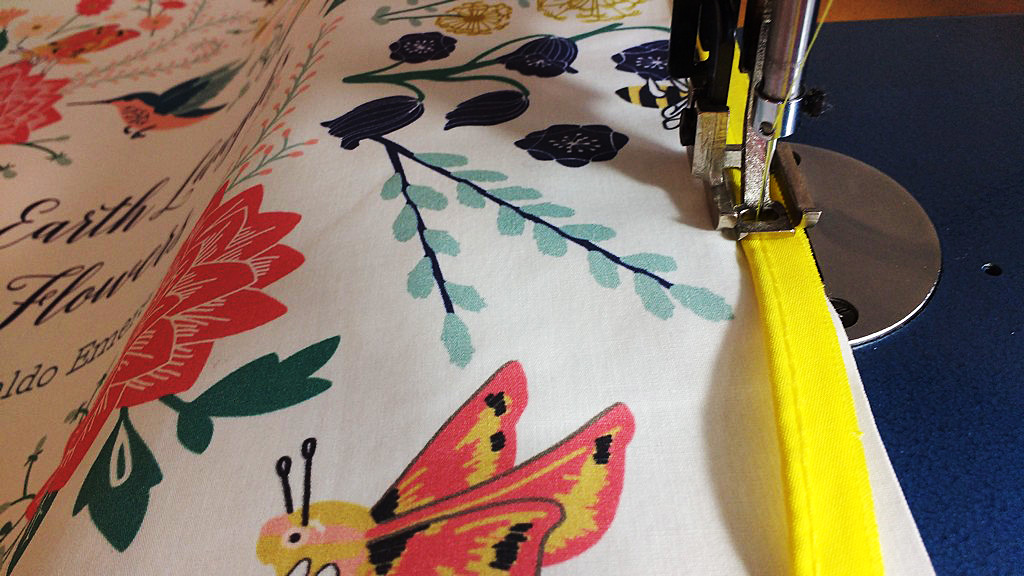
Now it’s time to finish the seams on your back panels. Sunbrella is great for finger folding over, plus working with stripes often makes marking your seams easy.
Tip: when you use a hot knife it can make the finished edges of Sunbrella fabric a little sharp. Be careful when finger folding that you don’t hurt your fingers!
Now is the time to sew in a tag if you have one.
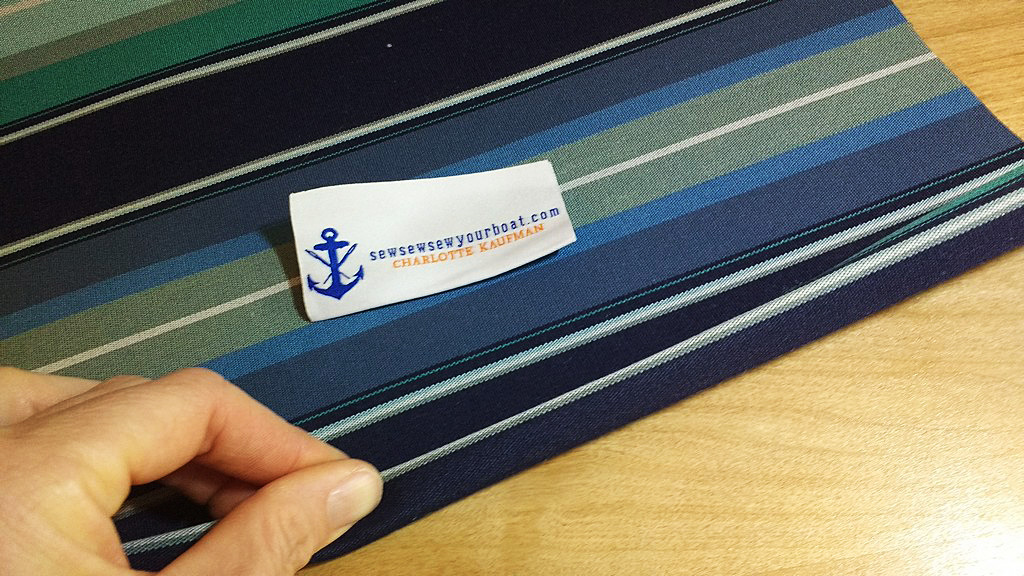
Now is the time to sew in a tag if you have one.
Wonder Clips
Putting a regular sewing pin through Sunbrella is almost impossible. I use Wonder Clips on projects this small to hold my pieces together. SewingMachinesPlus.com has them available here.
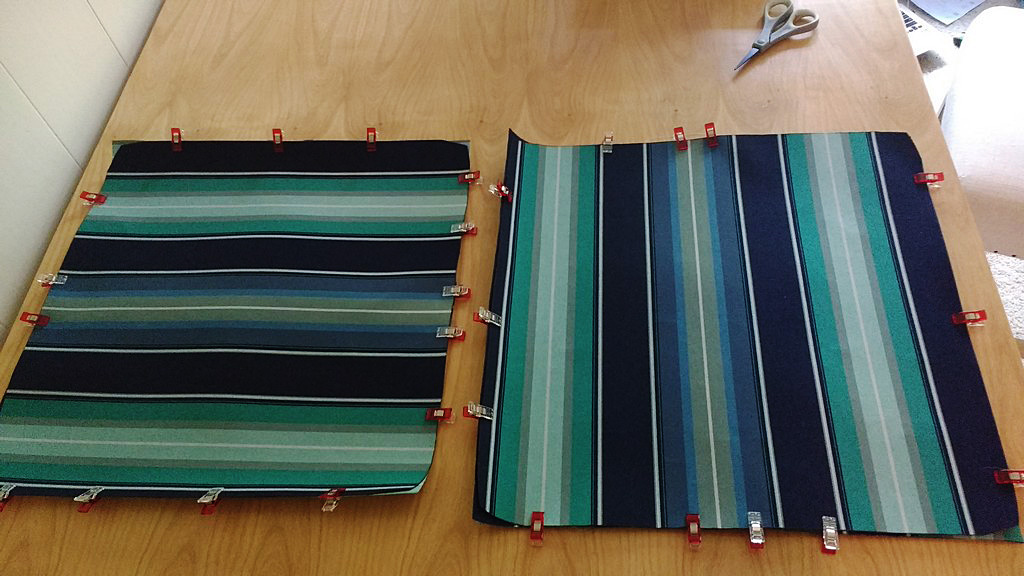
I use Wonder Clips on projects this small to hold my pieces together.
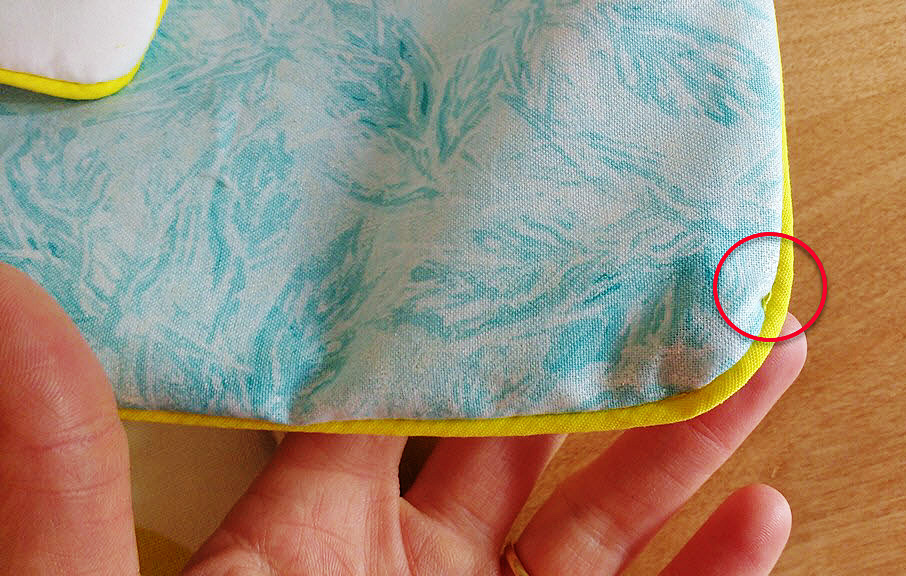
Once sewn, I use the hot knife to round the corners of the back panels to match the top panels.
I use the hot knife to round the corners of the back panels to match the top panels.
Now it’s time to turn. This will be crinkly!
Tip: use leather gloves or gardening gloves while turning your fabric to avoid getting your skin cut or scratched from the hot-knifed edges of fabric.
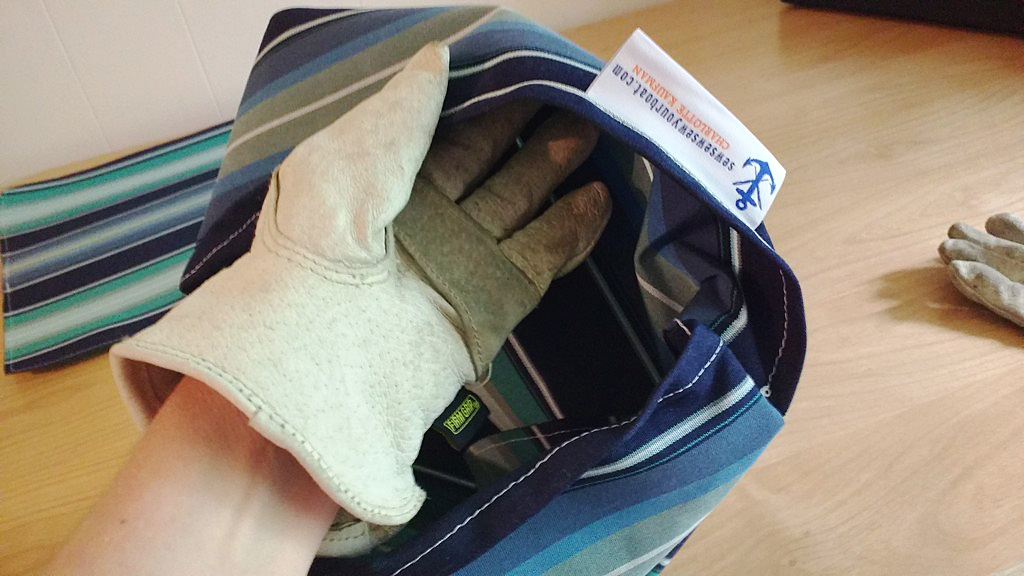
Use leather gloves or gardening gloves while turning your fabric.
Fluff time!
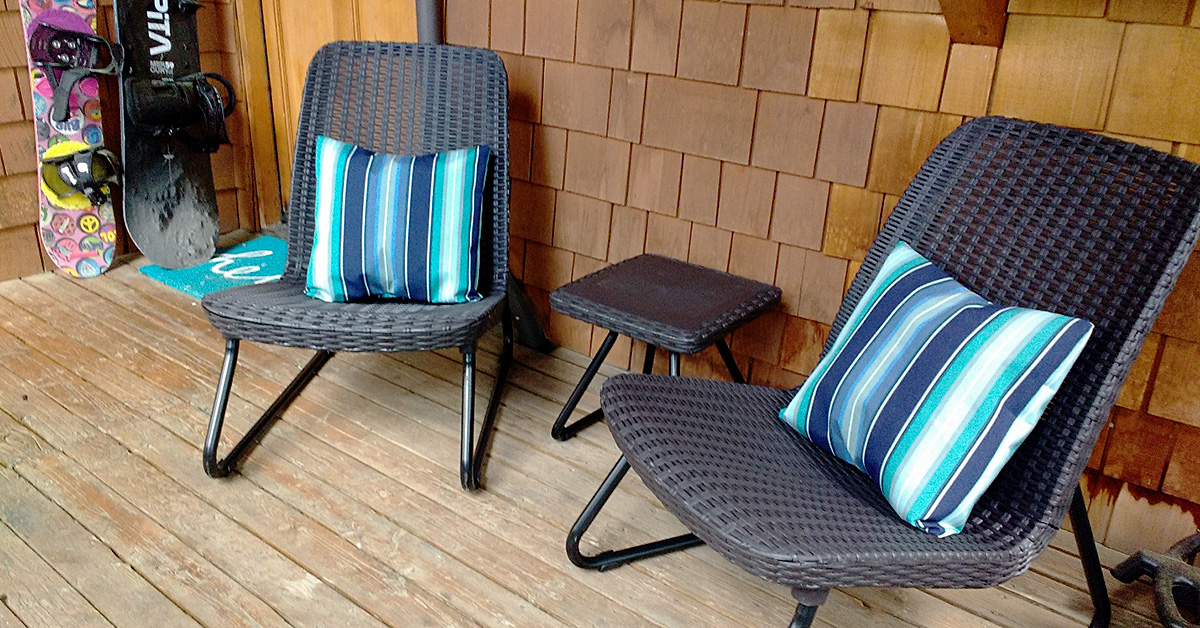
Slip in your pillow forms and enjoy!
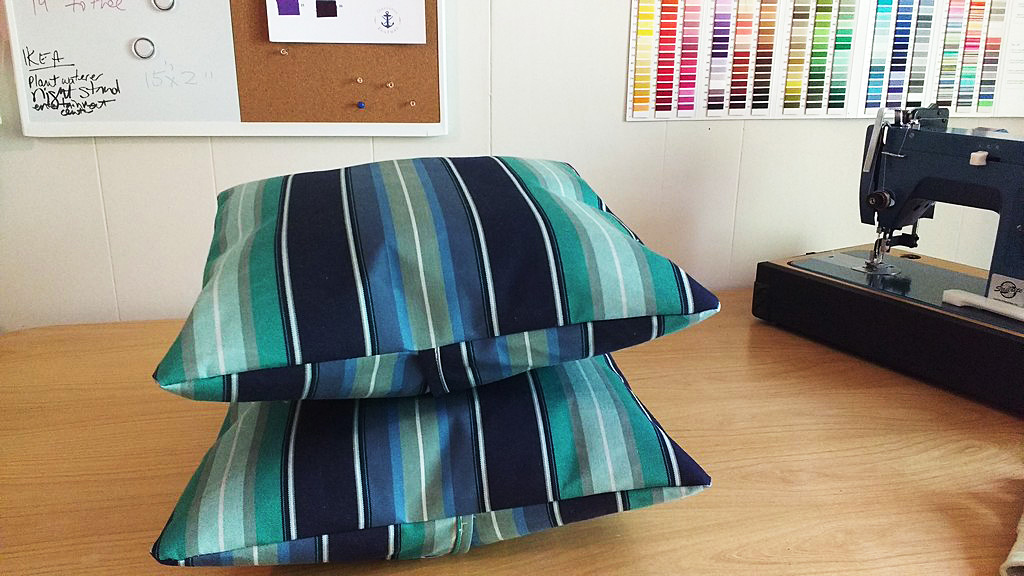
Slip in your pillow forms and enjoy!
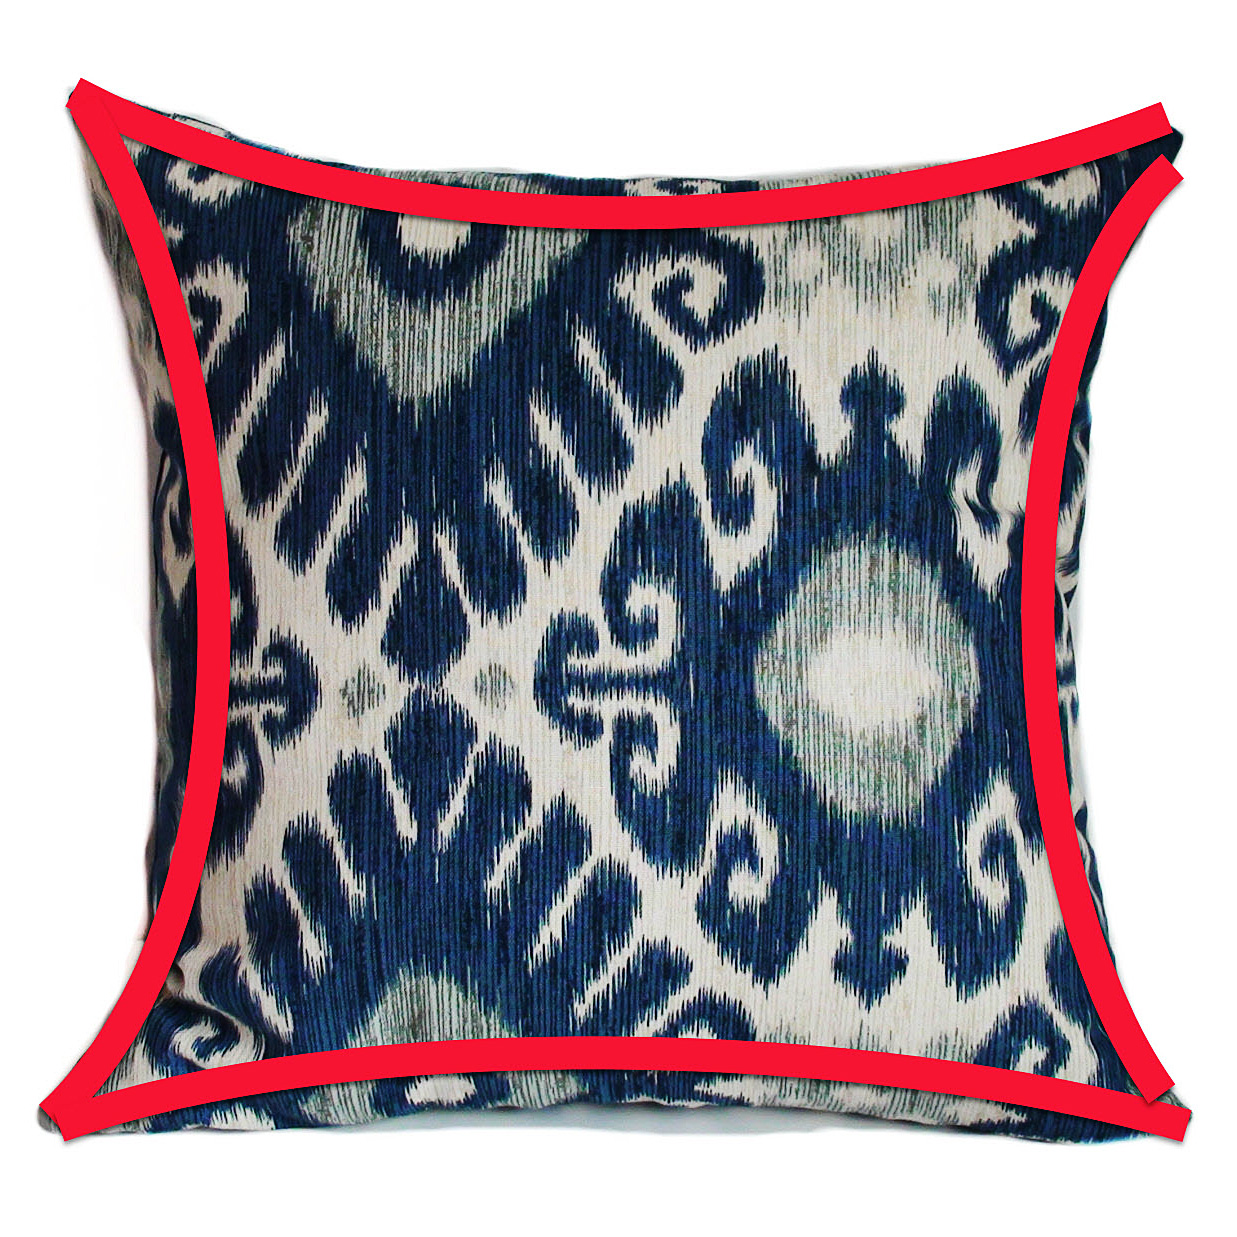
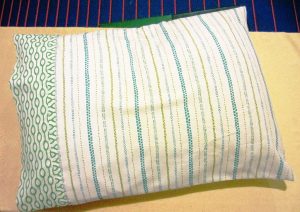
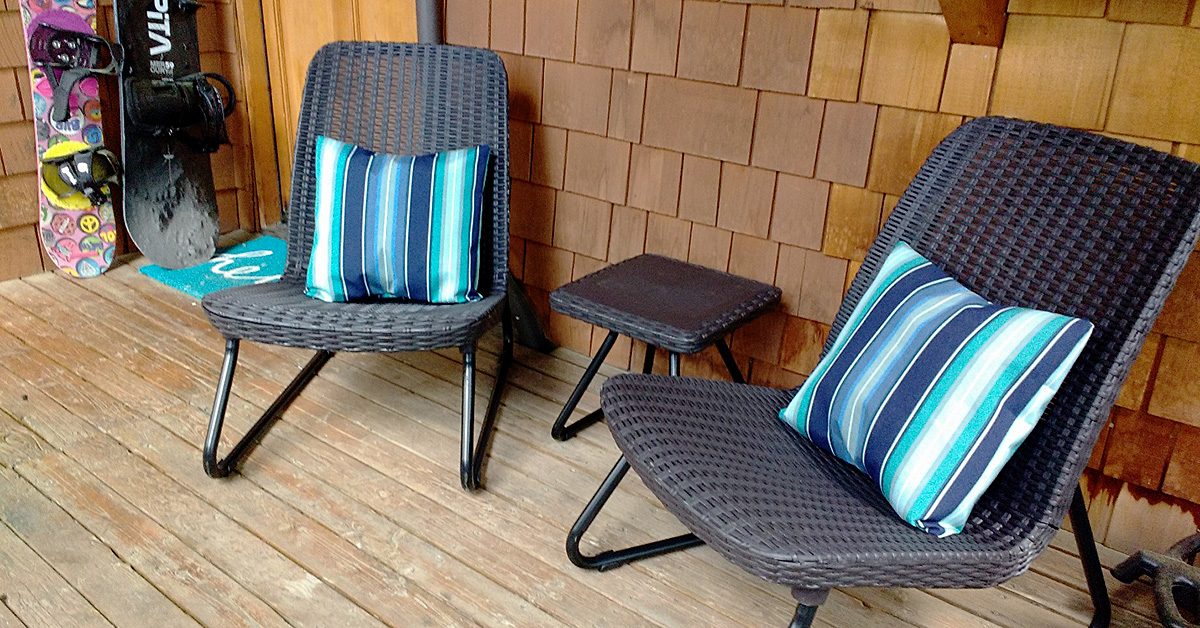
How gorgeous is that fabric? Truly!
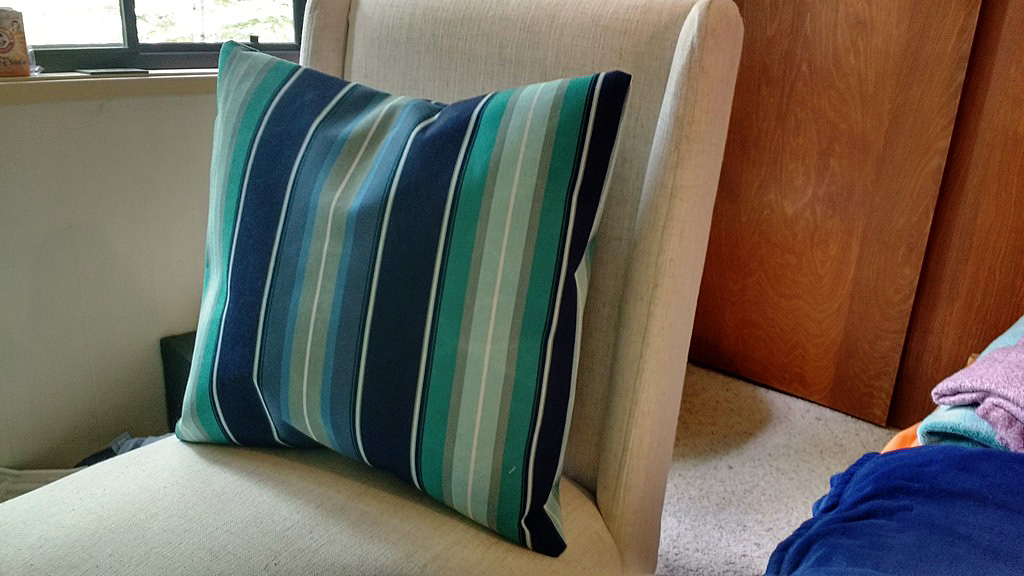
How gorgeous is that fabric? Truly!
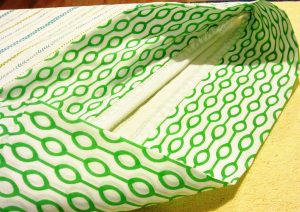
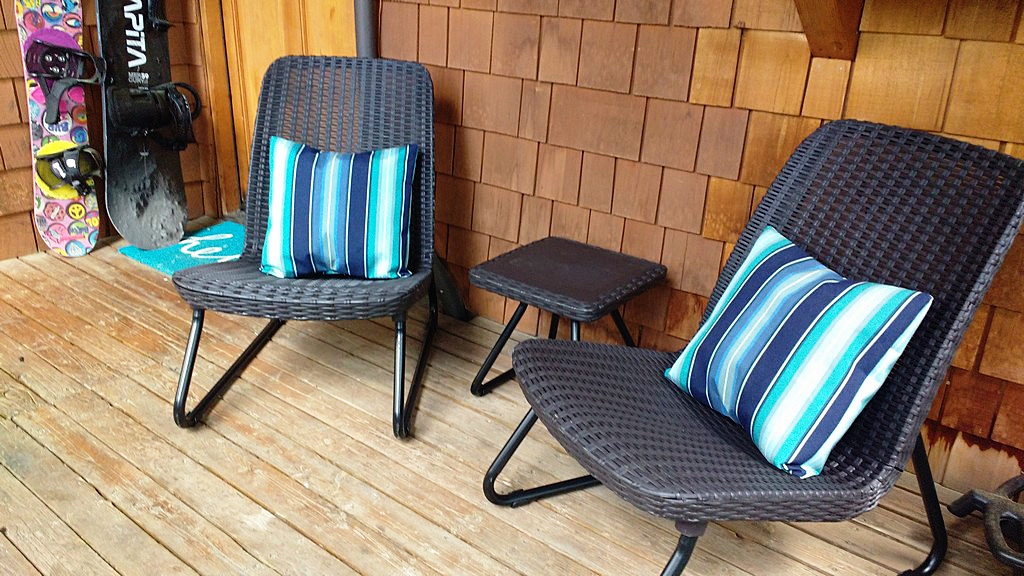
And an outside view.
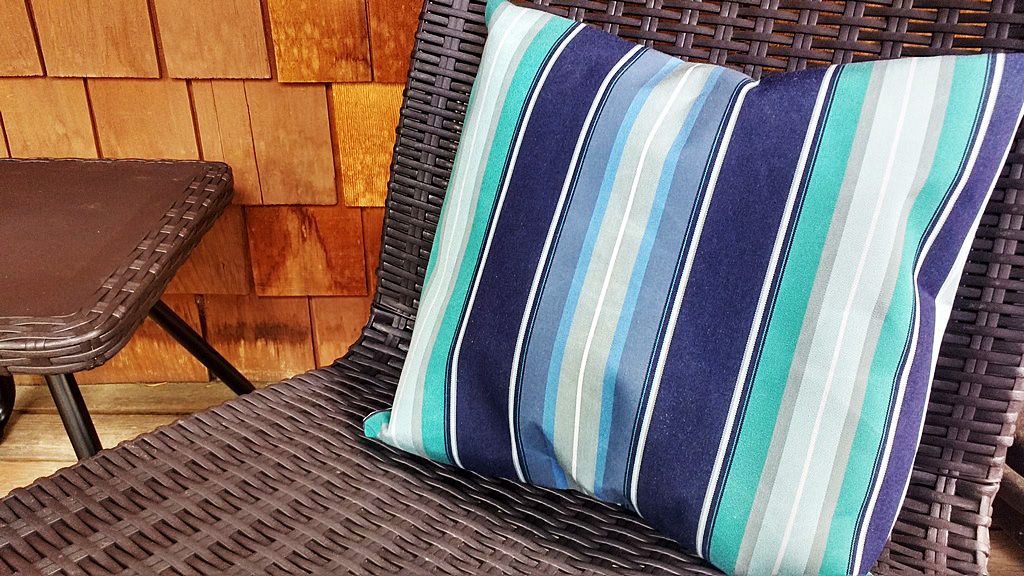
And an outside view.
Do you make your own outdoor furniture accessories? Tell us about it in comments!
Do you make your own outdoor furniture accessories?