
There are several methods of finishing the back, or ends of a pillow, depending on what kind of cover you are making.
Sewing your own pillow covers is a quick way to bring a personal touch to your home. There are several methods of finishing the back, or ends of a pillow, depending on what kind of cover you are making. Knowing the best way to close a pillow can mean the difference between a project that looks just okay to a project that looks professionally magnificent.

Envelope closure.
1. Envelope Closure
An envelope close looks just like it sounds. Your pillow backing will have two panels of fabric that overlap, leaving an envelope style closure in which you slip your pillow form.

You can also embellish envelope closes with ties and buttons to add interest and whimsy.
This style is excellent if you aren’t ready to take on zippers, if you know you will frequently be washing the cover, or you want to use a method that is quick and still looks beautiful. You can also embellish envelope closes with ties and buttons to add interest and whimsy.

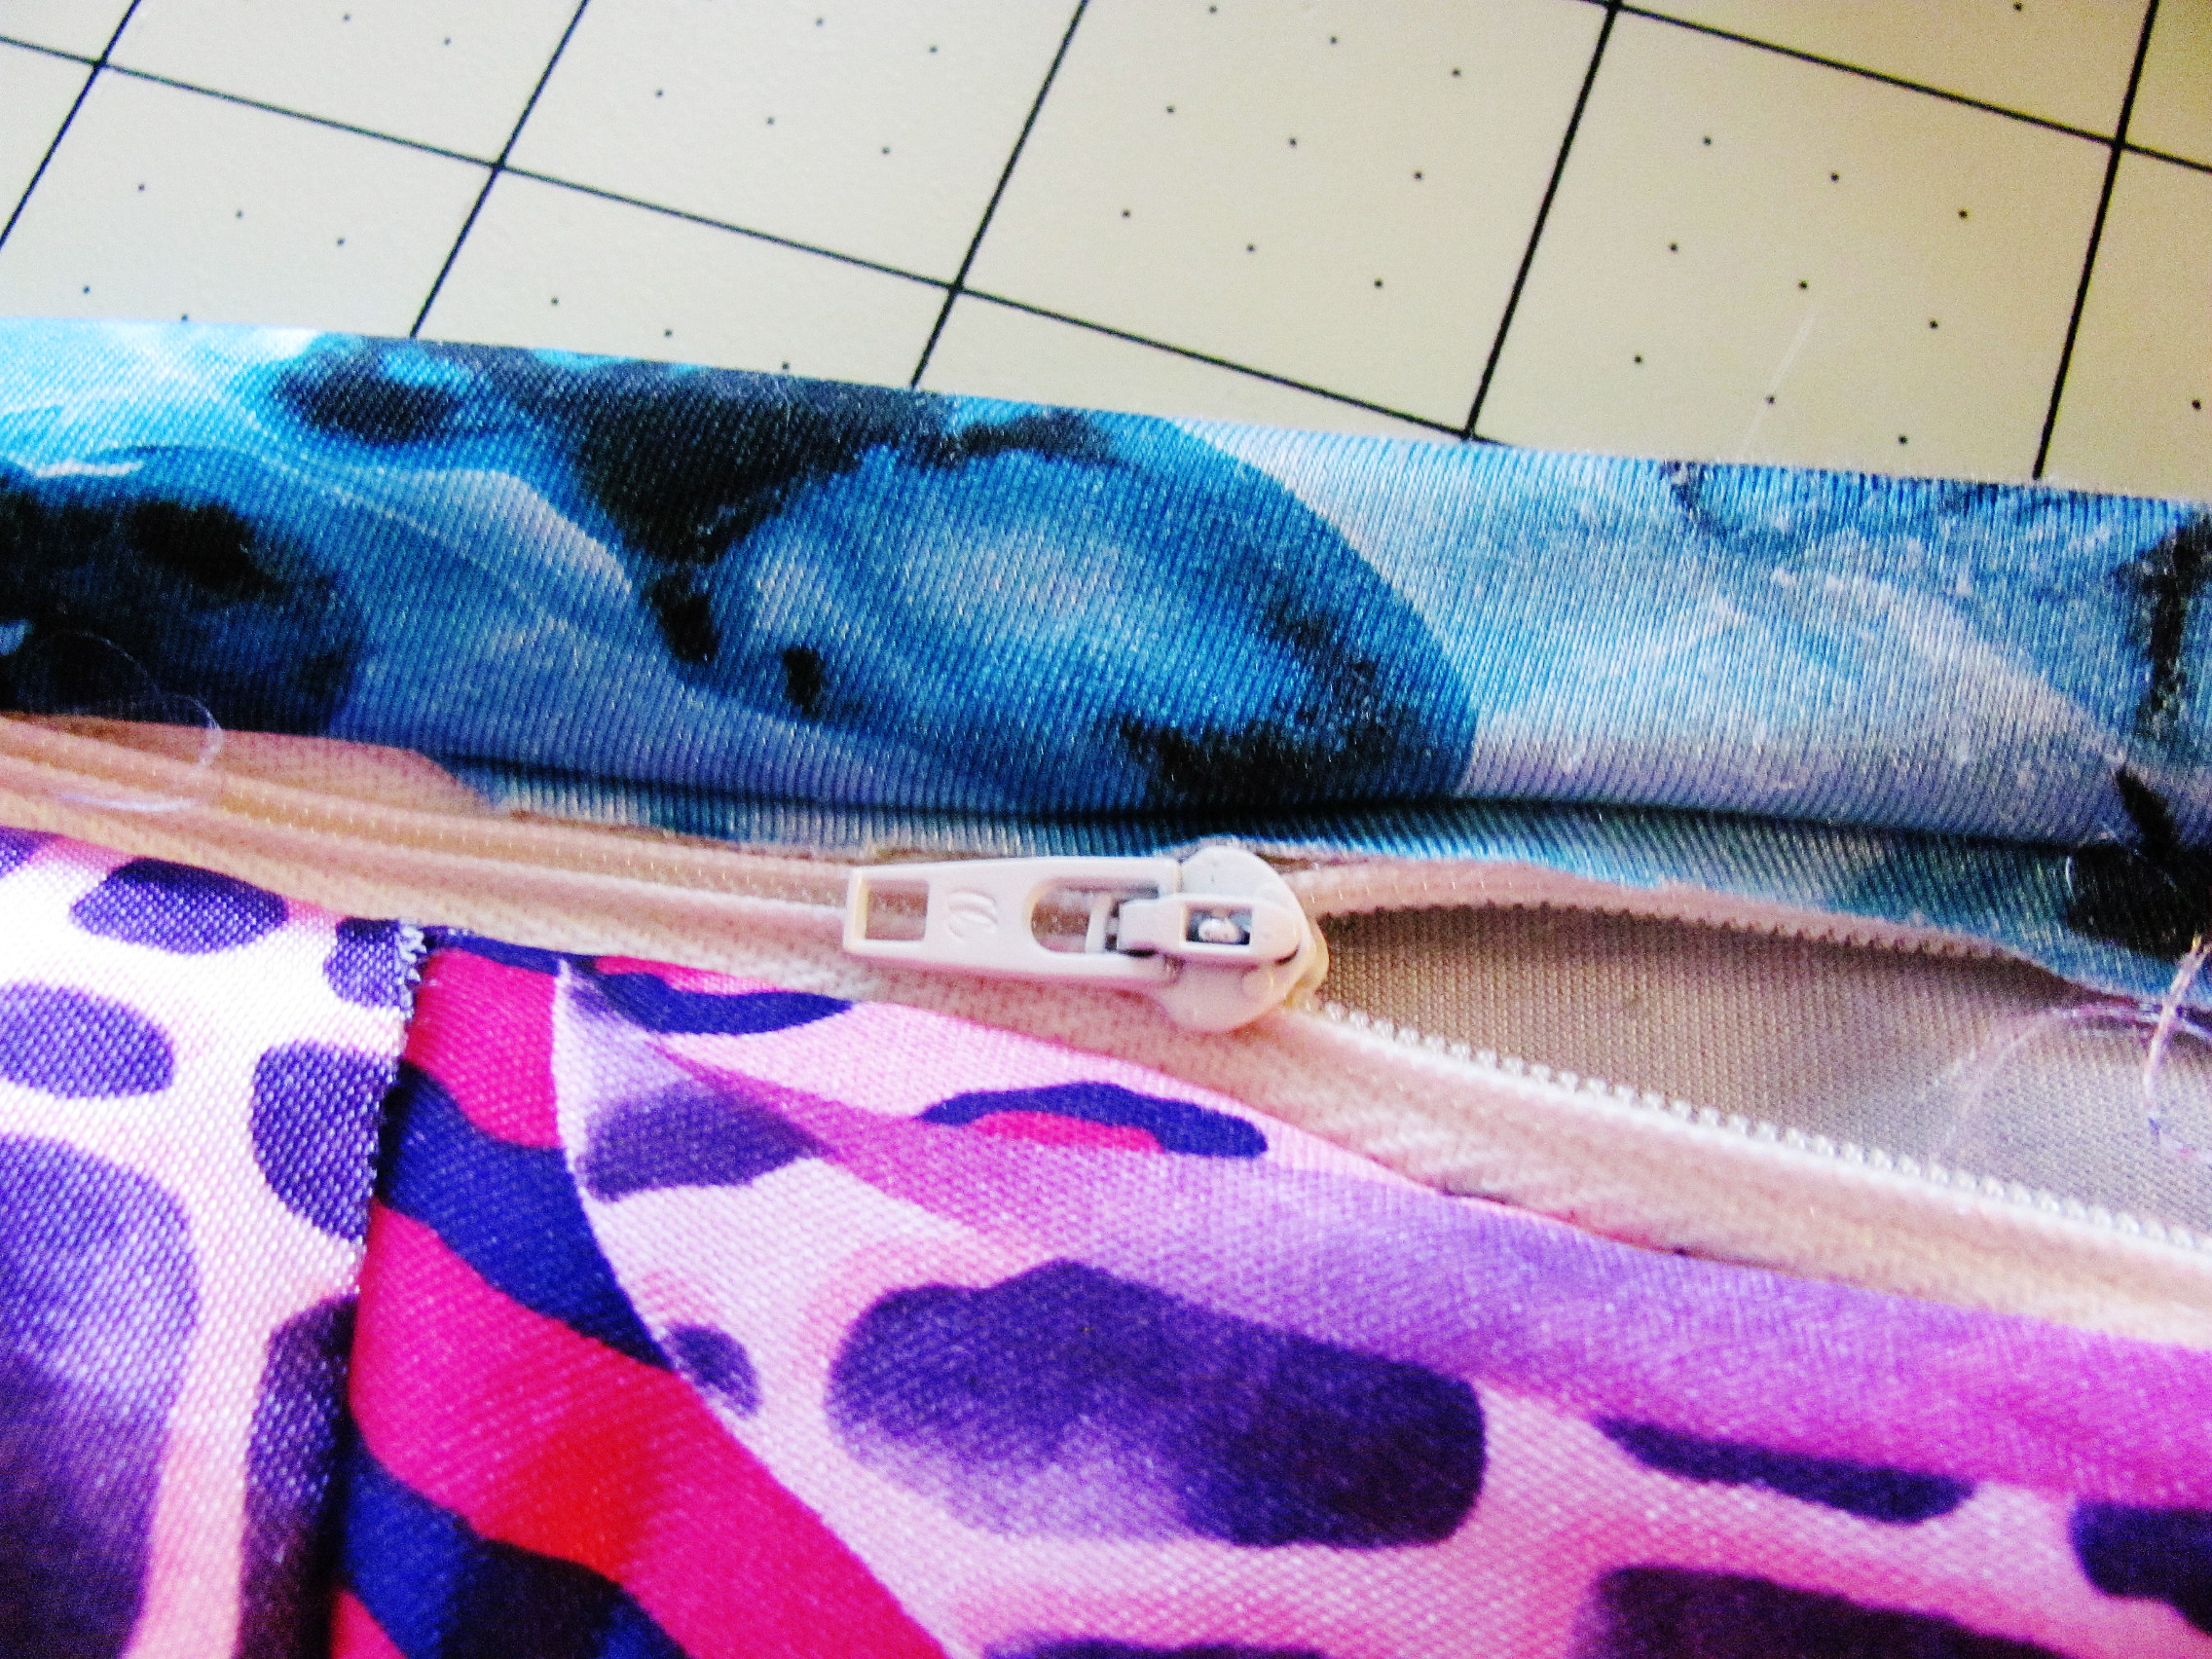
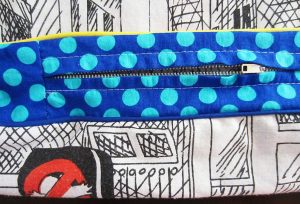
Zipper closure.
2. Zipper Closure
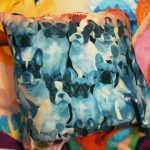
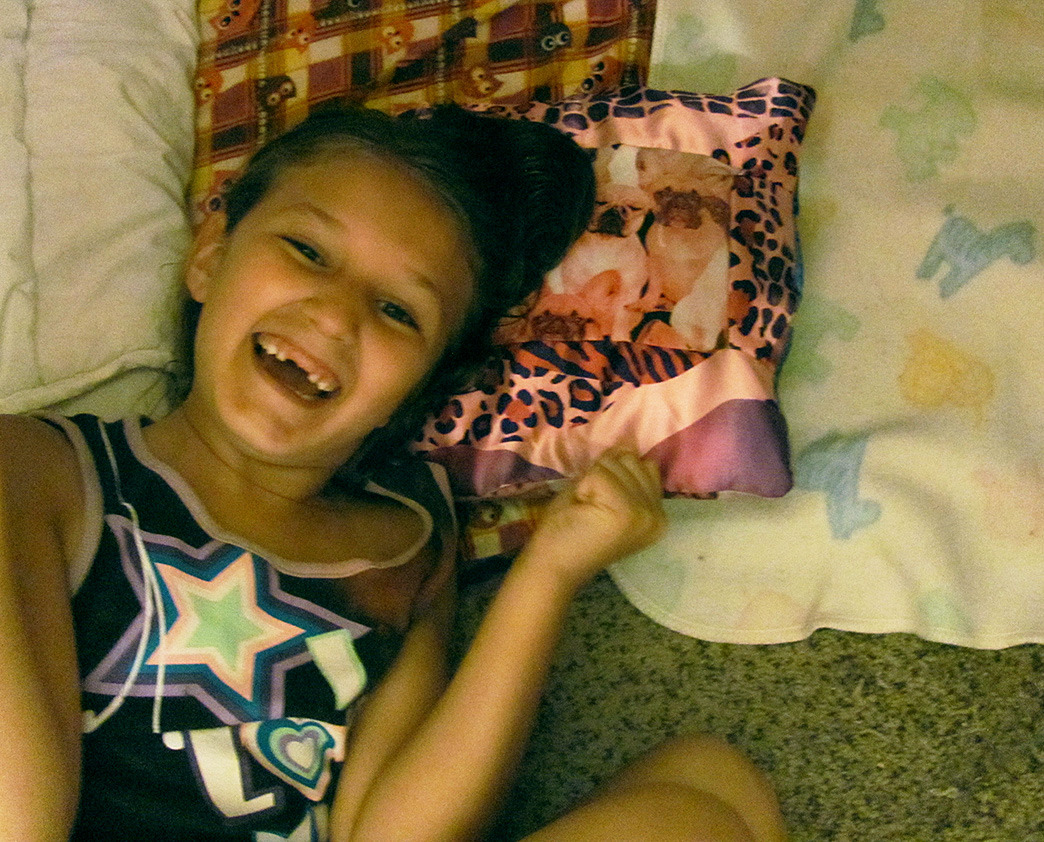
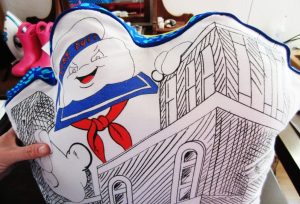
With a zipper close you can either finish your cover with an invisible zipper or use an exposed zipper. I like to use zippers for pillows that are not standard sizes, like this custom Ghostbuster pillow I made for a friend’s son.
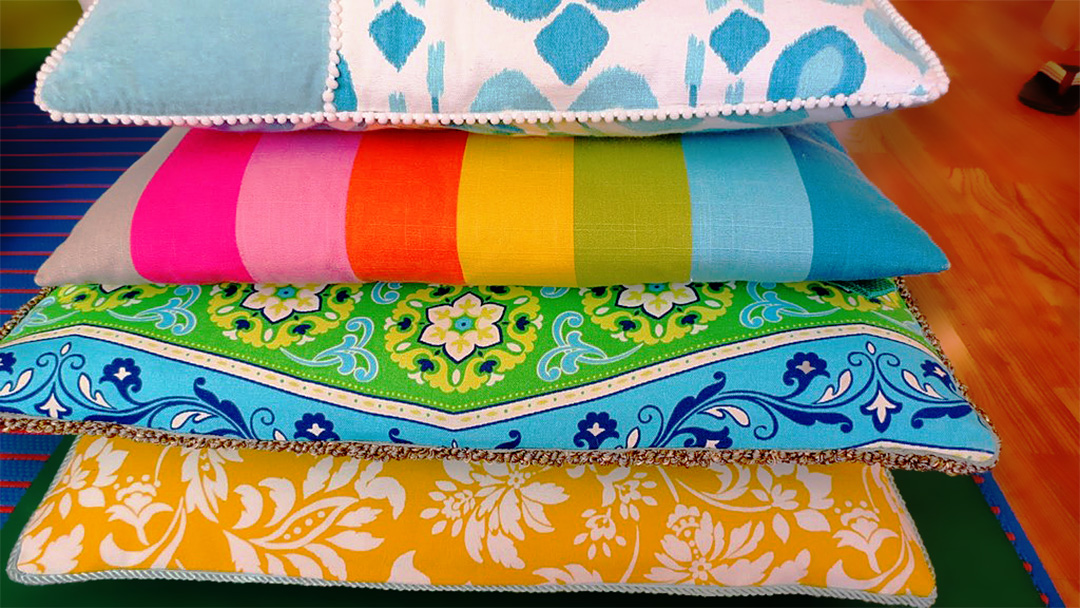
Zippers are especially well suited for large pillows like these floor cushions.

Zippers are especially well suited for large pillows like these floor cushions.
3. Drawstring Closure

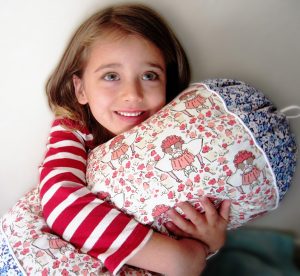
Drawstring closures are common on tube pillows. There is nothing tricky about a drawstring close on a pillowcase. If you have made a pair of pajama pants or a tote bag with a drawstring close, you can create a pillowcase that closes the same.
4. Pillowcases for bedding – to add a hidden flap or not?
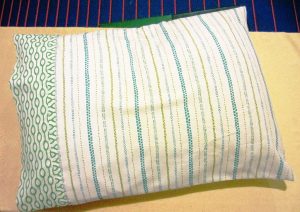
A pillowcase for bedding classically closes one of two ways. The first is with an open end. If you go this route, make sure to allow for enough room at the end to fully cover the inner pillow form.

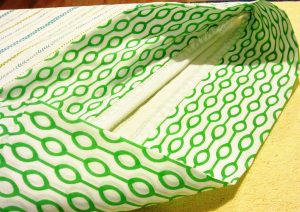
A second option is to add a hidden flap on the open end.
A second option is to add a hidden flap on the open end. This flap allows you to tuck the pillow form inside and keep it from showing.

This flap allows you to tuck the pillow form inside and keep it from showing.