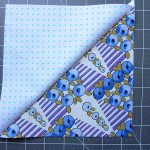
Sew It Straight and Square

Sew It Straight and Square

I wanted to take an opportunity to tell you about something I learned very early in my sewing experience. Hopefully, it will help when you have to square off fabric for blocks or other things.

When I resumed by sewing hobby after being away for several years, I found many things have changed. Well, me for one, because I started out thinking I would make a few things, have a sewing machine available for mending, and leave it at that. I wanted to make a shirt or two.

But, never, in my wildest dreams, I thought I would have an interest in quilting. Being able to buy many different fabrics, mix them up, find harmony between them, and create an awesome piece of art was exciting!

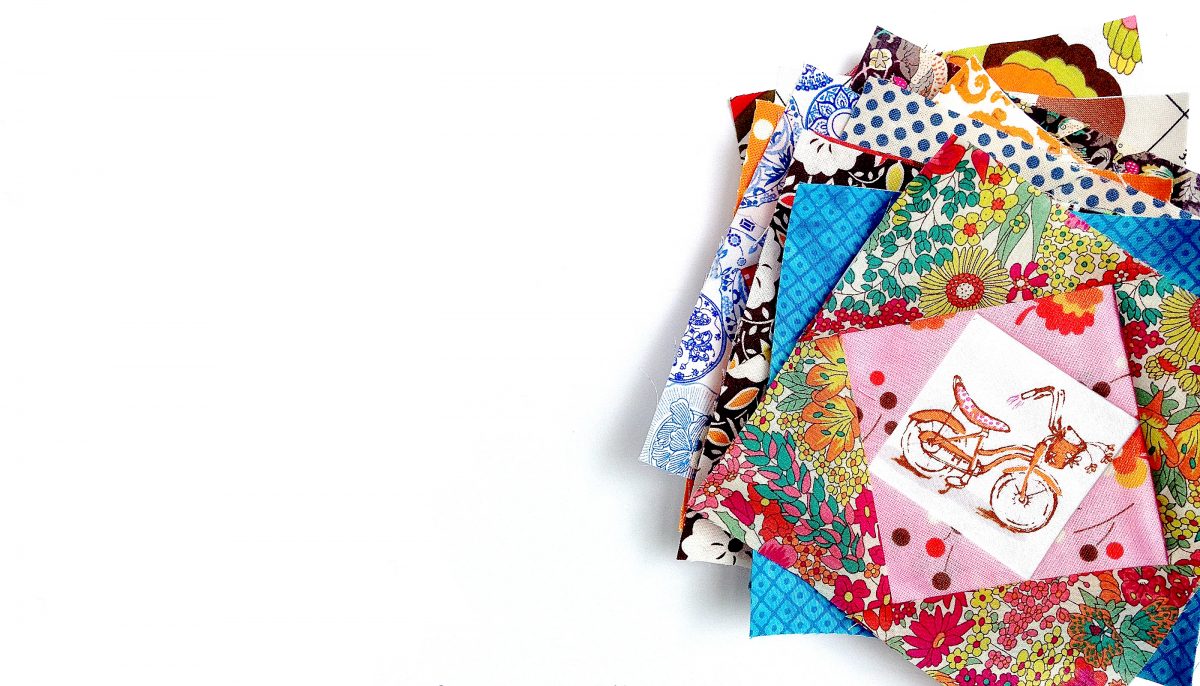
So my first fabric obsession started with “fat quarters”. You know, they are bundles of one designer’s collection, or curated by someone else mostly sold in online fabric stores offering 10, 15, 20 or more pieces that have the same colors or coordinating fabrics! Oh… shopping online!! A whole other obsession!! Sorry. I got distracted!

But, I knew right off, I couldn’t cut them with fabric shears or pinking shears. It would take years off my life.

So, today I want to share how I learned to share how to cut “ fat quarters” for multiple precise pieces all at once.

Three tools necessary for straight and square pieces:

  1. Rotary cutter
  2. Acrylic ruler – my favorite 24 x 6 inches, but I also love 14 x 8 inches. Another handy one is 12 x 6 inches. I use them all.
  3. A self-healing cutting mat, measured in centimeters and inches. One with measurements is the KEY here.

Most Important!

RULE #1 – Never Cut Toward Yourself or Sideways with a Rotary Cutter – Always Away from Your Body

RULE #2 – Measure Twice and Cut Once

  1. Open 21 x 18 inch piece. Press with iron flattening fold creases. It makes a difference, you will see!
  2. Cut away selvage edge. You will have the longest part on the mat. Do not double the fabric and trim as close to the edge of the selvage as possible.
  3. Refold the length piece in half by taking the left side and match the edges on the right side where the selvage was.
  4. Square right hand edge with ruler and mat. Take off just a little sliver. Then trim the opposite side for threads. Not much to do there if it is square.
    • Now, the left has a fold, the top is folded two times giving you 4 layers of fabric. The top folded pieces have to be shaved too and the left side so you will still have exactly 9 inches on those two sides if you are careful.
    • Are you still here? Almost done!
  5. Line up the longer piece with the ruler, and trim off the small 2 inch piece to have 4 perfectly squared 9 x 9 pieces. The best part is you only lose about 1 ½” of the fabric by cutting it this way.

However, if you are feeling bold… and you put:

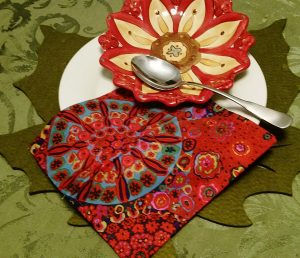
Beautiful 8 x 8 inch napkins ready for your next meal or party.

Beautiful 8 x 8 inch napkins ready for your next meal or party.

Right sides together, sew up the sides at ¼ inch leaving an inch or two (somewhere close to the end but not the corner) to turn them to their right sides, press seams, pin opening closed and top-stitch around all sides.

Then you have:

Beautiful 8 x 8 inch napkins ready for your next meal or party.

I would love to hear your comments or questions. Stop by and see me again soon!

Methods to Conquer Half-Square Triangles (HSTs)

Methods to Conquer Half-Square Triangles (HSTs)

If you plan on diving into the world of quilting, you will soon run head first into half-square triangles, or HSTs in common quilting parlance.

These deceptively simple looking squares can be arranged innumerable ways to make an unending canvas of lovely. When you decide to tackle HSTs you are going to need figure out the best method for you. The most important thing to understand about HSTs is the math behind the size you want. This post does not cover that math. There are many, many charts available online to help you figure out what size triangles & squares to cut and sew in order to get the finished size you want.

Once you know your math, you’ll need to figure out your method. Here are a few to consider:

1. Tried and true

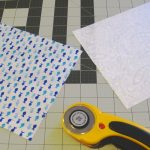
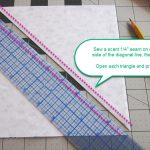
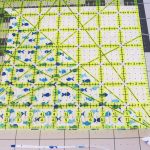
The most basic way for creating a HST is taking two squares of fabric, placing them right-sides-together (RST), drawing a line down the diagonal, and then sewing a scant ¼” on either side of the link. Cut the fabric along the center diagonal line, open and press.

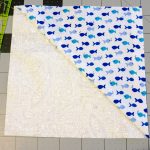
Square that puppy up and before you know it…

…voilà, lovely HSTs, just for you.

Works best: when you need to only do a few HSTs or when each HST you need to do is unique.

2. Make the Magic 8

When I sewed these together both squares were evenly on top of each other.

When I sewed these together both squares were evenly on top of each other.

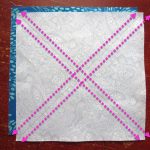
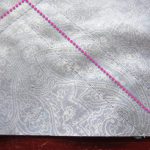
As soon as you see the visual on this you’ll get why they call it magic. Take two large squares, right sides together and draw lines down each diagonal. Sew a scant ¼” on both sides of each line for a total of 4 seams.

Start by cutting first along the two diagonal lines.

Start by cutting first along the two diagonal lines.

(For this tutorial I placed the two squares off center to show you the two fabrics. When I sewed these together both squares were evenly on top of each other.)

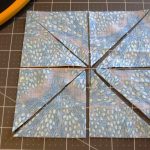
Carefully start cutting. Start by cutting first along the two diagonal lines.

Next cut down the center line of each side of the square.

Next cut down the center line of each side of the square.

Next cut down the center line of each side of the square. This will give you your magic 8!

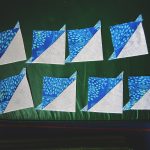
8 lovely matching HSTs

8 lovely matching HSTs

You’ll need to open, press, and square them up, but in no time flat you’ll have 8 lovely matching HSTs.

Works best: when you need more than a few. Some people can really churn out a lot of HSTs this way. If you have a bunch you need to make with the same fabrics, try this method.

3. Tube Method (Tube Quilting)

Use your ruler to cut out the size triangle you need.

Use your ruler to cut out the size triangle you need.

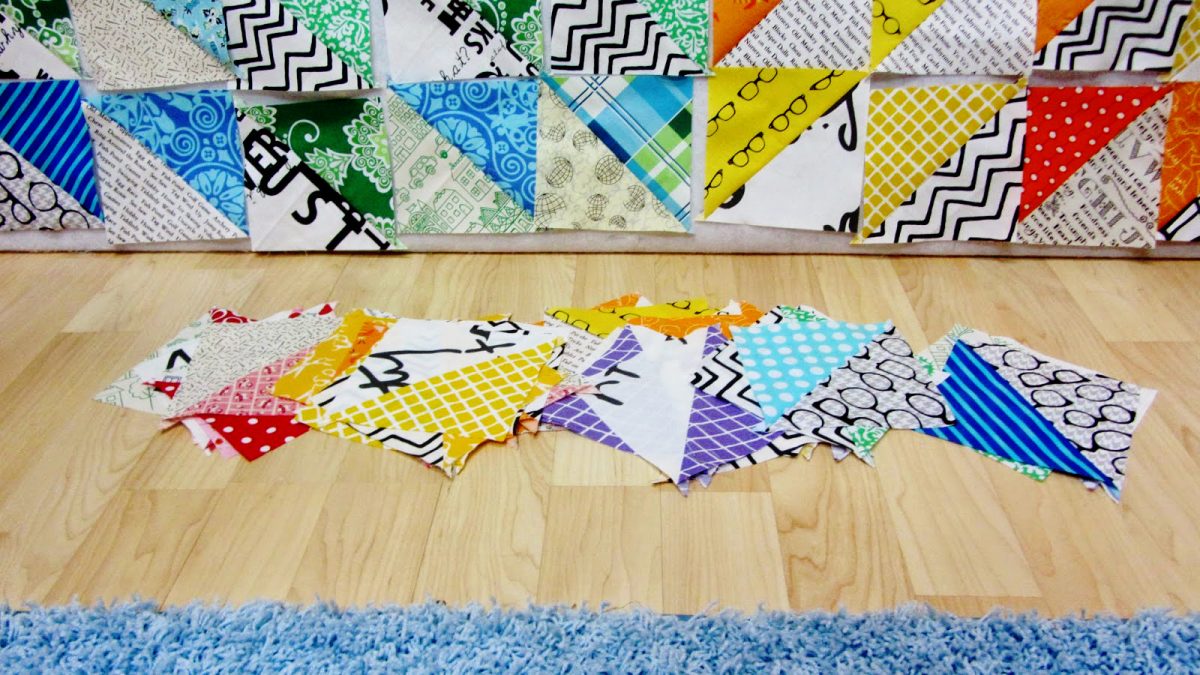
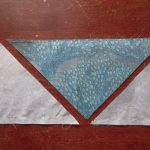
Sew two long strips together on the top and bottom edges. Then use your ruler to cut out the size triangle you need. Here I’ve shown you the tube I sewed and the triangles I cut (I flipped the top triangles over to show you the contrasting fabric).

Works best: when you need multiples of the same type of HST, this method is a production machine!
Note: it really helps to have the exact sized ruler you’ll need for cutting out the triangles.

4. Sewn Strips (Bias Strips)

Create a massive amount of HSTs in a short time!

Create a massive amount of HSTs in a short time!

I found this the most challenging of all the techniques I’ve tried, but I’ve never been pro at cutting on the bias. There is incredible potential here, however, to create a massive amount of HSTs in a short time so I’m keeping this method tucked away for the next time I want to attempt it.

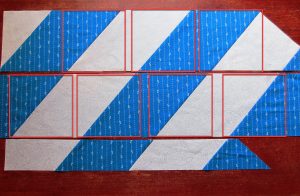
The concept is simple: take two large pieces of fabric and place them RST. Cut the fabric into bias strips (in the correct size you’ll need) and then sew the alternating colors together to create two pieces of fabric with bias strips in the colors you need.

If you did your math right, you can then cut strips of fabric that will have the HSTs already sewn together. As you can see above, I completely botched the math on this, but you live and you learn and like I said, POTENTIAL. This method has so much potential if I can just get right next time.

Works Best: when you need to make HSTs on a massive scale.
Note: take your time to get the measurements just right. If not, you’ll have a whole lot of messed up fabric on your hands. Additionally, there is fabric waste as you cut out the squares. Make sure to account for that when you buy the amount you may need.

Sew the Square

Sew the Square

5. Jenny Doan Method (Sew the Square)

I’m not sure if this method has an official name but I know it has become popularized by Jenny Doan of the Missouri Quilt Company. I consider this a cousin to the Magic 8 method. Perhaps we could even call it the Magic 4.

The Magic 4!

The Magic 4!

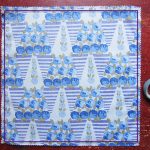
Take two pieces of fabric RST and sew a scant ¼” hem all the way around.

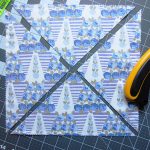
Carefully cut down the diagonals of the square and you’ll get four perfect HSTs.

You get four perfect HSTs.

You get four perfect HSTs.

Works best: this is a quick and easy method that could be easily mass produced especially when using pre-cuts.
Note: some don’t like this method means you are working on the bias. I haven’t found this to be a problem. Press carefully when you iron sew your HSTs together, without unnecessary stress or tugging, and you’ll be fine.

I hope you’ve found these methods useful. How about you? Do you use one of these methods already or do you have a different technique you prefer? Let us know in the comments!

Charlotte Kaufman is a writer and sewist in San Diego, California. She specializes in marine and home interiors and continues to fall more and more in love with quilting. You can follow her at charlottekaufman.com