Sewing with Carpal Tunnel Syndrome

Carpal Tunnel Syndrome (CTS) is a repetitive motion injury in the wrist.

Carpal Tunnel Syndrome (CTS) is a repetitive motion injury in the wrist.

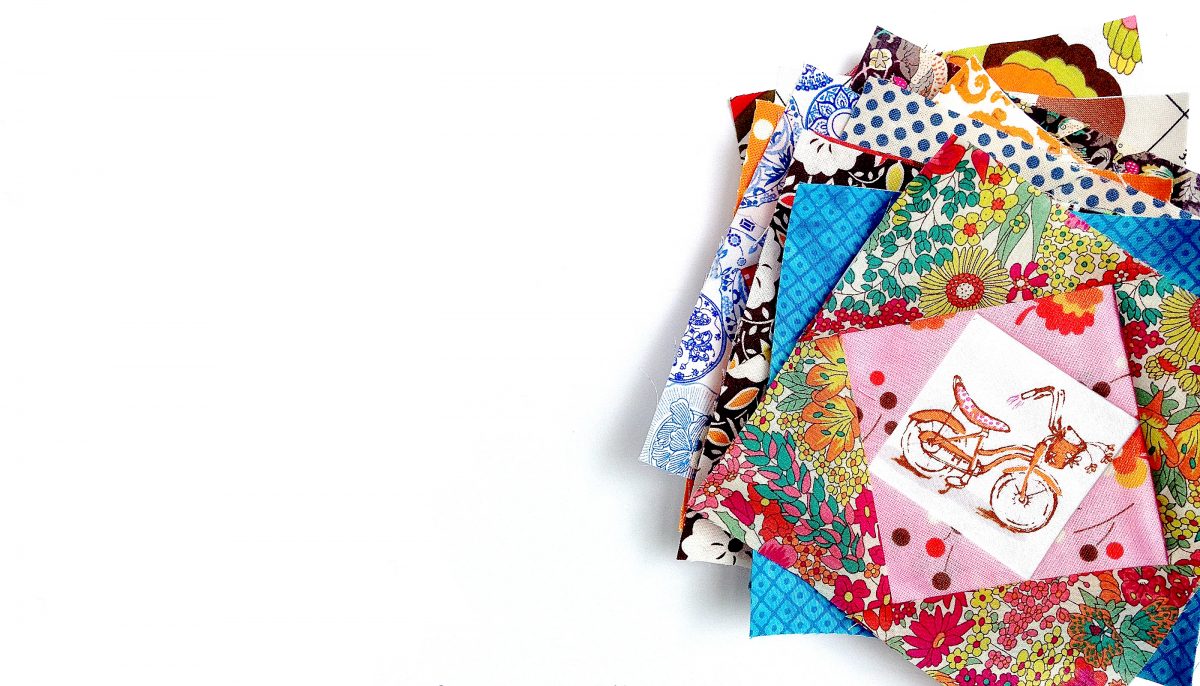
Carpal Tunnel Syndrome (CTS) is a repetitive motion injury in the wrist. Typing, hammering, sewing and other actions can be the cause. Those some actions can cause an existing injury in to flare up. The numbing, tingling, pain and stiffness CTS causes can make it all but impossible to sew. As someone who writes for a living, CTS is pretty much a given. I don’t want to give up my livelihood or my hobbies over it. So, I’ve learned to modify. Sewing with CTS was a challenge at first, but if I can do it, so can you!

Wear a Brace

My CTS started back in highschool when I worked in an ice cream shop. Back then, we called it scooper’s wrist. I bought a cheap brace from the drug store up the street from the ice cream parlor and managed to keep going. The next time it flared up was college – as an English major I did A LOT of typing. A sturdier, more expensive brace helped with that. The things to consider are how immobile the brace keeps your wrist and comfort. Don’t be afraid to try on several at the store to check for fit and comfort.

Use the Other Hand

I’m a bit naturally ambidextrous, so this wasn’t too hard for me, but if you’re not, it could be a little harder. Gripping tiny pins is much too painful for me to do with my right hand. The CTS makes it nearly impossible. Instead, I taught myself to pin with my left hand. This wasn’t easy since it also meant holding the fabric differently. Be patient with yourself and with the process. It will come with time and practice.

Get Lefty Scissors

Just like pinning with my right hand is nearly impossible, cutting can be equally as challenging. If you’ve ever tried to use your regular scissors in your left hand, you know it’s pretty difficult. The blades are one directional. Instead, invest in a pair of lefty scissors. You’ll find that cutting with your left hand is pretty simple after that. You may need to make other modifications to the layout of your cutting surface, etc. to accommodate using the opposite hand.

Don’t let carpal tunnel syndrome take away your sewing time. Instead, try out these modifications and keep doing your favorite hobby. And don’t forget to talk to your doctor – they may have treatment options that can help long-term.

Design Your Dream Sewing Room

Design Your Dream Sewing Room

I’ve never been lucky enough to have a whole room dedicated to sewing. I’ve always kept my sewing machine and accompanying needs in a closet and pulled them out when needed. For a few hours, while I sew something, the machine takes up the dining room table. I also use the table for cutting and measuring. If it’s larger pieces, the floor gets called into action as a cutting surface. That hasn’t stopped me from thinking about what my dream sewing room would look like. Here’s what I’ve come up with. How does it align with your dream sewing room idea?

Storage

Organization and storage are critical in a sewing room. I’m not a fan of tangled thread spools or bobbins I can’t find. I hate having to search for my measuring tape and it really irks me when someone “borrows” my fabric scissors and uses them on something else. I bet you know that feeling! So, the first thing my dream sewing room would have is a way to organize all those supplies in a tidy and efficient manner. Something like this cabinet. I also adore this thread tray.

Sewing Table

It needs to be sturdy and stationary. I’m not a fan of things rolling away from me while I try to work.

Next, I’d want the perfect place for my sewing machine to sit permanently rather than pulling it out each use. It needs to be sturdy and stationary. I’m not a fan of things rolling away from me while I try to work. It also needs to be open in the back so I can stretch my legs without banging my knees or feet. Something like this adjustable height table would be ideal for me.

Cutting Surface

The final piece of furniture my dream sewing room needs is a cutting surface. I want it sturdy and stable, but also with the ability to measure and pin to. I’ve created this ideal using two pieces. First, a sturdy table with side extensions. I love that I can drop one or both sides down if I’m working on a smaller project. Second, a cutting mat. By laying this on top of the table and fastening it down with glue or Velcro or double sided tape, I’ll have a sewing surface with the ability to measure built in.

You may notice I didn’t include a chair. That’s because I already have my ideal sewing chair and it happens to live in my dining room.

What does your dream sewing room look like?

Sew It Straight and Square

Sew It Straight and Square

I wanted to take an opportunity to tell you about something I learned very early in my sewing experience. Hopefully, it will help when you have to square off fabric for blocks or other things.

When I resumed by sewing hobby after being away for several years, I found many things have changed. Well, me for one, because I started out thinking I would make a few things, have a sewing machine available for mending, and leave it at that. I wanted to make a shirt or two.

But, never, in my wildest dreams, I thought I would have an interest in quilting. Being able to buy many different fabrics, mix them up, find harmony between them, and create an awesome piece of art was exciting!

So my first fabric obsession started with “fat quarters”. You know, they are bundles of one designer’s collection, or curated by someone else mostly sold in online fabric stores offering 10, 15, 20 or more pieces that have the same colors or coordinating fabrics! Oh… shopping online!! A whole other obsession!! Sorry. I got distracted!

But, I knew right off, I couldn’t cut them with fabric shears or pinking shears. It would take years off my life.

So, today I want to share how I learned to share how to cut “ fat quarters” for multiple precise pieces all at once.

Three tools necessary for straight and square pieces:

  1. Rotary cutter
  2. Acrylic ruler – my favorite 24 x 6 inches, but I also love 14 x 8 inches. Another handy one is 12 x 6 inches. I use them all.
  3. A self-healing cutting mat, measured in centimeters and inches. One with measurements is the KEY here.

Most Important!

RULE #1 – Never Cut Toward Yourself or Sideways with a Rotary Cutter – Always Away from Your Body

RULE #2 – Measure Twice and Cut Once

  1. Open 21 x 18 inch piece. Press with iron flattening fold creases. It makes a difference, you will see!
  2. Cut away selvage edge. You will have the longest part on the mat. Do not double the fabric and trim as close to the edge of the selvage as possible.
  3. Refold the length piece in half by taking the left side and match the edges on the right side where the selvage was.
  4. Square right hand edge with ruler and mat. Take off just a little sliver. Then trim the opposite side for threads. Not much to do there if it is square.
    • Now, the left has a fold, the top is folded two times giving you 4 layers of fabric. The top folded pieces have to be shaved too and the left side so you will still have exactly 9 inches on those two sides if you are careful.
    • Are you still here? Almost done!
  5. Line up the longer piece with the ruler, and trim off the small 2 inch piece to have 4 perfectly squared 9 x 9 pieces. The best part is you only lose about 1 ½” of the fabric by cutting it this way.

However, if you are feeling bold… and you put:

Beautiful 8 x 8 inch napkins ready for your next meal or party.

Beautiful 8 x 8 inch napkins ready for your next meal or party.

Right sides together, sew up the sides at ¼ inch leaving an inch or two (somewhere close to the end but not the corner) to turn them to their right sides, press seams, pin opening closed and top-stitch around all sides.

Then you have:

Beautiful 8 x 8 inch napkins ready for your next meal or party.

I would love to hear your comments or questions. Stop by and see me again soon!