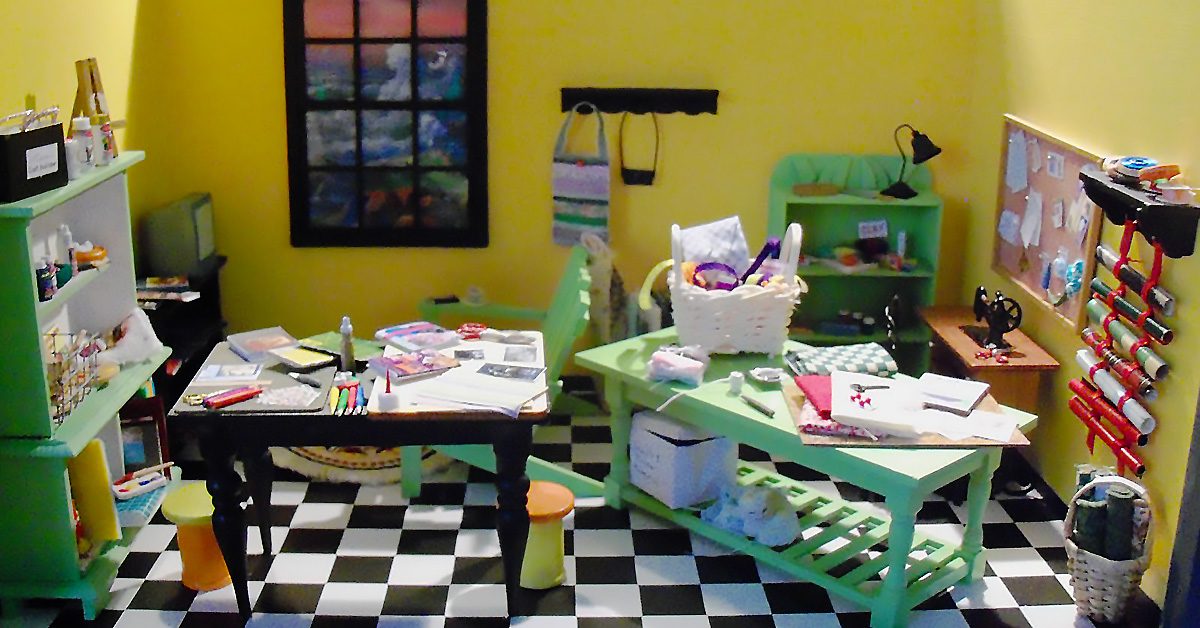
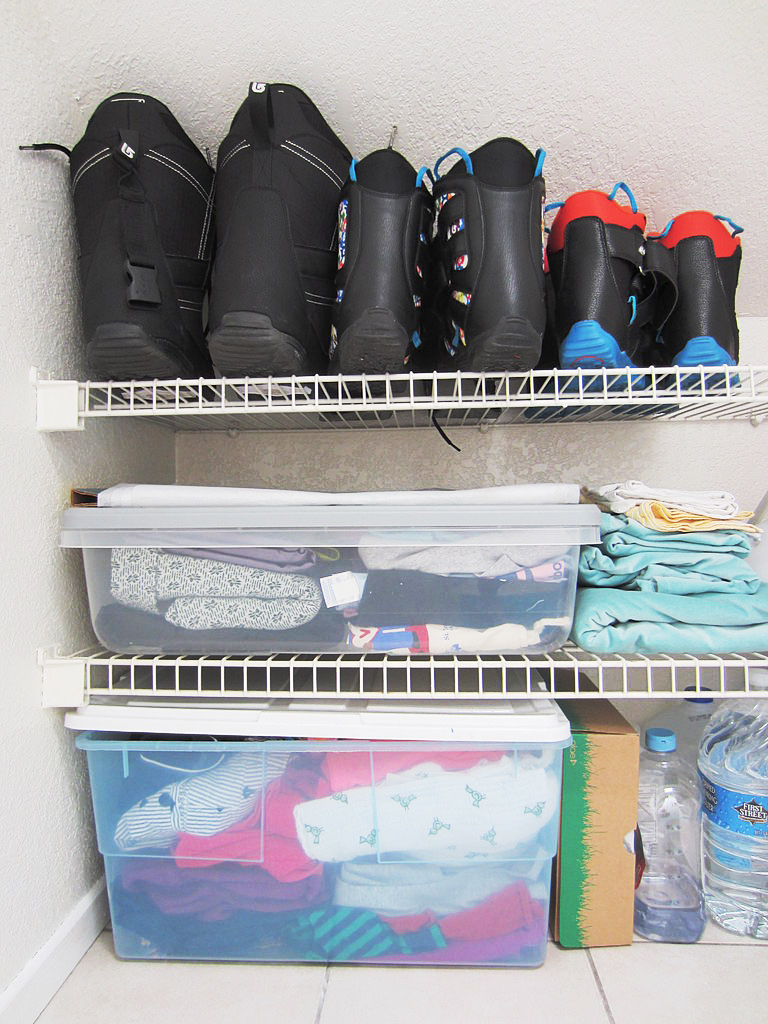
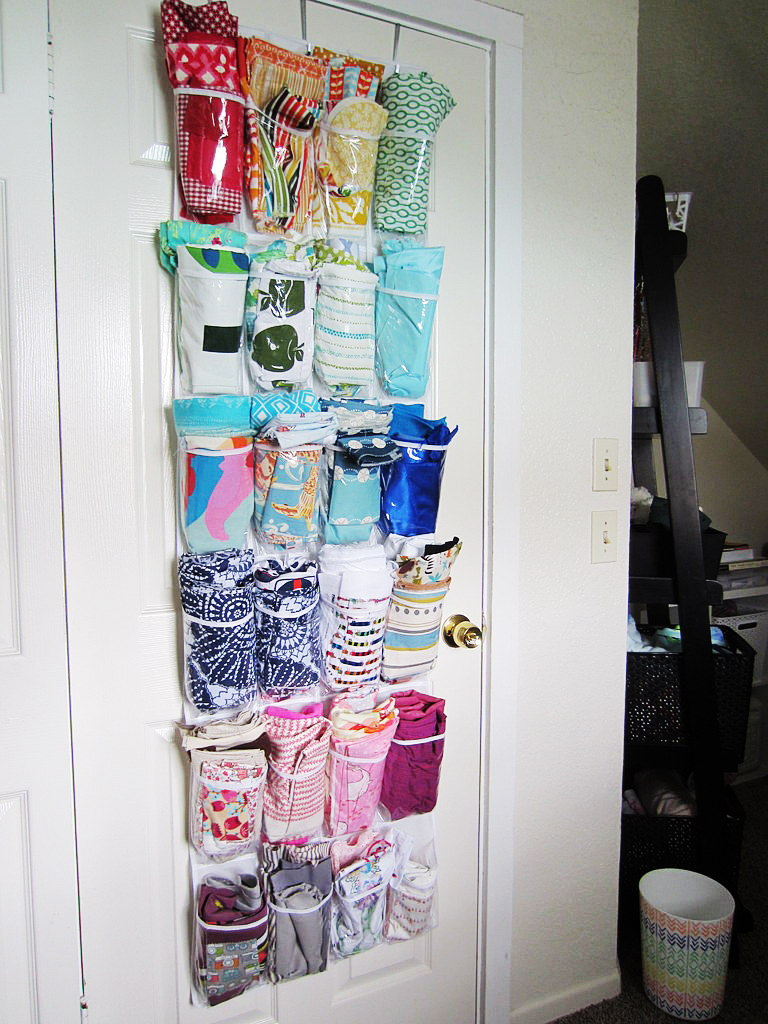
As I wind down in the steps for making my quilt, I’m finding that I have fabric scraps left over from the endeavor that I really don’t want to toss. One of the problems though is that I have a very lacking fabric storage setup. In fact, it consists of stuffing fabric into a remarkably unprofessional Hello Kitty pail (Note: I don’t even like Hello Kitty). Once that happens, I put the pail into my closet. Since said closet kind of overflows at times, the method is even more lacking than it would otherwise be.
I want to keep this fabric, but I’d like to have a better strategy of doing so. That idea had me browsing some possibilities online, and some of the options I saw were pretty basic.
Simple Solutions

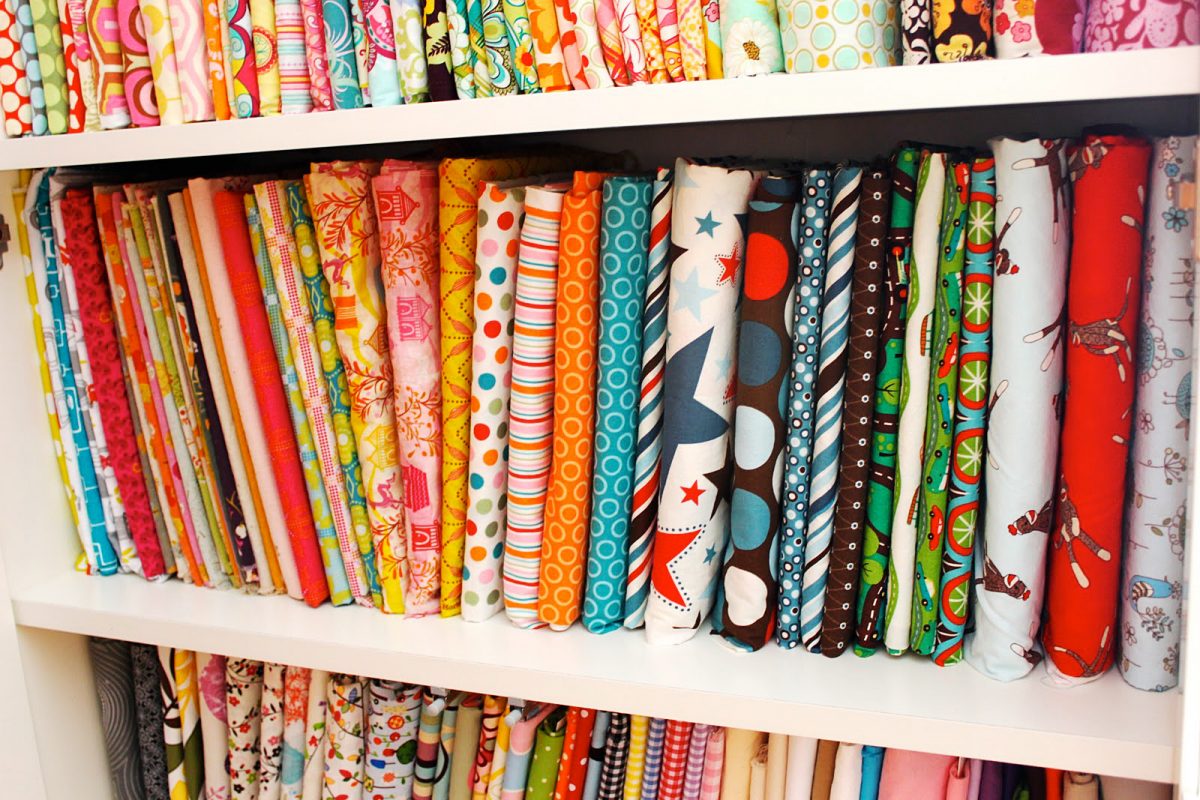
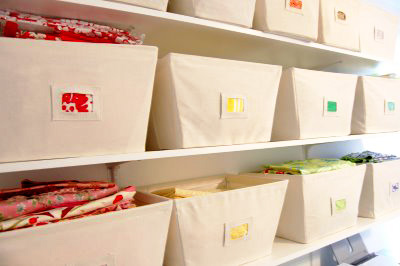
For instance, clear storage bins or canvas bins.
For instance, clear storage bins or canvas bins. While these are simple and efficient ideas for keeping my fabric in order, the truth of the matter is that they’re also, at the moment, things that would probably end up getting stashed away in my closet. As one of the qualms is that my fabric is stored in my closet, neither option fixes that detail.
At least, not alone. If I had a method of storing those bins out in the open, they’d work fine. In any event, the insufficiency could certainly lead to more searching in regard to the best (complete) fabric storage option.
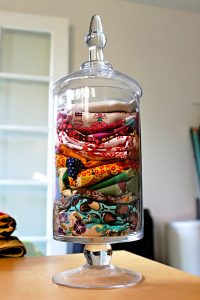
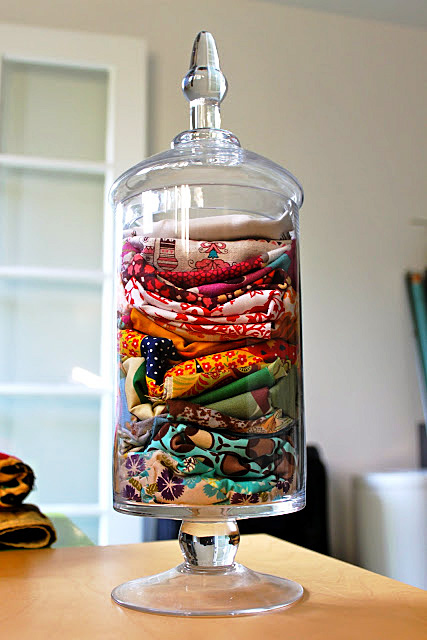
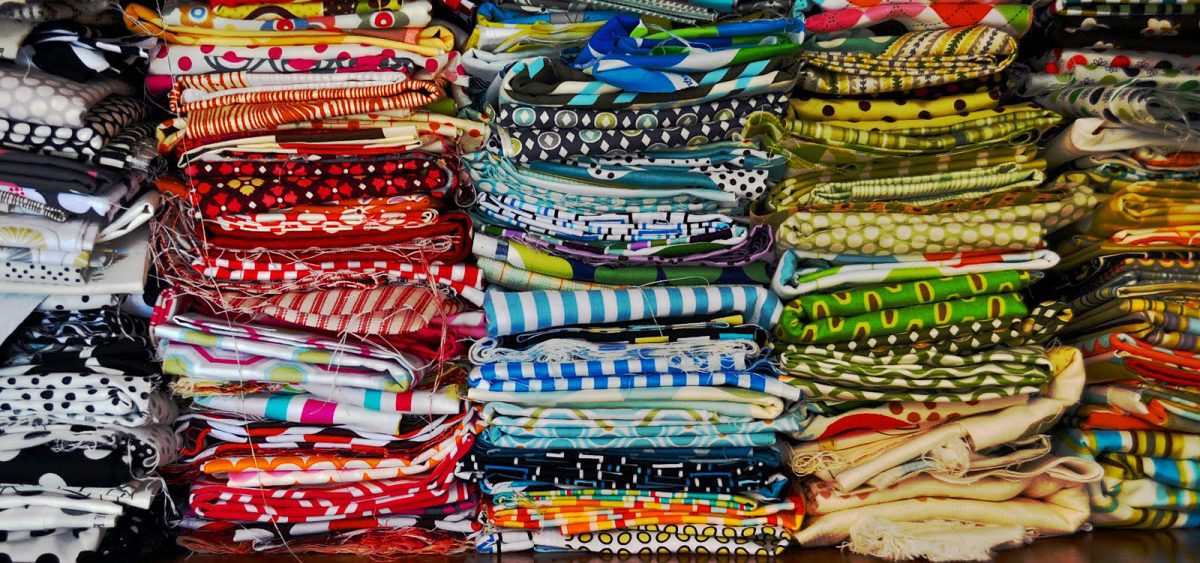
The most fitting right now is the notion of keeping excess fabric pieces in a jar.
So during my search, did I have find the perfect one? That might be a complex question since I’m not sure there is a perfect one, but I did find some that are worth mentioning. The most fitting right now is the notion of keeping excess fabric pieces in a jar. I’m not sure I’d ever considered using my extra fabric in a way that actually makes it decorative even before I use it for a sewing project, but I like this concept. Most of the fabric that I have remaining is block-ish, and that smallness of leftovers seems spot-on for the store-in-a-jar method. All I’d have to do is get a jar, fold up my scraps nicely, and let the storage add accent to a room before the pieces potentially add accent to a future project. A similar idea is to store those scraps in kitchen bowls or strainers, like you can find here, or maybe a flower vase.
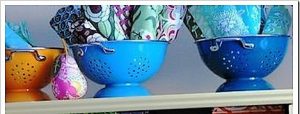
A similar idea is to store those scraps in kitchen bowls or strainers, like you can find here, or maybe a flower vase.
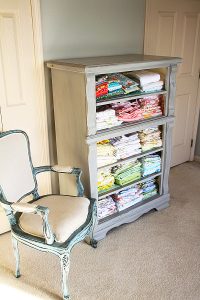
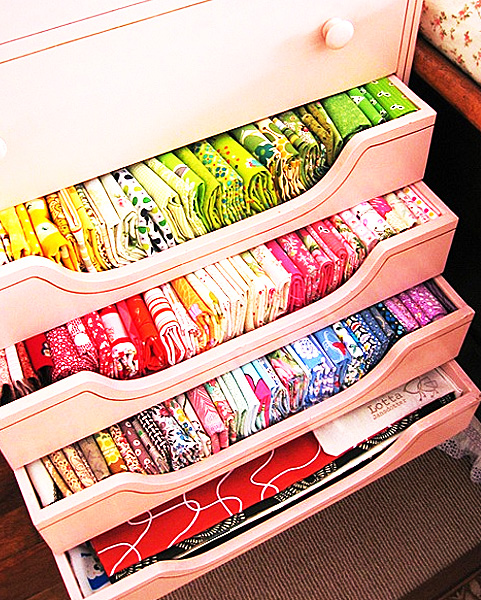
One is to take the drawers out of a dresser, & once the furniture has been treated so that it looks finished and ready, fabric can be stashed where the drawers used to be.
Two of the more intriguing fabric storage options I found might be more suitable for a time when/if I have more room and/or extra cash. One is to take the drawers out of a dresser, and once the furniture has been treated so that it looks finished and ready, fabric can be stashed where the drawers used to be. I adore this idea, but it’s a project itself! Be aware though that if you don’t want to go through all the sanding and painting to prepare the furniture, you could still use a dresser, drawers intact.
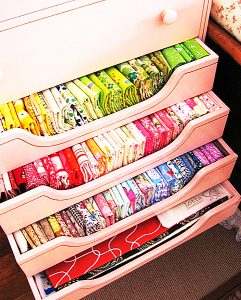
Be aware though that if you don’t want to go through all the sanding and painting to prepare the furniture, you could still use a dresser, drawers intact.
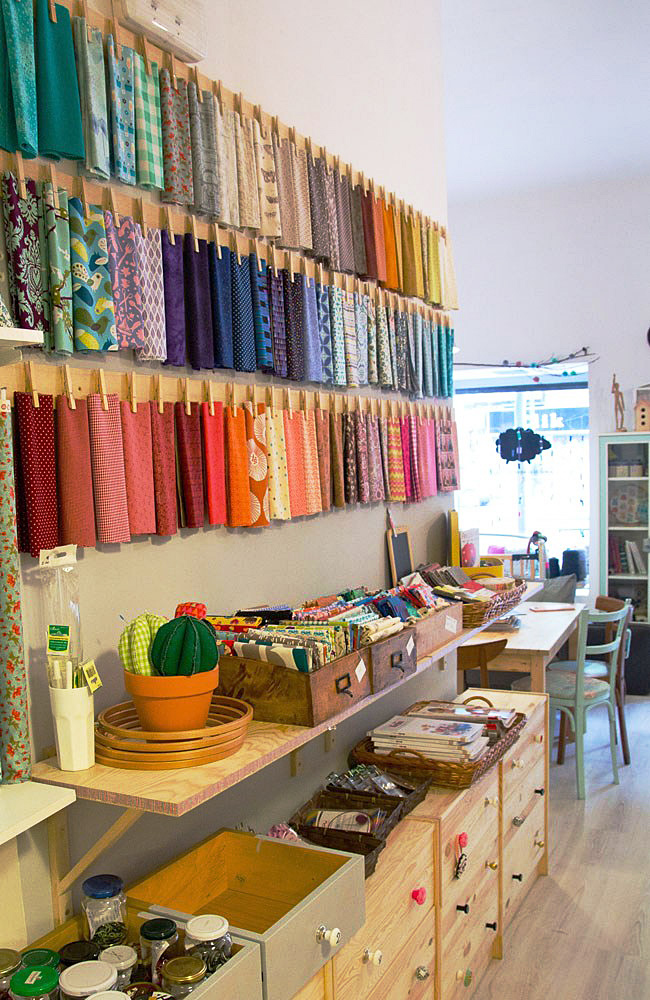
Another option is this square shelf idea that hangs on the wall. This one is particularly of interest if, like me, your bedroom, sewing room, etc. is already pretty full of furniture. When that’s the case, going upward seems like a reasonable option, and that’s exactly what this shelf would do! Being the nerd I am, this square setup appeals to me more than a different shelf idea might because it’s comic-book-ish, but that’s not to say that squares are the only possibility for this method. In fact, you might find that you have some kind of old furniture around your house that can be repurposed for this prospect — like a headboard. There might be plenty of possibilities if you spread your imagination to find them!

Another option is this square shelf idea that hangs on the wall.
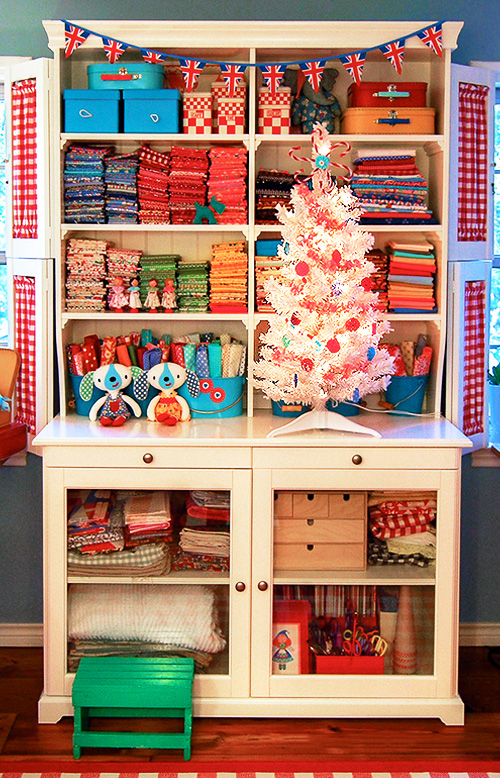
Another option is a lot simpler, but might cost more — and that’s to buy a piece of furniture that’s specifically for this purpose. This hutch, for instance, makes a wonderful and aesthetically pleasing storage area for fabric, and other than price and space, I wouldn’t hesitate to have one of these in my home.
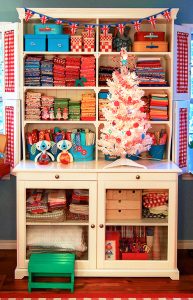
This hutch makes a wonderful storage area for fabric, and other than price & space, I wouldn’t hesitate to have one of these in my home.
But as breathtaking as these furniture options are, the truth of the matter is that I’ll probably have to start with something easier and more money-friendly. Given that the majority of my current fabric collection is scraps and/or block-ish pieces, my best bet for advancement might be the jar or strainer method, which I’m okay with!
Still, someday, that hutch, that shelf, or that dresser would be a wonderful addition to my sewing life!