Hello there! I’ve been playing with something I would like to share with you.
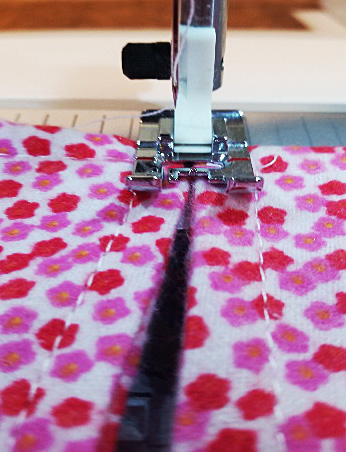
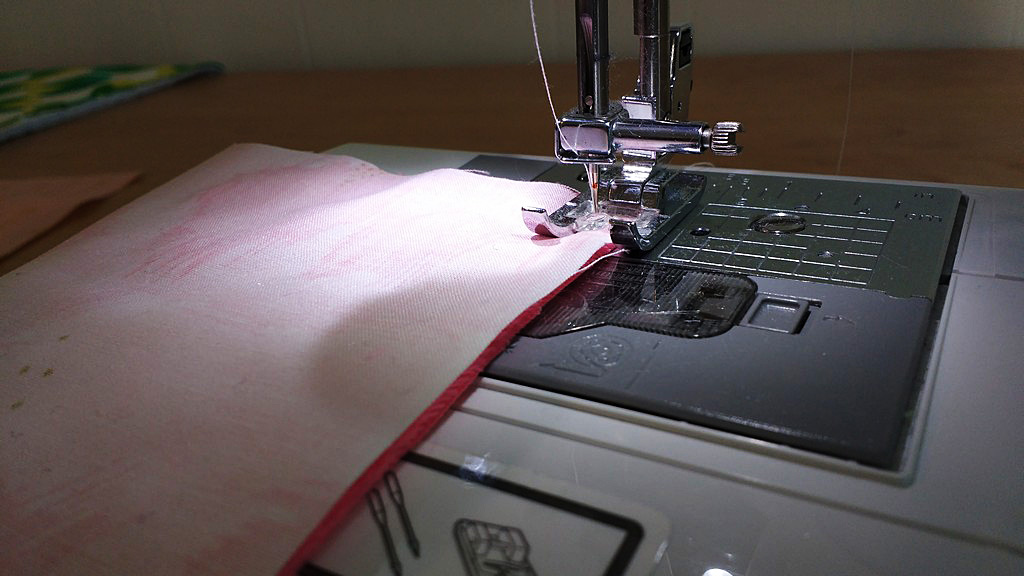
Stitch the right sides together on all 4 sides, leaving a small space open on the last side.
Let me warn you, it is rather novel, as I haven’t seen this done before in sewing blogs or other instructions, but it works pretty well I think.
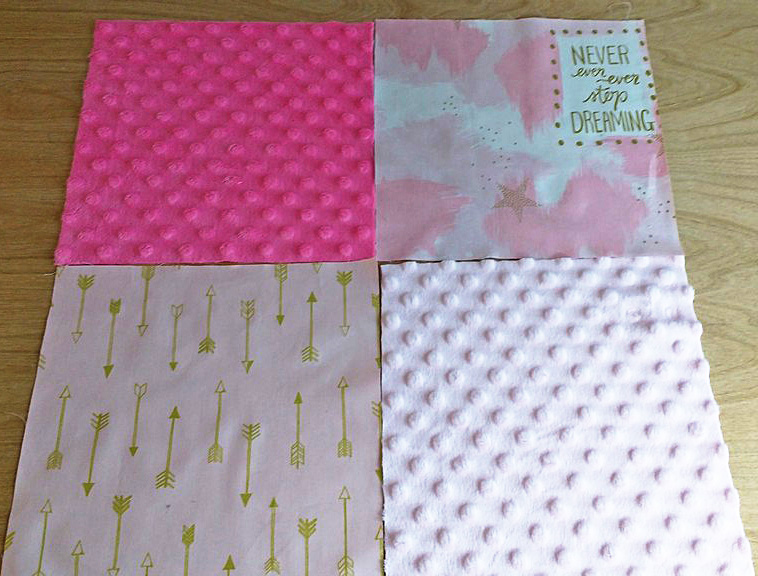
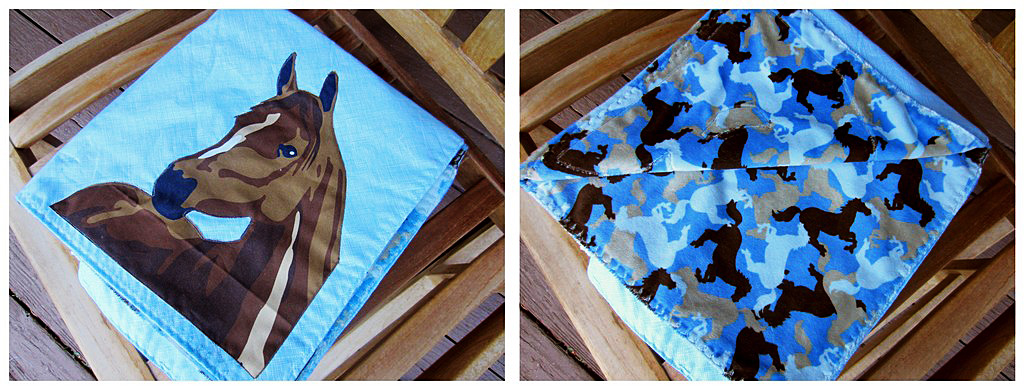
Recently, I several kinds of small baby wipes made from soft, warm flannel. Rather than 1 layer of flannel, and just a simple serger stitch, I designed them to be thicker and have no fraying edges when washed. Each square is approximately 9″ x 9″ finished as below.
So, I used 2 pieces of the fabric, and I stitched the right sides together on all four sides, leaving a small space open on the last side to place my hand inside and pull the fabric’s right sides to the outside. What? (I heard you thinking there!)
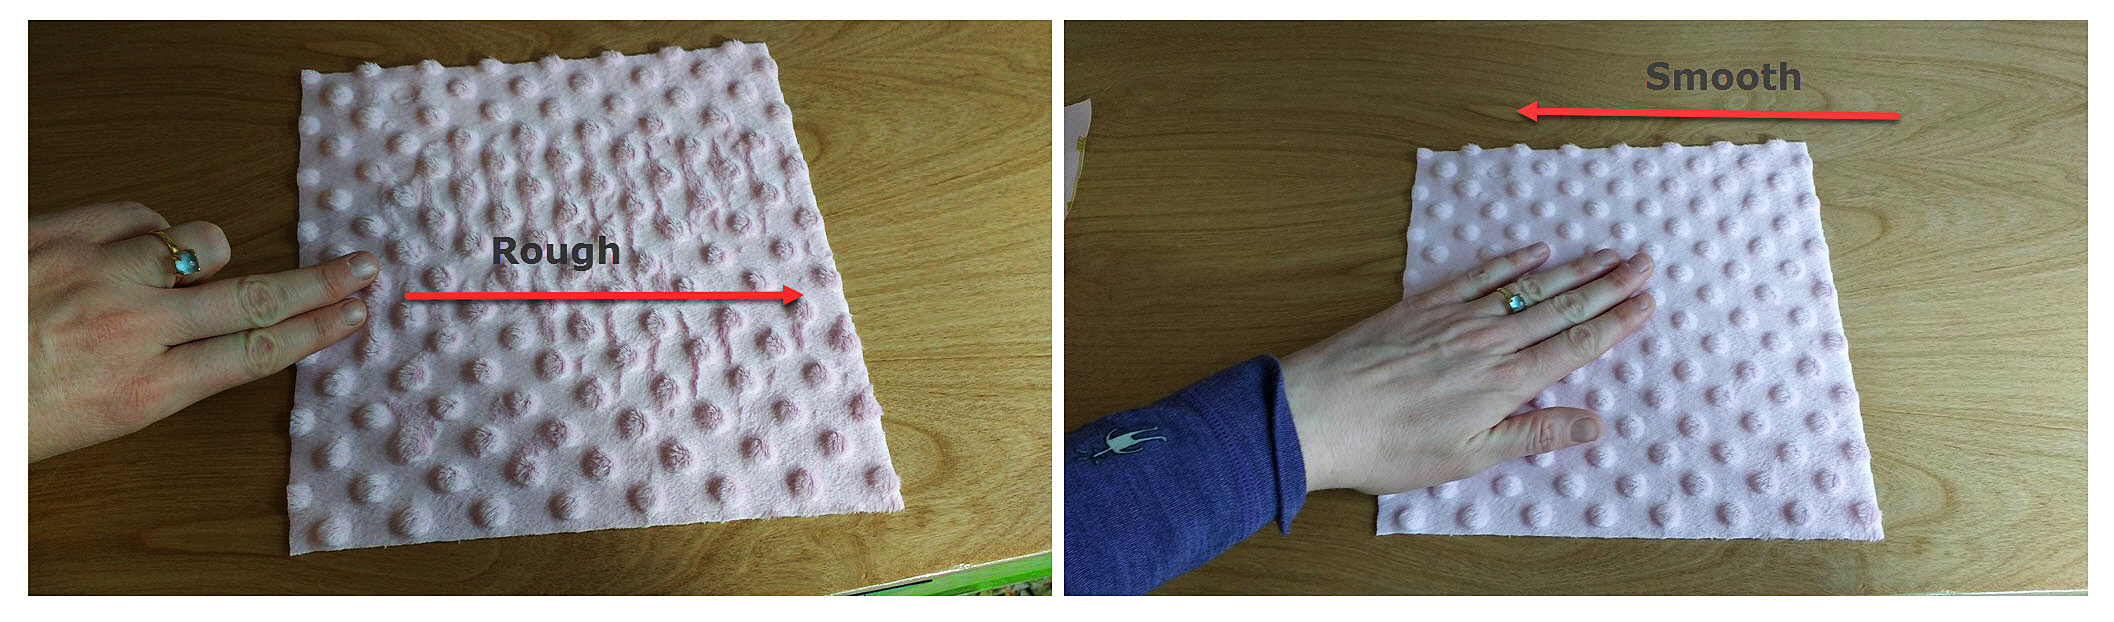
Think of throwing a pillow case in the dryer with the inside seams showing. When dried in the dryer and smelling like Snuggle, you put your arms inside, find both far corners of the pillow case, and pull them forward to you drawing the right sides of the pillowcase to the outside or the top side. So then, I carefully ironed the edges down so I could put top-stitching about one-quarter inch from the edge of the wipe. Finished product soft, bright, cuddly wipe.
BUT WAIT! There’s more
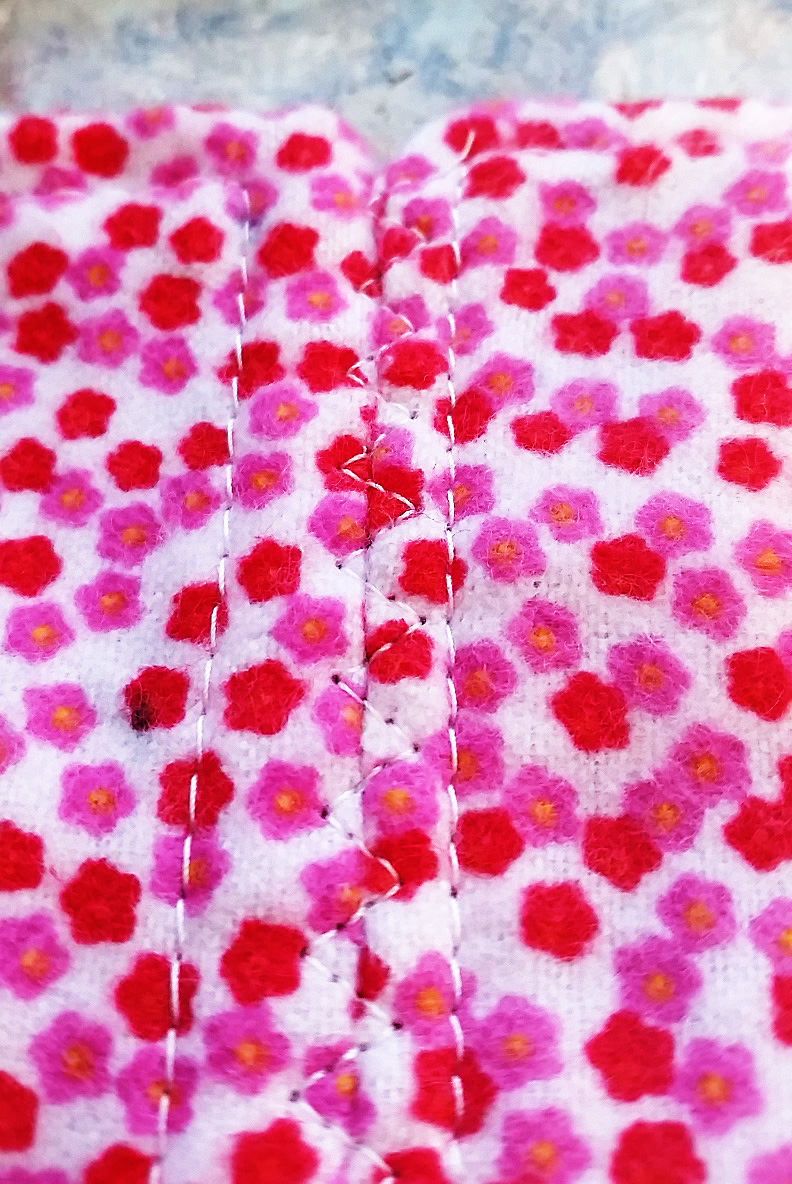
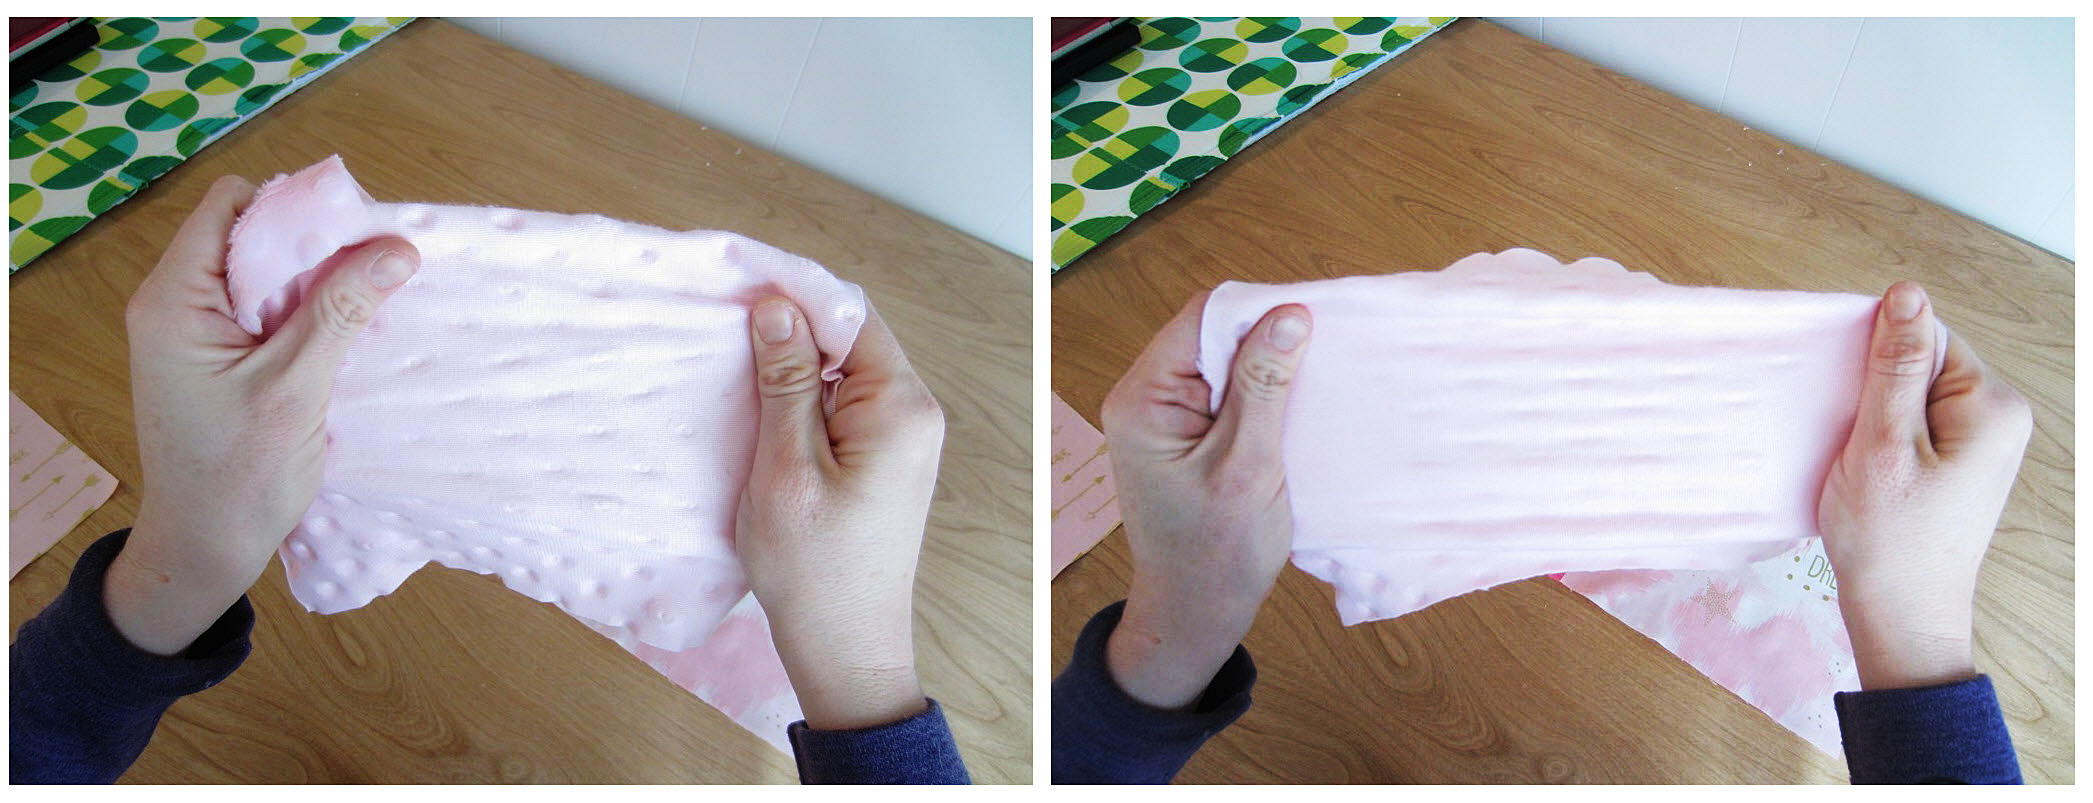
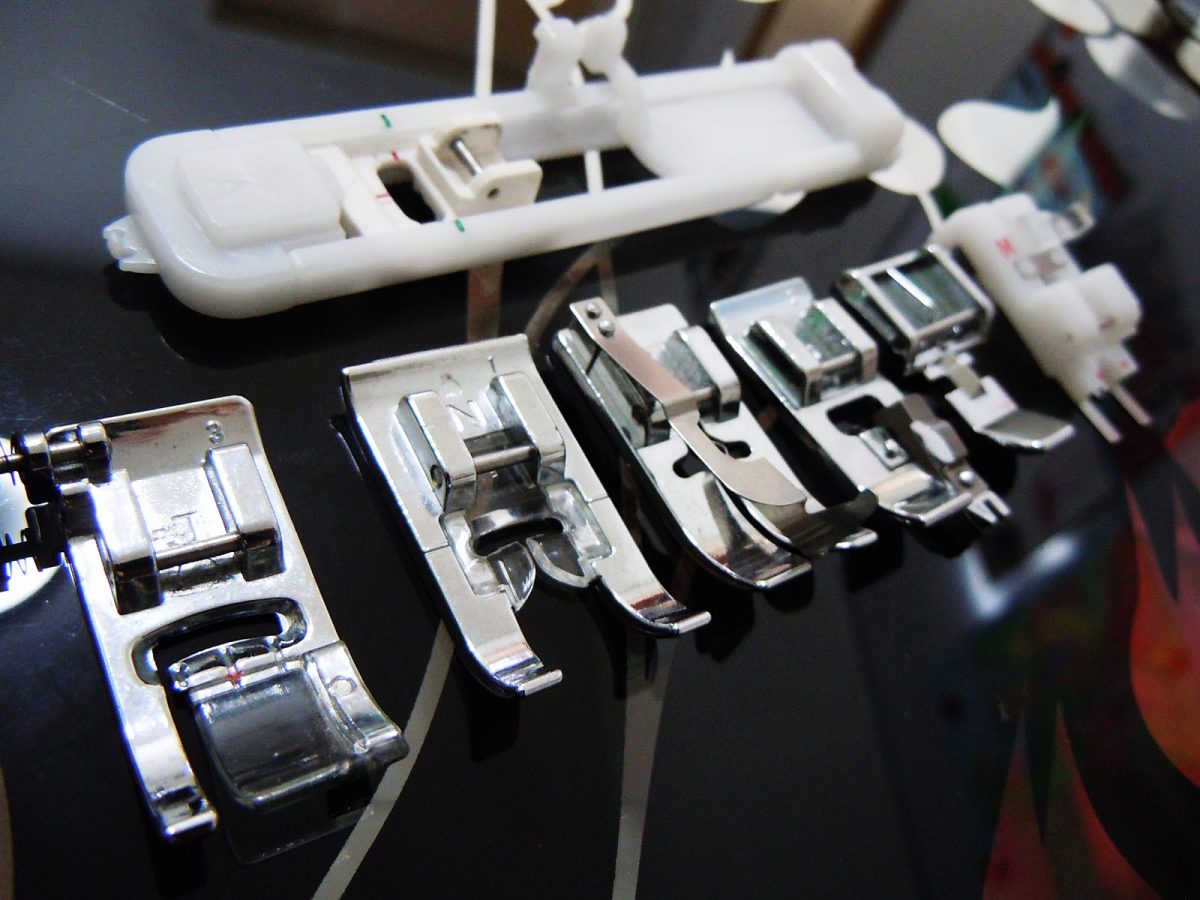
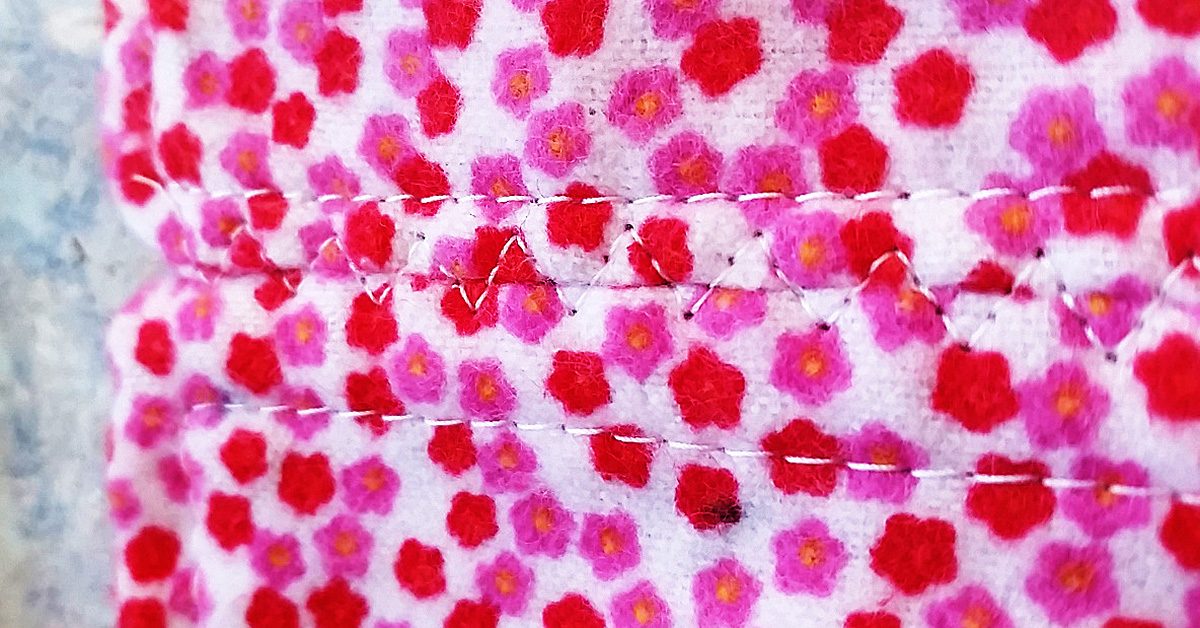
This shows how the seam was done, & it is sturdy like seam made in the traditional way.
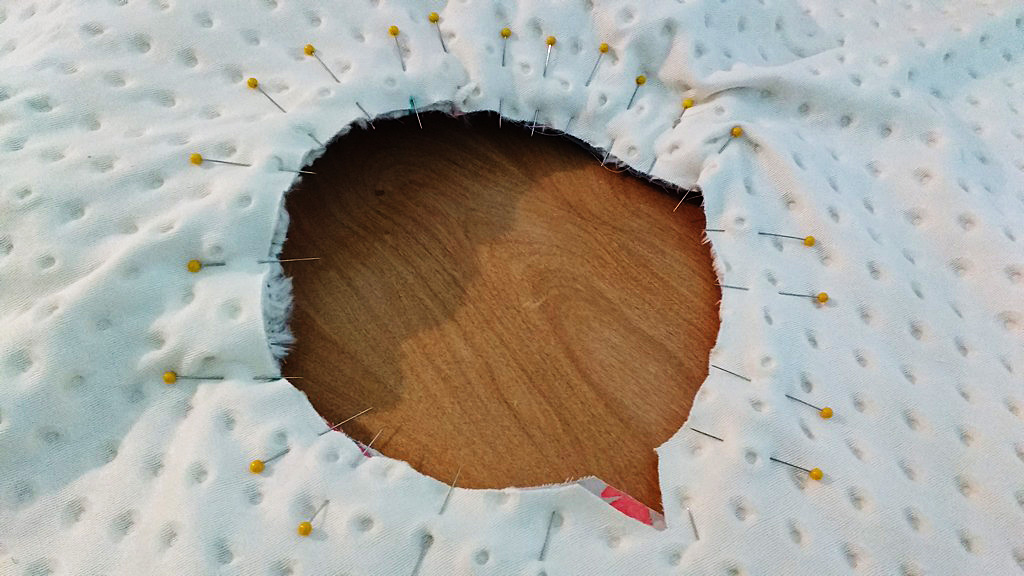
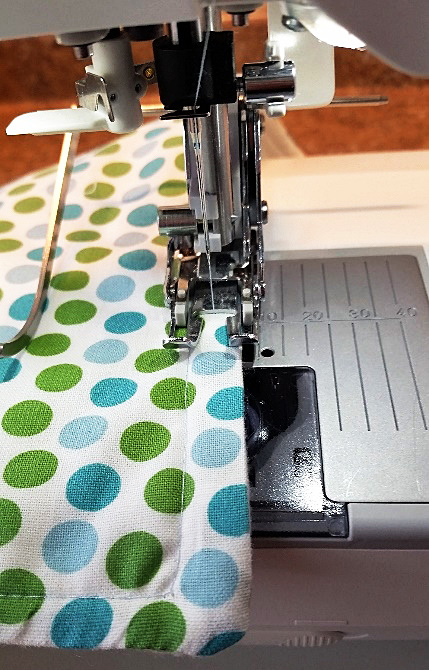
I thought why can’t I repurpose these cloths into something larger. It’s a small baby print, and with soft flannel on both sides, I brainstormed about how I can piece the two squares together without having to take the stitching apart of one side of each square to join them. That would involve doing all the squares accordingly, and would destroy my top-stitching.
This shows how the seam was done, and it is sturdy like seam made in the traditional way. This finished end to end seam reminds me of flat feld seams as used in my Pojagi pieces, although not quite. It also could be an alternate seam method for quilts without using a backing. A piece of batting could be added to each square to give a more padded feel to this alternate way of quilting, (like rag quilts but no raw edges or fringe.)
I hope you enjoyed my blog today, and I hope to see you again soon. I always welcome your experiences in sewing. After all, what would we do if we didn’t sew?