I know a lot of people that shy away from sewing or quilting with minky but I’m here to tell you that minky is not the bogey-woman some people make it out to be, as long as you follow some important tips to make your sewing with it a success.
1. Pre-washing is not needed. Well, at least for the minky that is. Plush fabrics are made from polyester so they don’t shrink. If you’ll be pairing with fabrics that do shrink, then pre-wash the other fabrics in advance.
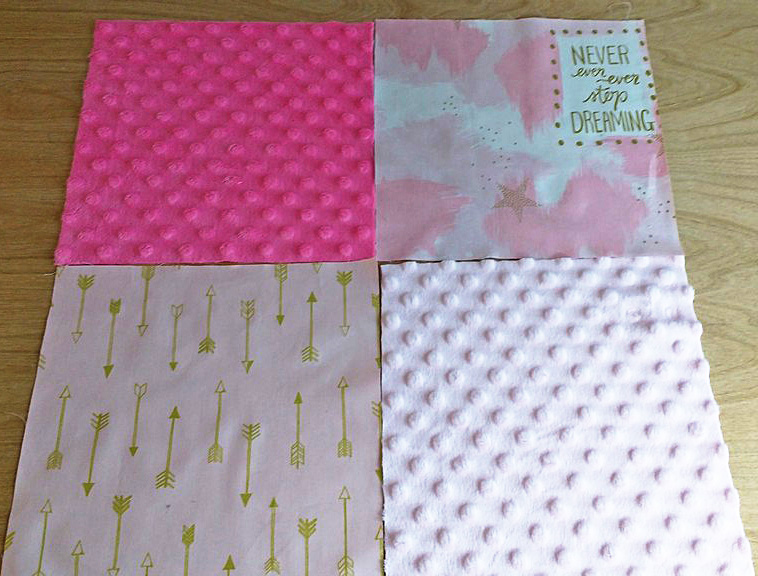
Minky bumps
2. Nap! Minky has a nap. Nap is the raised or fuzzy/bumpy parts you find on certain fabric (think velvet). If you brush your hand one way on minky, it will be soft, if you brush it the other way, it will be rougher. Take the direction of the nap into the consideration when cutting out your project.
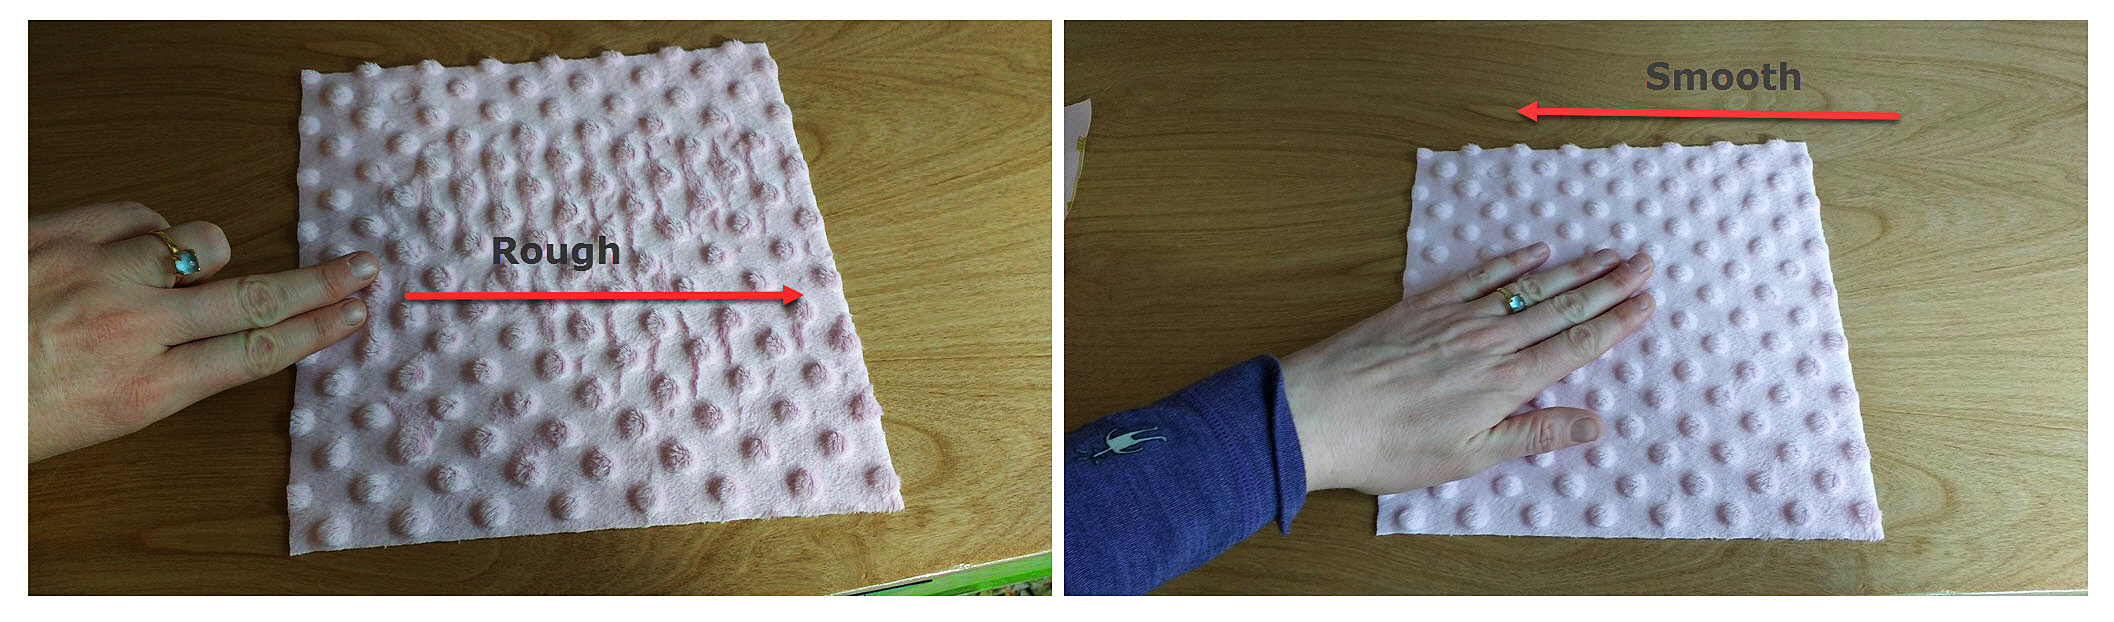
Take the direction of the nap into the consideration when cutting out your project.
3. Minky can STRETCH! But only from one direction. Take a piece of the fabric you are working with and stretch it one direction and then the other. You’ll find the stretchy side very quickly. I make sure to not ever leave my hole for turning on the super stretchy side.
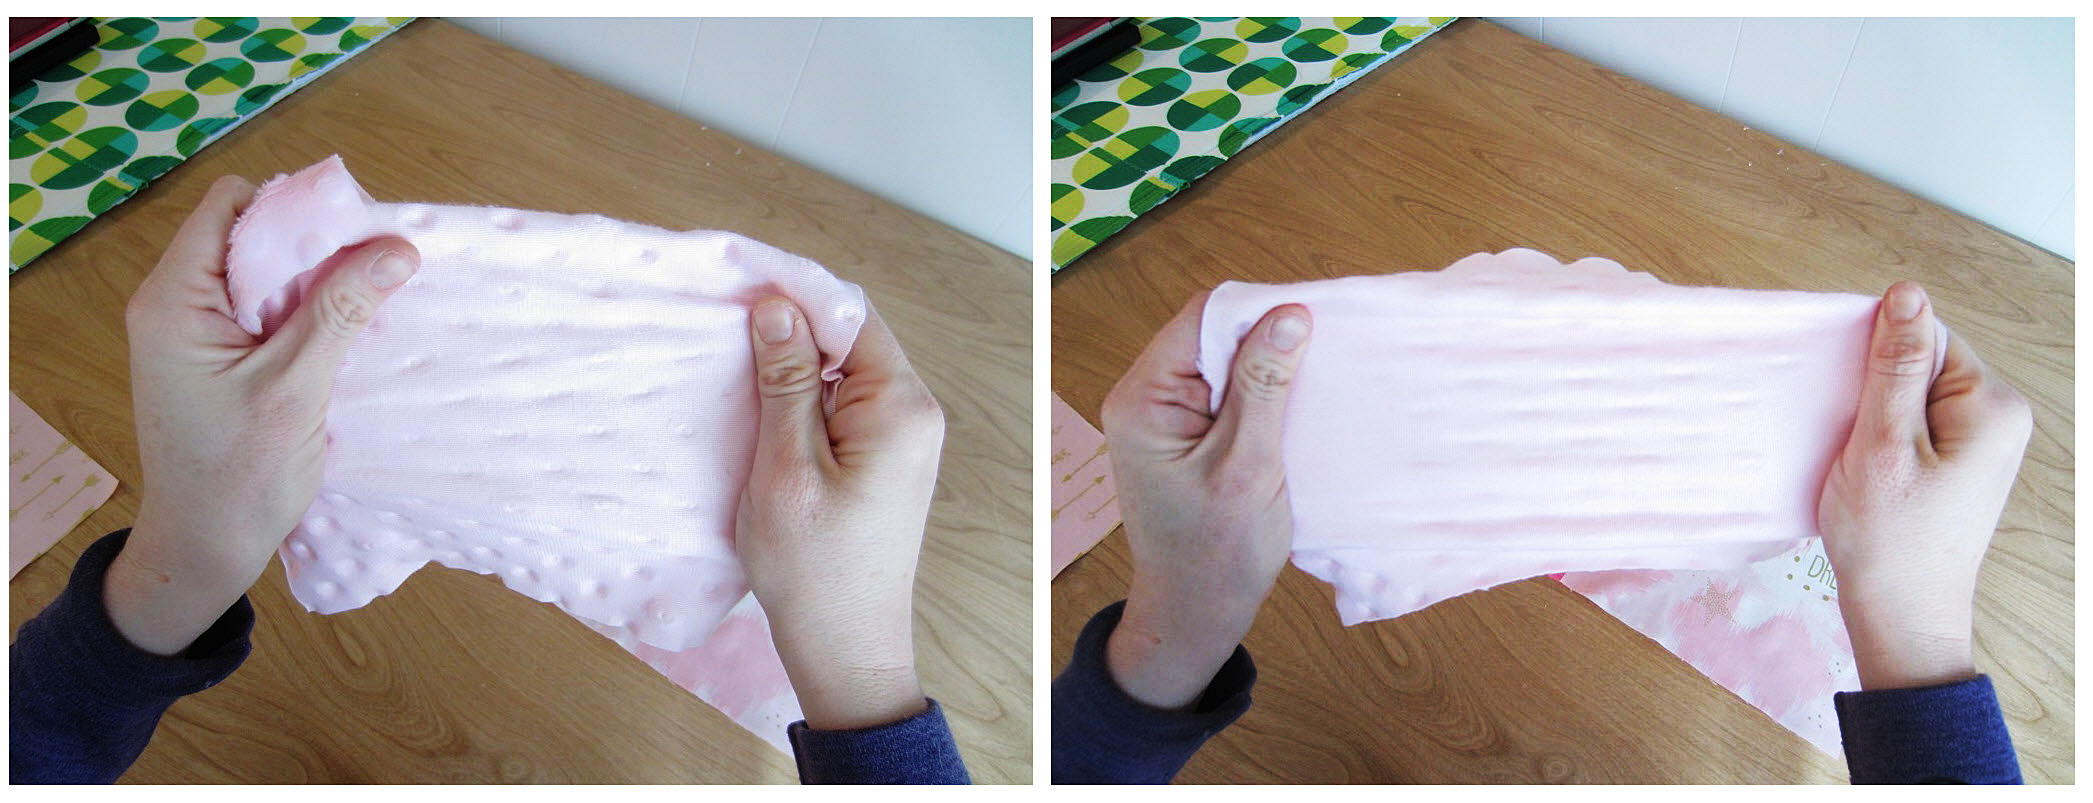
Minky can STRETCH! But only from one direction.
4. Use the right needle and correct sewing foot. A lot of guides will recommend a universal needle size of 12. I prefer size 14, but find what works for you. Additionally, if you have a walking foot, use it! If you are too lazy to use your walking foot (or don’t have one), I find minky sews better when you place it on the bottom and the regular fabric on the top.
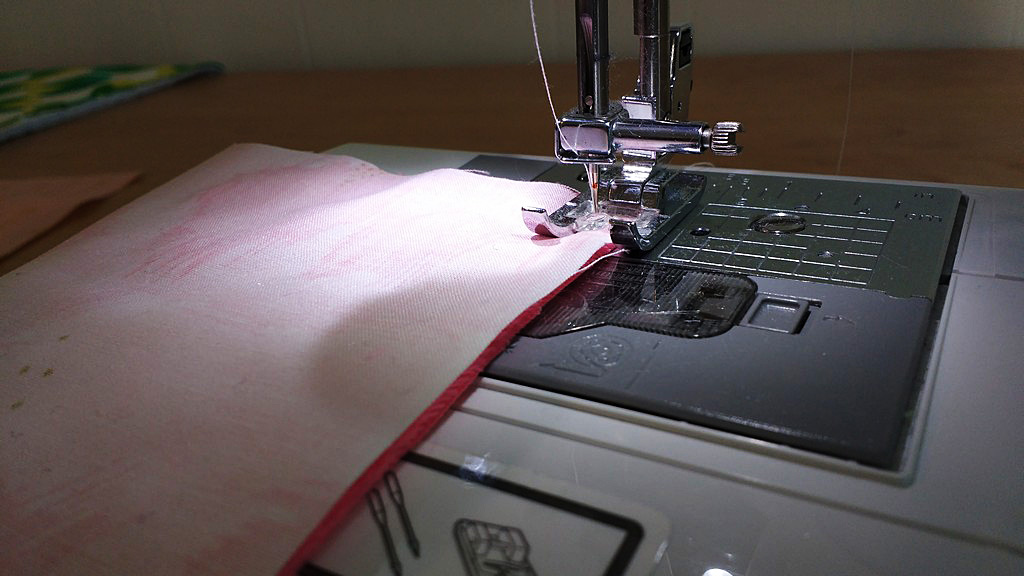
Use a walking foot. I find minky sews better when you place it on the bottom and the regular fabric on the top.
5. Seam allowance and stitch length – I tend to give myself more room with minky and usually use a 1/2” seam allowance. I also use a longer stitch length, around 4.
6. DO NOT IRON MINKY DIRECTLY. It will melt. I promise you. You need to even be careful ironing with another fabric placed on top as pressing too hard or with too much heat will ruin the nap or little bumps of the minky underneath.
7. Pins, clips and washable basting spray or this Wash-A-Way Wonder Tape are your friends with minky. Use them excessively and you’ll get much better results.
https://www.sewingmachinesplus.com/tacony-BT14.php
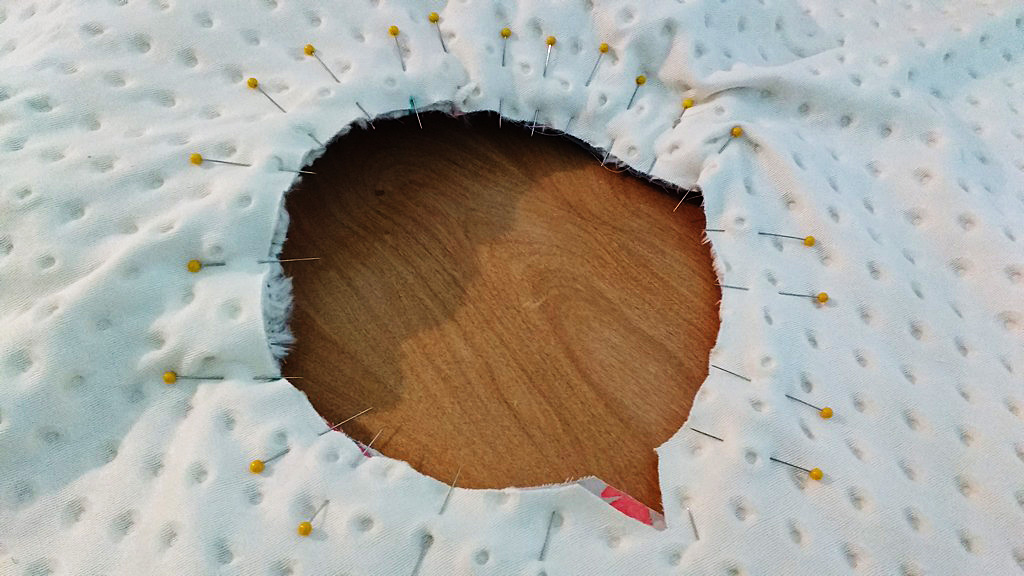
Pins, clips and washable basting spray or this Wash-A-Way Wonder Tape are your friends with minky.
8. Top stitch!! Top stitching minky will really help to remove bulk, keep the seams in line and make your project look more professional.
Top stitching minky will really help to remove bulk, keep the seams in line and make your project look more professional.
9. Use a rotary cutter and a vacuum. Rotary cutters help make very exact cuts with minky. I also suggest having your vacuum nearby to clean up after cutting and to clean out your machine as you sew. SewingMachinesPlus.com has a variety of vacuum cleaners for your sewing room.
https://www.sewingmachinesplus.com/tacony-fb-gim.php
10. Practice! You’ll get better the more you use it. Soon, you’ll be wondering what all the fuss is about when others say they shy away from sewing with plush fabrics.