Did you know it is not safe to put kids in winter jackets in car seats? It’s true. Winter jackets are so puffy that parents need to loosen the seat belts to accommodate them, however this loosening makes the child unsafe in their car seat should they be in an accident. The jackets would compress but the child would move too far forward for safety due to the loosened seat belts.
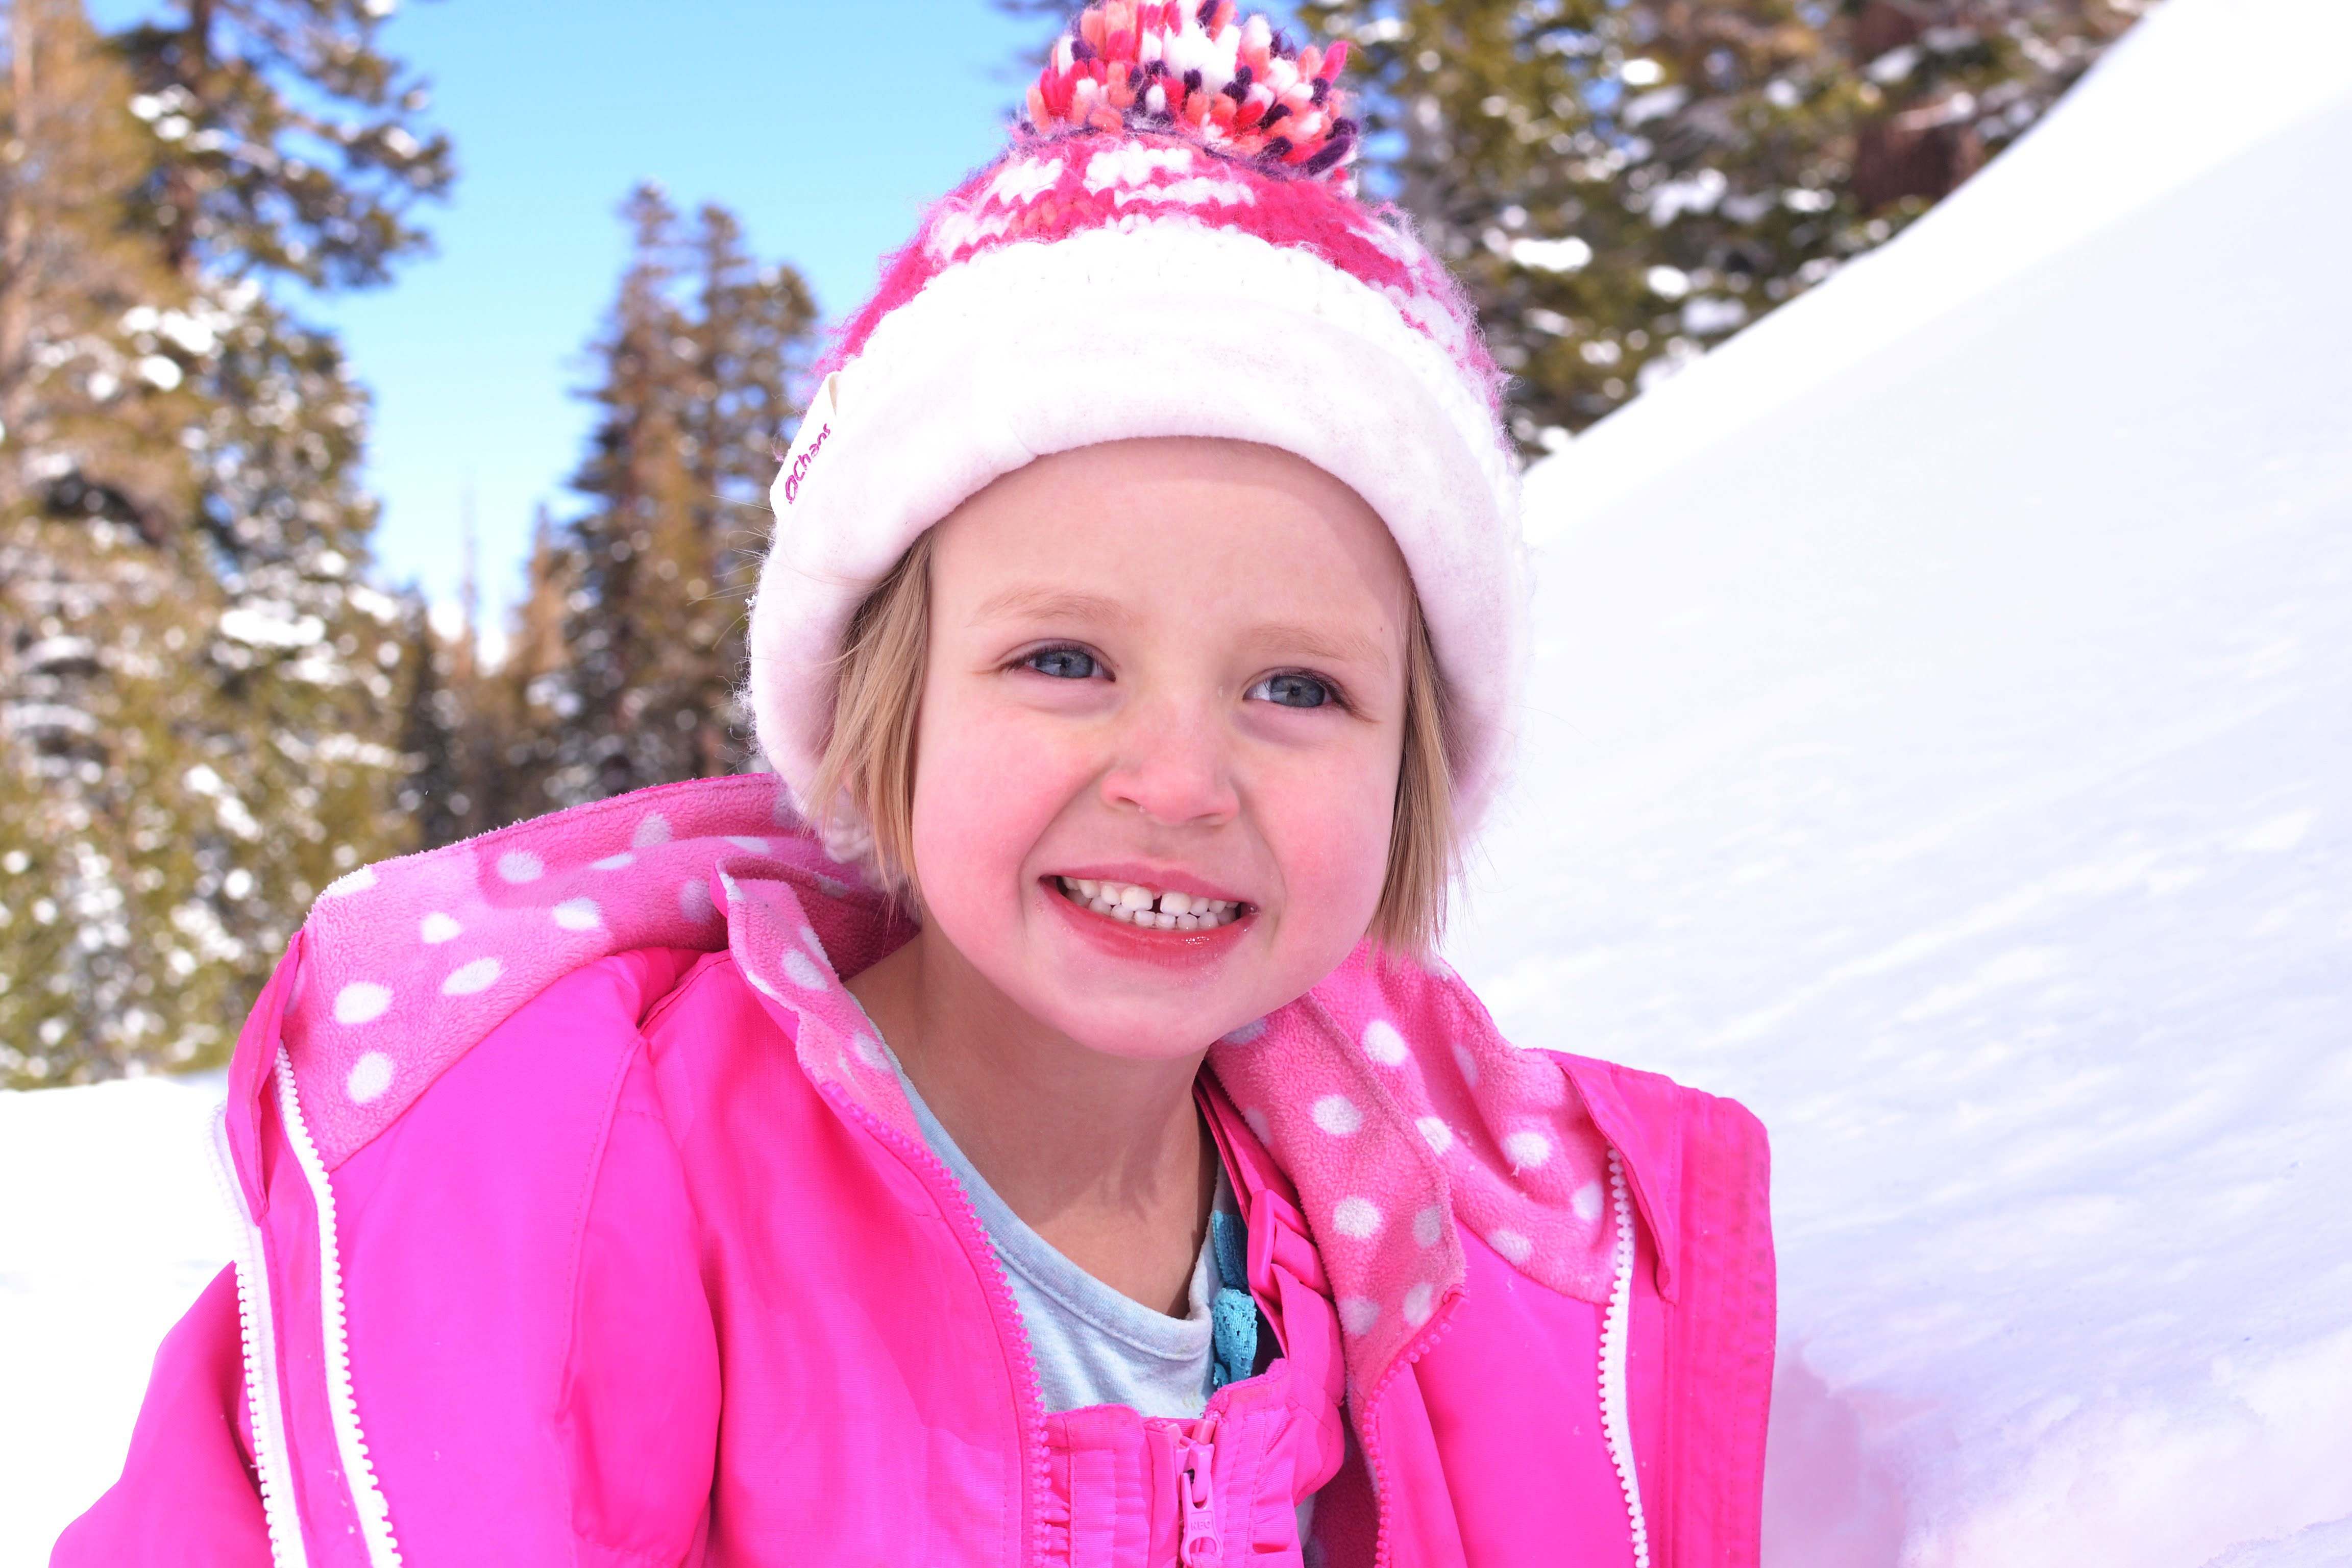
Snow day!
So what’s a parent to do who lives in cold weather?
So what’s a parent to do who lives in cold weather? The good news is that you can still put snow pants on them. So use a pair of snow pants and a car seat poncho and all your problems are solved!
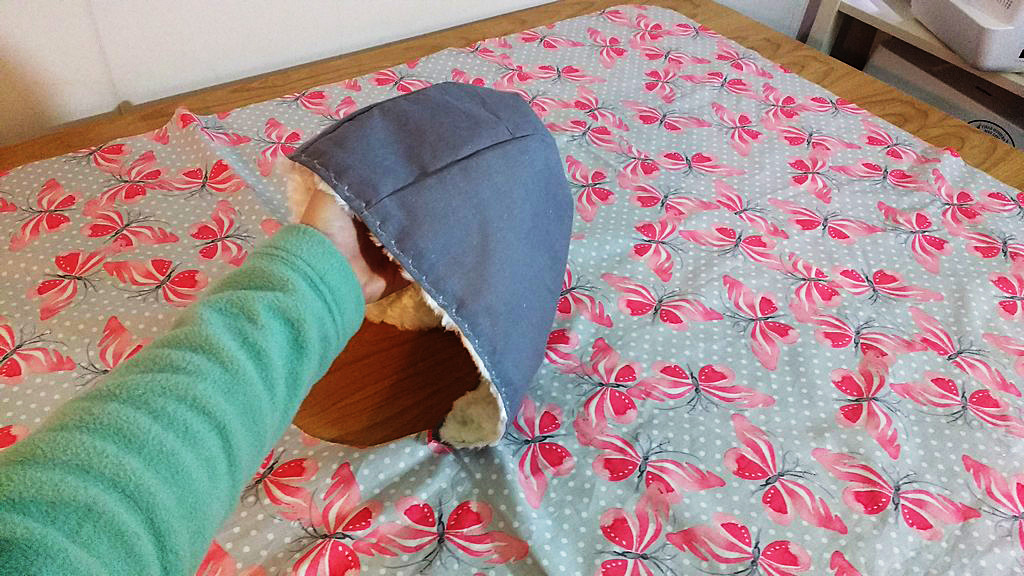
I’ve never sewed a hood before so I was excited to try something new and make one with this project. I used the pattern for the hood from Oliver & S’s Little Things To Sew Book and then attached the hood to my own design for the poncho.
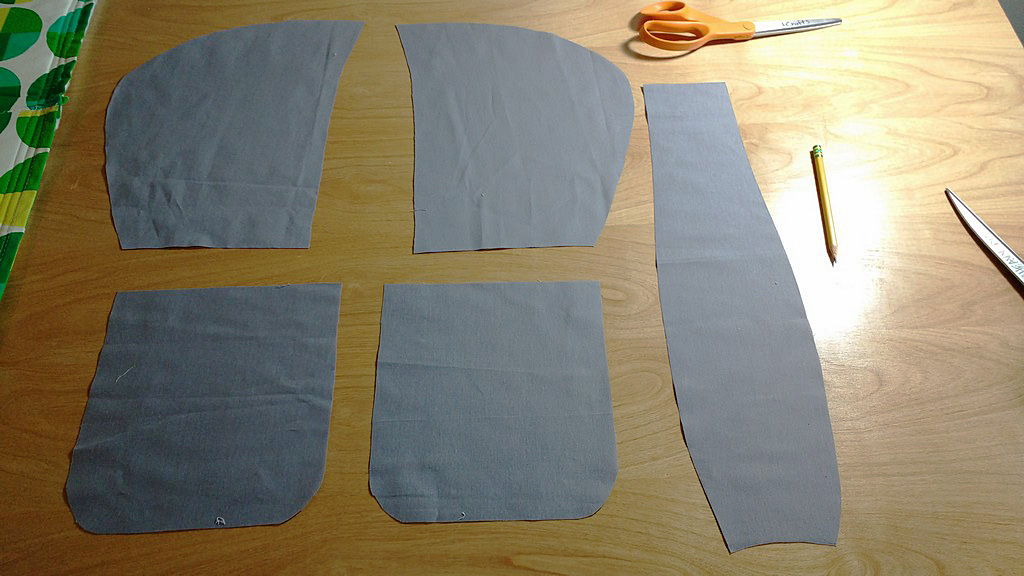
I used the pattern for the hood from Oliver & S’s Little Things To Sew Book and then attached the hood to my own design for the poncho.
Cozy pockets
I also wanted to make lined pockets on the inside of the poncho, so she could slide her hands inside them and keep toasty while the car warmed up.
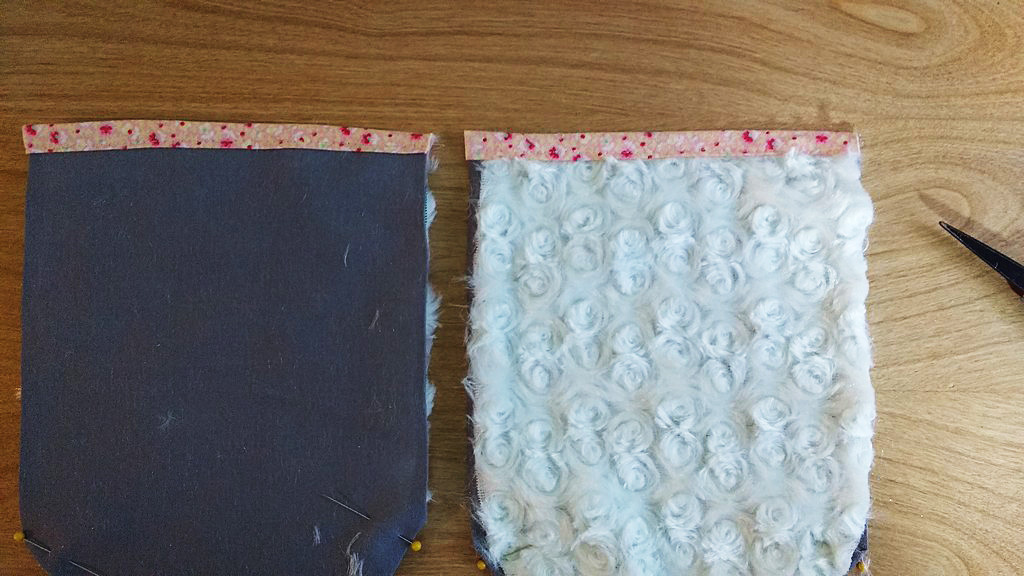
I also wanted to make lined pockets on the inside of the poncho, so she could slide her hands inside them and keep toasty while the car warmed up.
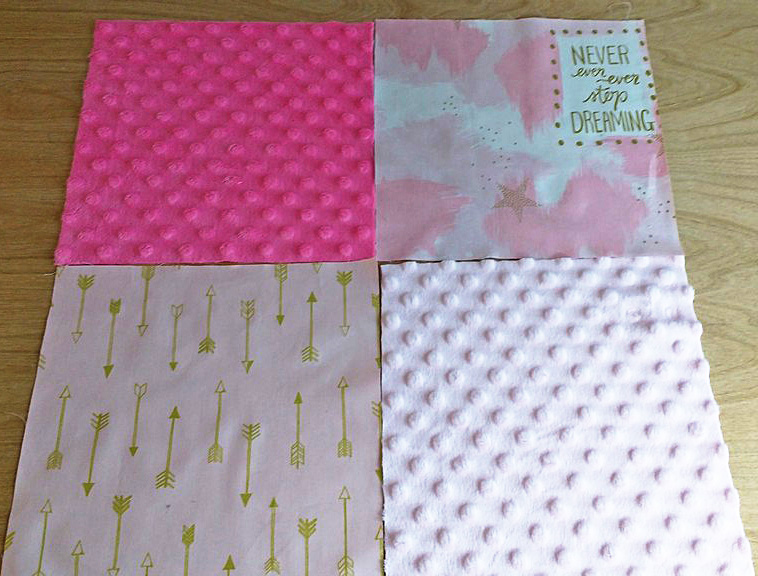
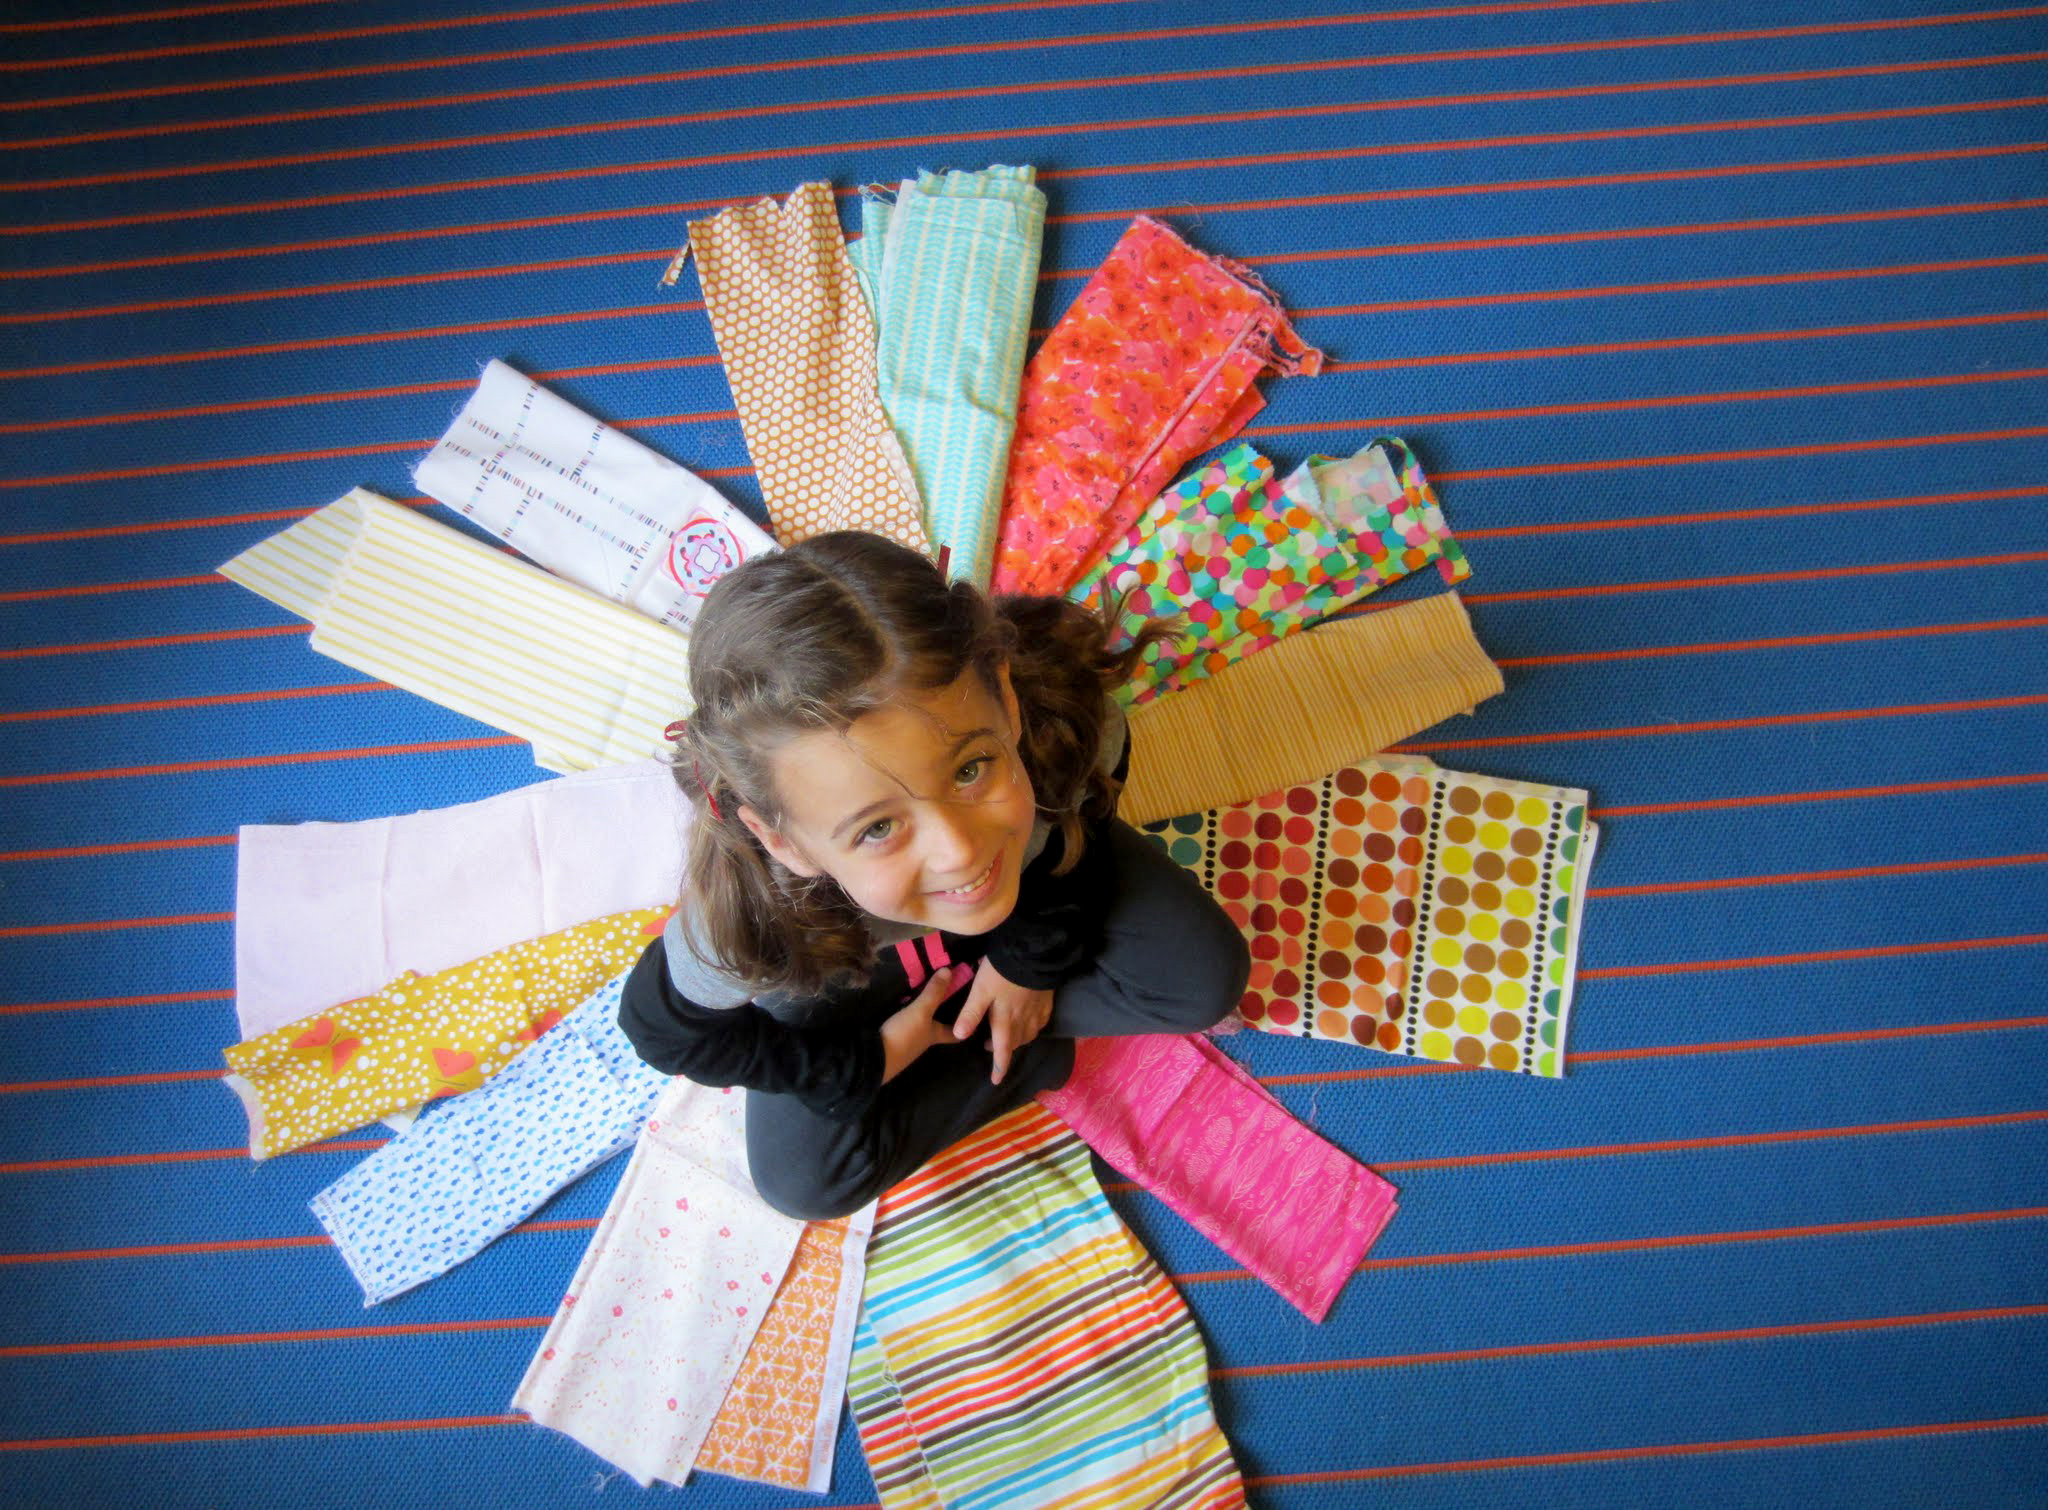
I’ve been trying very hard lately to make my projects with materials I already have on hand. Everything you see for this car seat poncho, I already had in my stash.
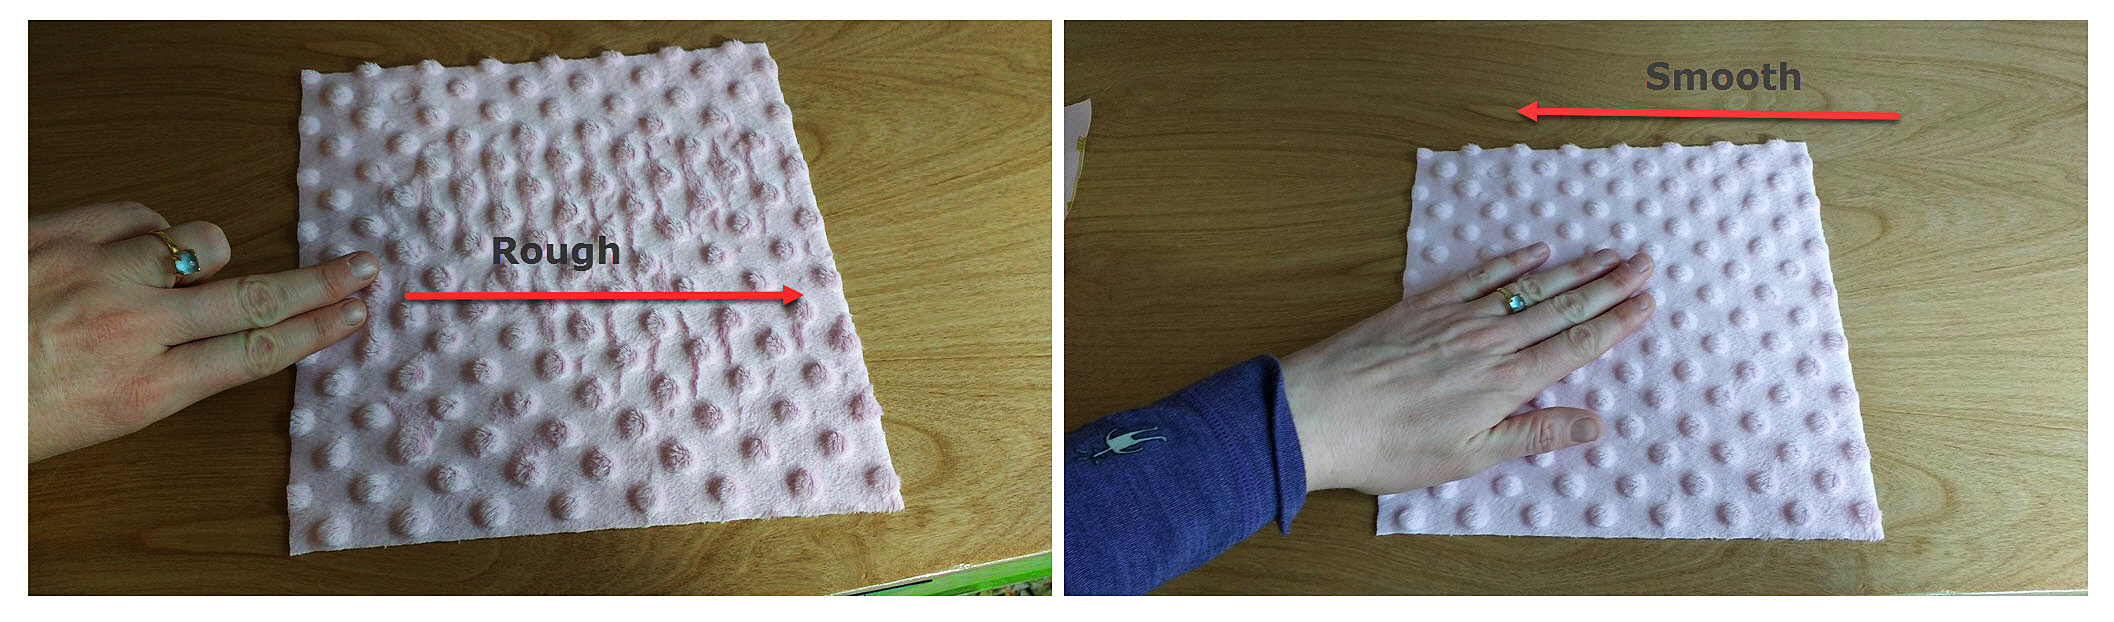
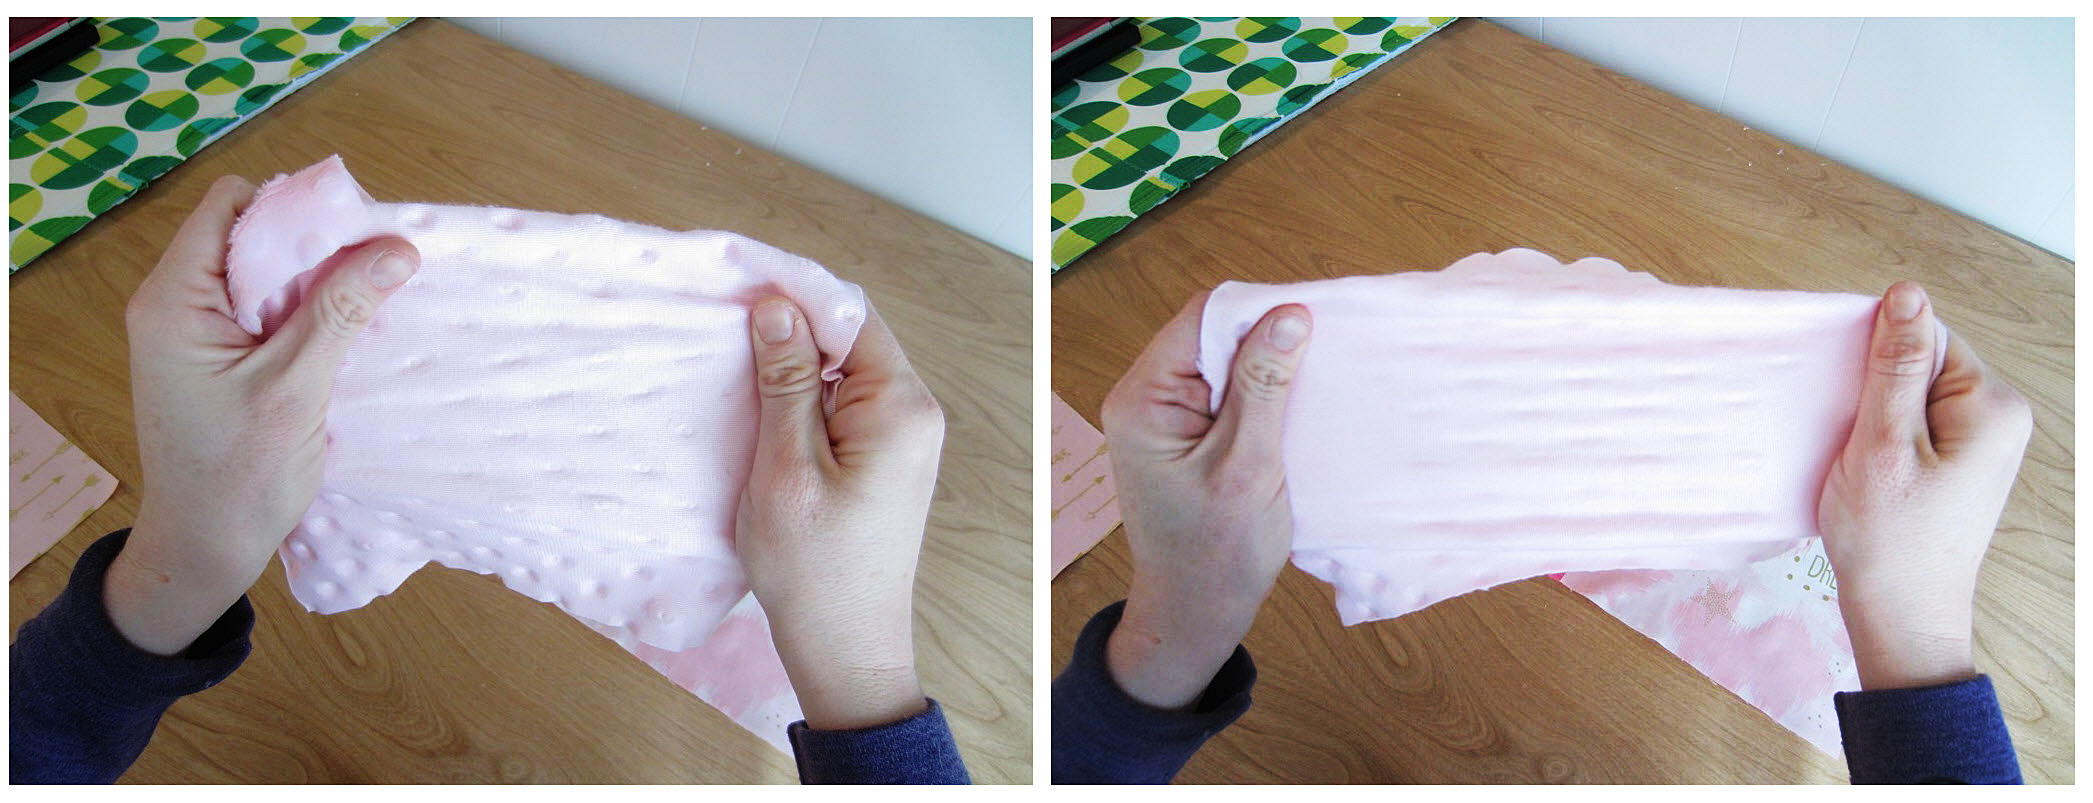
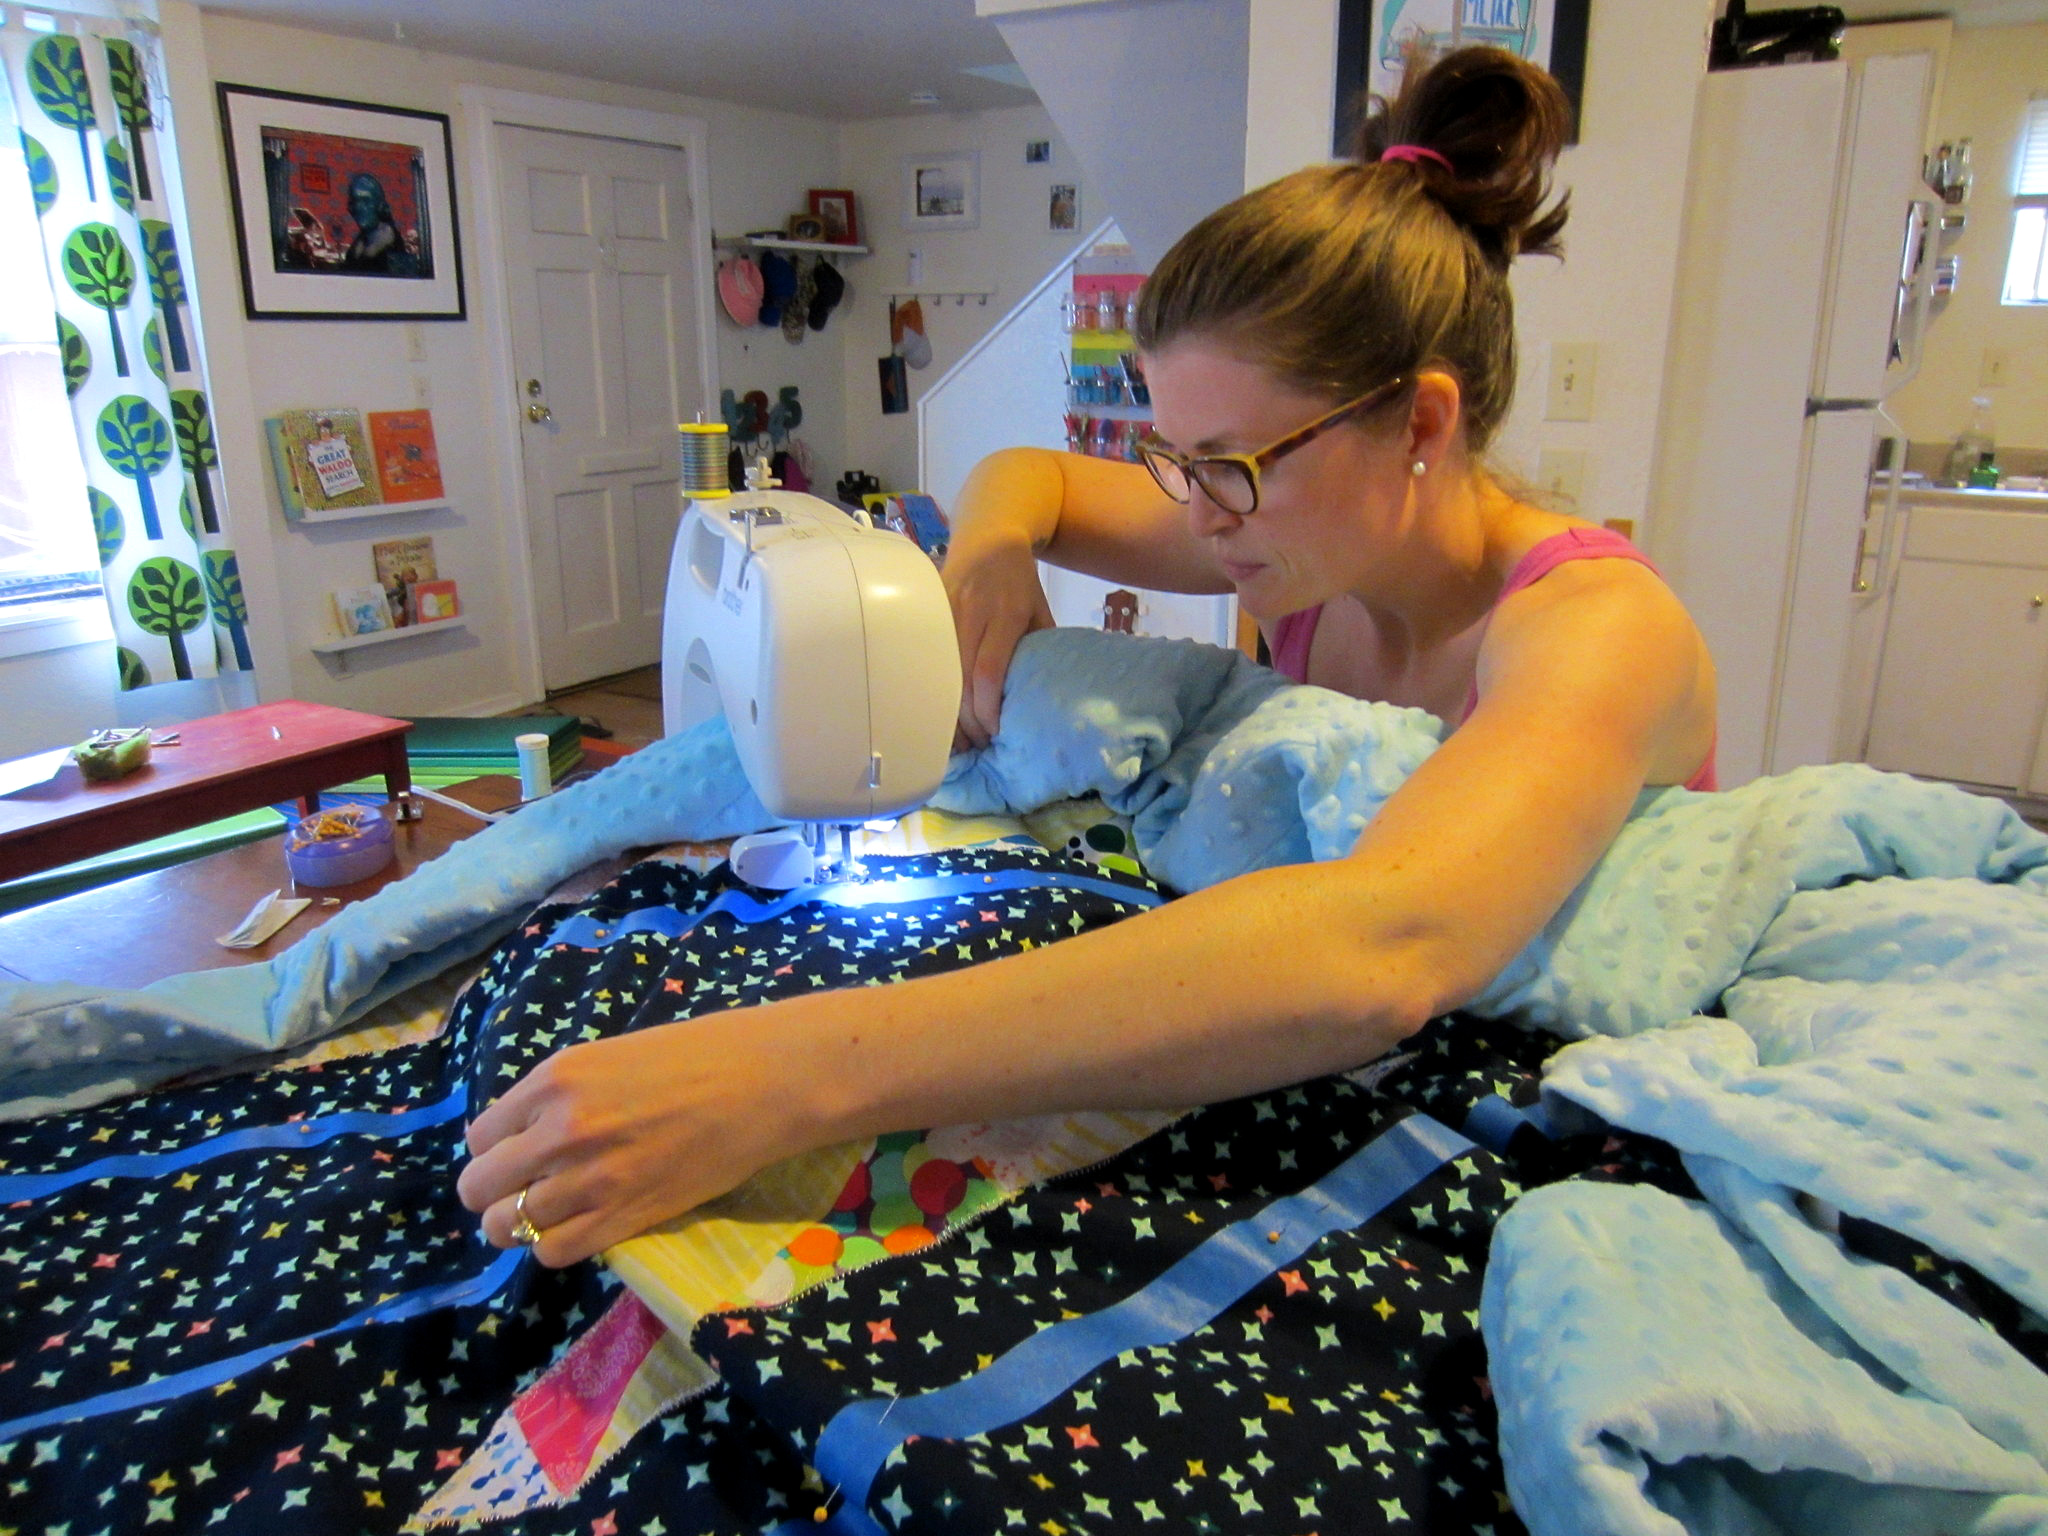
If you’ve never sewn with minky or cuddle fabrics, I’m here to tell you that it’s time to try. They are so warm and cozy and people always like when you make gifts with minky. If you have a walking foot, use it when you’re sewing fabrics like these. For more on how to sew with minky, check out my post here.
Grab that pincushion
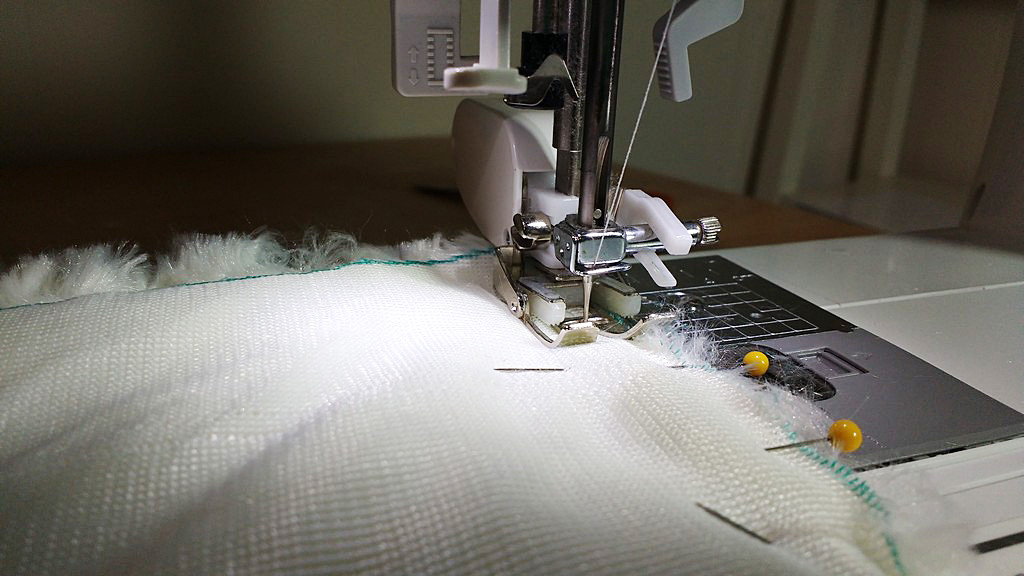
If you have a walking foot, use it when you’re sewing fabrics like these. For more on how to sew with minky, check out my post here.
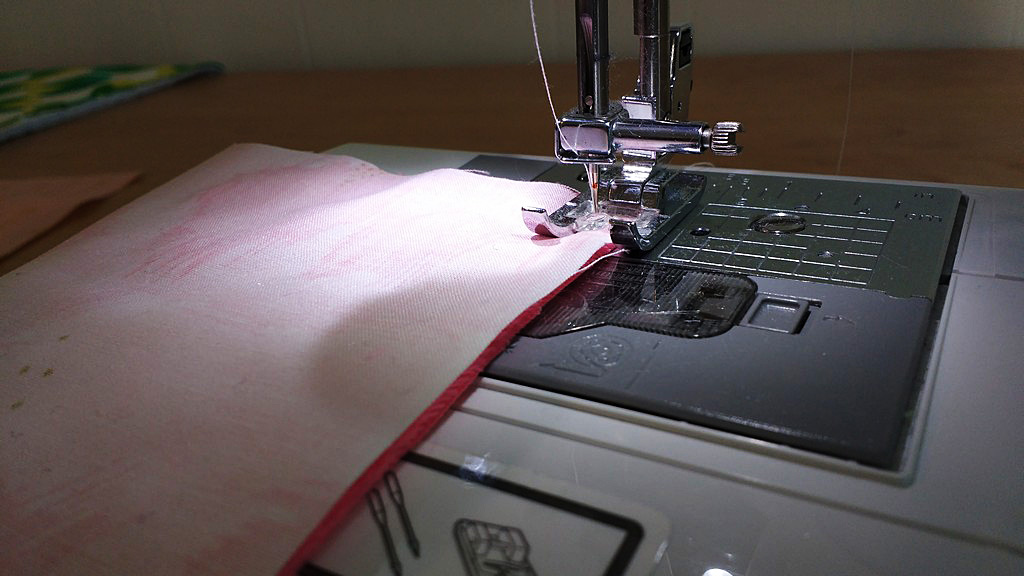
When working with minky, you definitely need to pin things in place. I’m not a big fan of pins, except when you really do need them; sewing the hood and the neckline of the poncho was a definite need.
Tip: if you are going to add a ribbon so you can hang the jacket from the back of the neckline, this is the moment to do it.
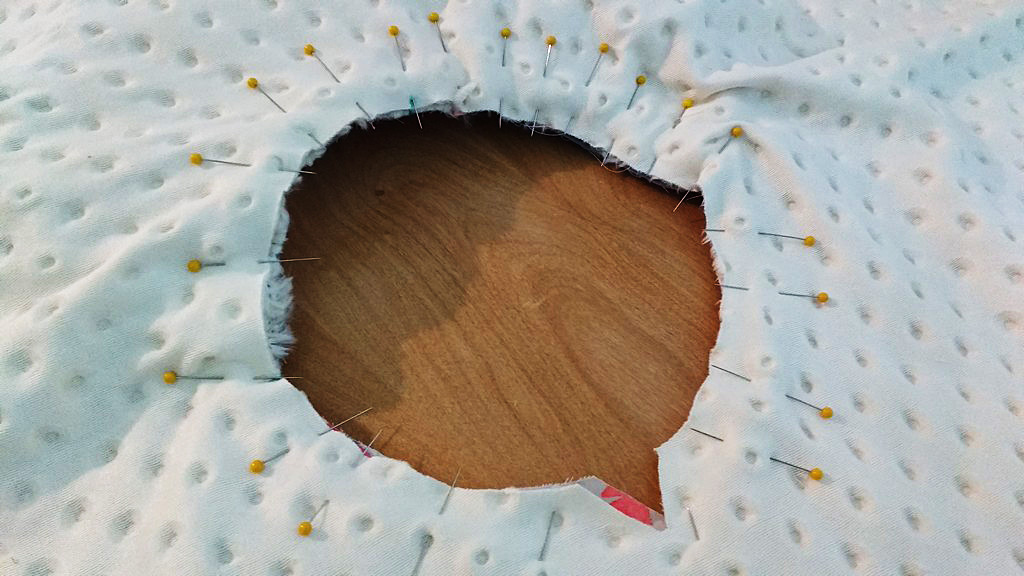
When working with minky, you definitely need to pin things in place.
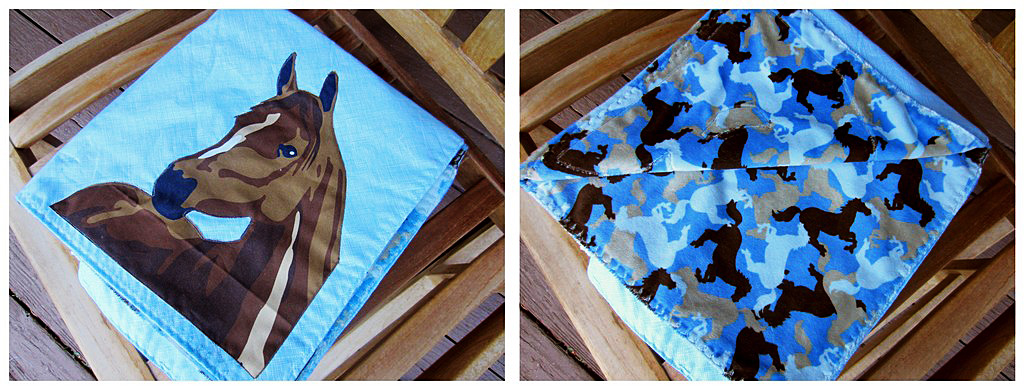
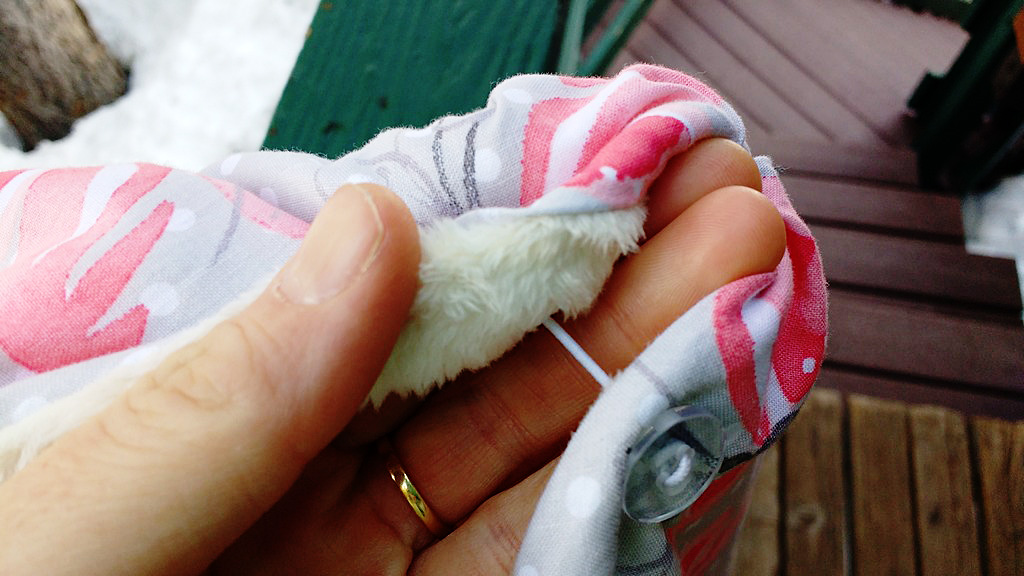
Ta da!!! The hood is lined with a gorgeous cuddle fabric that looks like rose swirls. I used minky dot fabric on the underside of the poncho. The butterfly fabric is left over from a baby quilt I made last year.
The hood is lined with a gorgeous cuddle fabric that looks like rose swirls.
Tales from the hood
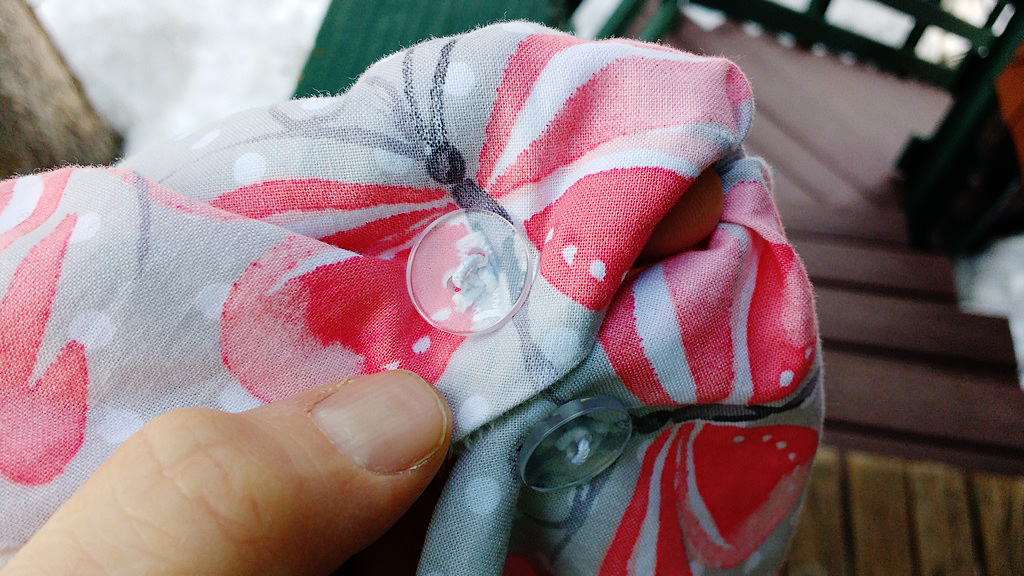
When I tried the poncho on my youngest, the neckline was too big. No problem. I used my buttonhole foot to make two button holes right at the v of the neckline like this.
The butterfly fabric is left over from a baby quilt I made last year.
Next I threaded elastic through two buttons and tied knots on each side. This tightened up the neckline but still allowed her to easily pull it over her noggin.
Next I threaded elastic through two buttons & tied knots on each side.
Lovely, no?
Lovely, no?
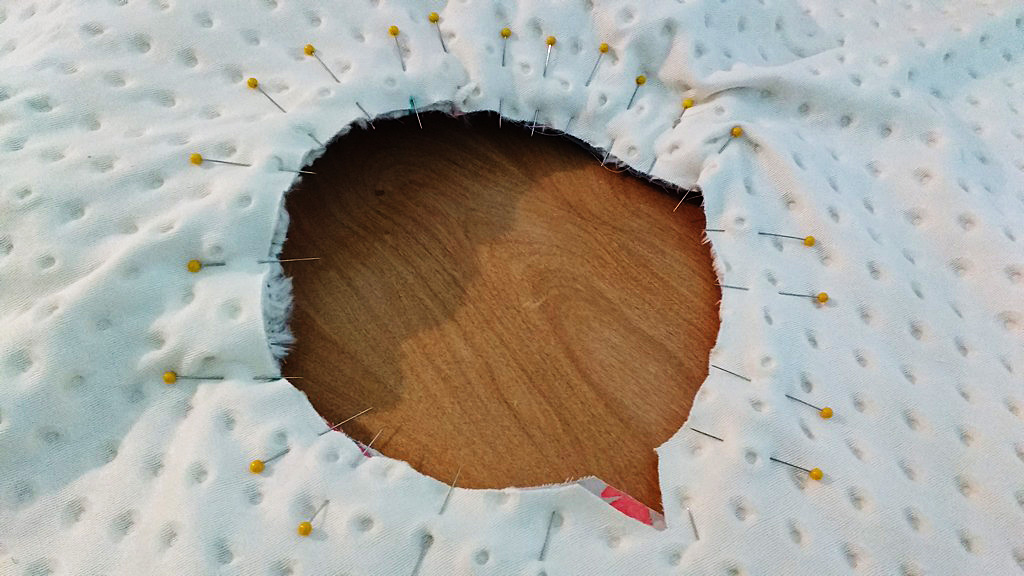
Once the hood and neckline were complete I smoothed out the top and bottom fabrics and made sure they fully matched. Any parts that extended past each other got chopped. Then I pinned the HECK out of the entire poncho before adding binding (See all those pins?).
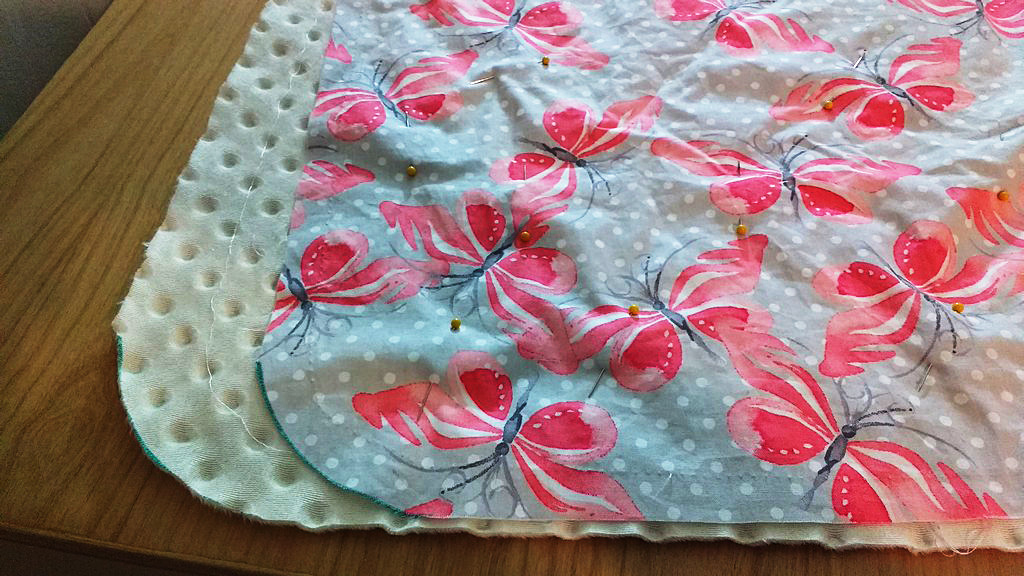
See all those pins?
Put a clip on it
I used these awesome Wonder Clips by Clover to keep the edges in place as I added the binding.
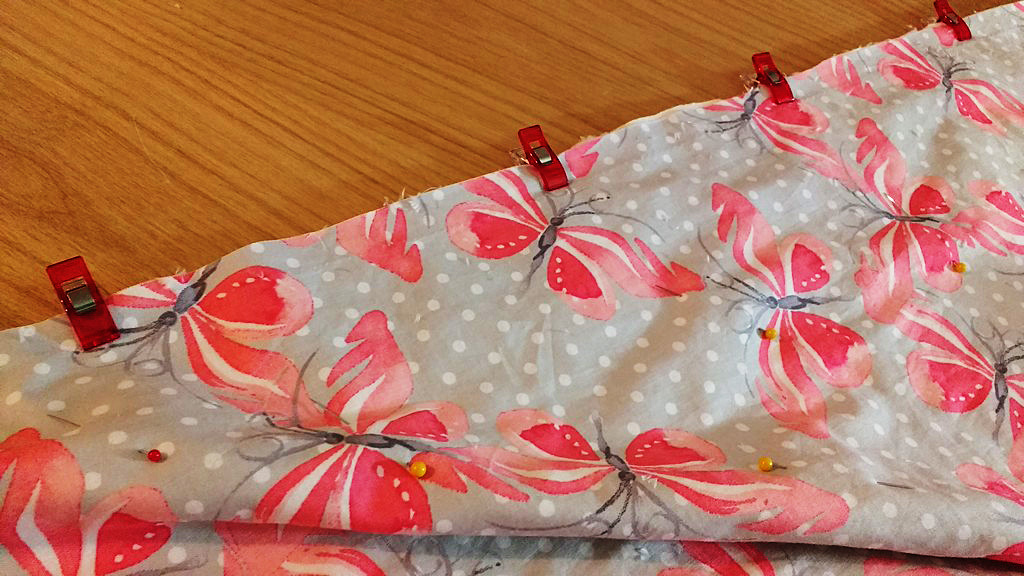
I used these awesome Wonder Clips by Clover to keep the edges in place as I added the binding.
This binding was extra I had made for a quilt last December. It matched the project perfectly.
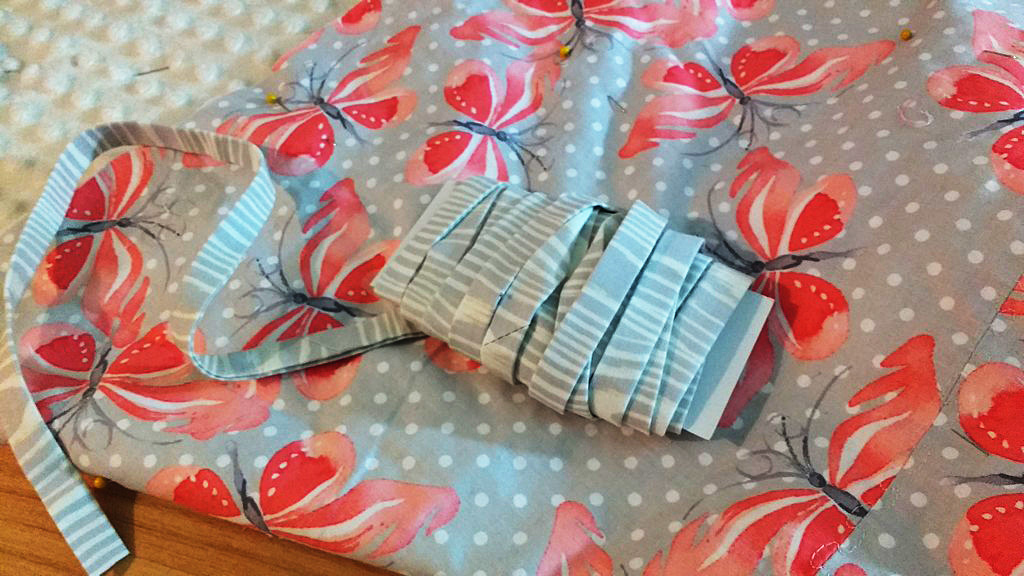
This binding was extra I had made for a quilt last December.
Momma’s little helper
When everything was sewn, I enlisted the help of my six year old to remove all the pins and then get off any remaining fuzzies from sewing with minky.
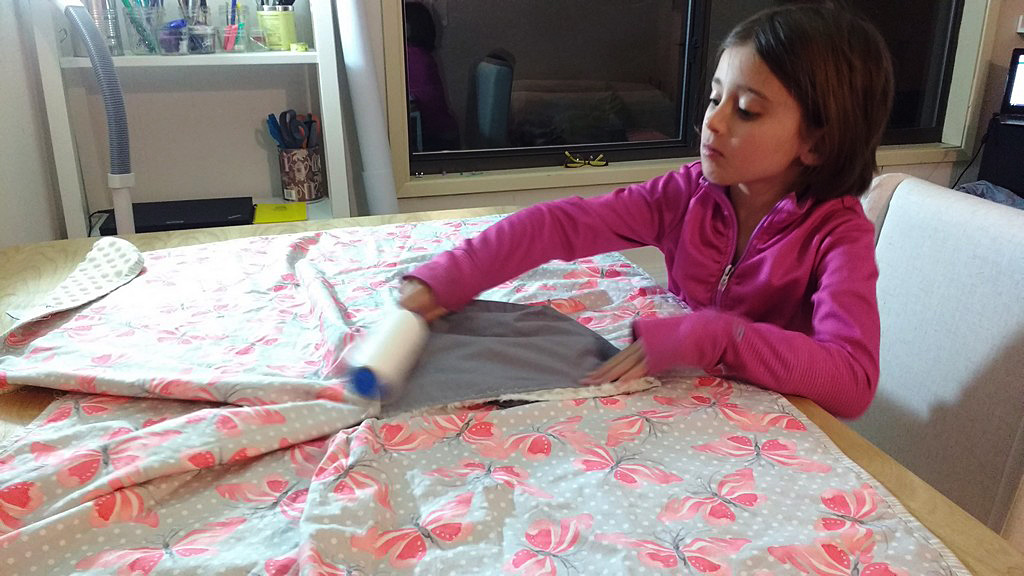
I enlisted the help of my six year old to remove all the pins & then get off any remaining fuzzies from sewing with minky.
Lastly, I ironed. Always, always iron. It takes your project to the next level!
Pro Tip: never iron on minky directly. Do not press too hard because you’ll ruin the pattern on the minky dots (you’ll flatten the dots). I ironed the top side with steam on a wool setting.

Never iron on minky directly.
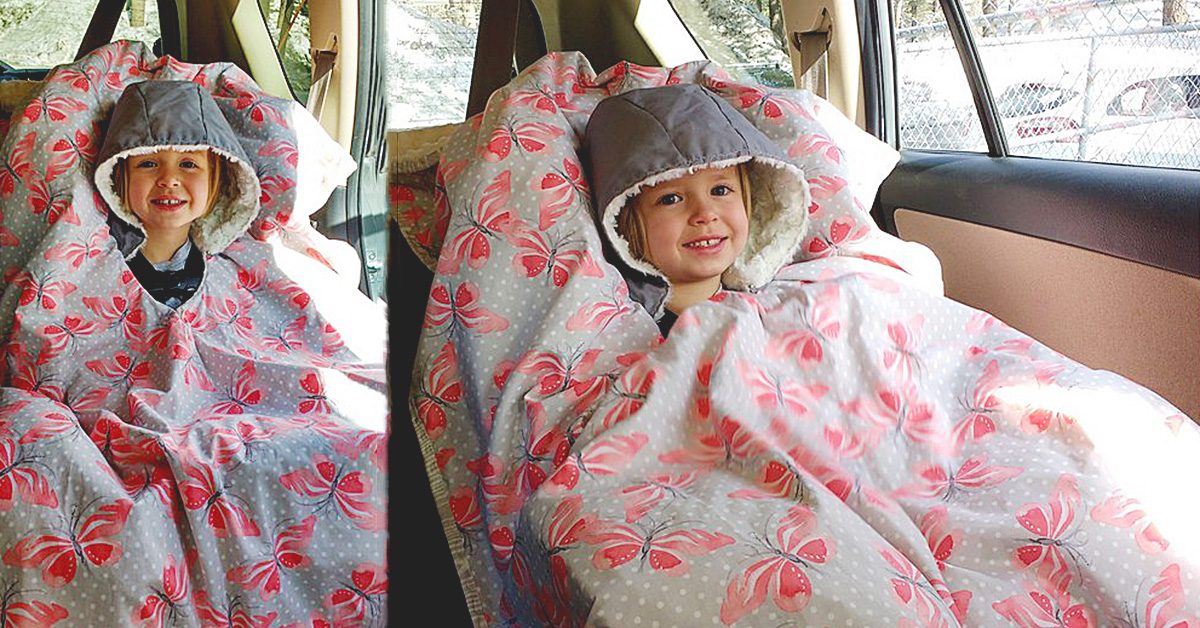
Here’s the finished project. My 4 year old absolutely loves what she calls her ‘car blanket.’
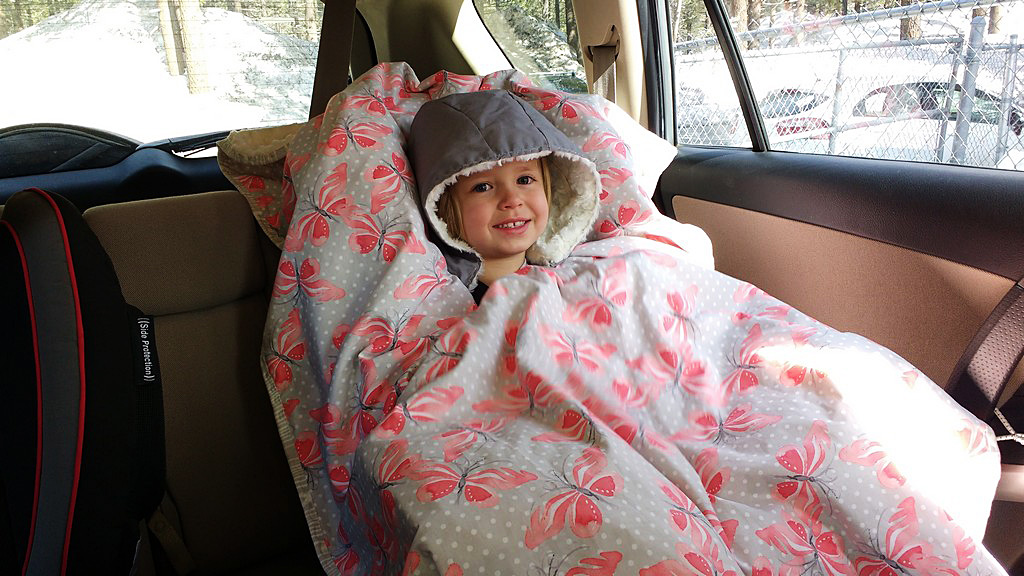
My 4 year old absolutely loves what she calls her ‘car blanket.’
Safety first
See how she is safely buckled underneath the poncho?
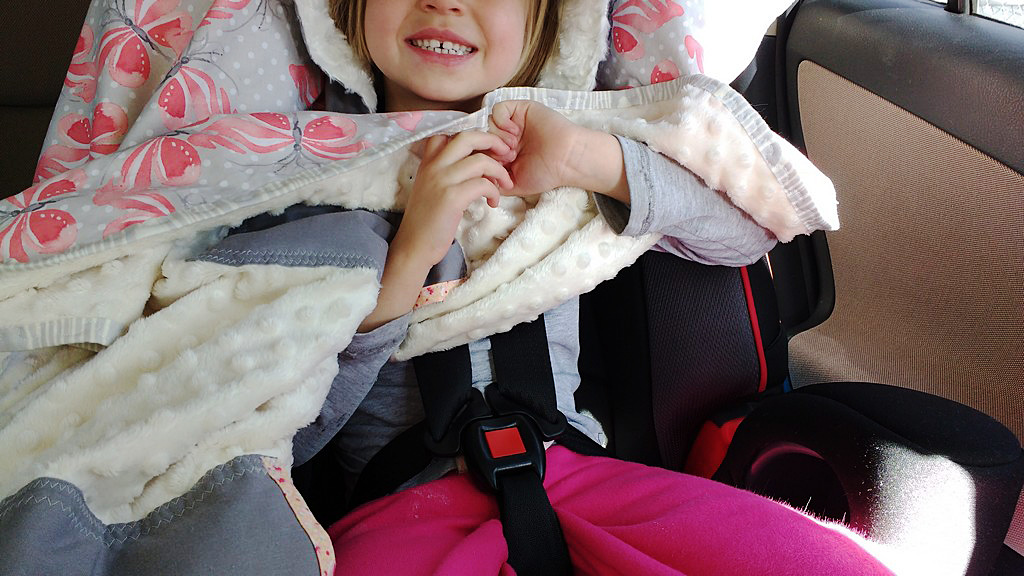
See how she is safely buckled underneath the poncho?
The back of the poncho just drapes up and over the back of the car seat.
The back of the poncho just drapes up and over the back of the car seat.
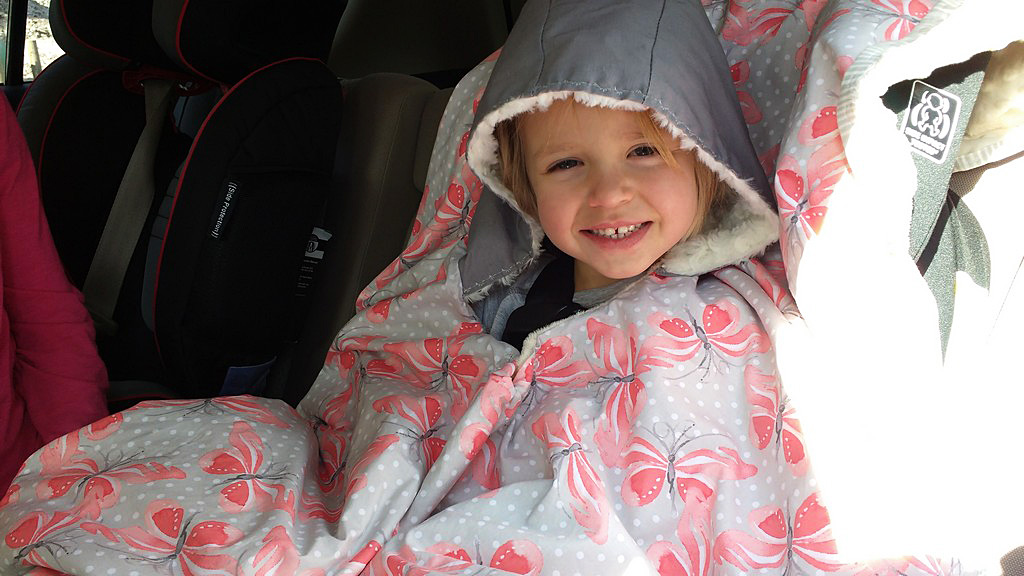
Here she is modeling it next to her daddy. Adding the elastic and buttons at the neckline was the perfect solution.
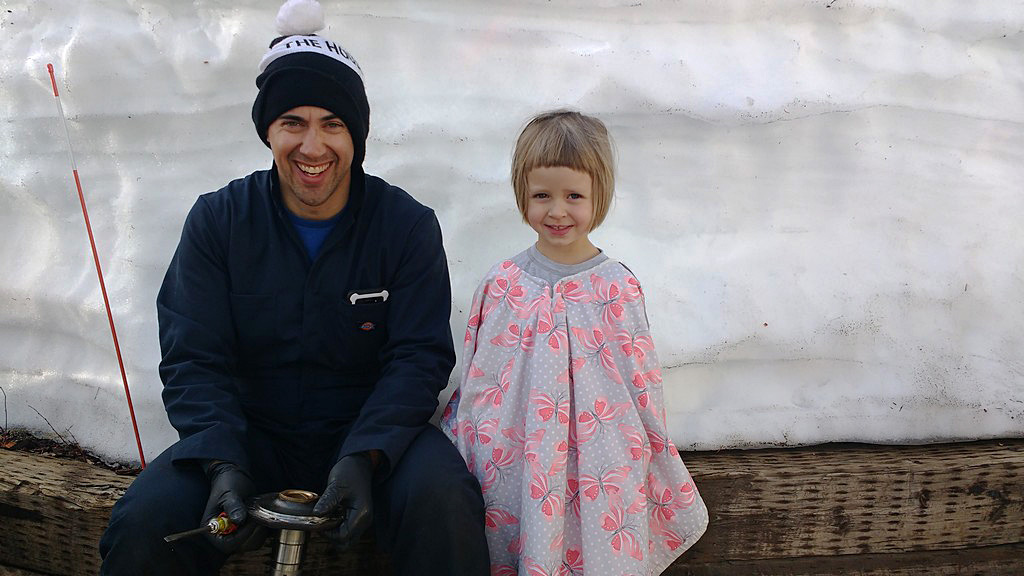
Here she is modeling it next to her daddy.
Under the hood
And here you can see the pockets that are on the underside.
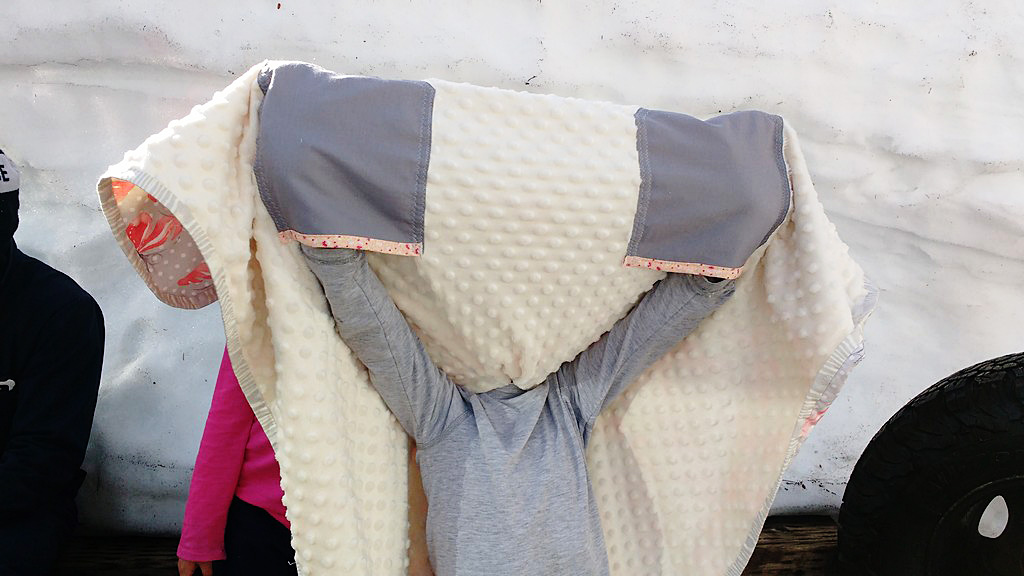
And here you can see the pockets that are on the underside.
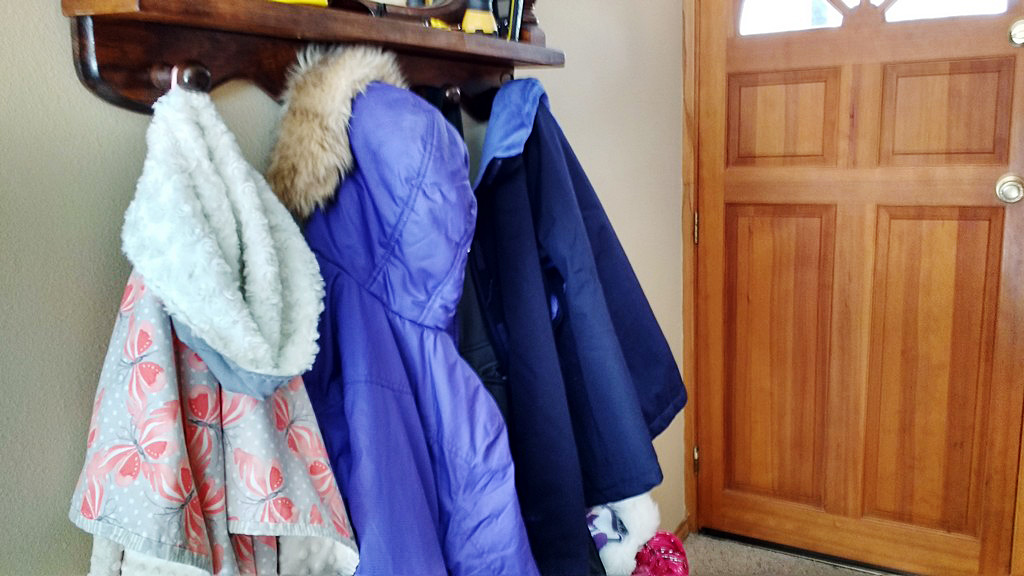
Yep, this project was a hit. And she has plenty of room to grow with it.

Yep, this project was a hit. And she has plenty of room to grow with it.
I’m so glad I took the time to add something to hang it with.
I’m so glad I took the time to add something to hang it with.
Have you made your own car seat poncho? How do you like it? Let us know in comments!