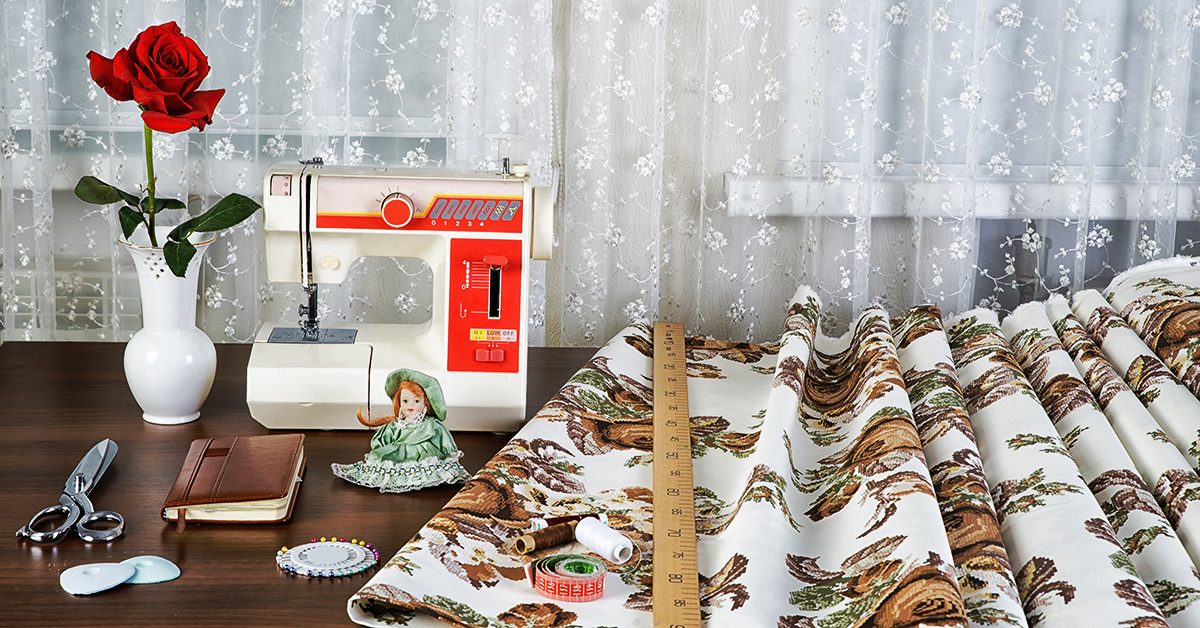
Sew pocket organizers to hold all your stuff!
Pockets are not only for clothes and bags. You can sew pocket organizers for:
- Shoes
- Jewelry
- Sewing supplies
- Knitting or crochet supplies
- Art supplies
- Any other kind of supplies
- Baby gear
- Guitar gear
- Other kinds of gear
- Remotes
- Cords or cables
- Tools
- Toiletries
- First aid kit
- Other kits
- Frequently used pattern pieces
- Bills or mail
- Money
- Magazines
- Papers
- Games
- Toys
Those are just quick ideas off the top of my head; the possibilities are endless.
How to sew a single hanging pocket
Anyone can sew a pocket organizer, even absolute beginner sewists. A basic hanging pocket is just two finished squares or rectangles, one sewn down on three sides on top of the other.
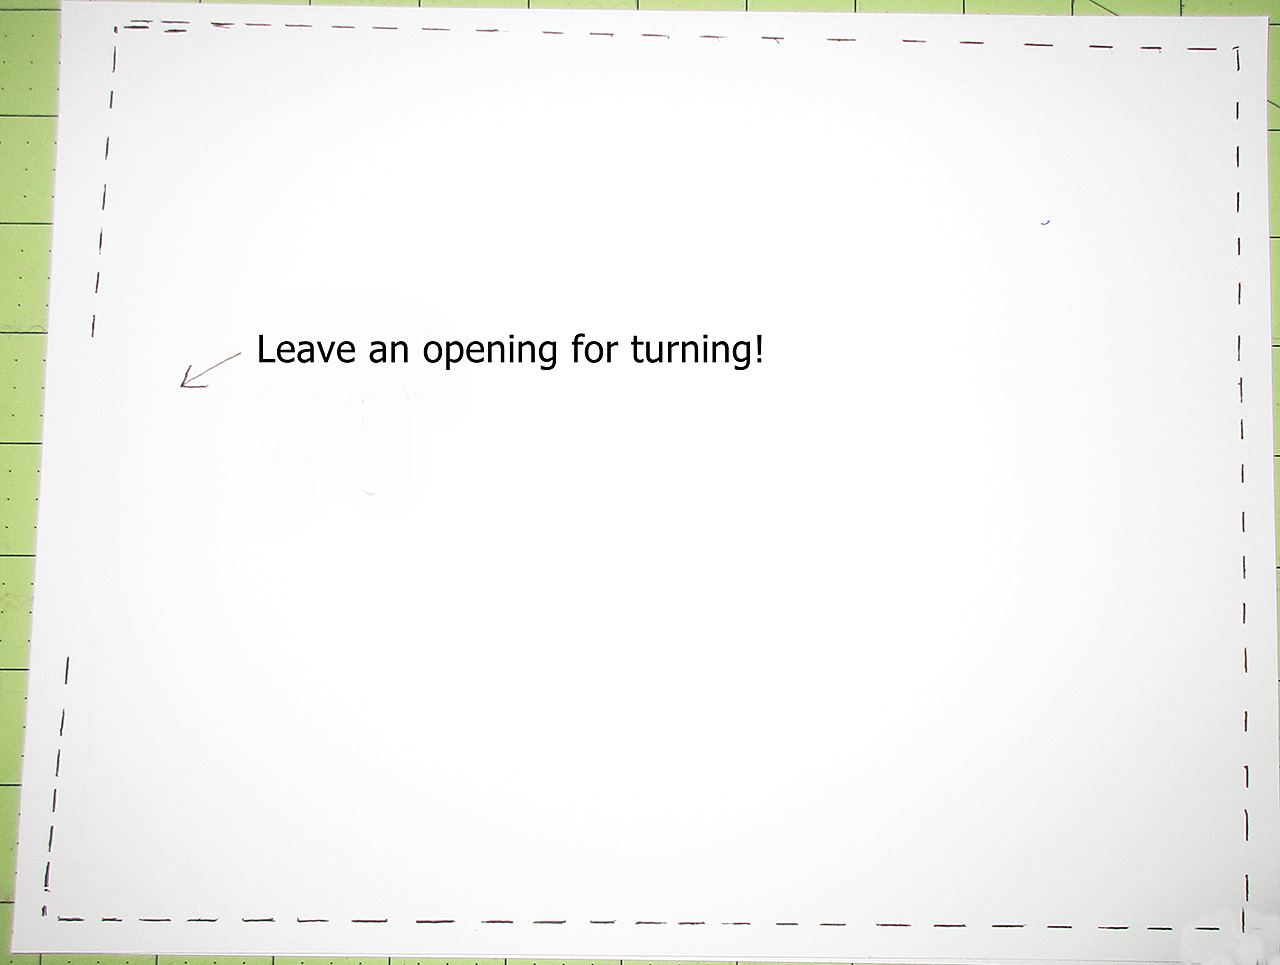
To finish the squares, you cut two identical layers and sew them around all four corners and sides with right sides together, leaving an opening for turning.
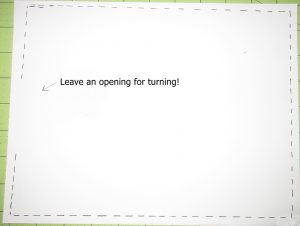
I drew this because the ink shows up better than my stitching in the photo.
Clip the corners and turn right sides out. You can stick something inside to push the corners out.
Then stitch the opening closed. I usually just topstitch along that entire side. Sometimes I topstitch around all four sides.
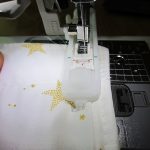
Fold the top down an inch and a half or more towards the back and sew the edge down to form a casing for hanging. Then make a smaller finished square or rectangle pocket piece using the same directions as above.
Topstitch the pocket onto the larger panel along the sides and bottom. Don’t sew the top of the pocket closed!
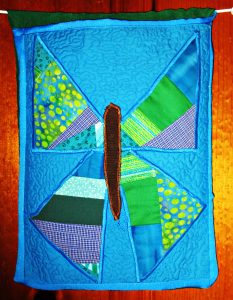
I made this pocket from my leftover butterfly block to hold mail, which used to pile up in my entryway.
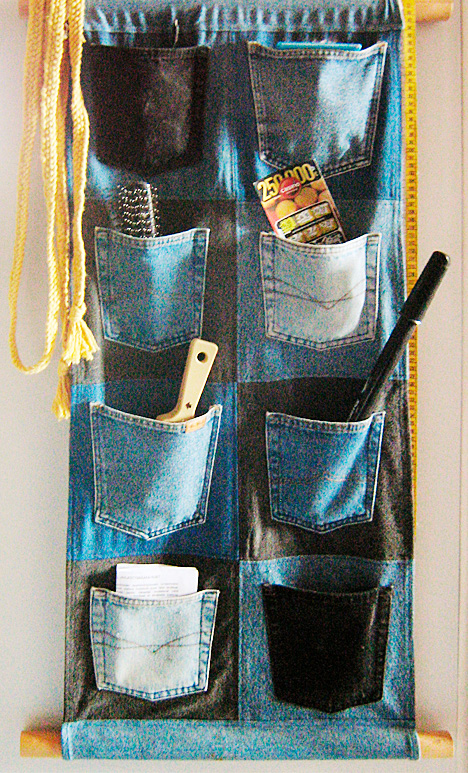
Or cheat and use jean pockets
I did some searching to find some cute projects to recommend for you. And I found some examples of organizers that were made by reusing jeans pockets. These save a step and so you can make these with super speed. Just be sure to use a jeans needle.

I think this one is a great idea for a closet organizer.
I will like to make a long double sided one of these to hang in the middle of a closet that’s shared by two boys at my house. This will solve a couple of different organizational challenges in that small closet nicely.
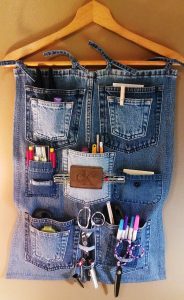
Here is one on a hanger that is being used for sewing supplies storage.
How to sew pocket organizers with multiple pockets
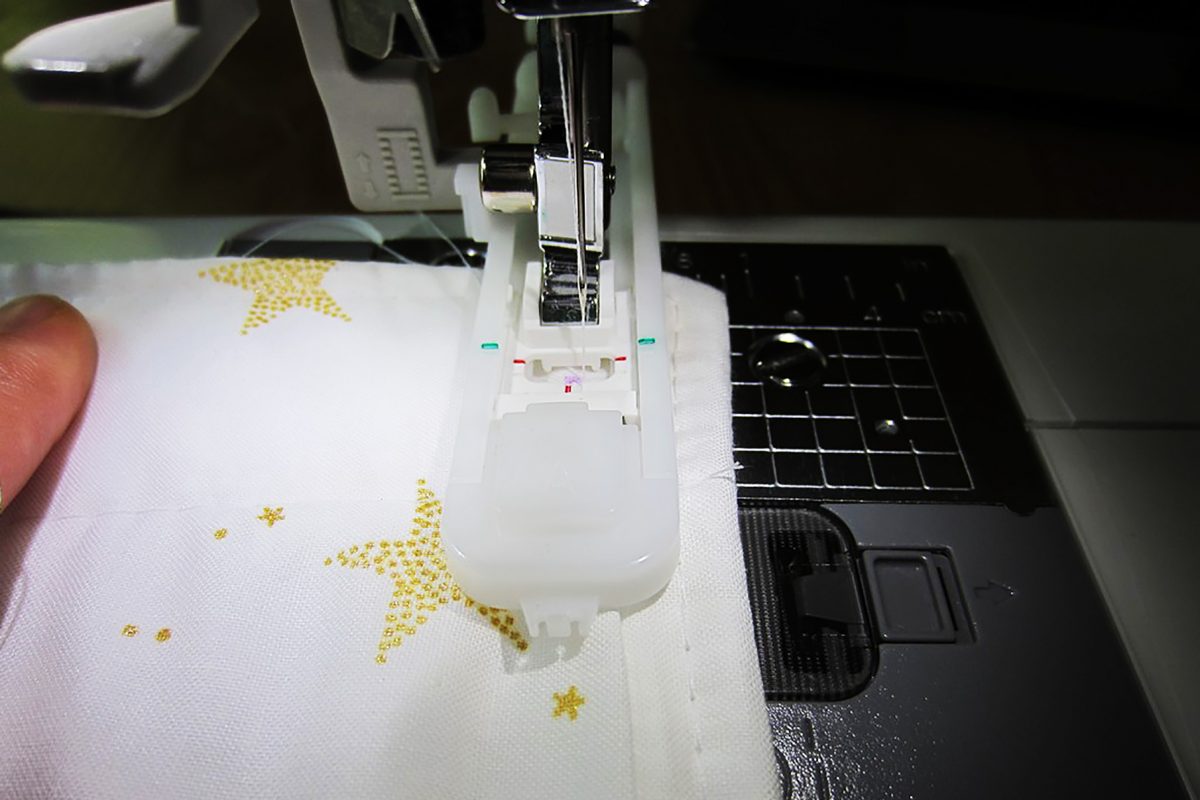
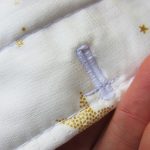
To start, make a backing panel. Cut two square or rectangular pieces to the desired size of your organizer pocket panel. Press interfacing to the wrong side of one of the two square or rectangular pieces. Then layer the two pieces right sides together and sew around, leaving an opening for turning. Turn right side out, push the corners out well from the inside, press, and then sew closed.
To allow for hanging, you can simply fold over at the top and sew a casing, or you can make hanging loops and attach these by tucking between the two pieces when you sew them together in the steps above.
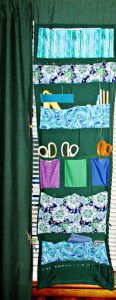
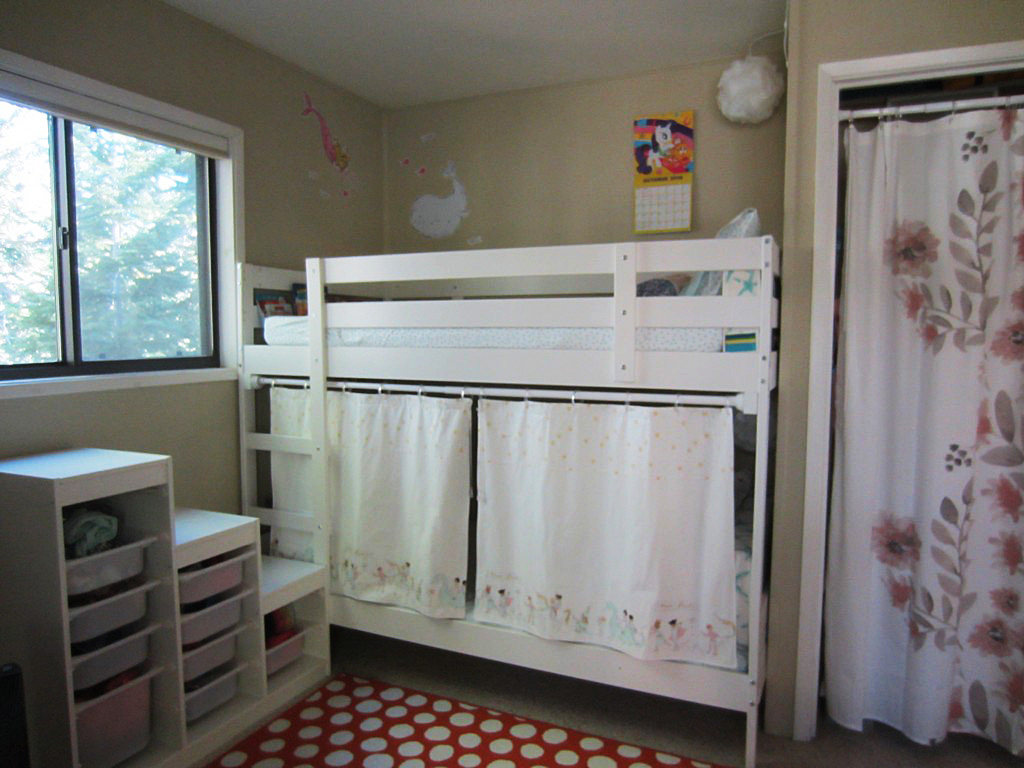
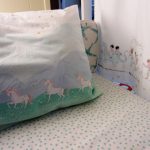
My sewing room curtain organizer panels use all of the above kinds of pockets.
For the pockets, you could make several or many individual pockets in the same way as the larger backing piece and topstitch each pocket onto the backing panel separately. Or you could make long pockets the width of the backing panel. You can then topstitch to divide these long pockets into shorter sections. You can also make your pockets slightly wider than your backing panel. Then pleat them at the bottom and add elastic casings along the top edges, to build roomier pockets with more holding power.
My sewing room curtain organizer panels use all of the above kinds of pockets. I also stuffed a long one and sewed it closed around all sides to make a pin cushion way up high and out of the reach of grabby kids.
You can customize your pocket panels to suit your organizational challenges, no matter what they are.
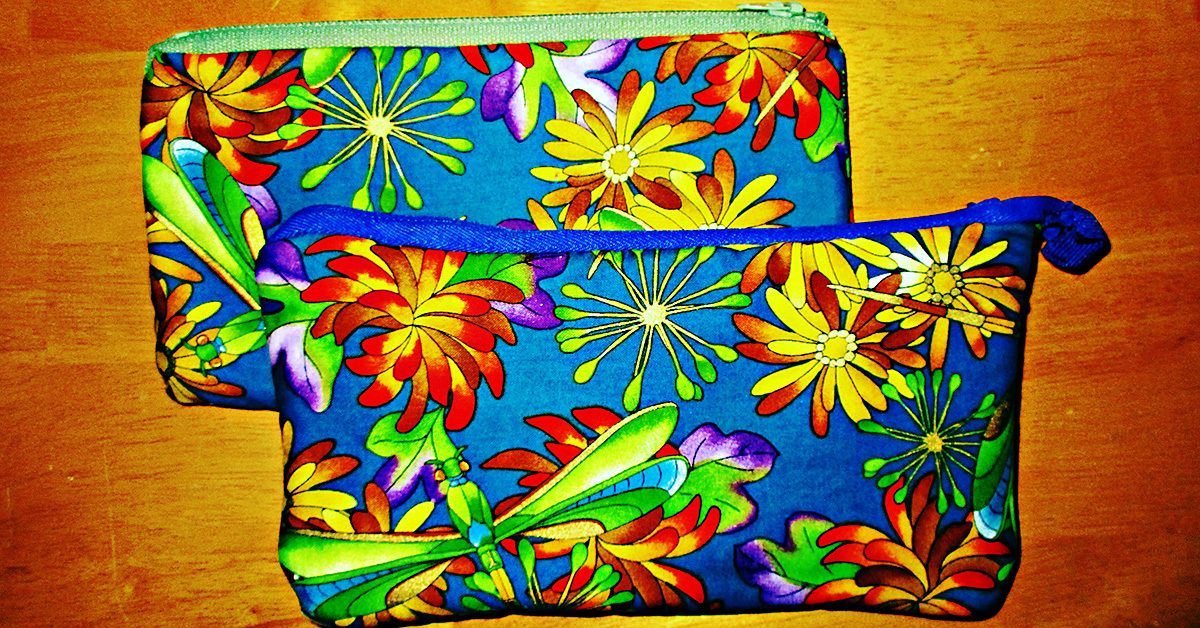
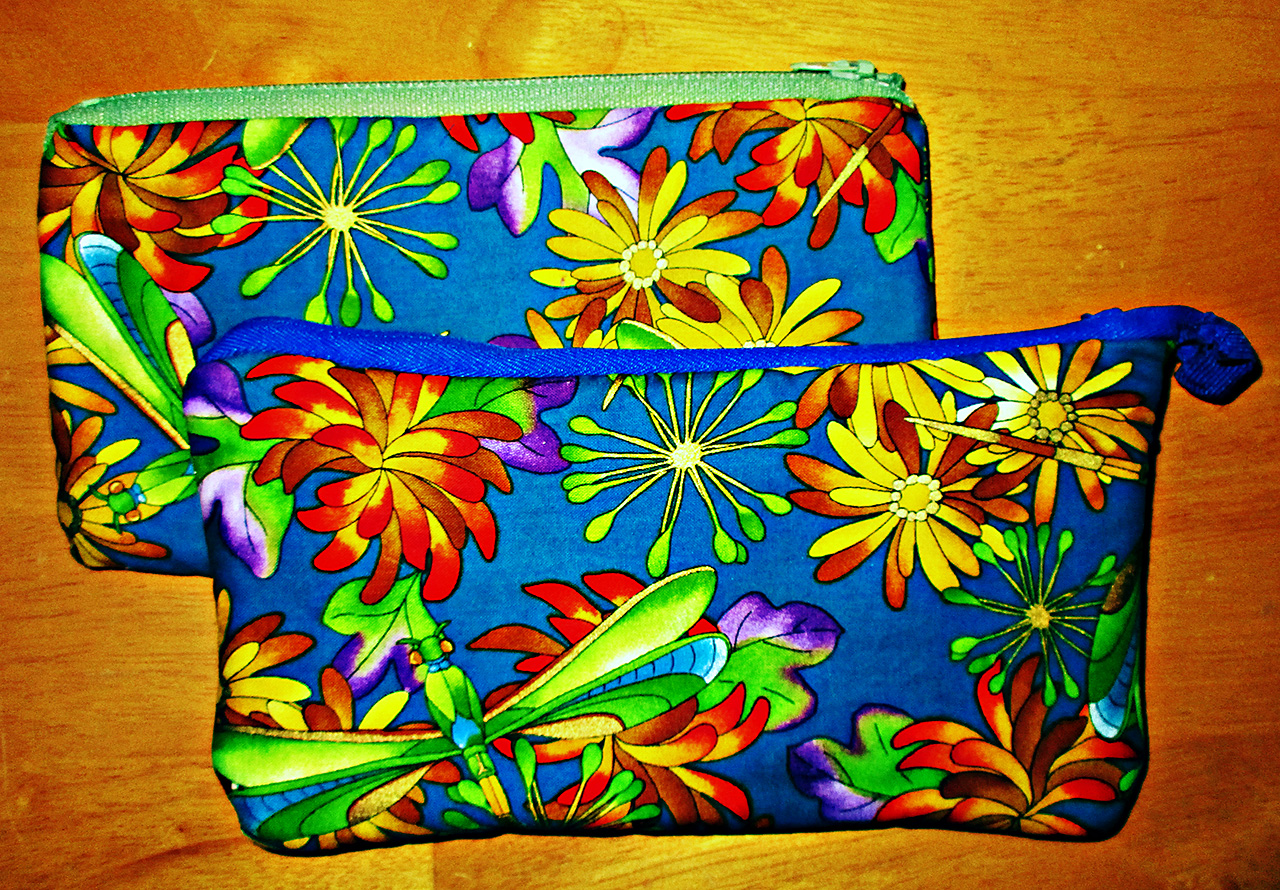
Sew a money bag pocket
Maybe you’d call it a bag, but this project is simply a big pocket with a zipper at the top. You could use these as bank bags for deposits or otherwise holding cash. I made them big enough to hold multiple envelopes for monthly budgeting.
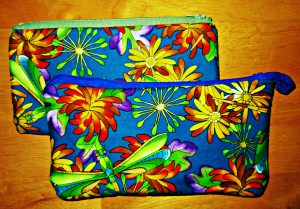
For stashing cash or other goodies.
Or you could make these zippered pockets to hold your pencils or some other small collection. I’m using one of mine for stashing my jewelry pliers set where no kids can reach them. Keeping my things out of the reach of children seems to be the major part of my own organizational challenges!
Favorite pocket organizers from around the web
If I haven’t given you enough inspiration to sew pocket organizers yet, check out these other ideas and tutorials that I found and collected from around the web. I will make the handy ironing board pockets right away, I can’t believe I have never thought of this simple solution before. And I think the pocketed towel will make a great gift for a sunbather I know and love.
Are the gears in your brain turning now? What problems could you solve if you sew pocket organizers to keep things in place?