I currently have at least a dozen WIPs in one stage or another.
If you are like me and many other creative people, you have a long list of projects you are working on, planning, and just getting started. In the quilting community the term for these are WIPs, or ‘works in progress.’ I currently have at least a dozen WIPs in one stage or another (and not just quilts, but other sewing projects as well). Here’s how I manage the materials for each one.
Decorate
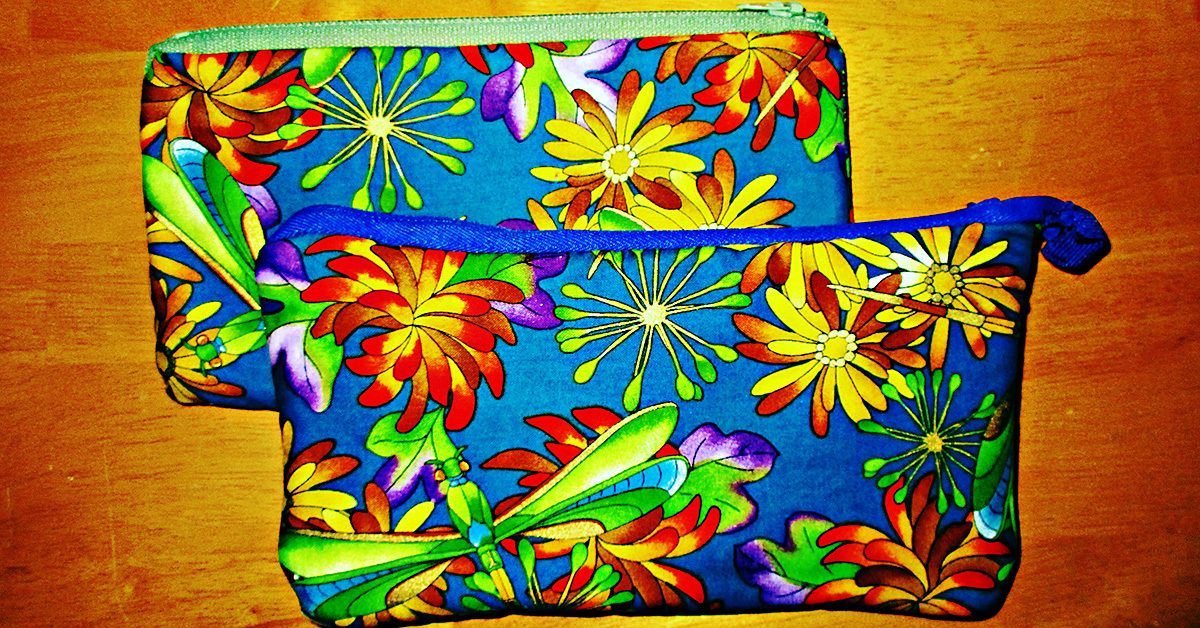
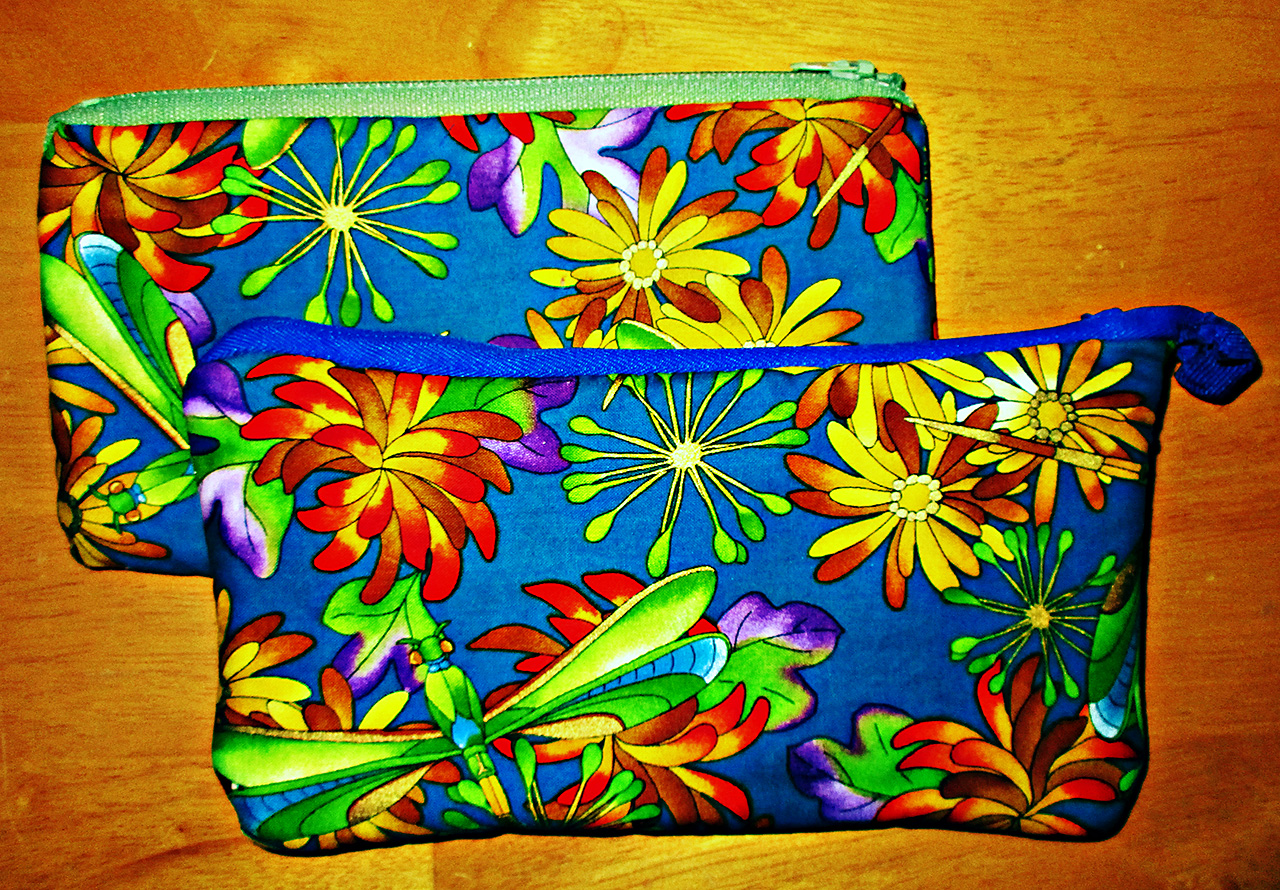
Remember that fabric is beautiful. Don’t hesitate to post photos of your ideas on a design board, or, like I’ve done here, with fabric samples that not only keep me motivated to work on my project, but look beautiful on my wall too.
Remember that fabric is beautiful.
Front and Center
Sometimes it’s best to keep your current WIP exactly front and center. I make a point of only keeping one project at a time on my work table. My mental message with this is that the only thing I’m working on is the project in front of me. This keeps me focused on the task at hand. If I truly want to work on something else, I put away the other project first.
Sometimes it’s best to keep your current WIP exactly front & center.
Next Up
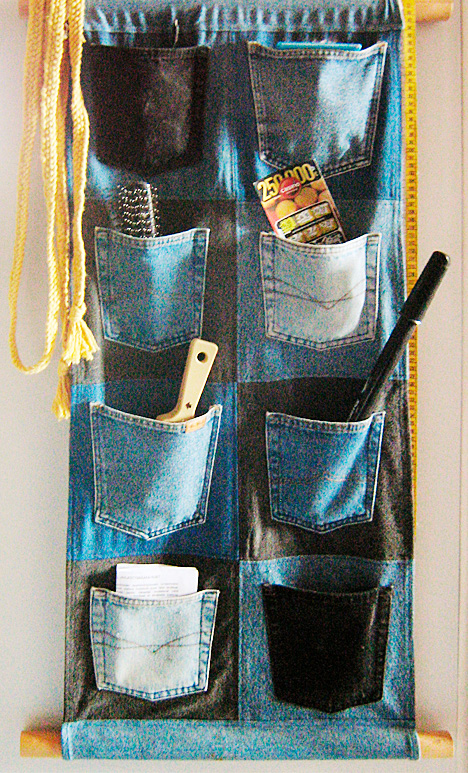
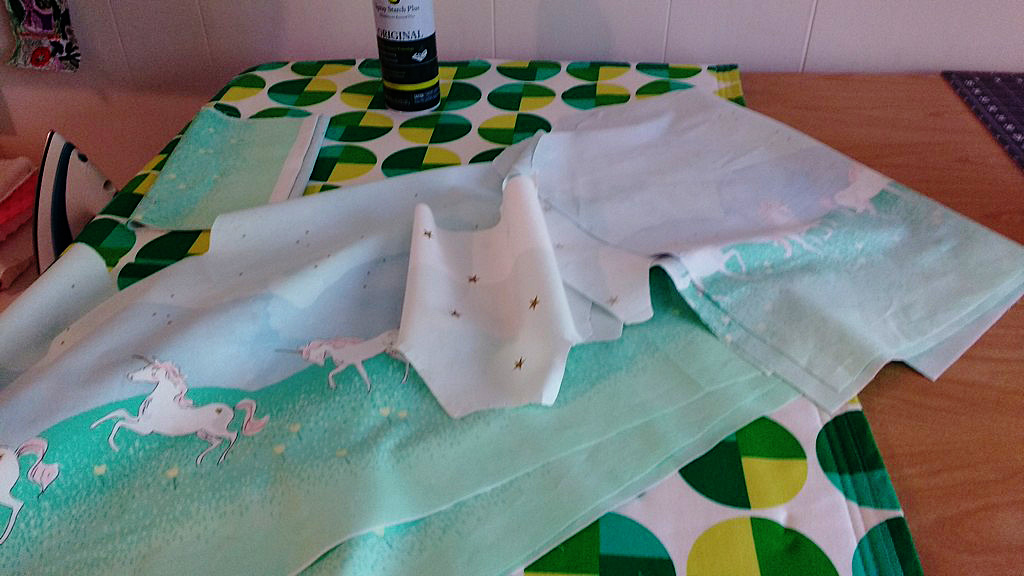
The small shelf to the left of my work table is where I keep my iron and my ‘next up’ project. This way I know what I have in my pipeline and can easily get to it once I’ve cleaned up the main table WIP.
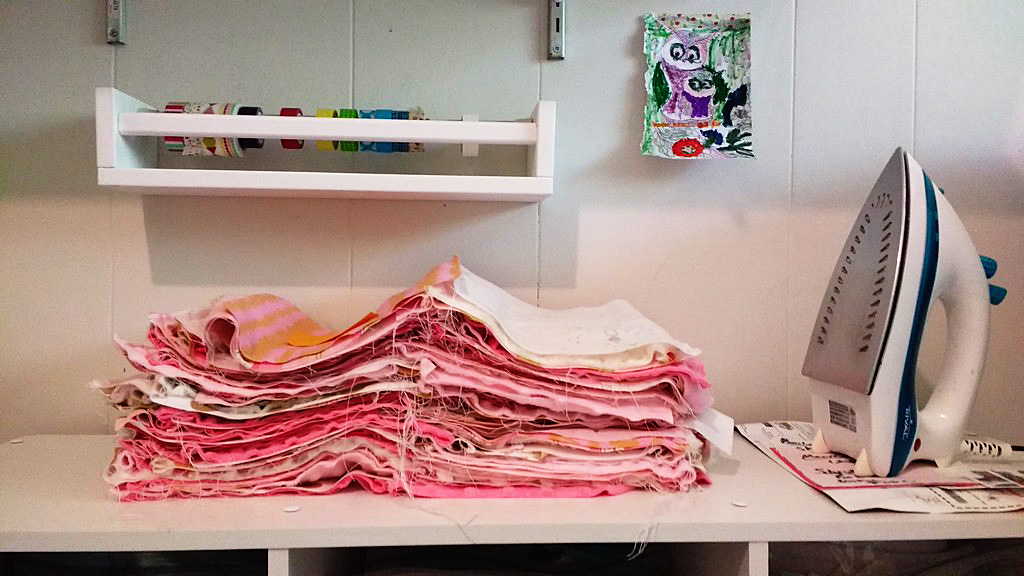
I know what I have in my pipeline & can easily get to it.
Special Sections
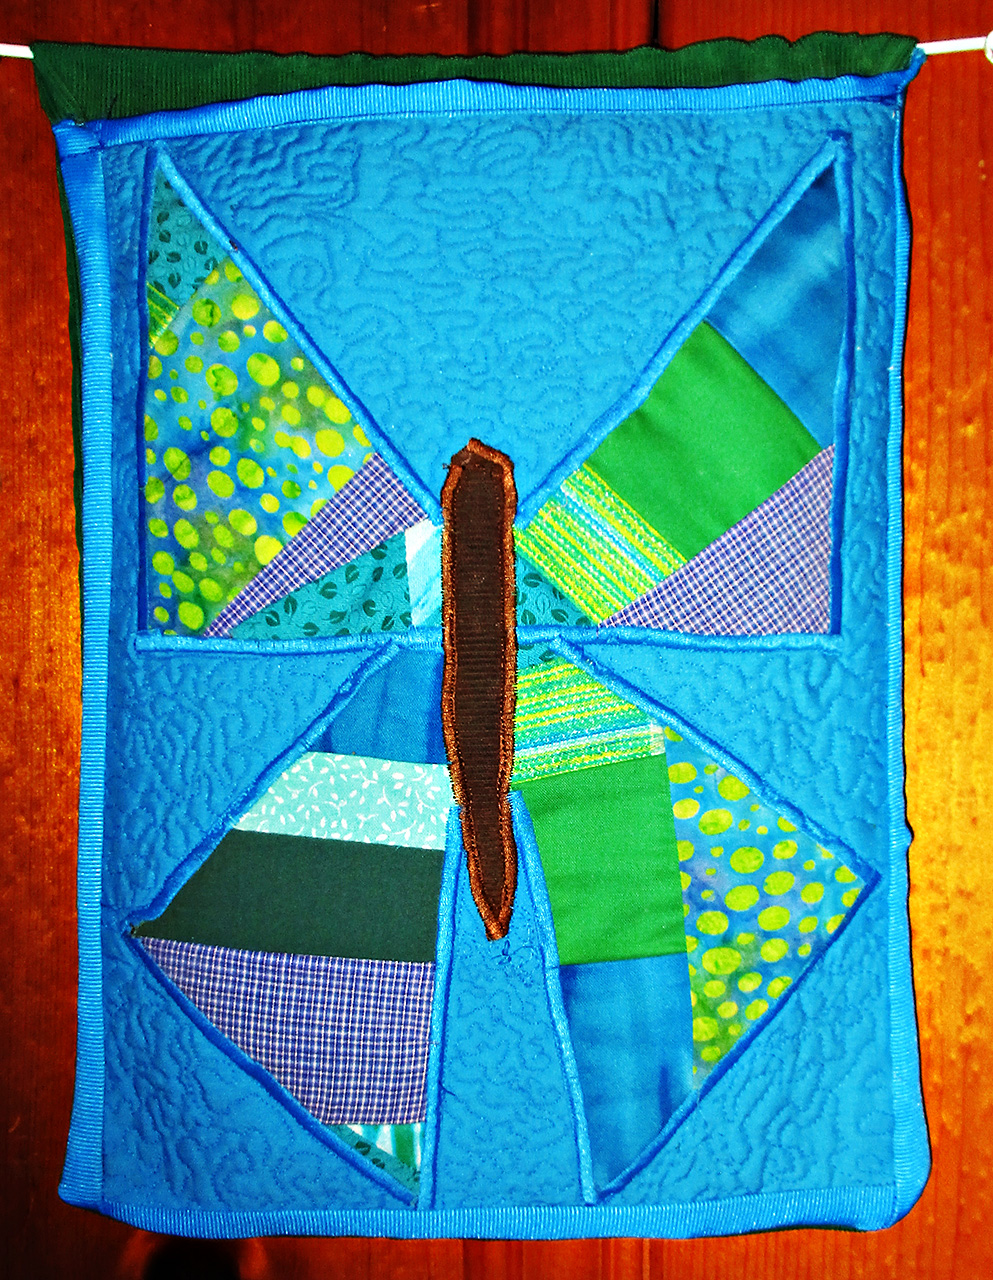
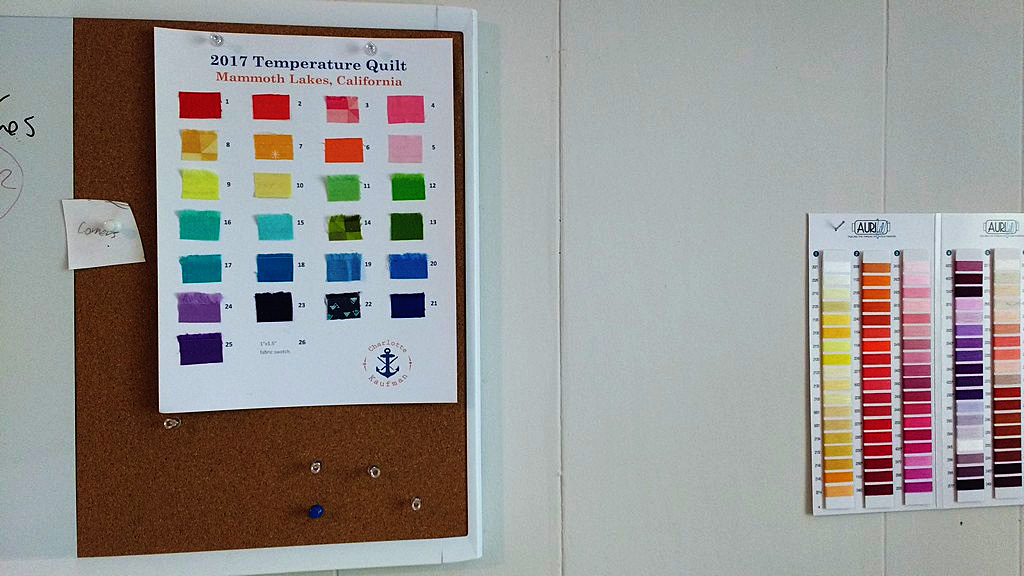
Some projects are so large that I keep them in their own shelves, away from my main fabric stash. The assortment you see here is allotted for my 2017 Temperature Quilt, which will feature 26 different fabrics to map out the daily high temperatures of my city.
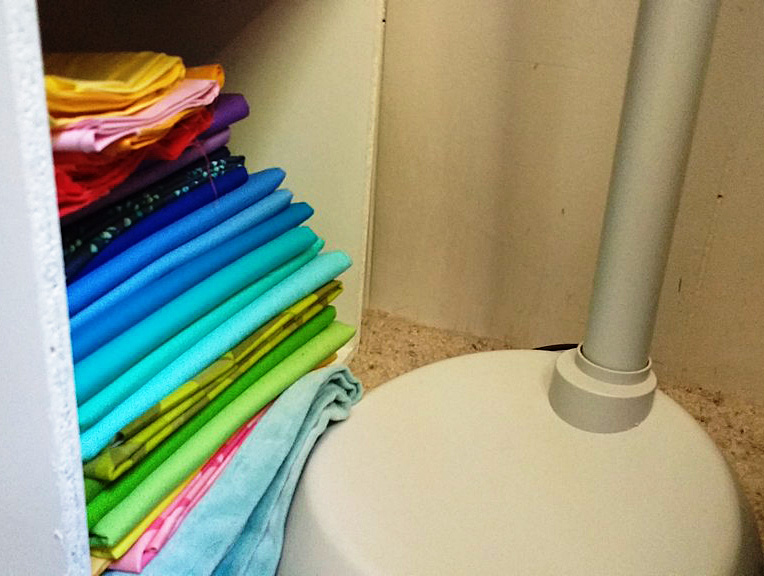
The assortment you see here is allotted for my 2017 Temperature Quilt.
Keep it Hidden
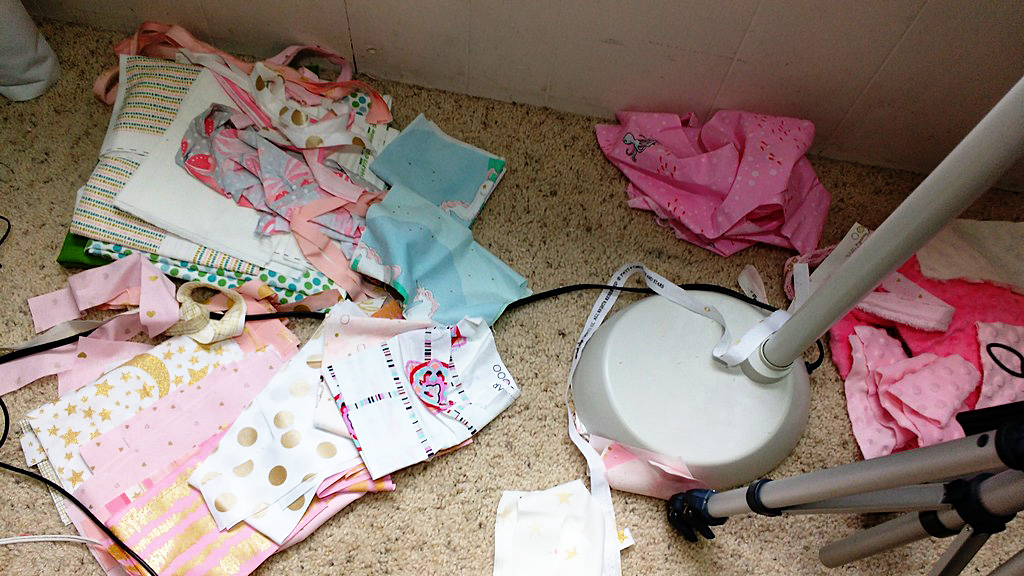
This is the view under my work table. Unless you pull out my chair, you can’t see these large pieces of batting, quilt tops, and backing fabrics I have sitting in wait. Sometimes your WIPs are big. Finding a place to tuck them away until you get to them will help keep your workspace clean and ready to use.
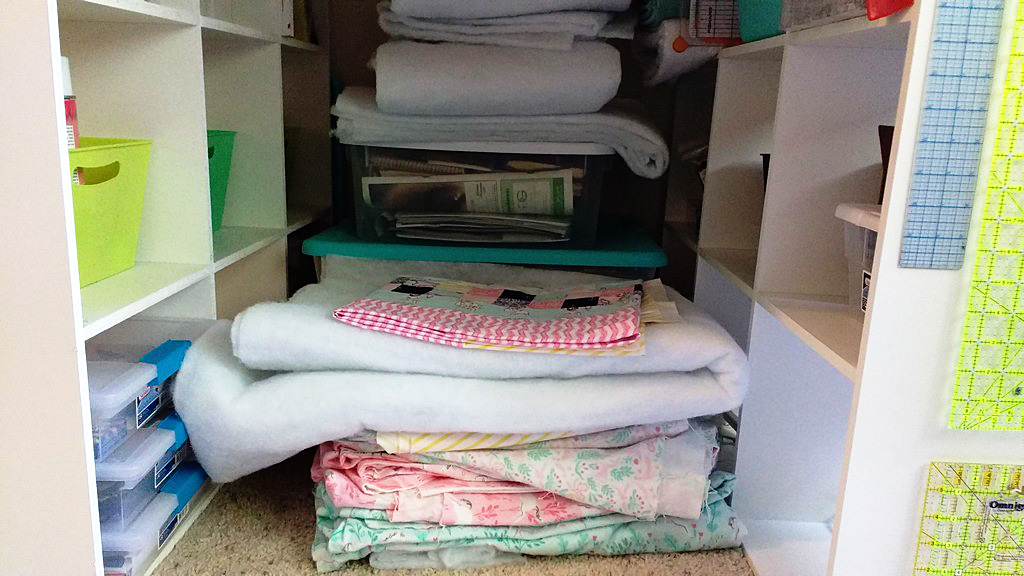
This is the view under my work table.
Fabric Stash
Sometimes my WIPs are tucked directly into my fabric stash. The top bin on the right is fabric I have pegged to become new bedding for the full-sized mattress in my room. It folded neatly and fit right in with the rest of the stash and no one is any more the wiser that I have it in my list of WIPs.
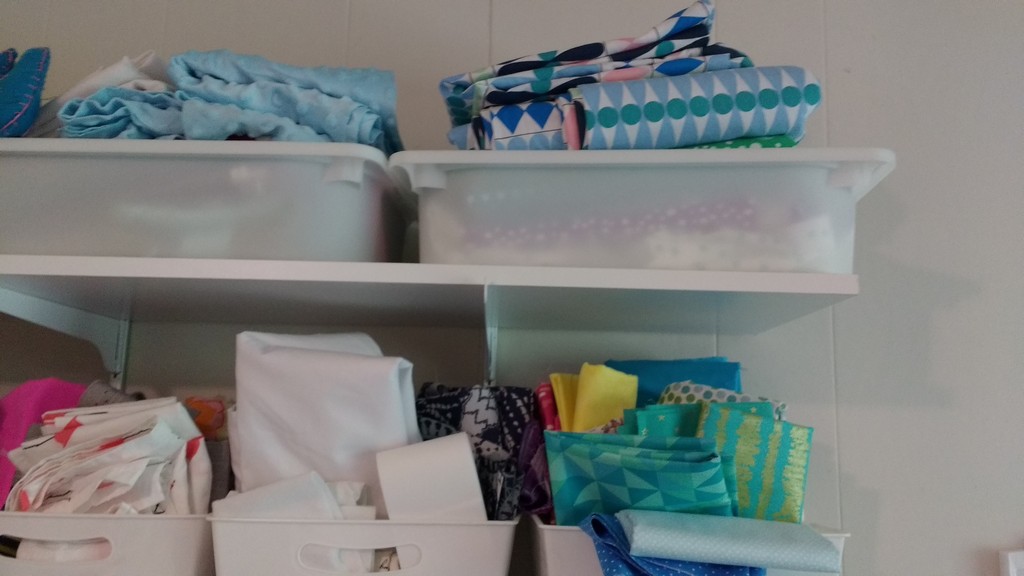
Sometimes my WIPs are tucked directly into my fabric stash.
Deep Storage
Sometimes you see a screaming deal on a quilt kit (or two) or you have WIPs that you know you won’t be able to get to for months or even years. I tuck these away in deep storage in my closet. I have a friend who stores them in bins under her guest bed.
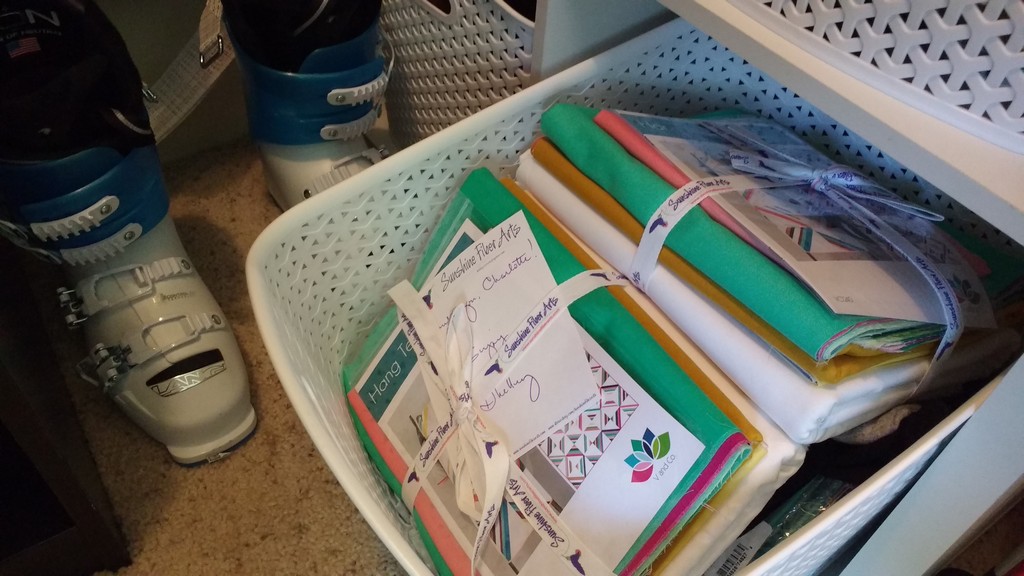
I tuck these away in deep storage in my closet.
Computer Files and Pinterest
Don’t forget that some WIPs are still just dreams and plans. Keep these twinkles in your eye safely organized in a documents folders on your computer that has patterns you plan to make or designs you want to pursue. Likewise, Pinterest is a great visual repository for storing images that link to websites with projects you are currently working on or plan to.