What is Shibori?
Bound resist dye methods, which we know as tie-dye, have been around almost as long as civilization itself. Many cultures have contributed techniques to this ancient craft. Perhaps none have contributed as widely as the Japanese, who began developing their methods, known as shibori, as early as the 8th century.

Shibori Techniques
Shibori traditionally uses natural dyes, most often indigo. Dyers pleat, sew, tie, bind, or even wrap the fabric around a pole. Let’s look at these different methods now:
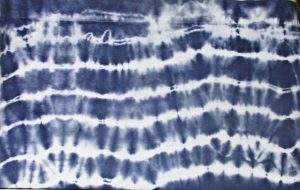
Arashi
With the arashi method of shibori, dyers wind a long and narrow piece of kimono cloth diagonally around a pole, then scrunch the fabric tightly together and bind with thread. This method produces a pattern reminiscent of rain, hence the name, which means “storm.”
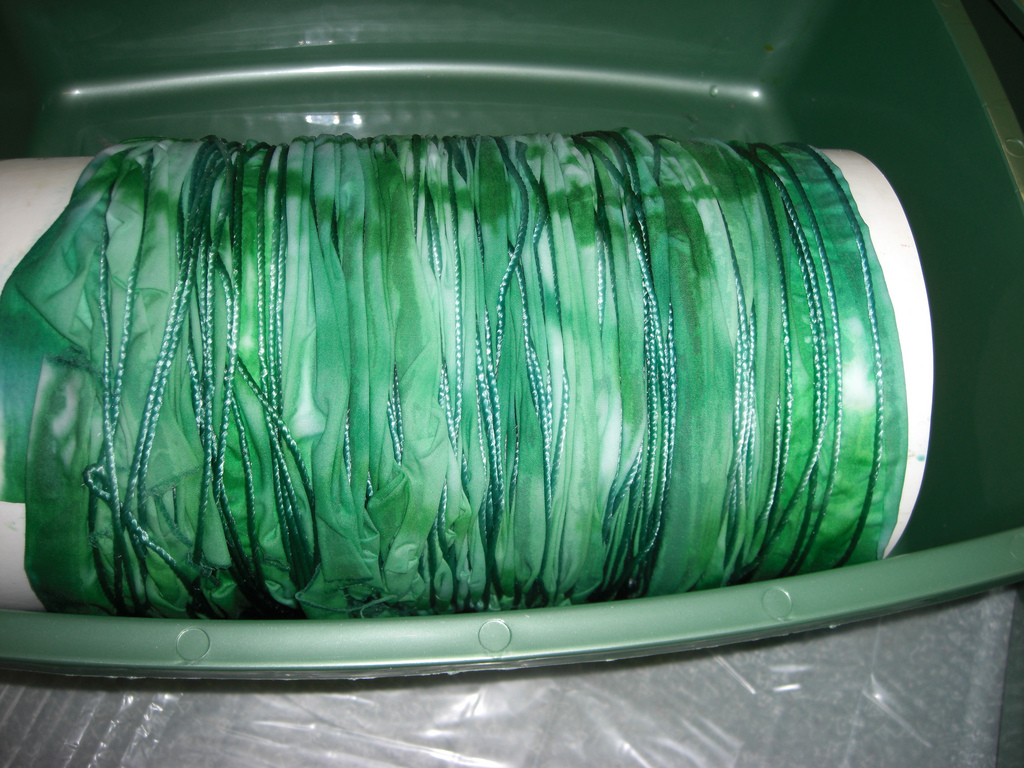
Arashi shibori made with wide pvc pipe in place of a pole
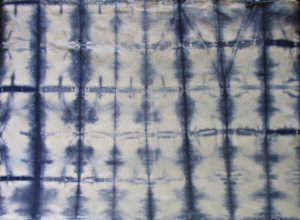
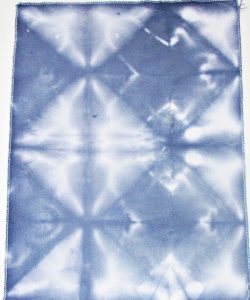
Itajime
For itajime, or shape-resist, shibori, the cloth is first folded, then pressed between blocks of wood and secured with clamps or ties. The wood resists the dye and leaves a repeating pattern on the finished cloth. Shapes can be simple, such as square or rectangular blocks, triangular, or more elaborate, with wood shapes cut into various free form designs.
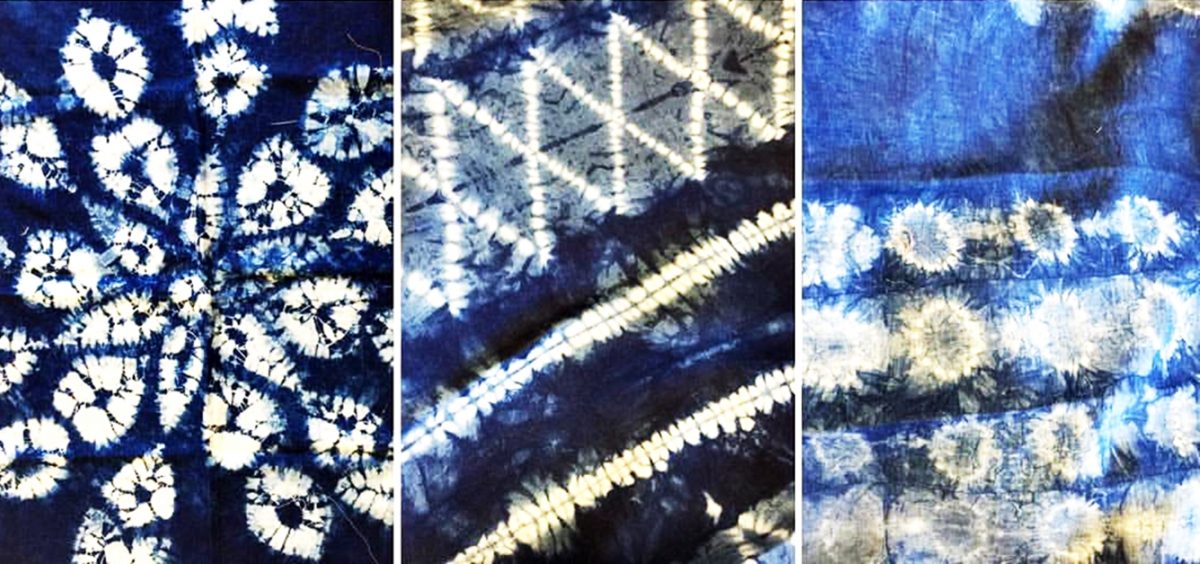
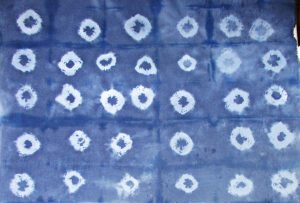
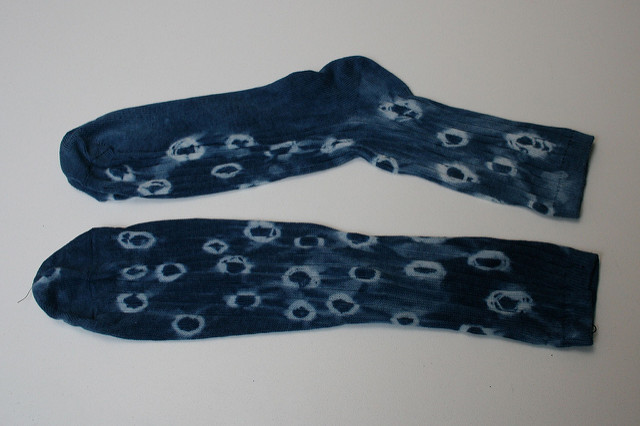
Kanoko
If you’ve ever tie-dyed before, you’ve likely practiced kanoko shibori methods without even knowing it. These are the familiar tied designs such as bull’s eyes and repeating circular or other motifs. Dyers make these designs by tying off sections of fabric, often including pebbles, popcorn kernels, coins, or other found objects repeatedly or randomly throughout the fabric.
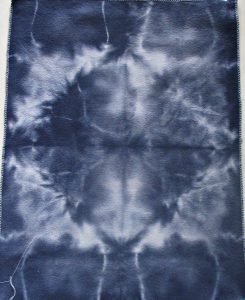
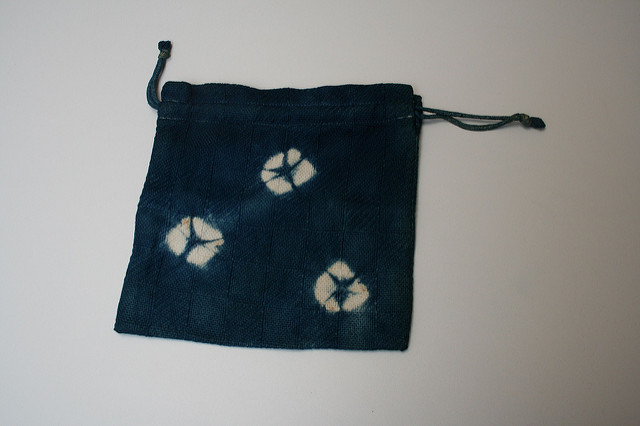
Kumo
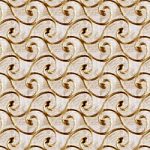
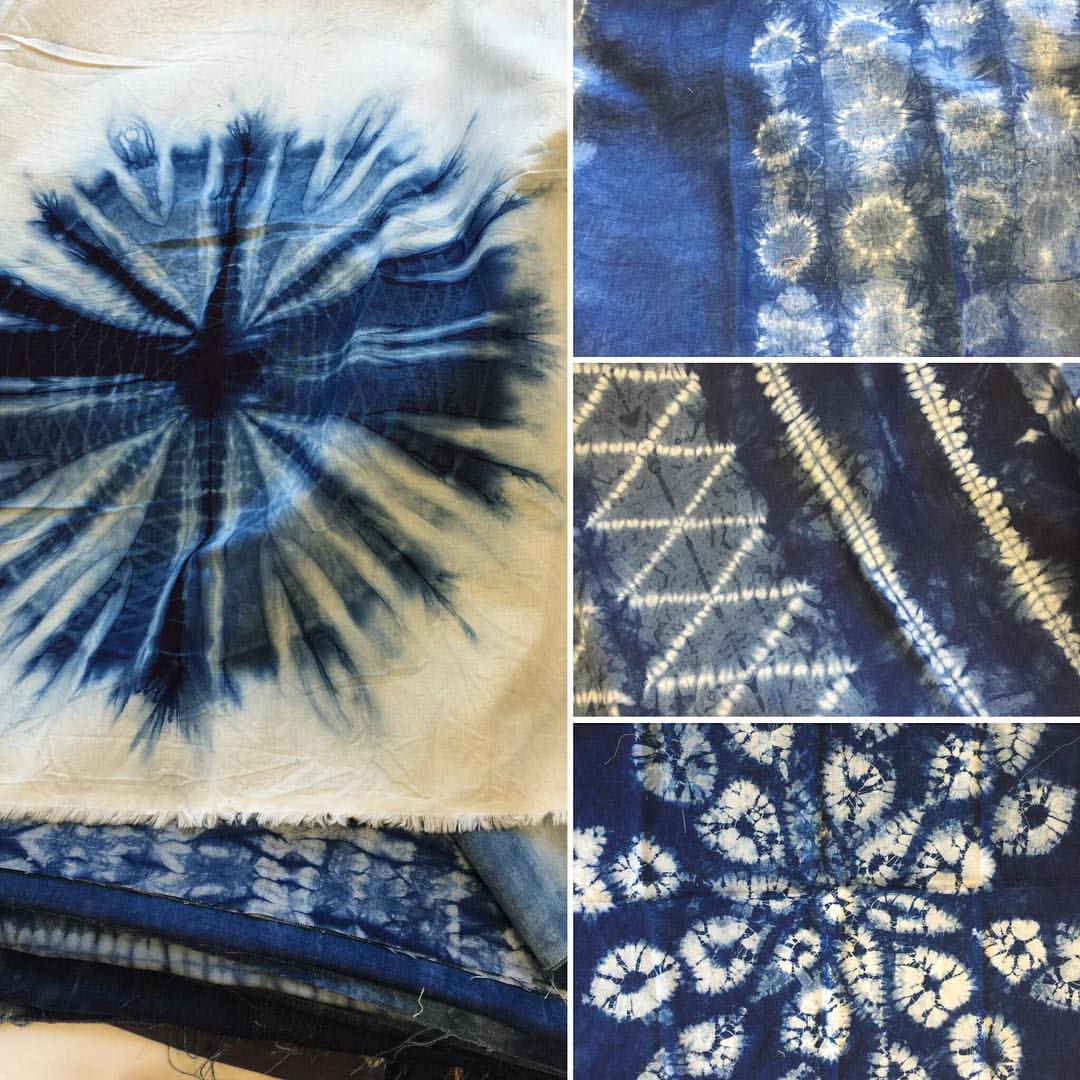
Kumo shibori is a pleated and bound method that creates spiderlike veining and circular designs. Dyers pull the fabric into peaks, twist or pleat, then bind with thread. Kumo designs may be any size, with small, repeating, all-over patterns or just one large kumo to cover an entire piece.
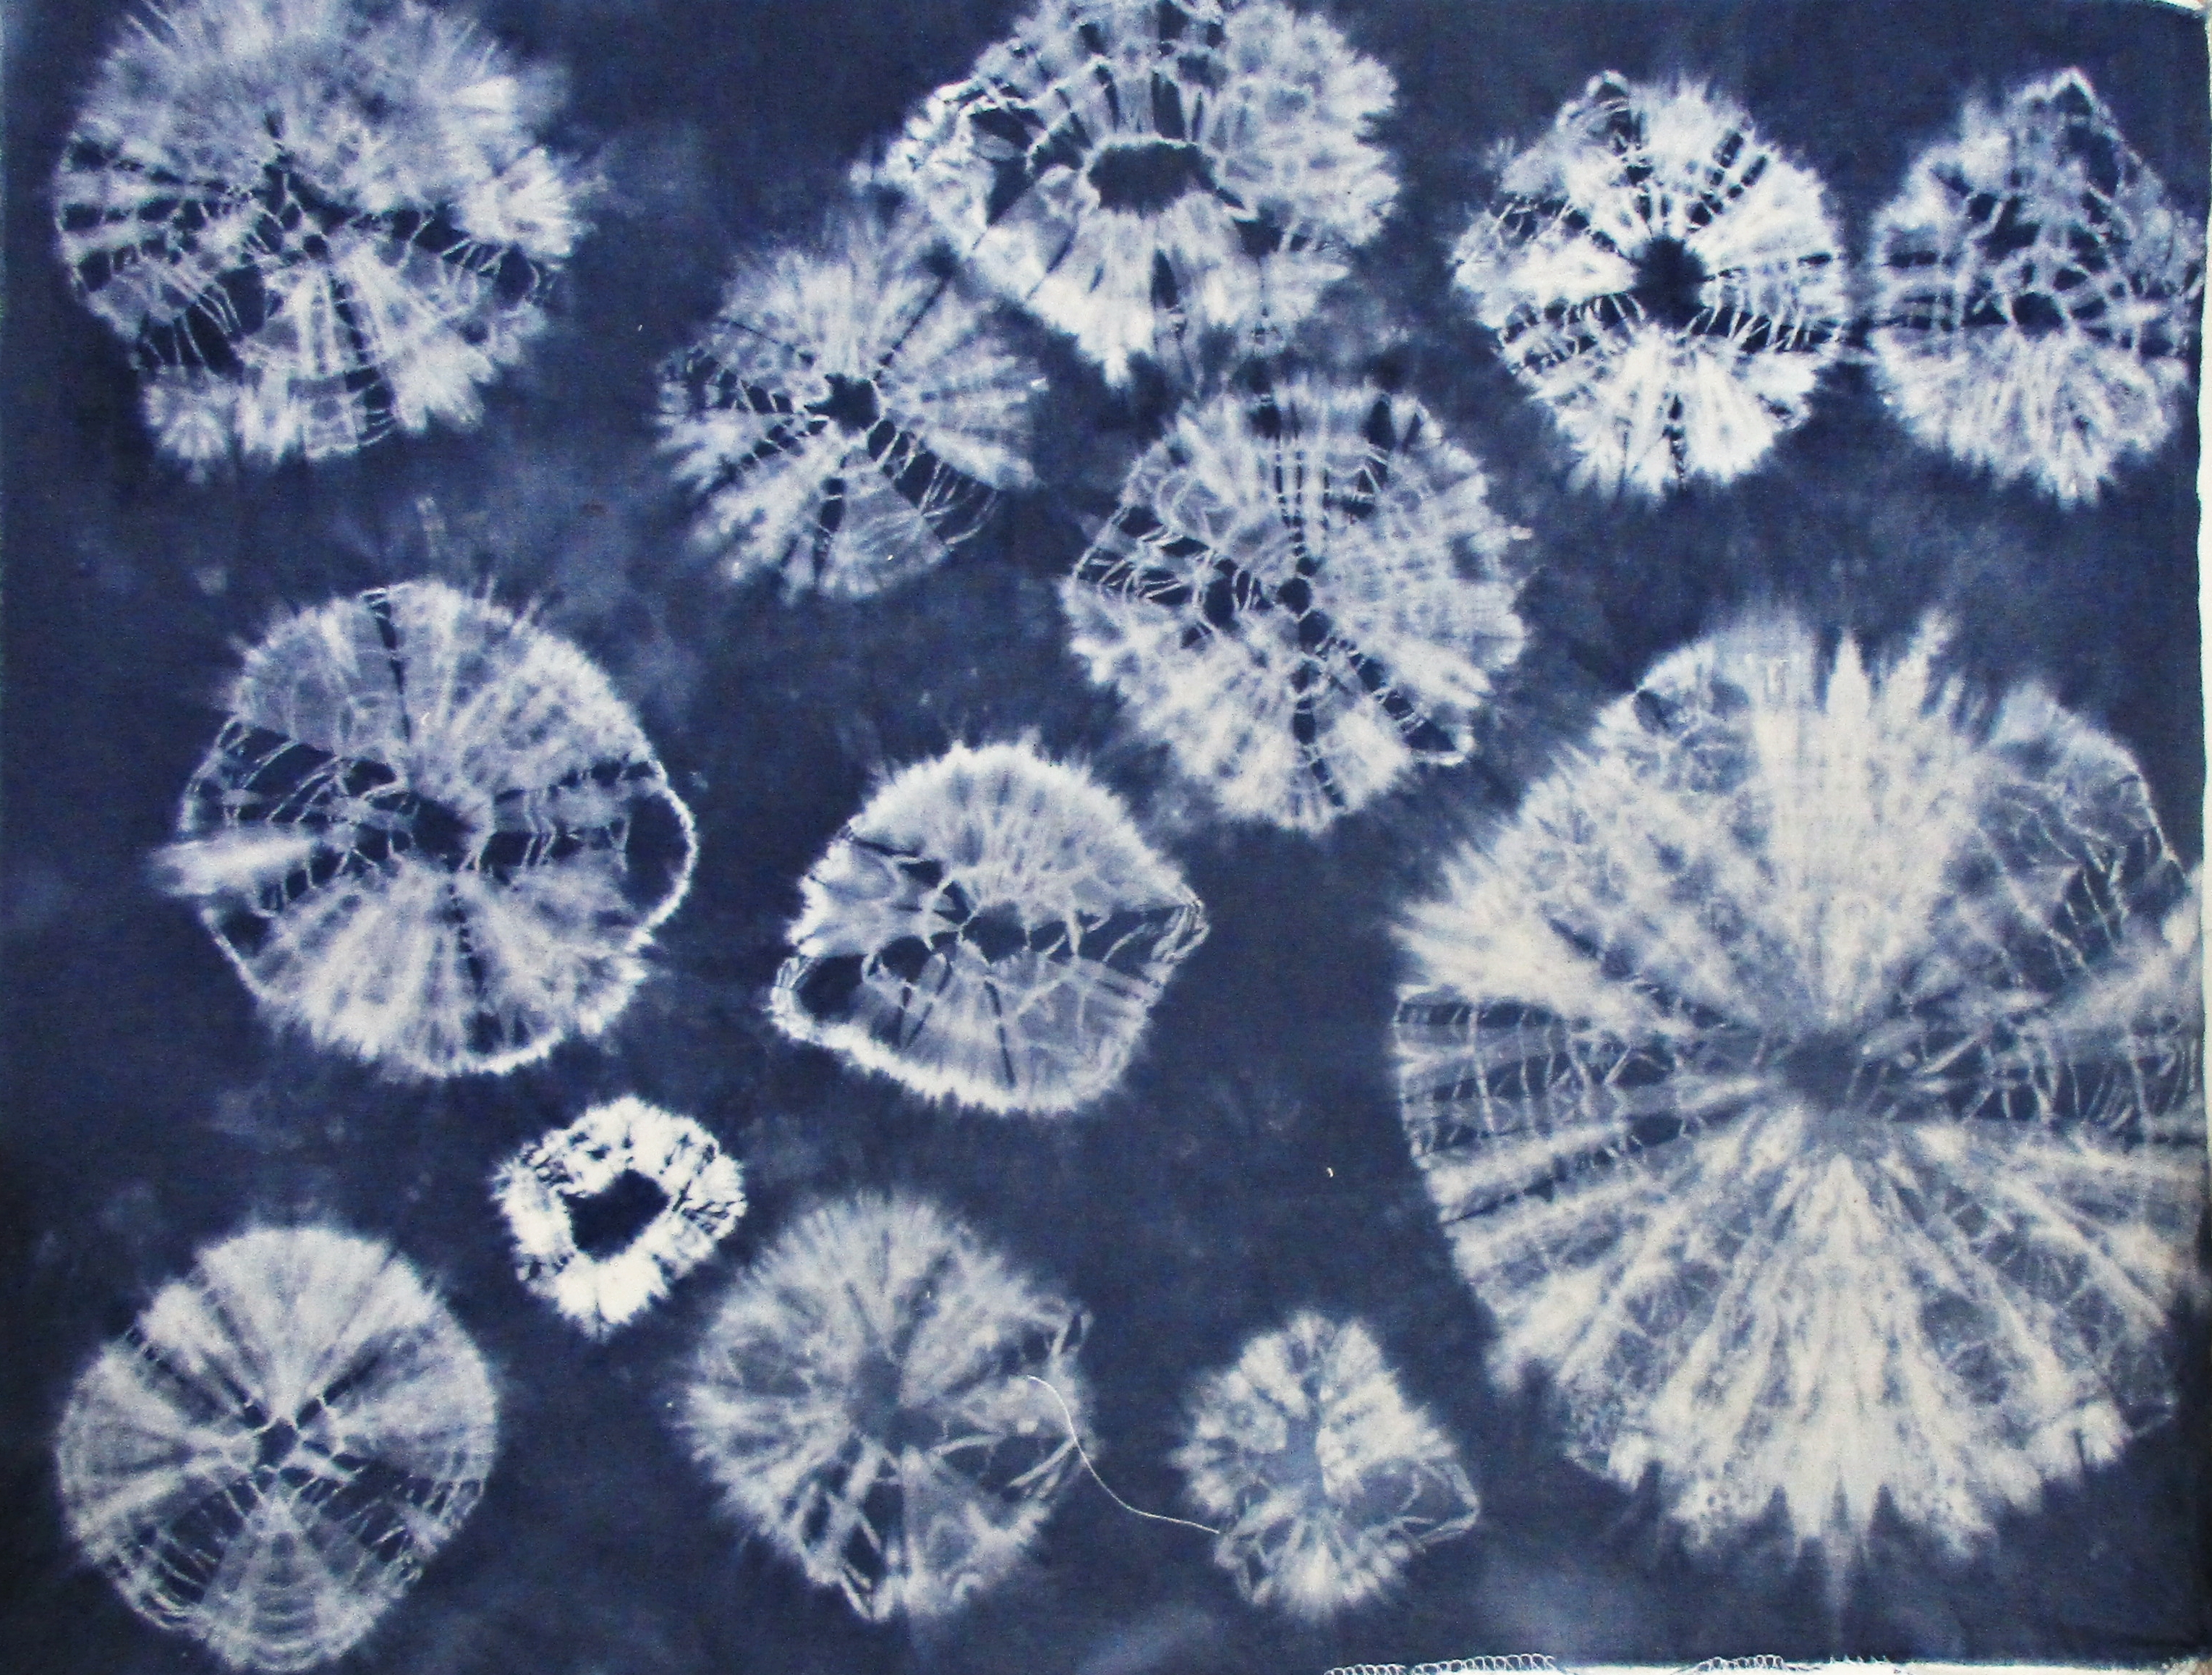
Kumo shibori
Miura
In miura shibori, the thread is not tied at all. Rather, thread is simply wrapped, usually twice, with thread. Tension holds the entire piece together. Because this method is easier and can be accomplished with the help of machinery, it was perhaps the most historically used method for producing shibori designs. This method most often uses hooks to draw up tiny sections of fabric, which are individually wrapped.
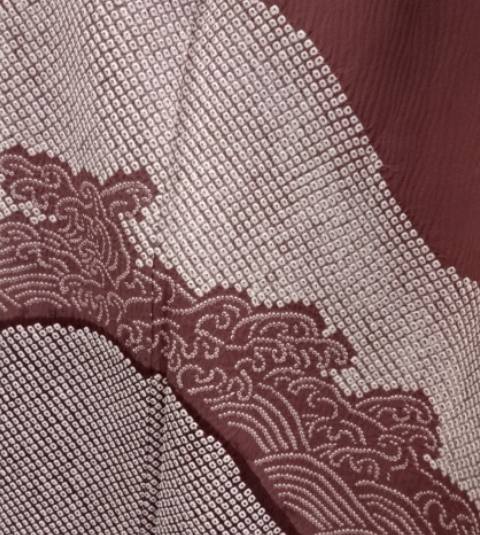
Kimono, from the collection of Gentry Klossing, with finely detailed miura (the diamonds) and nui (the waves) shiboro
Nui
Nui shibori uses stitching, either by hand or machine, rather than tying, to create designs. From simple running stitches which gather and pleat, to flowers or other intricately stitched designs, nui shibori runs the gamut from super easy to unbelievably complex.
DIY Shibori Tips
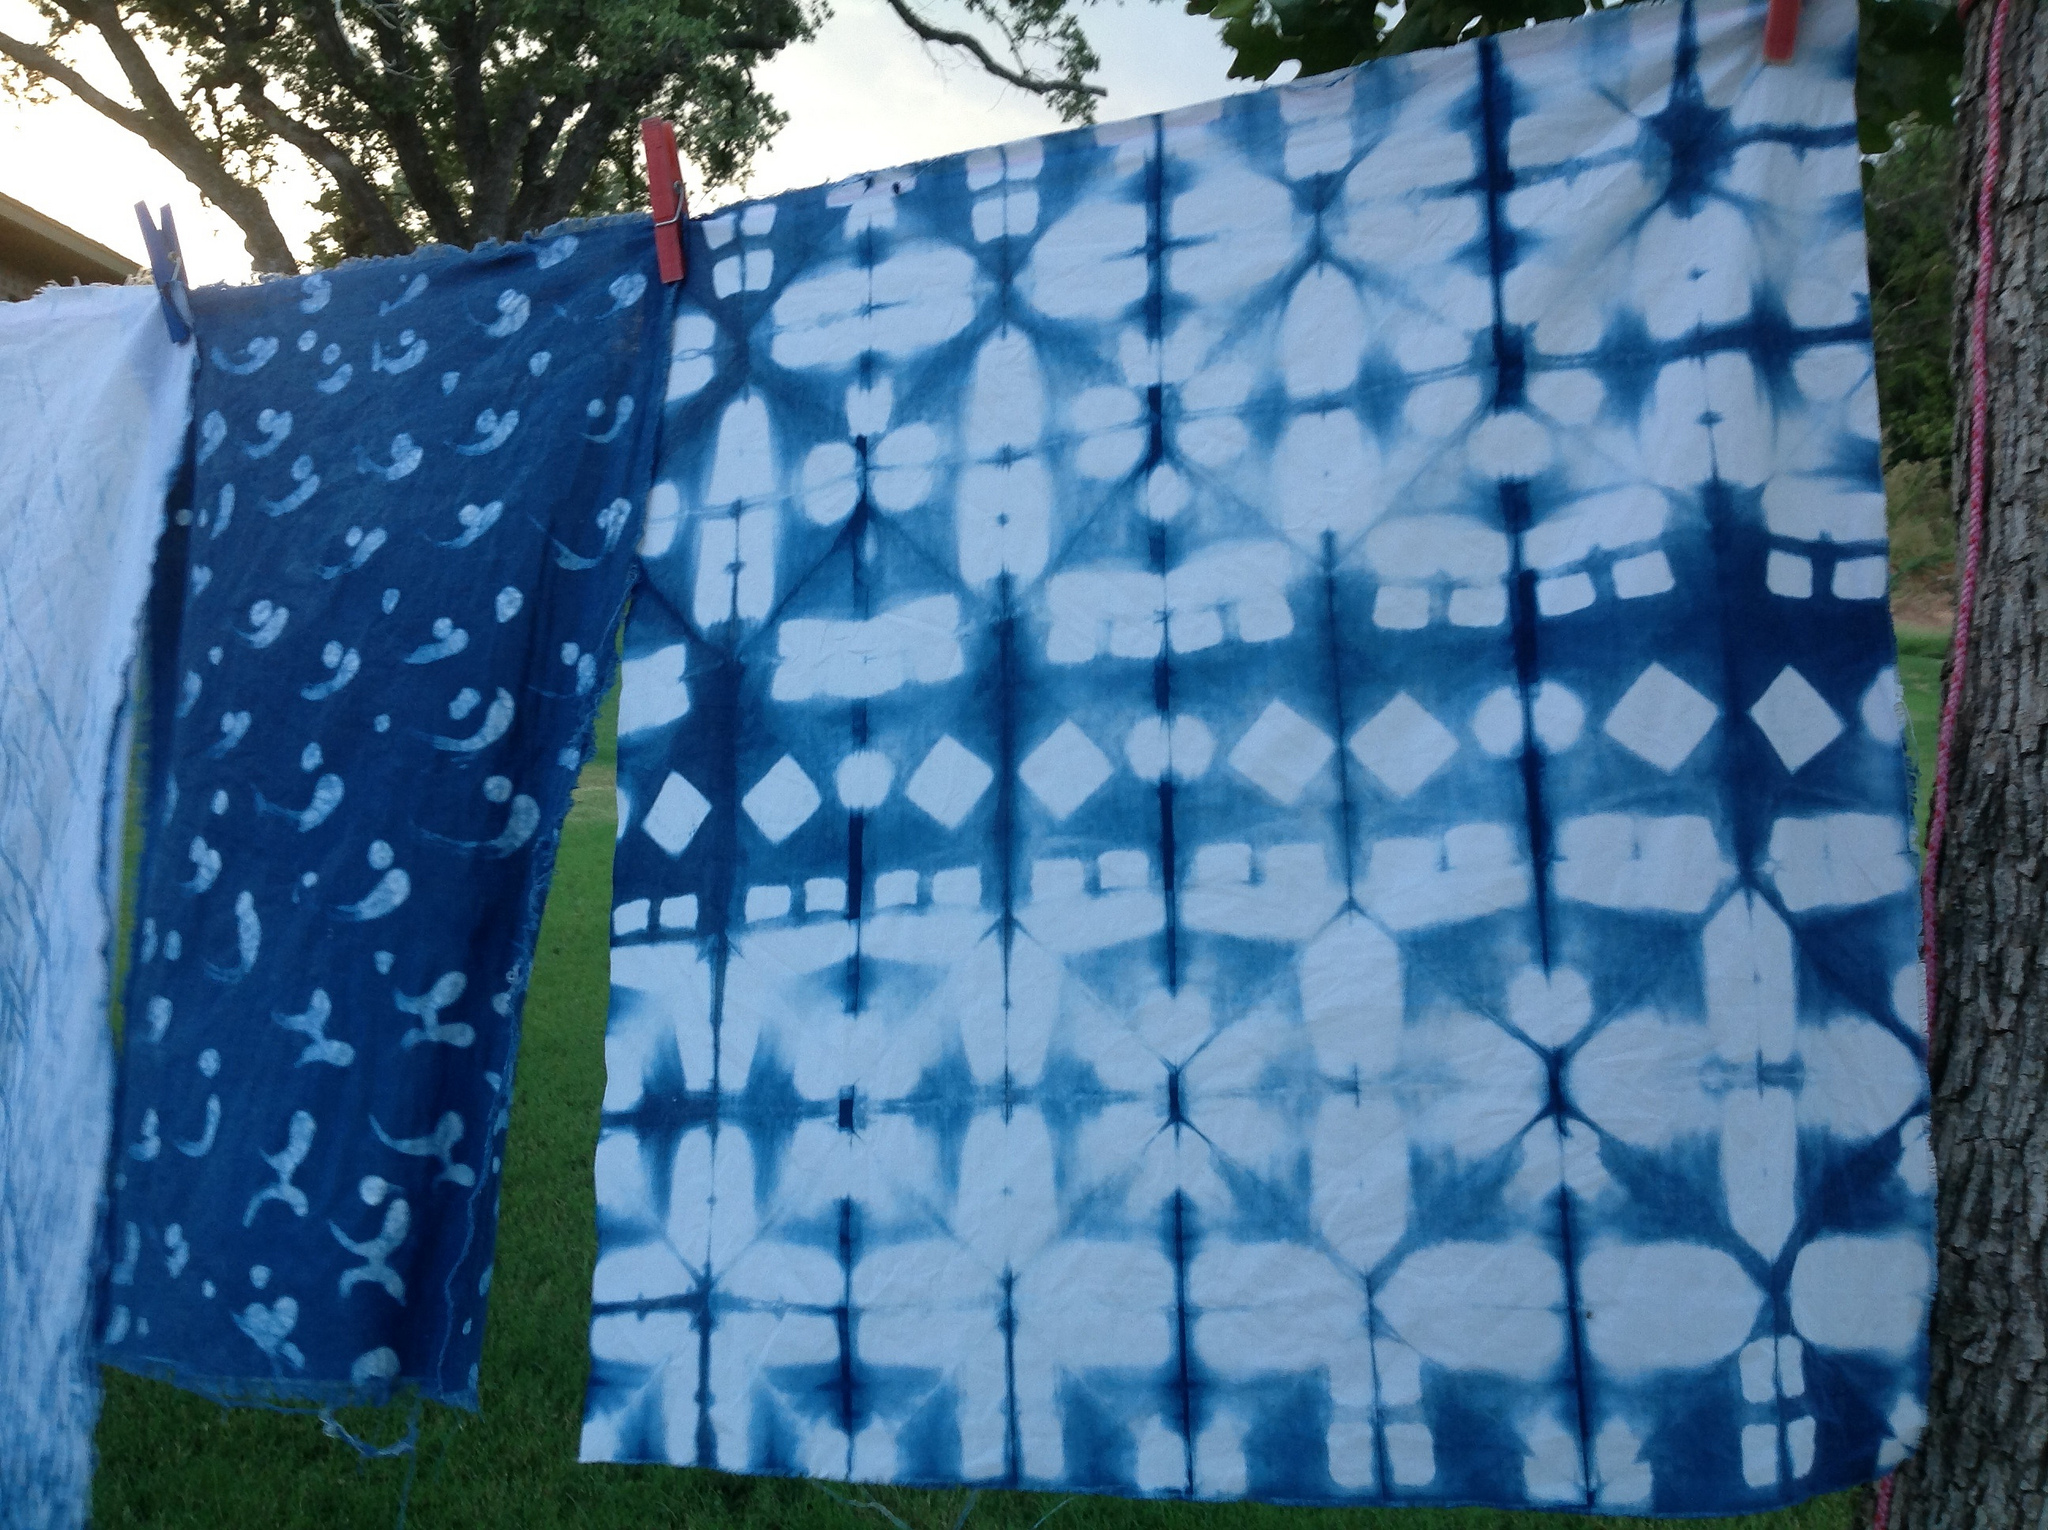
photo courtesy of AgiStadler, Flickr
Shibori traditionally uses natural dyes, especially indigo. Jacquard makes an easy-to-use, pre-reduced, indigo dying kit, for a great price, too. If you go this route, use a 5-gallon or larger bucket or plastic bin with a lid. Set this up and plan to dye outside for the sake of mess management. This dye kit will color a lot of fabric and will last 5 days when covered, so you can plan to spread the project over several days.
Or use any hot-water dye
You can also use synthetic dyes to achieve a shibori look, but be sure to use the kind prepared with a hot water dye bath. Natural dyes are immersion dyes, and so any synthetic dye you use should be this kind, too. Don’t use the popular squirt-to-apply types of dyes for your shibori projects.
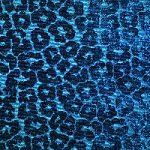
I used a synthetic denim blue color dye bath in my stainless steel kitchen sink to achieve a softer blue for my batch of shibori pictured in this post. To get a darker and more authentic indigo color, you can mix denim and navy. Sarah Gibson from Room for Tuesday suggests mixing one bottle of Rit denim with half a bottle of Rit navy. Her pillows dyed in this bath look great!
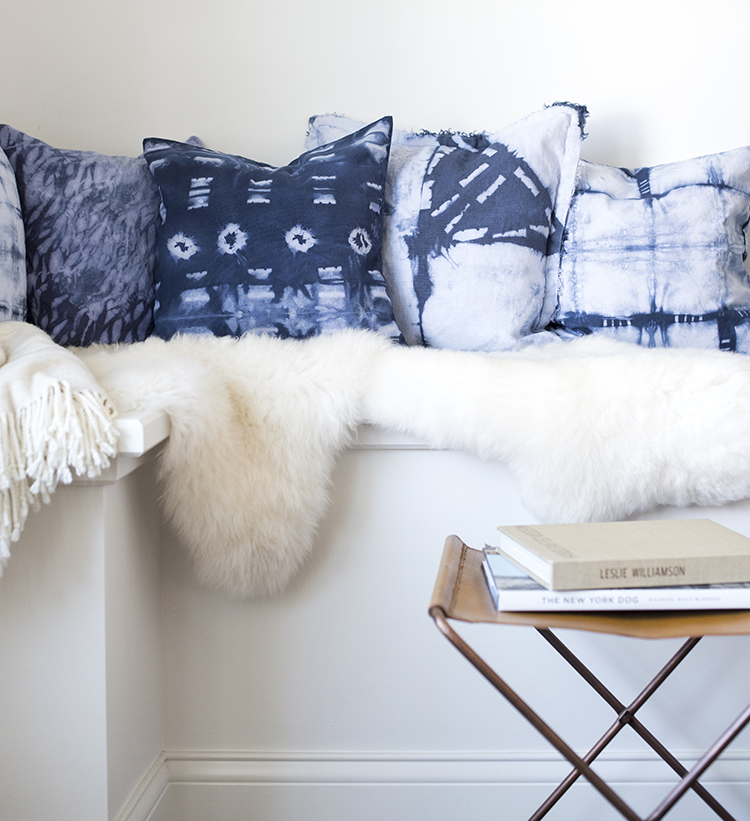
Pillow project at Room for Tuesday
Important DIY tips:
- Wear gloves! Otherwise you’ll likely find it impossible to get the blue/black dye off your hands and, especially, fingernails. Besides being unsightly, this is not good because dyes are toxic chemicals which you’d rather not absorb into your system!
- Take your time preparing the fabric. And have all fabric fully prepared for the dye bath BEFORE you start to prepare it. I rushed when tying the beans to make my kanoko circles and made a mess with my grid design! Take your time, do not hurry.
- Rinse items individually until the water runs completely clear, then untie. If you don’t rinse completely before removing ties, your designs will turn out less crisp.
Easy shibori projects
Shibori is fun and you will enjoy it most if you start with simple techniques. Kanoko, Kumo, and Itajime are particularly beginner-friendly methods to use. You can shibori dye any item of white or off-white natural fiber fabric, such as cotton. You can even dye synthetic fabrics, as long as you choose a dye formulated for synthetics. I noticed Rit makes these now.
You can easily dye T-shirts, skirts, pillows and pillowcases, socks, scarves, and small fabric pieces in your kitchen sink. Sheets, curtain panels, and fabric yardage are easy to dye, too, though you may want to use a tub larger than your sink for these.
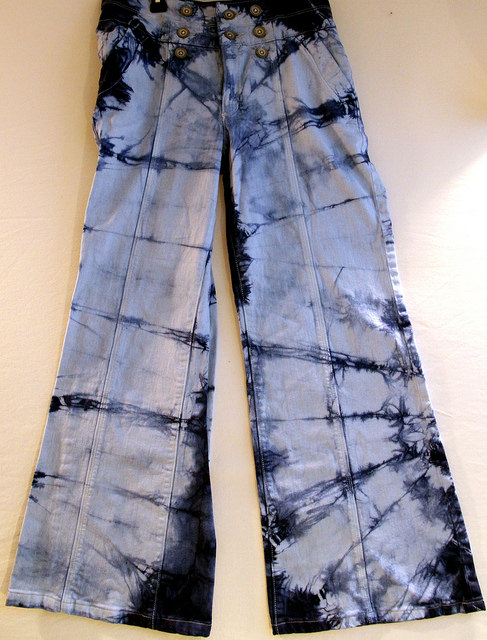
I’m planning to use the fat quarters and long strips that I dyed today to make either a patchwork skirt and a top or a dress. I might make that project a tutorial for another post soon.
Have fun!
Shibori is fun, with near endless choices to explore. Unwrapping your dyed and rinsed shibori pieces to see the finished designs is as exciting as opening a real gift. Play with dye and have fun with it!