Cat Sewing Projects

Cat Sewing Projects

I love my cats. They’re like children to me. I wake up in the morning to purring and got to bed at night with them cuddled around me. Some people think cats are aloof, but mine are anything but! I think the more affection you give cats, they more they give you. Since my cats are my family, I can’t think of a single reason not to sew for them. Can you? I didn’t think so! I love these cat sewing projects, but I make no promises that your cats (or mine) will enjoy them as much as we’ll enjoy making them.

Purrty as a Flower

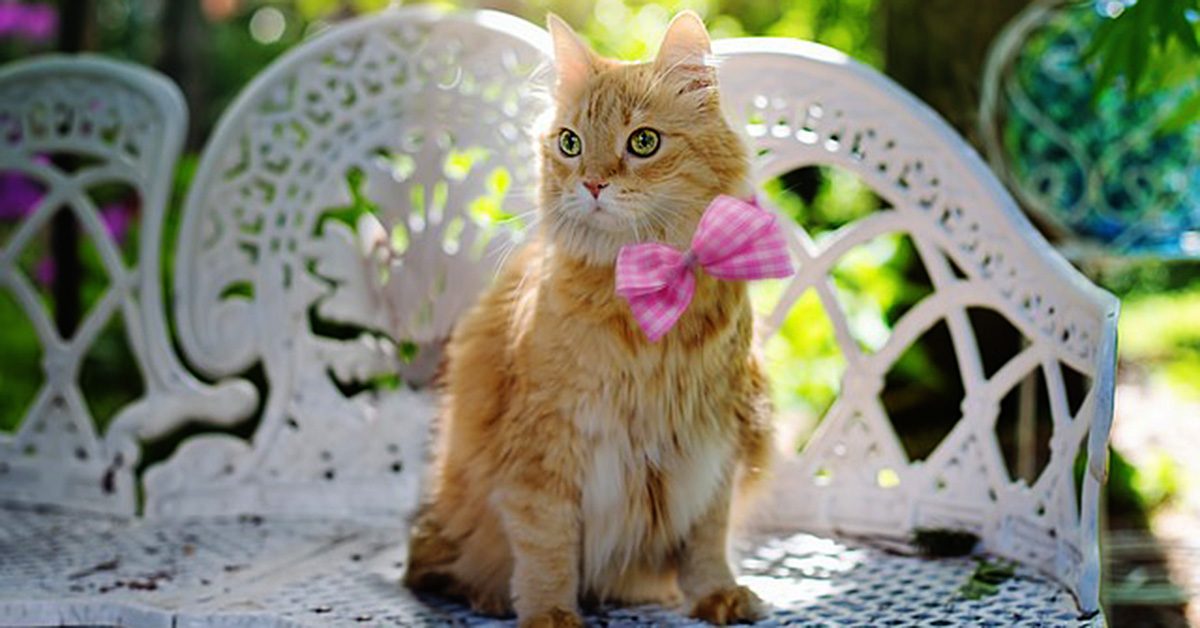
Add a little pizzazz to your cat’s collar with this adorable flower collar pattern. Your fur baby’s sweet face becomes the center of the flower while the soft petals surround them. It’s perfect for spring and summer. See if you can pose them with some flower cuttings and post a picture in the comments.

Ball Toy

To reward your sweet kitty for tolerating the petal costume, make them a patchwork ball toy. This is also a great way to use up some fabric scraps. If you’ve got young children, they can help stuff the balls and then play with kitty when they’re done. Add a bell inside to grab kitty’s attention and they’ll likely play with this for hours.

Cat House

Sometimes cats just need a space of their own. With this neat cat house pattern, you can give them their own special hiding place. Put it next to their favorite heat source and they might even use it the way you expect! And with fleece inside, you can bet they’re going to paw and claw it.

Catnip Mouse

What cat can resist catnip? These catnip mice are easy to make from fabric and ribbon scraps. In less than an hour, you can provide your feline friend with a toy that will give them hours of joy.

Chair Cushion

My cats are constantly sitting on my dining room chair cushions. I don’t mind, but my guests don’t always enjoy standing up and walking away with their pants full of fur. Here’s the perfect solution! Non-slip cushions just for the cats. When I have guests, I can simply replace these with clean ones for the humans. Best of all, the cat cushions have a removable cover for easy cleaning.

Show your cat some love and sew them one, or more, of these projects. If nothing else, you’ll smile while you do!

The Deeper Side of Toy Sewing Machines

The Deeper Side of Toy Sewing Machines

I remember being a child in a store when my mom was deciding to buy another child a toy sewing machine. I was too young for it, making it what could’ve been a dangerous option for me, but that didn’t mean I wasn’t jealous of the other child who would get the sewing machine!

Fast forward a couple of decades or so, and my brother asked me if a toy sewing machine he was thinking about buying would work. My response was something like, “No, they never do.”

Toys are for kids

In a world of game systems & electronics, toy sewing machines that may or may not work are still on the shelves.

In a world of game systems & electronics, toy sewing machines that may or may not work are still on the shelves.

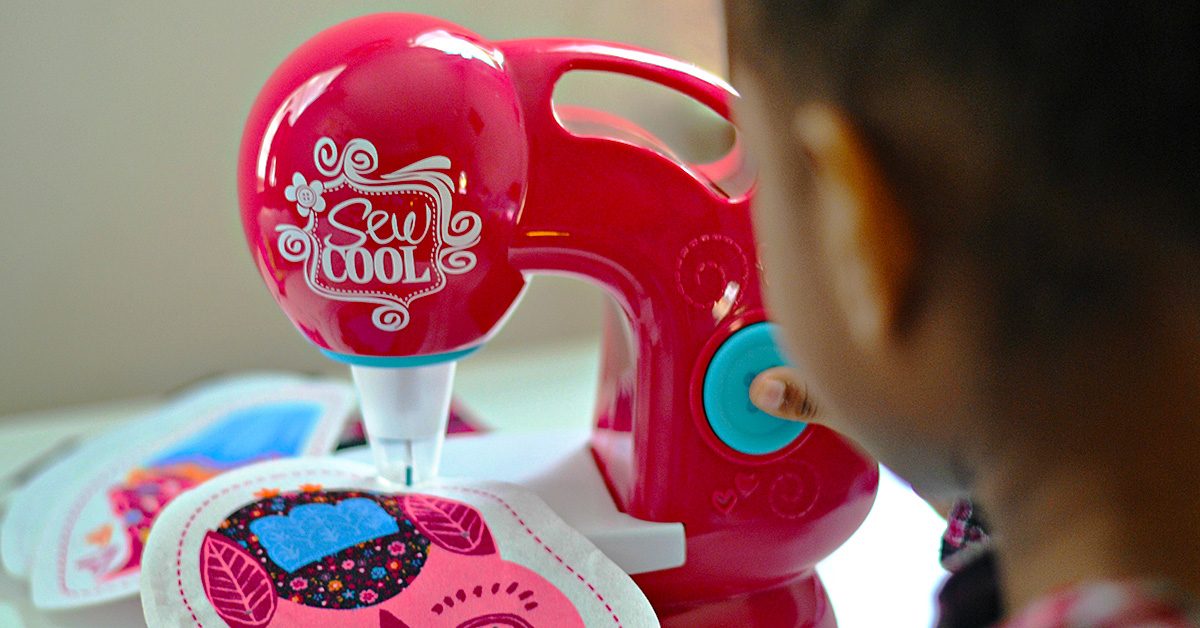
This might be a misconception on my end of things in assuming that toy sewing machines will be, simply put, less than adequate. In fact, one or two of them probably do at least basically stitch together the small projects they come with. But it’s led to a question in my mind that I’d like to explore for a bit. That question is why sewing continues to be an intriguing prospect as the years roll by, to the point that in a world of game systems and electronics, toy sewing machines that may or may not work are still on the shelves. Even for adults, sewing can be seen as a throwback hobby, so why is it so appealing that a younger generation would still add a sewing machine onto their lists to Santa along with the latest Wii and the most impressive riding toy on the market?

Pass it on

Here’s a pass-it-on quality that goes along with sewing.

Here’s a pass-it-on quality that goes along with sewing.

Well, for one thing, there’s a pass-it-on quality that goes along with sewing, and as children, we were kind of prone to looking at what our parents were doing for inspiration. It’s no surprise this tradition passed on to today’s world if you think about things in that context. Our great-great grandparents may have needed to create their own clothes, blankets, etc. in a world that was very different than ours, and even when society changed enough to start negating that need through things like the division of labor, there were still probably little eyes looking up at the quilters and such who continued their crafts in spite of the changes, maybe out of genuine love of the endeavors. That generation could’ve kept the tradition going for another group of young eyes to latch on to, on and up to recent times when little eyes are looking at that little sewing machine that looks so much like the one at home.

Invaluable skills

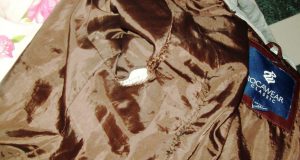
Sure, you can pay a seamstress to sew the rip in your coat’s lining, but in the long run, being able to sew that lining yourself saves money.

Sure, you can pay a seamstress to sew the rip in your coat’s lining, but in the long run, being able to sew that lining yourself saves money.

It’s also practical! No matter who you are and what you do, you’re probably going to need something mended at some point in your life. Not only does this increase the odds of those little eyes seeing sewing in action, but it provides usefulness to the hobby that makes it a logical thing to learn. Sure, you can pay a seamstress to sew the rip in your coat’s lining, but in the long run, being able to sew that lining yourself saves money. I admit that most kids probably aren’t diving into the sewing world with money in mind, but being able to contribute with such a grown-up task could be appealing to them. Don’t believe me? Try baking a cake in a room full of kids and see how many offer to help!

A family that sews together stays together

Sewing, as it happens, has the added bonus of being so convenient that I can sew & watch my superhero movies at the same time!

Sewing, as it happens, has the added bonus of being so convenient that I can sew & watch my superhero movies at the same time!

Sewing, as it happens, has the added bonus of being so convenient that I can sew and watch my superhero movies at the same time! Because of this convenience factor, it can be an endeavor that comes with good memories and feelings for children. Think about it. If I were making a rag quilt, I could sit with my nieces while a cheesy cartoon played and fray the edges for the quilt. It’s a hobby that allows time for them, and that’s a detail that a child could easily appreciate. With those kinds of good feelings and that pleasant context, picking up a sewing interest isn’t that shocking!

A generational tradition

On the flipside, parents, grandparents, aunts, uncles… We might appreciate the interest as well. Why? For one thing, it’s creative, which helps a child expand in imagination and think outside of the box. The little sewing enthusiast could construct a final product that really took time and effort, and that pride could be something that proves fulfilling enough to warm the nearby adult’s heart. Another appealing detail for the adults buying these toys and encouraging the interest is that sewing is a relatively safe activity for a child who’s reached an appropriate age. Clearly, you shouldn’t hand a three-year-old a sewing needle, but an older, more mature child would be able to dive into the hobby with little worry over injuries.

For child and parent then, this could be an easy interest to embrace! So, why was I confused about the continued existence of toy sewing machines again?!

Leftover Fabric: The Toss Across Edition

I think I’ve mentioned before that I have quite a bit of fabric leftover from the top layer of my quilt, right? Well, I do, and it’s interesting to come up with practical, usable projects that could give that fabric a purpose. This week, I did exactly that, and I’m going to share the idea that was a two-fold win for me: Using a little bit of fabric and creating something that I had a genuine reason for making.
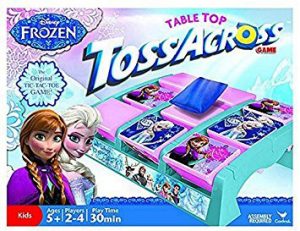
Frozen Toss Across set , and it comes with simple blue throwing bags.

Frozen Toss Across set , and it comes with simple blue throwing bags.

So, my niece has this Frozen Toss Across set , and it comes with simple blue throwing bags. The idea is to tic-tac-toe with Anna or Elsa (whichever character you are) to win, but the thing is that we currently only have three throwing bags out of the original set that we can use. What that boils down to is that the two of us would play the game one toss at a time, and we’d have to keep going over to the board to retrieve the bags for the next round. Sure, it’s doable, but it isn’t as convenient as only having to go bag-retrieving every third toss or so!

Get resourceful

Yesterday, it occurred to me that I have small pieces of material and fewer throwing bags than we used to have. Why not use some of that fabric to make new throwing bags?

It’s a simple idea, and the process was fairly to-the-point. All I needed beyond the sewing essentials of fabric, needles, thread, and pins was something to fill up the bag, which I honestly had to think on for a while — maybe until I was ready to fill the throwing bag. I thought about trying small rocks, but I was sewing at night. Since I didn’t want to wait until morning to finish my trial sewing bag or go rock hunting at night, I needed another option. At some point, it dawned on me that I have blue sand that could work, but you might find something just as fitting for the purpose around your house. Just think a little outside of the box, and the fillings might take shape!

Time to begin
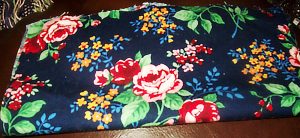
I took one of the pieces of fabric & folded it in half since the fabric size was nearly ideal to make two separate throwing bags.

I took one of the pieces of fabric & folded it in half since the fabric size was nearly ideal to make two separate throwing bags.

Now that we have the list of supplies, it’s time to get into how all of them came together into a Toss Across throwing bag. First, I took one of the pieces of fabric and folded it in half since the fabric size was nearly ideal to make two separate throwing bags. These bags needed to be small enough to flip spaces on the board, after all! Once I cut the fabric in half, I again cut it in the opposite direction so that what started as one piece of material was now four individual pieces — two for each throwing bag.
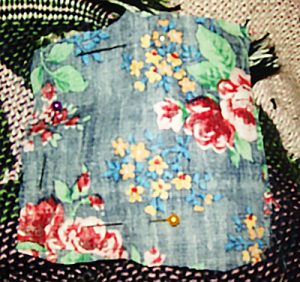
Luckily, these are small products, so I only needed about three pins to hold them!

Luckily, these are small products, so I only needed about three pins to hold them!

Then it was time to pin them. Luckily, these are small products, so I only needed about three pins to hold them! I took two pieces of the fabric and placed them together so that their printed sides were facing one another and pinned them on three sides to hold them steady. Note: This is also a good time to trim off any excess fabric on the ends if they’re terribly uneven with one another, though these seams will be inside the bag anyway. You don’t have to be too careful to make things perfect!

From there, it was time to sew, which was a pretty straightforward process! Three sides needed to be closed up completely, but I needed to keep that fourth side open to fill the sewing bag before I closed it as well. I simply sewed one side, then the next, and then the next. Then, it was time to flip the bag so that the printed fabric was now on the outside and add in what I decided would be blue sand to fill it. Again though, you can try a different tactic to fill the throwing bag — sand, beads, etc.
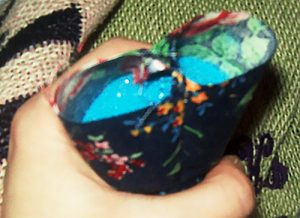
You can try a different tactics to fill the throwing bag — sand, beads, etc.

You can try a different tactics to fill the throwing bag — sand, beads, etc.

Be sure though while you’re filling the throwing bag that you don’t fill it too full. It’s important that it’s weighty enough to be able to turn one of the Toss Across spaces, but if it’s too full, you might have a hard time sewing that final side together. As it happens, I ended up towing the line, so for future projects, I might use a little less filling!

Once I’d finished with the filling, I sewed that final line together. I did this by folding the edges inward, kind of like I was wrapping a present, then folded the line downward to pin it in place. After that, I just had to sew what I’d pinned and cut the thread.
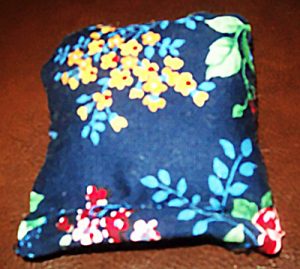
I did this by folding the edges inward, kind of like I was wrapping a present, then folded the line downward to pin it in place.

I did this by folding the edges inward, kind of like I was wrapping a present, then folded the line downward to pin it in place.

I have plenty of fabric to keep making these, but already with this one bag, I’ve evened up the throwing bag numbers so we can play two rounds at a time!