Let’s same I’m thrifty, shall we? I like shopping at the Goodwill, and I’ve been known to make my way over to the clearance section in the clothes department of a non-Goodwill store. It’s a theme that’s pretty easy to spot if you look through my posts from the past. I reuse material, and updating my sewing supplies is something that I found reason to put on my 2017 goals list because I haven’t invested too much into it. I can be a bit of penny-pincher if the situation calls for it, so it’s no real shock that so much of my sewing experience involves reusing and repurposing.
Today, I offer you yet another example of that reusing and repurposing.
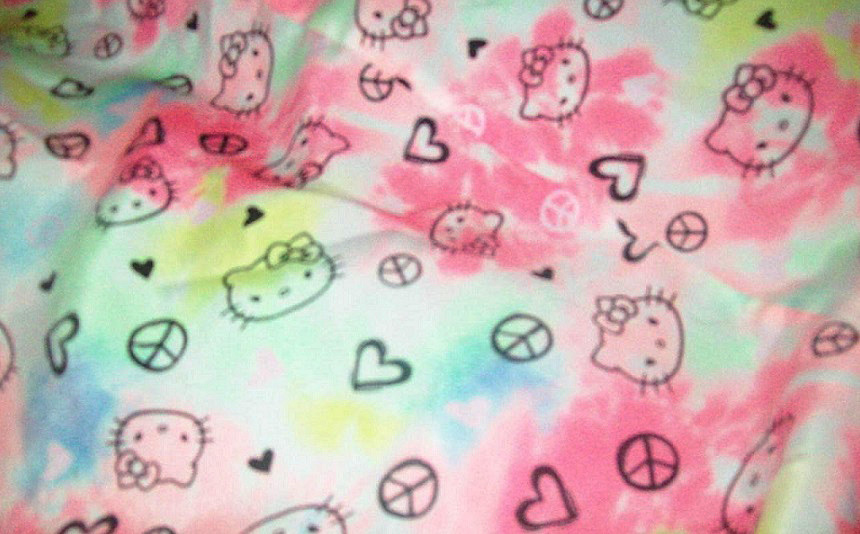
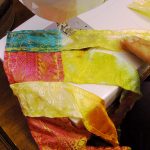
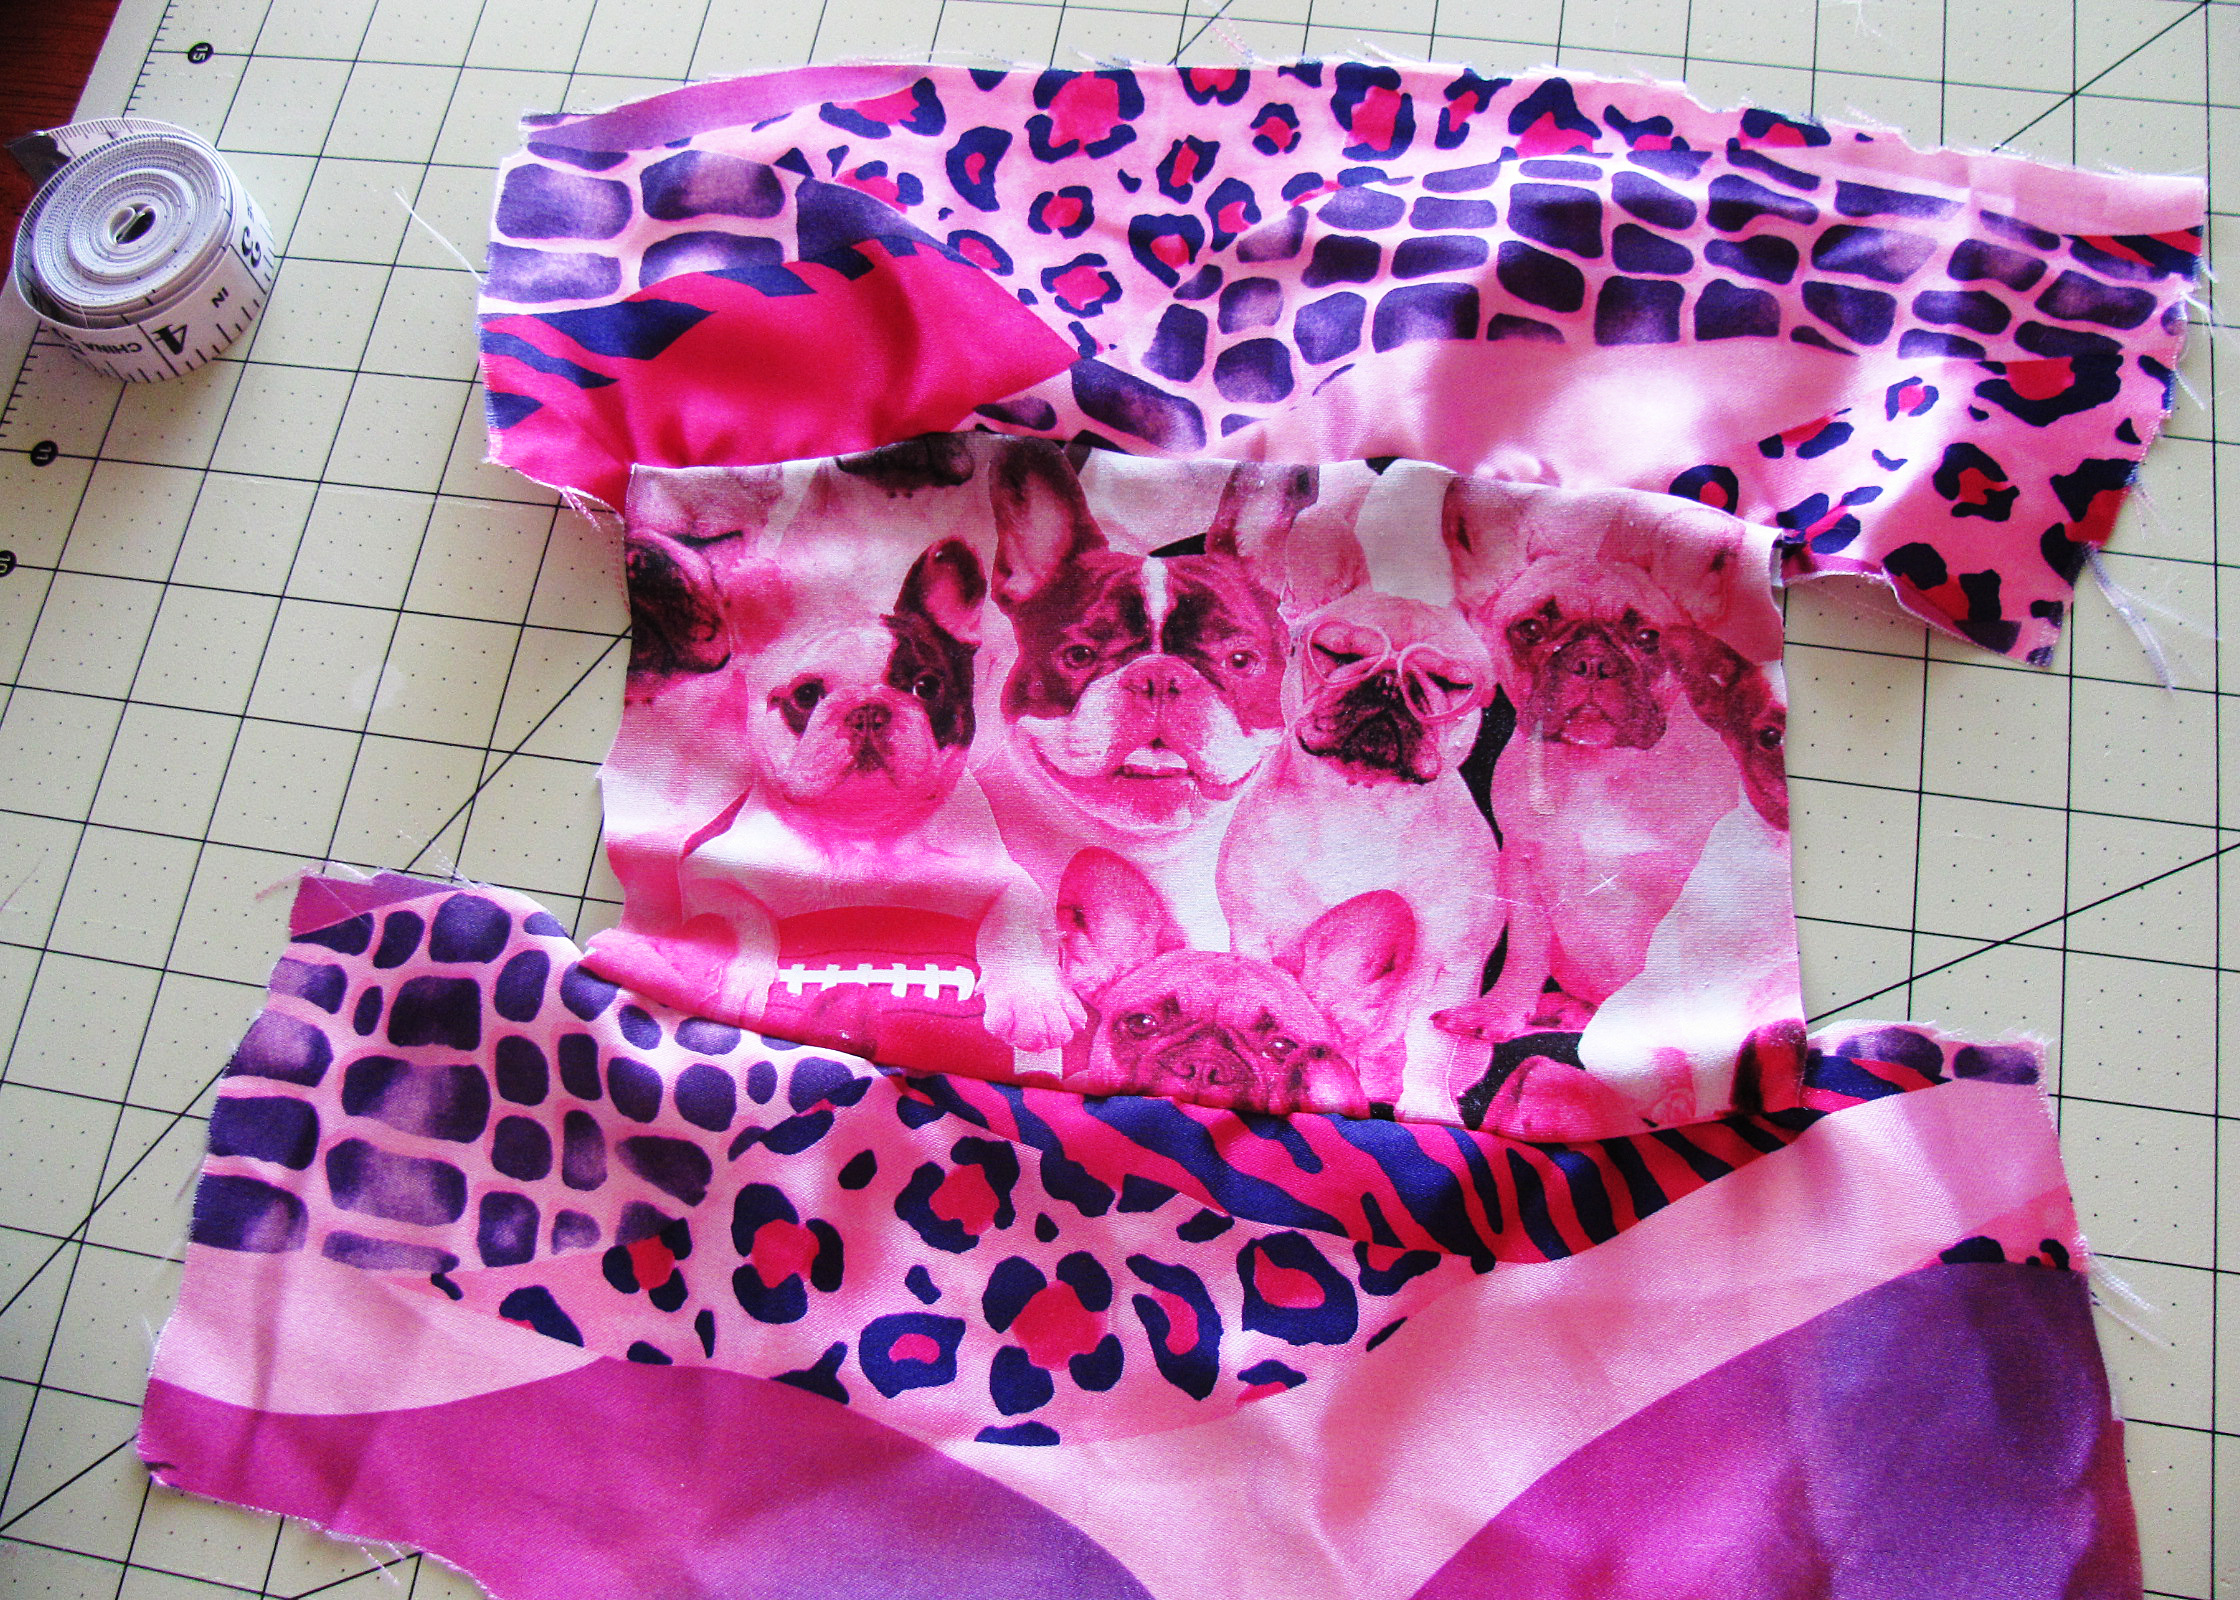
The bottom half in particular caught my interest.
You see, I have a niece who had this Hello Kitty dress. Personally, I don’t get the interest in Hello Kitty—I’m more of a Tinker Bell kind of girl—but after the dress ended up getting ripped, my thoughts got to rolling about what could be done with the material that was left over. The bottom half in particular caught my interest. Even if I don’t particularly care for Hello Kitty myself, the material was colorful enough and in good enough shape, if you overlooked the rip, that it seemed a waste to just toss it out. My niece, after all, deserves her Hello Kitty attire!
In the end, the answer seemed simple. If the bottom half of the dress was salvageable, then a skirt was the perfect option! The white material underneath it was still in decently good shape, so I could use that like it’d been used for the dress itself. All I needed to do was plan, cut, figure, and reassemble.
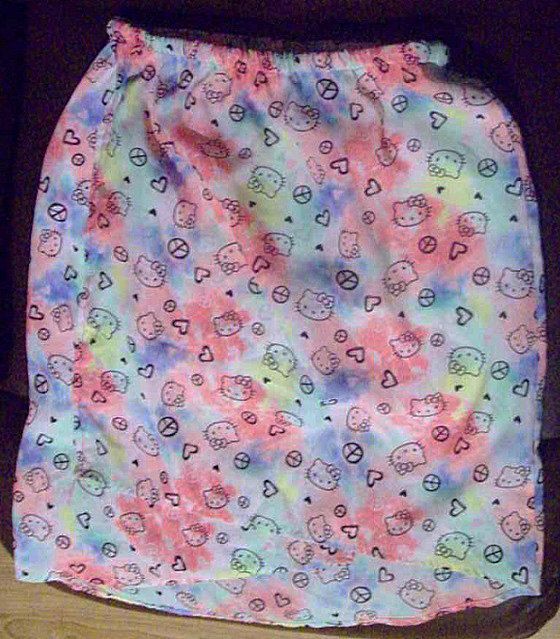
Cutting was relatively easy when it came to the bottom half because I didn’t worry too much about getting straight edges. If I needed straight edges, I could do a touch-up job later. As it turned out, I wouldn’t I have to because the material was designed in a way that there wasn’t one side that specifically needed to be on the top or the bottom. See how Hello Kitty is in two different directions in the earlier picture? I could just use the more raggedy-edged side to fold over the elastic I would eventually use, and no one would see it anyway. The bottom part of the dress could be the actual line that was company-given by design.
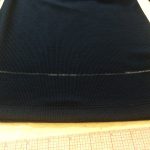
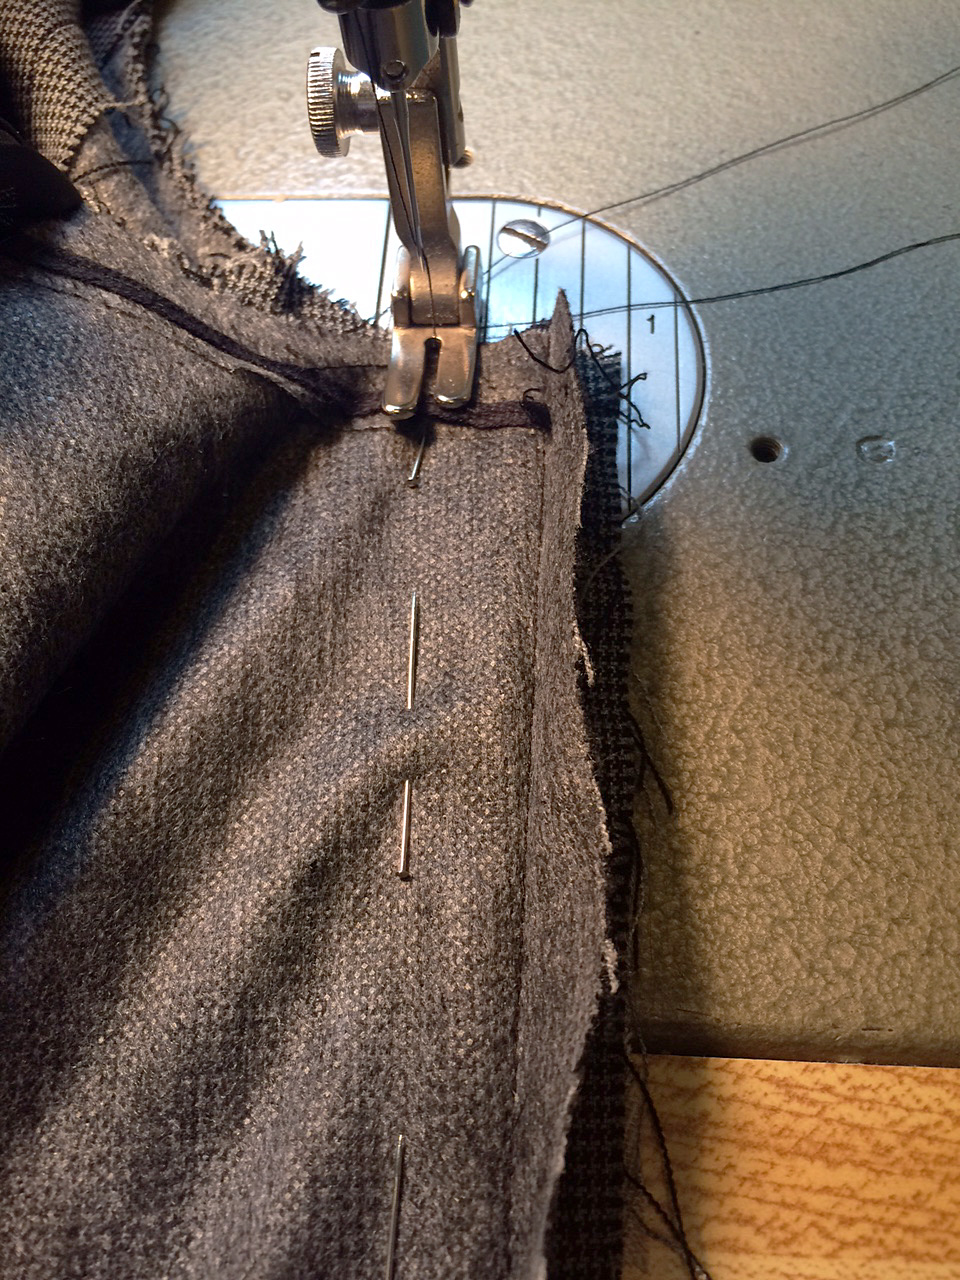
The raggedy edges where the tear had been, I felt, could use hemming, so I saw to that. I wasn’t sure if I actually needed both sides to be hemmed, but since I was figuring it out as I went along, it seemed better to be safe than sorry! Once both sides were hemmed, I was ready to pin the Hello Kitty material onto the underlying fabric.
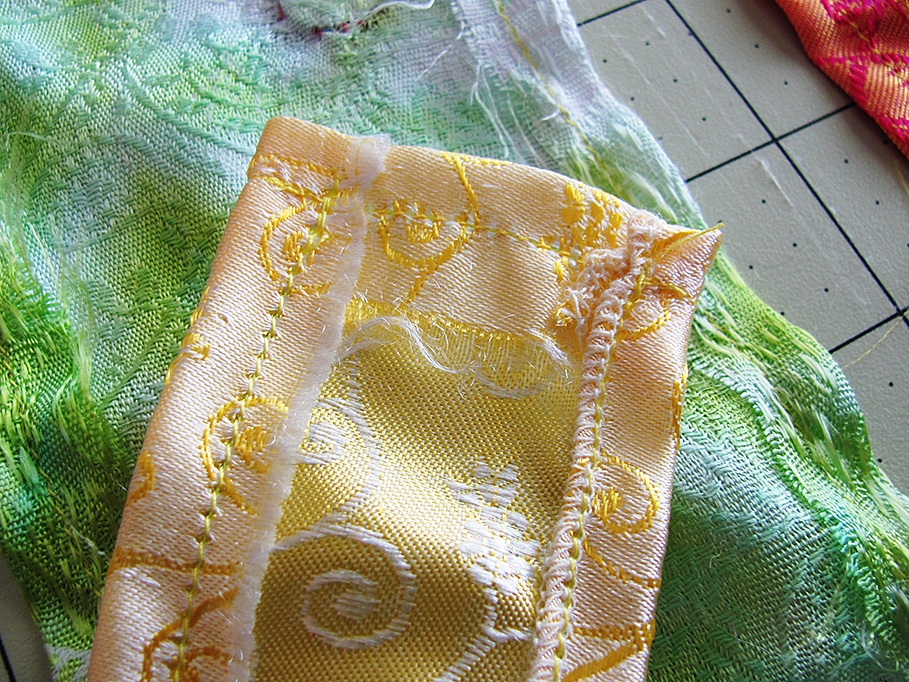
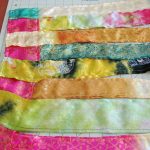
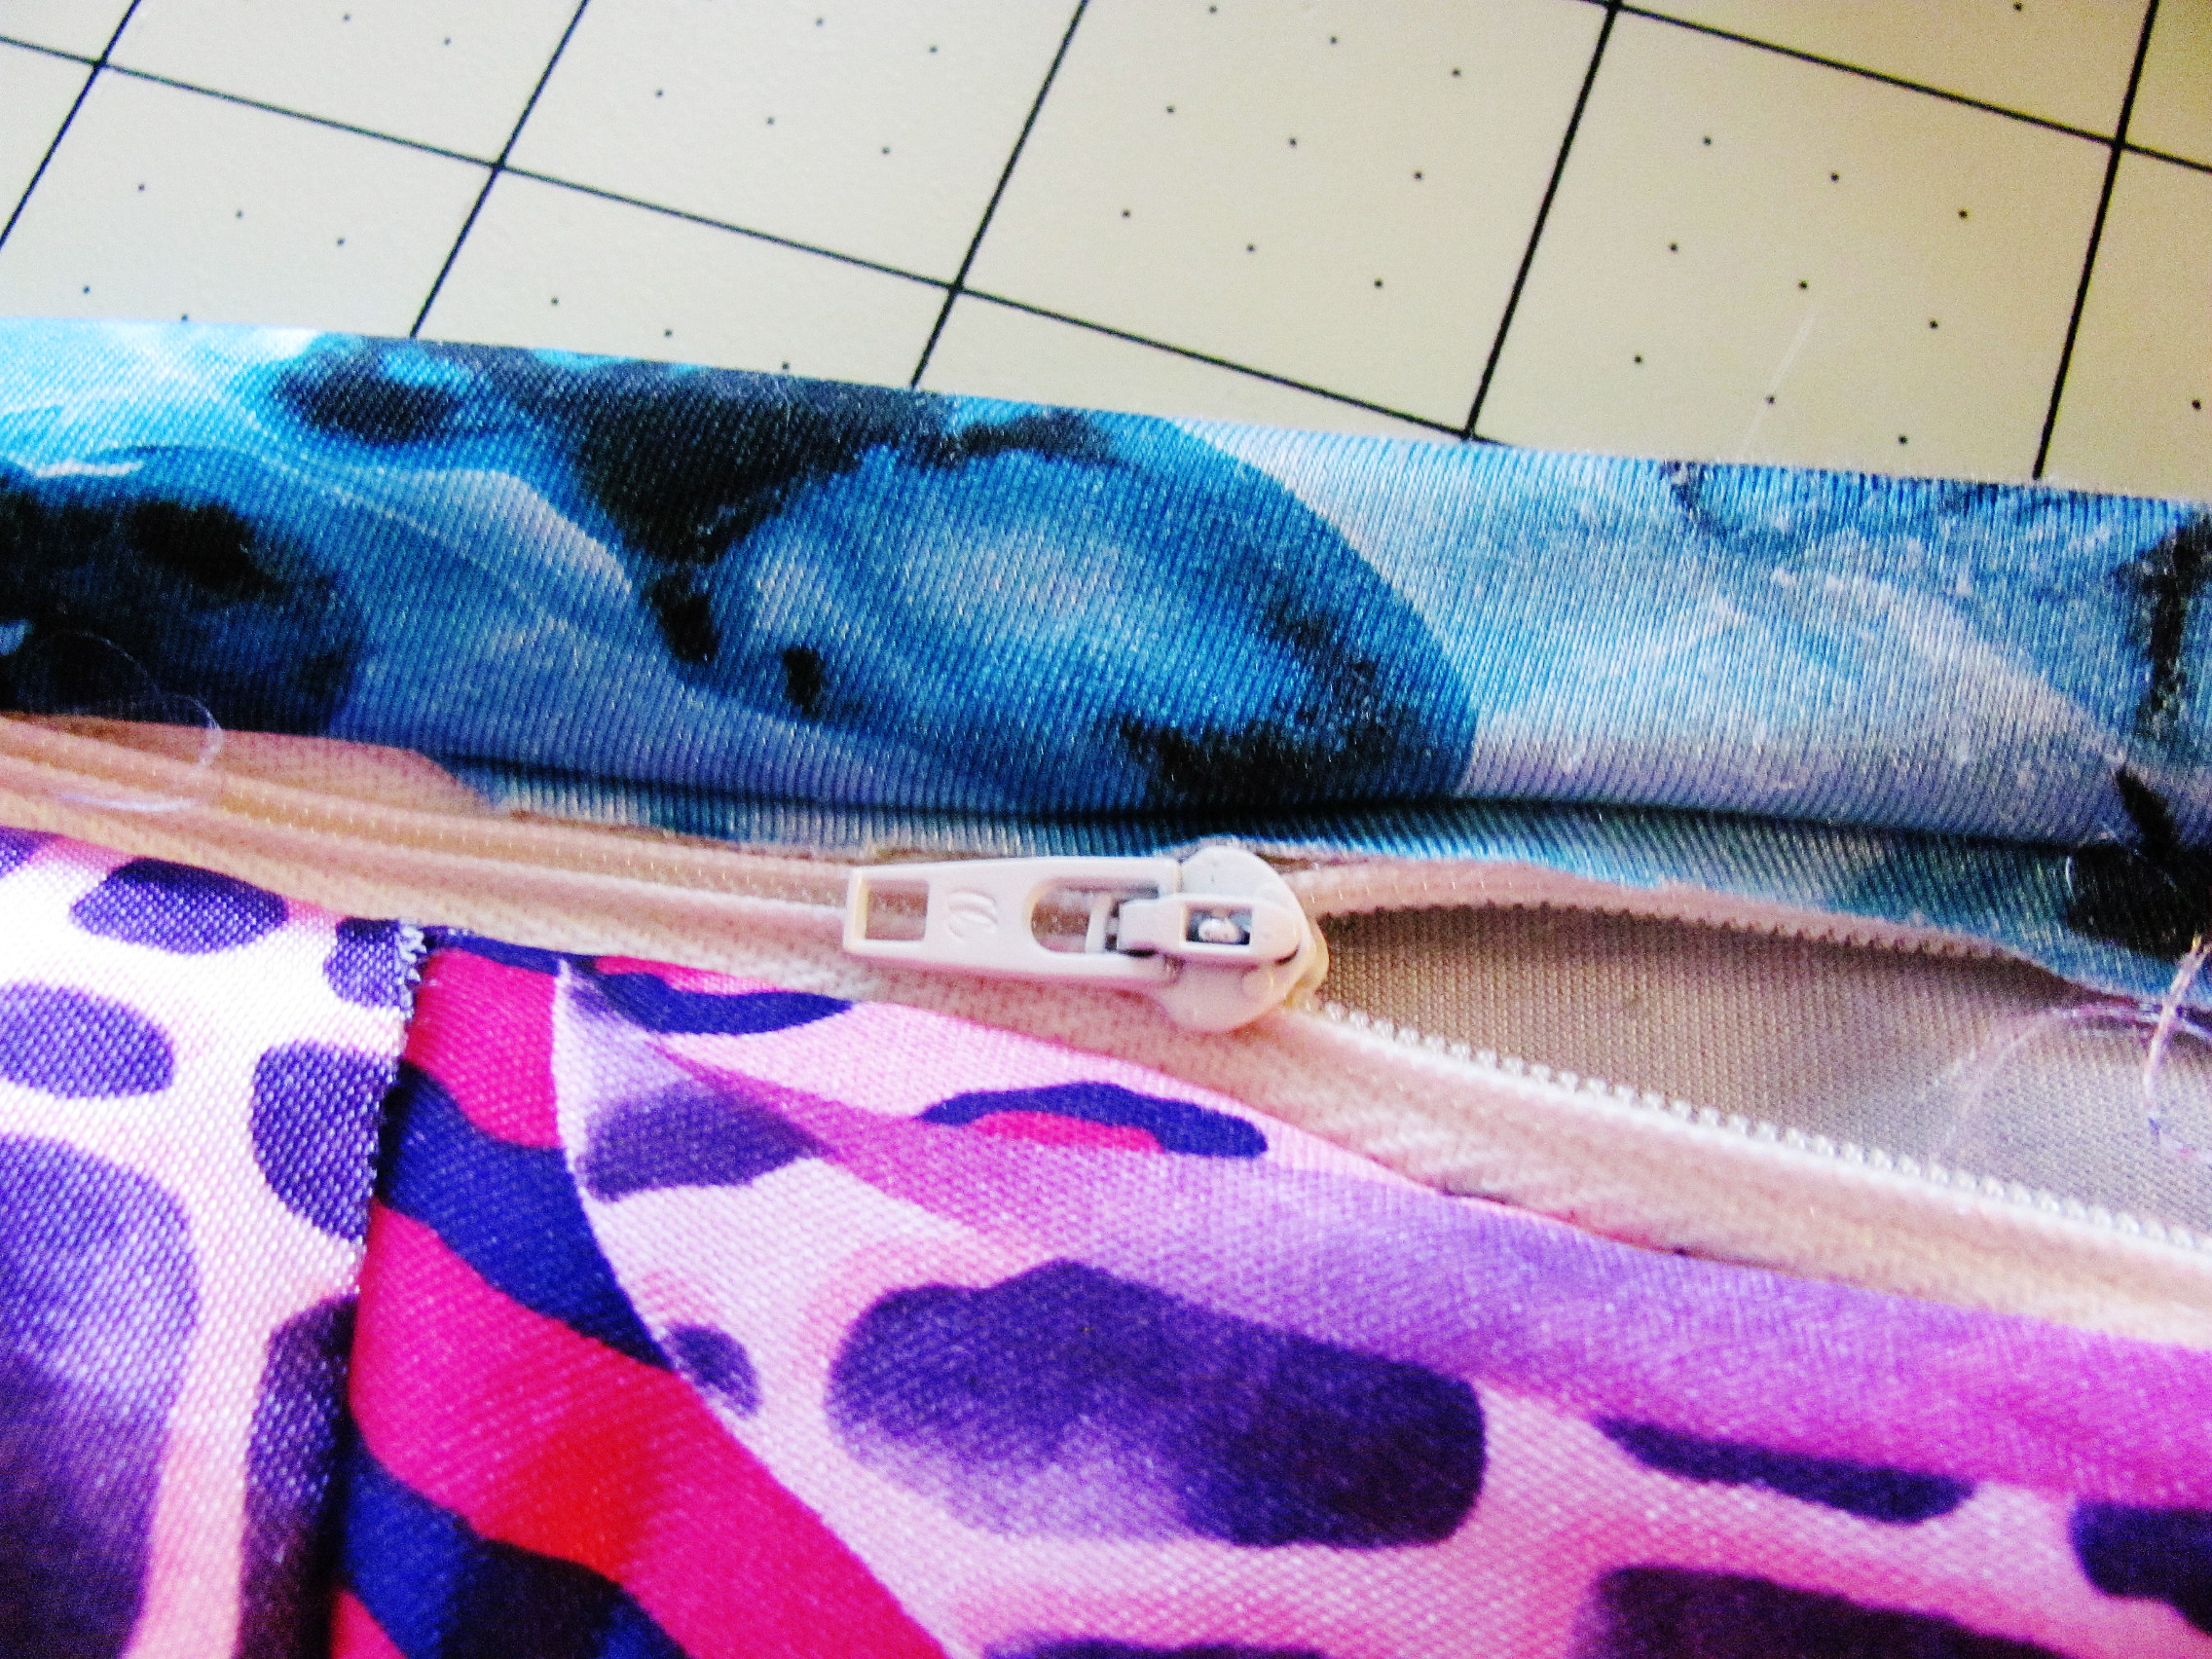
I opted to tack the end of the colored material to the section of Hello Kitty material beneath it.
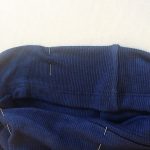
So I did! But as I’d already noticed, there was a bit of a design issue that would require an executive decision. You see, this Hello Kitty material was asymmetrical, meaning if I pinned it evenly at the top of the white material, the bottom of the Hello Kitty piece wouldn’t be even. My options then included either hemming the bottom for a symmetric look, or embracing the quirkiness of the not-so-symmetric hem.
In the end, I decided to go with the easier but more distinguishable option of letting the hem be asymmetric. I also made another executive decision to not cut off the extra side-to-side material once the white material had been completely covered. Instead, I opted to tack the end of the colored material to the section of Hello Kitty material beneath it, so the final result would seem more like a wrap-around skirt.
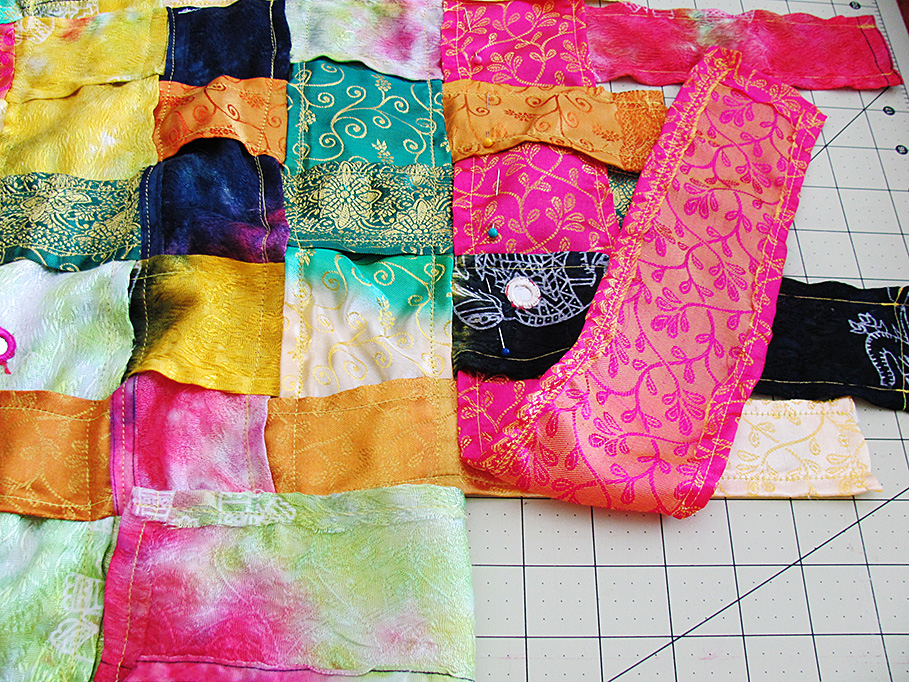
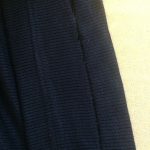
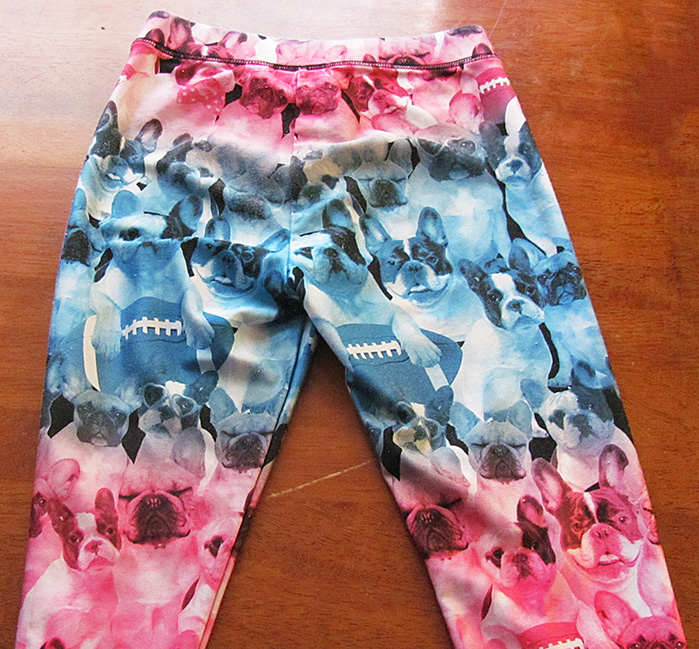
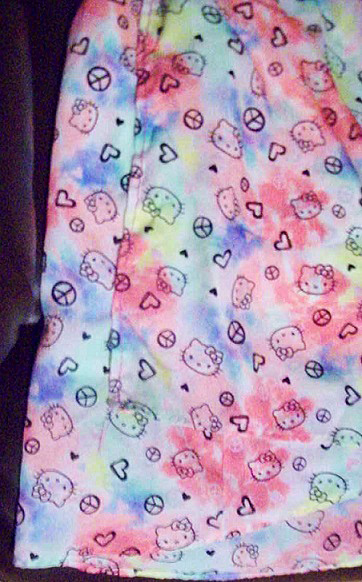
Once that step was finished, the top looked something like this.
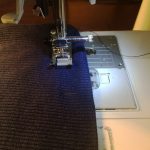
Once I’d made those decisions, sewn the raggedy edges where the tear had been on the dress, sewed all layers of material at the top, and tacked the material for that wrap-around look, all I had to do was add in the elastic. The process involved a one-section-at-a-time strategy of folding the top portion of material over the elastic, sewing so that the material overlapped the entire width of elastic, then moving to the next section—bit by bit, and at times pushing and pulling the elastic and/or fabric so that the entire top portion of the skirt was encasing that tiny piece of elastic. Once that step was finished, the top looked something like this.
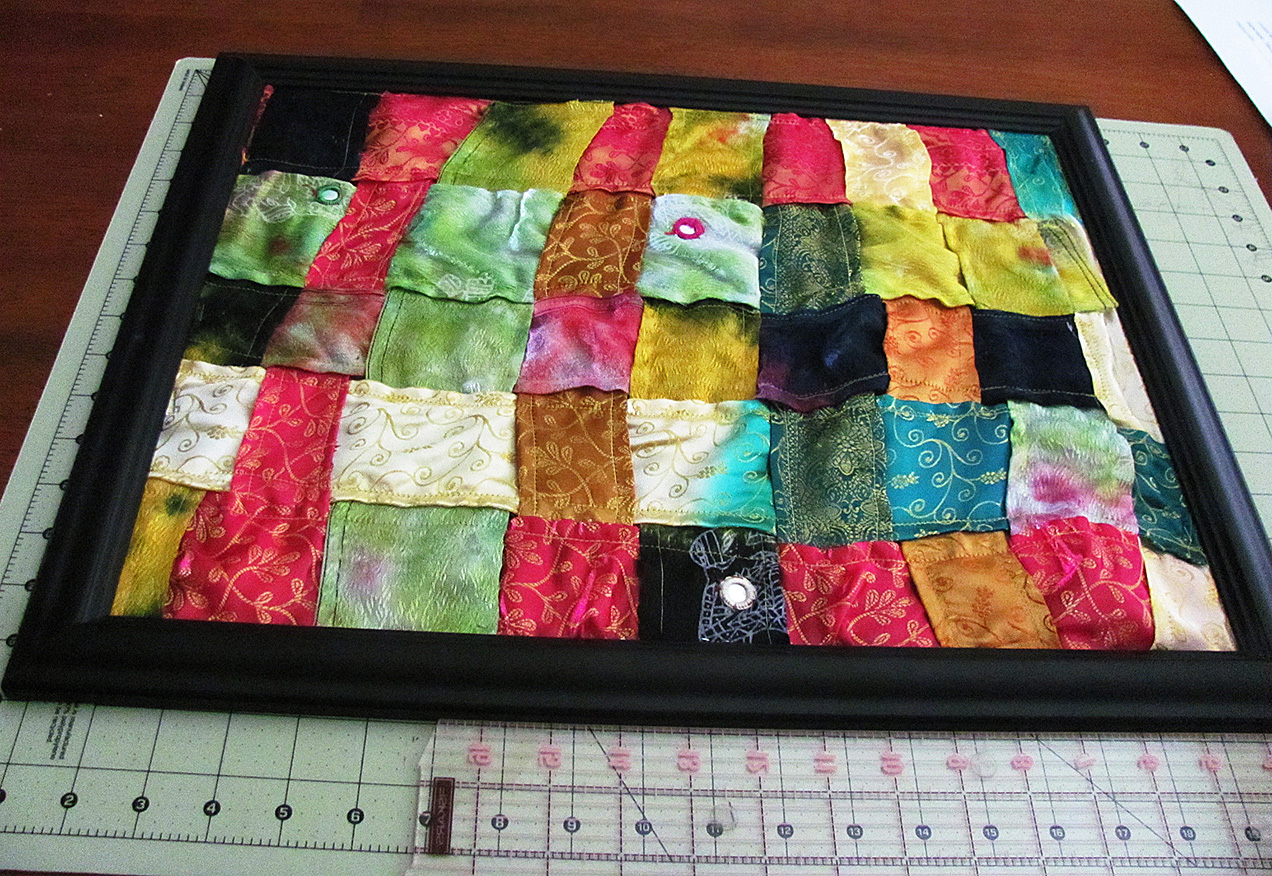
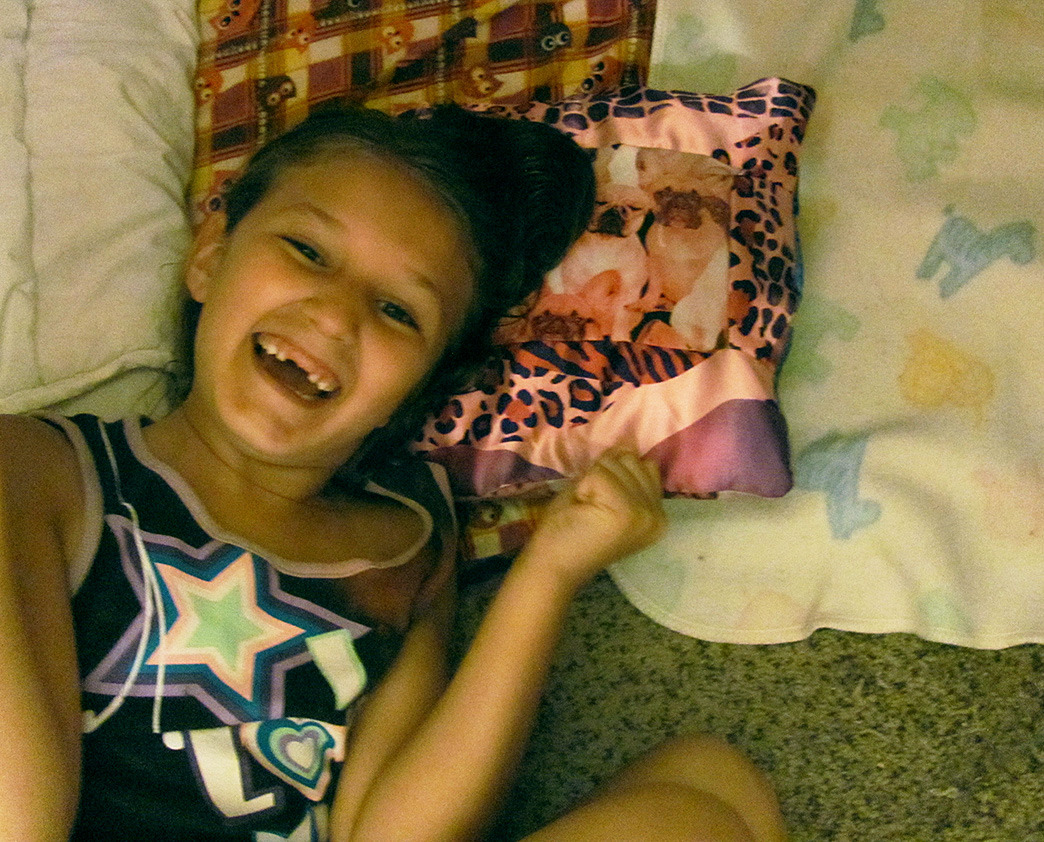
And there you have it!
And with that step completed, the skirt was done!
And there you have it! A Hello Kitty skirt from the remnants of a Hello Kitty dress! I still have the top portion of the dress that could be used for something, but who knows? Maybe it’ll become a part of a project, and maybe it won’t 🙂