I am so happy you stopped by. In my last post, “Nature Babe” I discussed finding different types of fabric to construct some little things for babies. Since then, I have been working on Bamboo Baby Wash Cloths as well as using Organic Cotton products.
Bamboo. It’s Not Just Panda Food
I am always looking for ways I can trim things with lace or ribbon.
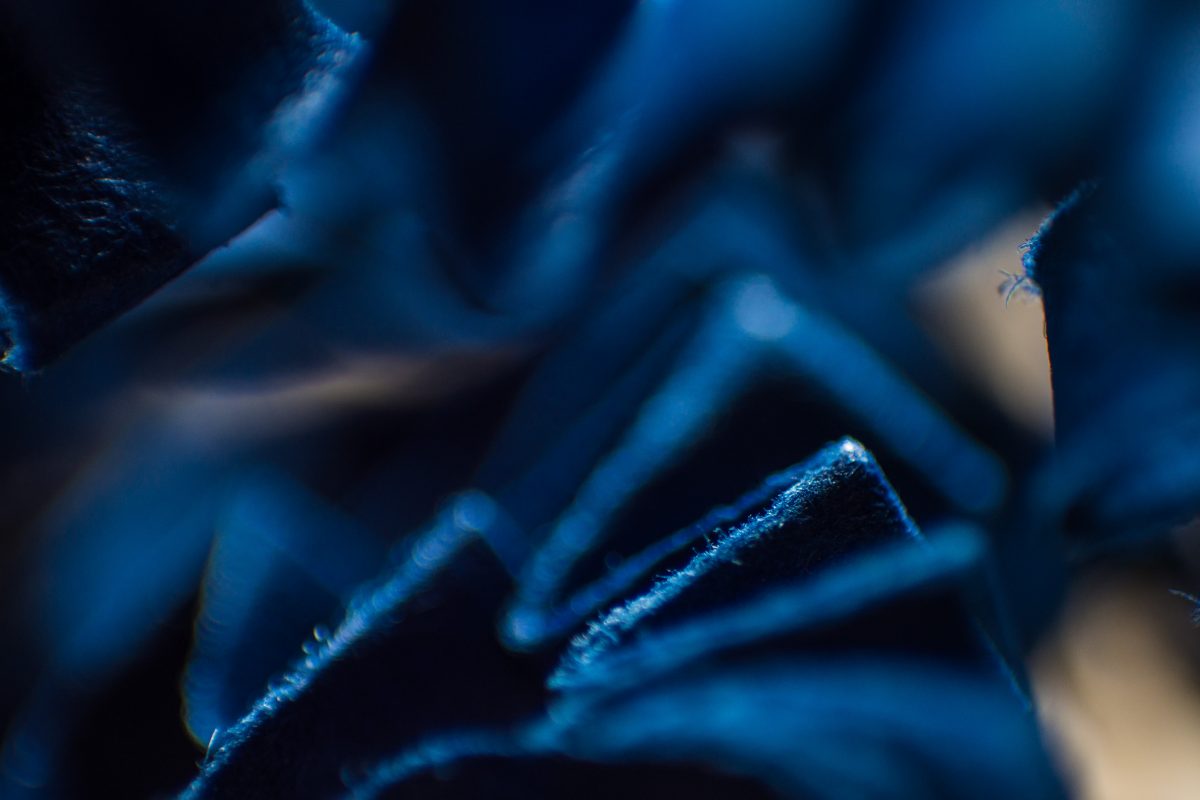
Can you see and feel the softness? It is tiny baby loop Bamboo. I edged it with an overcast stitch on my machine, so it gives the finished product a spa-quality look rather than serged edges. I prefer sewing a seam right sides together and reversing the fabric for larger articles, then I top-stitch for durability rather than using a serger. Plus, I am always looking for ways I can trim things with lace or ribbon. I should have lived in the Victorian era!
Research shows these products are becoming popular as there are many things that are being made in these environmental friendly fabrics. For instance, the softness of bamboo is exceptional for making burp cloths, diaper inserts, blankets, mattress covers and plush animals. Many companies that sell bamboo have great information on this fabric. According to the Bamboo Clothing website (a clothing line in the UK) there are many good points about using bamboo fabric.
Bamboo Fabric Facts:
- Good for sensitive skin
- Antibacterial – bacteria does not live well on the fabric
- It acts as moisture wicking
- It is 100% bio-degradable
- Is the fastest growing plant and yield the same volume as cotton in only 10% of the land
- Bamboo requires very little water or rain
Did you know bamboo is a species of the grass family?
And Now for Something Completely Different…
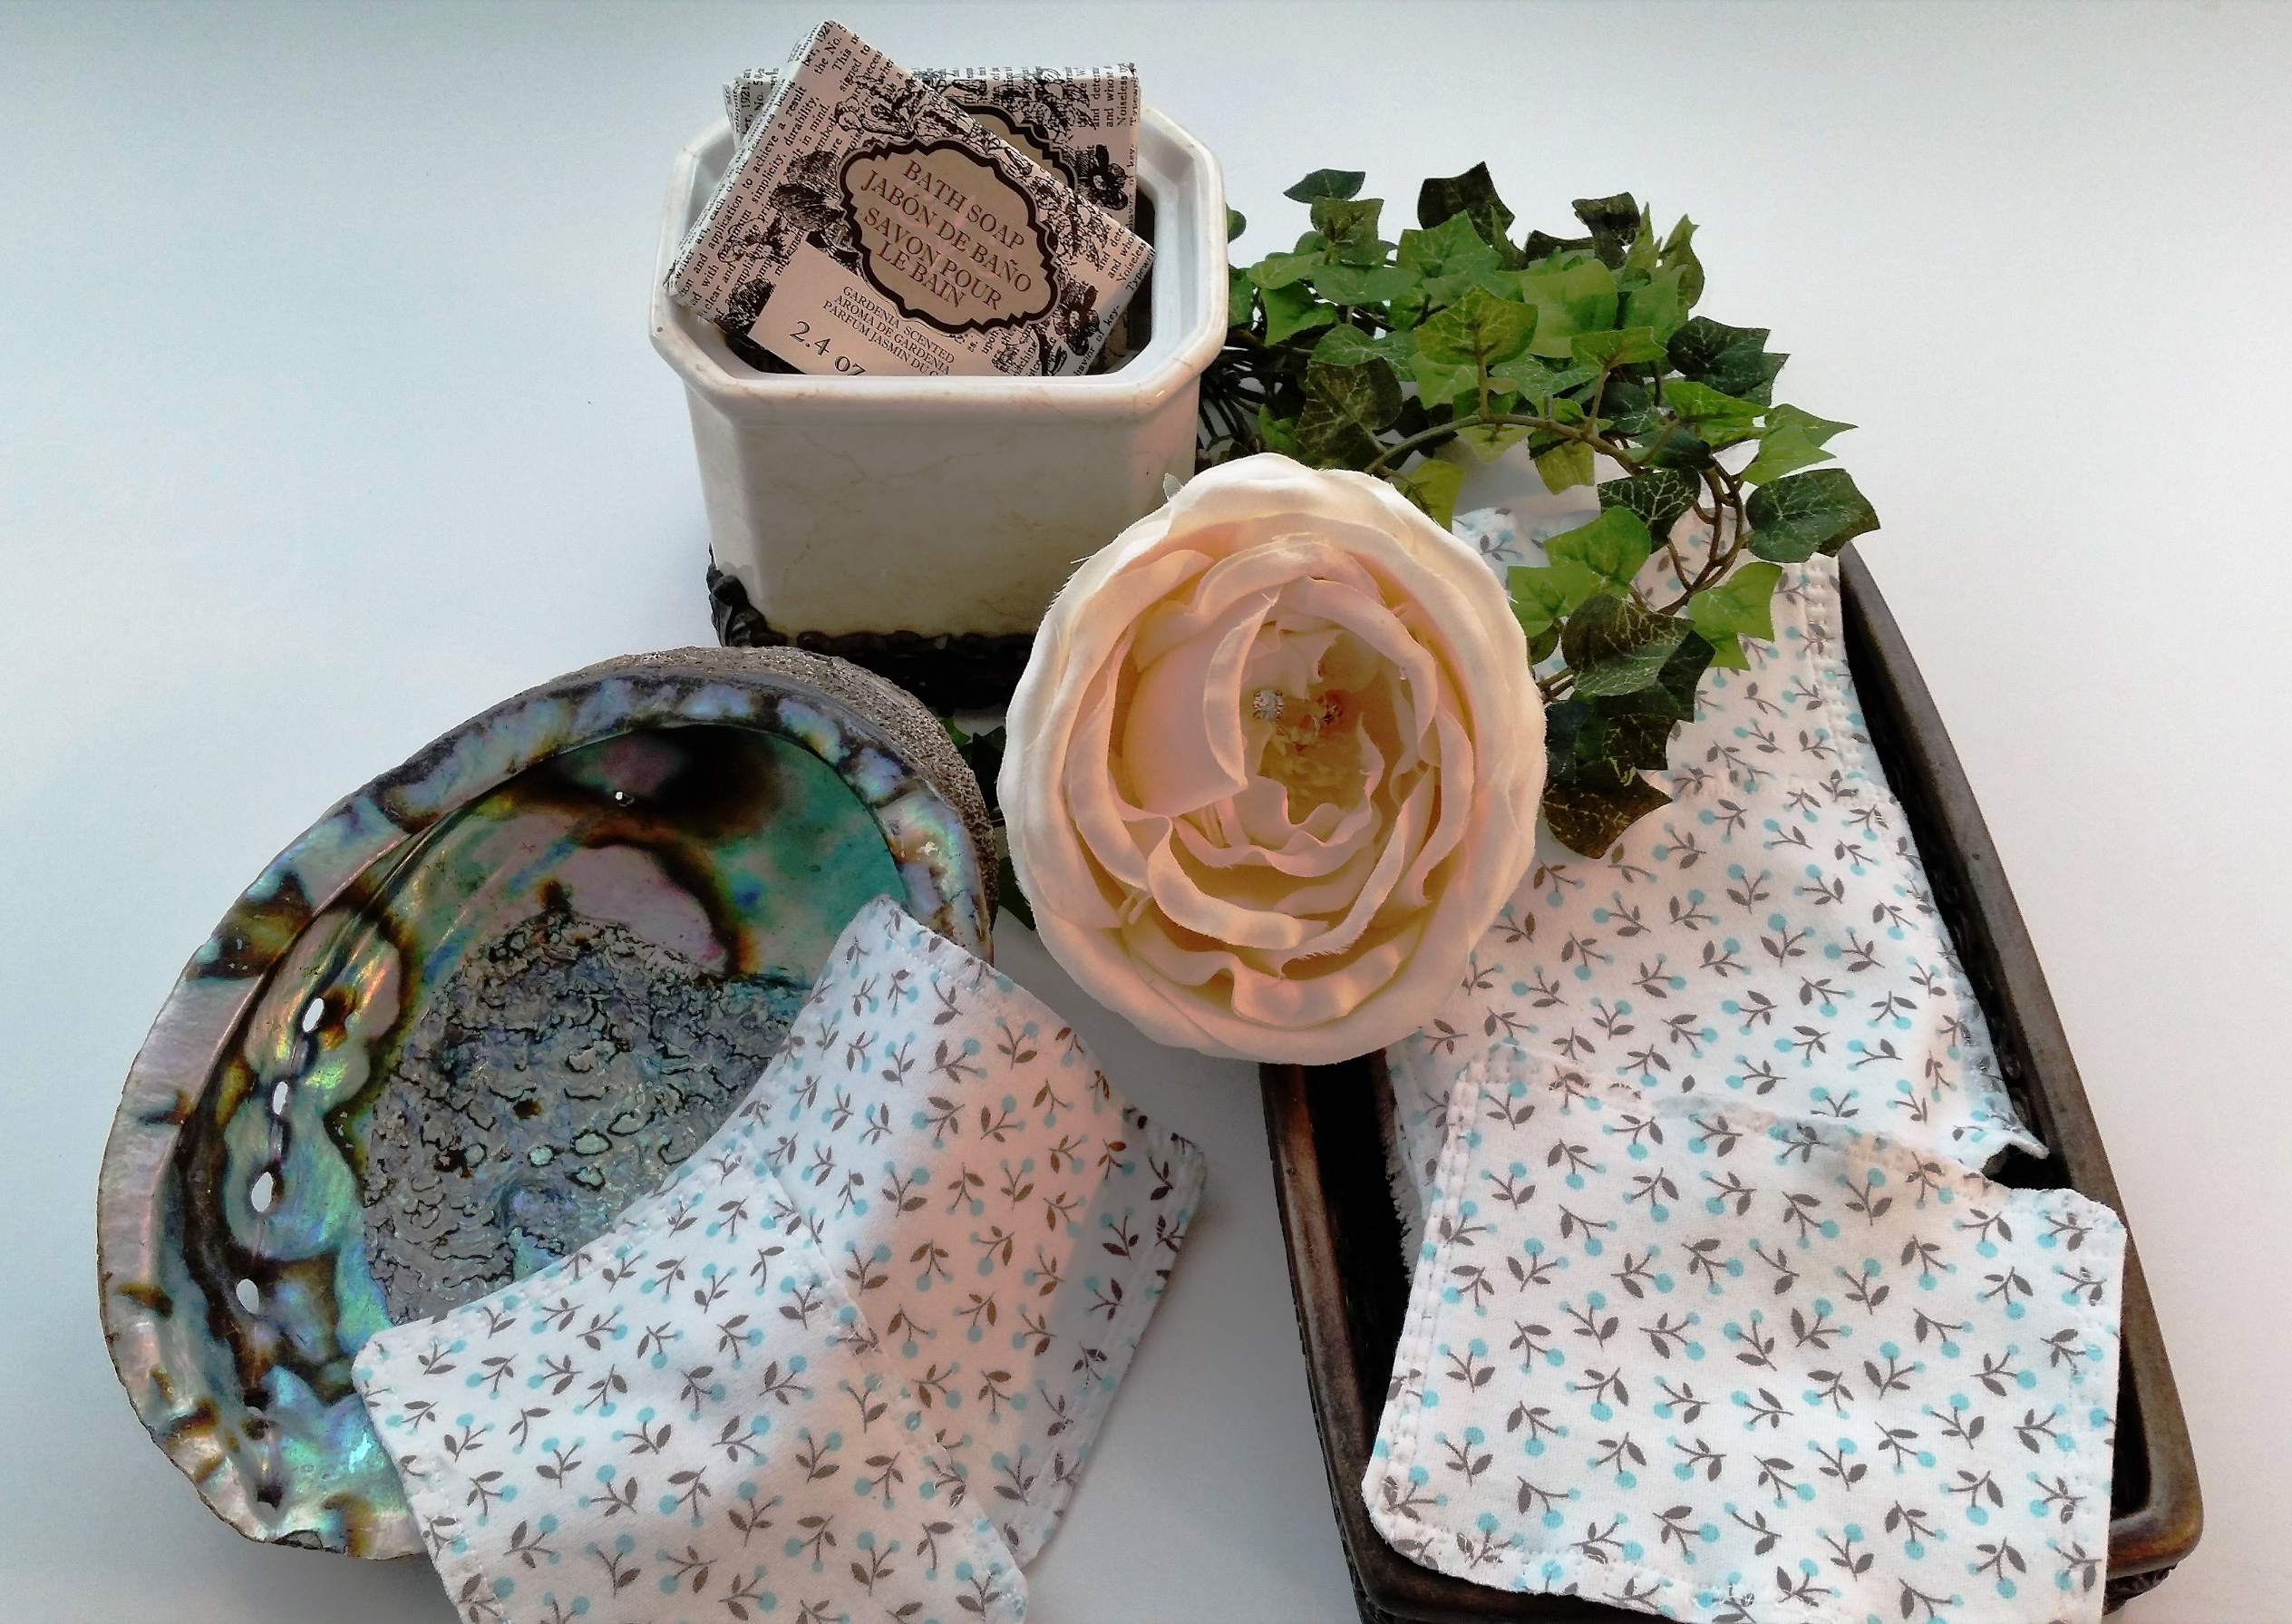
Tiny Towels.
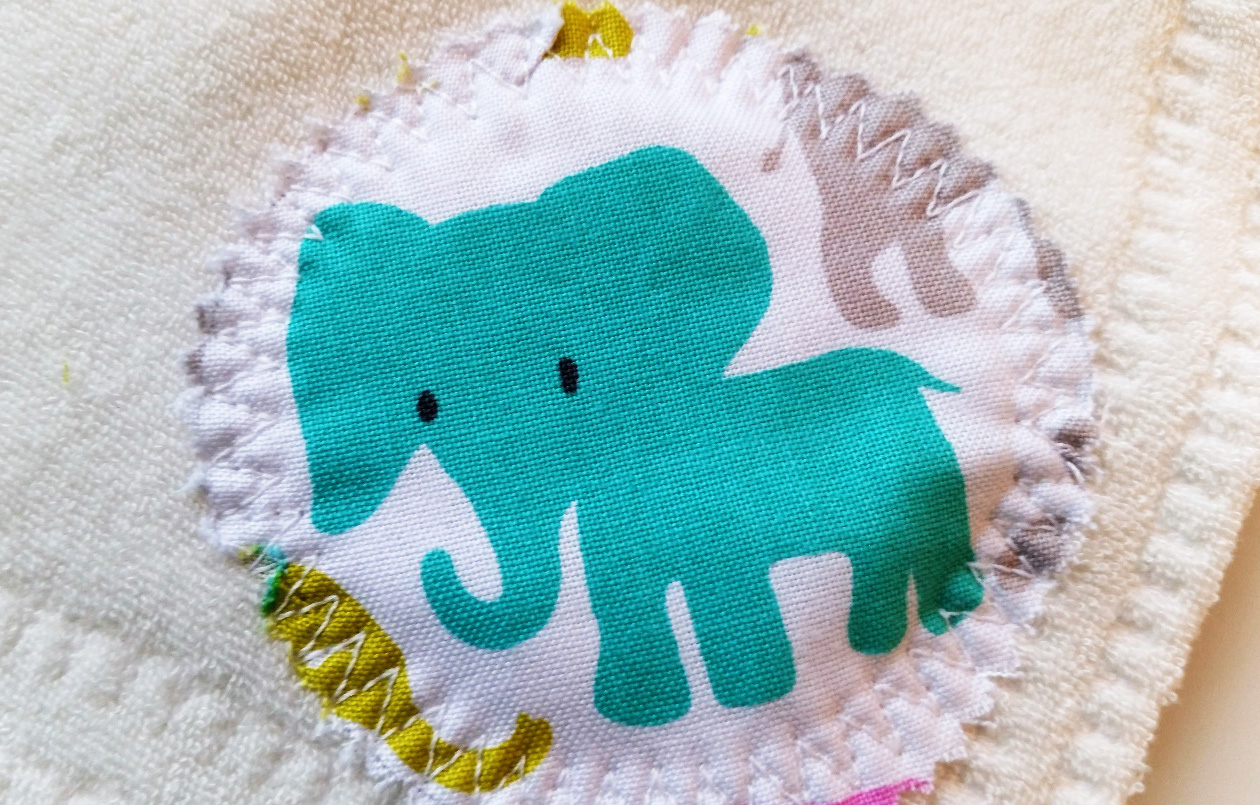
Next, I did something quite different. I used Organic Cotton knit and made what I call “Tiny Towels”. These itty-bitty towelettes are 5 x 4 inch wipes perfect for small messes. They could be used for washing baby faces, freshen up wipes or makeup application. I used a few myself and they are a wonderful change from shredding cotton balls or pads – and the great thing is these dry quickly!
Thinking of the Future
The reason I titled this blog post Nature Tomorrow is that while traveling in Italy and on a recent trip to Connecticut, I came to realize that there are just so many different ways to conserve our environment. Unfortunately, I just don’t think enough people are doing everything they can. Our beautiful green Earth is fill with so many beautiful forests, lakes and streams. So much waste and harmful chemicals drain into water from the production of products for our world. My only hope is that there will be Nature Tomorrow for our changing world. NATURA DOMANI… IN ITALIAN.
Back to Baby Basics
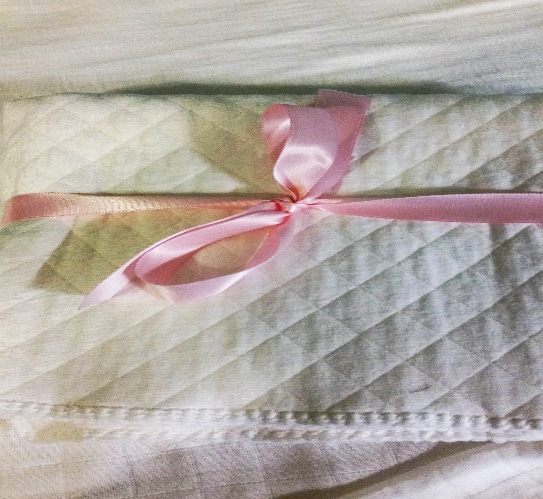
Diamond Soaker Thermal.
Next, I made a pad that provides extra protection for baby in the crib or just relaxing playing on the floor. It is made from Diamond Soaker Thermal. It is extremely soft as well and has three thin layers for warmth. It is made so that if water drops on it, it stays on top, however, pressure makes it absorb into the top – just not so much on the bottom. Its wicking quality is very good for under layers of clothing. The fabric is definitely water holding but not waterproof. Back in the day, I used a rubberized type of pad with a flannel top to keep the crib sheets and mattress from becoming wet. This is so much softer. I believe it would be good for diaper inserts as well, but I am not ready for a diaper business just yet. Baby steps to start!