I was thinking about writing a post this week about some of the favorite things that I’ve made throughout the years. But, once I really started trying to decide, I realized I had way too many ‘favorites’ to put in just one post, mainly because I’ve made a ridiculous amount of stuff. Truth be told, I can’t remember a lot of it.
Also, ‘favorite’, is a bit of a shifty word. I have favorites for all kinds of reasons: favorite fabric, favorite pattern, favorite last minute construction miracle, favorite vintage piece, favorite thing made without a pattern, favorite complicated pattern, favorite funky design detail, favorite sewing technique.
So, I decided instead to write a little about some of the most memorable things I’ve made. Most (perhaps all) of them listed here were for HBO’s Boardwalk Empire, designed by John Dunn and Lisa Padovani.
And speaking of designers…
I just want to clarify that every show and movie has a Costume Designer. Sometimes, on low budget and indie or college productions, the costume designer is the same person who also makes and shops the clothes. This is not the case on any mid to high budget shows. It takes a village to create the finished product. I didn’t design anything for Boardwalk Empire or any of the other major television shows and movies I’ve worked on as a tailor and pattern maker. I just make what is in the designer’s head.
How do I know what’s in the designer’s head?
Sometimes I get a sketch, sometimes pictures and photos from magazines and catalogues, sometimes vintage garments to use as a starting point, and sometimes it’s just a conversation with a scribbled line drawing on a manila oak tag.
And one other thing about the village: I made the patterns for all of the pieces to follow but, most times, I had the help of very talented tailors in the construction of the finished product.
A (partial) list of most memorables:
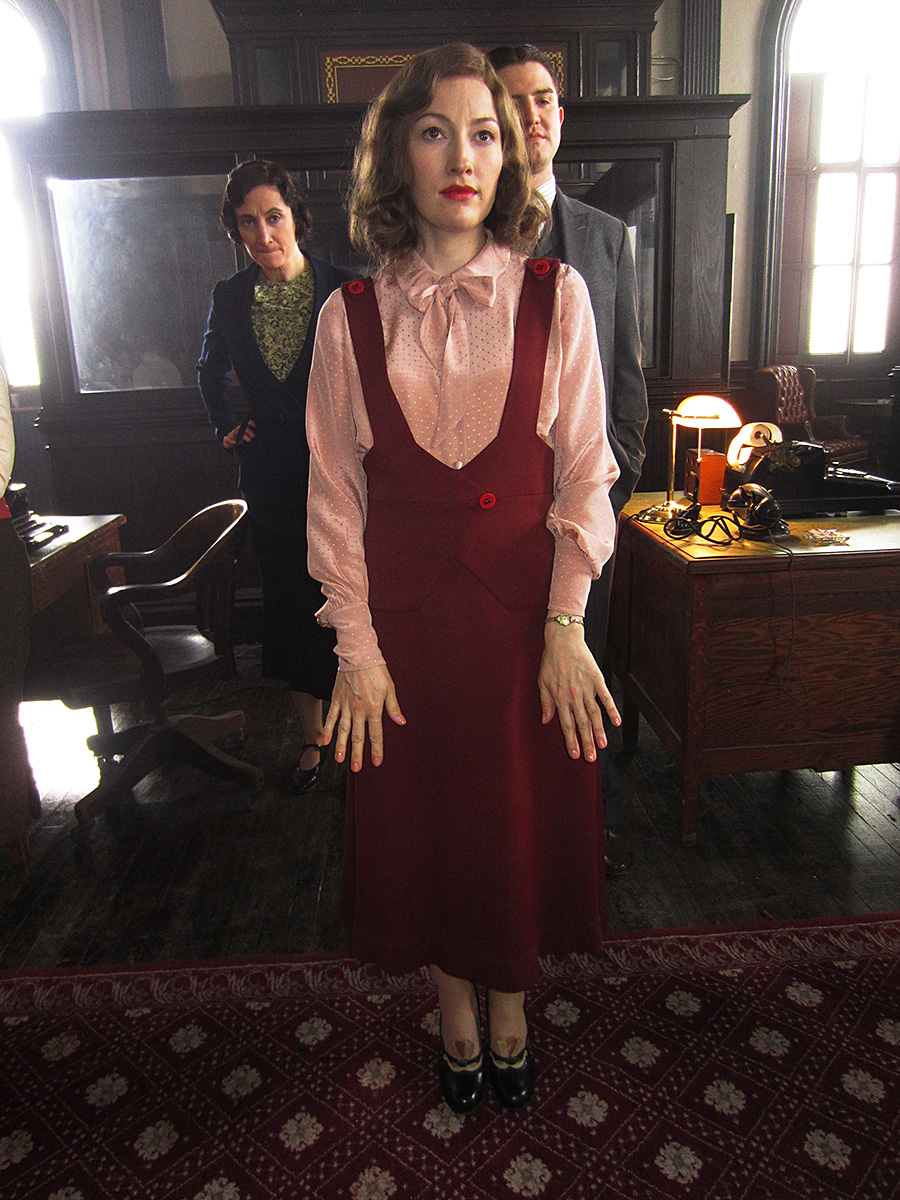
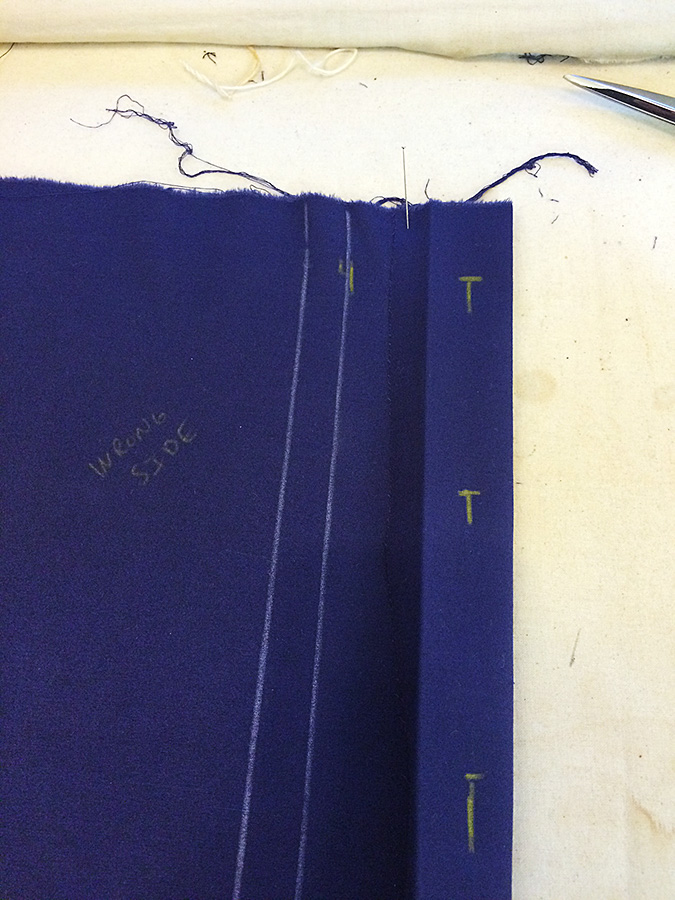
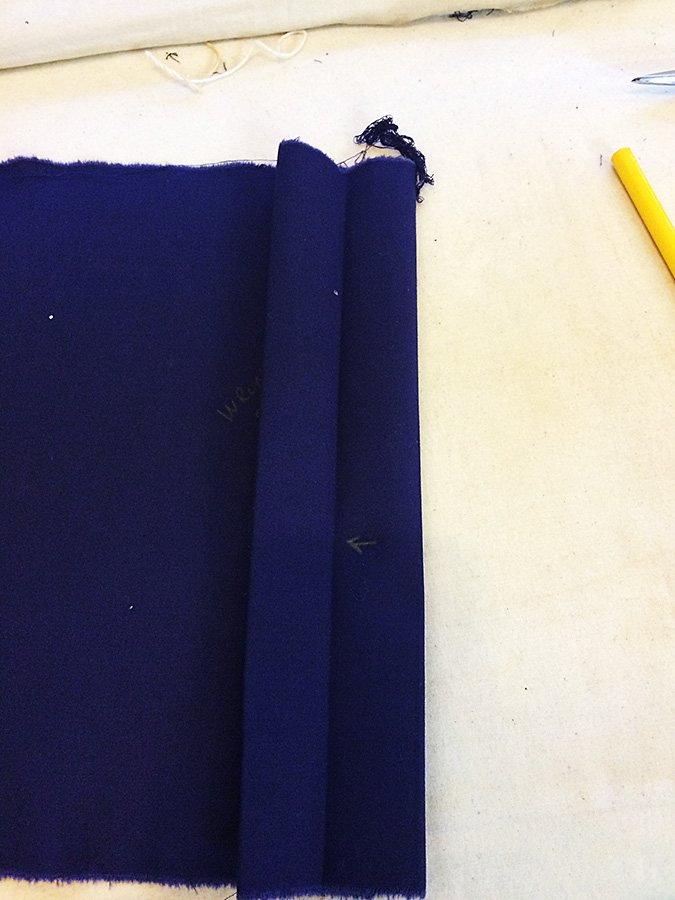
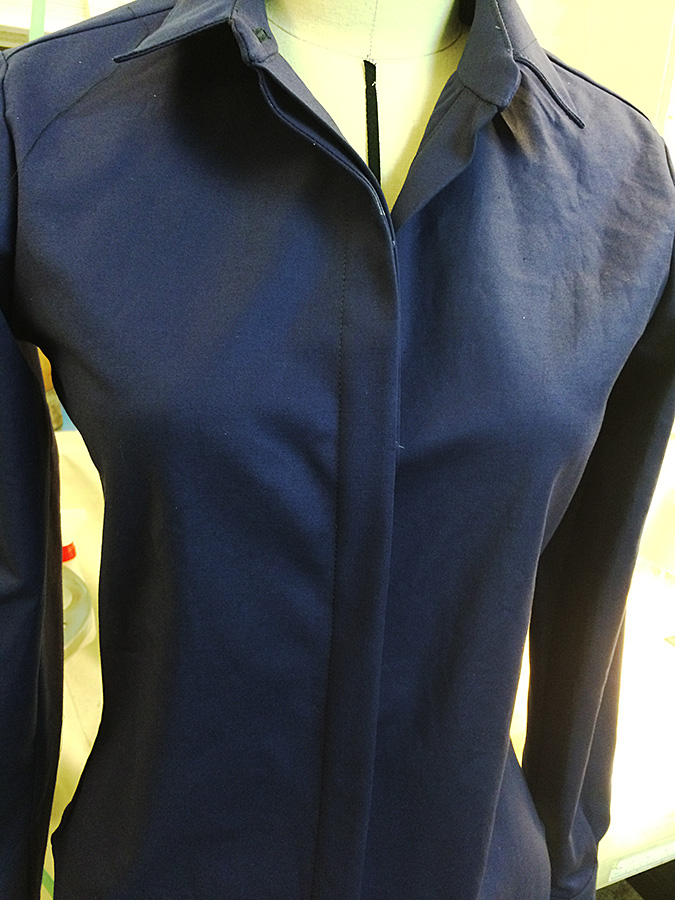
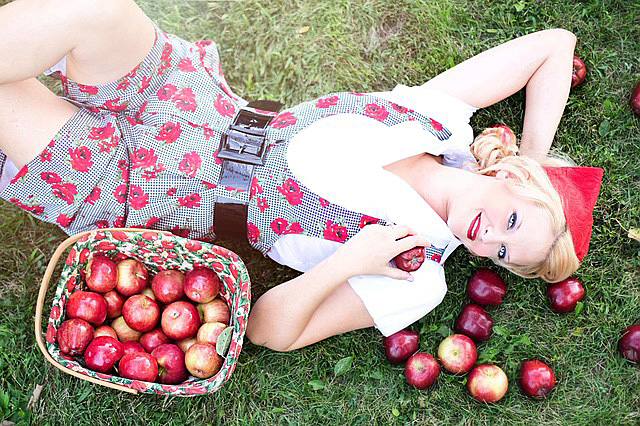
Outfit from an existing vintage pattern.
I used an existing 1930s vintage pattern for this ensemble. I altered the pattern slightly for fit. It’s a bit hard to see in the photo, but the jumper has an asymmetrical over lap opening in the front (that button is functional.) If I recall correctly, I did put together the blouse but I know that the jumper was constructed by one of the tailors in the shop, Amy.
Showgirl ensemble:
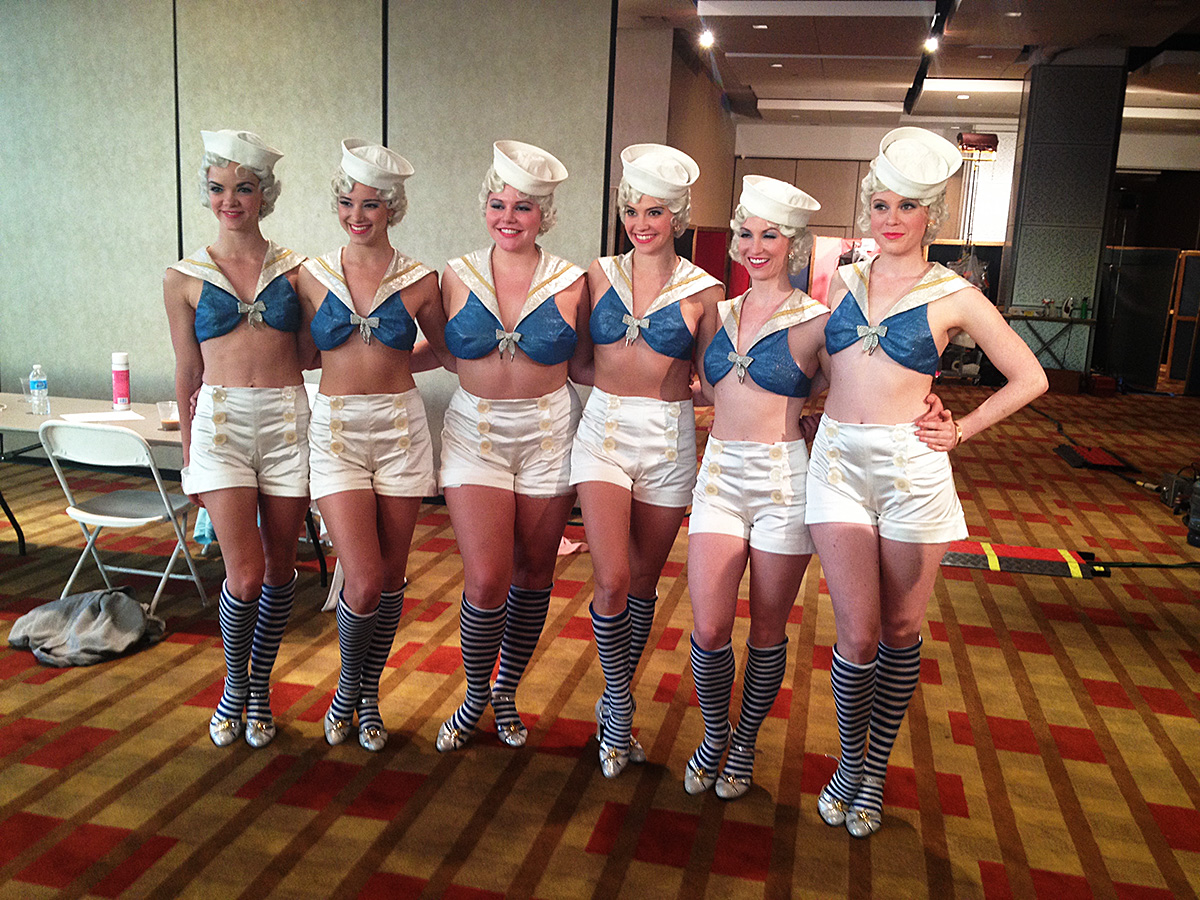
Showgirl ensemble.
We made quite a few showgirl ensembles for Boardwalk but the sailor girls were my favorite. The trickiest part of any of the showgirl things was always the time constraints. We routinely had a week (at most) to construct the outfits, and this was on top of all the other things we were making and altering. Thankfully, the actresses playing the showgirls remained the same throughout the season so once I had their measurements I was able to pattern (relatively) efficiently and go straight to fabric without doing any sort of mock up. Any showgirl extravaganza was always a true group effort, as in the day before the costumes were needed, almost every single person in the shop was working on them.
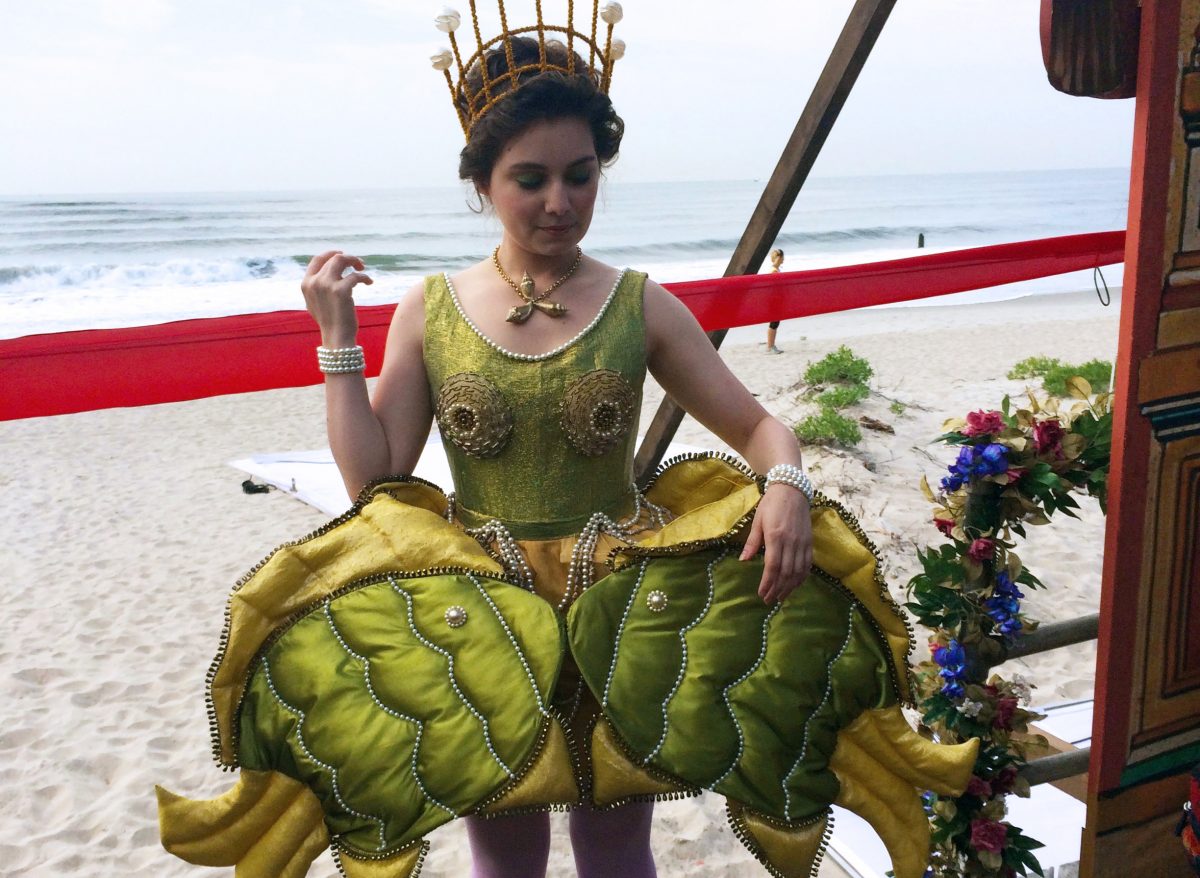
Costume involving fish:
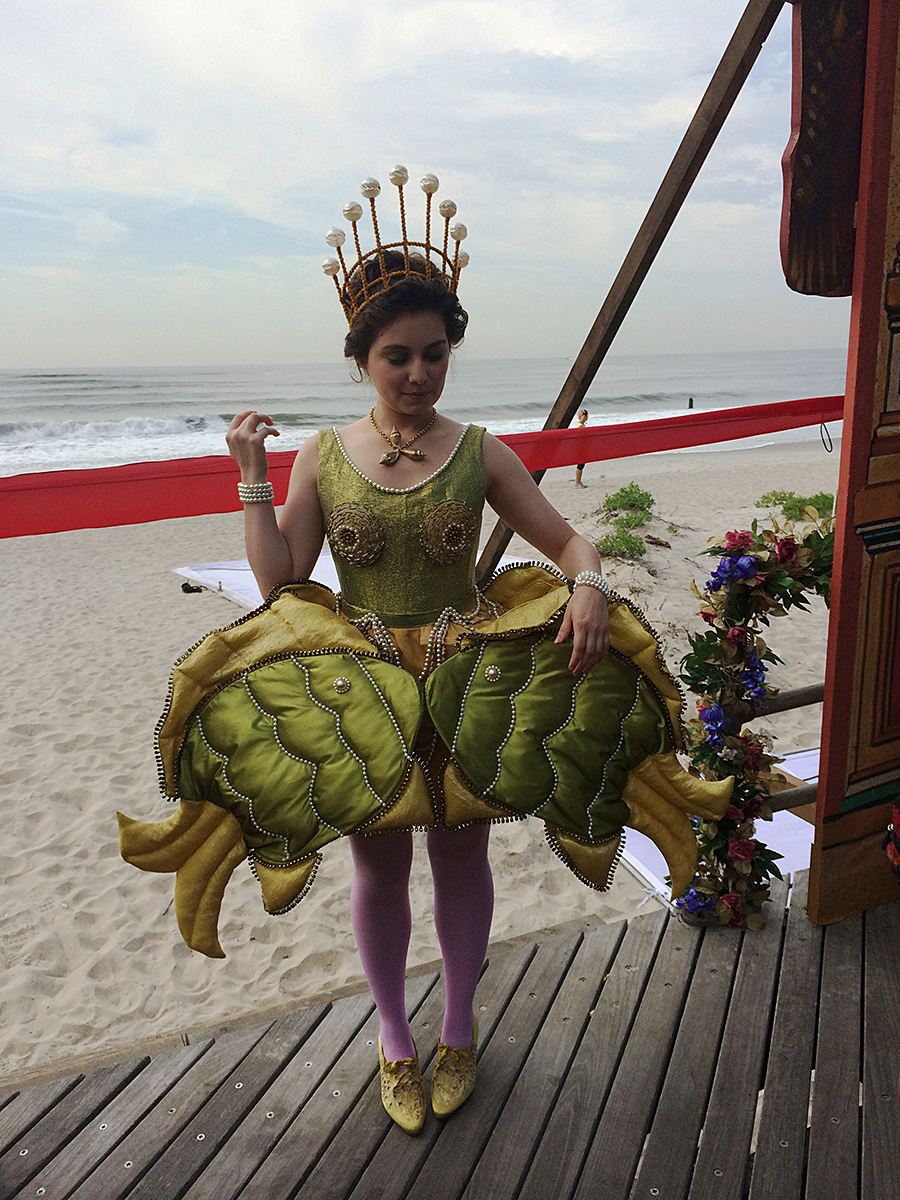
Costume involving fish.
We made two of these for the final season of Boardwalk Empire. The fish have batting and wire in them to make them slightly three dimensional, and there are two more on the back. These took an especially long time as all the pearl trim had to sewn on by hand.
Complete outfit in shortest amount of time:
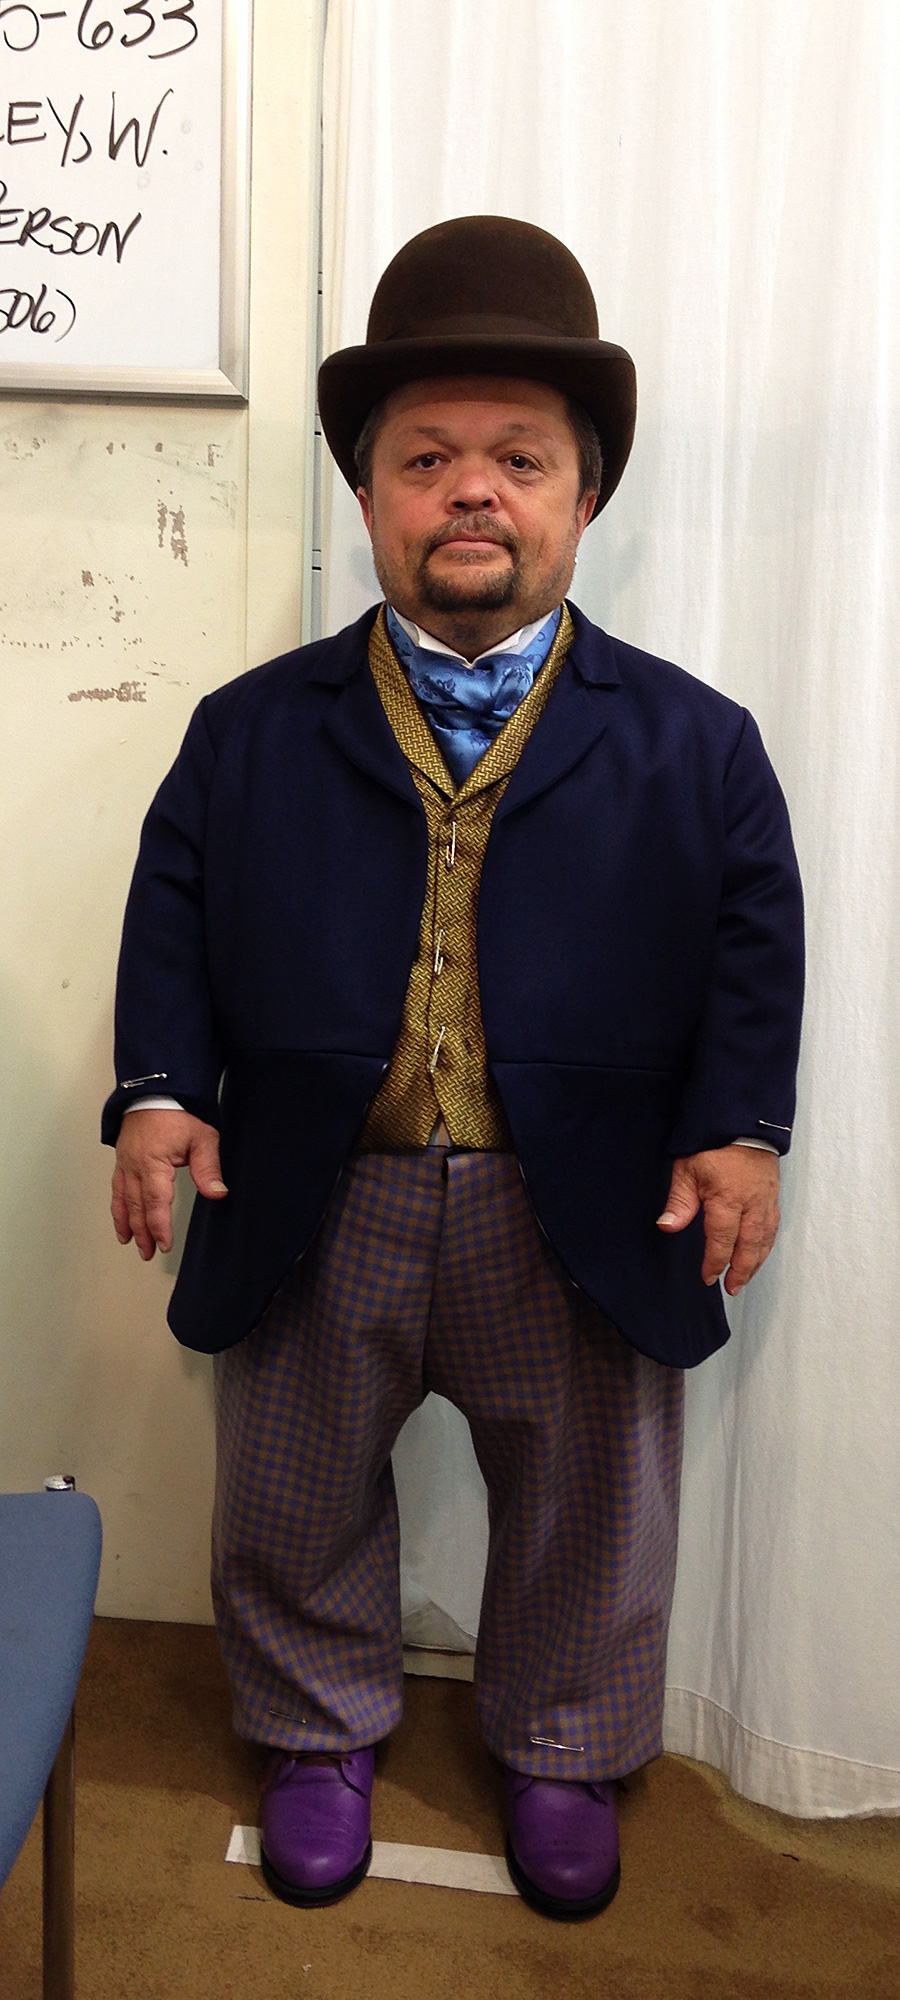
Complete outfit in shortest amount of time.
I will always remember this one. I had literally two days to get this done. On the morning of the first day, the actor came in for measurements. I started patterning as soon as he walked out the door. John (designer) found fabric he wanted to use that we already had in house so I was able to cut as soon as my patterning was done. I handed off the jacket pieces to one person and the pants to another and I put together the vest. The very next afternoon, I did the fitting. As you can see from the photo, the only changes needed were a sleeve and pant hem. This illustrates the importance of proper (and extensive) measurements.
Strangest costume:
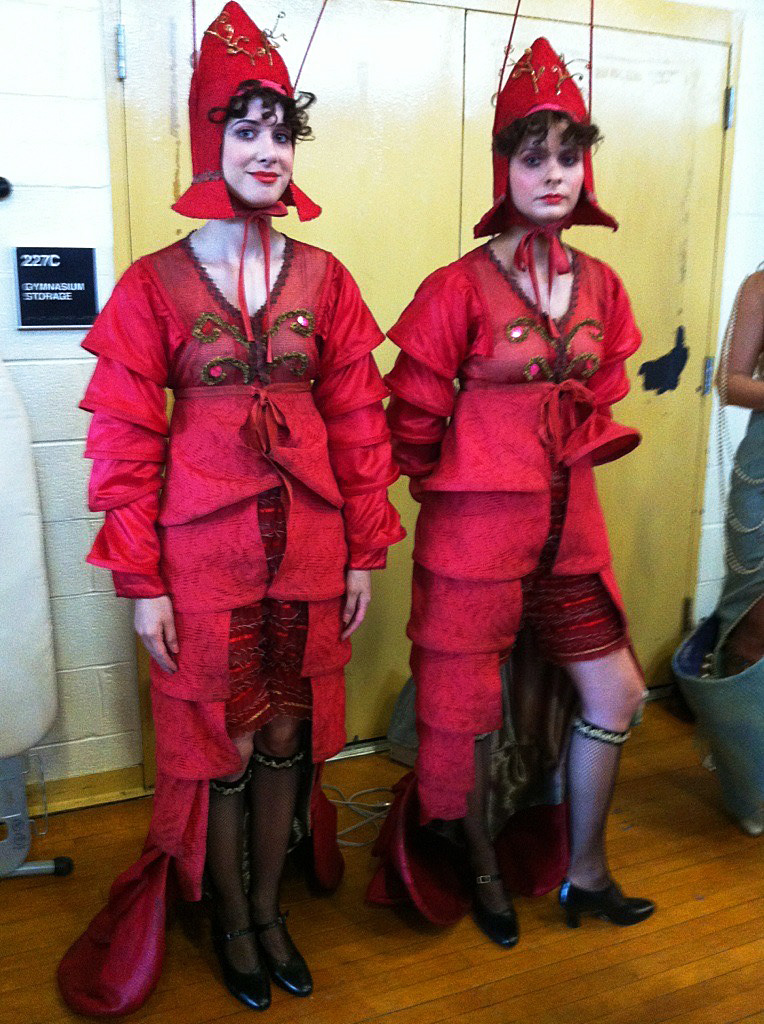
One of the oddest costumes I’ve made were these lobsters, again for Boardwalk.
One of the oddest costumes I’ve made were these lobsters, again for Boardwalk. I think the over bodice and sleeves were attached to the tail bit and it was put on like a coat, snapping and tying center front. I do remember the use of quite a large amount of wire.
Most adorable:
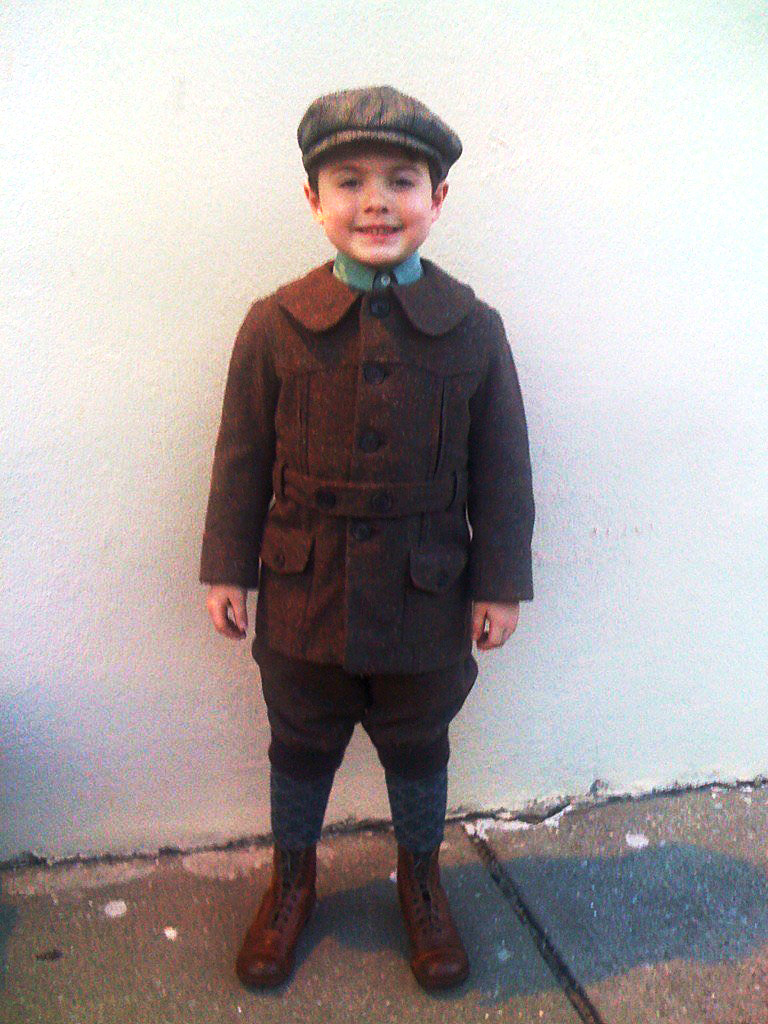
Most adorable.
I patterned all of the boys’ things for Boardwalk. The principal men’s suits were made by Greenfield’s in Brooklyn but the in house shop that I ran always did the suits and jackets for the younger boys.
So that’s a short list of some of my most memorable projects. There are definitely many more though. One of the best things about my job is that there is always something new to make.