I made those pillows with an envelope-style close on the back.
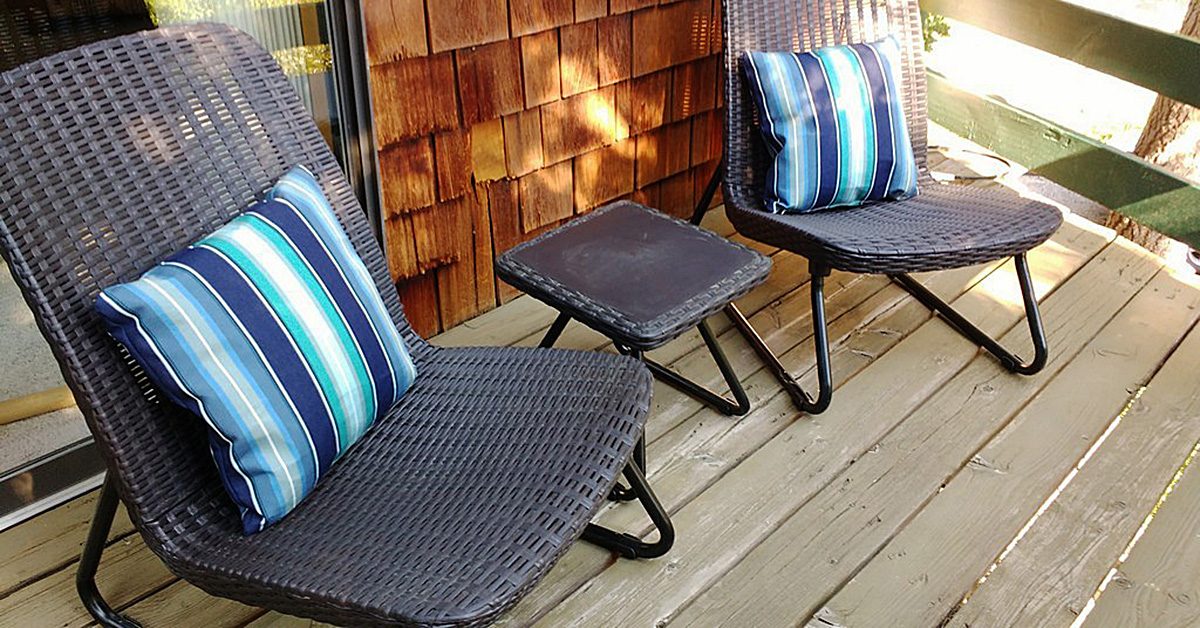
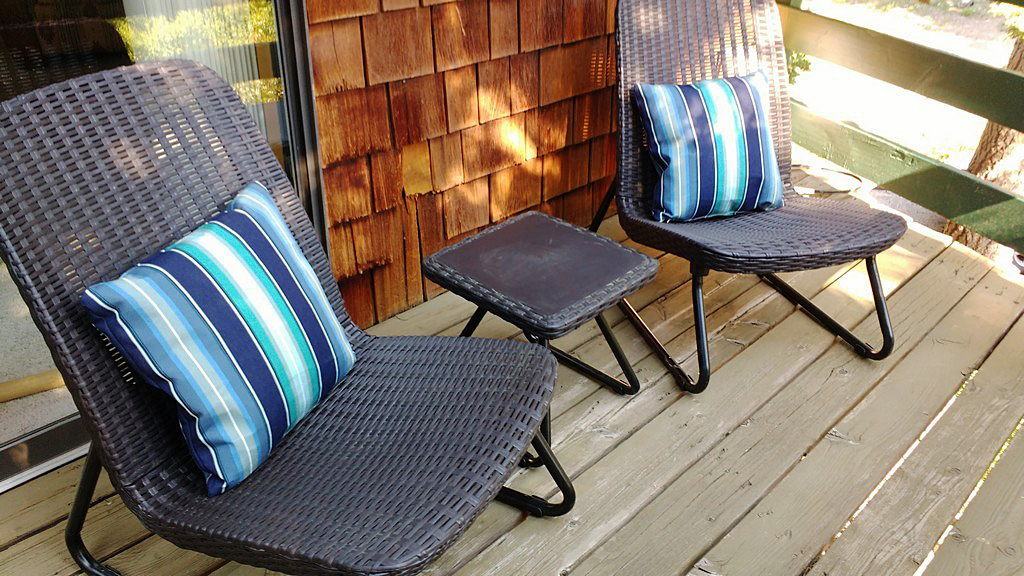
Last week I shared how I made outdoor pillows out of Sunbrella fabric for my front porch chairs. I made those pillows with an envelope-style close on the back. The pillows on the front porch do not get as much direct sun exposure as the chairs on the back deck. For those chairs I wanted to use the same fabric, but to make pillows with a zippered close so I could flip the pillows between the front and the back to evenly distribute sun exposure over time to the fabric.
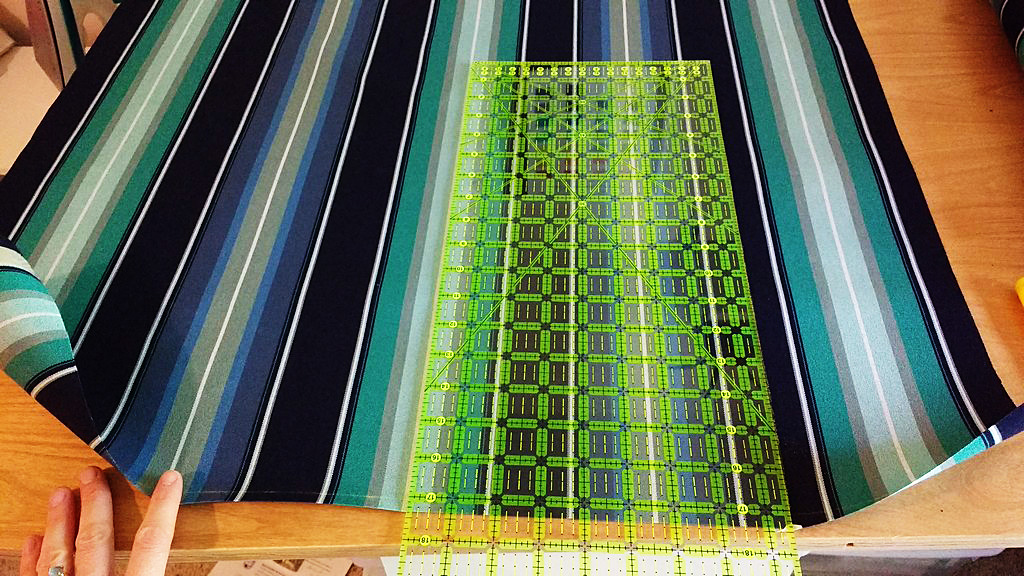
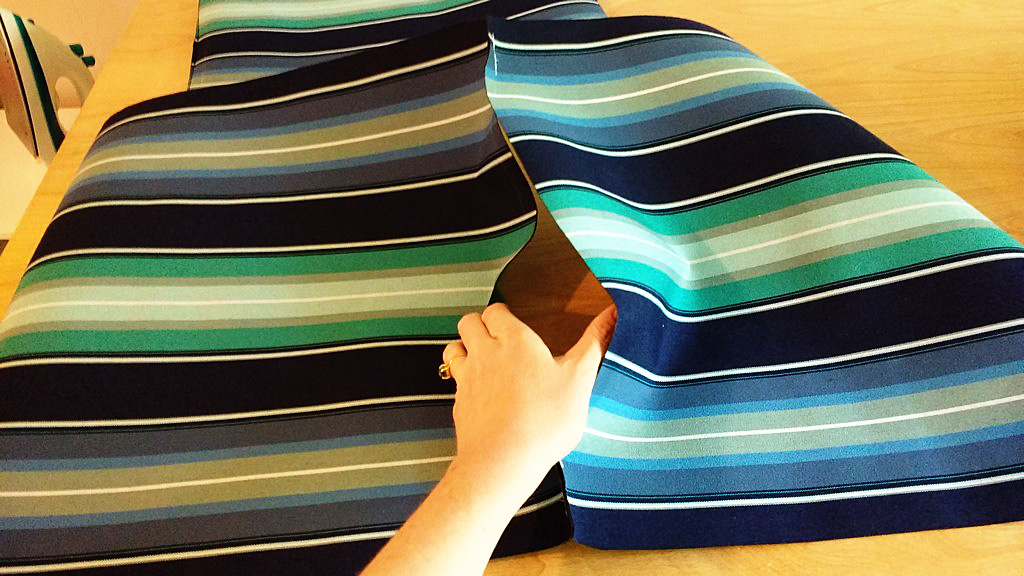
For pillows with a zipper close you will cut out the same size of front & back panels.
For pillows with a zipper close you will cut out the same size of front and back panels. I was making two pillows for 18” x 18” pillow forms so I needed four 17” x 17” panels. With ½” seams, the finished covers would be 16” x 16”, perfect for stuffing a slightly larger pillow in to make the pillow case fluff up and fill out nicely.
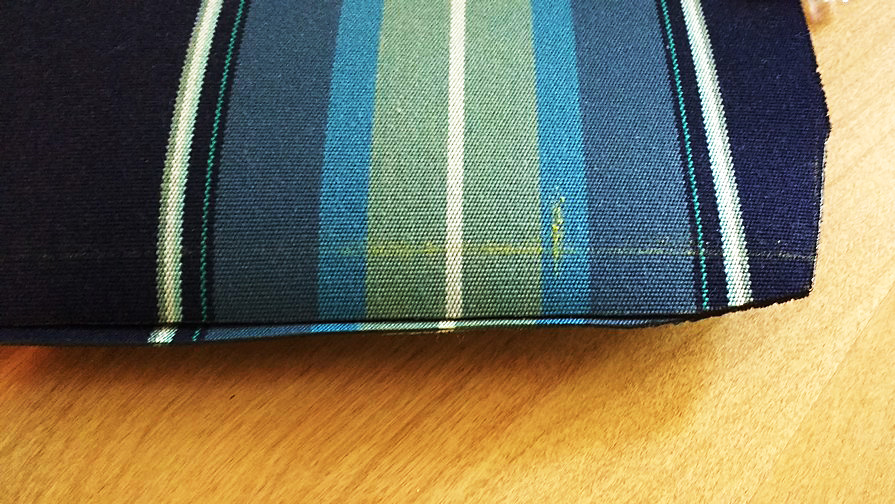
Pro Tip: plan ahead when working with stripes or patterns and cut out your panels to match on all sides (if this is important to you).
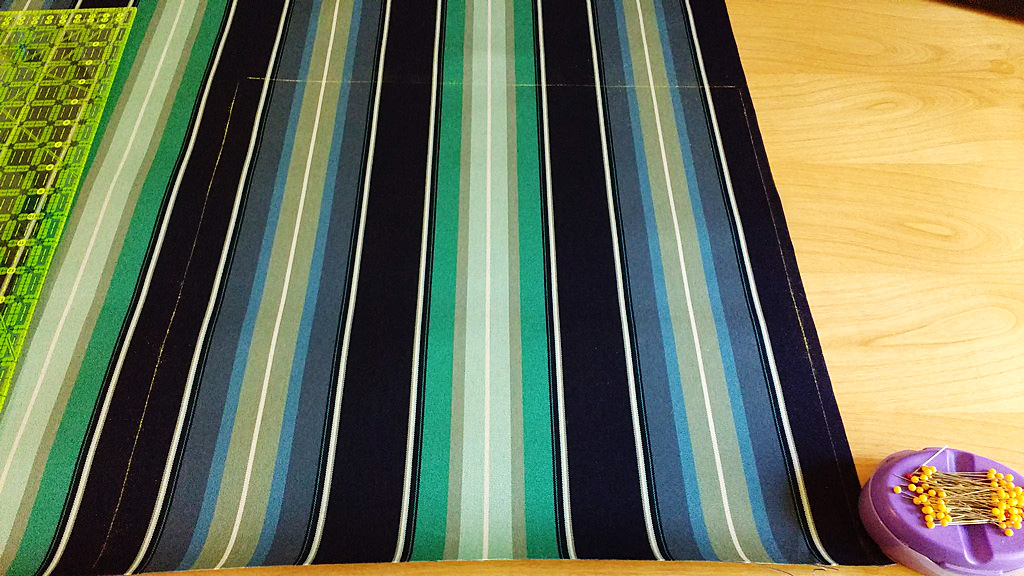
Plan ahead when working with stripes or patterns & cut out your panels to match on all sides.
Like a hot knife through butter
Sunbrella is perfect for cutting with a hot knife. It seals the edges for you. Just watch out as the edges can be sharp.
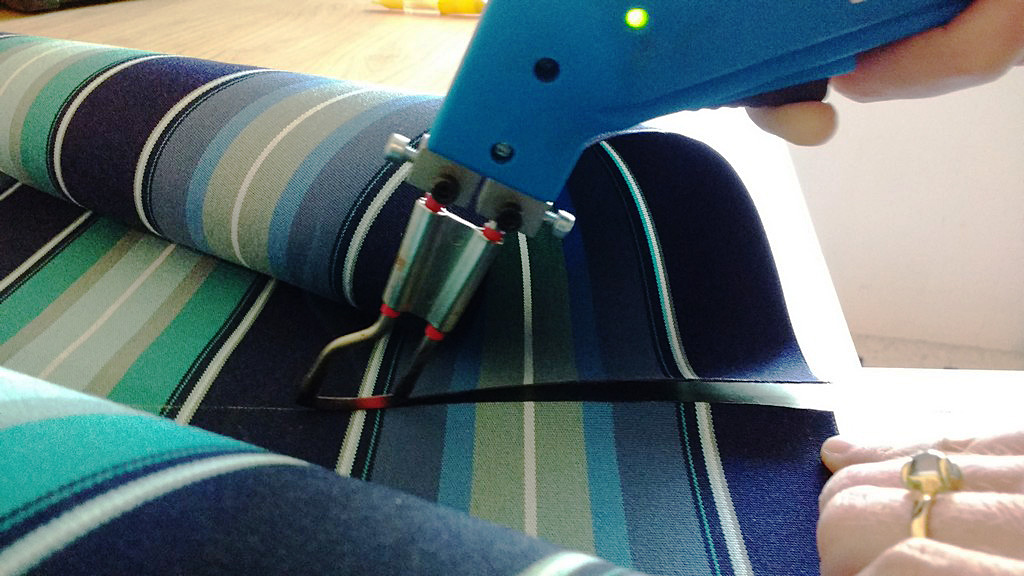
Sunbrella is perfect for cutting with a hot knife.
Sunbrella outdoor fabric has no right or wrong side. I clipped two panels together and the other two panels together using my Wonder Clips. They are available at SewingMachinesPlus.com and I love them!\
Pro Tip: if you are working with stripes or a pattern, make sure you place the panels together correctly to match the stripes or pattern.
Round off your corners. I talk about the importance of rounding your corners in this post. Not everyone does it but I think it makes for a more beautiful pillow. On dark fabrics, I use my Clover Chaco Liner pen.
Round off your corners.
Zippers!
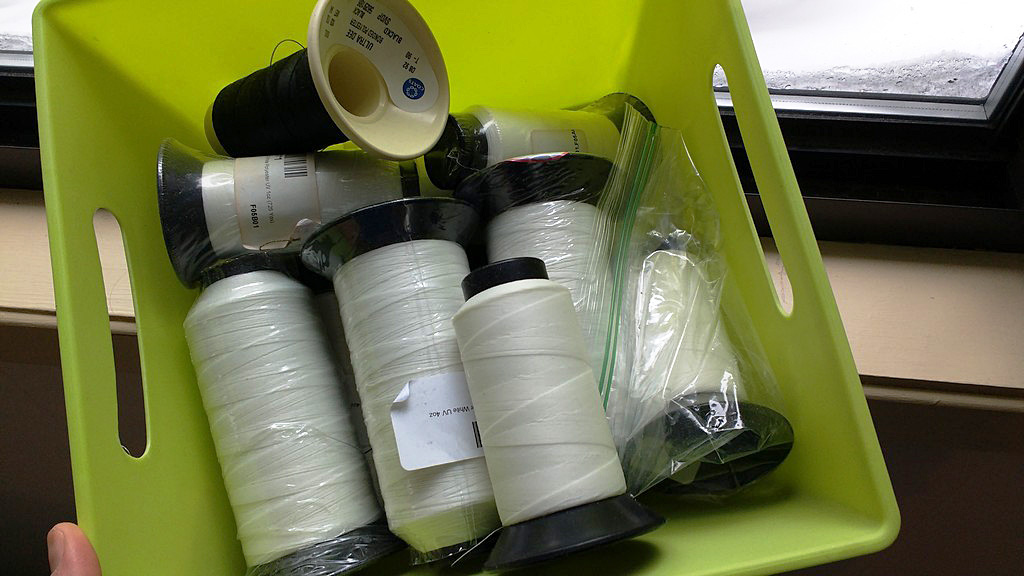
I’m using two different zippers from my stash. They are both long enough to fit the 18”x18” pillows and that’s all that matters.
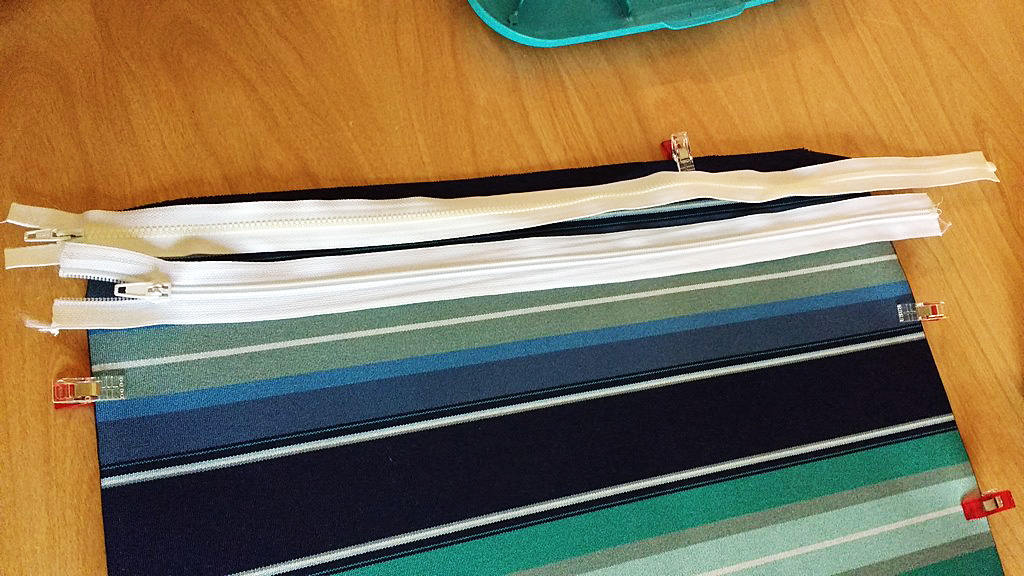
I’m using two different zippers from my stash.
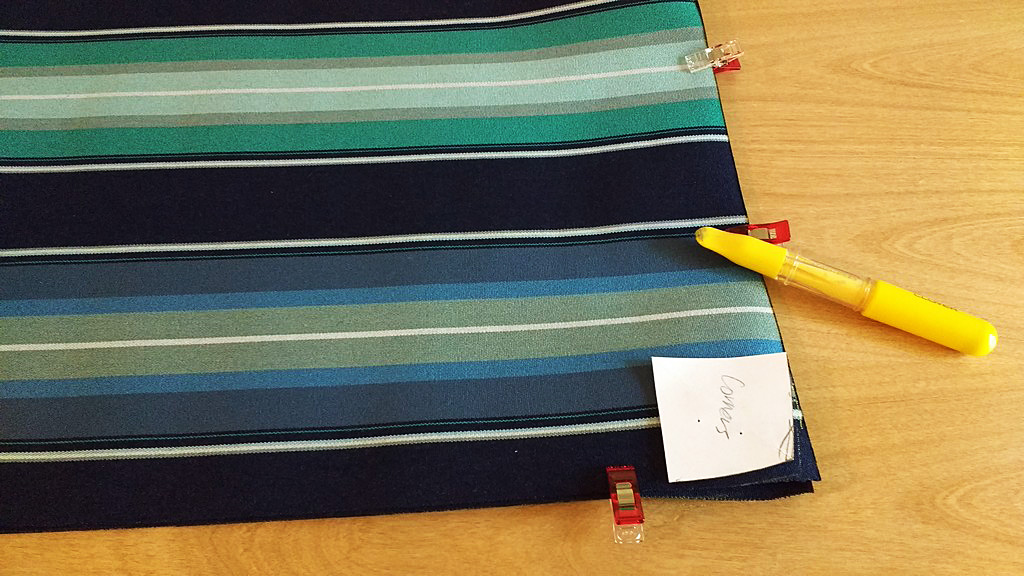
Determine what side is the bottom of your pillow. This might depend on how you want your stripes to run or your pattern to be displayed. I’m working with ½” seams all around the pillow. On the side where you will place the pattern, mark about 2” in on both sides and sew and back-tack on both ends along that 2” line.
Determine what side is the bottom of your pillow.
Now your seam will look like this, with an opening in the middle.
Now your seam will look like this, with an opening in the middle.
Sunbrella is perfect for finger creasing. Crease down both seams. Here you could stick the seam down with basting tape if you didn’t feel super confident going forward to the next step.
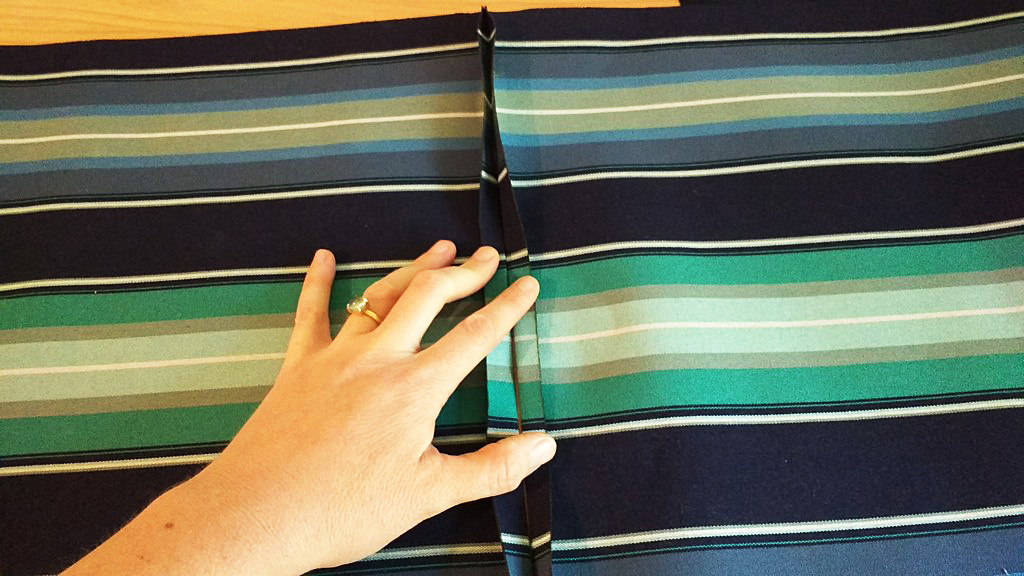
Sunbrella is perfect for finger creasing.
With my Clover Chaco Liner pen, I mark on both sides of the seam where the stitching ends. This will show me where I’m going to start and stop my zipper (just past that stitching on either end).
Pro Tip: make sure you place your zipper with the zipper pull facing down so it can be accessed from the right side of the pillow.
You zipper is marked up – so let’s sew it on!
I mark on both sides of the seam where the stitching ends.
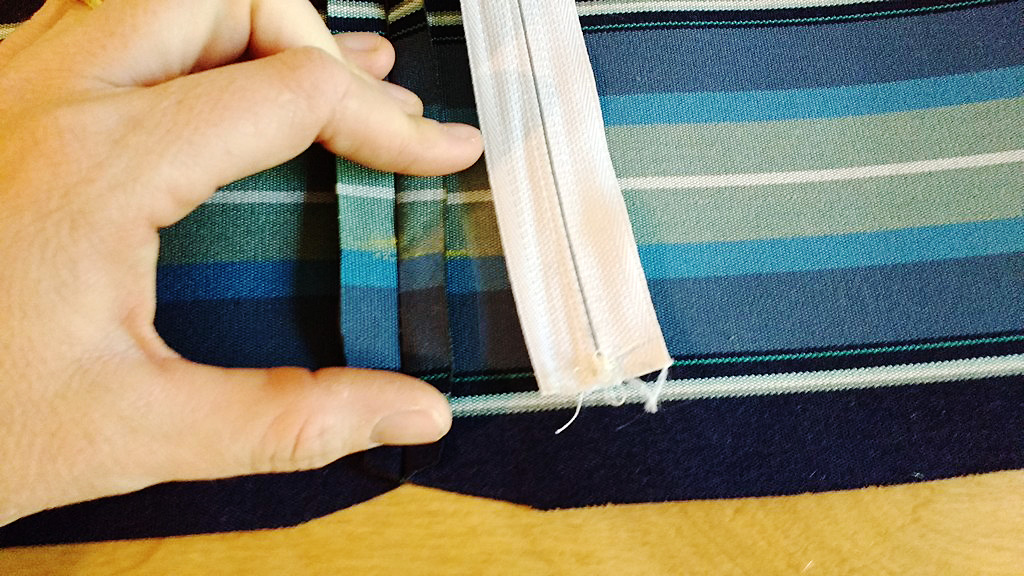
I started at the bottom of the zipper and sewed it down just past the yellow mark I’d made. Then I roll up both sides of the fabric and use Wonder Clips to hold the fabric in place so I don’t have fabric all over the place as I’m sewing in the zipper.
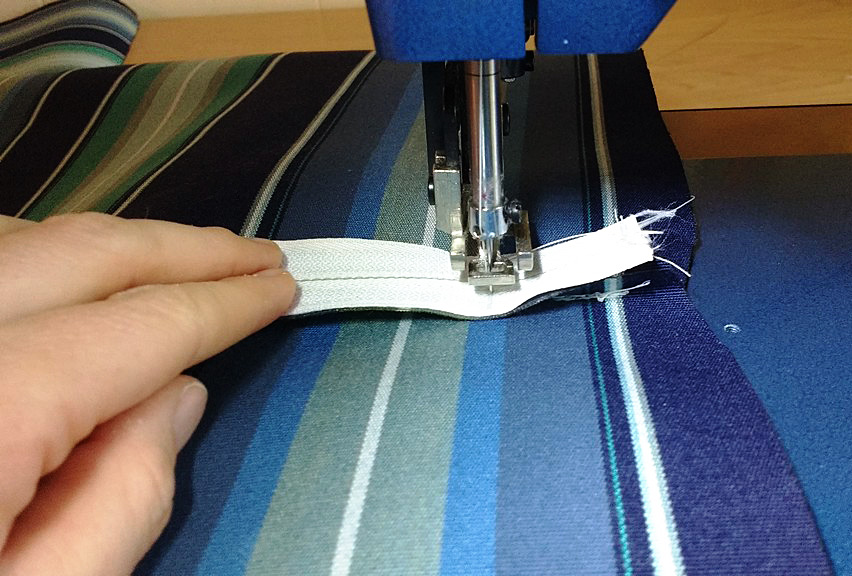
I started at the bottom of the zipper & sewed it down just past the yellow mark I’d made.
Next I carefully sewed the zipper to either side of the folded seams. When you get to the zipper pull, leave your needle down and lift up the foot, then slide the pull past and away from where you’re sewing. Back tack thoroughly at the top and bottom of the zipper.
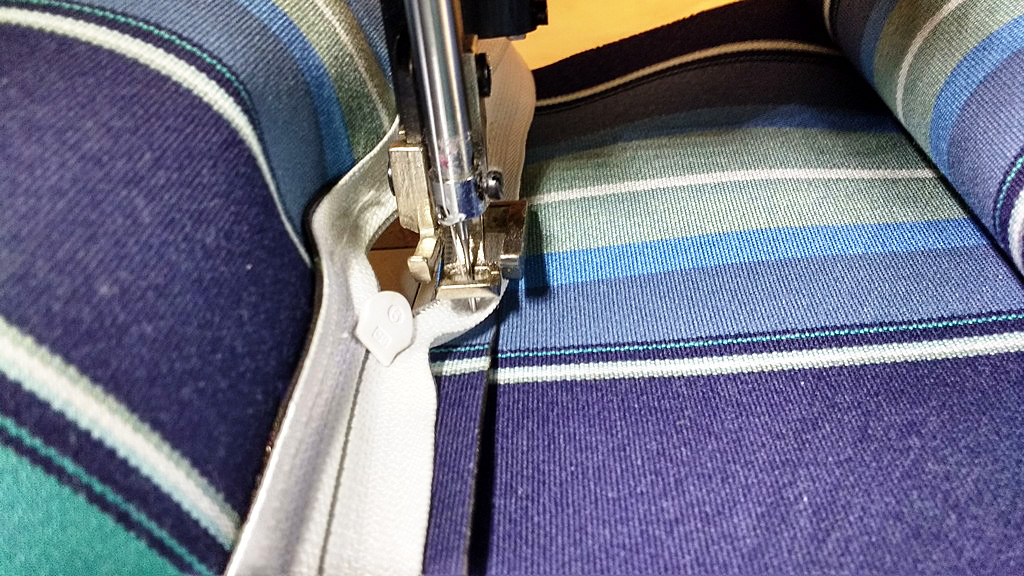
I carefully sewed the zipper to either side of the folded seams.
Now the two pieces are fully joined with the zipper in the middle.
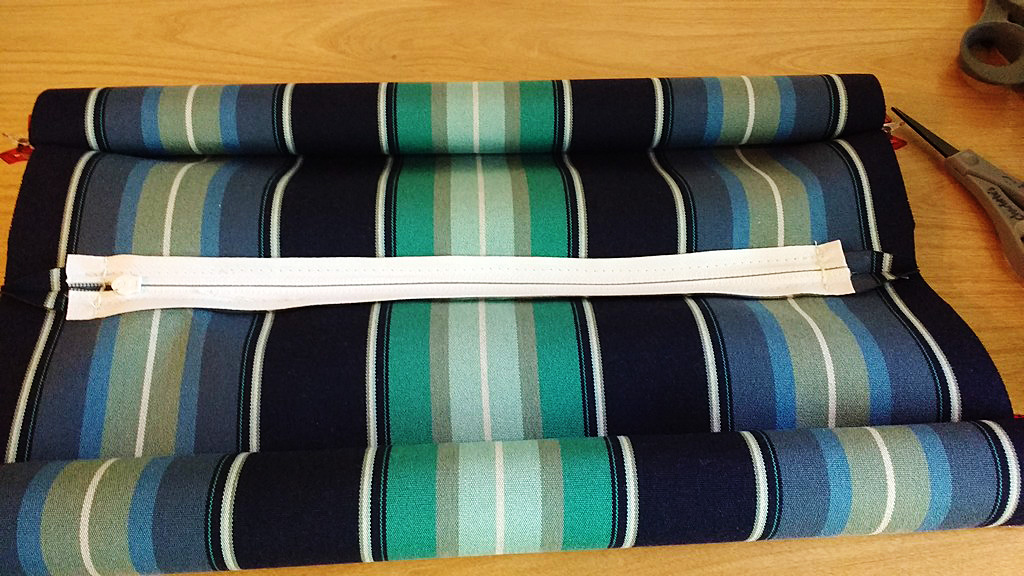
Now the two pieces are fully joined with the zipper in the middle.
Next, unroll your fabric and clip the panels right-sides together. Sew all around the other three sides.
Pro Tip: unzip your zippers enough to be able to fully unzip them once you’ve sewn the other seams shut.
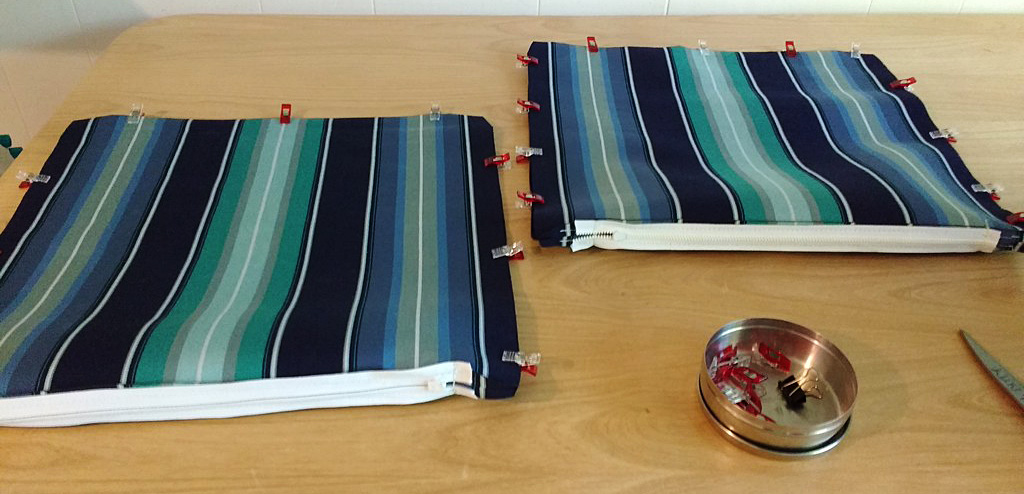
Unroll your fabric and clip the panels right-sides together.
Before you turn your pillows right sides out, always, always, always check your work. Go over all the sewn seams and corners to make sure you didn’t miss anything.
Then turn! Watch out because Sunbrella cut with a hot knife can be a bit sharp. I use my leather garden gloves to turn them right sides out.
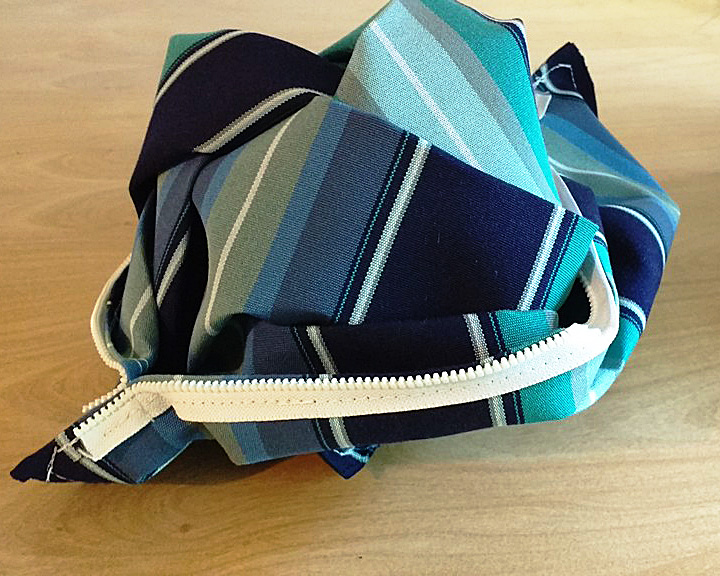
Watch out because Sunbrella cut with a hot knife can be a bit sharp.
Use something sharp but not too sharp, like a Sharpie marker with the lid on to poke and fully round the edges of your pillow. Now you have a Sunbrella pillow case with a zippered close!
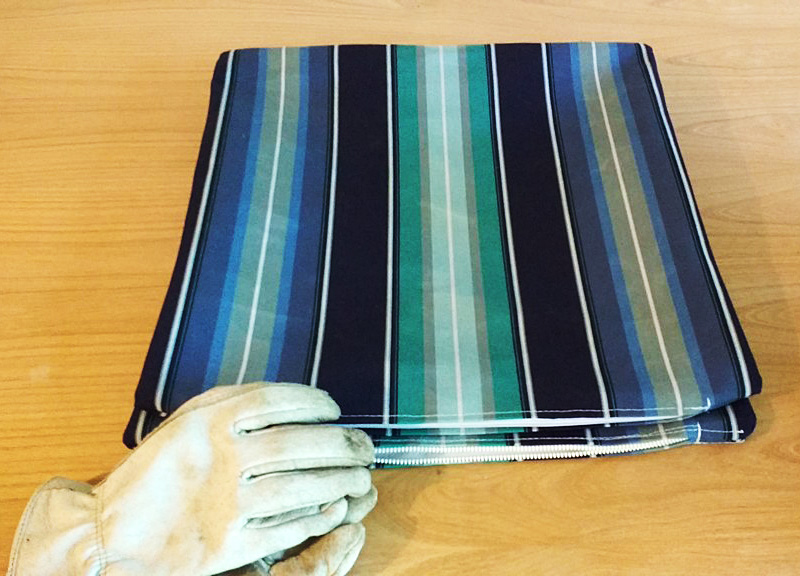
Now you have a Sunbrella pillow case with a zippered close!
Walk it in
Add your pillow form. Remember, your pillow is bigger than your pillow case. You need to move the pillow in gently but firmly. You are in charge! I call this action ‘walking it in.’ Just keep moving it until it’s fully in the case. Then grab each corner and really match it corner to corner.
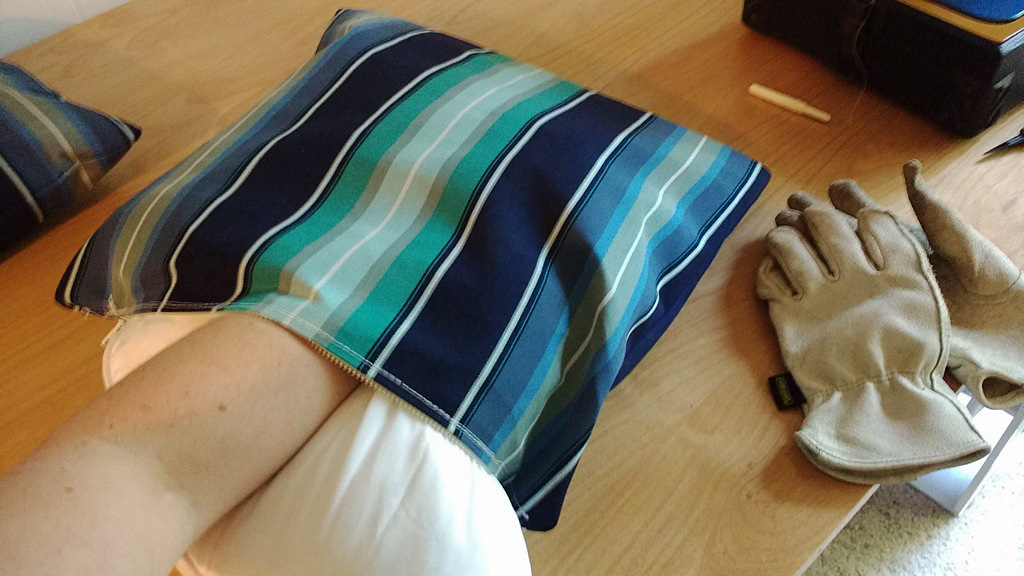
You need to move the pillow in gently but firmly.
And there you have it. Two puffy pillow cases with zippered closes that are the same front and back. Perfect for distributing sun exposure on a deck.
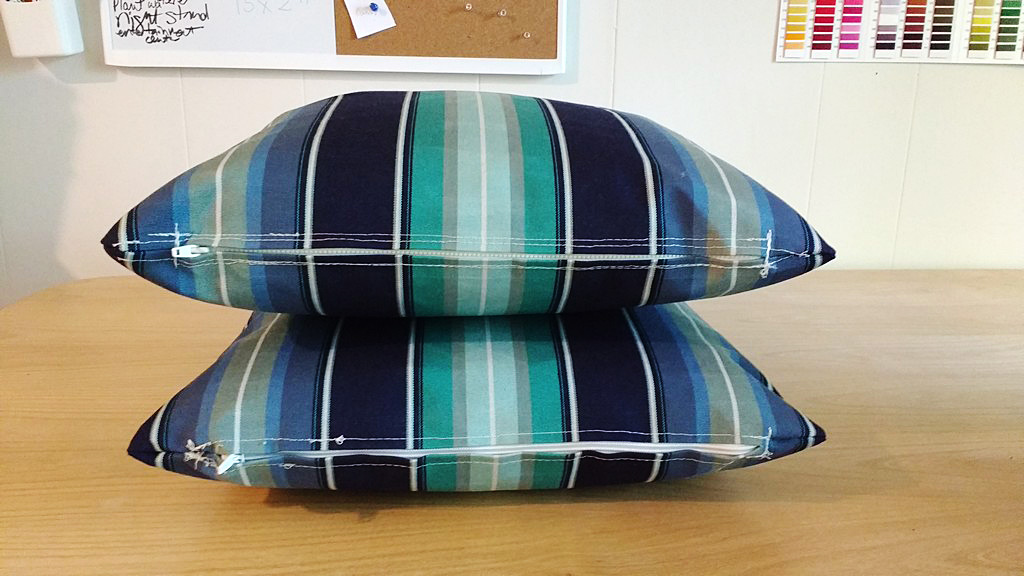
Two puffy pillow cases with zippered closes that are the same front & back.
Ready for its close up!
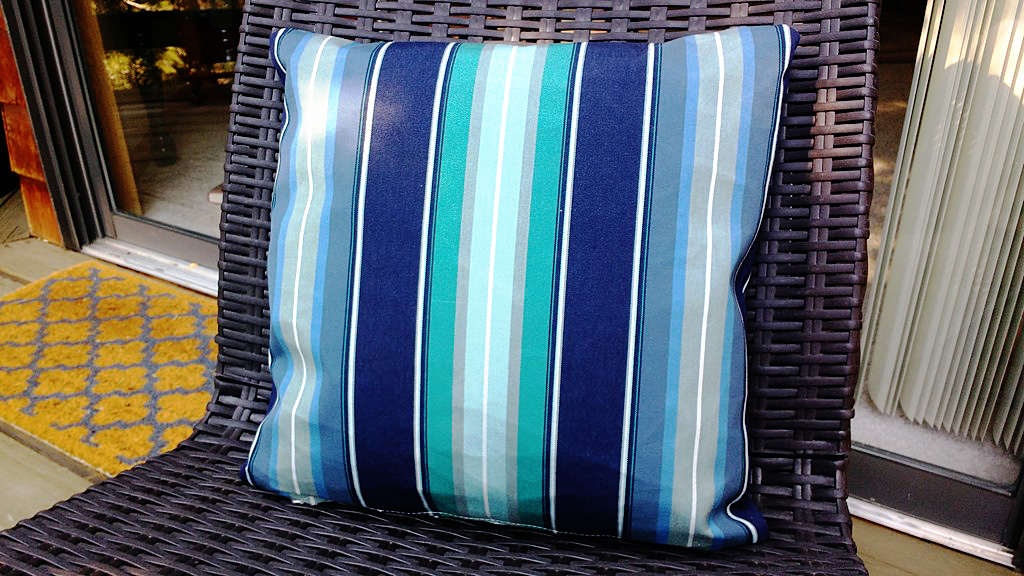
Ready for its close up!
Do you have any tips for working with Sunbrella? Tell us about them in comments!

Do you have any tips for working with Sunbrella? Tell us about them in comments!
———————————————————————————–
Charlotte Kaufman is a writer and sewist in Mammoth Lakes, California. She specializes in marine and home interiors and continues to fall more and more in love with quilting. You can follow her at charlottekaufman.com.