One of the questions I often get when I tell people that I sew for a living is: What sewing machine do you like the best?
I usually respond that it all depends on what I’m doing and I use different machines for different things. Which is mostly true. But if I’m being completely honest, I do have a favorite. Well, actually two favorites.
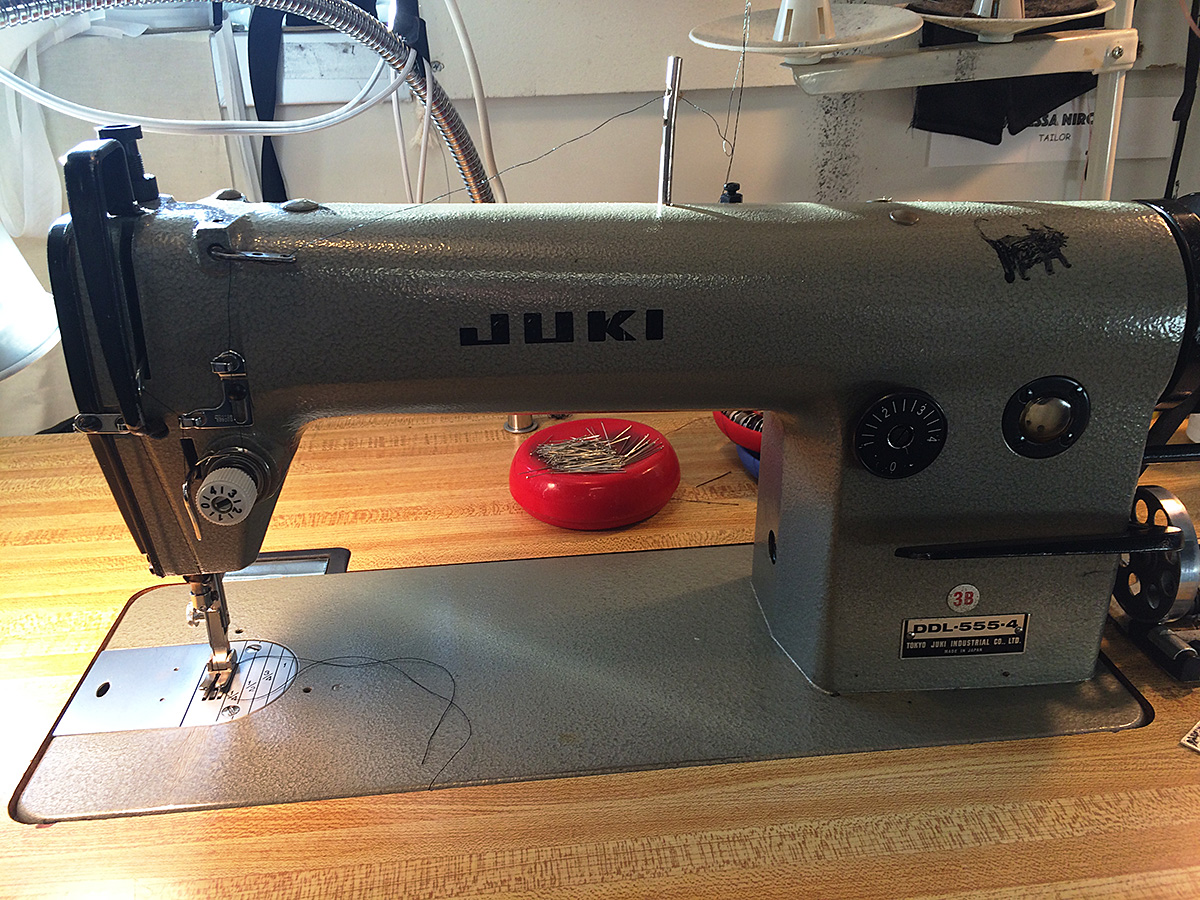
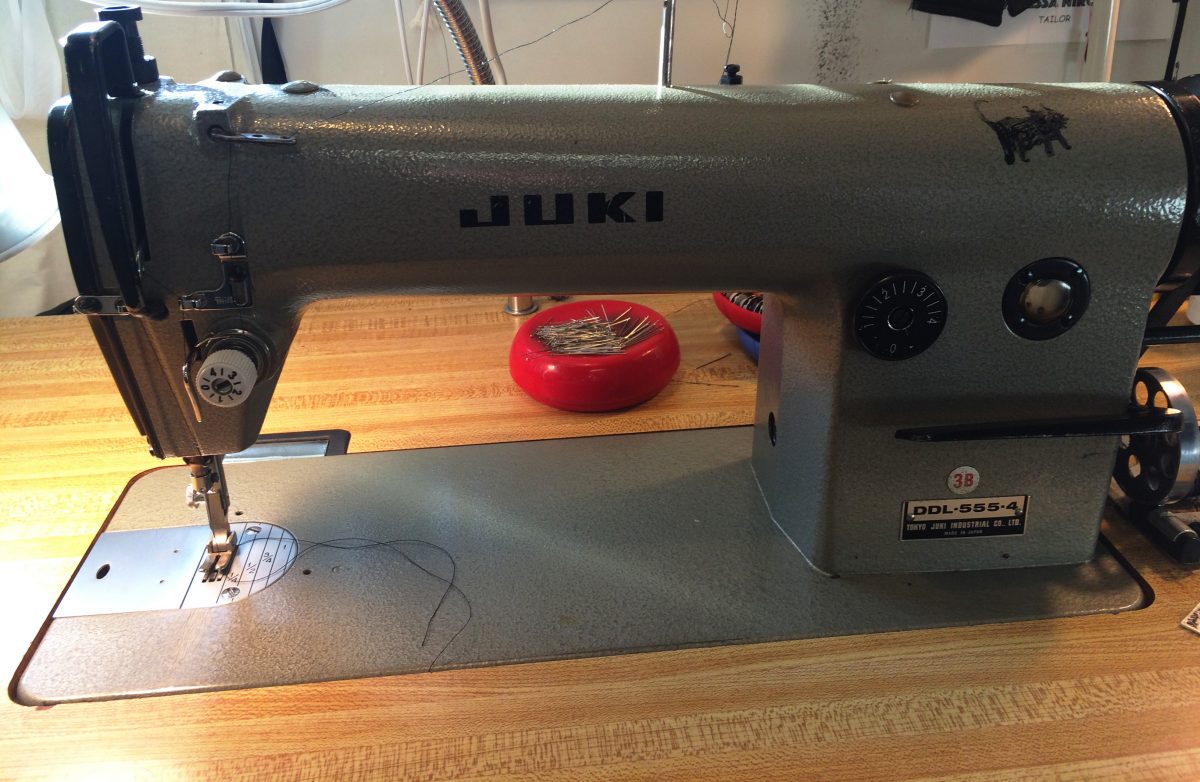
The first is my Juki straight stitch industrial. Mine is an older model, the DDL-555-4, which is no longer made.
The first is my Juki straight stitch industrial. Mine is an older model, the DDL-555-4, which is no longer made. Juki does though, of course, still make straight stitch industrial machines (the updated models for mine are the DDL-8700 and DDL 5550-N).
Many people are a bit hesitant about buying an industrial machine. Lots of people have told me that industrials frighten them because they’re so fast. Well, these days, a lot of industrials come with a speed setting so you can control how fast it goes (even if you accidentally push all the way down on pedal the machine will not ‘take off’ if you have the speed set to ‘slow’). Nothing to fear. You can start out slow and, as you gain confidence, crank up the speed.
It is important to note, though, that the older models, like mine, do not have this feature. And each machine is a bit different in how it responds to the pressure of your foot.
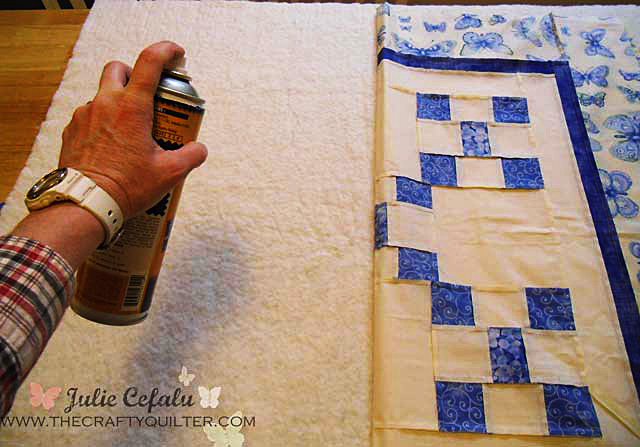
One of the most crucial things to know about using an industrial machine is that, unlike the majority of domestic machines these days, it does indeed need oil to run properly. Once your machine is all assembled, with the machine head sitting securing in the table, simply tip the machine backwards. Underneath, you’ll see a metal bed. Fill it with machine oil.
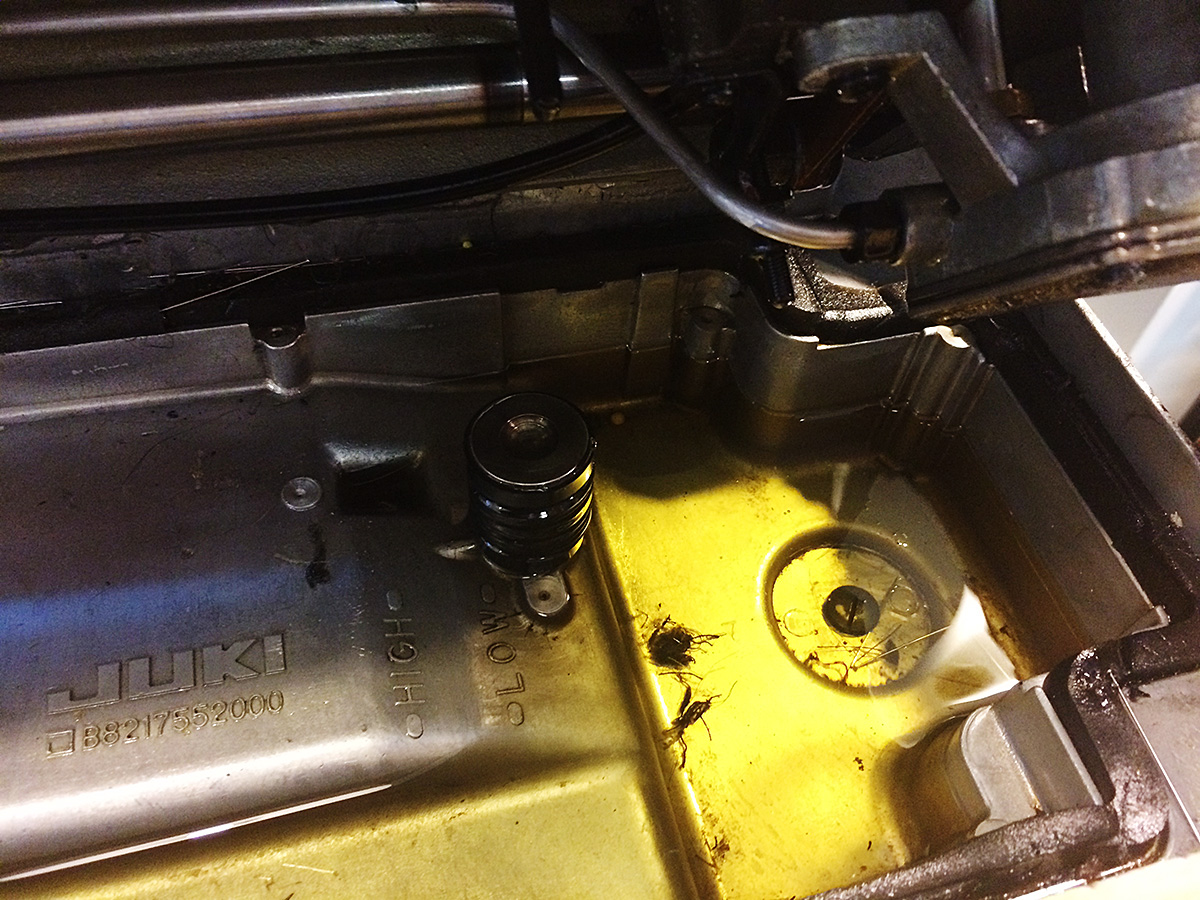
Underneath, you’ll see a metal bed. Fill it with machine oil.
I think the new models have a line indicating how much oil you should put in. Mine does not but I fill it so that the deeper part of oil pan (the right side) is about half full.
The next thing to remember is that, if you ever have to transport the machine, you need to drain the oil first. Or you’ll end up with quite the mess. On the right side there will a black screw in plug you can loosen and take out (make sure you have a bowl or plan positioned underneath to catch the oil) to drain the oil from the bed.
One of my favorite things about industrial machines is that you can wind a bobbin while sewing. Most industrial come with a two spool thread stand and the bobbin winding mechanism is separate from the machine on the right side. Place a spool in the thread stand, then thread from back to front through the bobbin stand tension. Pull the thread to the front and around the bobbin. You’ll need to engage the bobbin by pushing it backwards so that the wheel connects with the belt of the machine.
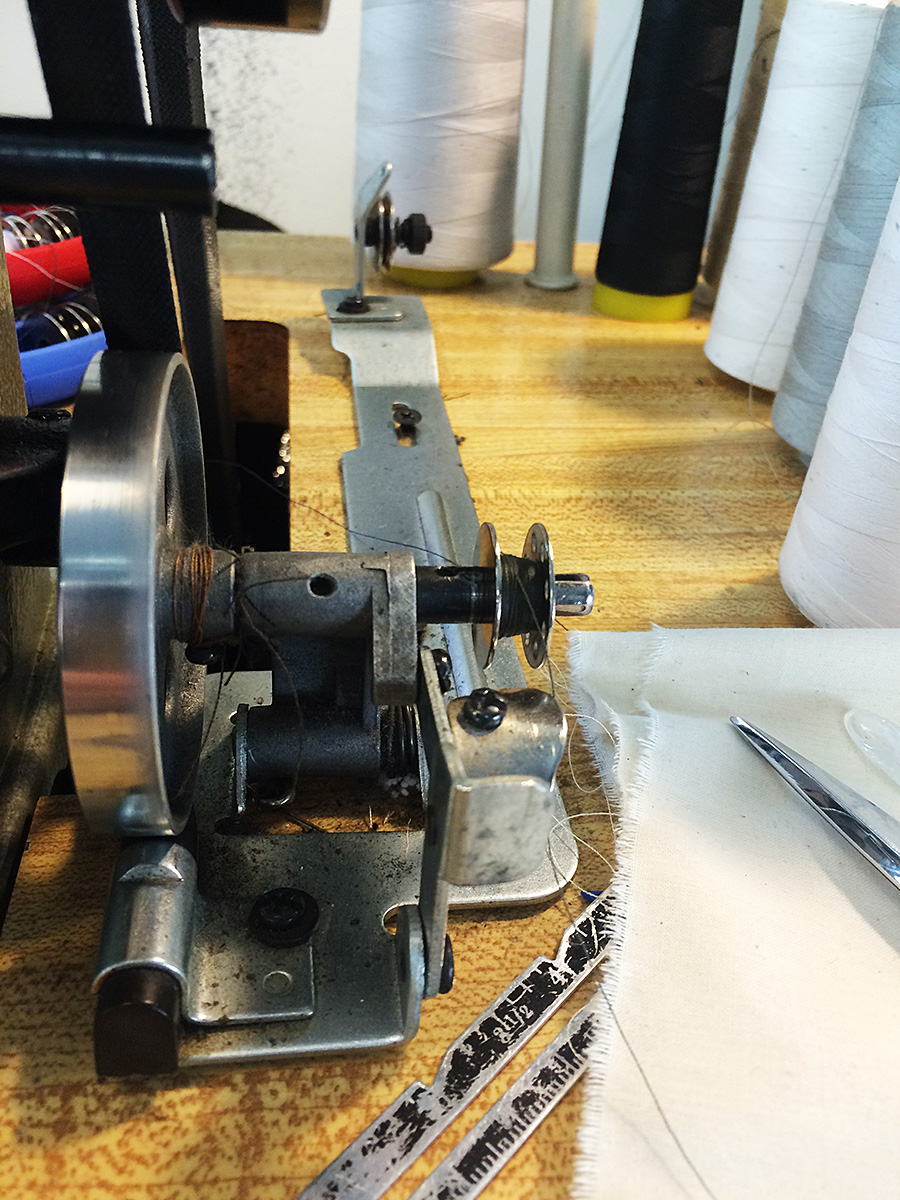
You’ll need to engage the bobbin by pushing it backwards so that the wheel connects with the belt of the machine.
Unlike, domestic machines, there is no disengaging of the machine needle when bobbin winding so if you are winding a bobbin while not sewing make sure you take the bobbin case out and unthread at least to the pick up thread pick up lever.
The beauty of the industrial machine is that, once you are comfortable with it, they are so much faster than domestic machines. You’ll get a lot more done in a shorter amount of time. They also sew through many layers of fabric without complaining. I find that I never have to mess with the tension on my Juki, it’ll sew through light weight chiffon and six layers of denim without needing any adjustment. Brilliant.
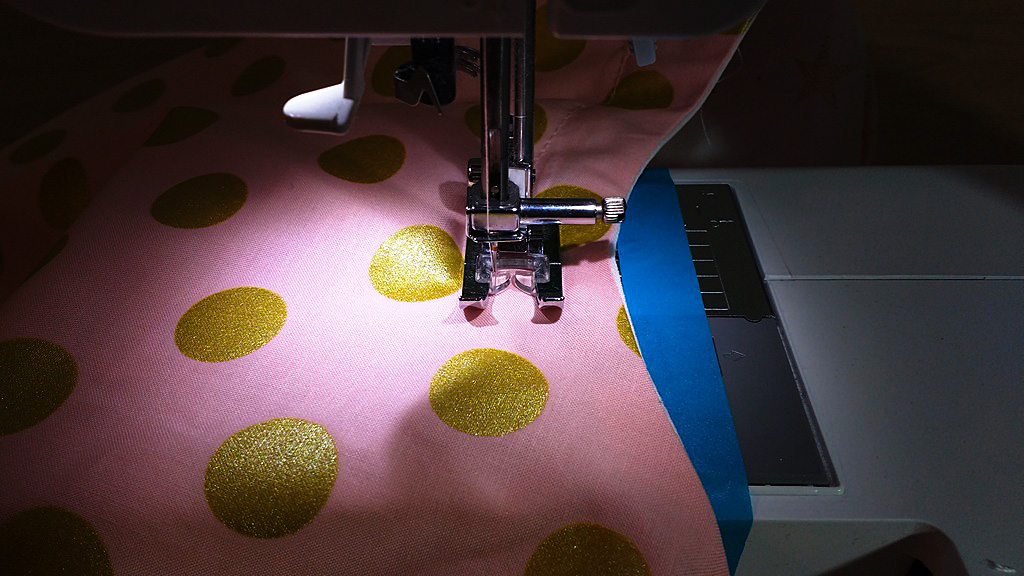
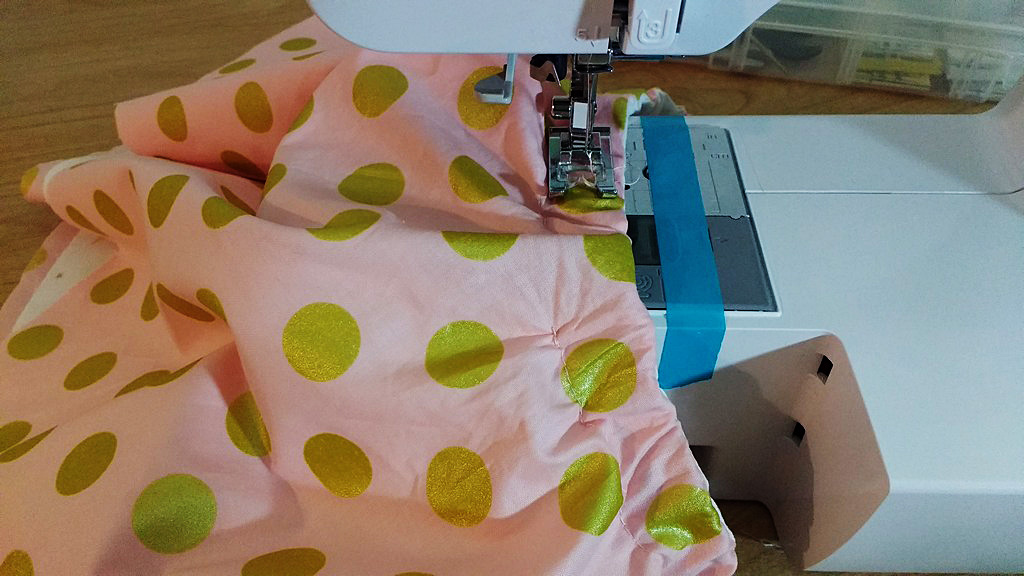
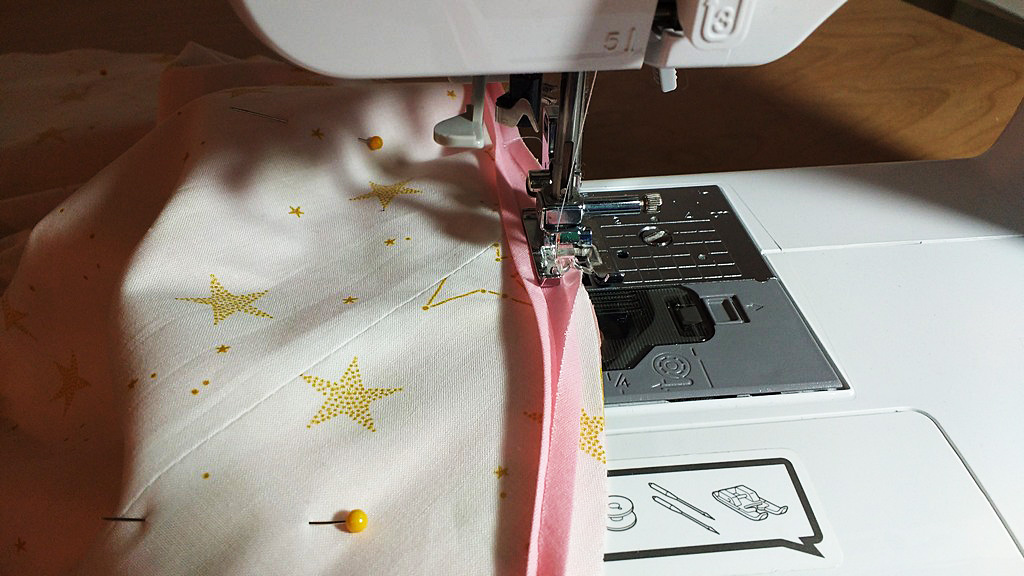
Sometimes people are concerned about the lack of a free arm but I can confidently say that you don’t need one. If you need to sew a small circumference like a sleeve hem, turn it the opposite way out you would if you were using a free arm: meaning if you want to stitch on the wrong side or inside of the hem, leave the sleeve right side out, then position it under the presser foot like so:

If you need to sew a small circumference like a sleeve hem, turn it the opposite way out you would if you were using a free arm.
See, easy!
If you’ve been debating about getting an industrial, debate no more! Take the plunge. You won’t regret it.