
Sewing room organizing can be a constant battle. That’s because creative folks make lots of things, including what my dear calls “creative explosions.” I just call these big messes. You know what I mean: quilt trimmings & other scraps on the floor, piles of fabric or other supplies on the table, idea books scattered about, bins & boxes pulled out with their contents askew and similar messes.
I battled this kind of mess for years. But I seem to have finally developed the skill of keeping order in my creative room. For example, the days between Christmas and New Year have historically been sewing room organizing time for me. But last year after Christmas, I was surprised when I realized I didn’t have any sewing room organizing to do. In years past, I have worked busily making gifts, moving from one project to the next, and letting messes pile up around me until the holiday passed.
I can’t stand to do that anymore. Instead, I clean up thoroughly after every project, before moving to the next. Since learning to do this, and by vigilantly following a few other rules that I have discovered which help to ensure order, I have enjoyed my creative pursuits more than ever before. I think these sewing room organizing rules will help you, too, if you haven’t discovered them for yourself yet.
Whether you need to clean up after your own creative explosions or you want to prevent their occurrence in the first place, keep these rules in mind.
Sewing room organizing rule one: machines first
It might not sound like sewing room organizing, but the very first thing to do is to give all of your machines a thorough cleaning. This is the most important task in cleaning up messes in the sewing room.
If your floor is littered with threads and clippings, I guarantee your machines have similar build-up inside. And continuing to sew with a dirty machine will cause it to break! So get your chosen brush and sweep and clean every machine in your room really well.
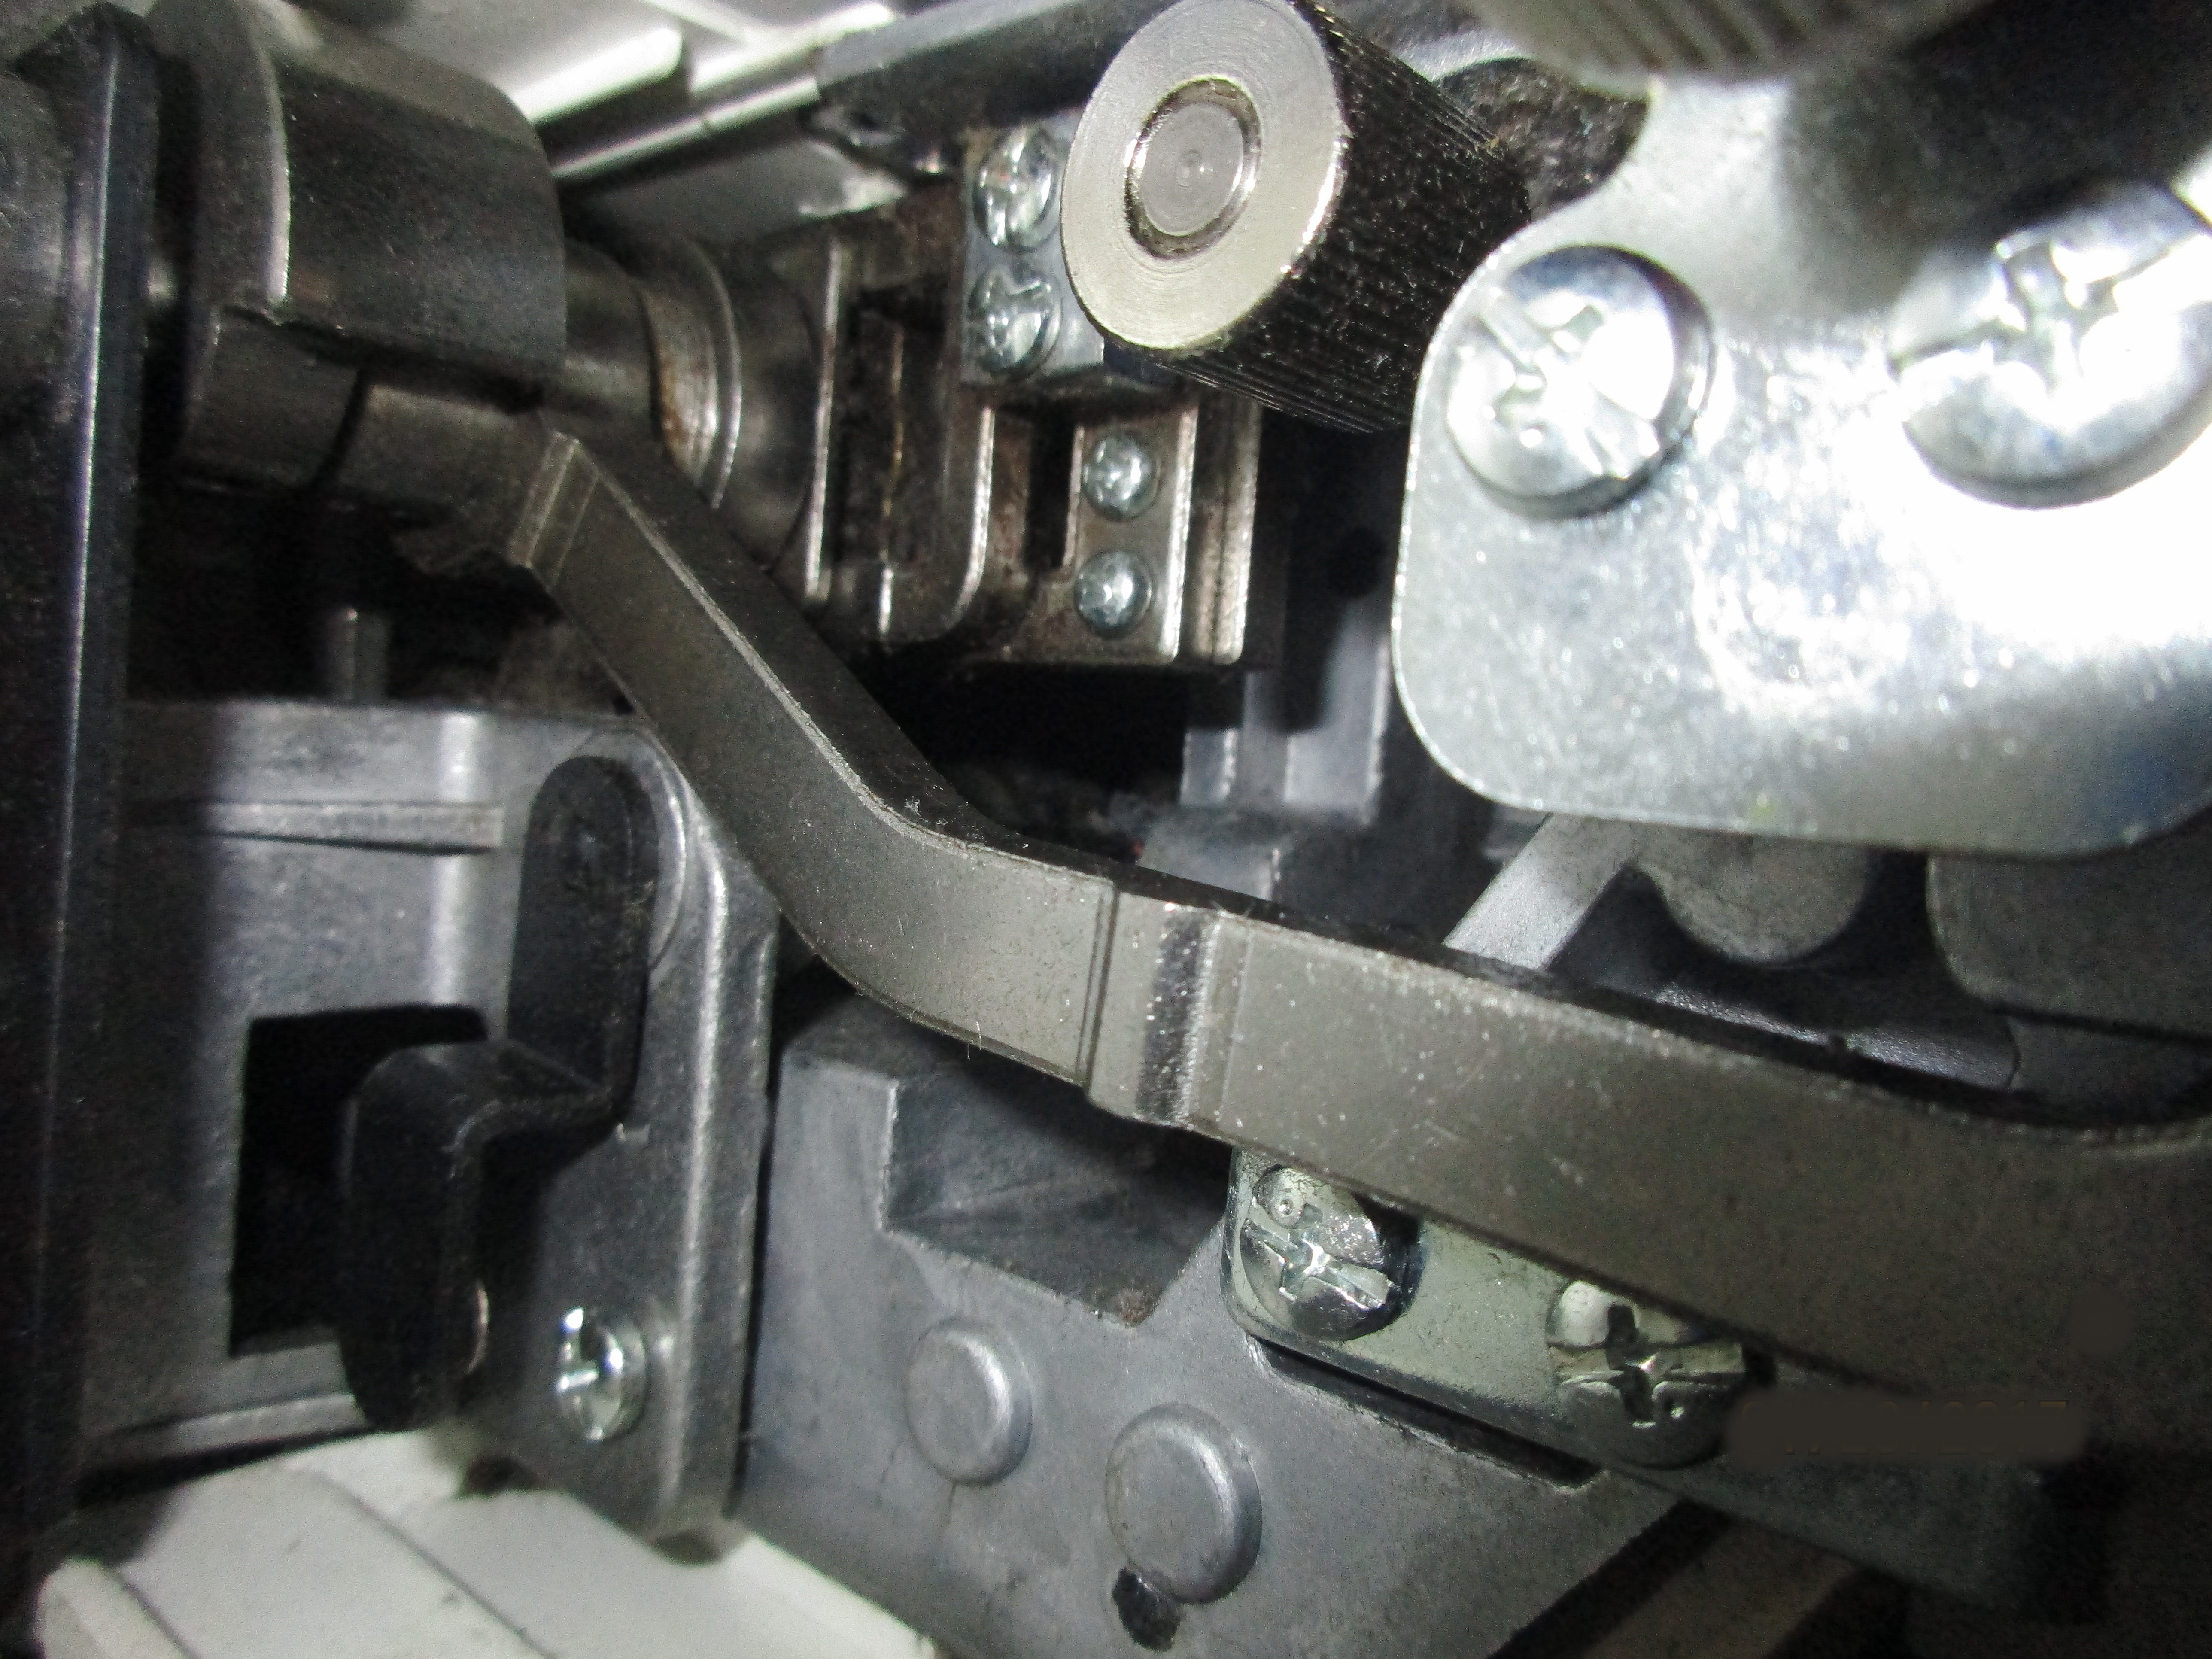
It’s easy to miss a spot.
Keeping machines clean
For sewing machines, remove the bobbin casings and take particular care in cleaning out inside and behind these. For sergers, sweep out every nook and cranny. When you think you’ve gotten it clean, sweep it out again. It’s easy to miss multiple spots. You can spend a lot of time sweeping out a serger repeatedly, and still not get it completely clean. Unless you have a magic tool, that is. The best thing you can buy to ensure a longer life for your machines is a tiny vacuum attachment to help get them really clean.
Always cover your machines to prevent unnecessary build up of dirt or dust when these are not in use. If your machine did not come with a hardcover, you can sew a pretty one yourself.
After cleaning, oil your mechanical-only machines according to their user manuals. Don’t oil your computerized or electronic machines at home; take them to Sewing Machines Plus or your local repair shop for yearly maintenance. Go ahead and take them in now so this will be done. If you cannot be without them right now, schedule this on your calendar to be handled as soon as possible. If you neglect your machine maintenance you will regret it. For future reference, a good plan to avoid being without your machines when you need them is to send them out for maintenance while you are on vacation.
Sewing room organizing rules 2 & 3:
Have ample workspaces
Keep them clear
After your machines, the most important things to consider in sewing room organizing are your workspaces. It is not possible to work efficiently without ample space. If you are using more than one machine, such as a sewing machine, a serger and a coverstitch or embroidery machine, you need enough space to have them all set up. You also need table space for cutting and layout.
It is best to have the largest table that will comfortably fit in your room in order to provide ample space for working. I have a kitchen table in my room that I keep clear for cutting, and separate desks for my machines. I reconfigure machine placement depending on the project, however. When I am working on a bed sized quilt, I place my machine on the big table, so it can support the quilt. Having multiple workstations enables flexibility.
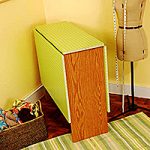
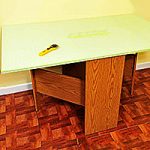
If your sewing room lacks enough space to house such a large table, Sewing Machines Plus has an excellent option for you to consider. The Arrow Pixie cutting table doesn’t take up much space when folded compactly, but opens to provide table space for both cutting and sewing. It even has measurement guides and comes with a cutting board. It’s super cute, too.
Keep tables clear!
Ample work space will do you no good if they are covered with unfinished projects, supplies, or irrelevant items. My favorite rule for making sure that my creative space stays organized and is always ready for working is to keep all work spaces clear. I do not allow myself to store any items on top of my table top or desks, other than machines, of course. But because I reconfigure my machine placement according to what I am working on, I prefer to store most of them, covered, on shelves.
This way, you can keep your table and desks clean and shining, waiting for you to make something new whenever it suits you.
Other rules to remember
There are several other rules that have helped me to keep my sewing room neat and organized. Following these rules will help to keep your room working well for you, too.
- You can’t organize clutter; keep unnecessary items out of your room.
- Be creative with storage. For example, to maximize working space in my sewing room, I use an antique wardrobe and chest of drawers in the next room. The beauty of these storage pieces blends nicely with my family room décor. These happily hold my fabric, trims and notions, and other less often used items, such as my looms. Here are some DIY projects for creative storage solutions which will work inside the sewing room.
- Keep like things together. Rather than storing tools all over the place, use a bin or other storage solution to keep these neatly together. The same goes for thread, notions, and etc.
- Let the fabric live at the store. I am no longer tempted by fabric clearance sales and refuse to buy fabric to stash. I have learned that stashed fabric steals time, space, and money, so I do not buy any without a particular project in mind. Pretty quilter cottons are the only exception I make to this rule, as I know for sure that I will put these to use. Be a savvy shopper and take advantage of sales for stocking items you must have and will use. For example, I only buy white and neutral thread, and also cotton batting, when it is on sale.
- Finish what you start. It is easy to get excited about new projects, but for keeping order, it is much more sensible to complete each project before starting another.