One of the most important things you can do when beginning a quilt is to plan out your pattern. By this idea, I don’t just mean picking what pattern you want to buy in a store, but also planning out how the pieces of your project will fit together. That kind of pre-thought can make a difference in the appearance of a final product!
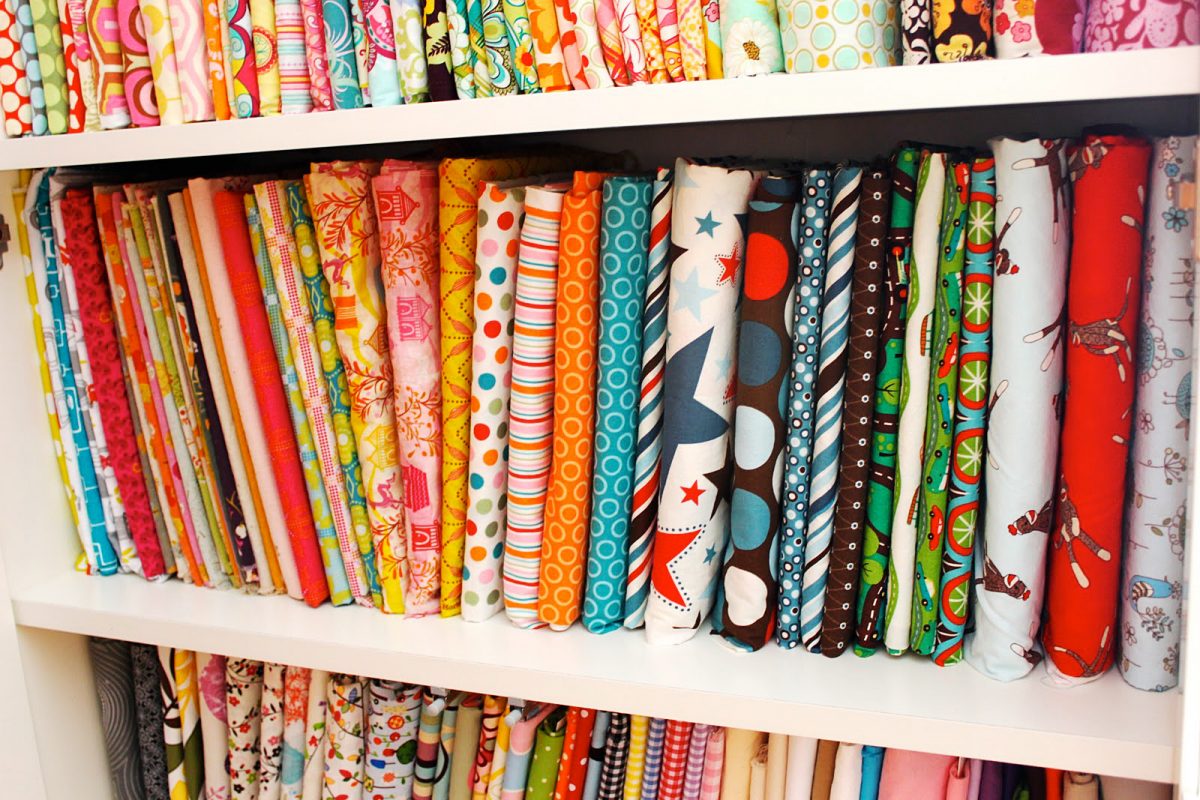
Let’s say, for instance, you decided to make a blue-based quilt, and you have a number of types of fabric to use for the product. If you don’t plan out how the pieces will go, you could end up running out of one particular style before the end, so the final portion is suddenly void of that one fabric. If you, like me, want a quilt that looks more balanced than that, then planning ahead can give you that quality.
Let’s think about where this is going…
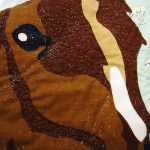
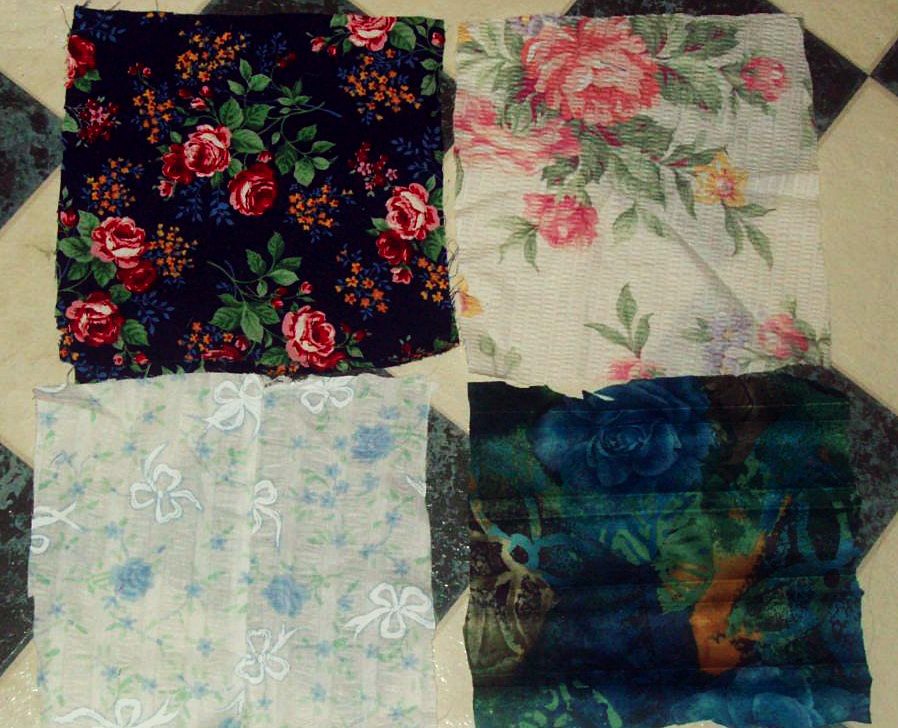
Beyond that point, making these decisions beforehand can also ensure that you don’t pile a series of similar fabric all in one area. Otherwise, your product could look like this not-so-beautiful piece of artwork I created with my not-so-wonderful skills at Paint.

Otherwise, your product could look like this not-so-beautiful piece of artwork I created with my not-so-wonderful skills at Paint.
See how the same shades of blue are really close together? Now, imagine, what it would look like had I just mixed the fabrics in a more thorough way. The overall result could’ve been much more balanced, which to me, is a better strategy! And that’s the beauty of planning: No matter what your preference is, you can make sure you end up with a quilt that reflects it!
Lay out your quilt pieces on the floor & continue to adjust them until you come to a pattern you decide is right.
Options
So the question arises about how to plan out those details. There are a couple of options available that you can use right in your own home! The easiest and least-costly method between the two I’ll cover is to lay out your quilt pieces on the floor and continue to adjust them until you come to a pattern you decide is right. You don’t need any extra materials for this stage at all, and so long as you have the free floor space, you have this opportunity right at your fingertips!
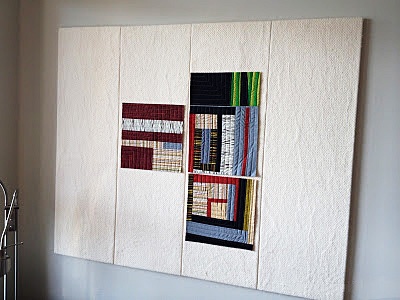
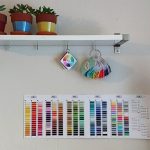
A quilt design area on your wall.
The other option is a quilt design area on your wall. This one might cost you a bit of money since you have to buy the supplies for it (though those supplies can be as simple as clips!), and you might find that you have to rearrange your wall décor to make room for it. Still, it’s a better candidate than the floor method if you want to eliminate the possibility of having your quilt-in-progress trampled by feet or if you just don’t have the right amount of space available for a clear plan-out area. Once you construct the design wall, you can start pinning and planning, shifting around your fabric blocks until everything fits in a way you’re comfortable with!
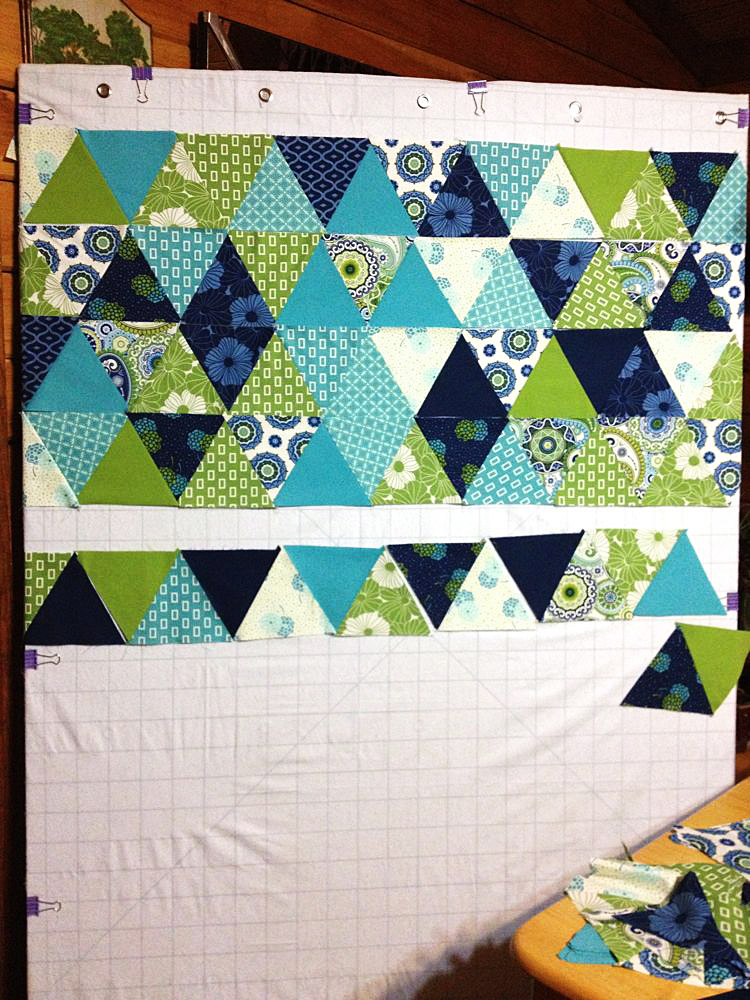
Start pinning & planning, shifting around your fabric blocks until everything fits in a way you’re comfortable with!
From that point, there are a number of ways to remember the quilt structure that you’ve planned out. Sure, if you’re using a quilt design wall, you could take it a bit at a time over to your sewing machine and just leave the extra pieces in place on the wall until the time comes to use them. But if you want a method that doesn’t involve leaving your pieces there — or if you’re using the floor method — you might want to think about alternative tactics!
One idea is to take a picture of what you come up with. If you do that, you can use it as a point of reference as you go through piecing your quilt together. By following the design you created, your quilt can turn out just as beautiful as you meant for it to!
Collate your blocks
Another option would be to keep your pieces in the order that you’re going to use them. As you take them up from the floor or off the wall, make sure you’re doing so in the exact order they’ll appear. You could start from the top or the bottom corner and progressively layer your quilt pieces on top of one another as you go. With this strategy, your blocks are in the order you wanted them, so you can just go through your stack one piece at a time to recreate your pattern!
But whatever your planning and preserving methods are, the important thing is to be thorough with them. Take your time, both in pinning or sorting those pieces, and in keeping them in sequence, so that errors are less likely to happen. When you have a well-balanced and well-considered quilt as the reward for your efforts, you’ll be glad you did!