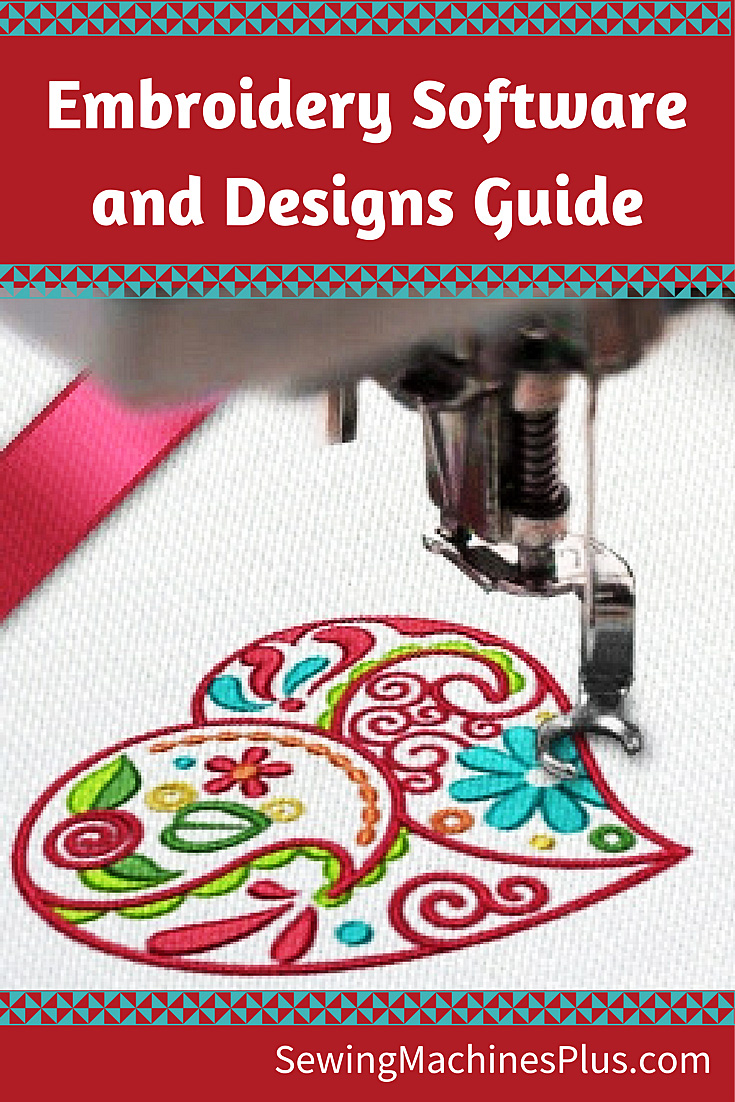
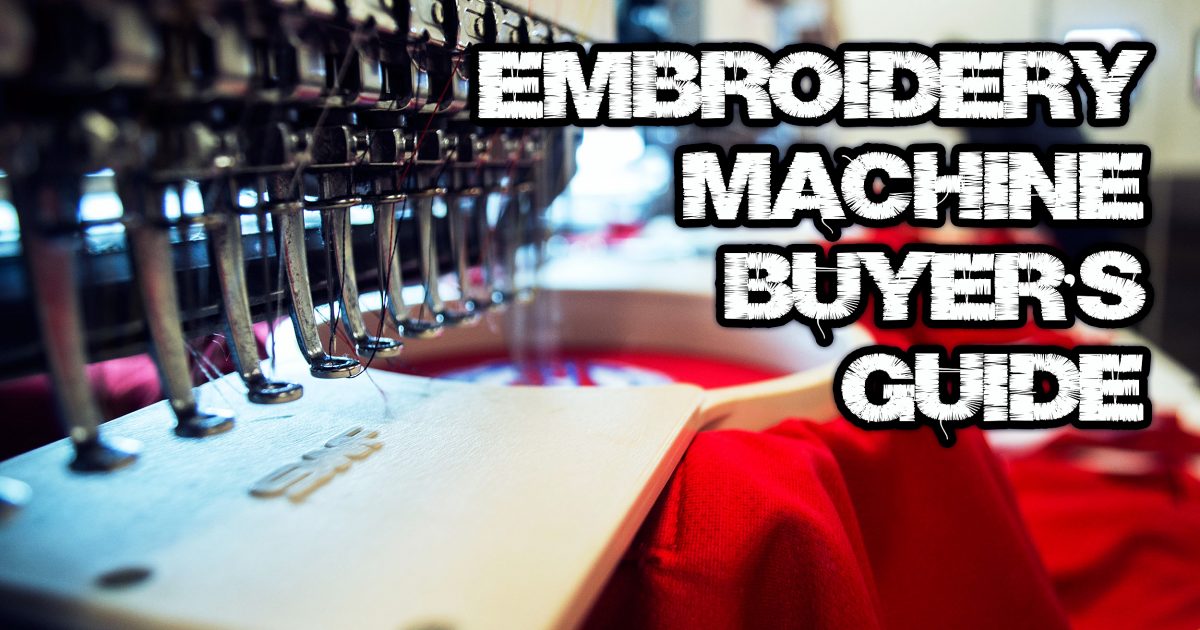
Which embroidery machine should you buy?
Here’s an embroidery machine buyer’s guide to help you decide
Which embroidery machine should you buy? Here’s an embroidery machine buyer’s guide to help you decide.
Choosing an embroidery machine can be confusing. There is a dizzying array of model choices and feature options available.
But there is no need to be overwhelmed. For the last several weeks, I have studied this issue to get a clear idea of how to choose the best embroidery machine. I have tested and played with every machine I could get my hands on. I also poured over the details for most every embroidery machine on the market.
And I talked to Torrie Root, the super helpful Sales Manager at Sewing Machines Plus. We talked more than once for a long time and I asked her a ton of questions. She answered all my questions in depth. She also sent me more info so I could study this question further.
I have compiled everything I learned into this embroidery machine buyer’s guide. Hopefully this will help you decide which embroidery machine to buy to suit your needs best.
Embroidery machine considerations
There are several things to consider when buying an embroidery machine. These include:
- Cost and Value
- Embroidery field and hoop sizes
- Design library
- Connectivity
- Display quality
- Embroidery only vs combo machine
- Extra features
Cost and value
Because embroidery machines tend to cost more than regular sewing machines, you want to get the most value for your money. You also want to ensure that you choose a machine that will serve you happily for many years. It would be a waste of your money to go for a model that you will soon outgrow.
Your embroidery machine is an investment and you want to choose the best machine you can afford.
For me, I know an entry-level machine will not satisfy me for long. I will want more and better features than a basic machine comes equipped with. So I would rather save up for a little while to be able to afford a higher quality machine that I can grow with, rather than one I will soon outgrow.
Embroidery field and hoop sizes
Many embroidery machines are limited and can embroider only a small area. Some of these lower priced machines have an embroidery field of only four inches square!
I know I will want more creative freedom than a four inch square field, and I bet you will too.
There are many options for machines that come packaged with multiple hoops in different sizes. And most of these machines offer other hoop sizes and shapes that you can purchase separately to use with these machines, too. I definitely recommend choosing a machine that offers you multiple options for hooping.
Design options and connectivity
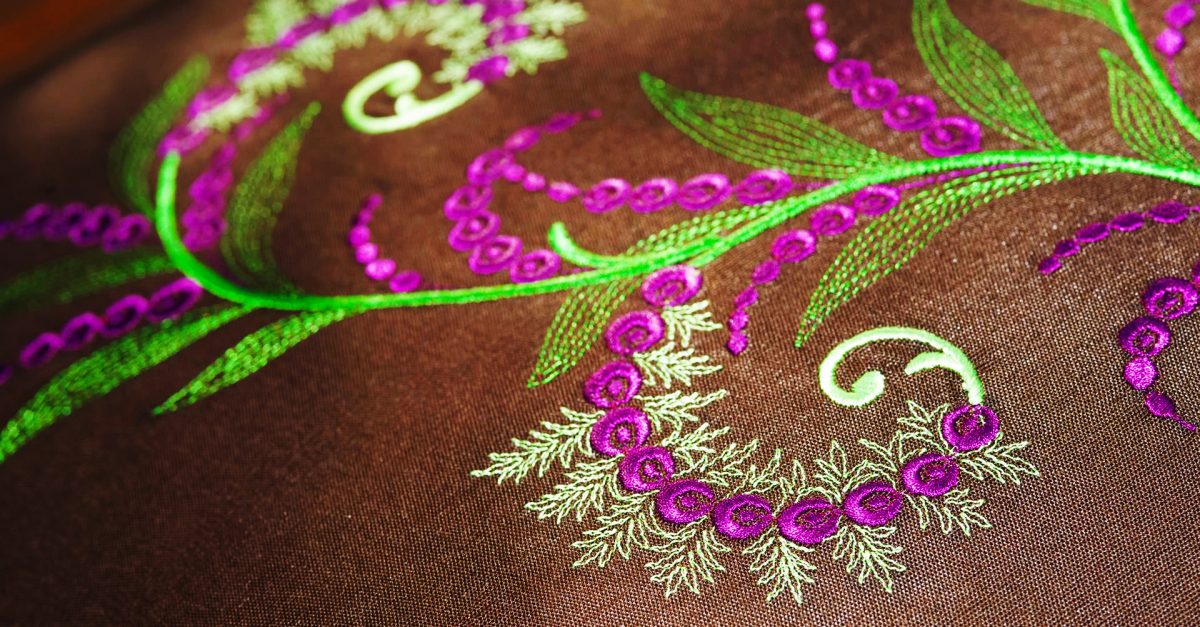
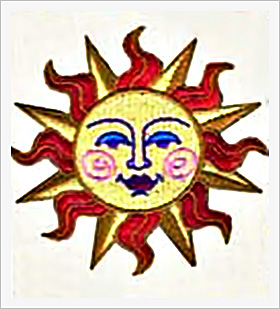
Different machines are loaded with different sized libraries of embroidery designs. Some have many more than others. And some offer prettier and more useful designs. I looked at a few machines that had boring designs and nothing much that I would actually want to use. Of course you will want to choose a machine that offers you plenty of embroidery designs that you like and will want to use.
However, you can also download and/or purchase additional designs online or on disc, so you will not be limited to the design library that comes with your machine.
Some machines make this easier to do than others, however. There are some embroidery machines which require an actual computer connection for additional designs, while others have a USB port so that you can use a little flash drive for transferring extra designs, instead.
This makes more sense if your computer is a desktop in the den, for example. I wouldn’t want to have to connect my embroidery machine in the den; that computer desk doesn’t have enough space for an embroidery machine. So I’ll definitely buy one with a USB port so I can sit at my computer in the den to shop and download designs and then easily bring the designs to my sewing room on a thumb drive.
Display
Here’s another reason why I know I don’t want a basic model embroidery machine: there is a drastic difference between the displays of different machines. Some offer only a tiny window and no clear picture of the designs to choose from.
I want a clear view of the design I am embroidering, and I don’t want to have to consult the book or connect to the computer every time I use my machine. This is an important consideration when you are making multi colored designs, for example. I want a display where I can see at a glance an actual picture of the design in full color.
Take a look at the difference between the displays on these two machines, for example, and you’ll see just what I mean:
Embroidery only or combo machine?
Since I already have a sewing machine that I really love, I was thinking that I would be able to get the best value for my money by going with an embroidery only machine. I figured I didn’t need to spend money on sewing capabilities when I am already well equipped for sewing. I also thought it would be more efficient to switch between two adjacent machines for two functions rather than having to switch functions on the same machine between tasks.
I’ve changed my mind about this, however. That’s because most of the better machines are combination sewing and embroidery machines. This is great because a machine that both sews and embroiders offers more bang for your buck. And these machines are larger with more sewing features and space than most regular sewing machines have.
If you are a quilter like me, you will really appreciate the extra space these machines offer. It is not likely that your favorite sewing machine is as nice as your new sewing and embroidery machine will be! So in addition to adding an embroidery machine to your collection, you will be adding your new favorite sewing machine, too.
There is one reason you might prefer to go with an embroidery-only machine, however. If you plan to operate a home business and do a ton of embroidery, you may want to consider a multi-needle machine. This kind of home embroidery machine will complete your designs more quickly.
Multi-needle embroidery machines are also the only machines that will do a good job with embroidering hats. Torrie told me that all the combination models have a little trouble with this task, so if you think you will want or need to do embroidery on hats, you will want to consider this type of embroidery-only machine.
Helpful features:
Some embroidery machines are complicated to use. Extra features ensure ease of use and add a lot of extra value to some machines. Here are some helpful features that you might really want your machine to have:
- Automatic thread tension – When your machine automatically adjusts the thread tension, there is no chance of mistakes due to improper tension.
- Thread trimming – Trimming all your threads by hand can be a pain. A machine that automatically clips all your threads for you will save a lot of time.
- Embellishment capability – In addition to regular embroidering, you may also want to be able to do sequins and beadings. Some machines offer attachments that will enable you to attach these.
- Archable fonts – Allow you to curve your lettering. This offers more design freedom and can look a whole lot more attractive than straight monogramming when combined with other designs.
- Onscreen editing – On some machines, you can’t edit designs much, if at all. Many machines allow size editing of no more than 20%. A few machines offer greater size editing, and some allow you to create your own designs by offering corners and borders which can be combined with other design parts.
- Variable speed – Some machines have variable speed controls, which you can set to start slowly and gradually speed up.
- Knee lifter – This handy gadget lets you use your knee to lift the presser foot, leaving your hands free.
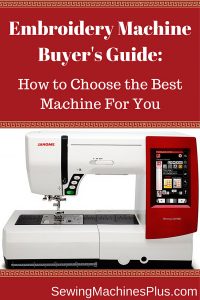
My choice:
I thought I was in the market for an embroidery-only machine, but after carefully considering every option available, my choice for the best machine for me is the Janome Memory Craft 9900 combo machine. On this machine, you can sew with the embroidery unit attached, so you don’t need to reconfigure the machine when switching between functions.
The Memory Craft 9900 offers 175 different embroidery designs, including pieces and parts for creating your own designs, and 200 sewing and quilting stitches. It has archable monograms, a knee lifter, and all the other helpful extra features I have already listed. Plus a full color display and much more.
This exceptional machine is packed full of value with way too many extra features for me to list here. Instead, I’ll invite you to check out this page at Sewing Machines Plus to read all about it.
I am a Janome loyalist because I have consistently found Janome machines to offer the most user-friendly features and best value for my money. Though the MC9900 is not Janome’s most expensive machine, it offers top-of-the-line features. And Sewing Machines Plus is throwing in hundreds of dollars worth of extra attachments, for free. All this is why I see this model embroidery machine as clearly the best choice for me. If you are looking for a great value for an exceptional machine, I recommend that you choose this one, too.