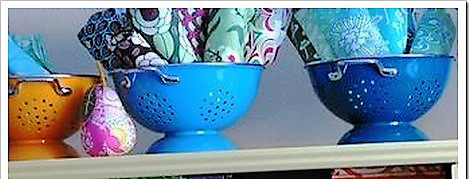
If there’s one thing I’m interested in regarding sewing, it’s finding new ways to use my leftover fabric. In fact, if you’ve been keeping up with my posts (I won’t hate you forever because you haven’t! Honest!), it’s a concept that’s been explored already. But I still have fabric at my disposal, so the idea of how to use those pieces continues as a subject worth looking into.
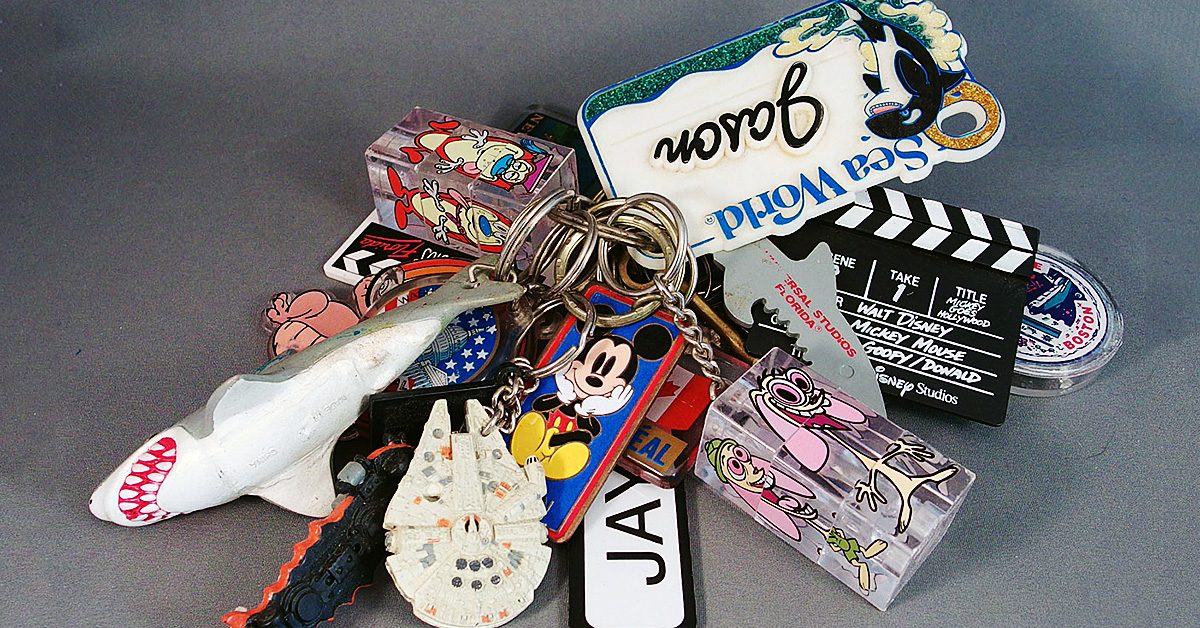
So, for today’s post, I’m going to give you yet another way to use your leftover fabric — even if that leftover fabric is fairly small! Need proof? The project I’ll use for an example was made out of ONE fabric block that was less than ten inches in either direction. Sound good? Then let’s dive into this project, which for the record, is a keychain!
What you’ll need:
- One fabric block. The size varies depending on what shape you want to make your keychain — and what size you want your keychain to be — but you don’t need anything over 10″ x 10″. Also, remember that flimsy fabric might not keep your keychain shape too well, so try something that’s sturdy — maybe even felt.
- Key ring. It isn’t really a keychain if you can’t hang a key on it!
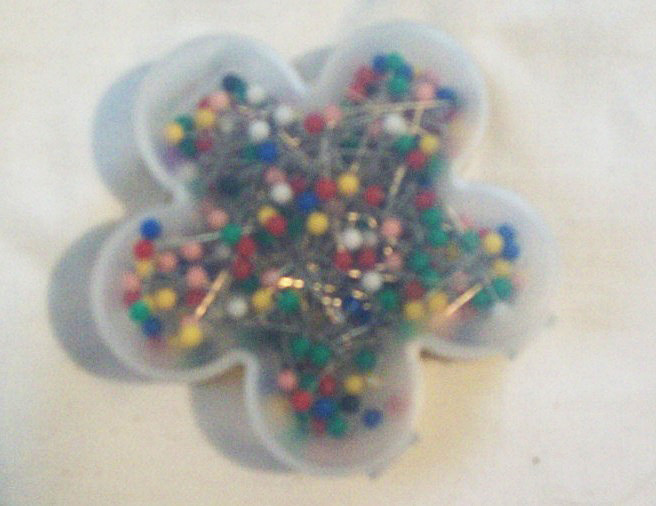
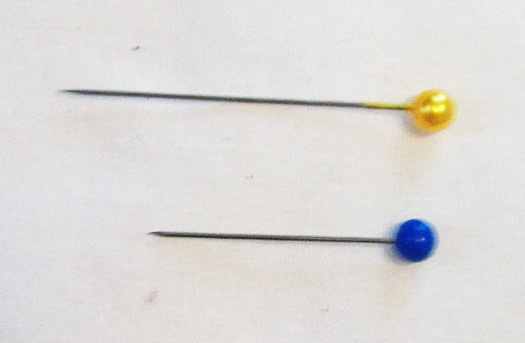
- Sewing essentials like needle, thread, and straight pins, as usual!
What you’ll do:
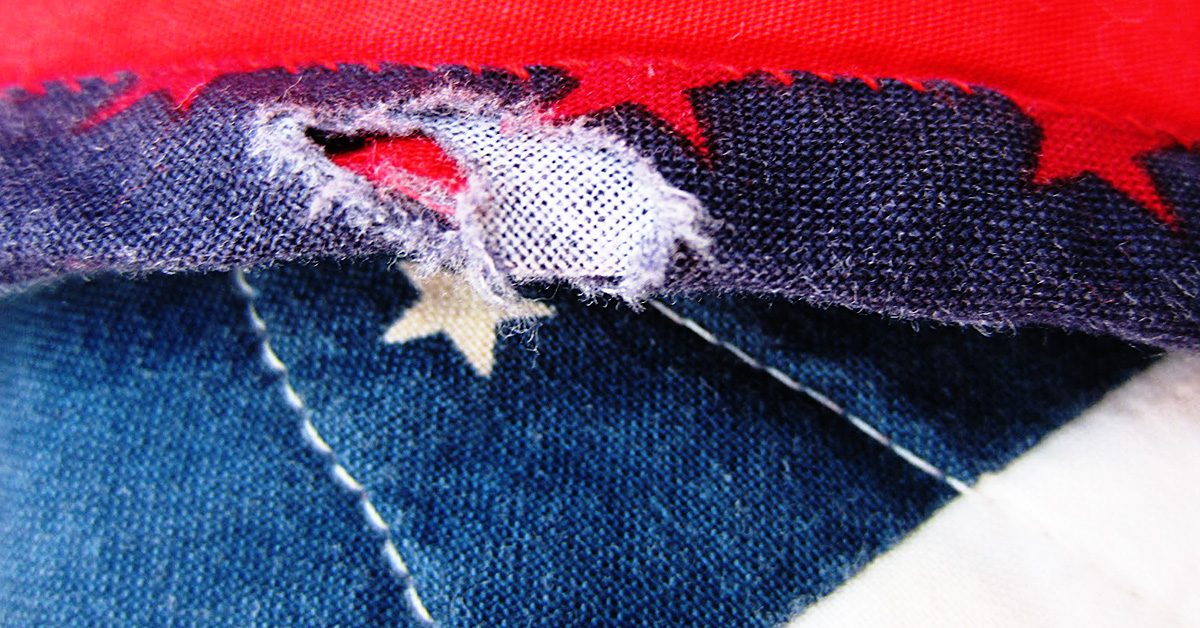
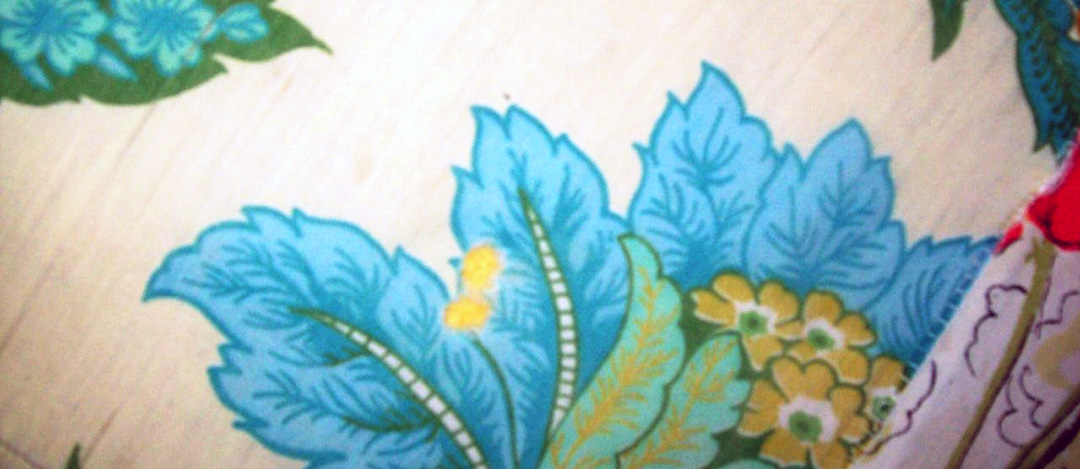
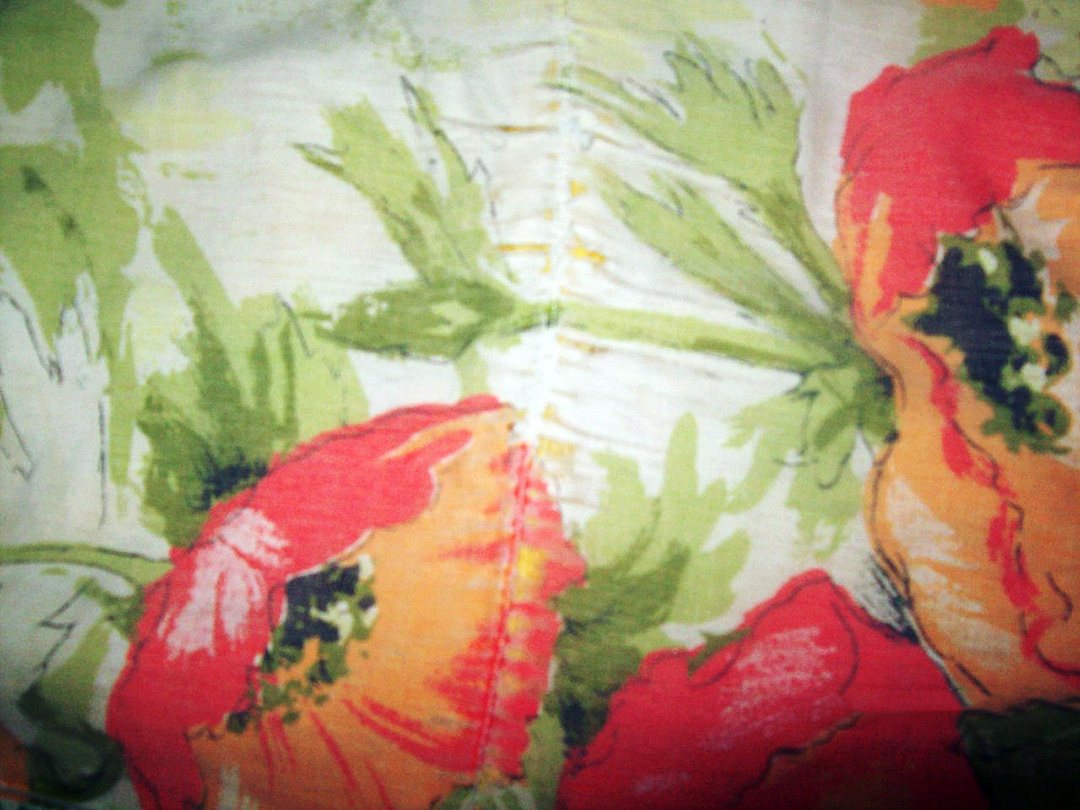
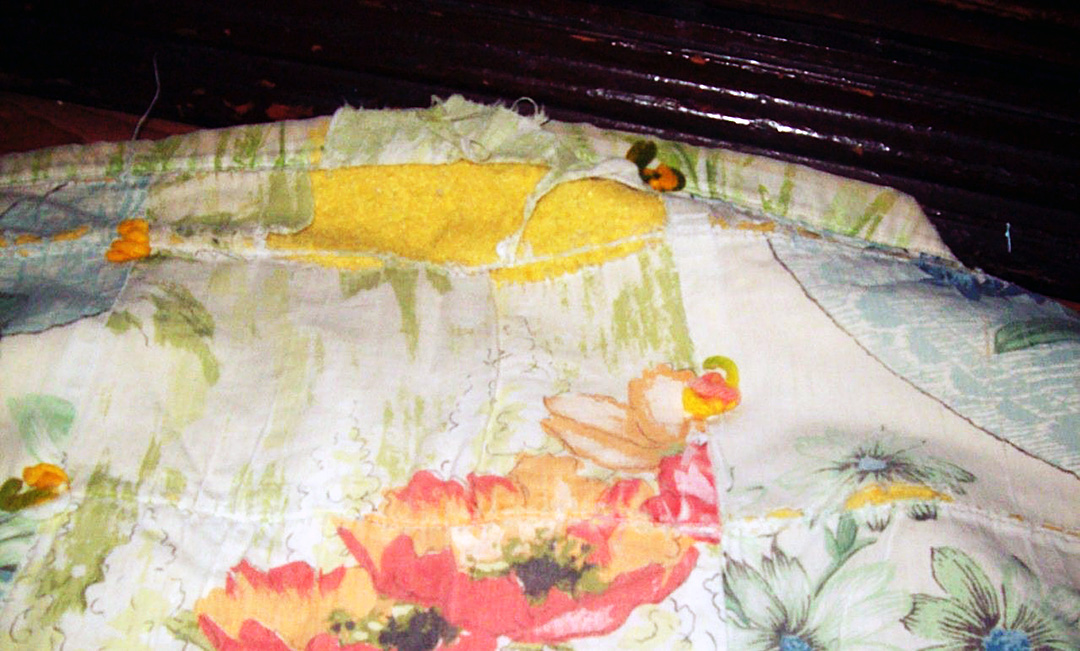
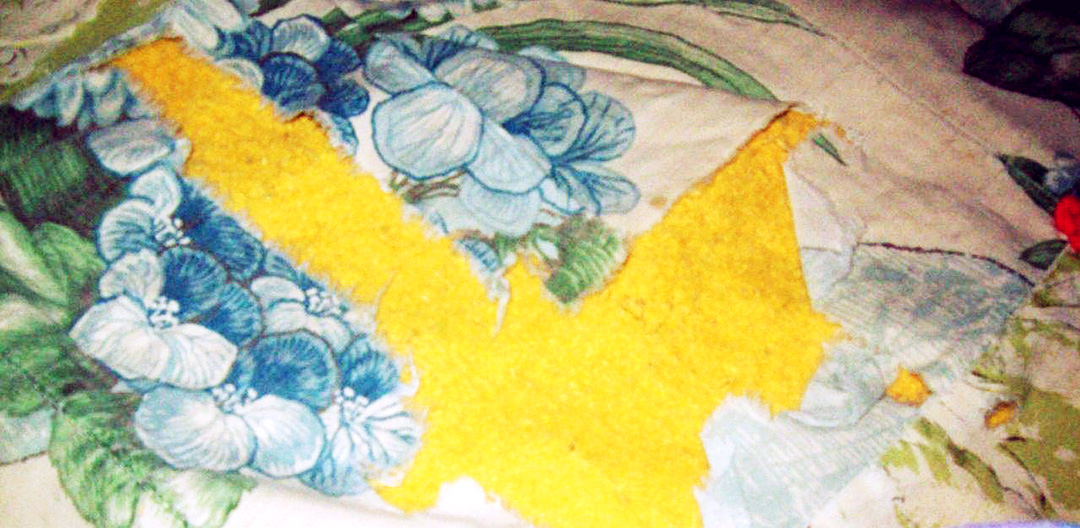
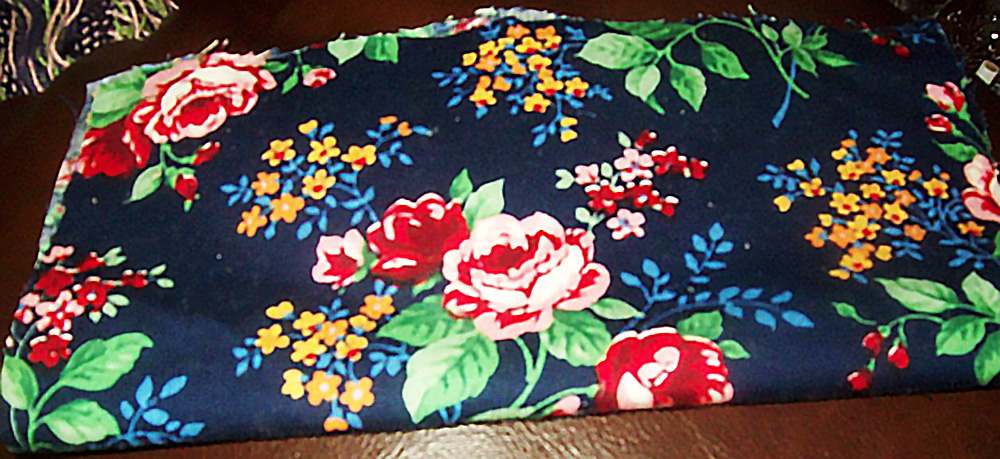
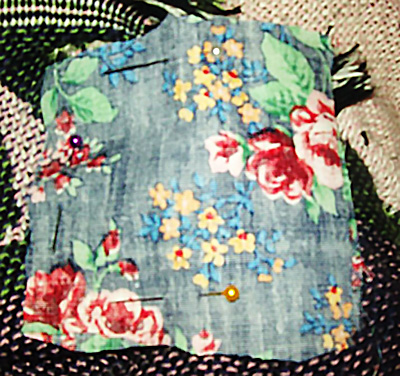
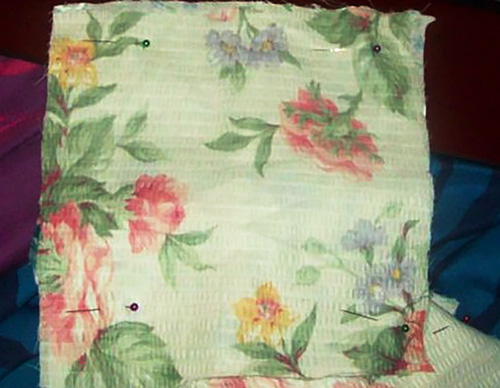
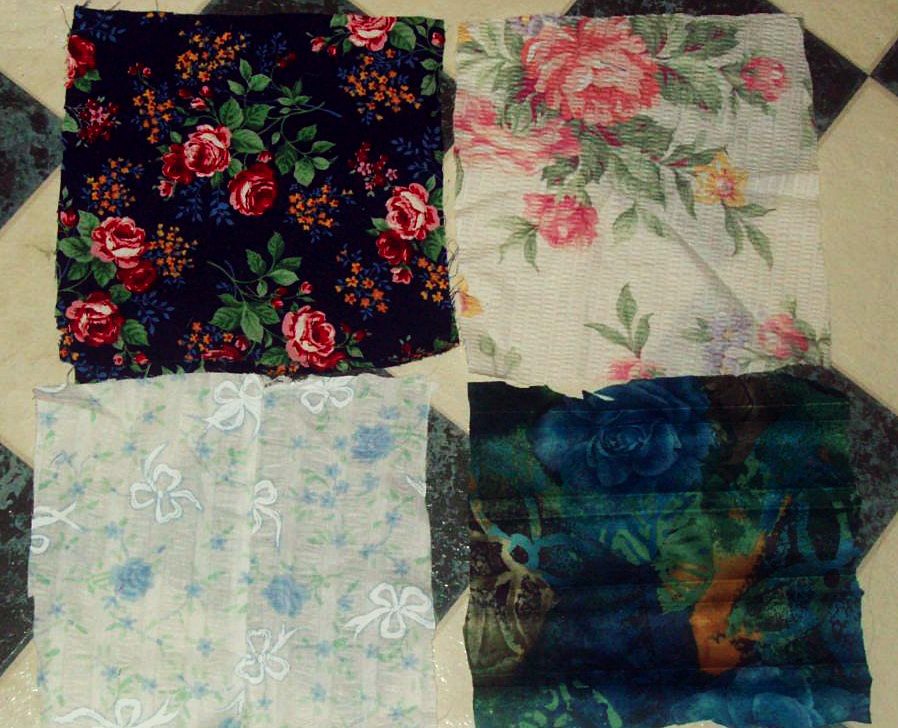
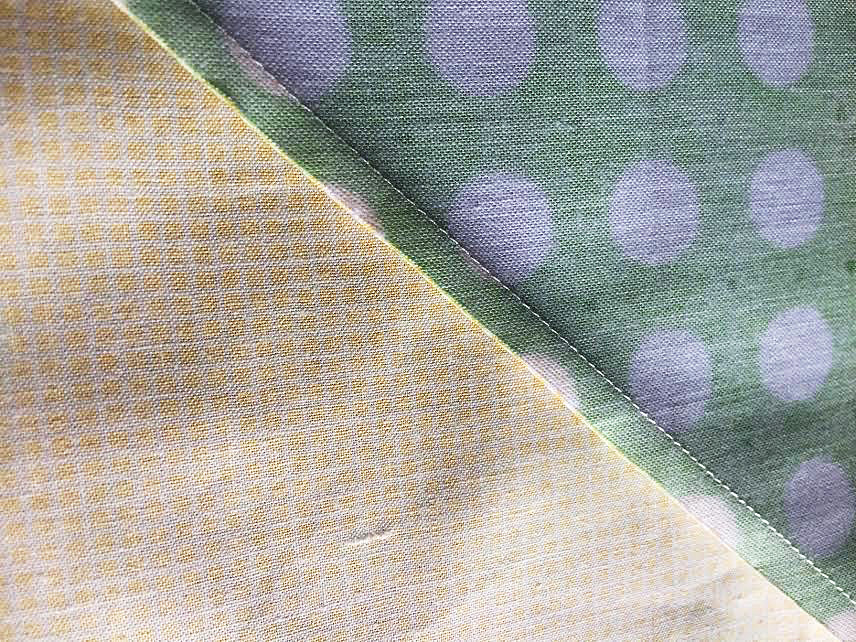
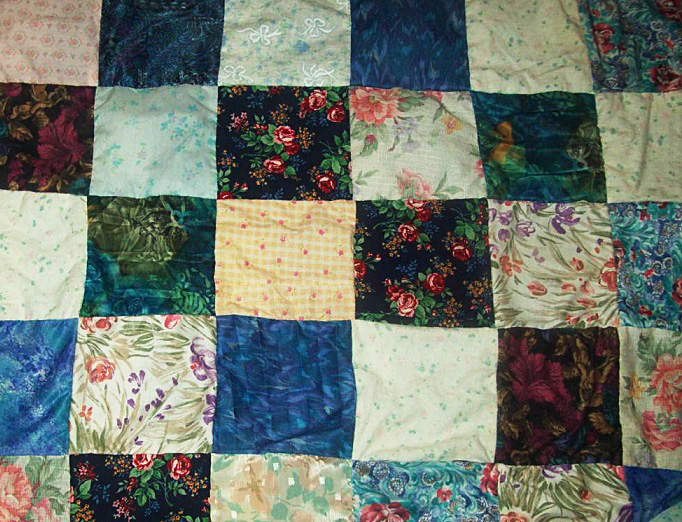
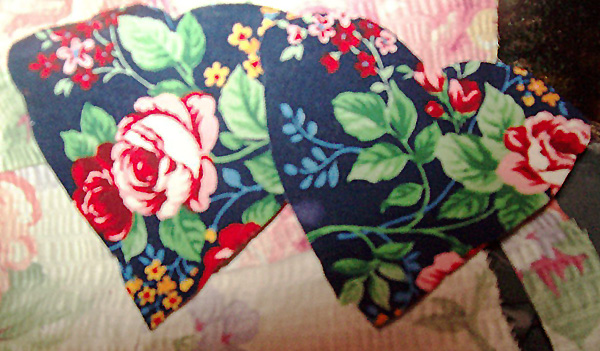
Step One: Choose your fabric, keeping in mind the guidelines about size and texture. You should also note that your shapes for your keychain will only be so big, so you should consider that size. If your final goal is a one-inch shape, for instance, you should pick a fabric that’ll look good when cut down to that size. I changed my fabric choice on this detail because with my initial decision, I would’ve potentially had part of a flower, a whole lot of plain color, or scattered bits that didn’t really look that fantastic to me. It might be something you want to consider as well!
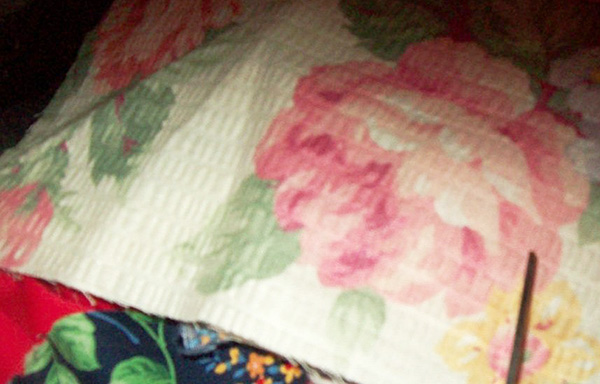
I changed my fabric choice on this detail because with my initial decision, I would’ve potentially had part of a flower, a whole lot of plain color, or scattered bits that didn’t really look that fantastic to me.
Also, decide what shape you want your keychain to be. For me, I went with a heart because it was simple and traditional, but there are plenty of other options. Once you know your shape, you can create a stencil, or use an existing stencil, to make sure your fabric is going to be cut in the right way.
Cut it out
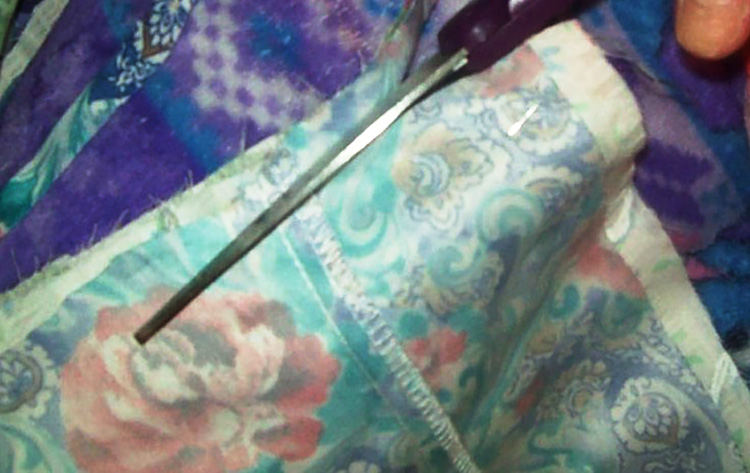
Step Two: Cut out your shapes! This was a perk to choosing a heart because you can make one by only cutting one side of the heart, as many of us might have learned in childhood. I don’t need to cut both sides if I fold the fabric in half, and I ended up only having to make that folded cut once for both sides of my keychain by folding the fabric into fourths. That way, with one swooping I-want-a-heart-shape cut, I got two bits of fabric that admittedly needed a bit of tailoring, but were good starting places for my heart.
With 1 swooping I-want-a-heart-shape cut, I got 2 bits of fabric that admittedly needed a bit of tailoring, but were good starting places for my heart.
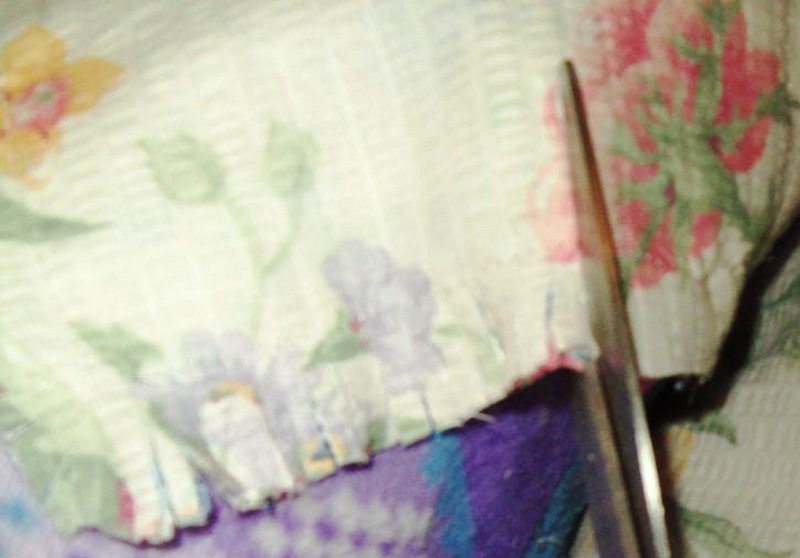
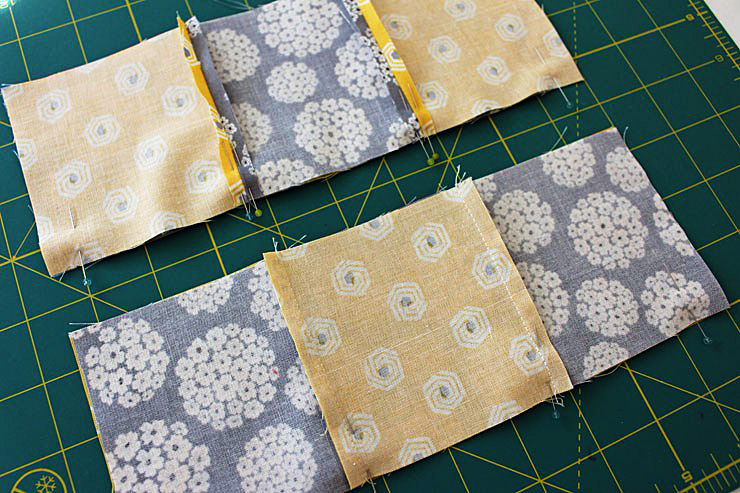
Whether you find a simple method to make both pieces at once or use a stencil, cut two shapes out of the block of fabric — one for the keychain’s front side and one for the back. Make sure they’re even enough so that too much excess material doesn’t show on either side and that you’ve accomplished cutting the shape you wanted — or at least one you can live with! Also, remember to cut a line of fabric that is a couple of inches long and wide enough to suit your purpose (maybe ¼”). This will be your loop to put the keyring through. NOTE: These numbers can vary depending on what size you want your keychain to be!
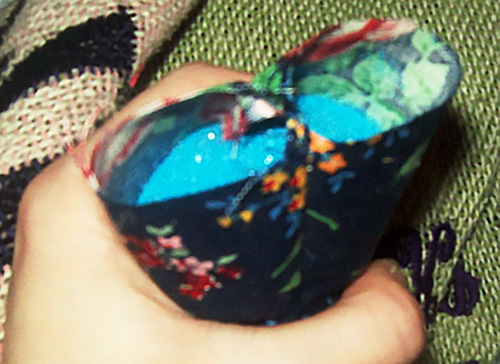
Step Three: Once your shapes are cut and trimmed, it’s time to start planning your sewing. Even though this is a small project, it could still pay to have straight pins keeping your work in place, so you might want to break out a couple! Be sure before you pin or sew that your main fabric pieces are together with their patterned sides facing outward, and don’t forget to fold that additional line of fabric and place the tips of both ends between the two shapes.
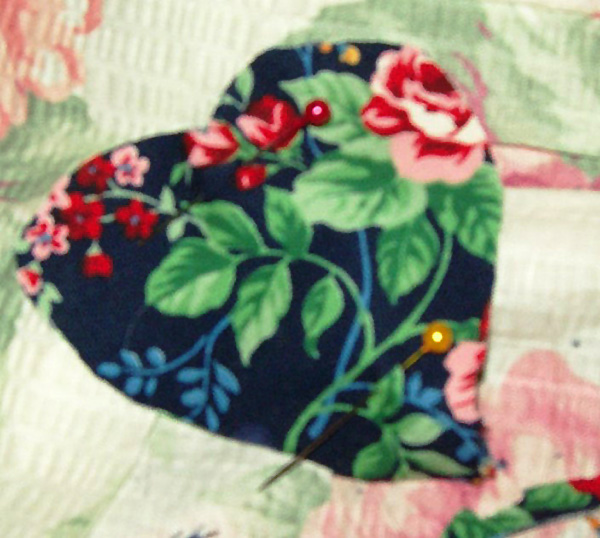
Be sure before you pin or sew that your main fabric pieces are together with their patterned sides facing outward.
Put a ring on it
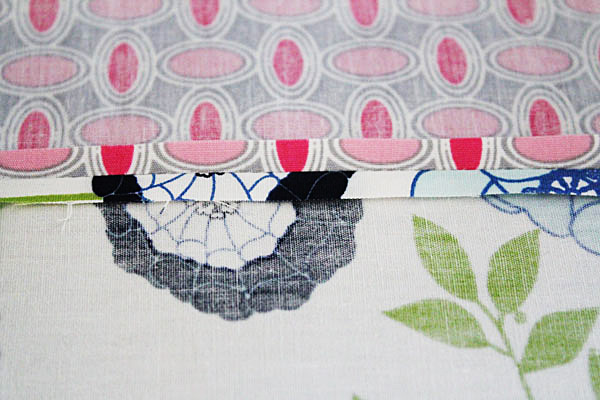
You might think about going ahead and adding your keyring here as well so that you don’t have to put your fabric through the stress of being twisted through the keyring. To do that, you’d just need to loop the line of fabric through the ring before you pin it between the shaped fabric pieces for sewing.
Step Four: Sew! Since this is a keychain, the process won’t take long! And be sure to cut off the excess thread when you finish!
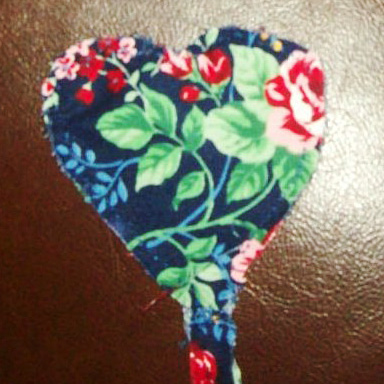
Sew! Since this is a keychain, the process won’t take long!
Step Five: Hang a key on it and enjoy!