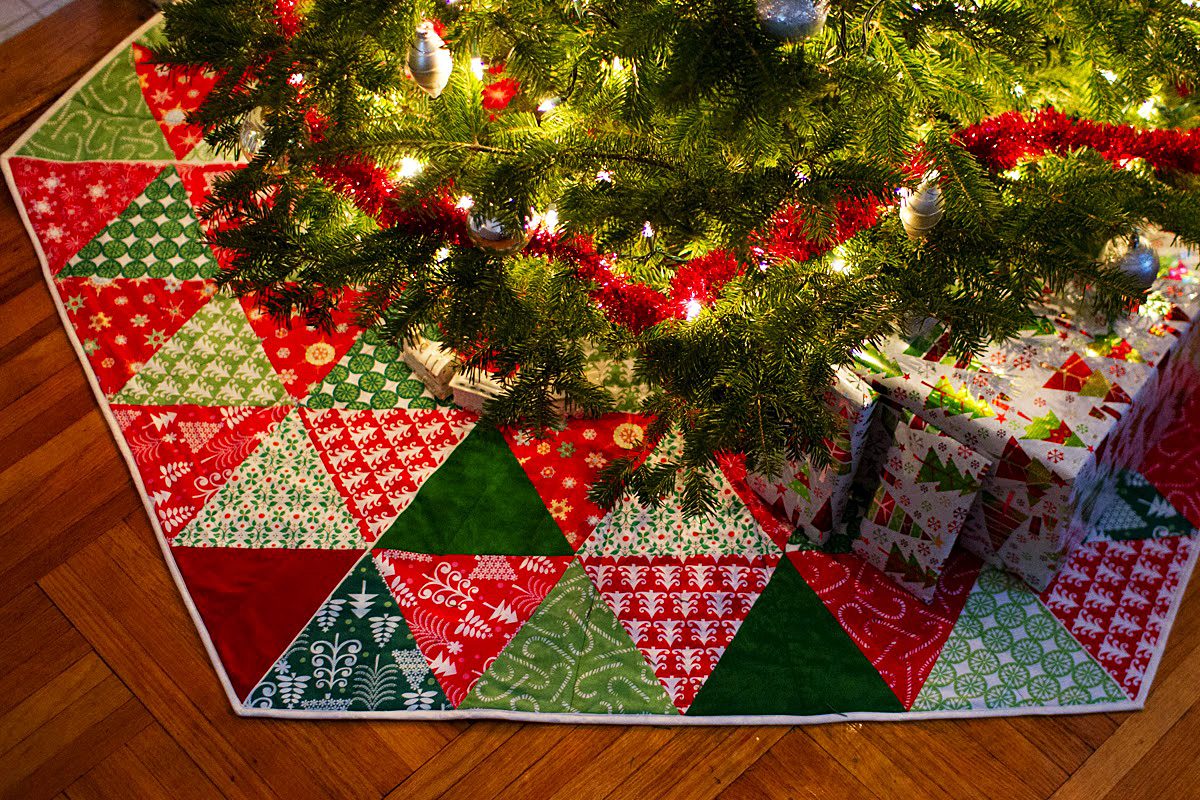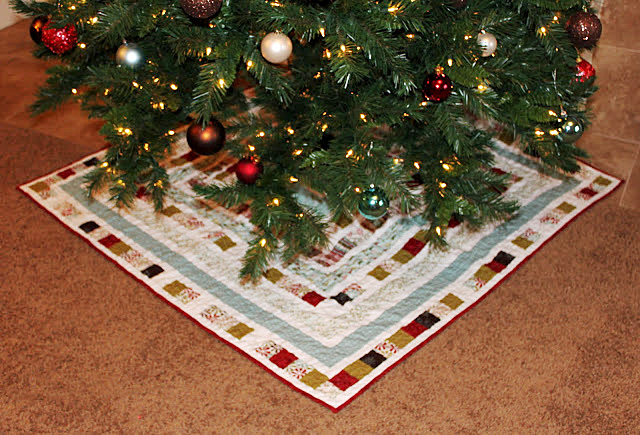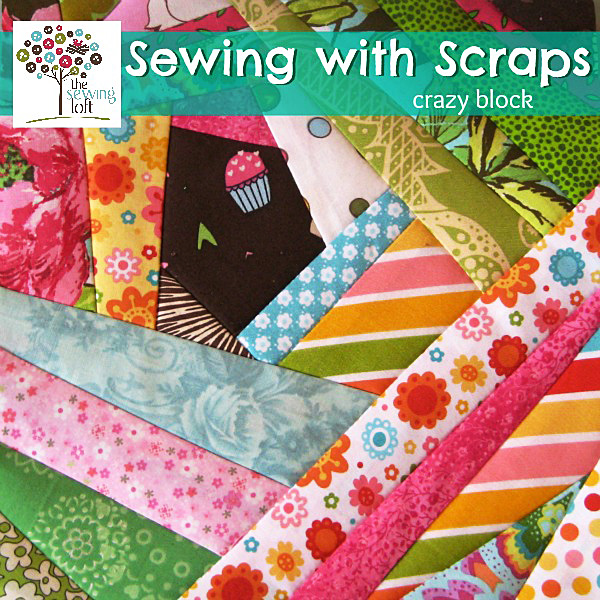
I have definite plans and goals for the new year, and not just the ones that I’ve mentioned in previous posts. I want to take another class. I want take better care of myself. I want to read more. But one thing that I want to do under the sewing umbrella is to finish up the quilt I’ve been working on for a while now. That goal happens to come in steps. Firstly, I need to finish with the patchwork design I have going on (the goal is to have twelve rows of patches) to get this top layer ready for the next two.

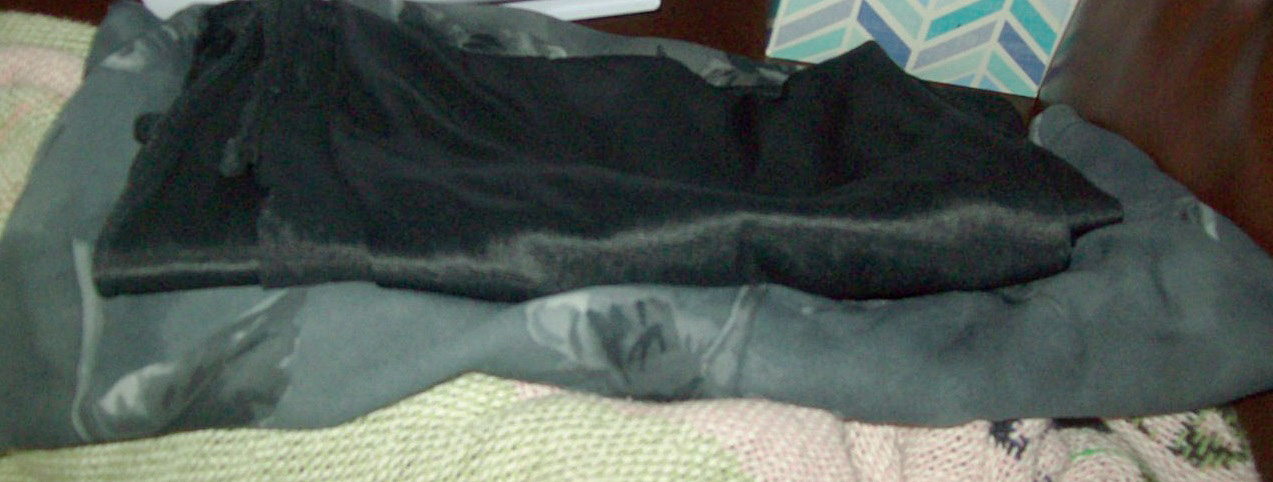
The quilt I’ve been working on for a while now.
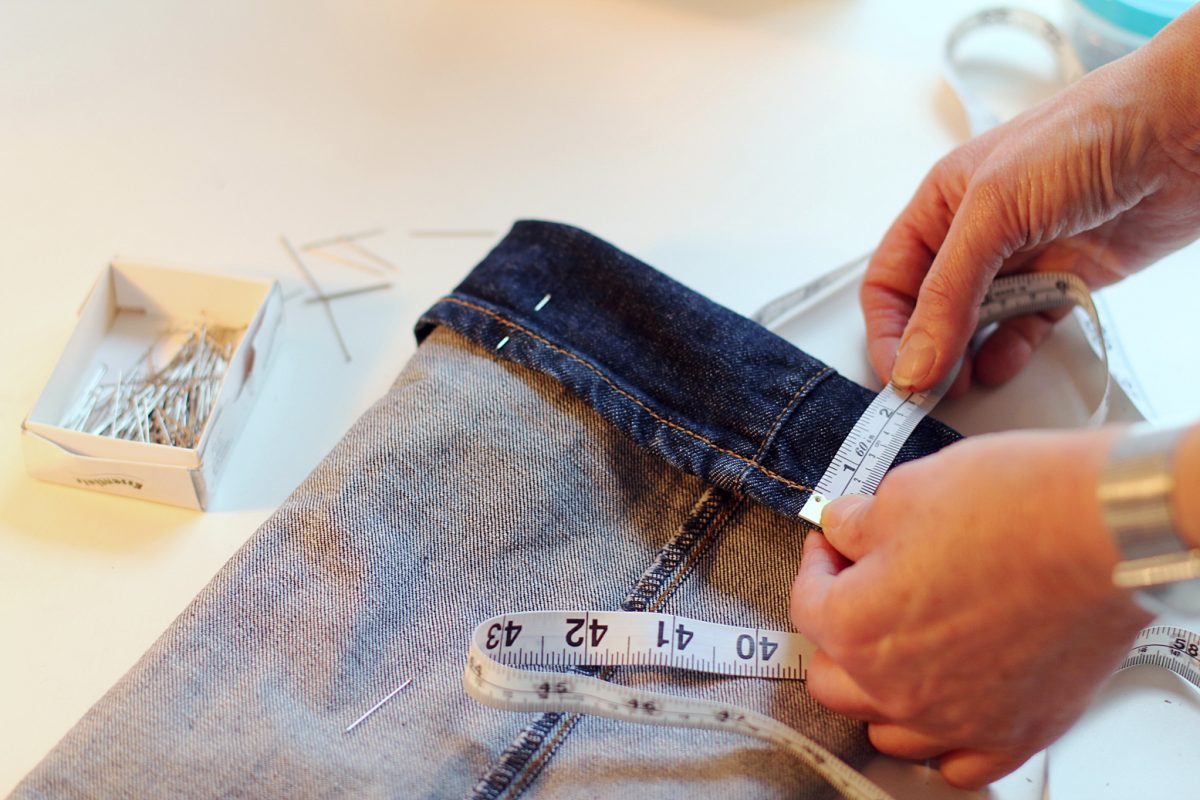
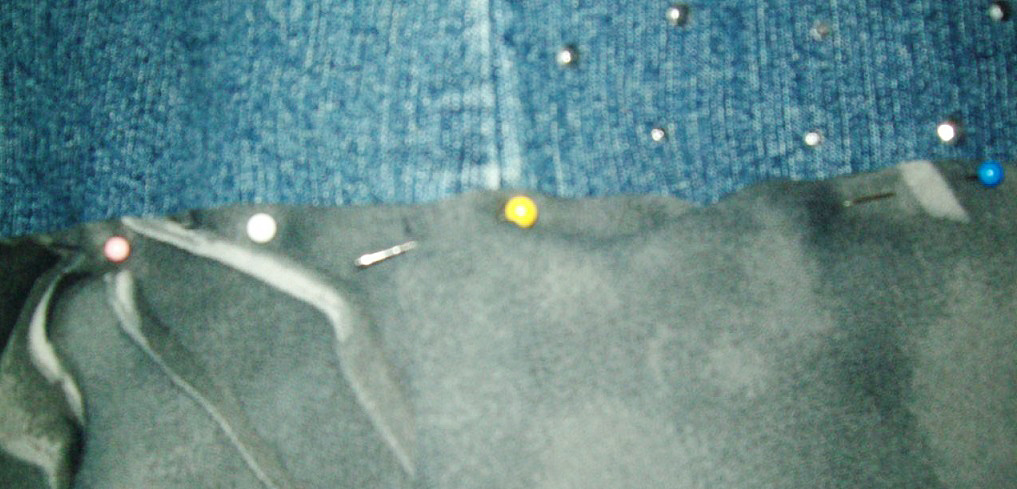
That step, though it’ll take time, is pretty cut and dry. I plan, I pin and I sew.
The steps that follow are the ones that merit consideration beyond those general details — like how I plan to join my quilt sandwich. Do I stitch? Do I tie? Do I spray? Decisions! (Details can be found here).
Hungry? Have a sandwich
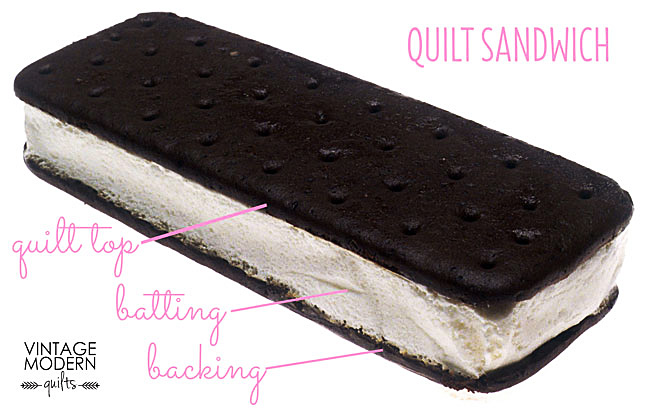
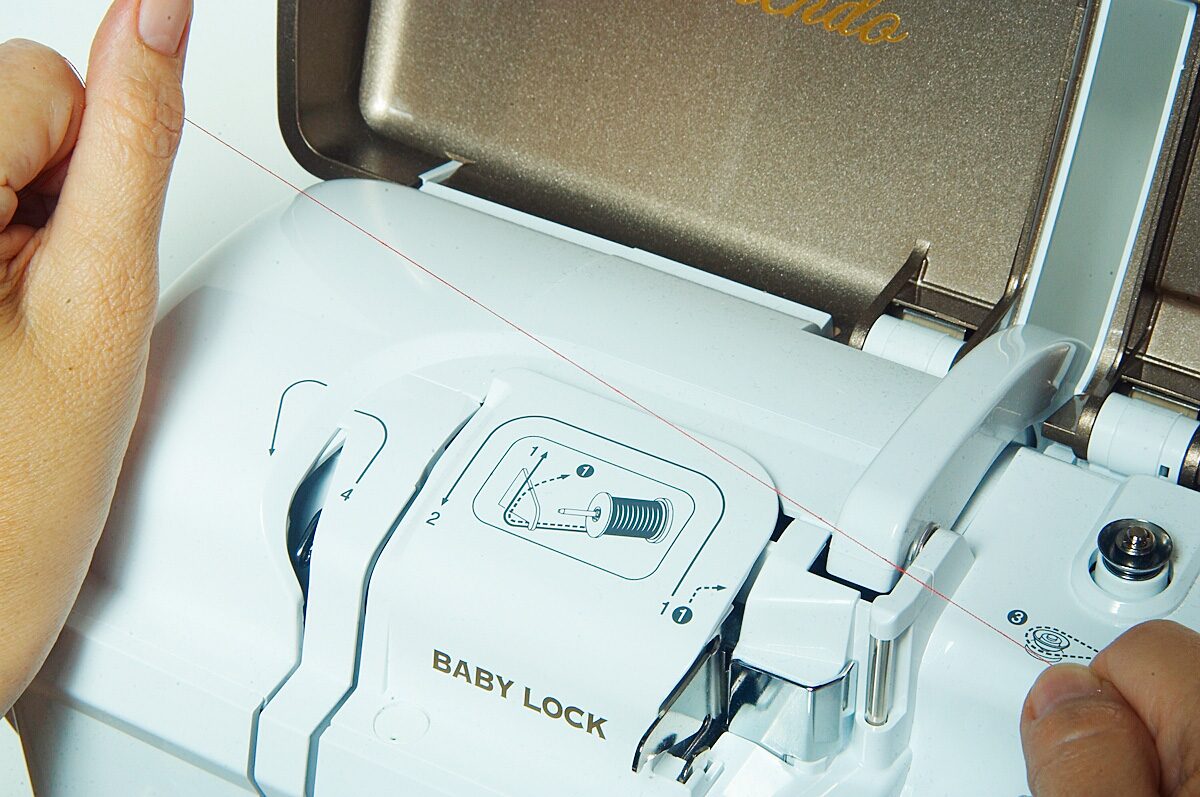
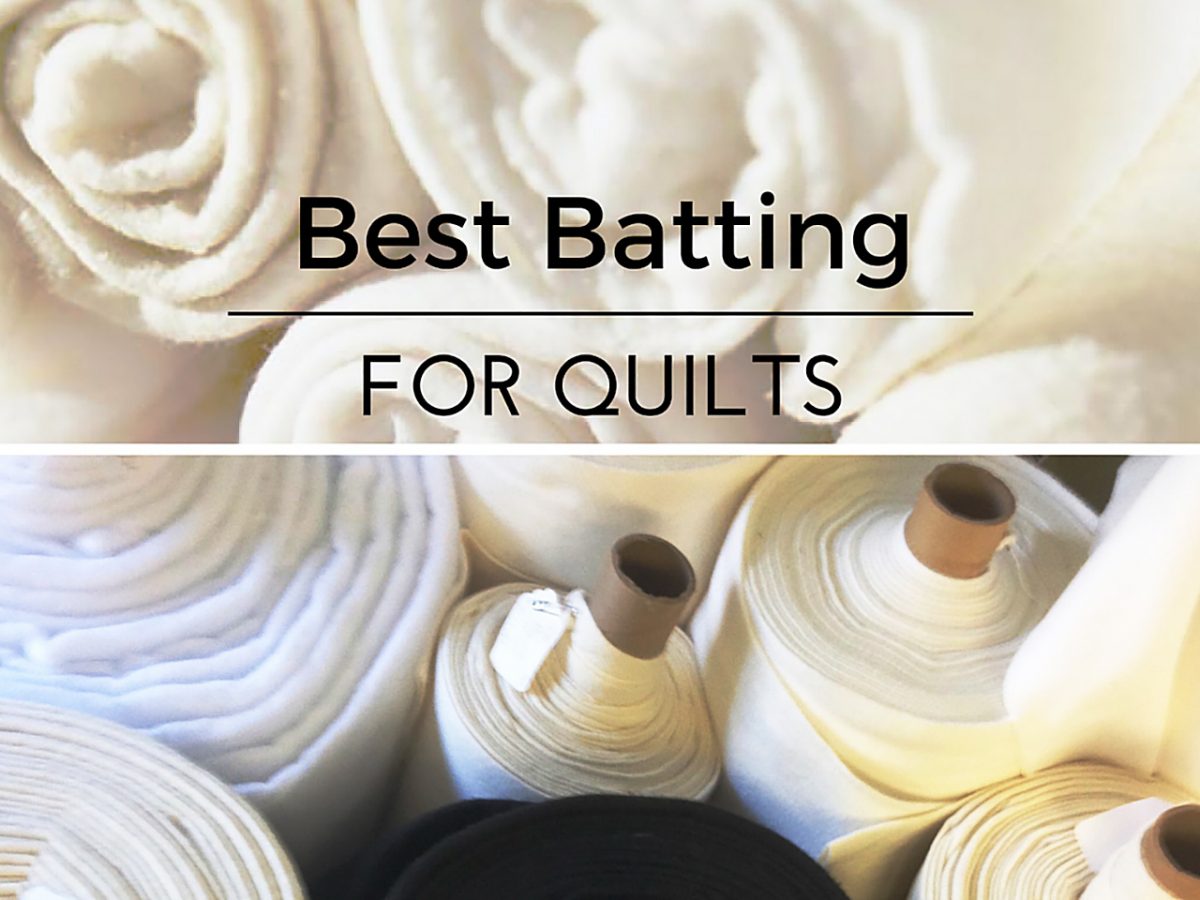
The more immediate topic to debate is what kind of batting I’m going to use for the middle of my quilt sandwich. This will be, by the way, the first time I’ve used batting since I only recently realized that quilts do, in fact, need three layers to fit the official definition, thus the term “quilt sandwich.” Before, I just used the backing and the front, but I want to be more by-the-books for this one! Given that I have little to no experience with batting though, it seemed reasonable to do a bit of research on the matter so that I could make the best decision for me.
Research, I did, and I’ve come to a potential fabric for the job: Cotton.
The fabric of our lives
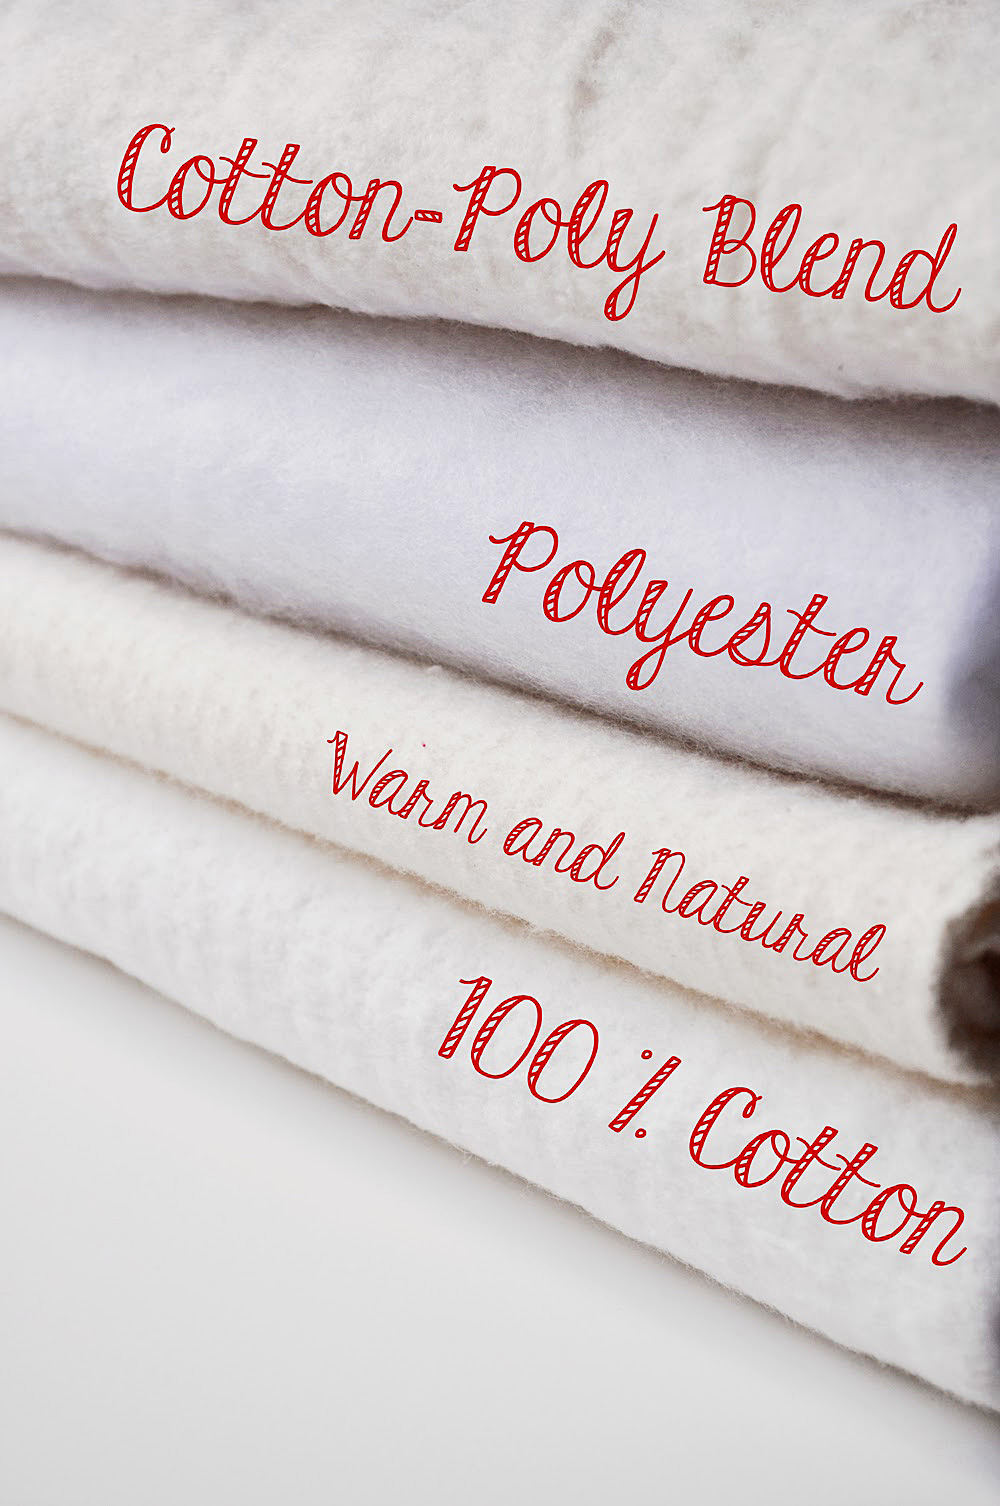
There are plenty of batting types to choose from.
There are a number of reasons for this choice, and I urge anyone who is going to make a quilt to consider their own purposes and situations when choosing the right batting. While cotton might be a good choice for me, it might not be the best option for another person or another project. There are plenty of batting types to choose from — polyester, wool, blends — and to make the best decision, maybe spend some time looking into the pros and cons of each. You can find details about the possibilities here and here.
So with those other possibilities in mind, why did I choose cotton? There are a number of reasons. For one, it’s cheap. Yes, I know, cheaper isn’t always better, but for a learner on a budget, price can definitely be something worth considering! Remember that this is my first time adding batting, so it would be not-so-good to spend a bigger amount on a batting type just to mess the whole thing up! It’s also worth noting that this quilt will be for personal use, which leads into the reasoning that everything doesn’t have to be top-of-the-line quality like I might strive for if a company name was on the line. It’s for me, it’s my first experience with batting, and I think testing the waters on a smaller money scale is a good idea!
Synthetic but equal
Now, this might make you wonder why I didn’t go with polyester. Simple answer: Itchiness leads to polyester not always being my best friend! This is a personal decision, but the idea is something to keep in mind should you choose to make any kind of sewn product. If you have an allergy or a bad reaction to a certain fabric, keep that in mind so you can steer clear of it!
There’s also the issue of loft, or how thick the batting is. Something like wool is high loft, meaning it’s very thick, so a quilt made with wool would be thicker. If you’re a person who gets cold all the time, wool might be your fabric for batting! For me, I want something with a lower loft so that the final product will be thinner. For one thing, I like the size that the first layer of my quilt will be, and I don’t want to shrink it too much by having it cover a thicker middle layer. For another thing, to me, higher loft looks more like a comforter, and I don’t want to go that route with this product.
Cotton is a better choice then, and it’s a fabric that I know is easy to work with on sewing projects. There’s no known itchy detail that I need to worry about, and I can feel comfortable knowing that I’m accustomed to it. I like cotton and — as weird as it might sound — I trust cotton. In addition, the recommended stitching distance for cotton is wider than other fabrics, giving more freedom in that respect.