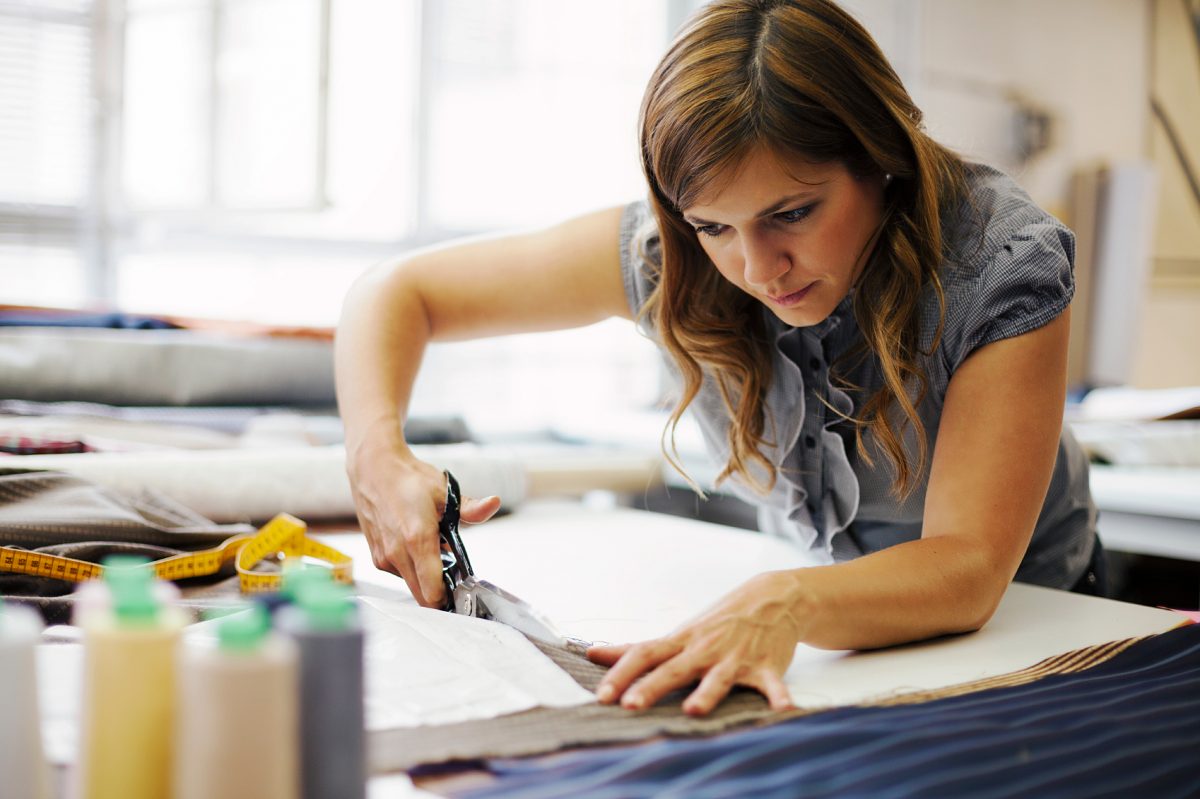
Sometimes, little decisions can make big impacts. Details that are minute and all but brushed aside as secondary could really have an effect on a life. Or in this case, a project! I’ve said before on this very blog that quilting is not baking, and it’s true! While I can guesstimate with my baking ingredients, specifics can be a serious deal when partaking in a sewing-related hobby. I’ve already covered that general topic, but for this blog post, I’d like to funnel that idea to one particular concept. That detail is picking out your fabrics for a project that requires more than one design of material.
In the world of sewing, matching isn’t the goal. Complementing is.
Now, I’m not saying that people don’t take this consideration seriously. I’m saying that in a world where you can find all kinds of free patterns online for sewing projects, this step is worth considering just as much as finding that right pattern, and that maybe there’s less help in regards to learning how to select a fabric set than—for instance— learning how to operate your sewing machine. After all, your fabric might not come with instructions or a series of recommendations for other fabrics to blend together into one project!

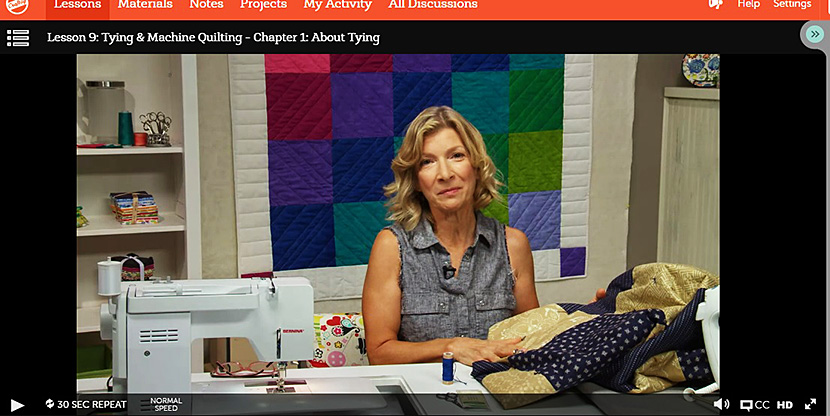
Gail Kesser helps you pick our your fabrics in her Craftsy series.
Luckily though, you don’t have to be completely alone in the matter! There are certain options for help—like asking friends, particularly ones who are involved with sewing. Likewise, you can find assistance online. Some of the best advice I’ve gotten in regards to picking out quilting fabrics came from a free class on Craftsy.com. The class was called “Piece, Patch, Quilt: Basic Quiltmaking Skills,” and in it, Gail Kesser—the instructor—has an entire section based on fabric selections called “Choosing Your Fabrics.”
In that lesson, Kesser advises the virtual student to choose a “mommy fabric” (Kesser, n.d., Lesson #3), then “walk it around the store” (Kesser, n.d., Lesson #3) to find fabrics that work well with the initial choice. Honestly, I don’t know that there’s better advice when it comes to putting together an entire quilt—or any other project with multiple types of fabric—but I’d like to expand on the overall idea just a bit. Maybe someone reading this post can look at the mentioned video for help, and possibly get a pointer or two from me as well 🙂
So, here are some thoughts to chew on!
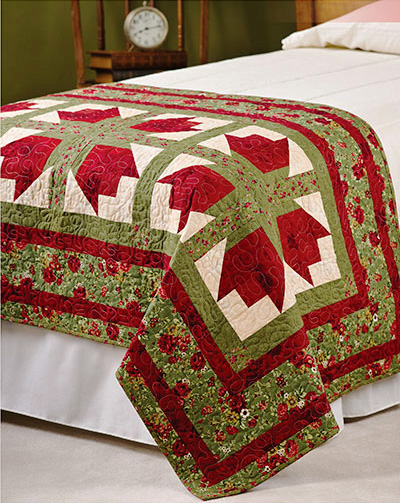
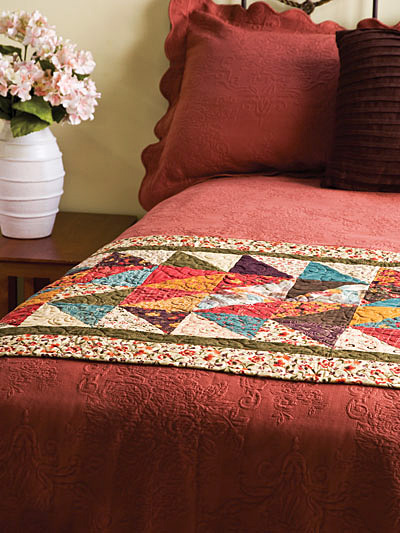
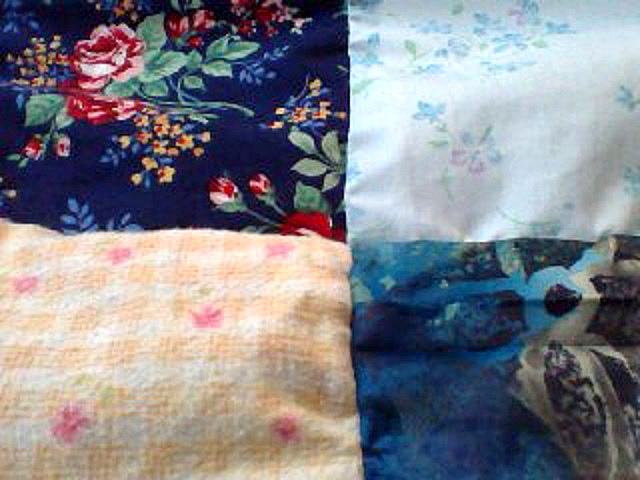
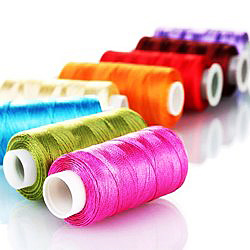
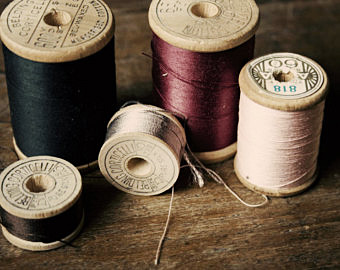
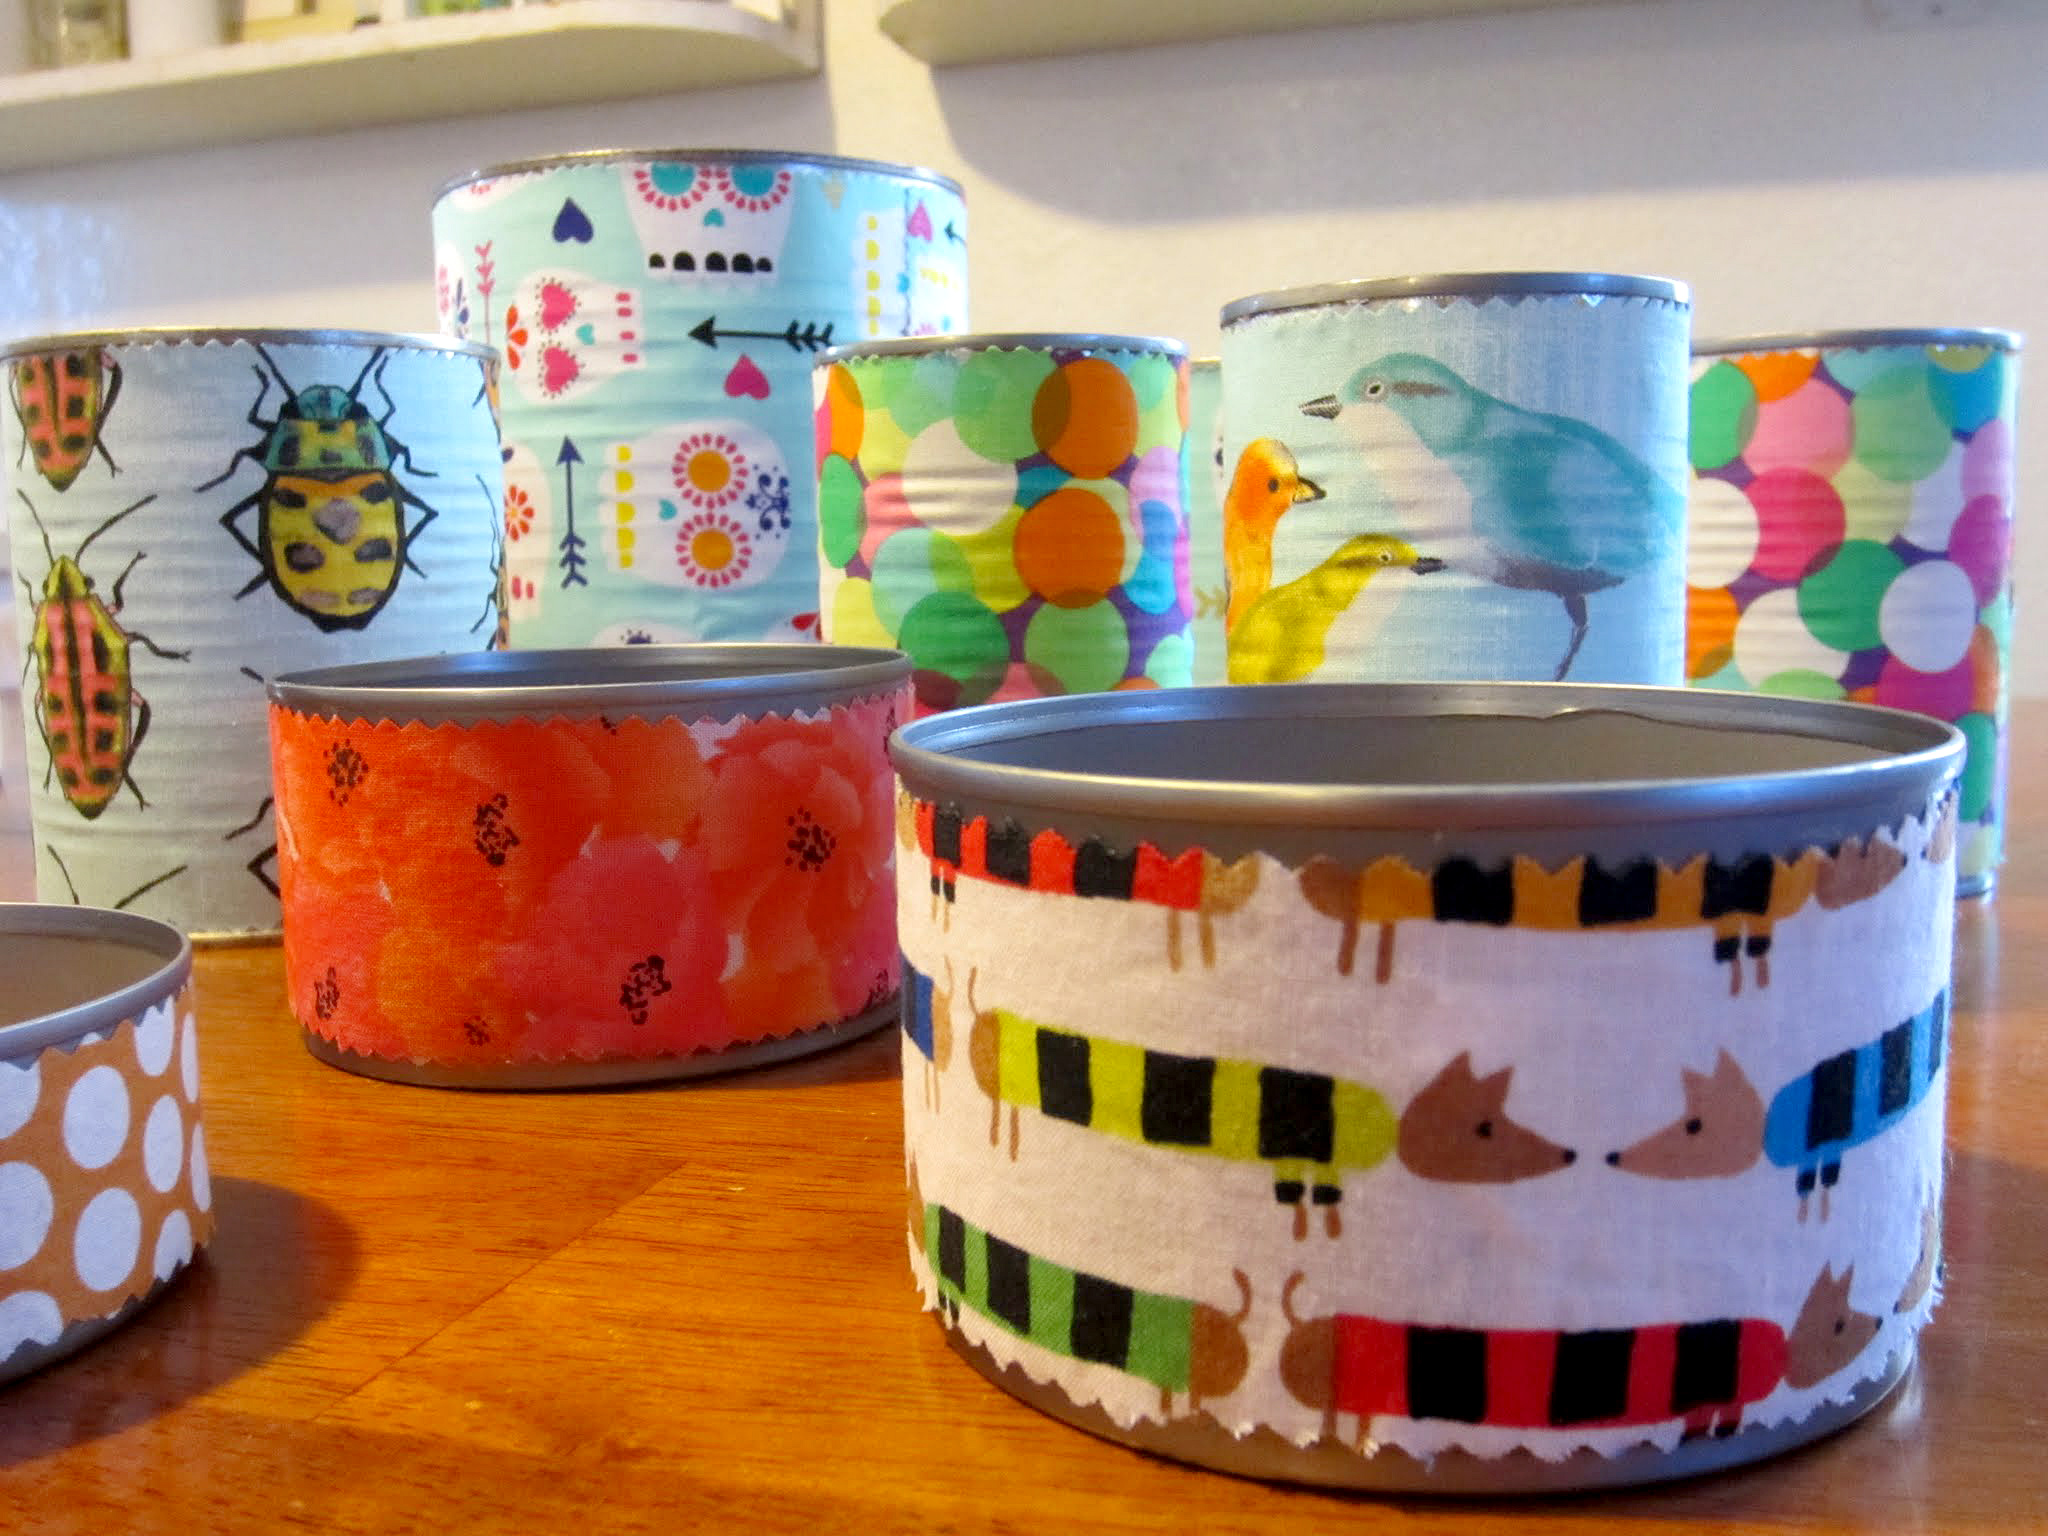
Picking out a series of fabrics to use in one cohesive work isn’t about making sure they match in the traditional sense. The situation isn’t like you’re planning an outfit to wear. When deciding on your clothes for the day, you might consider a list of details to make sure everything works together because the result is supposed to match. In the world of sewing, matching isn’t the goal. Complementing is. That idea of complementing can come in the form of sticking with similar colors, or even embracing an overall theme your pieces all agree with, so to speak. As long as it’s a unified idea or connected imagery throughout, you’re good to go!
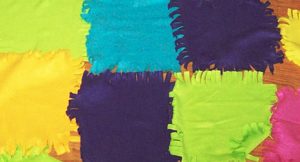
The quilting-for-kids project my niece got for her birthday.
Don’t believe me? Even the people who created this quilting-for-kids project my niece got for her birthday knew that sometimes it isn’t about matching. This design is about complementing, or holding on to one specific theme—like the collection of different colors that my niece can put together!
This concept might seem unimportant, but it isn’t since the distinction is so clear. Think of it this way. If you were picking out an outfit for a typical day, you might not go with a floral pattern top and a polka dot bottom, even if both of them are pink. Why? Because while pink might match pink, the designs don’t match. That disconnect isn’t necessarily okay when putting together an outfit, but when sewing? All you need to do is check out a set of pre-cut shapes to find evidence that the same guidelines don’t apply to the hobby of sewing. All in all, it doesn’t matter if your fabrics match like your outfit would. They can vary in design, and even color, so long as they complement one another in some way.
And that aspect of the situation, my friends, leaves a whole lot of room for exploration and gives you plenty of room to make a design that’s all your own. To be truthful, that detail might be one of my favorite things about quilting and sewing. Whatever I come up with, it’s my design, I made it myself, and no one else likely has one like it. That feeling… That’s an okay thing!
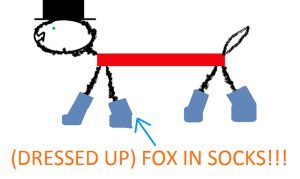
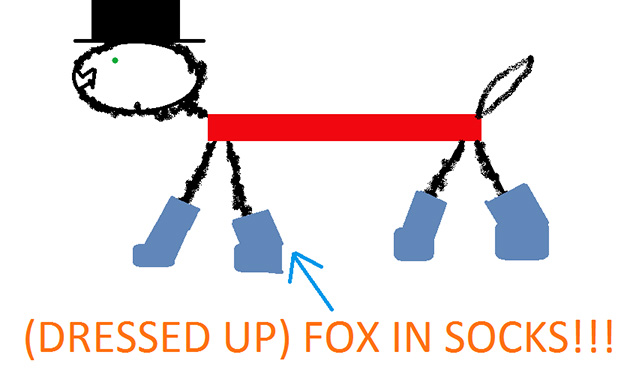
This image is based off of Dr. Seuss’s Fox in Socks, but I didn’t stop with socks! This fox is my “(Dressed Up) Fox in Socks” that was made by taking a general idea, and putting a hat and red attire on him.
Anyway, a sewer or a quilter should really take charge in this detail, and maybe push it to unique, individual places. As an example, consider the work of art I created on the Paint program that came with my computer. This image is based off of Dr. Seuss’s Fox in Socks, but I didn’t stop with socks! This fox is my “(Dressed Up) Fox in Socks” that was made by taking a general idea, and putting a hat and red attire on him. It started off simple—just socks from the story—and imagination took it further. Disclaimer: I’m not saying this Paint project is actually impressive—just that it shows how a theme can grow with some thought and creativity!
That’s the kind of pushing I’m referring to when picking out fabrics. Consider what you’re going for, find that beginning fabric, and think outside of the box enough to choose those complementary fabrics to create a breathtaking piece of art. Don’t stay with the easy options all the time! Push yourself, because sometimes the unexpected and the outside-of-the-box things can be a whole lot of fun!
This post might be more centered around quilting, but it could be applied to different areas of sewing (or crocheting, or knitting…) that involve material. A purse that’s going to have more than one fabric, for example, could be planned out with the same guidelines. Any time you’re blending fabrics together, think it through to come up with a cohesive, beautiful work. Complement those designs and colors, or stick to a theme from start to finish. Either way, your work would come out cohesive with your final product being a one-of-a-kind gem that’s beautiful and looks just as put together as a well-planned outfit—just with different rules!
Reference: