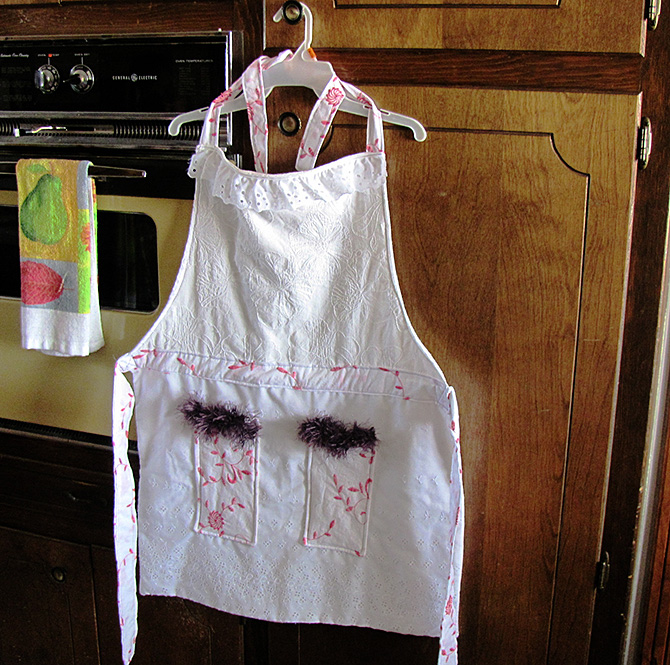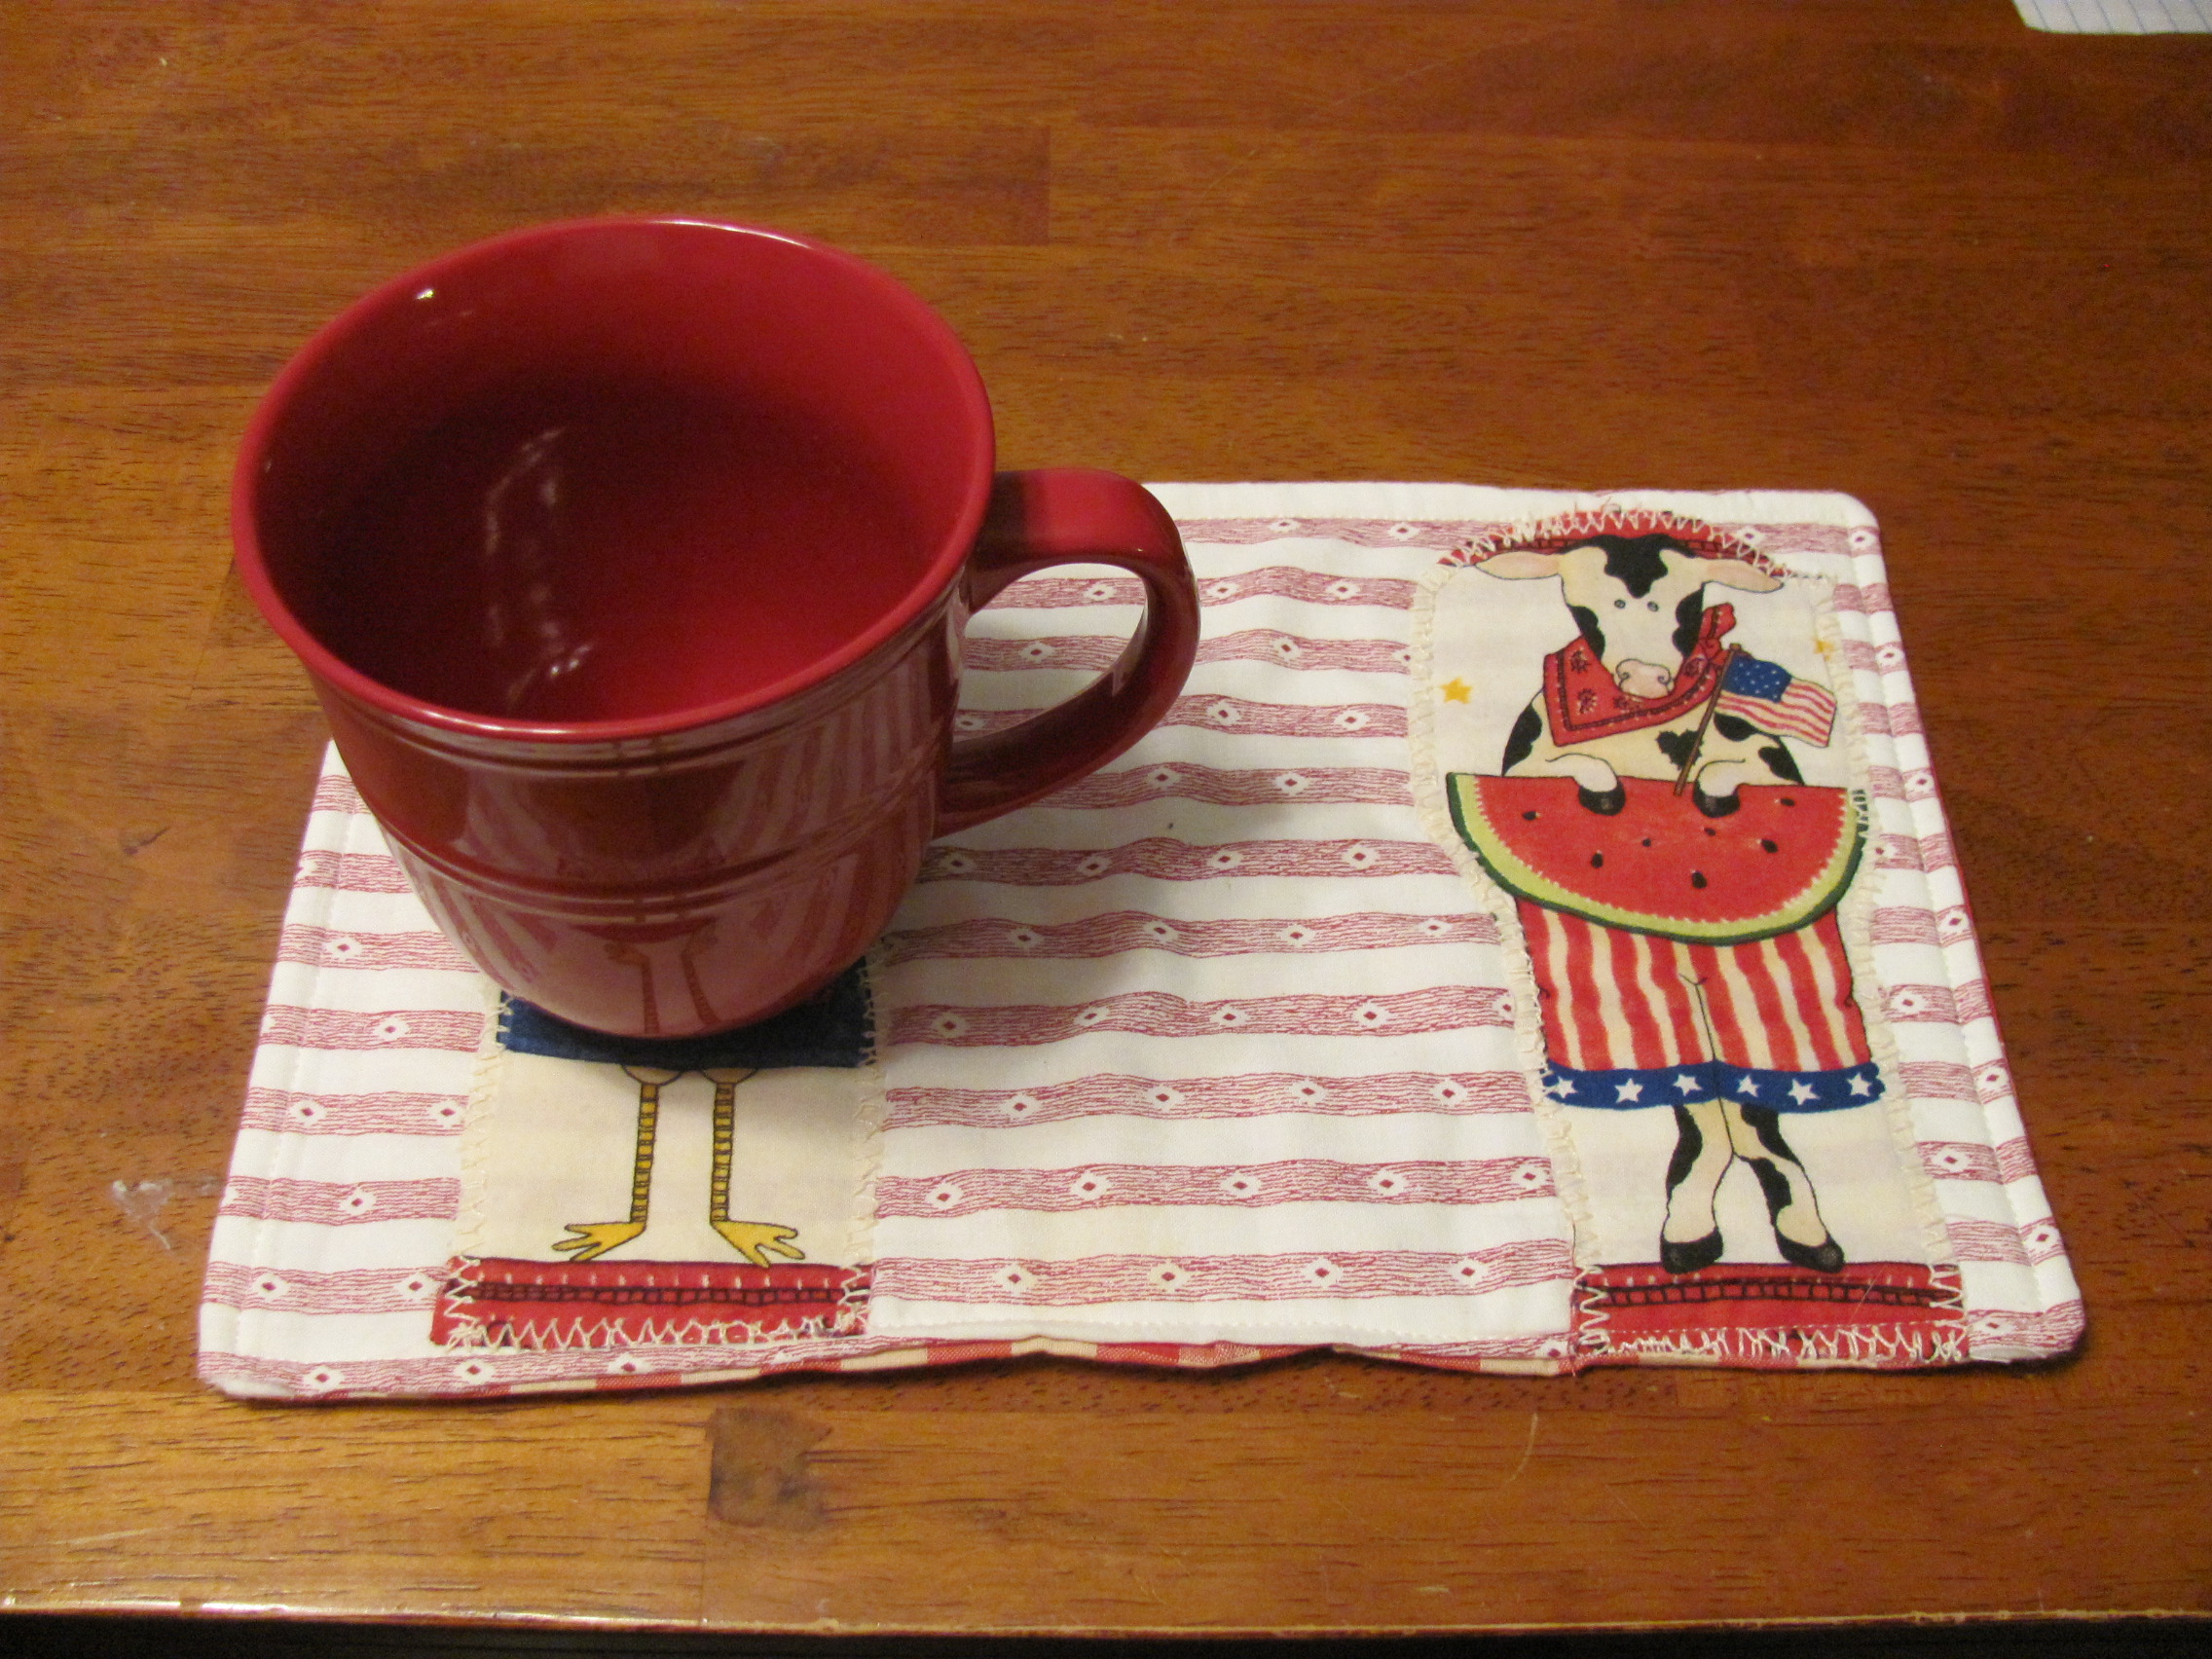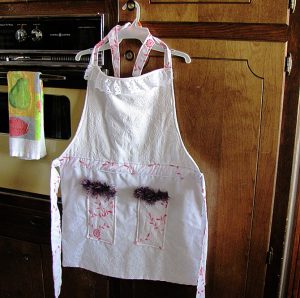
Elegant upscale apron
A cherished friend gifted me some very beautiful, elegant materials. She purchased them long ago with the intention of making an apron but never got around to it. I thought, “How wonderful, I’ll surprise her by making it for her!” I designed this apron to be elegant and classy while also being functional. This Elegant Upscale Apron really hit the spot. She adores it and I hope you will too!
***ProTip: When making clothes of any type, washing and ironing before sewing are extremely important!! Measurements are based on material already washed. If they aren’t washed before sewing, they may shrink by an inch or more when washed later on, resulting in the clothing being too small to wear.
Level: Beginner
Time to Complete: In A Weekend
Sewn By Machine: 3/8″ straight stitch unless otherwise specified
Sewn By Hand: Purple thread to sew pocket accents
**Tip: Iron cut pieces before sewing and in between each step. This helps in the sewing process as well as setting the stitches to lessen unraveling with age. And the extra bonus-the end results tend to look more professional as a result.
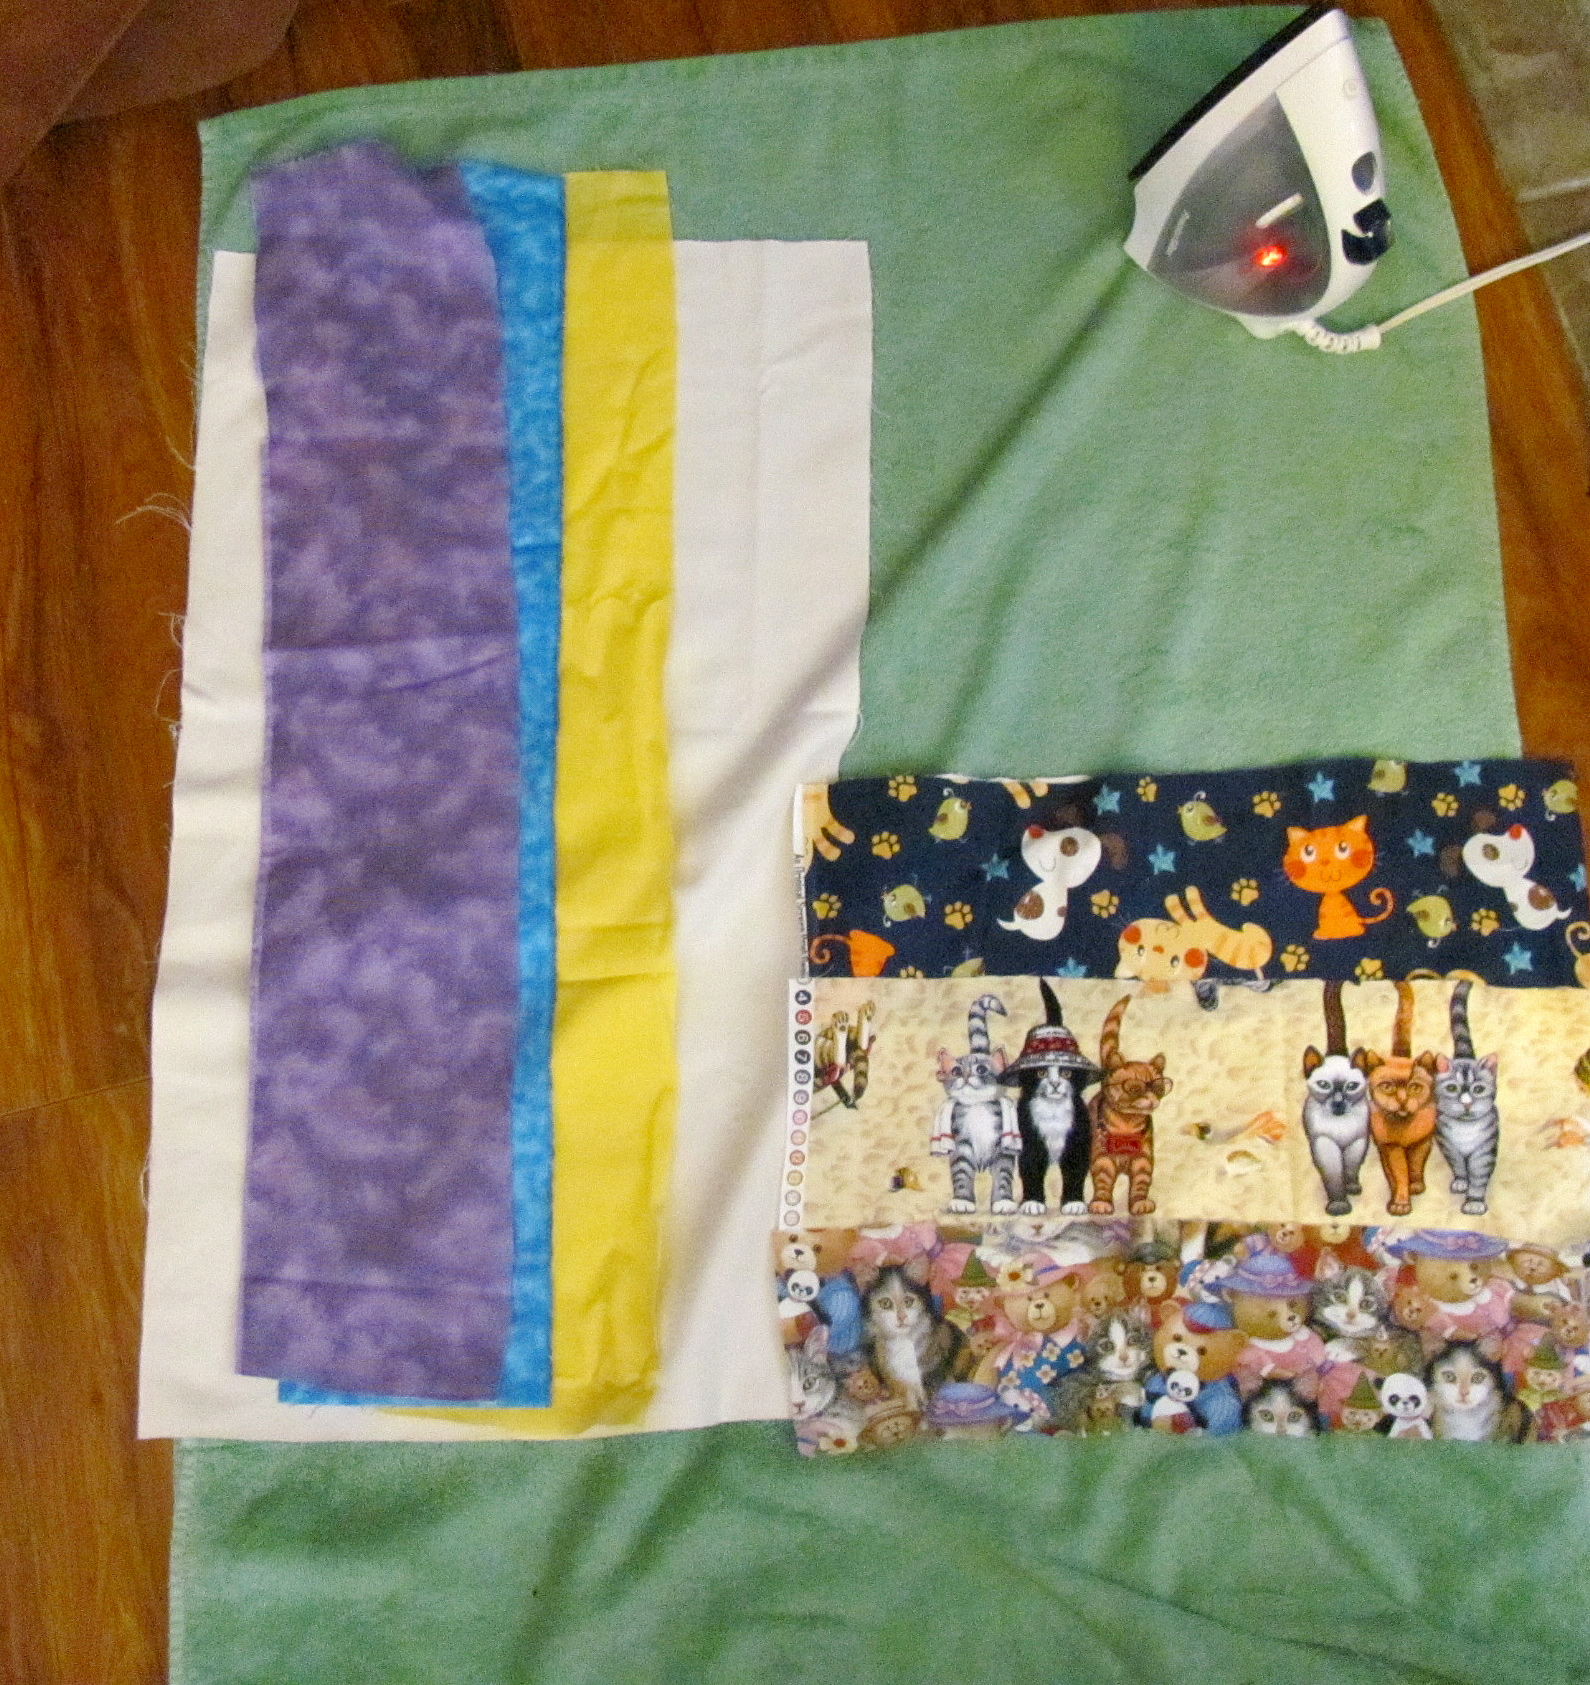
Materials:
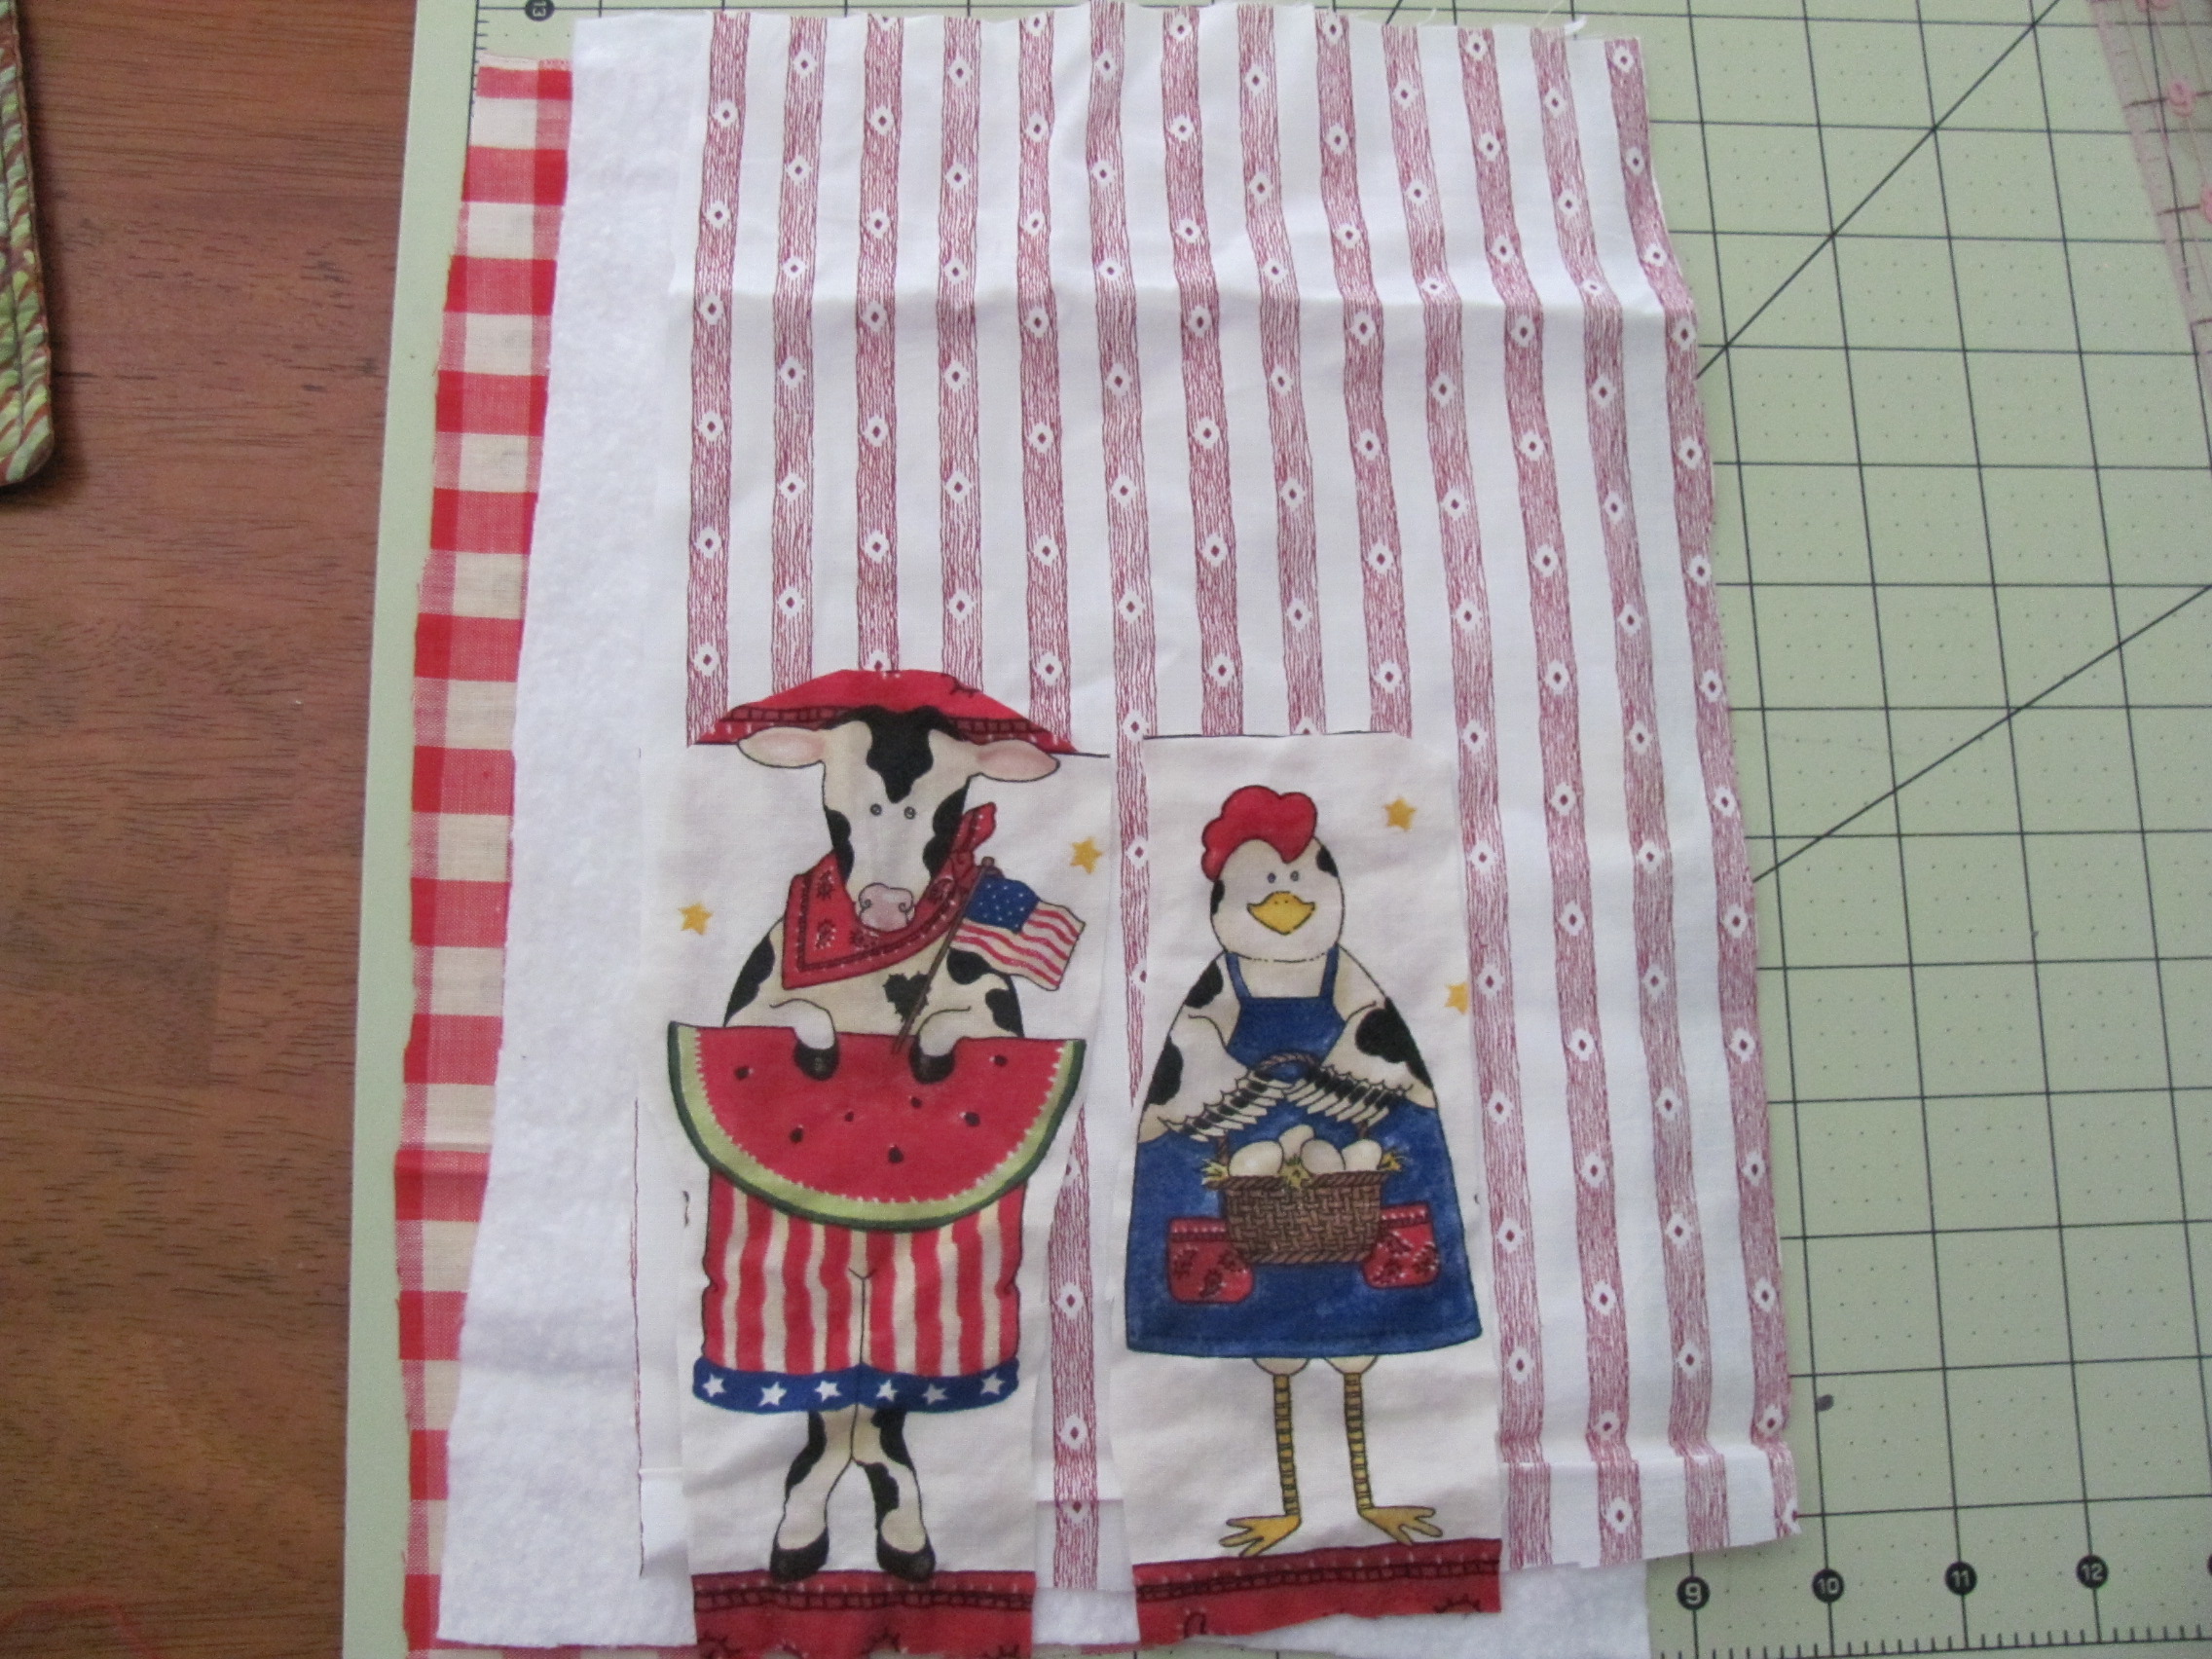
These fabrics are relatively thin. Aprons generally require a thicker material to help resist staining of clothing underneath. I used a piece of thicker off-white fabric as the backing to keep the elegant style while serving as an effective apron as well. The thicker backing also eliminates the need for a middle layer of batting.
Top:
Measurements for Top – 14″ W<
Measurements for Bottom End – 23″ W
Length at middle – 18″ L
Skirt:
1 – 23″ W x 18″ L – Lace Fabric
1 – 23″ W x 18″ L – Backing
Neck Ties:
2 – 3″ W x 20″ L – Same material as used for Pockets
Waist Ties:
2 – 4″ W x 23″ L -Same material as used for Pockets
Neck Accent:
– 13″ W
Waist Accent:
1 – 23″ W x 3″ L Accent-Same material as used for Pockets
Pockets:
2 – 5″ W x 14″ L – Same material as used for Waist Accent
2 – 5″ W x 14″ L – Backing
Pocket Accents:
2 – 5″ W – Snazzy Boa
Purple Thread:
To sew pocket accents (boa) on by hand
Cut fabric pieces.
**Tip: When I’m ready to cut my fabric, I place the line to be cut at the end of my cutting board. I use the end of the board to guide the scissors. This results in a straighter, cleaner cut.
Instructions:
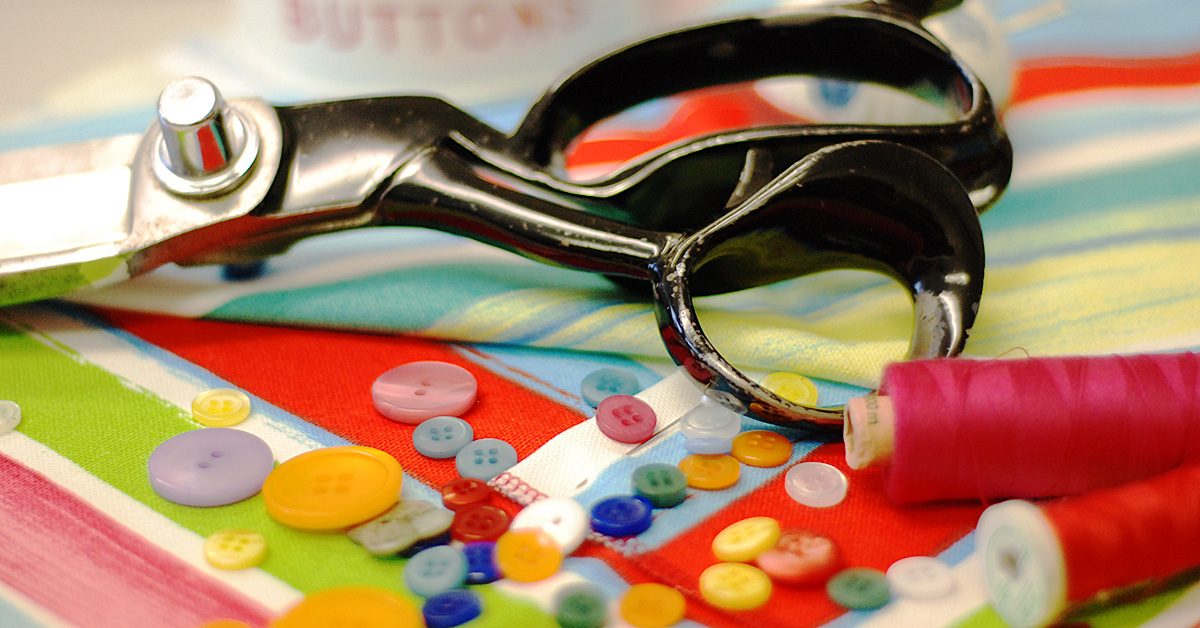
I recommend using fabric scissors instead of a roller when cutting these materials. I found the embroidery and embellishments in these materials are a little too much for the roller to cut through with one or even two strokes.
These are my favorite fabric scissors. Great slicing with minimal fraying.
- Wash and iron all material except pocket accents unless you use a washable material for pocket accents.
- Cut out all material using the above measurements.
- I cut the boa accent pieces a couple of inches longer than needed, about 7 in. in case the hand sewing with the clear thread makes it a little shorter. When done, I cut off the extra.
- After I measured the top section of the apron, I used a pencil to trace the curve from top to bottom. Then I folded the top in half and cut the curve on both sides so they would be symmetrical.
- Skirt
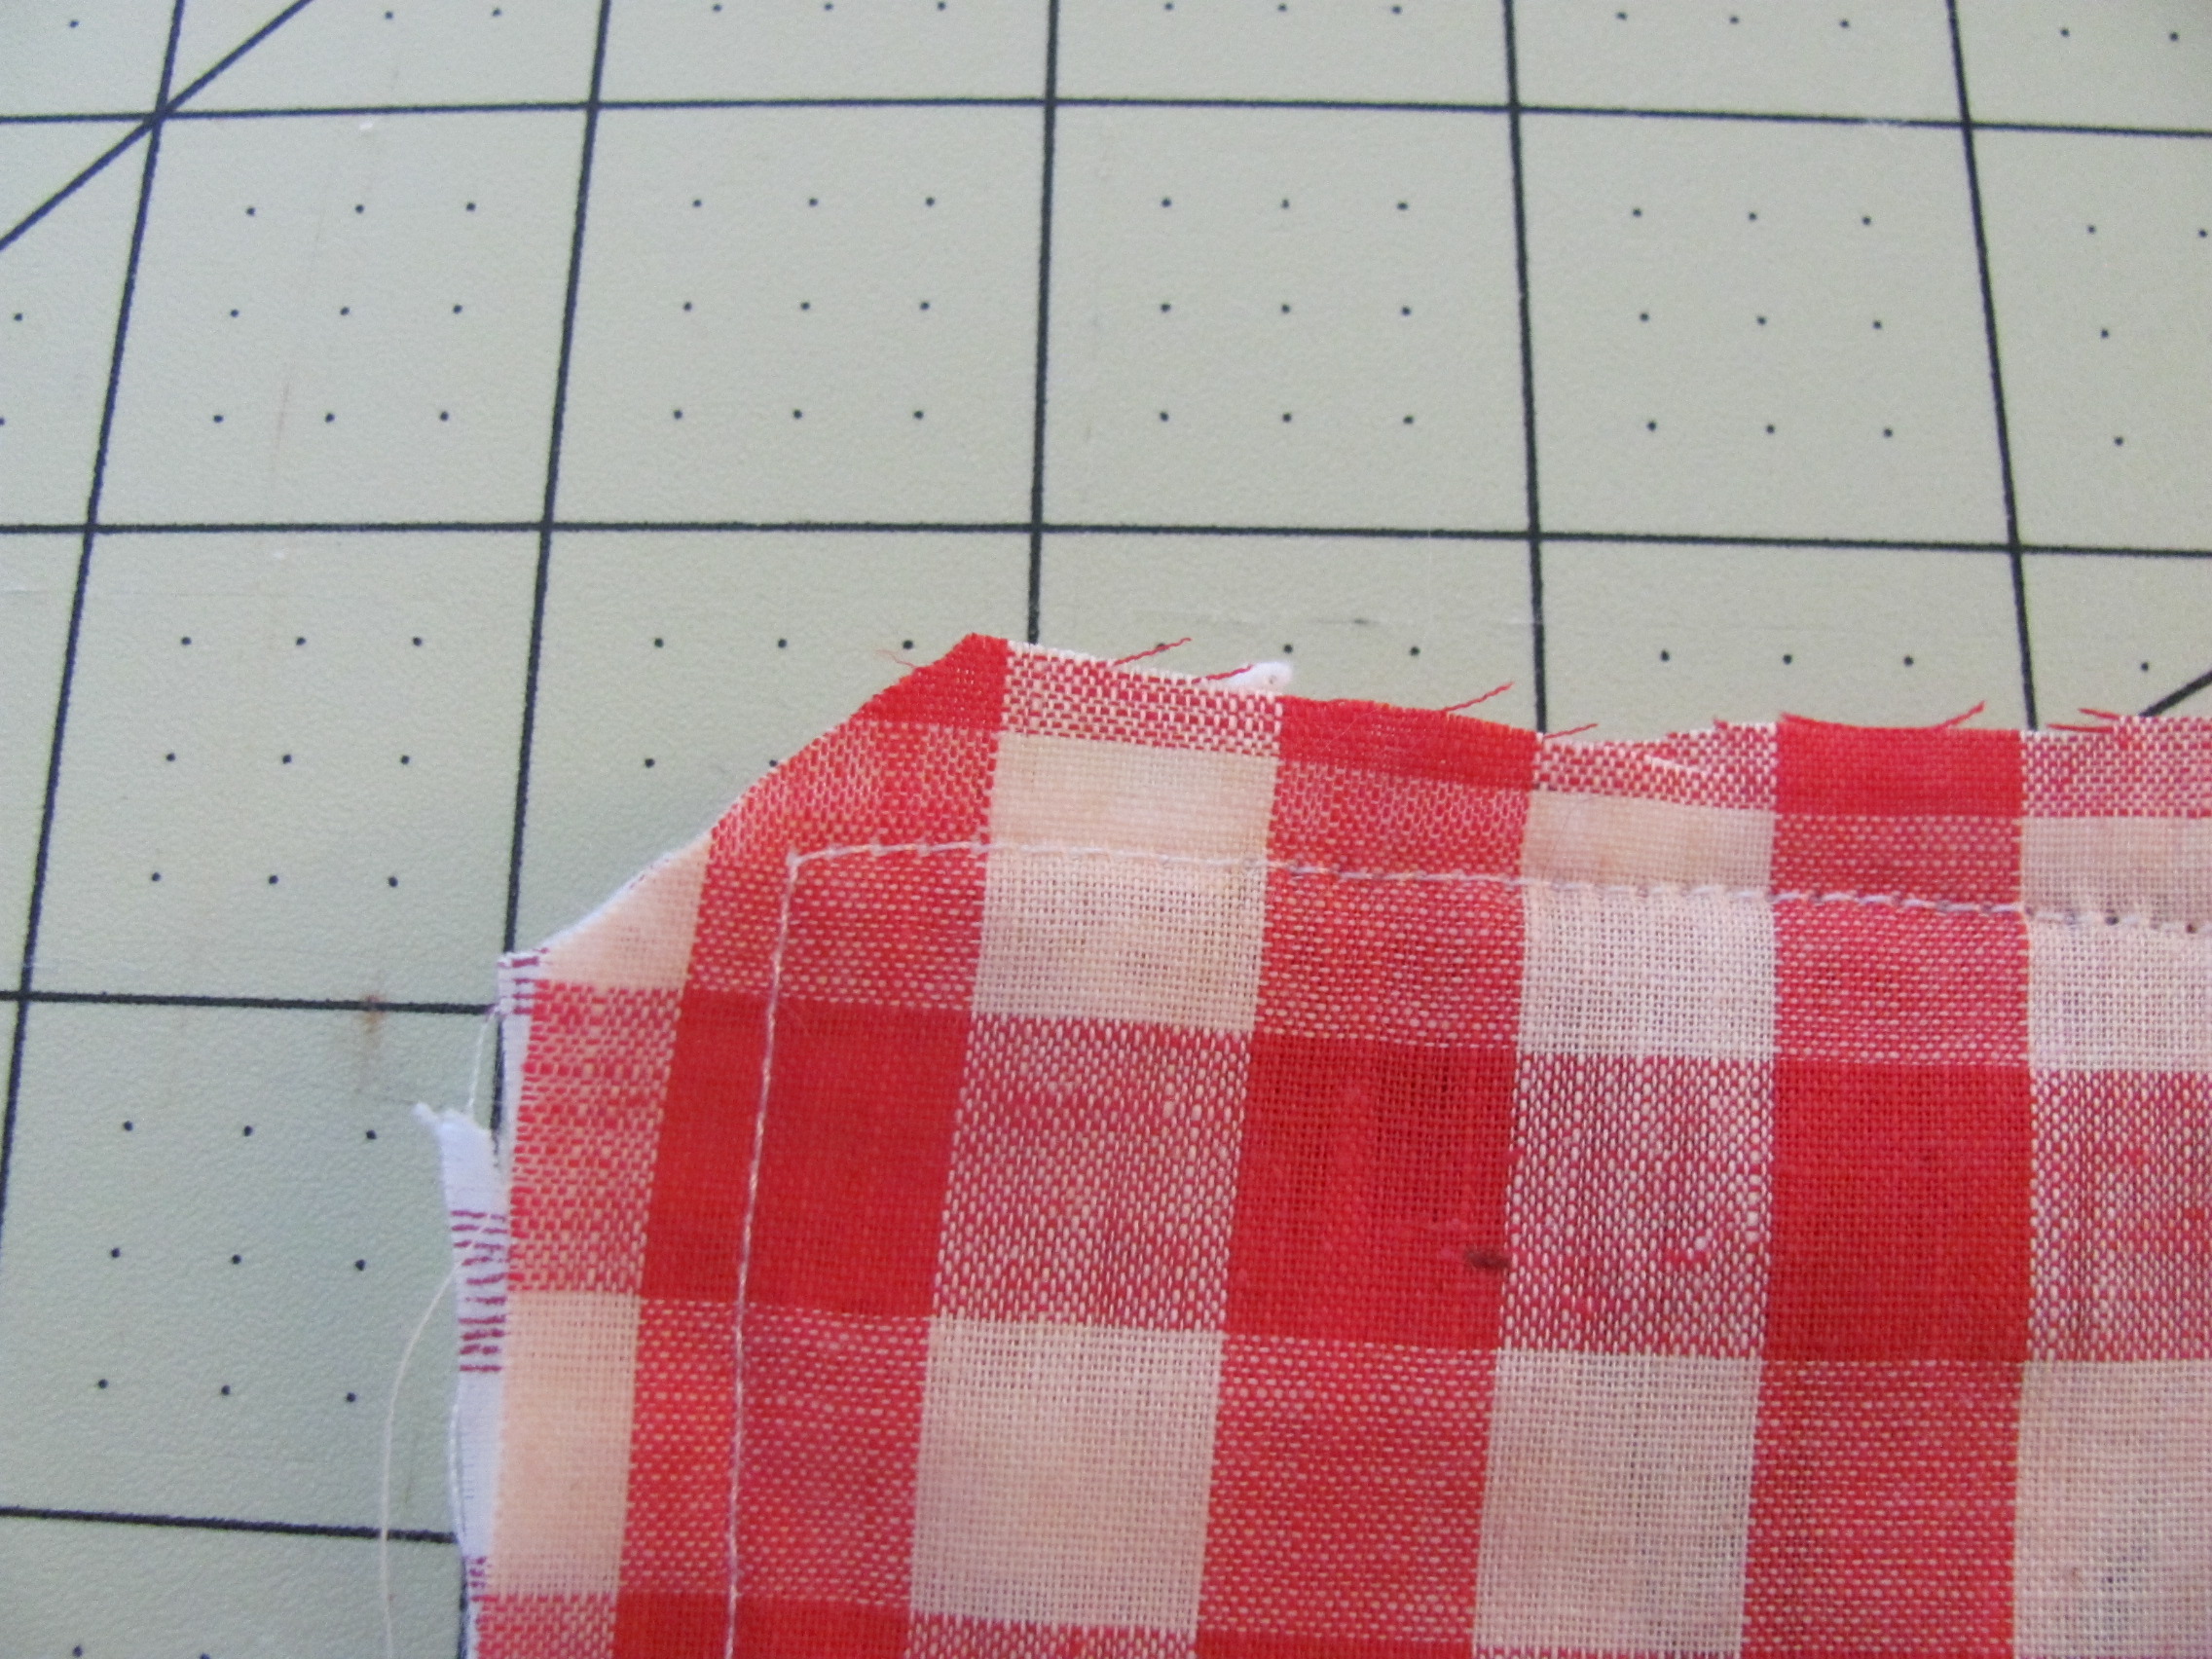
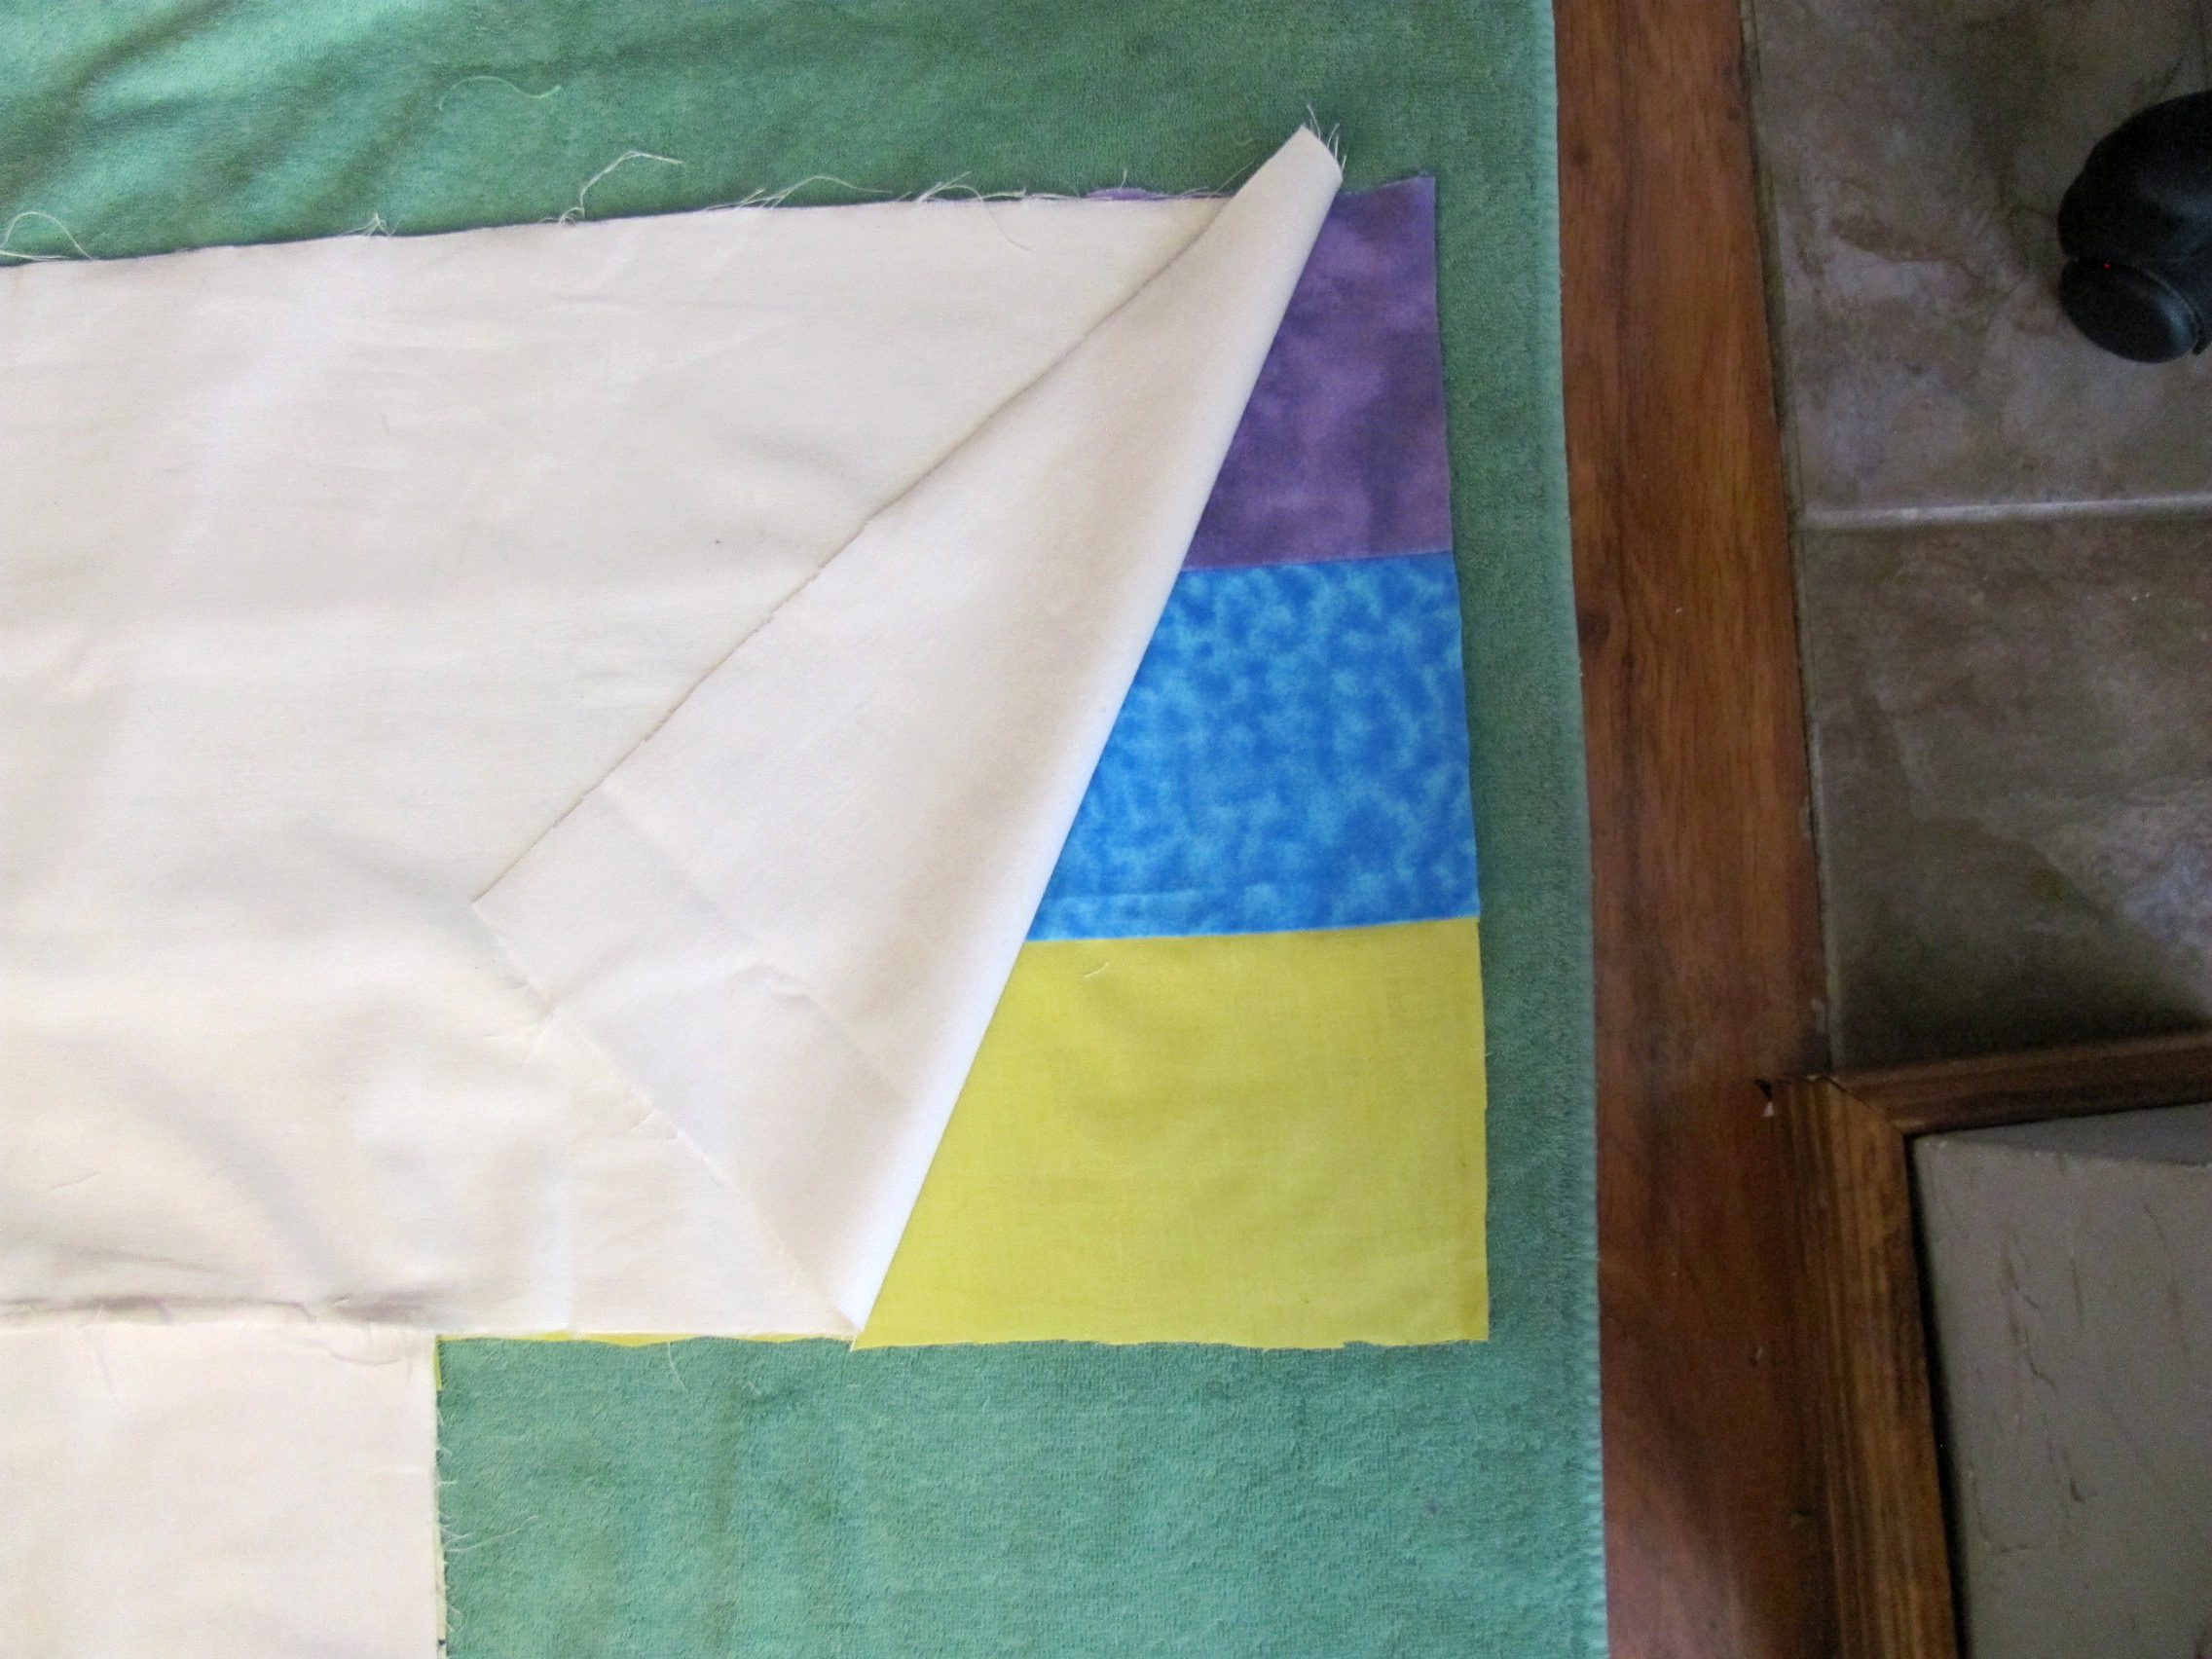
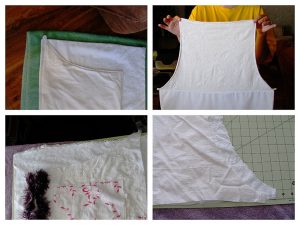
- Pin and sew with the lacy fabric and backing right sides together, leaving a couple inches on one end to pull the fabric right side out after sewing. Cut diagonally outside the corners to help create more well-shaped corners after turning right side out. Turn right side out and iron.
- Top
- Pin and sew fabric and backing for top, right sides together. Leave an opening to pull the top right side out. Trim corners. Turn right side out.
- Top stitch around the top part of the apron, making sure to stitch closed the opening used to pull the fabric through.
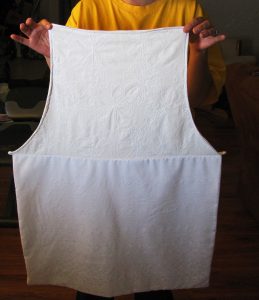
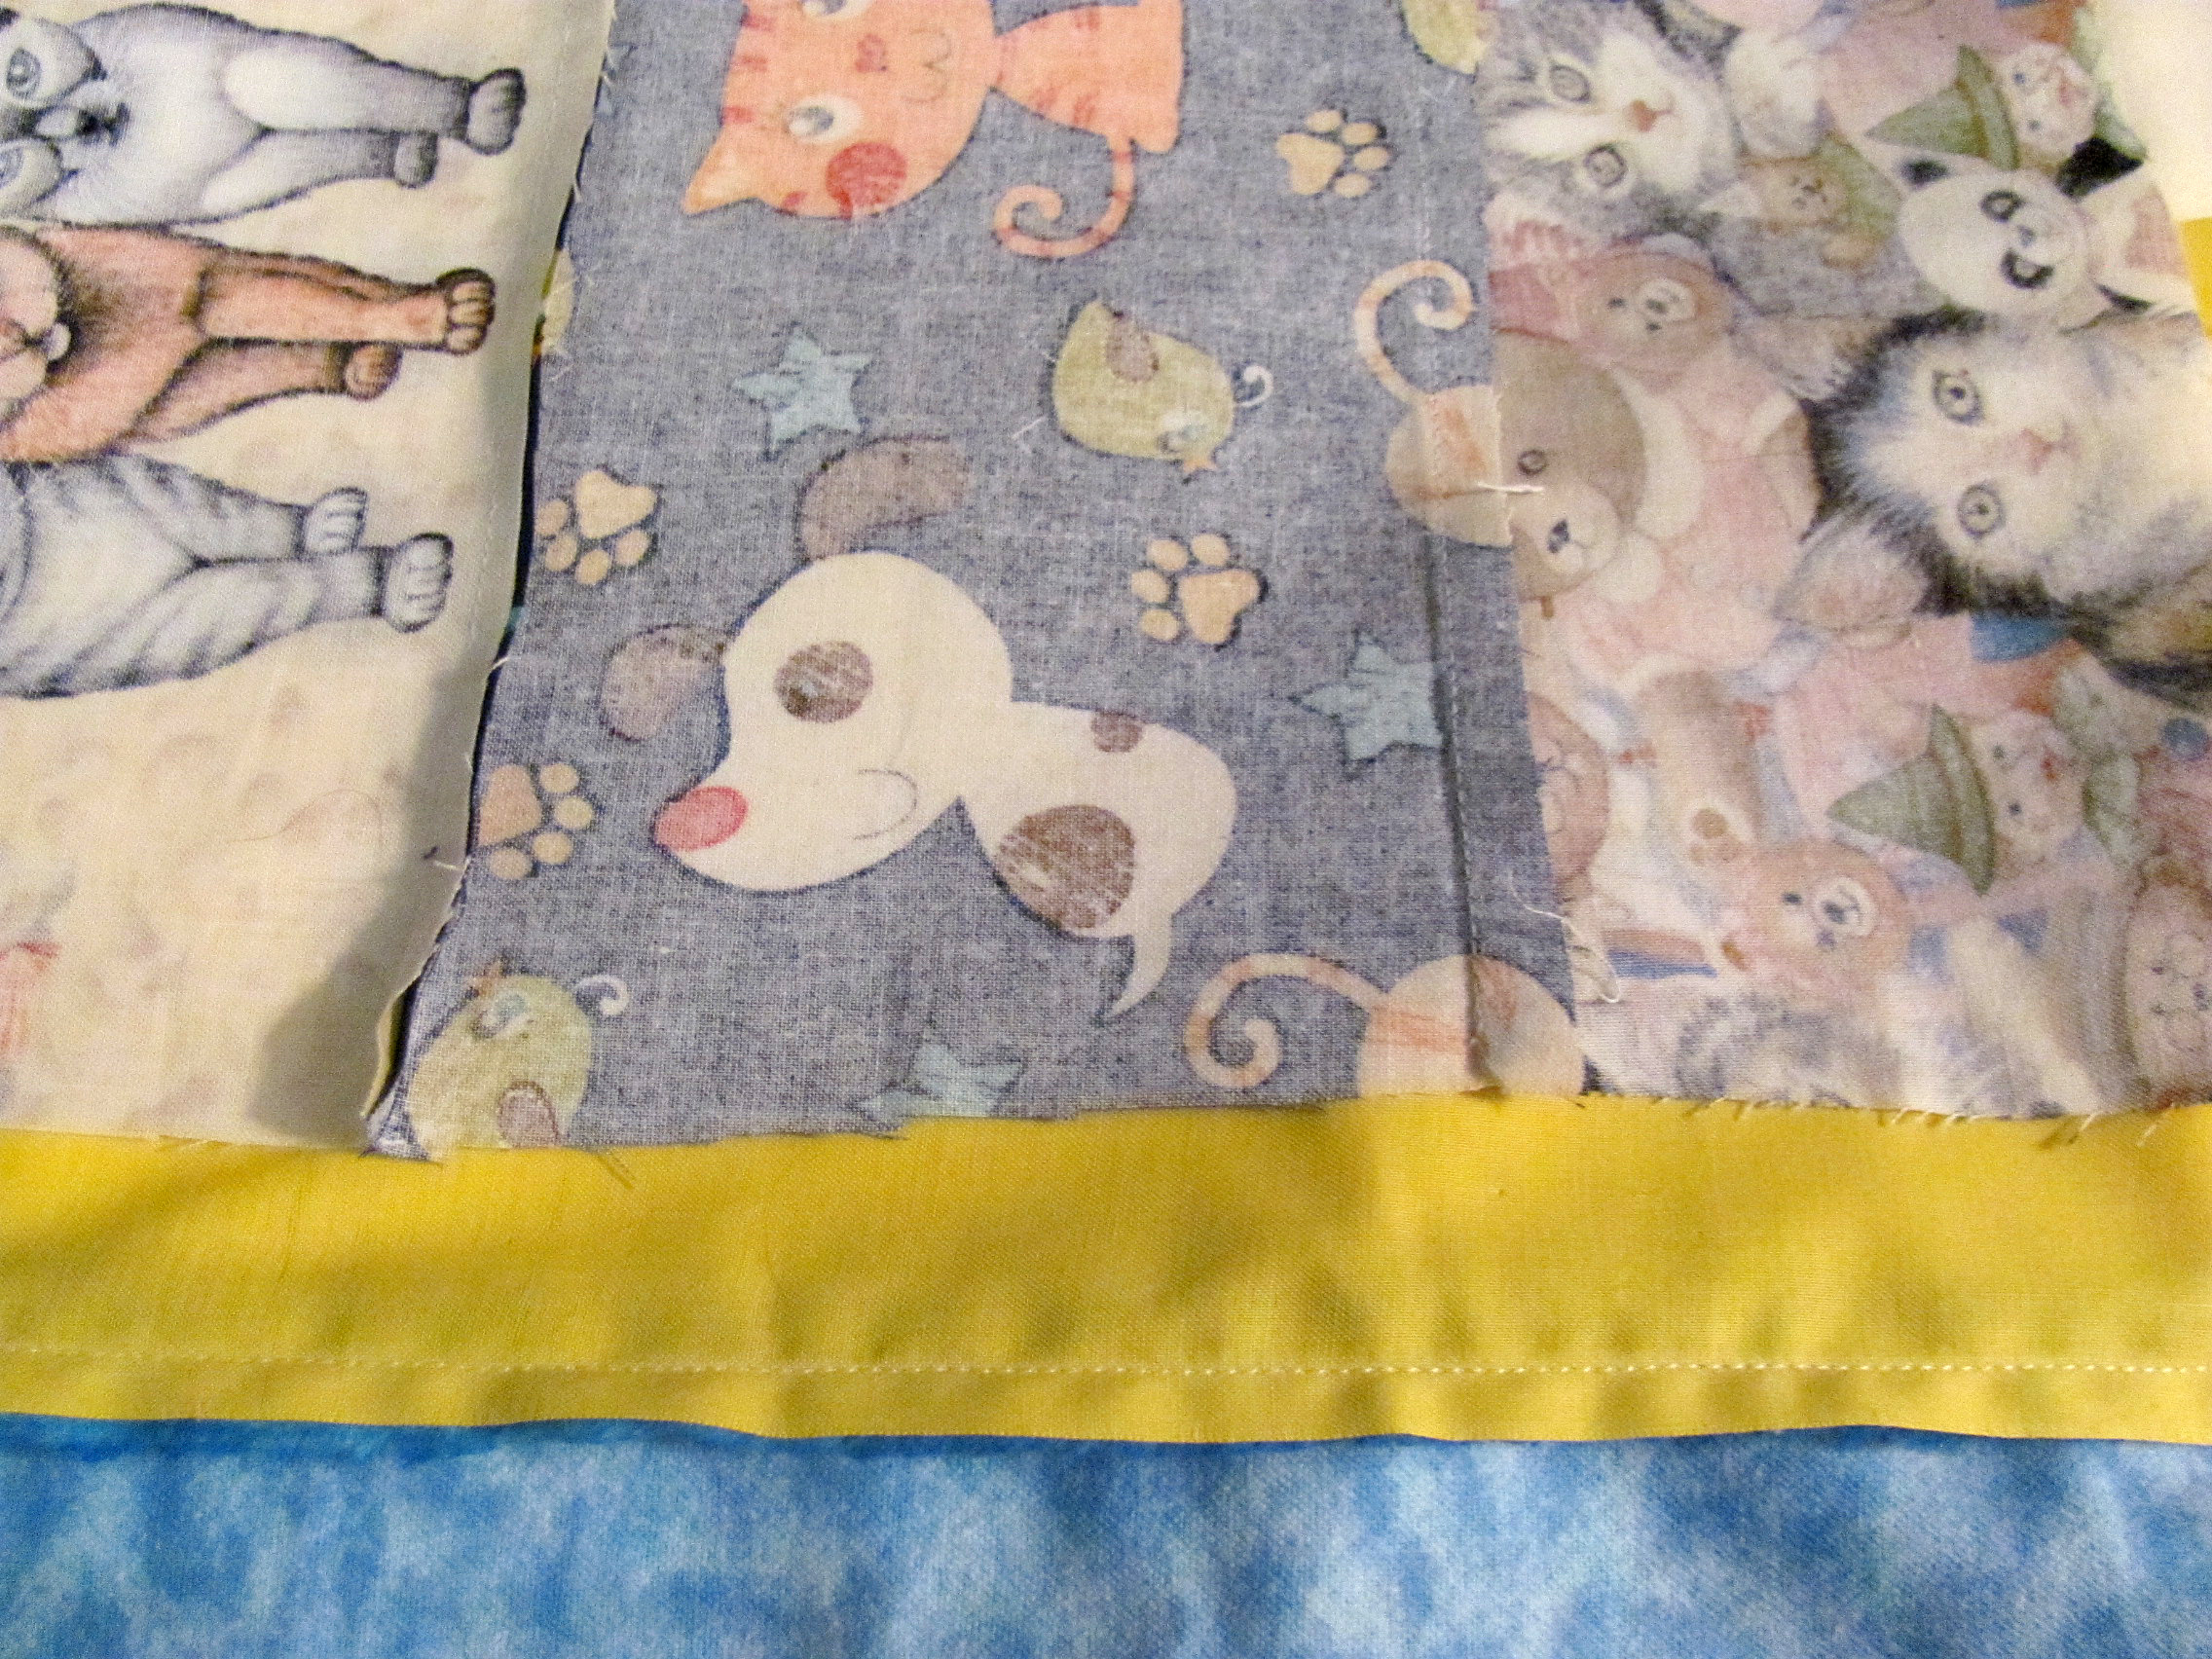
Top and skirt sewn into one piece.
- Sew the top and skirt together, right sides together. Iron with the seam pointed down.
- Pockets
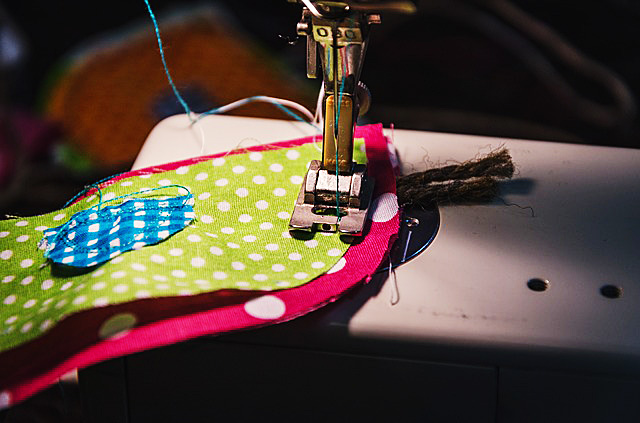
- Pin and sew with 1/8″ seam the fabric and backing for the two pockets right sides in. Leave an opening in the top of the pockets. Trim corners, turn right side out and iron.
- Top stitch with 1/8″ seam the top of the pockets only, making sure to sew the opening closed.
- Waist Accent Piece
- Fold accent piece in half, right sides together. Iron to make crease for accurate sewing. Sew with 1/8″ seam the length or the strip, leaving one end open. Trim corners and turn right side out. Iron to create flat strip. Top stitch with 1/8 in. seam the open end closed.
**DO NOT top stitch around strip yet. That will be done when sewing the accent piece to the apron.
- Waist and Neck Ties
- Fold all 4 waist and neck straps in half, right sides together. Iron to make crease to help with accurate sewing.
- Sew 1/8″ the length of the strip, leaving one end open. Trim corners and turn right side out. Iron to create flat straps.
- Top stitch 3/8″ around each strap.
- Time to put all the pieces together. Yay!!
- Place the accent strip on top of the apron over the seam where top and bottom pieces were joined.
- Place one of the waist ties at the same spot but on the underside of the apron.
- Sew the accent strip and waist tie with the X box often found to be used for ties since it creates a stronger hold.
- Pin accent strip over the seam of the apron, making sure it is straight and level. Iron.
- Top stitch the accent piece to the apron.
- Sew the other waist tie on back of apron. Top stitch accent strip with waist tie behind, the same as with the other, using the X box to secure the waist tie.
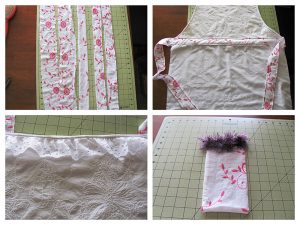
Putting it all together.
- Sew neck ties onto the top corners of the apron using the same X box.
- Hand sew boa pieces onto pockets. If you have a material more suited for machine, sew them on.
- I couldn’t find clear thread anywhere, which is what I prefer to use with embellishments like these. So instead I used a purple thread closely matching the color of the boa.
- Sew both pockets on the apron using 1/8″ seam.
Pre-heat the oven. Put on your new Elegant Upscale Apron. Time to bake!

Stacey’s Stitches
Hi all! I’m Stacey Martinez 🙂
I love to design imaginative custom items for my active, crazy family. Bright
colors and beautiful fabrics sing “Stacey, Stitch Me!”
Let your imagination inspire you to breathe personality into every stitch!
Please feel free to post comments, questions, and pictures of your own Elegant Upscale Aprons. I can’t wait to see your creations!